So for those that have helped me out, and seen my initial thread here, knows that I am currently working on my Trumpeter 1/350 Queen Elizabeth. I am rounding 3rd on that build and have literally learned countless, and invaluable things from several guys here, and online sources, like youtube.
There have been some mistakes and hiccups along the way but those mistakes have been drilled into my own head as to make sure I dont do them again.
This thread will be focusing on updates of the build of my KGV once it starts. And right off the bat i will be doing things differently than i did with my QE.
I bought a can of Tamiya surface primer. I plan on priming all pieces prior to starting any assembly or painting. I feel this will help the paint go on better, and highlight any imperfections in the plastic molding that I may need to address before i start painting and such.
I plan on starting this build in early June. so updates will be coming soon.
Excellent plan. Now, when you do that, you cannot glue together pieces using solvent glue where there is paint.
Your choices are: Sand off the paint from the gluing surfaces; or:
Use CA glue.
There are pros and cons to both.
Solvent glue is a true welded joint. A good plan for major stuff like hull halves where strength matters. But sanding is required- a few swipes with the nail stick.
CA sets fast and will adhere painted parts togethr. But the joint is no stronger than the adherance of the paint to plastic. A good plan for sticking on small pre-painted part, but not strong.
Another thing I like to do.
Photo copy the sprue diagram in the funny pages. Circle parts or groups of them and label the final color. It helps when you set up to pre paint things.
You wil love this kit. It’s a little older, but it builds up very nicely.
Thanks for the tips as always Bill. I will do my best to not prime areas where glue goes. And for the parts that do get primer on it, I invested in some 320 grit nail files that will do a fine job for this.
One can also scrape off paint. If it is a long seam, I just draw an X-acto blade along the seam at 90 degrees. Also, if the edge is really bad- flash or curvature, I put a sheet of sandpaper on benchtop and slide the pieces around to both straighten and remove paint from seams. However, it is a very visible seam I like to glue pieces together first and sand and fill before priming, and the priming reveals bad spots in the seam.
For gluing small pieces to a big section like a deck, I sand or file paint off the small part, then drill a series of shallow holes in the deck or whatever in the footprint of the small part to remove enough paint- drill down till you can see a shallow cone of plastic.
For removing paint from small part joining areas I tend to use a needle file- it stays flat and is handier than sandpaper IMHO.
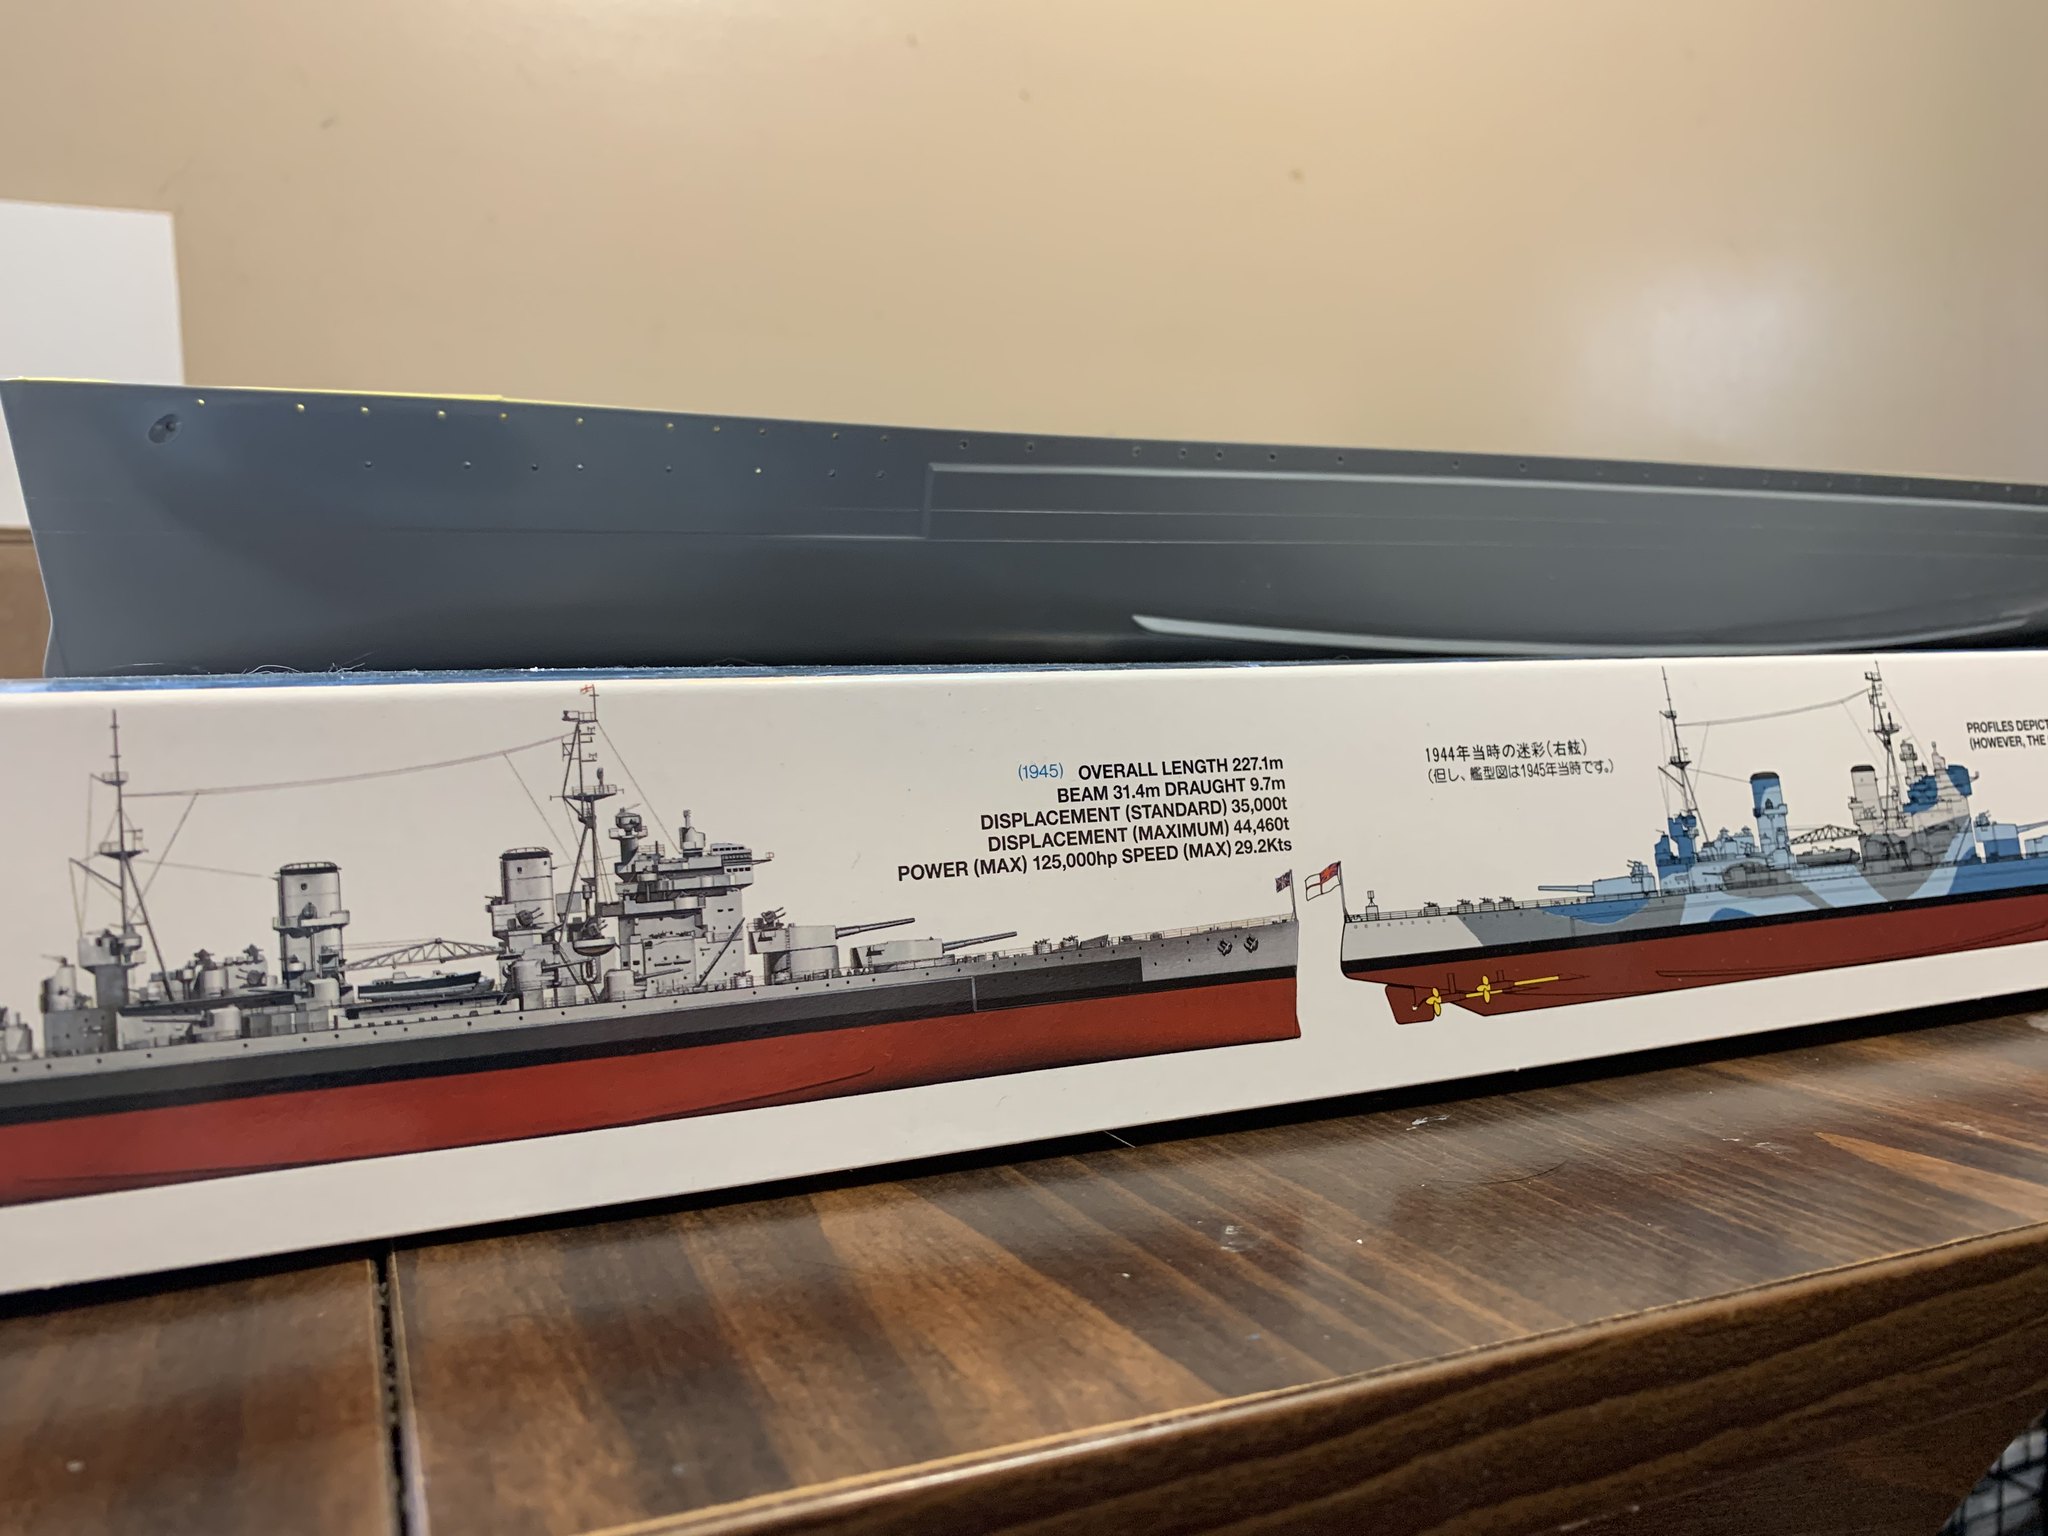
Does anyone have a good paint guide to the KGV? The paint instructions arent the best in the tamiya instructions that I have seen. I am doing the 1945 scheme. So no more crazy camo like the Queen elizabeth, phew, needed a break on that.
So I need a good paint guide to the 1945 KGV. I know the hull and superstructure markings, but my main issue is the main battery turrets and other guns are showing that they are to have the tops painted blue. I have looked up some other model pics with the 1945 paint, and most have the guns painted the same gray as the superstructure and stuff. A couple did have the tops of the guns painted blue though…
Take a look at my first reply to your QE thread. I found a link to late war colors that would be a good place to start. It does not answer your question directly, but seems to be a good place to start.
Buy this book. It’s about $ 15 on Amazon.
Shipcraft 2 - King George V Class Battleships Paperback – February 2, 2016
Well, the foremer WEM Colour Coats, being British, for British subject material, are often cited as the best starting place.
You want the published references, though. First off, you will always learn something new, whic his good for your mental health overall. And, you often get a more personal view of the ship you are researching, too. And, in general, you get a definable starting point for which colors were actually used. (The Admiralty might have decreed a color scheme, but a fleet flagship might have varied from those for various reasons-like having an Admiral aboard.)
Once you can list out the various colors you actually want, you can go online to places like IPMS which will have “equivalent” paint formulas so that you can start from the brand you have to get the result wanted.
Or, you can just go by the box art with what is closest to hand, too–this is your model, not ours, after all.
You could paint the thing pink and lavender and violet if you wanted–the rest of us would be confused a bit, but that would be our problem, not yours.
The recommendation of Chesneau’s KGV book previously mentioned is a good one. Another name you should know and follow is Alan Raven. He is a known author on naval camouflage, particularly the Royal Navy practices. His four volume Warship Perspectives [Royal Navy] Camouflage covers the pre-war to early post-war period. He describes the Standard Patterns beginning in mid-1944 through the end of the war.
Standard Scheme A for use on all stations included B20 on the hull panel, G45 on the remainder of the hull and superstructure, masts were white, and steel decks were G10.
See Sovereign Hobbies of the UK for Colourcoat Paints and RN Admiralty painting instructions (1945)
I also got to spend a little bit of time working on the hull of the KGV. I drilled out the port side porthole’s, and sanded down the seam on the bottom.
I cant believe how much bigger the KGV is next to the QE. It is 3+ inches longer!
That’s three decades’ of ship design and technology improvement, at a time when such technology as evolving at a blur.
Part of that was how Dreadnught changing thinking about armament, which changed how armor belts were used, and how much ship you needed to keep all that afloat.
Yeah the Queen Elizabeth is just over 22 inches long. The KGV is a little over 25 and a half inches long.
I have in my cart right now the Tamiya 1/350 Tirpitz and man i want to pull the trigger on her bad! She over 29 inches long. I feel like i need to slow down and finish up the QE, and start on the KGV. i am hoping to have the KGV done by July/August. The Tirpitz will more than likely be next, or the Missouri, if I can ever find it in stock.
So while waiting on the last couple of paints to finish up my Queen Elizabeth, I decided to work a little on the KGV. I drilled out all of the portholes in the hull, and then put down tamiya 6mm masking tape on the inside edges where the deck is glued to the hull. She is ready for primer now.
Here is the KGV hull sitting in front of the QE to give an idea of the size difference. Sorry for the bad pic, I didnt realize how much the QE blended in with the box behind her when I took it.
I have in my cart right now the Tamiya 1/350 Tirpitz and man i want to pull the trigger on her bad! She over 29 inches long. I feel like i need to slow down and finish up the QE, and start on the KGV. i am hoping to have the KGV done by July/August. The Tirpitz will more than likely be next, or the Missouri, if I can ever find it in stock.
[/quote]
Matt,
If you haven’t purchased the Tamiya Tirpitz yet, I would hold off. Personally, I would recommend the Revell 1/350 Tirpitz over the Tamiya. The detailing is much better, except for the clunky plastic railings, the fits are good and the molding is newer. The main deck is one piece too which means no cross section seams to deal with.
One of the main drawbacks of the Tamiya Tirpitz and the Bismark is the total lack of detailing of the lower superstructures. The Eduard PE sets spruces it up a bit but why not start with a better model.
Eduard sells a really comprehensive PE set for the Revell model and a railing set too.
If you think the KG V is big, look at the Hood, Iowa, Yamato or even that beast Akagi I’m working on in 1/350, but those are nothing in comparison the the Enterprize kit.