This month I started a new challenge, my very first kit in 1/16 scale and on top of that from World War One, the Takom 1/16 FT-17 Renault! At first I was reluctant to choose this kit, since I have no experience on that scale and I have read about WWI in the past, but never work a kit from that era, so I’m on uncharted waters in many ways. I order the kit with a book reference which I receive from Spruebrothers in just 4 days! (consider that I’m out of the States in the Caribbean, Puerto Rico).
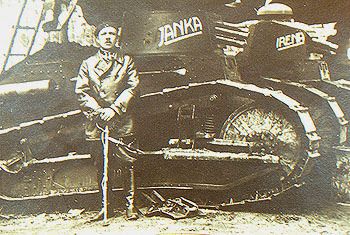
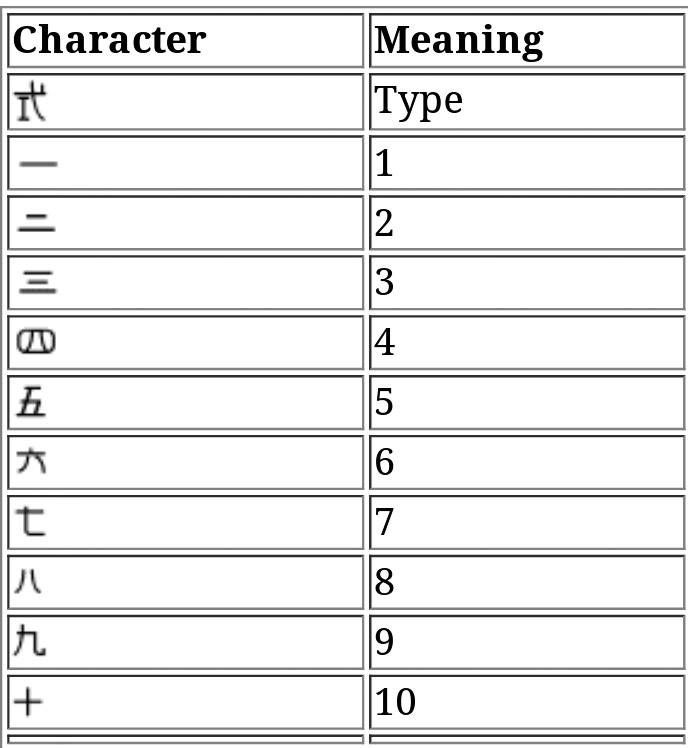
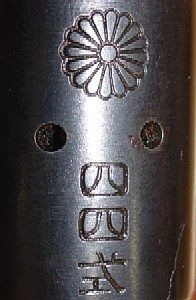
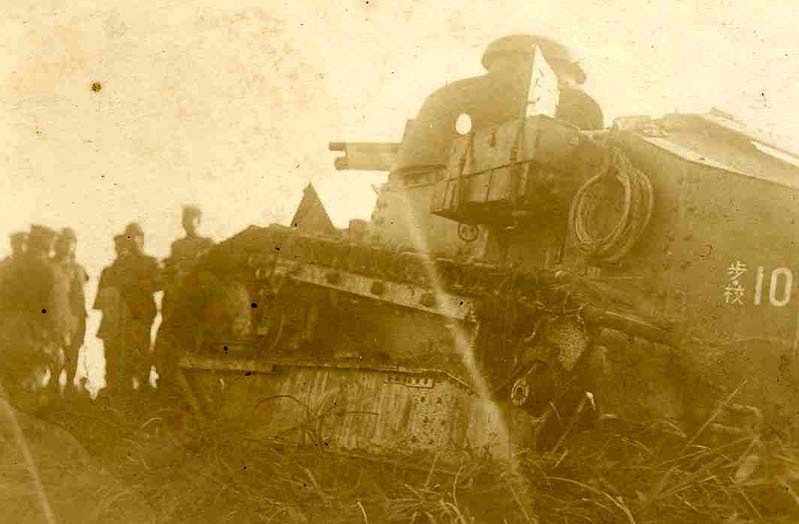
Started right away to look at the parts and get familiarized and also look at the information and pictures of the reference book. So I started now calling this a Char, not a panzer, not a tank, that’s the word for tank in French. Also found that this tank was call during WWI just as FT! The FT-17 name was later after the war due to the amount of variants and other French’s projects related. This Char was considered the first tank ! and was used in many conflicts and many countries, so I found a lot of references for the colors.
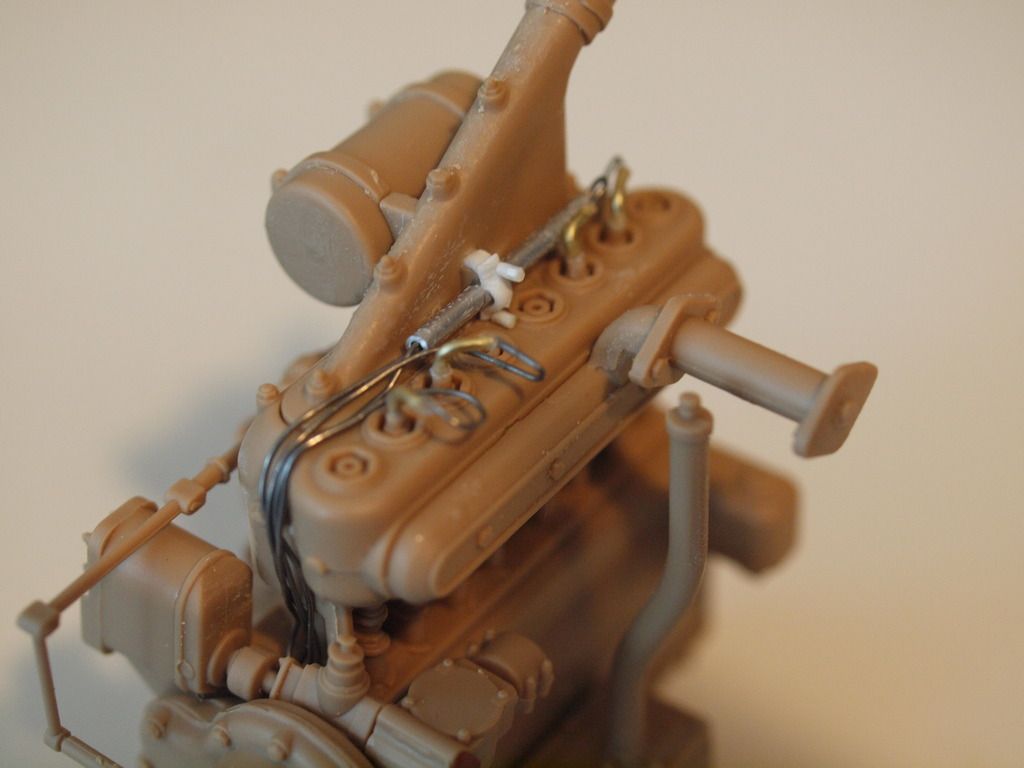
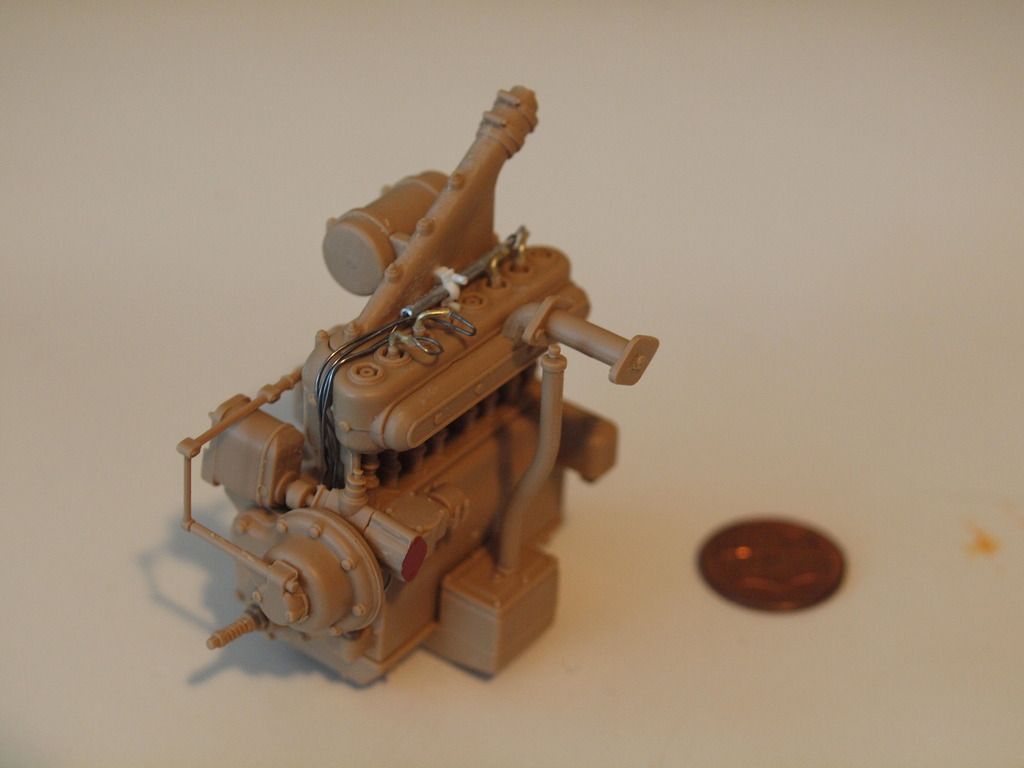
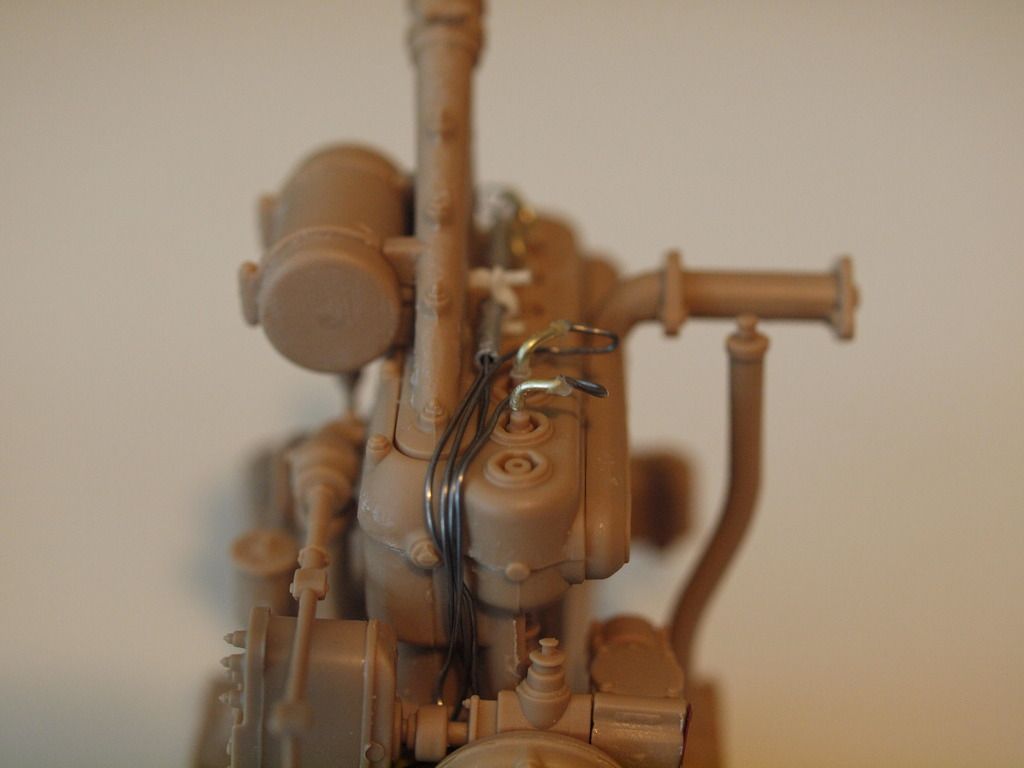
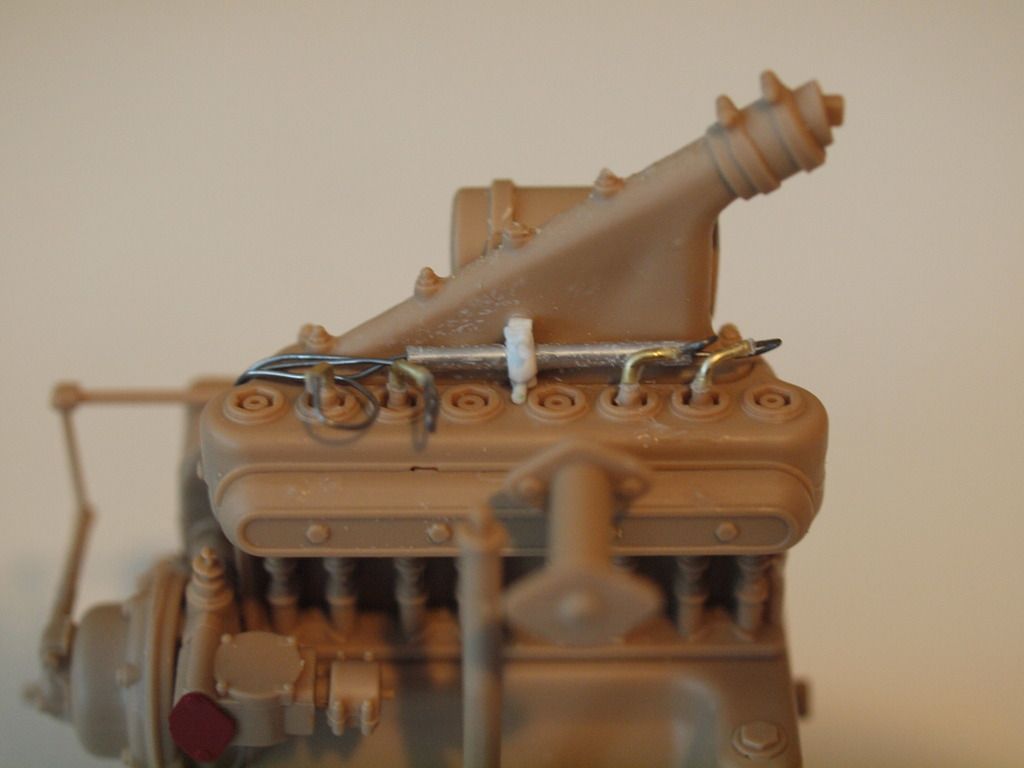
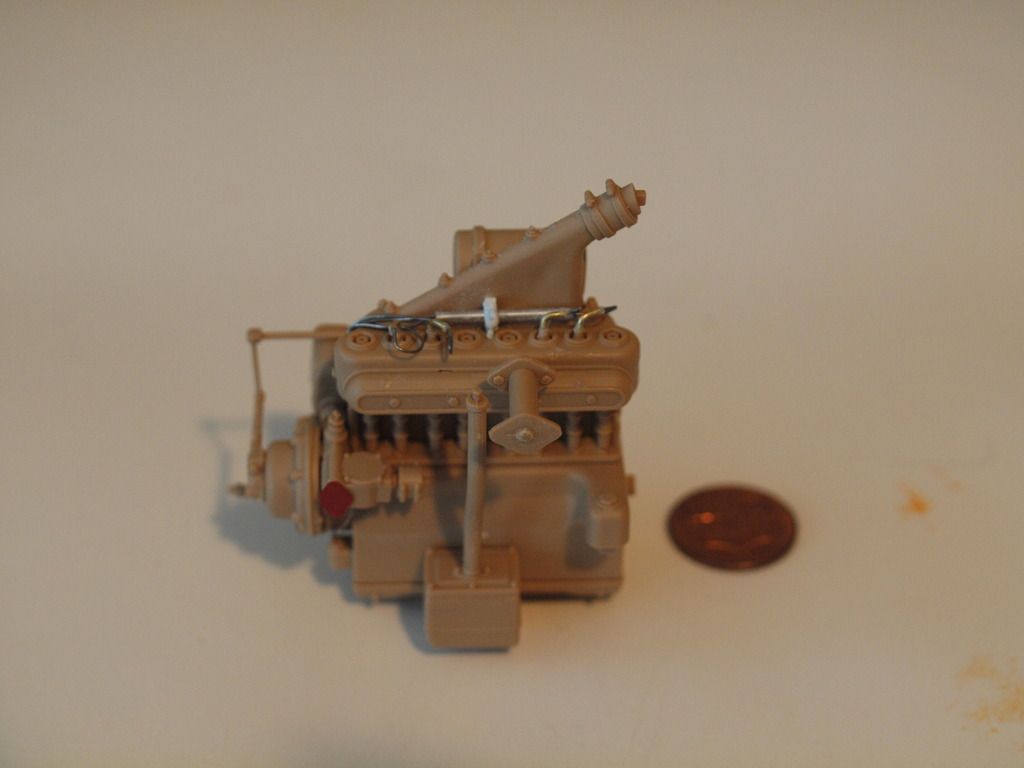
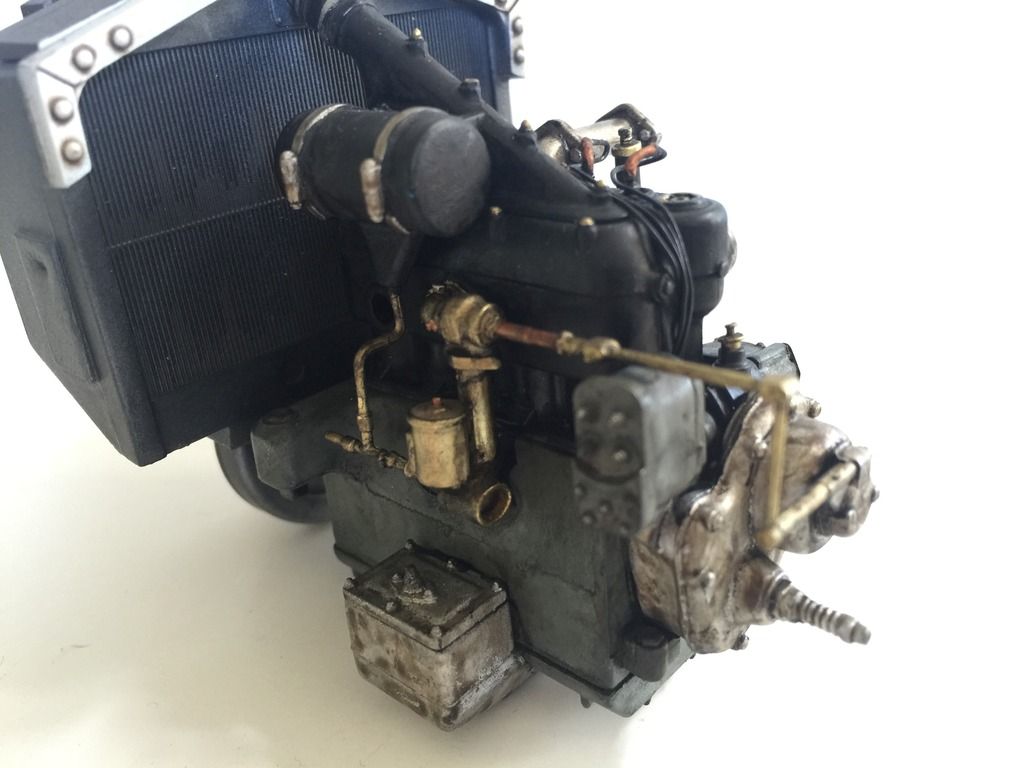
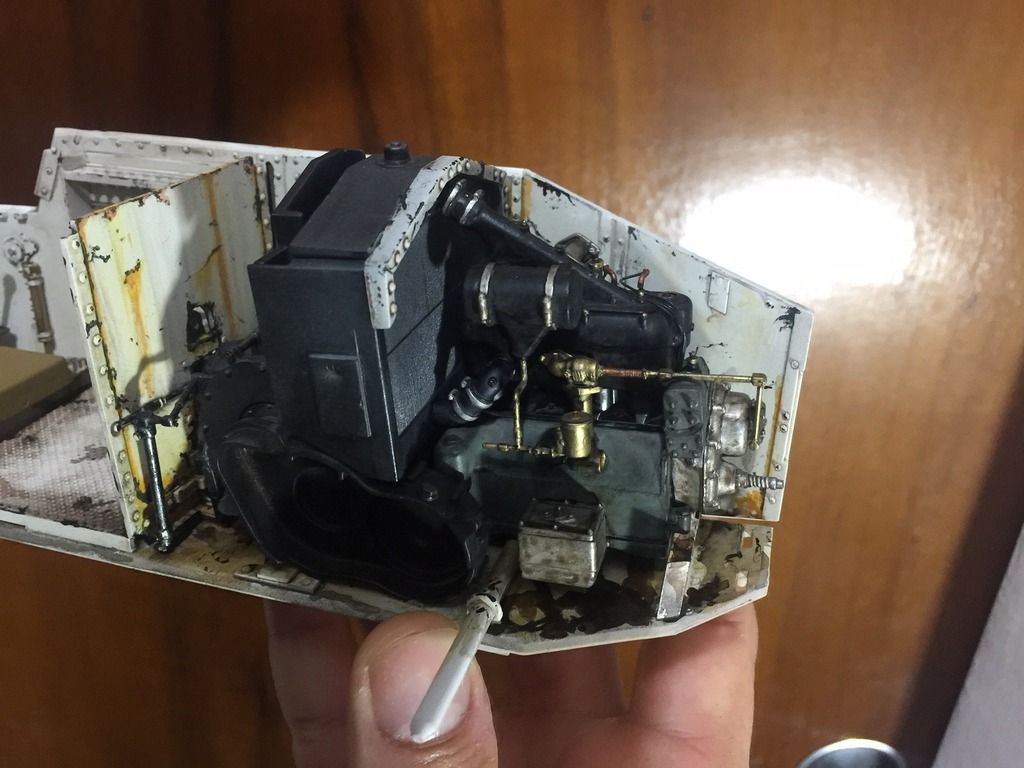
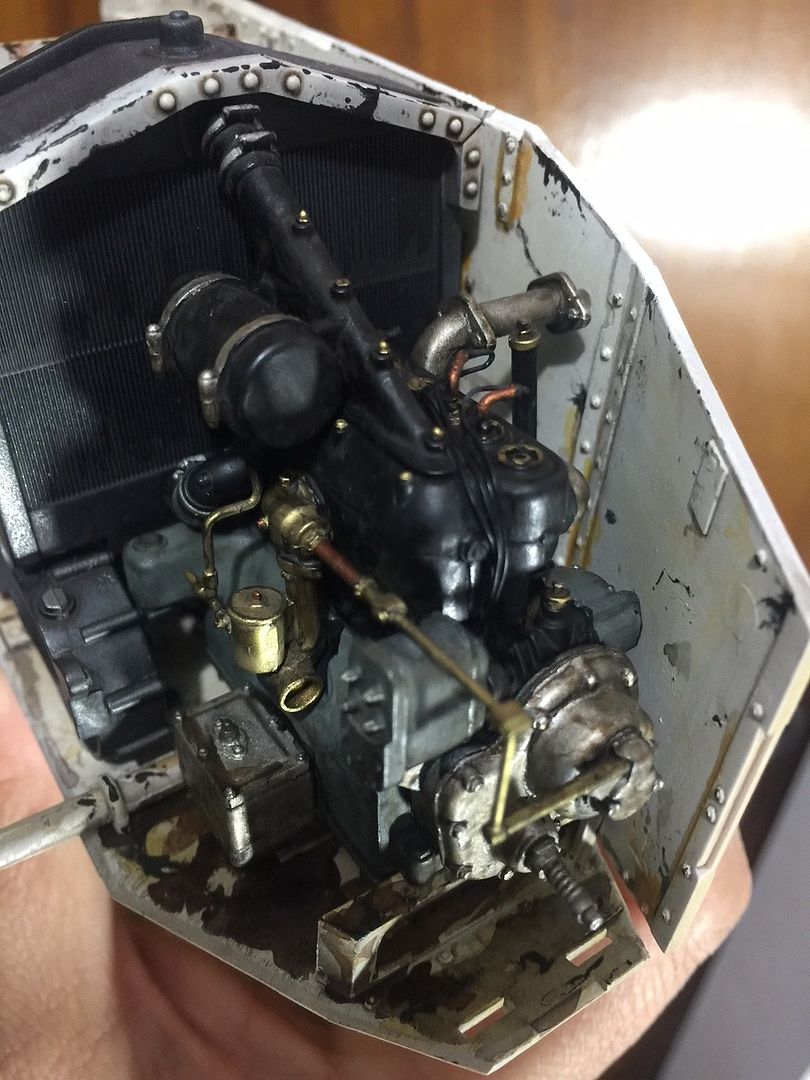
I started right away with the engine, at first the pictures were difficult to find, and even I confuse the American version with the french one.
The engine its just called 4 HP Renault engine, the american one is the BUDA HU engine.
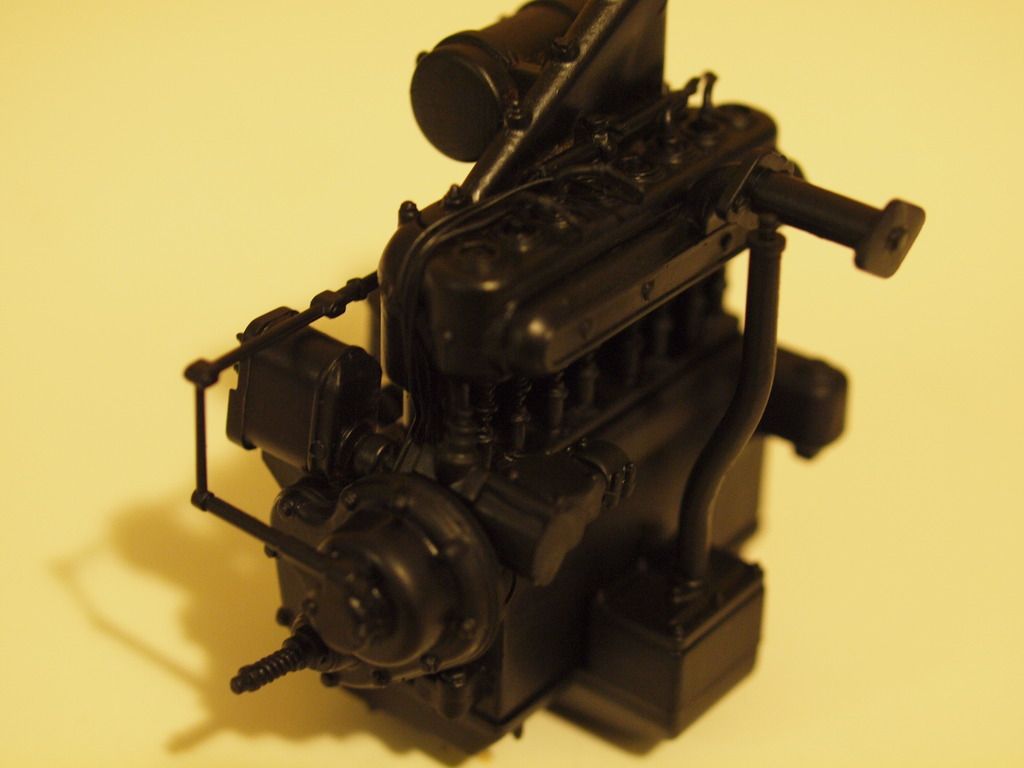
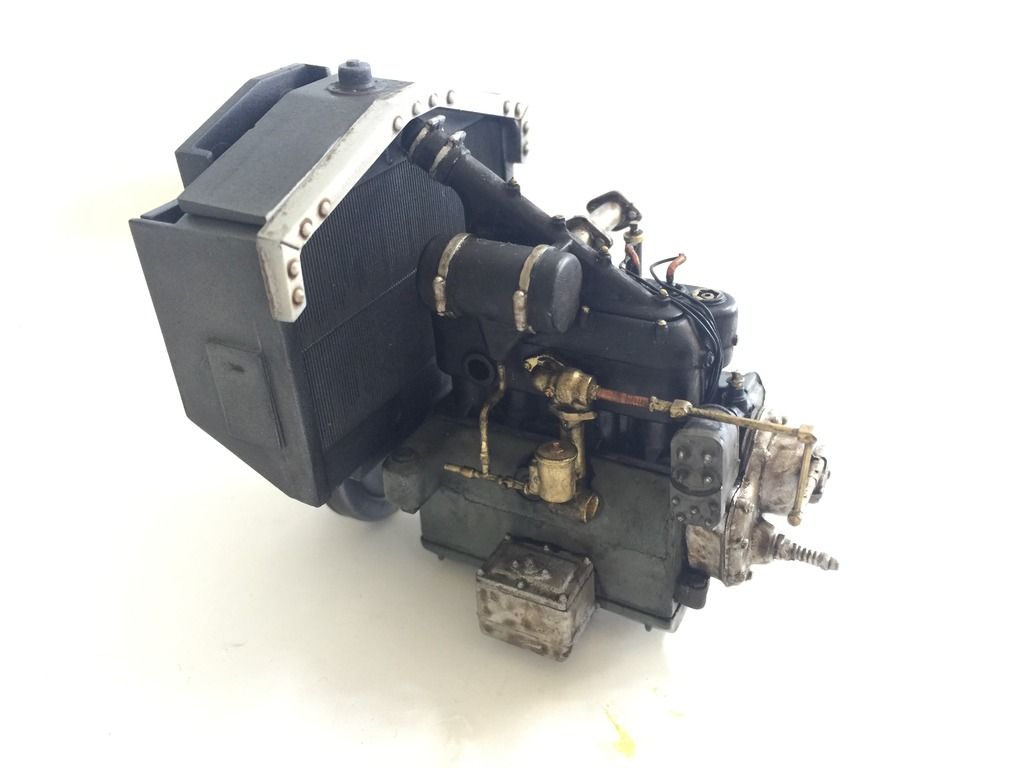
The building its very straight forward, some cleaning is needed, but is minimal, the fitting is perfect. I added the cabling, the sparks plugs and some metal tubbing to represent it as much real as possible.
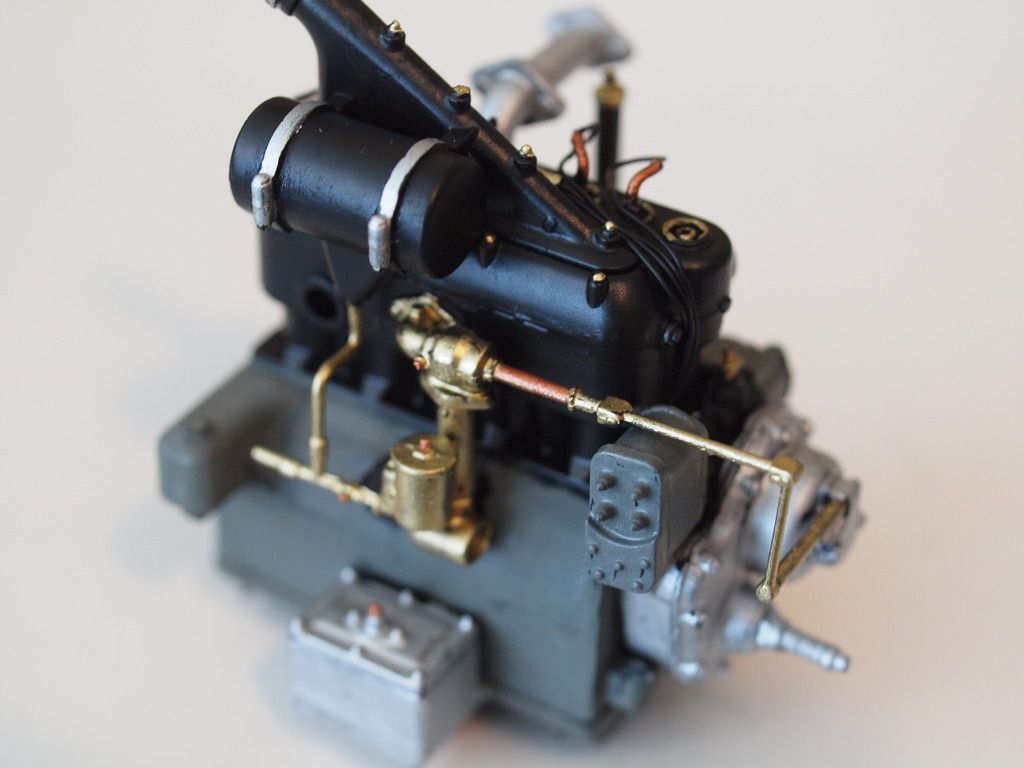
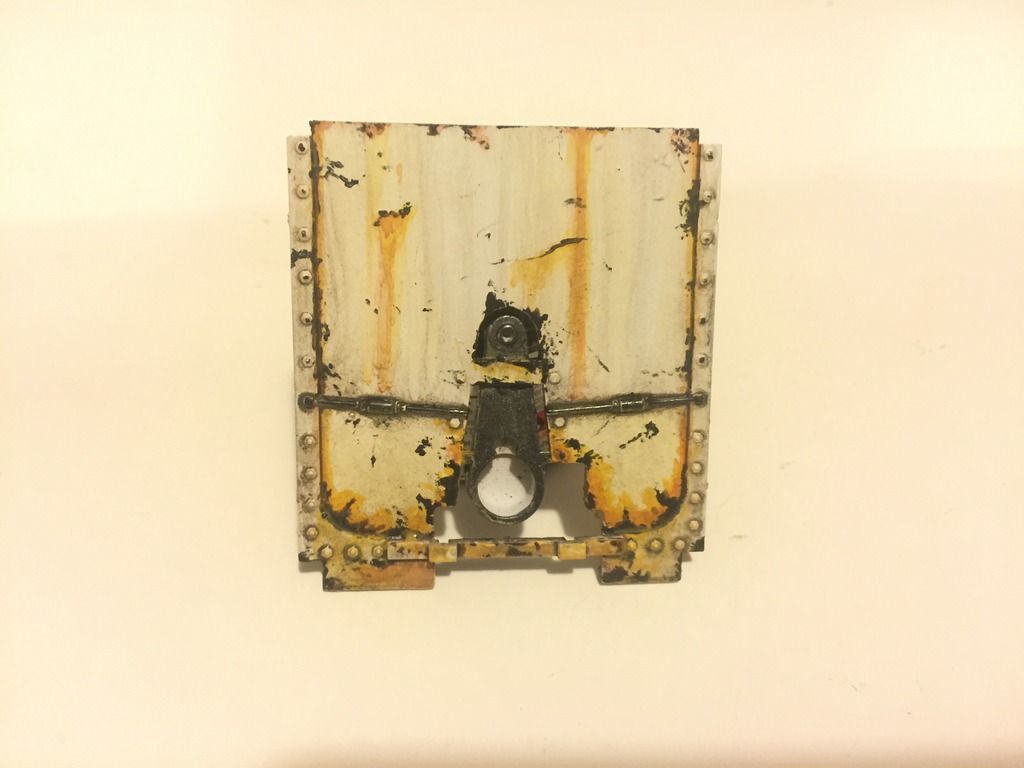
For the next part I started weathering the engine compartment, I wanted to show a lot of everything but not in a exagerated way, so with that in mine I used a very fine wash of burnt umber to tone down the white, chipping and scratch marks using a mix of black and burnt umber applied with a toothpick, a fine brush and a sponge. Later I added stains and some 3 tones of rust due to water exposure, etc.
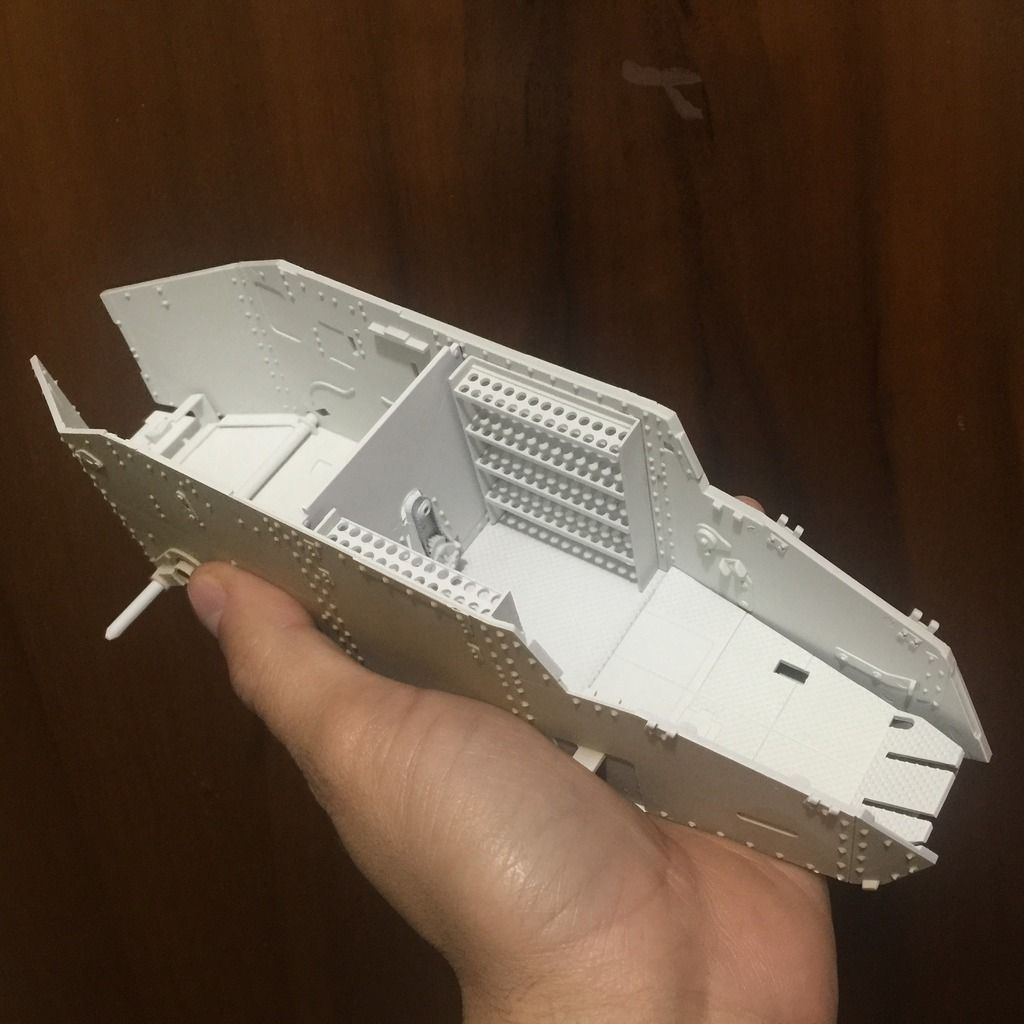
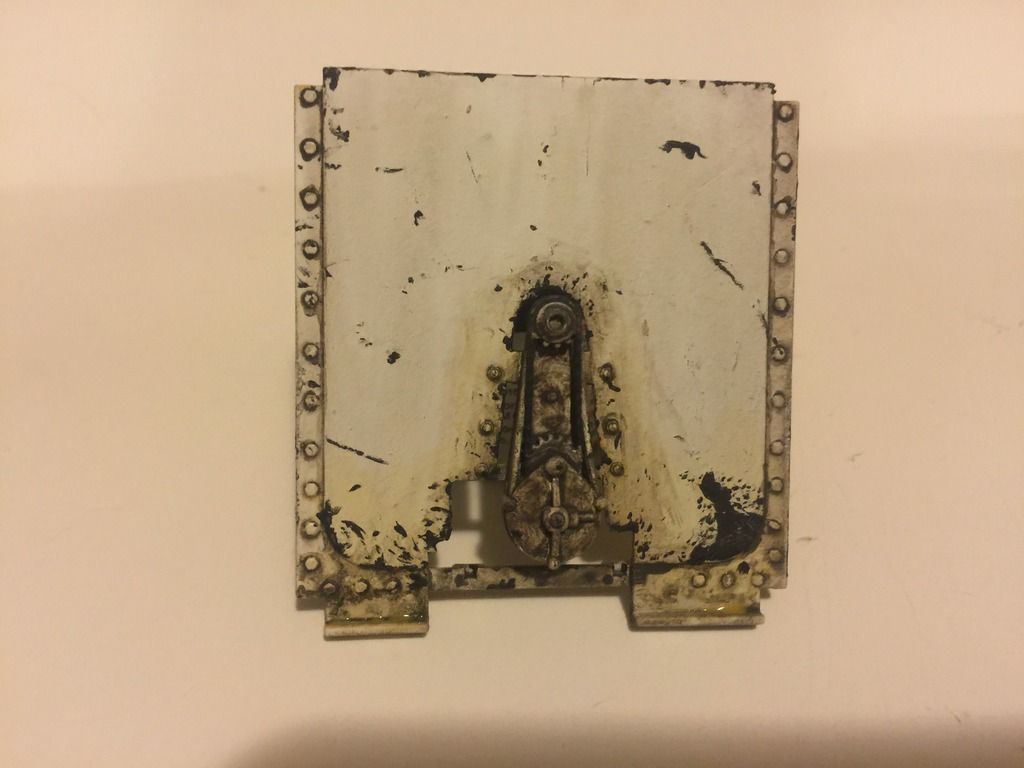
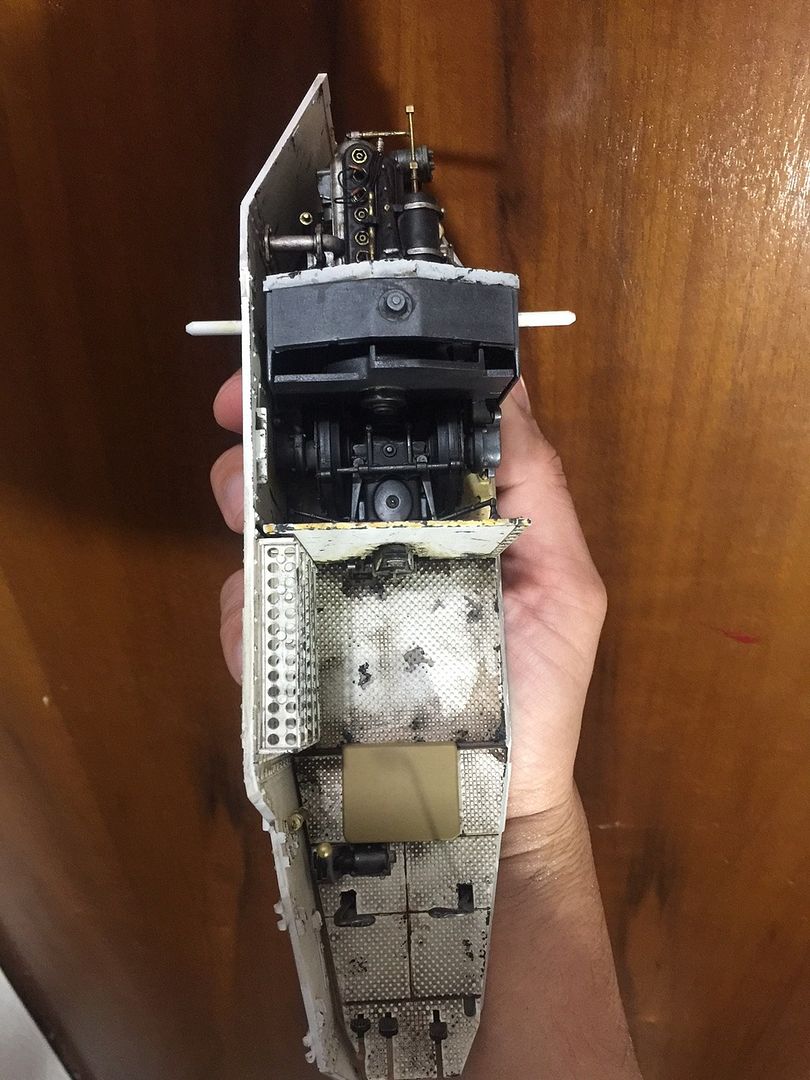
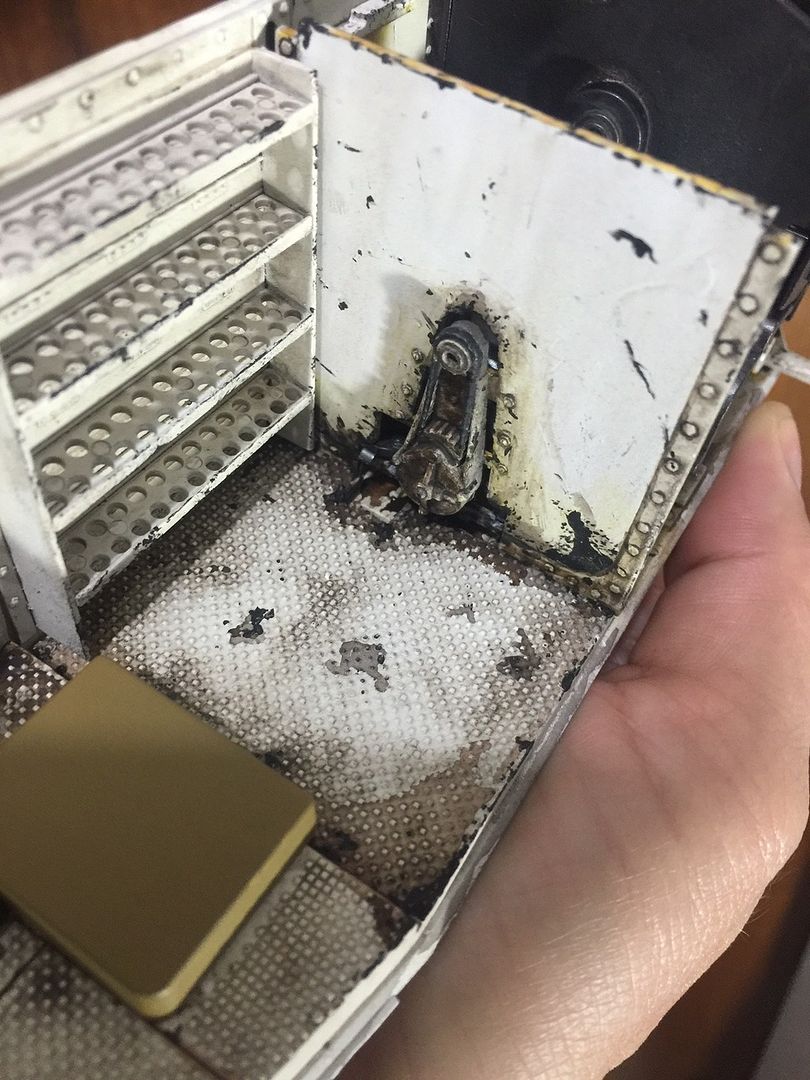
On the other side, that reside inside the tank’s belly, the story is a different one. The rust is not present, only stains, scratches and grime.
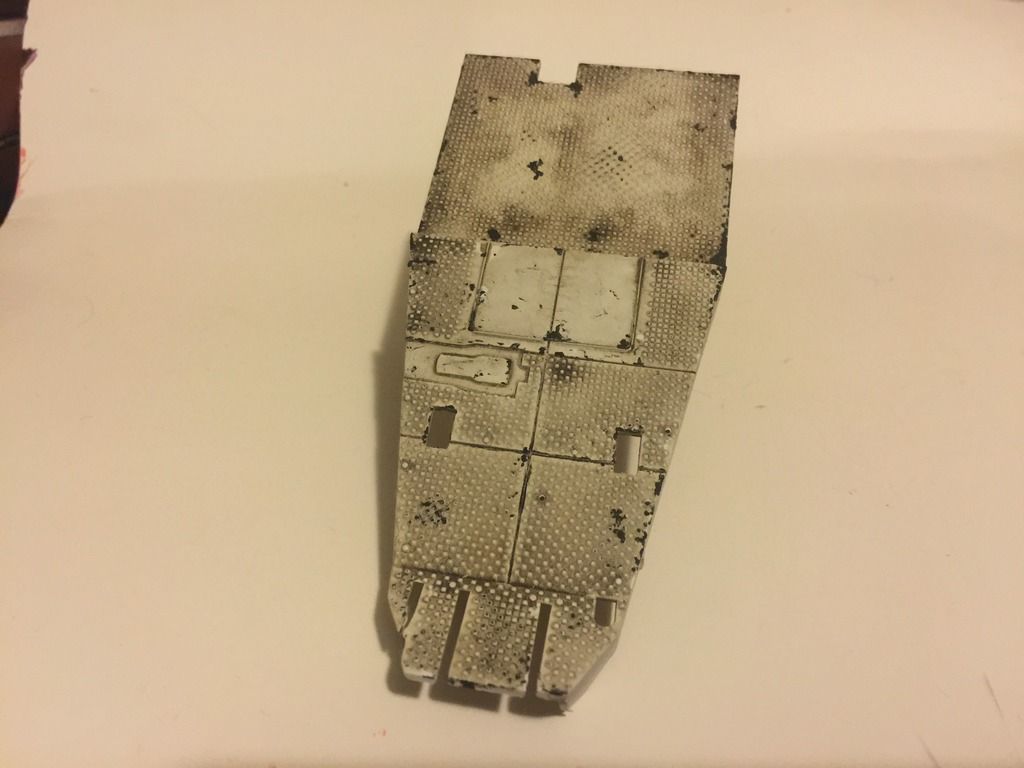
The driver floor also receive a similar treatment as the previous parts, except for the rust.
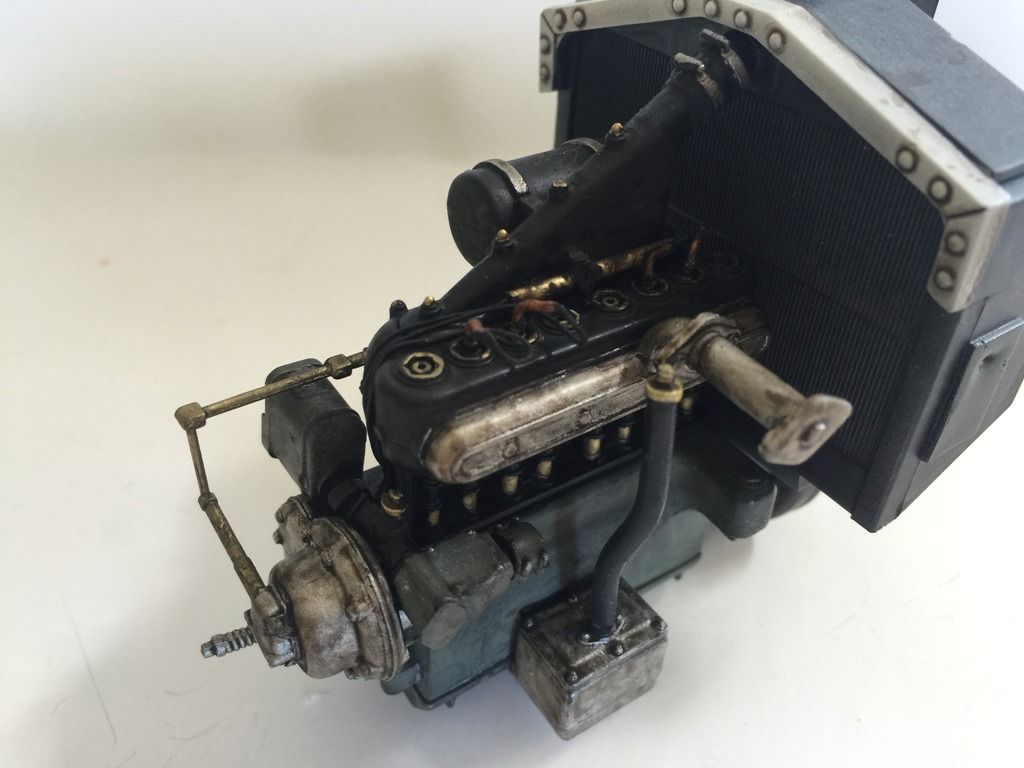
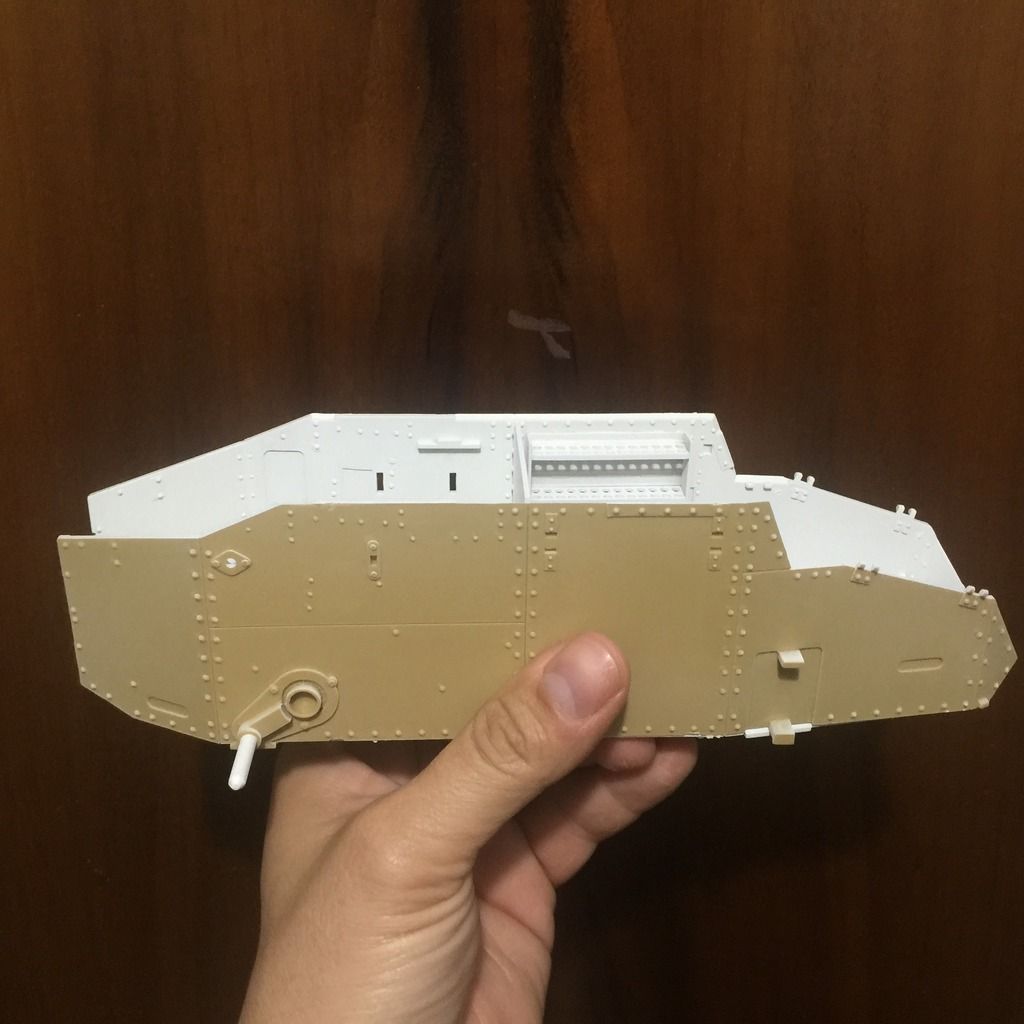
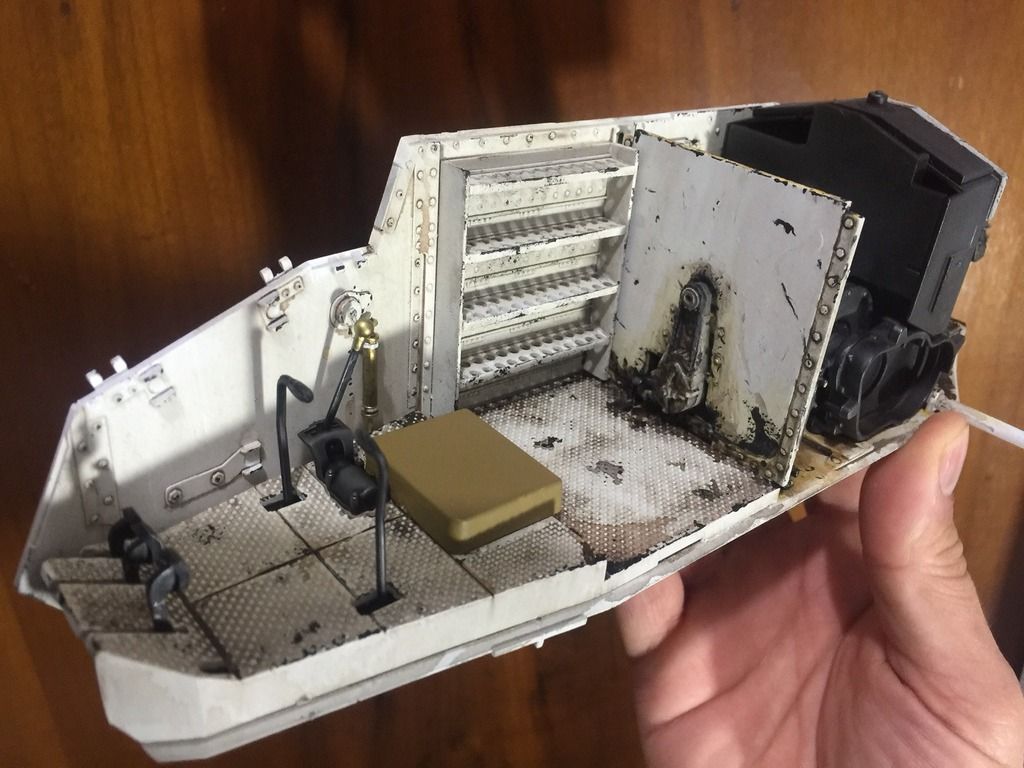
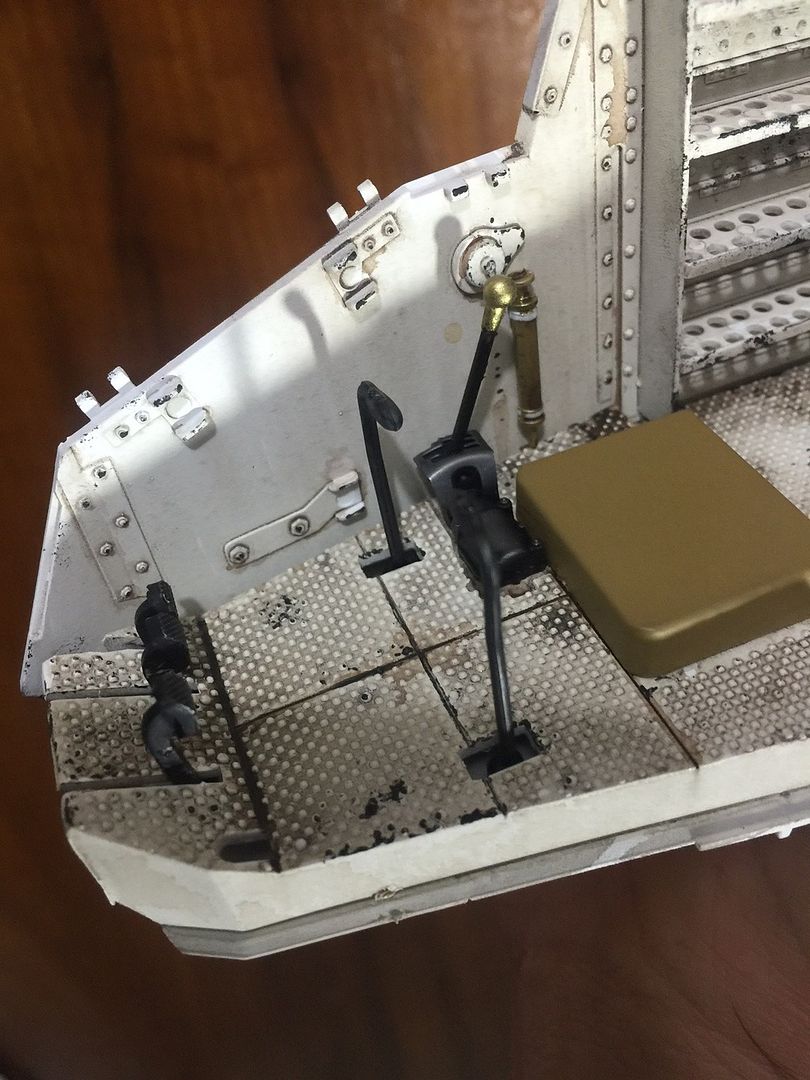
This recipe is repeated to the interior walls of the tank, then I added the pedals, the seat, and all the small details on the driver’s area, and glued in place the complete engine. Here I put one side to test again the fitting, and still perfect. A lot of retouches were done overall to match the tones between the parts.
Very nice work. The wear and weathering is top notch, and I love the worn paint on the gear shift. Just a thought…maybe add some wear to the pedals and the seat, depending if they are going to be visable after assembly.
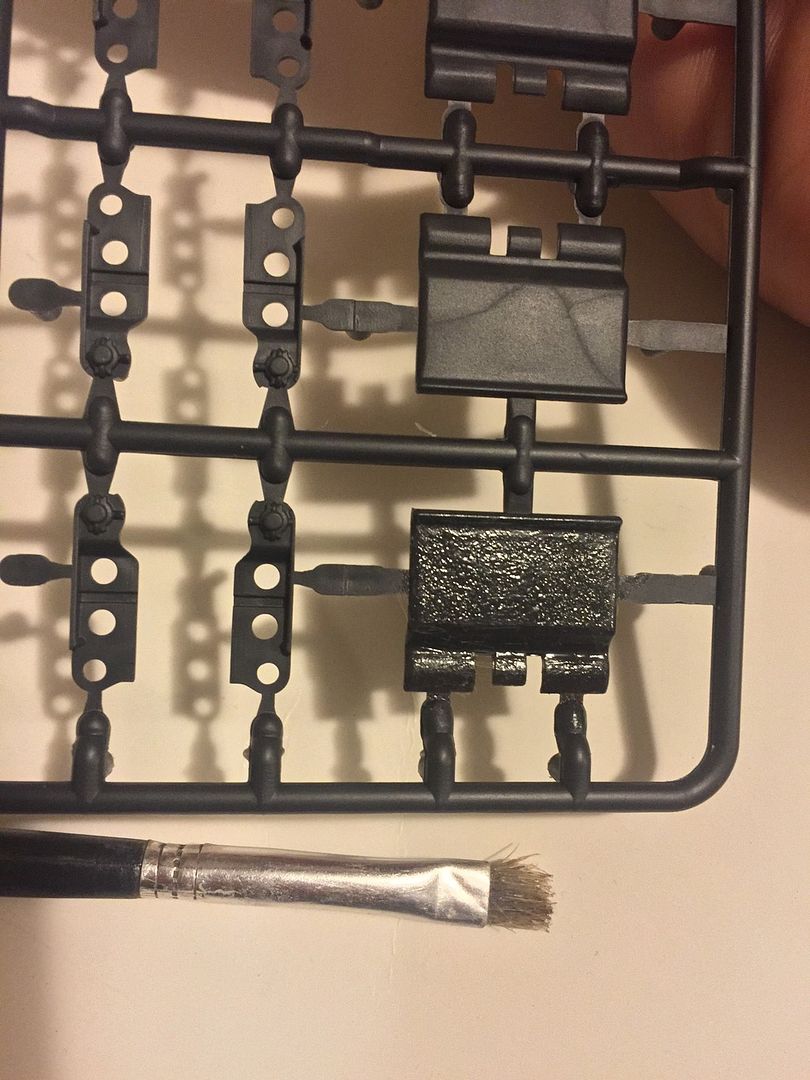
After inspecting the tracks vs the reference I found that they were casted and the textured was missing in my plastic kit. So for this task I used the Tamiya Thin glue and cover the whole track, then I used a stiff brush to tap all the track, showing the following result. ( I think I overdo this one, but the next ones are ok)
Nice work. I’m working through the Meng 1/35 scale version of this little jewel. Having fun with all the paint finishes. I also added wiring. Unfortunately, my reference was bad, so the little 4-cyl has 2 plugs per hole. Oh well, few will even bother to count, and I’m still having fun! You’ve added some very nice weathering effects.
Wow, I hope the engine hatch can be posed open to show off all that work you did, the engine looks so good I’d be tempted to display it beside the tank as a model in itself.
And nice work there on the tracks, that’s one of the things I always seem to overlook.
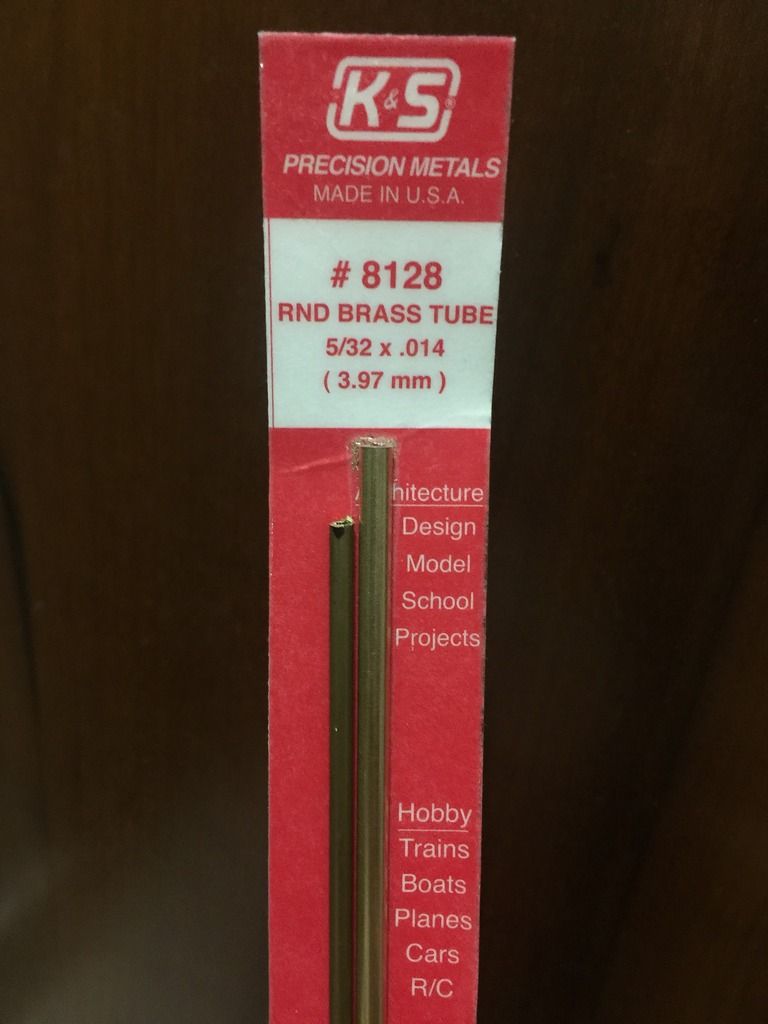
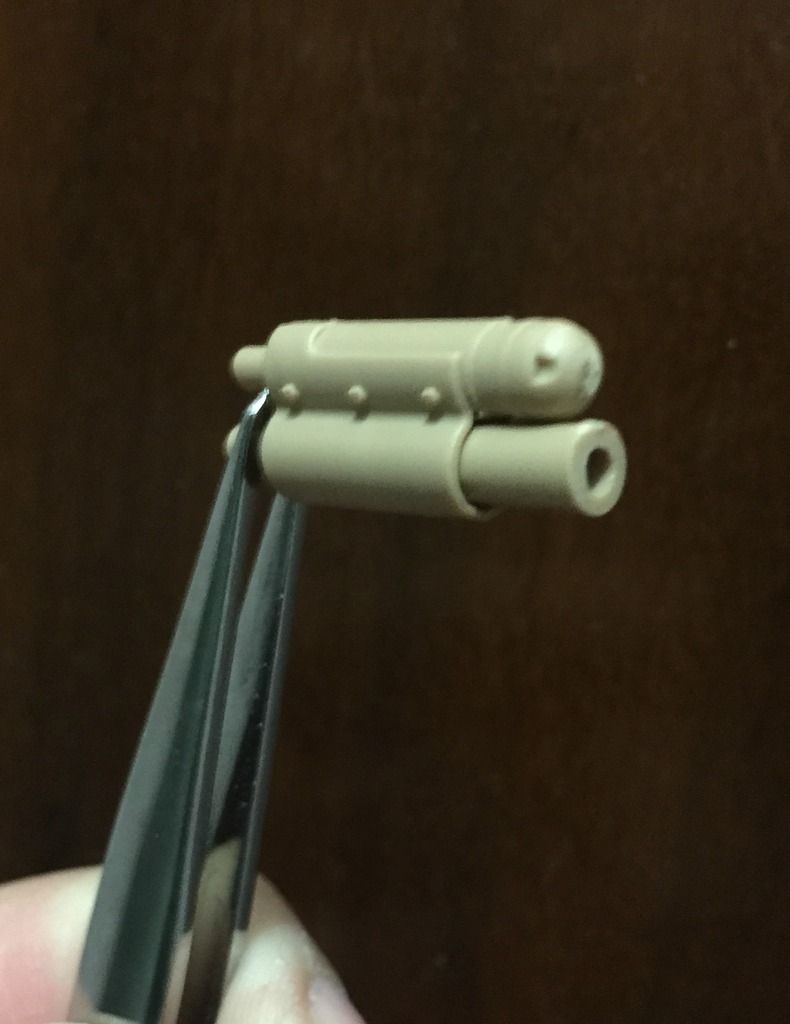
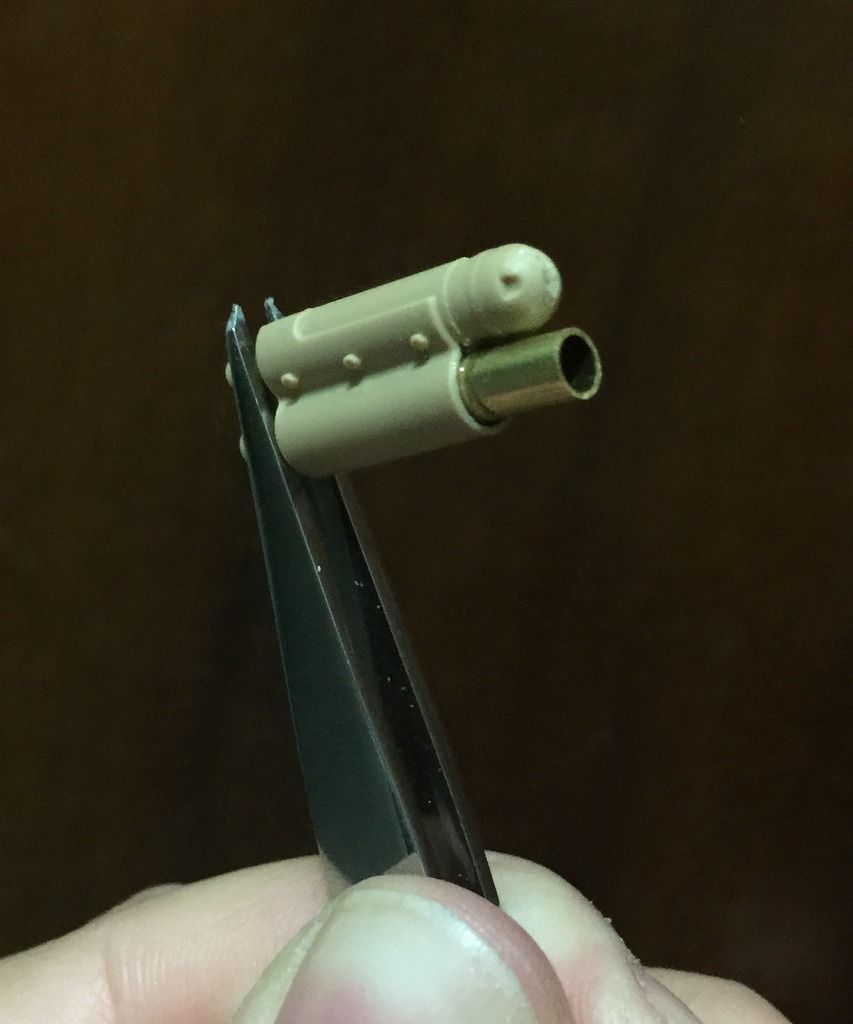
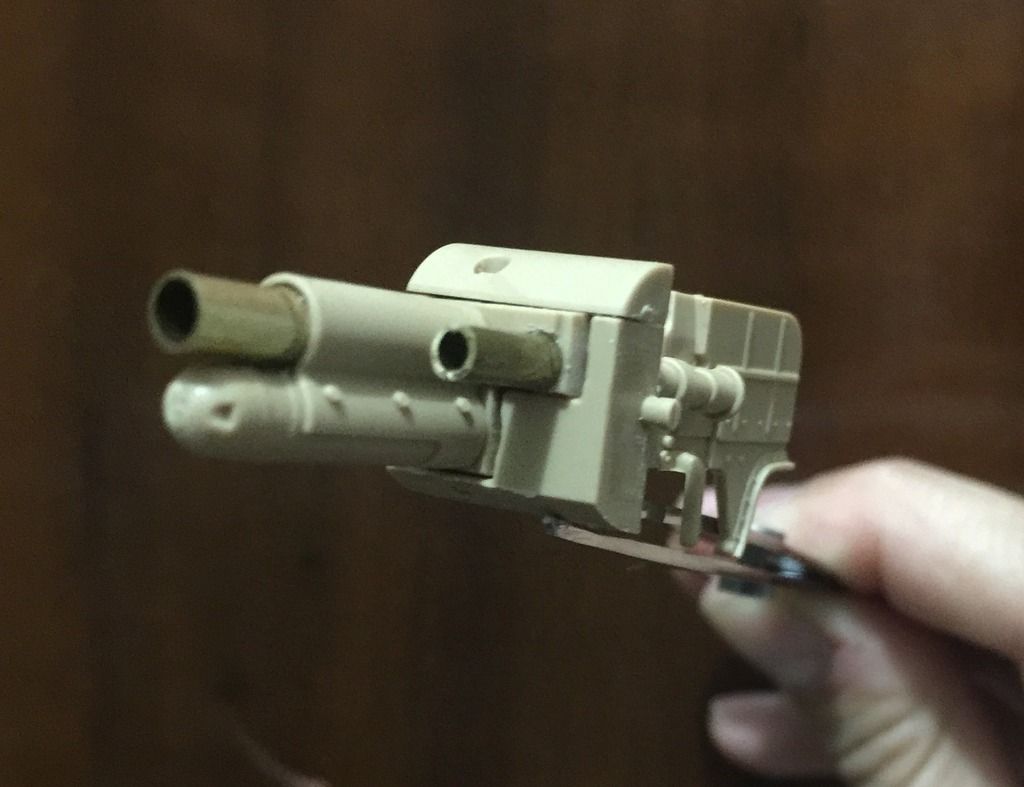
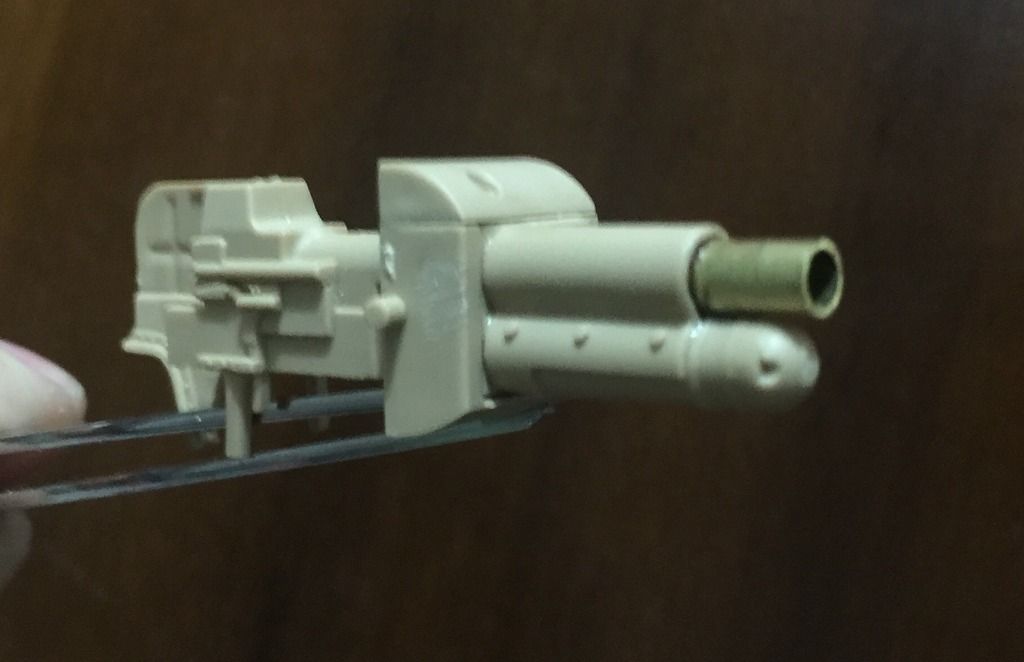
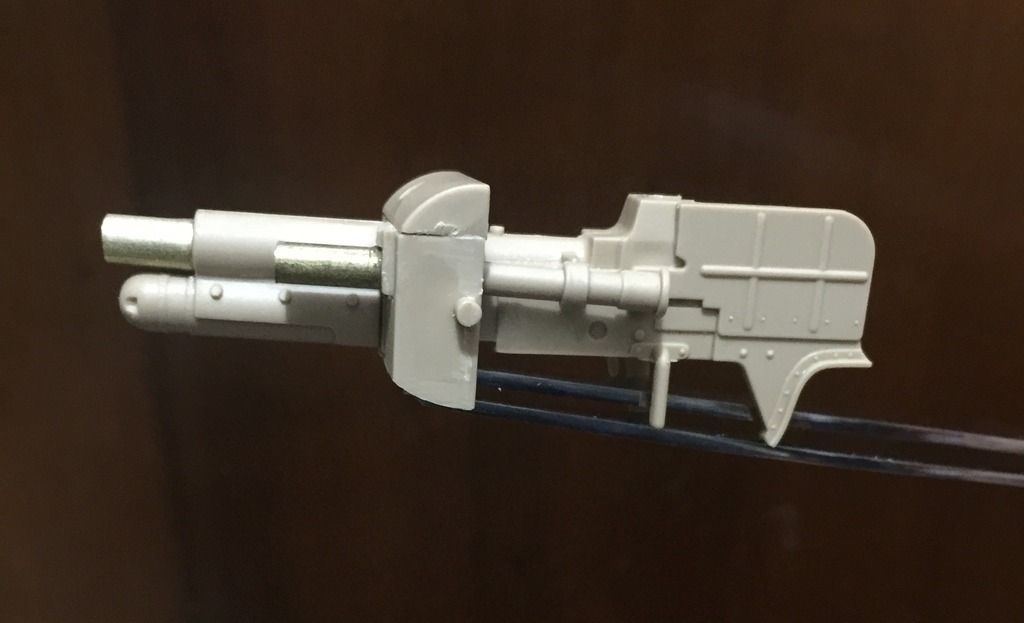
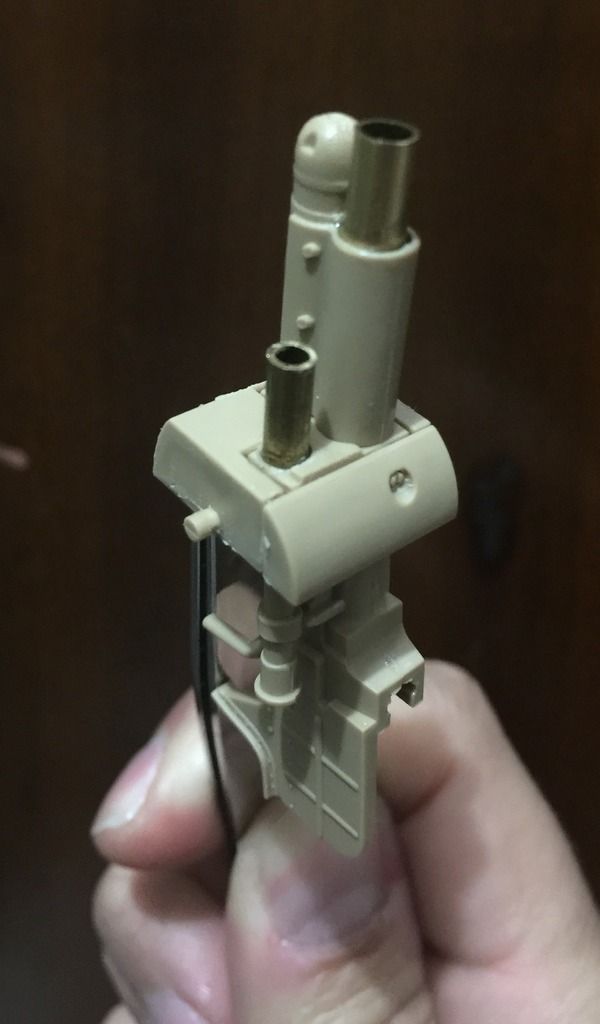
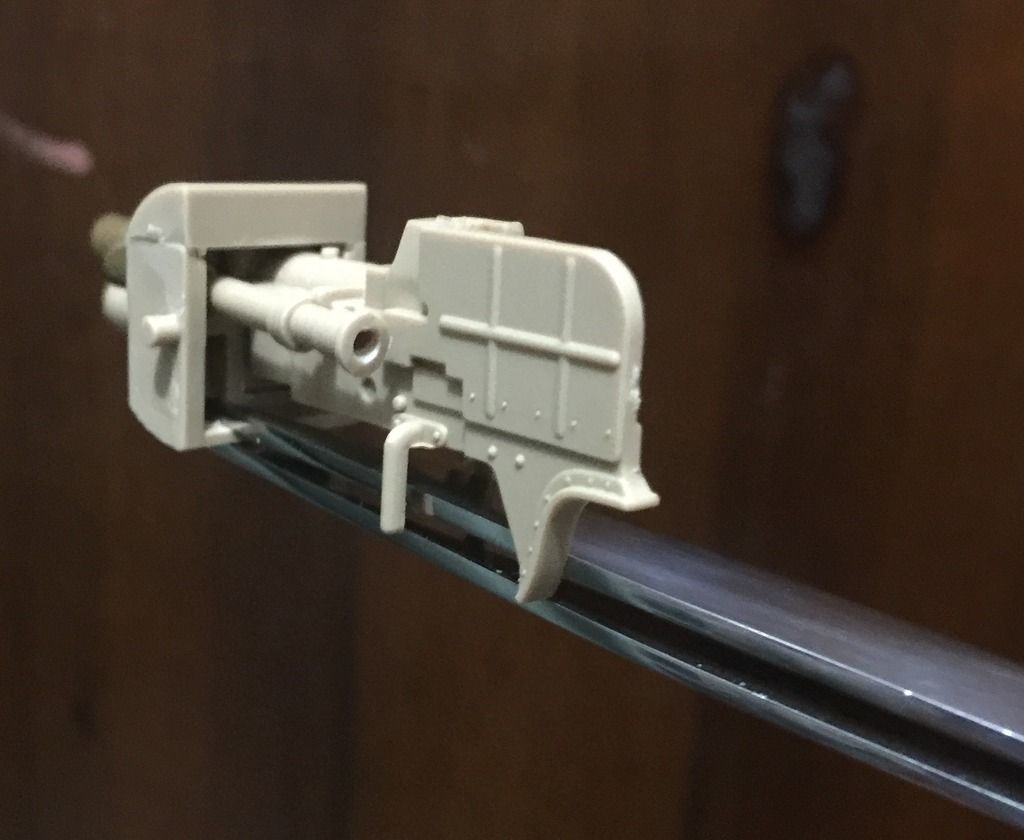
FT-17: gun barrel. I found that the gun barrel was wrong in shape in comparison with the book reference so I decide to switch to brass tube for the gun and for the sight. Also drill the hole for the periscope too, still need a flat ring to make a better look on it. Here you can see the results, I think they look much better. Next the turret!