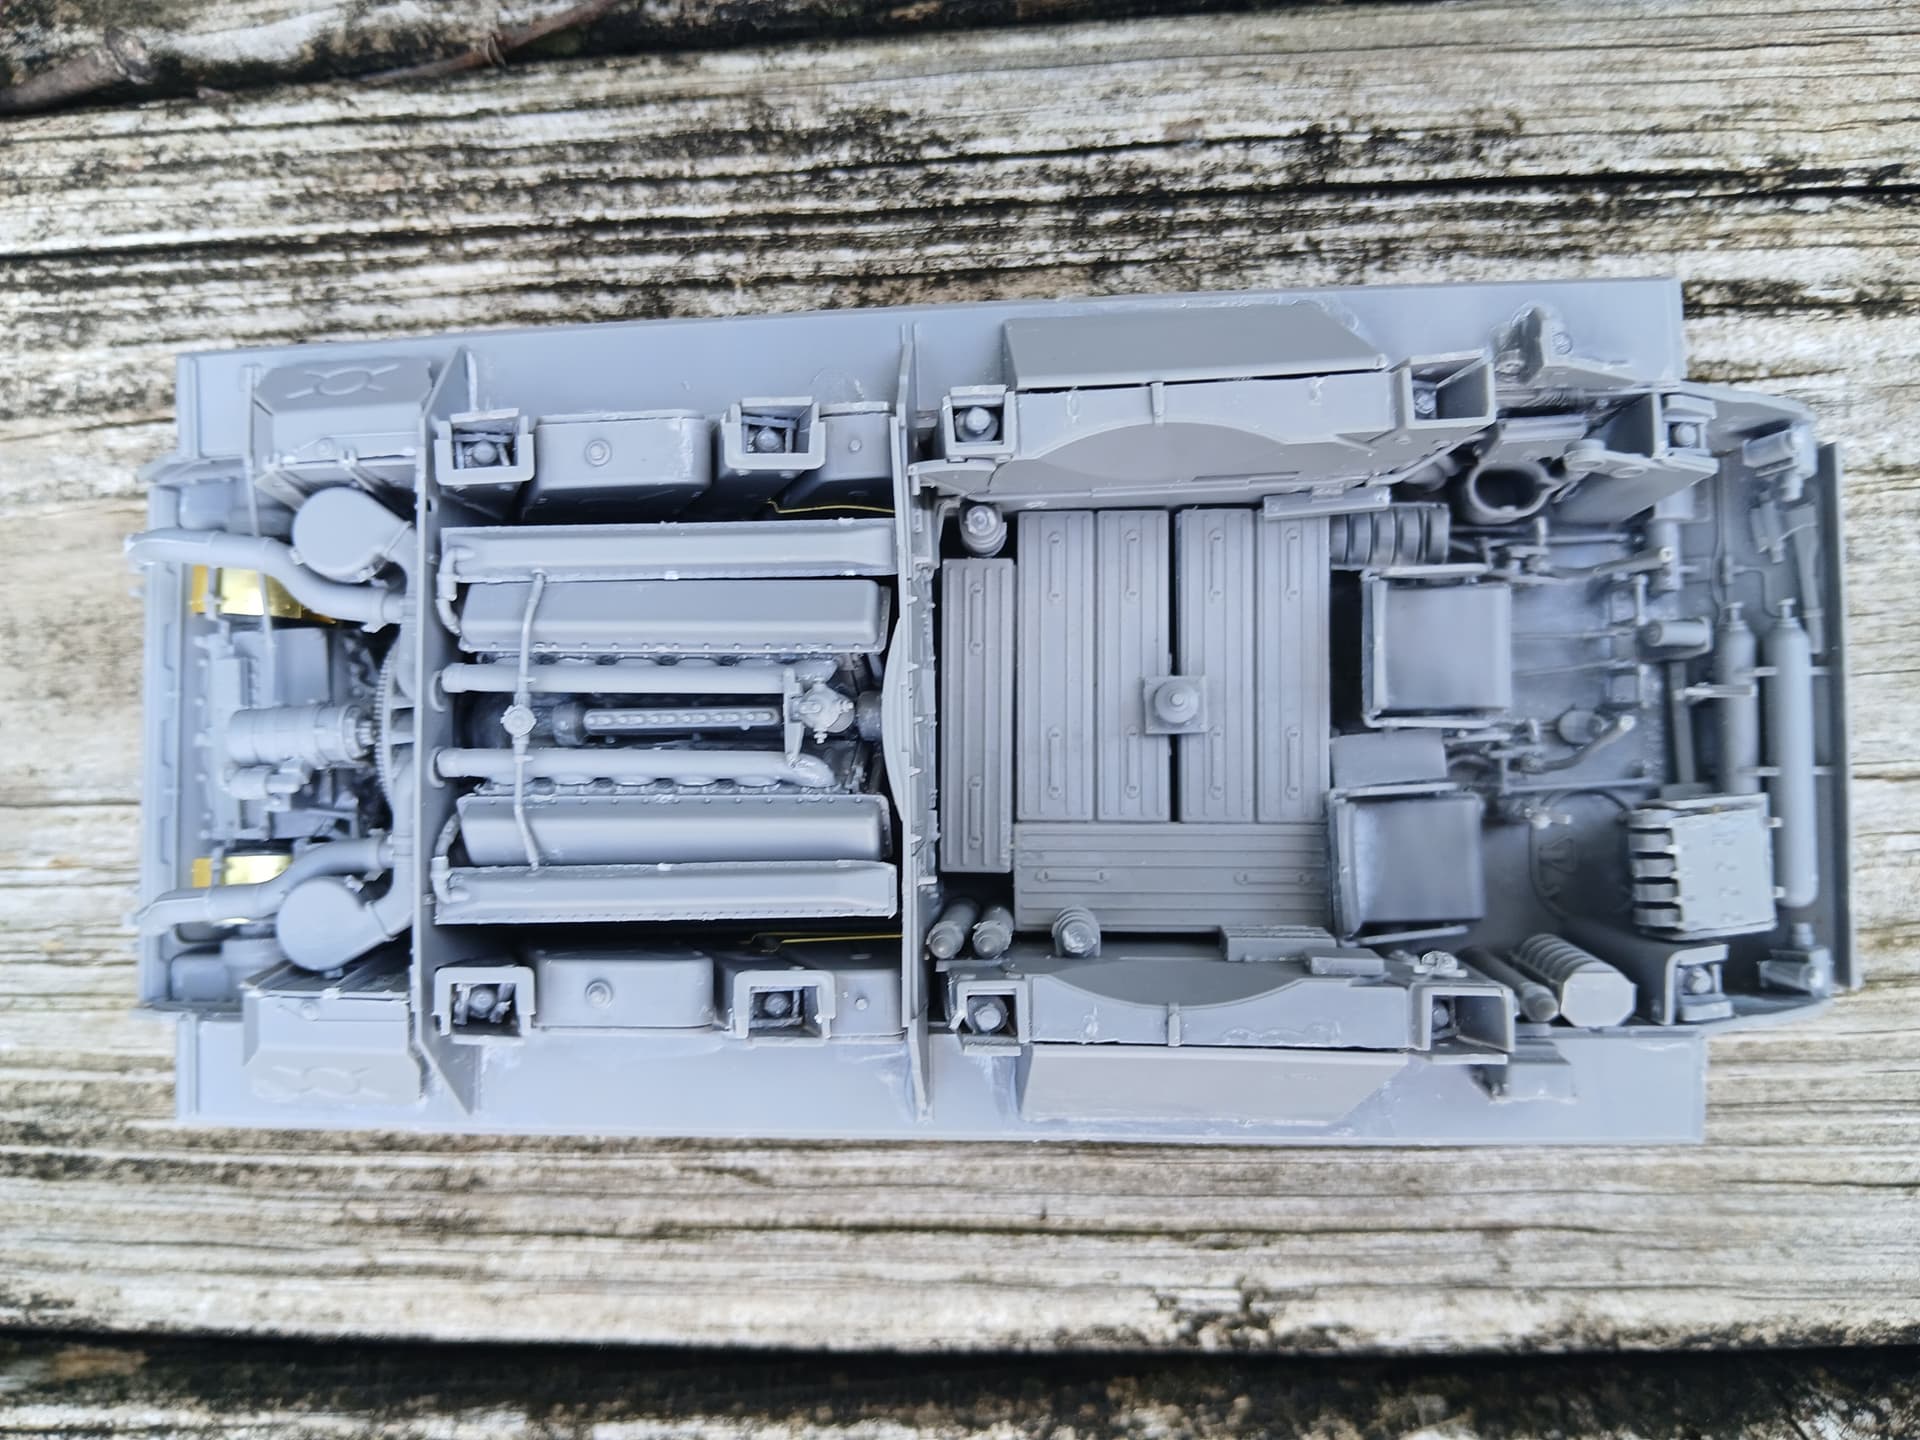
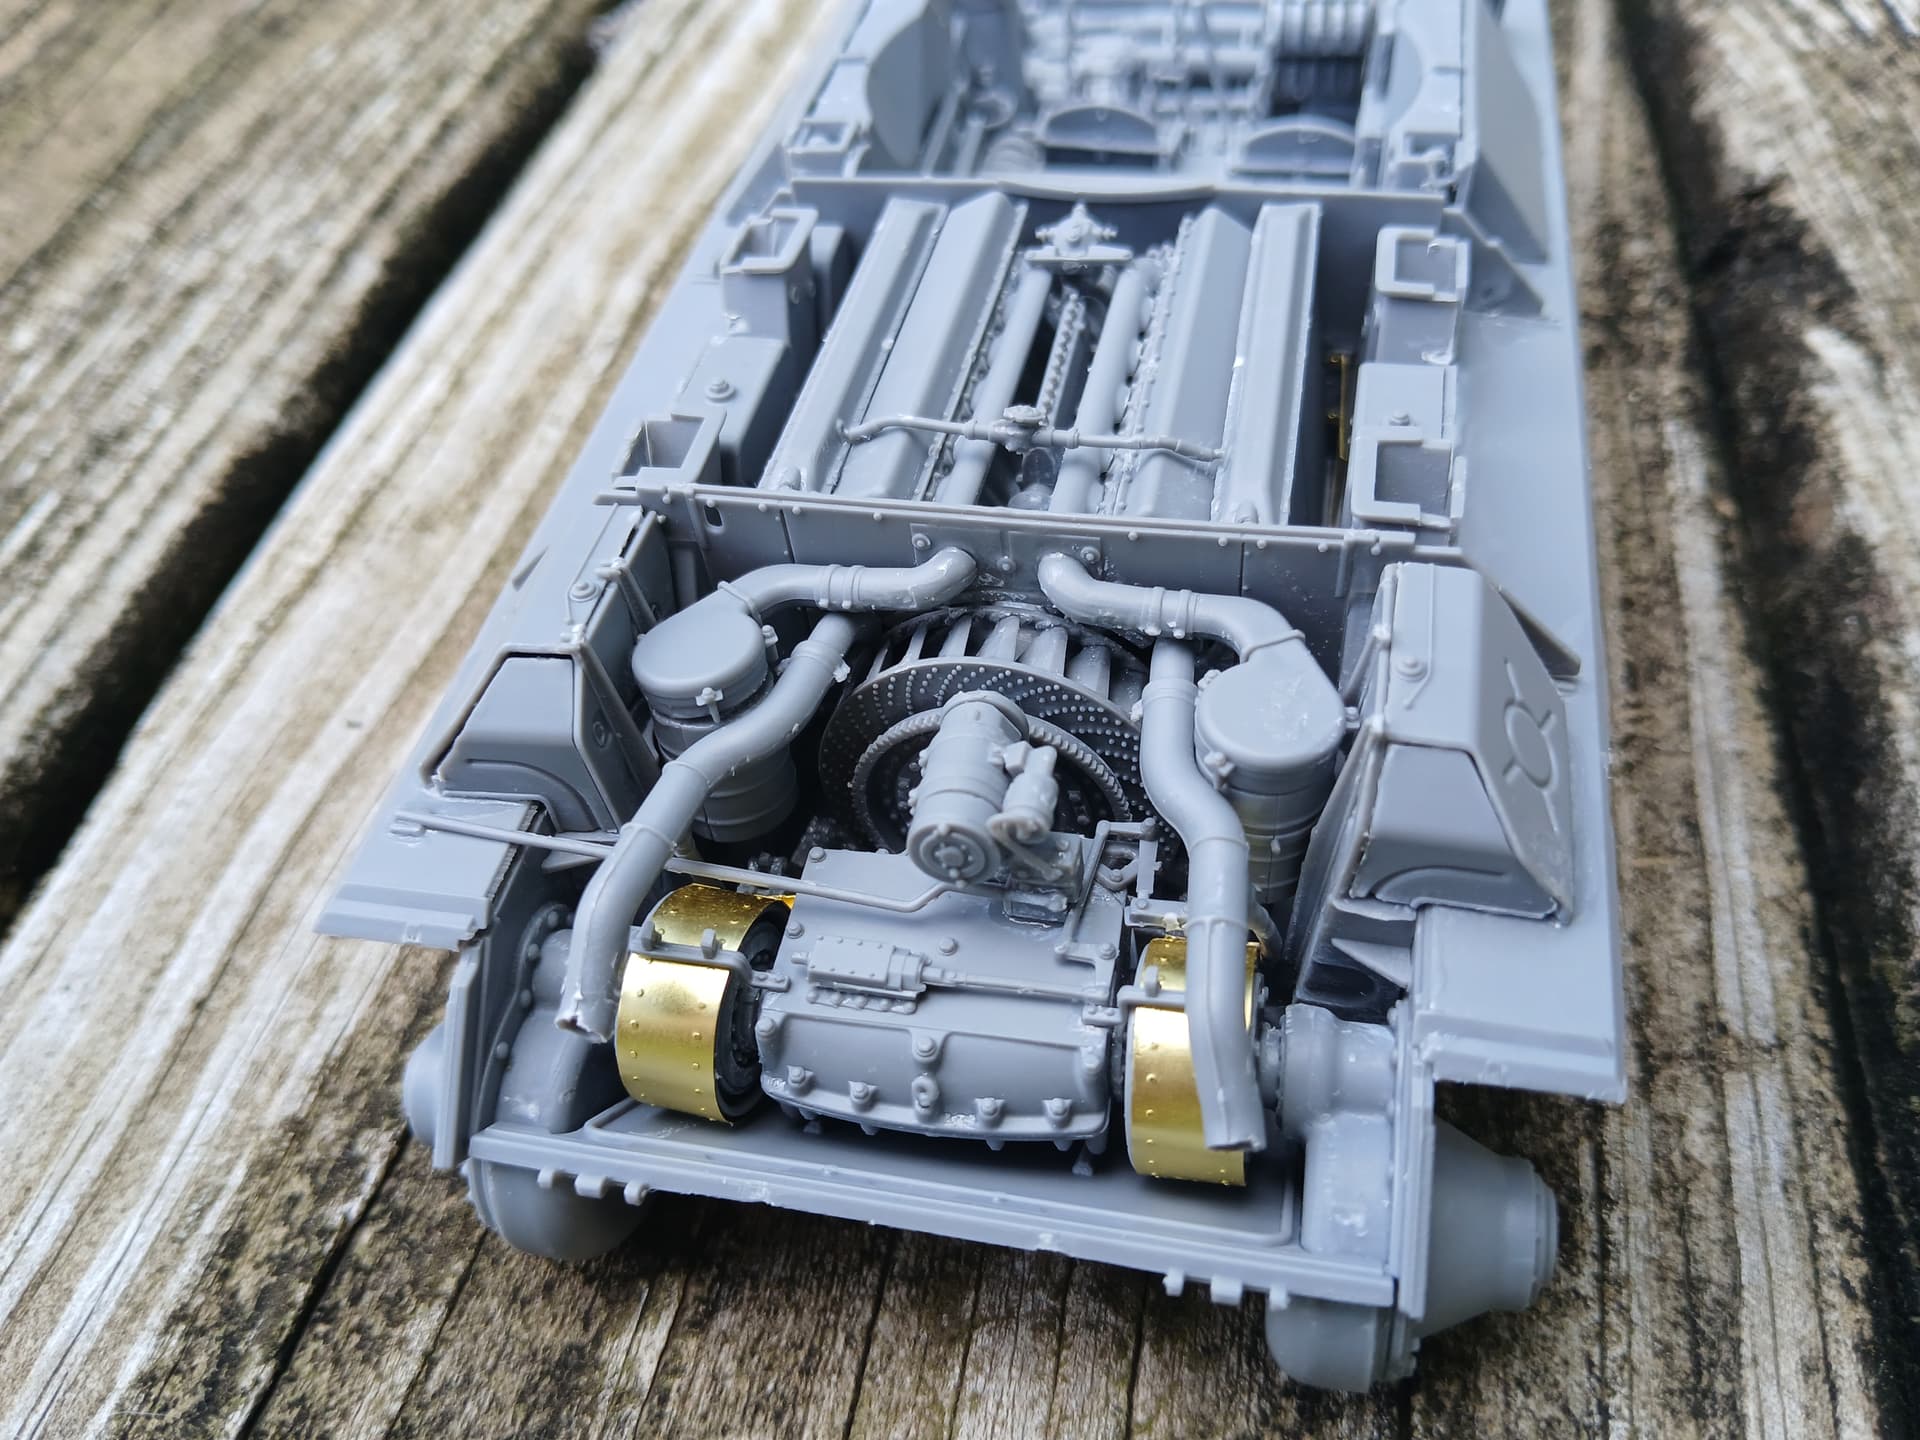
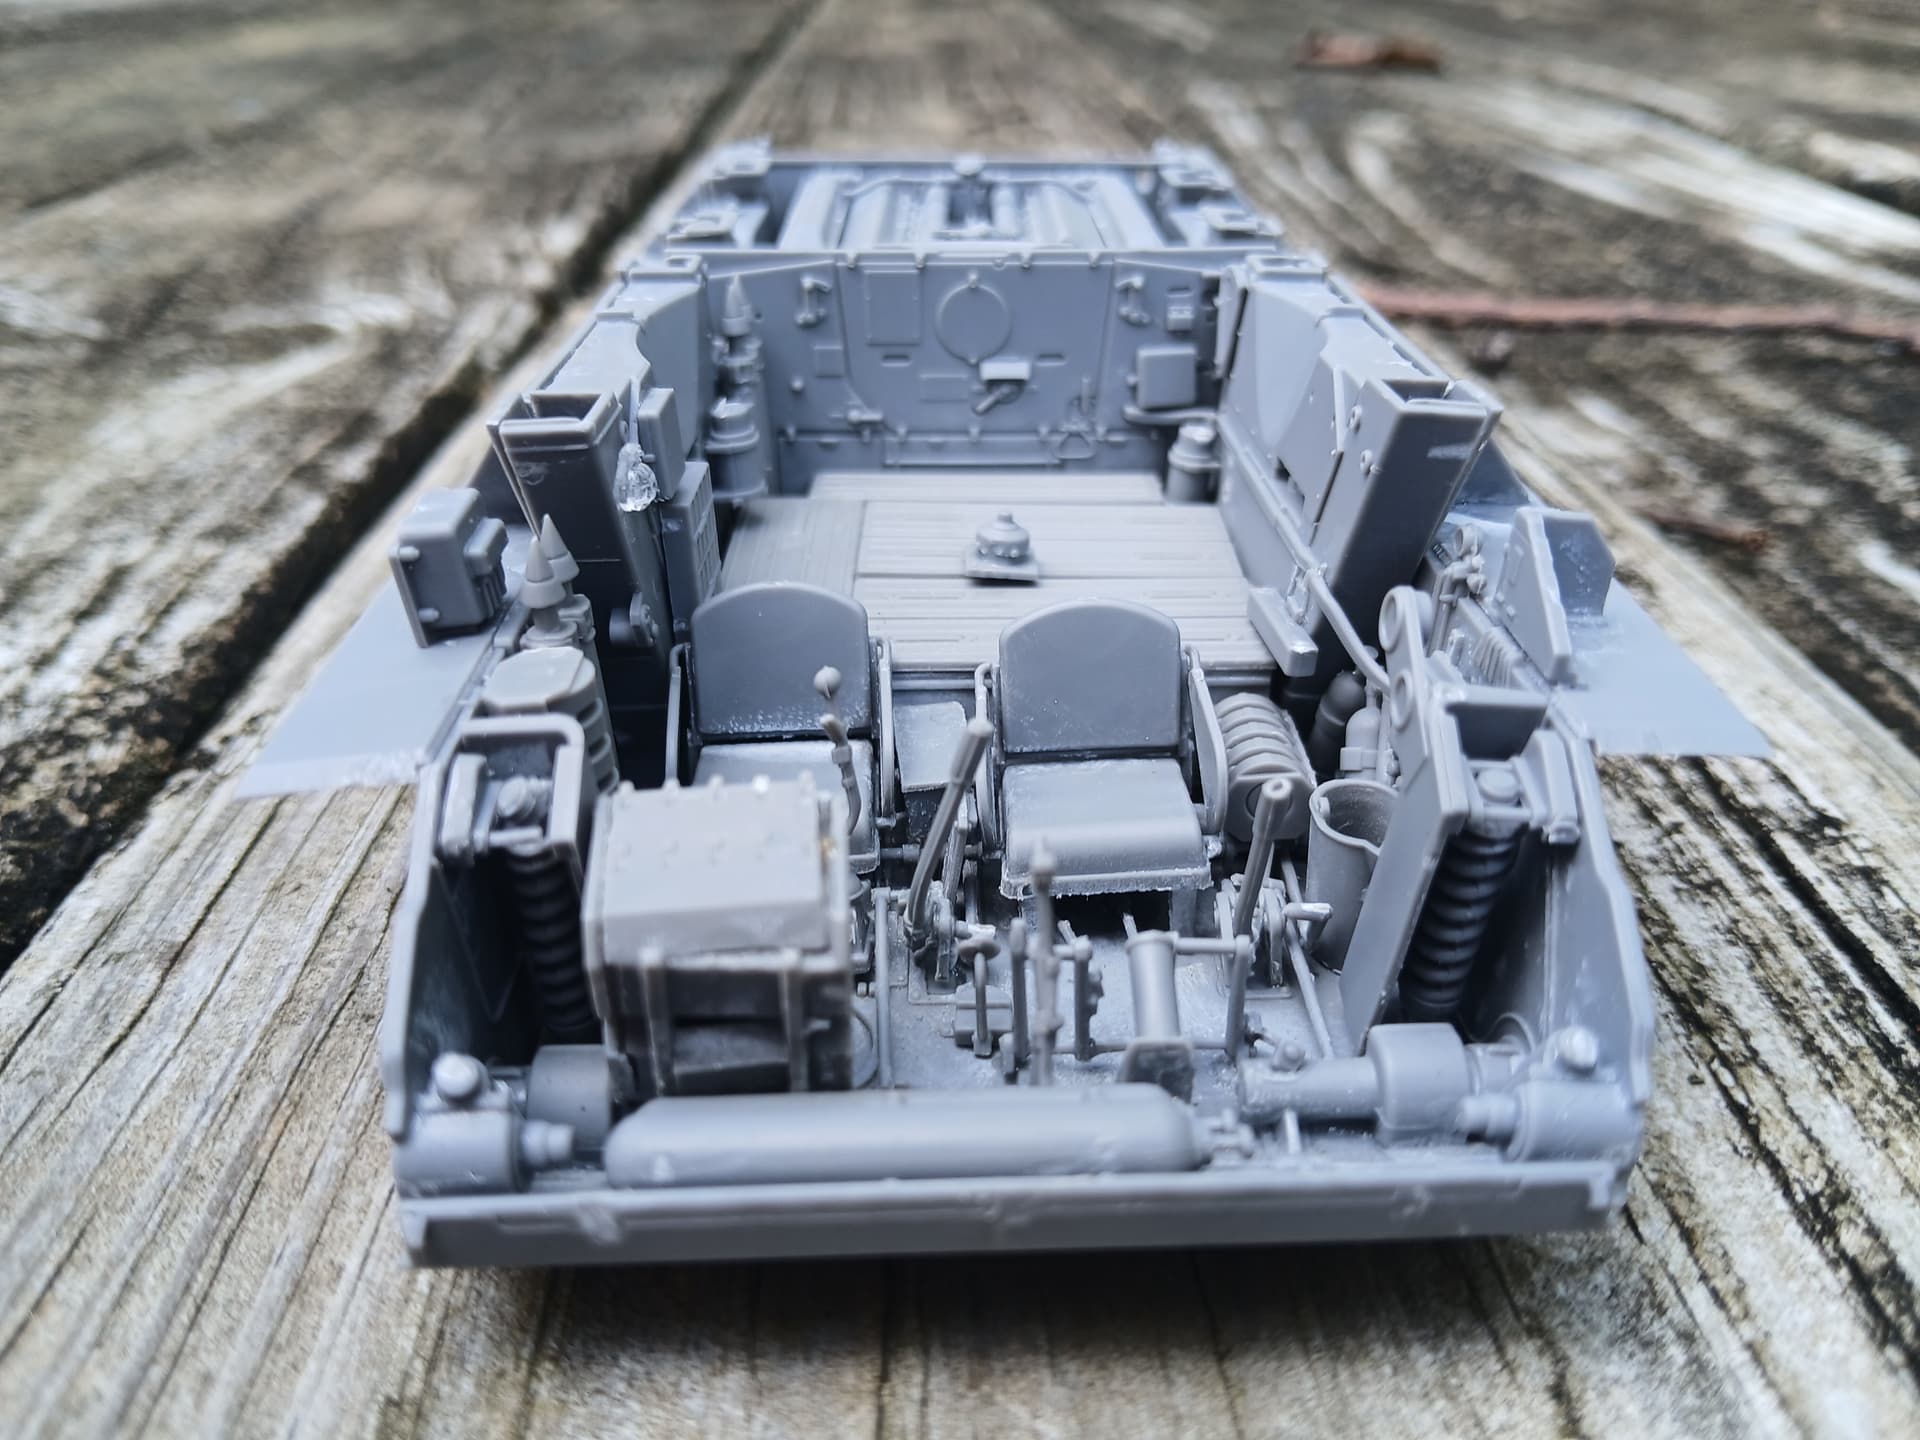
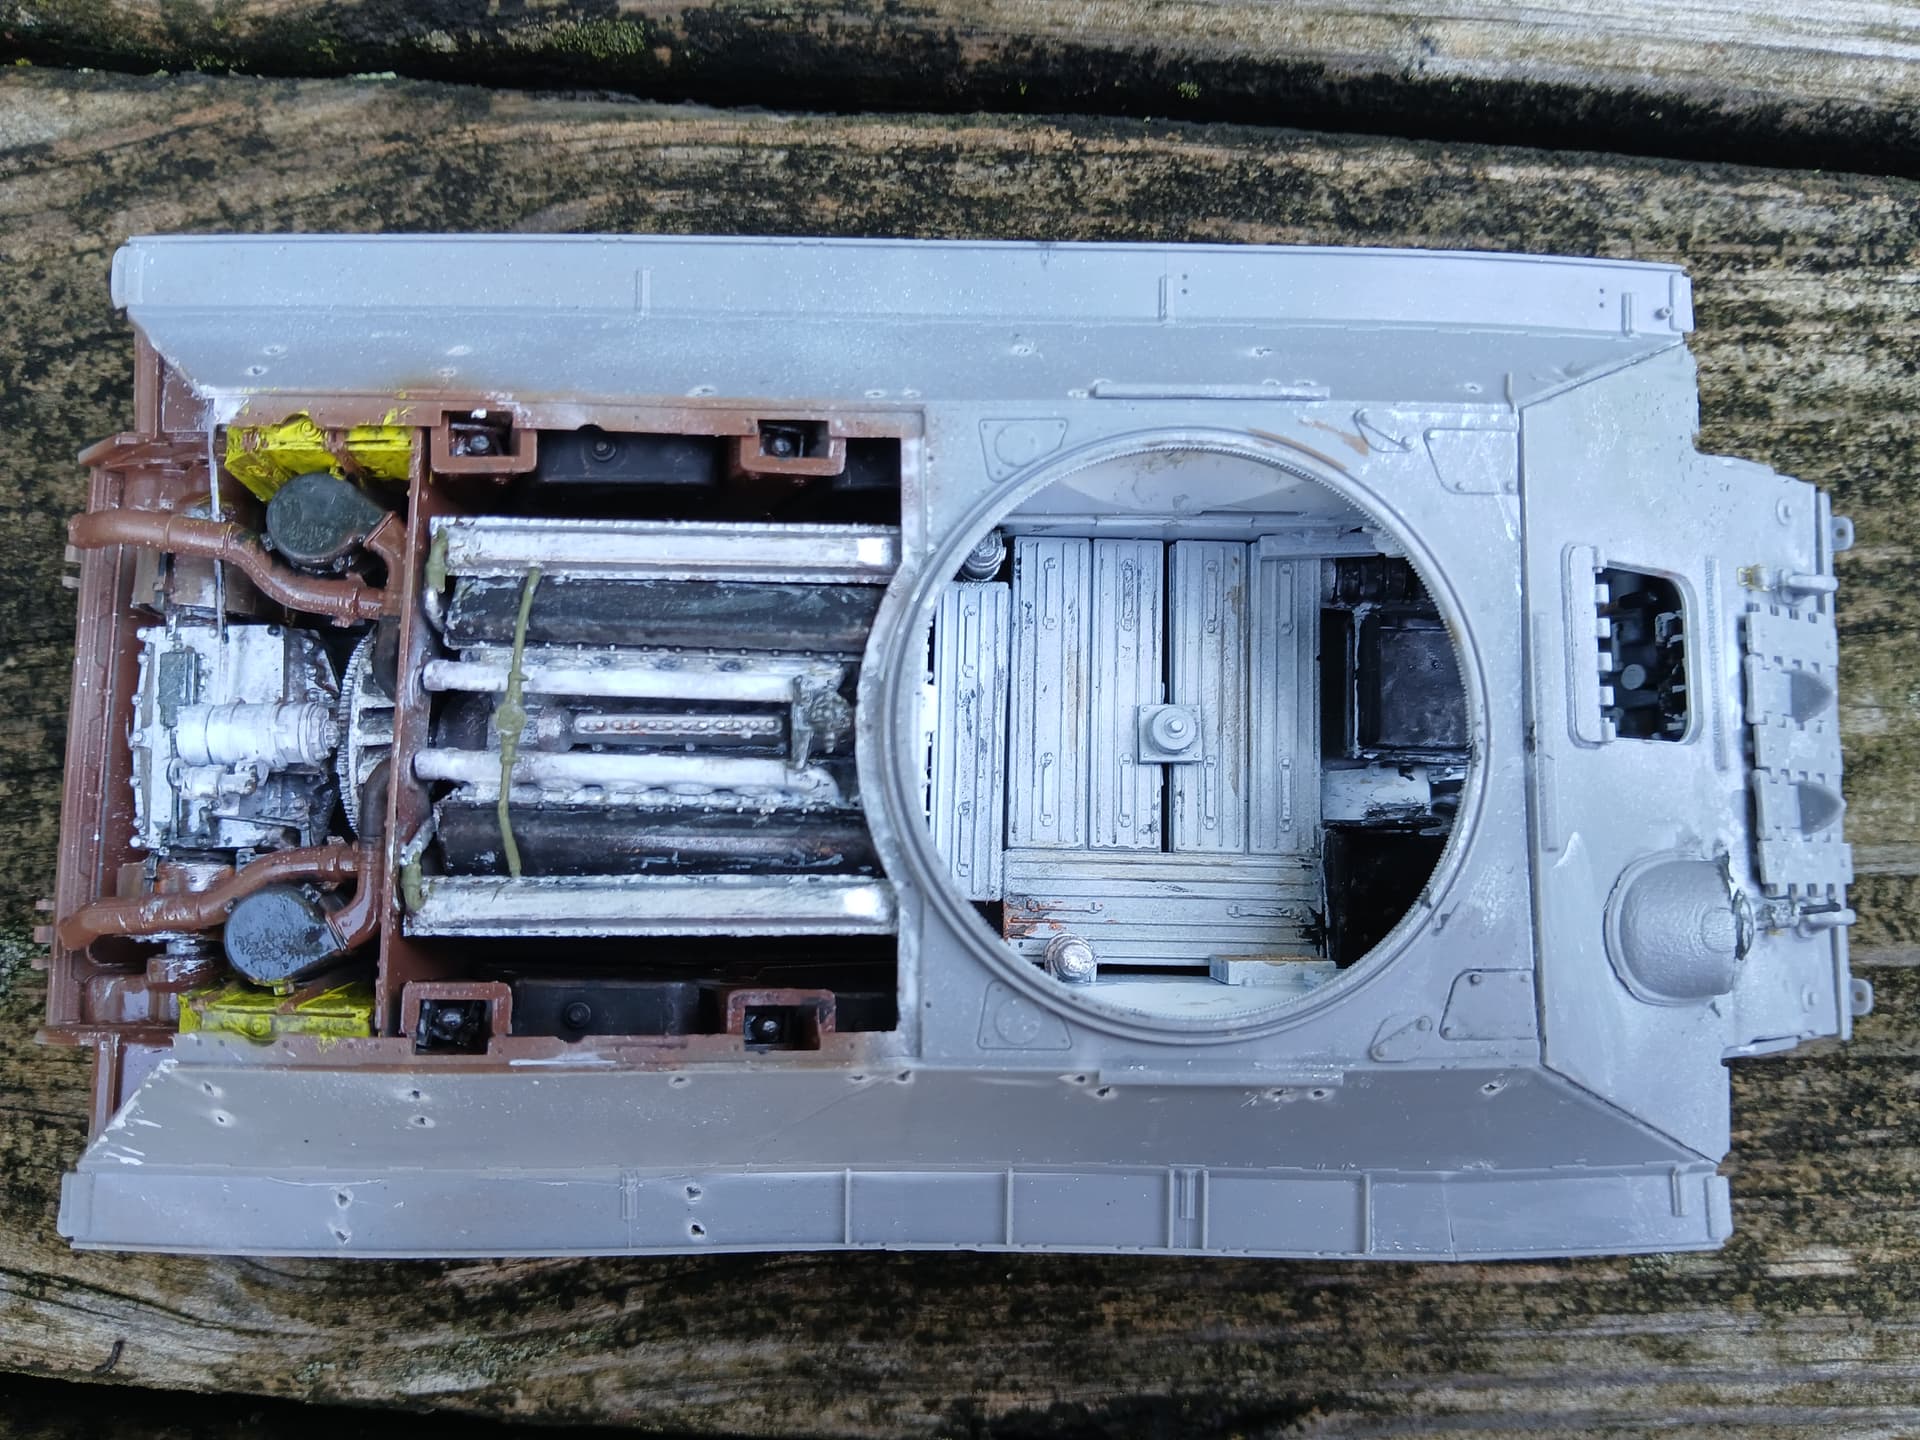
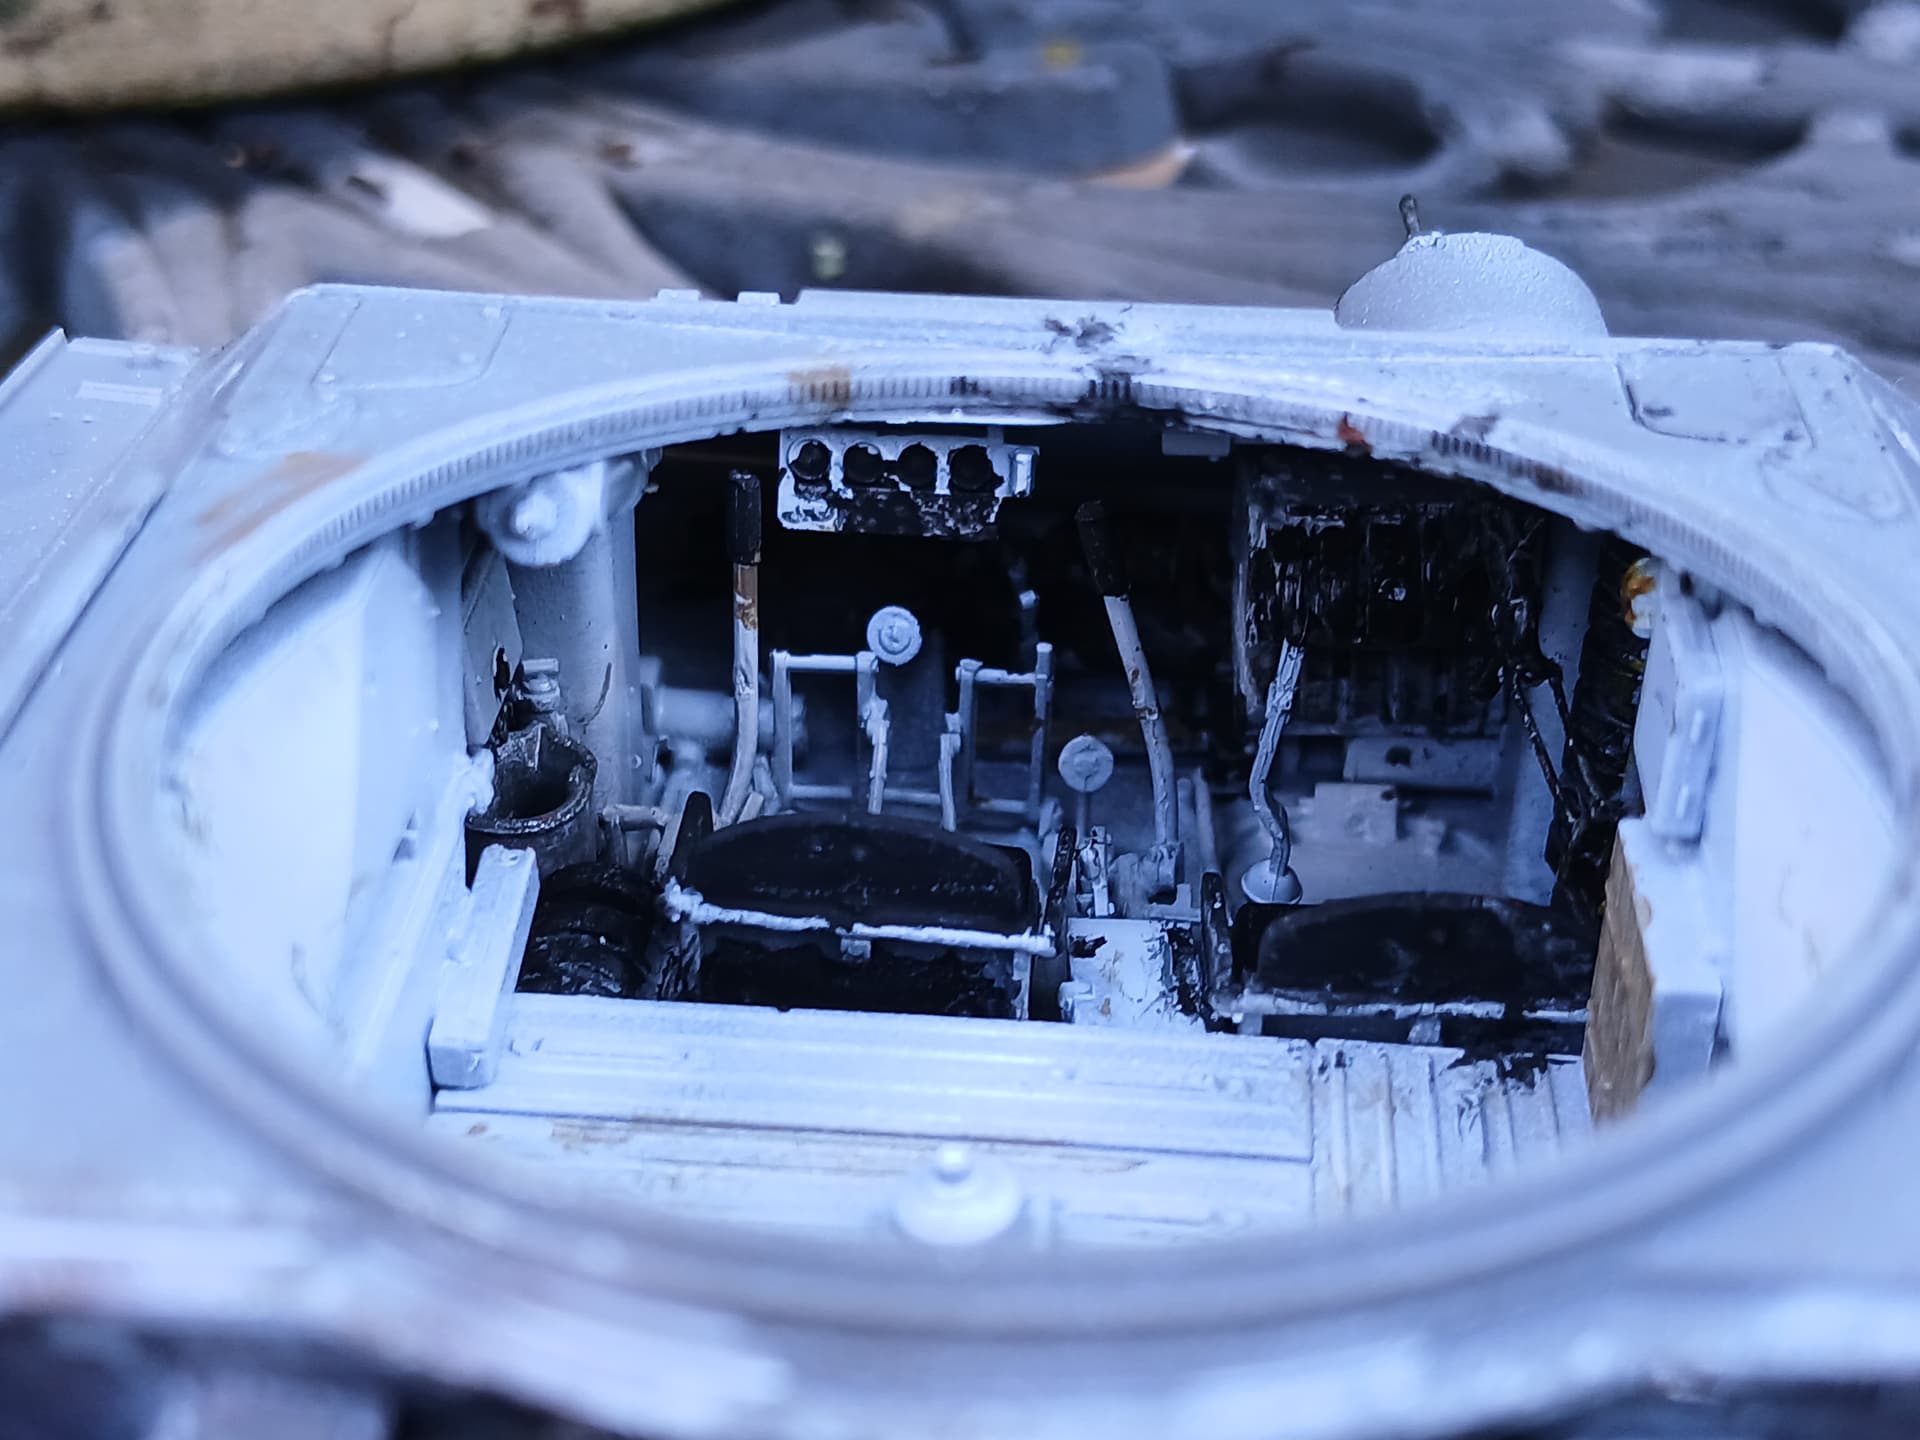
I’m building this T-34/85, just finished Step 42 and the hull interior. So far a very nice kit, with pretty good fit and lots of detail, and not overly complicated. But it has 103 steps in total, so it makes you feel like it is going to take forever. Sadly, I did a poor job installing the driver’s levers, and I’d probably break it trying to fix it, so for those wanting to build this kit: be careful with placement. Also, in the photos, you can see some areas in need of cleanup, but when building the kit, it’s easy to overlook these, they are so tiny.
Anyway, thanks for looking, and maybe I can post a new update in a few days.
6 Likes
Wow,thst looks busy.Nice work,I hear that Miniart kits could be a bear.
That looks incredible! All of those details and are you going to be able to see them when the tank is buttoned up? I’ve built a few of MiniArt’s kits and I know how “challenging” they can be. Good luck with the rest of this fantastic build.
Thanks Anthony and Tom! I’m thinking of finishing it with all the hatches open, and maybe the crew standing around outside it. I originally got it to be knocked out, that’s why I wanted an interior, but it’s looking so nice that I think I’ll have it be an operational tank.
Assembly isn’t too bad, but there’s so many parts! ![]()
1 Like
Absolutely love it so far. I’ve got the old AFV club one with interior and clear plastic hull in the stash. You’ve done a great job so far, can’t wait to see some paint on it.
2 Likes
Wow Wow a lot of parts going in this build. Looks like you’re handling it well. I’ll be watching because I haven’t started mine yet ![]()
I also have this kit unstated in the stasharoo.
1 Like
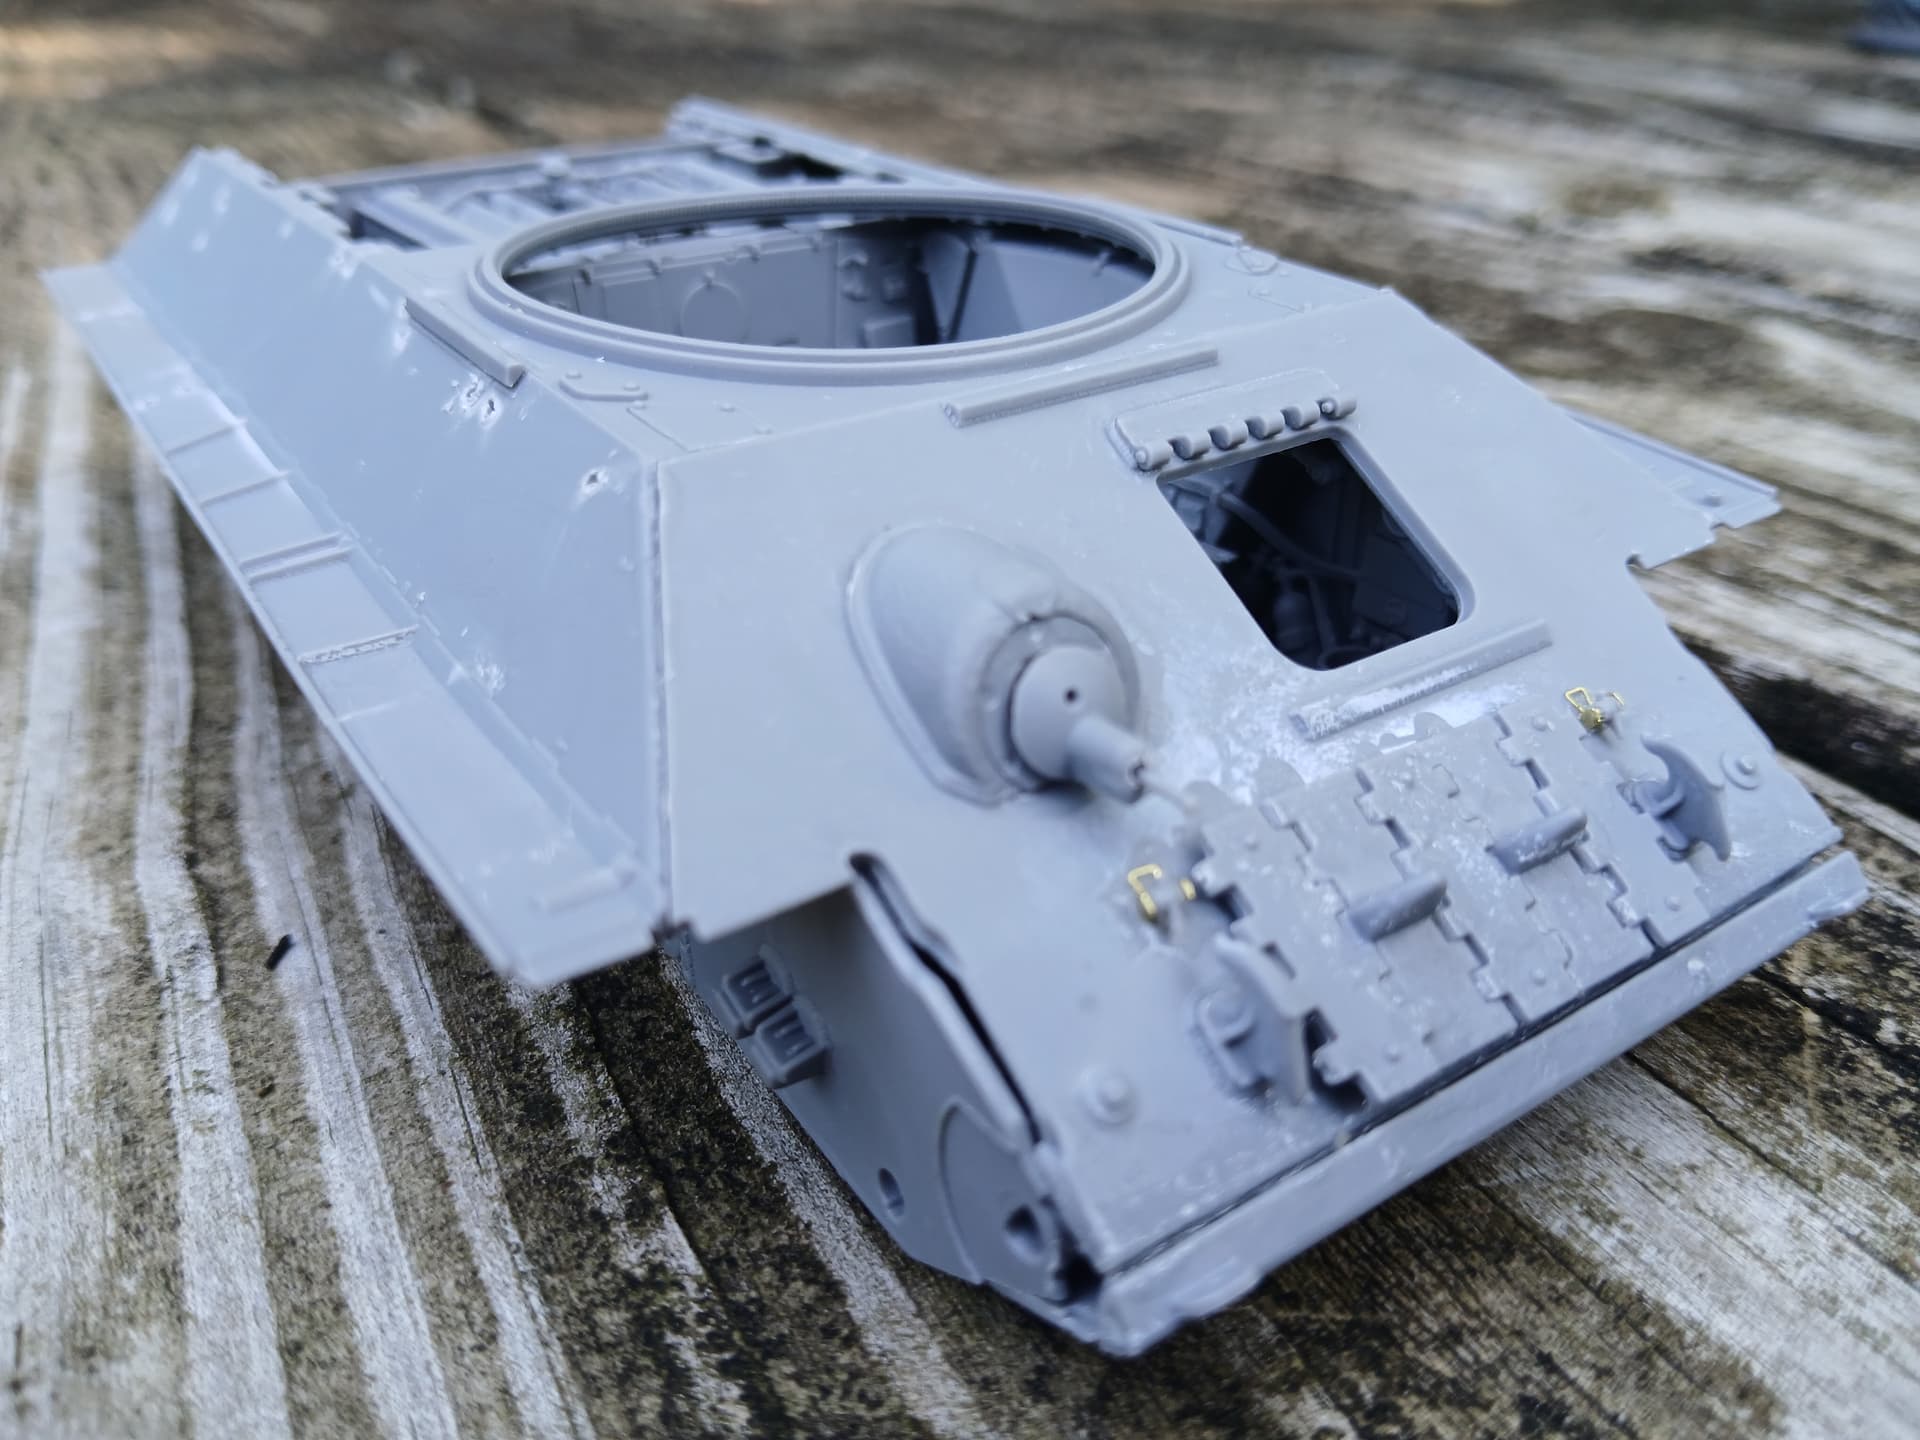
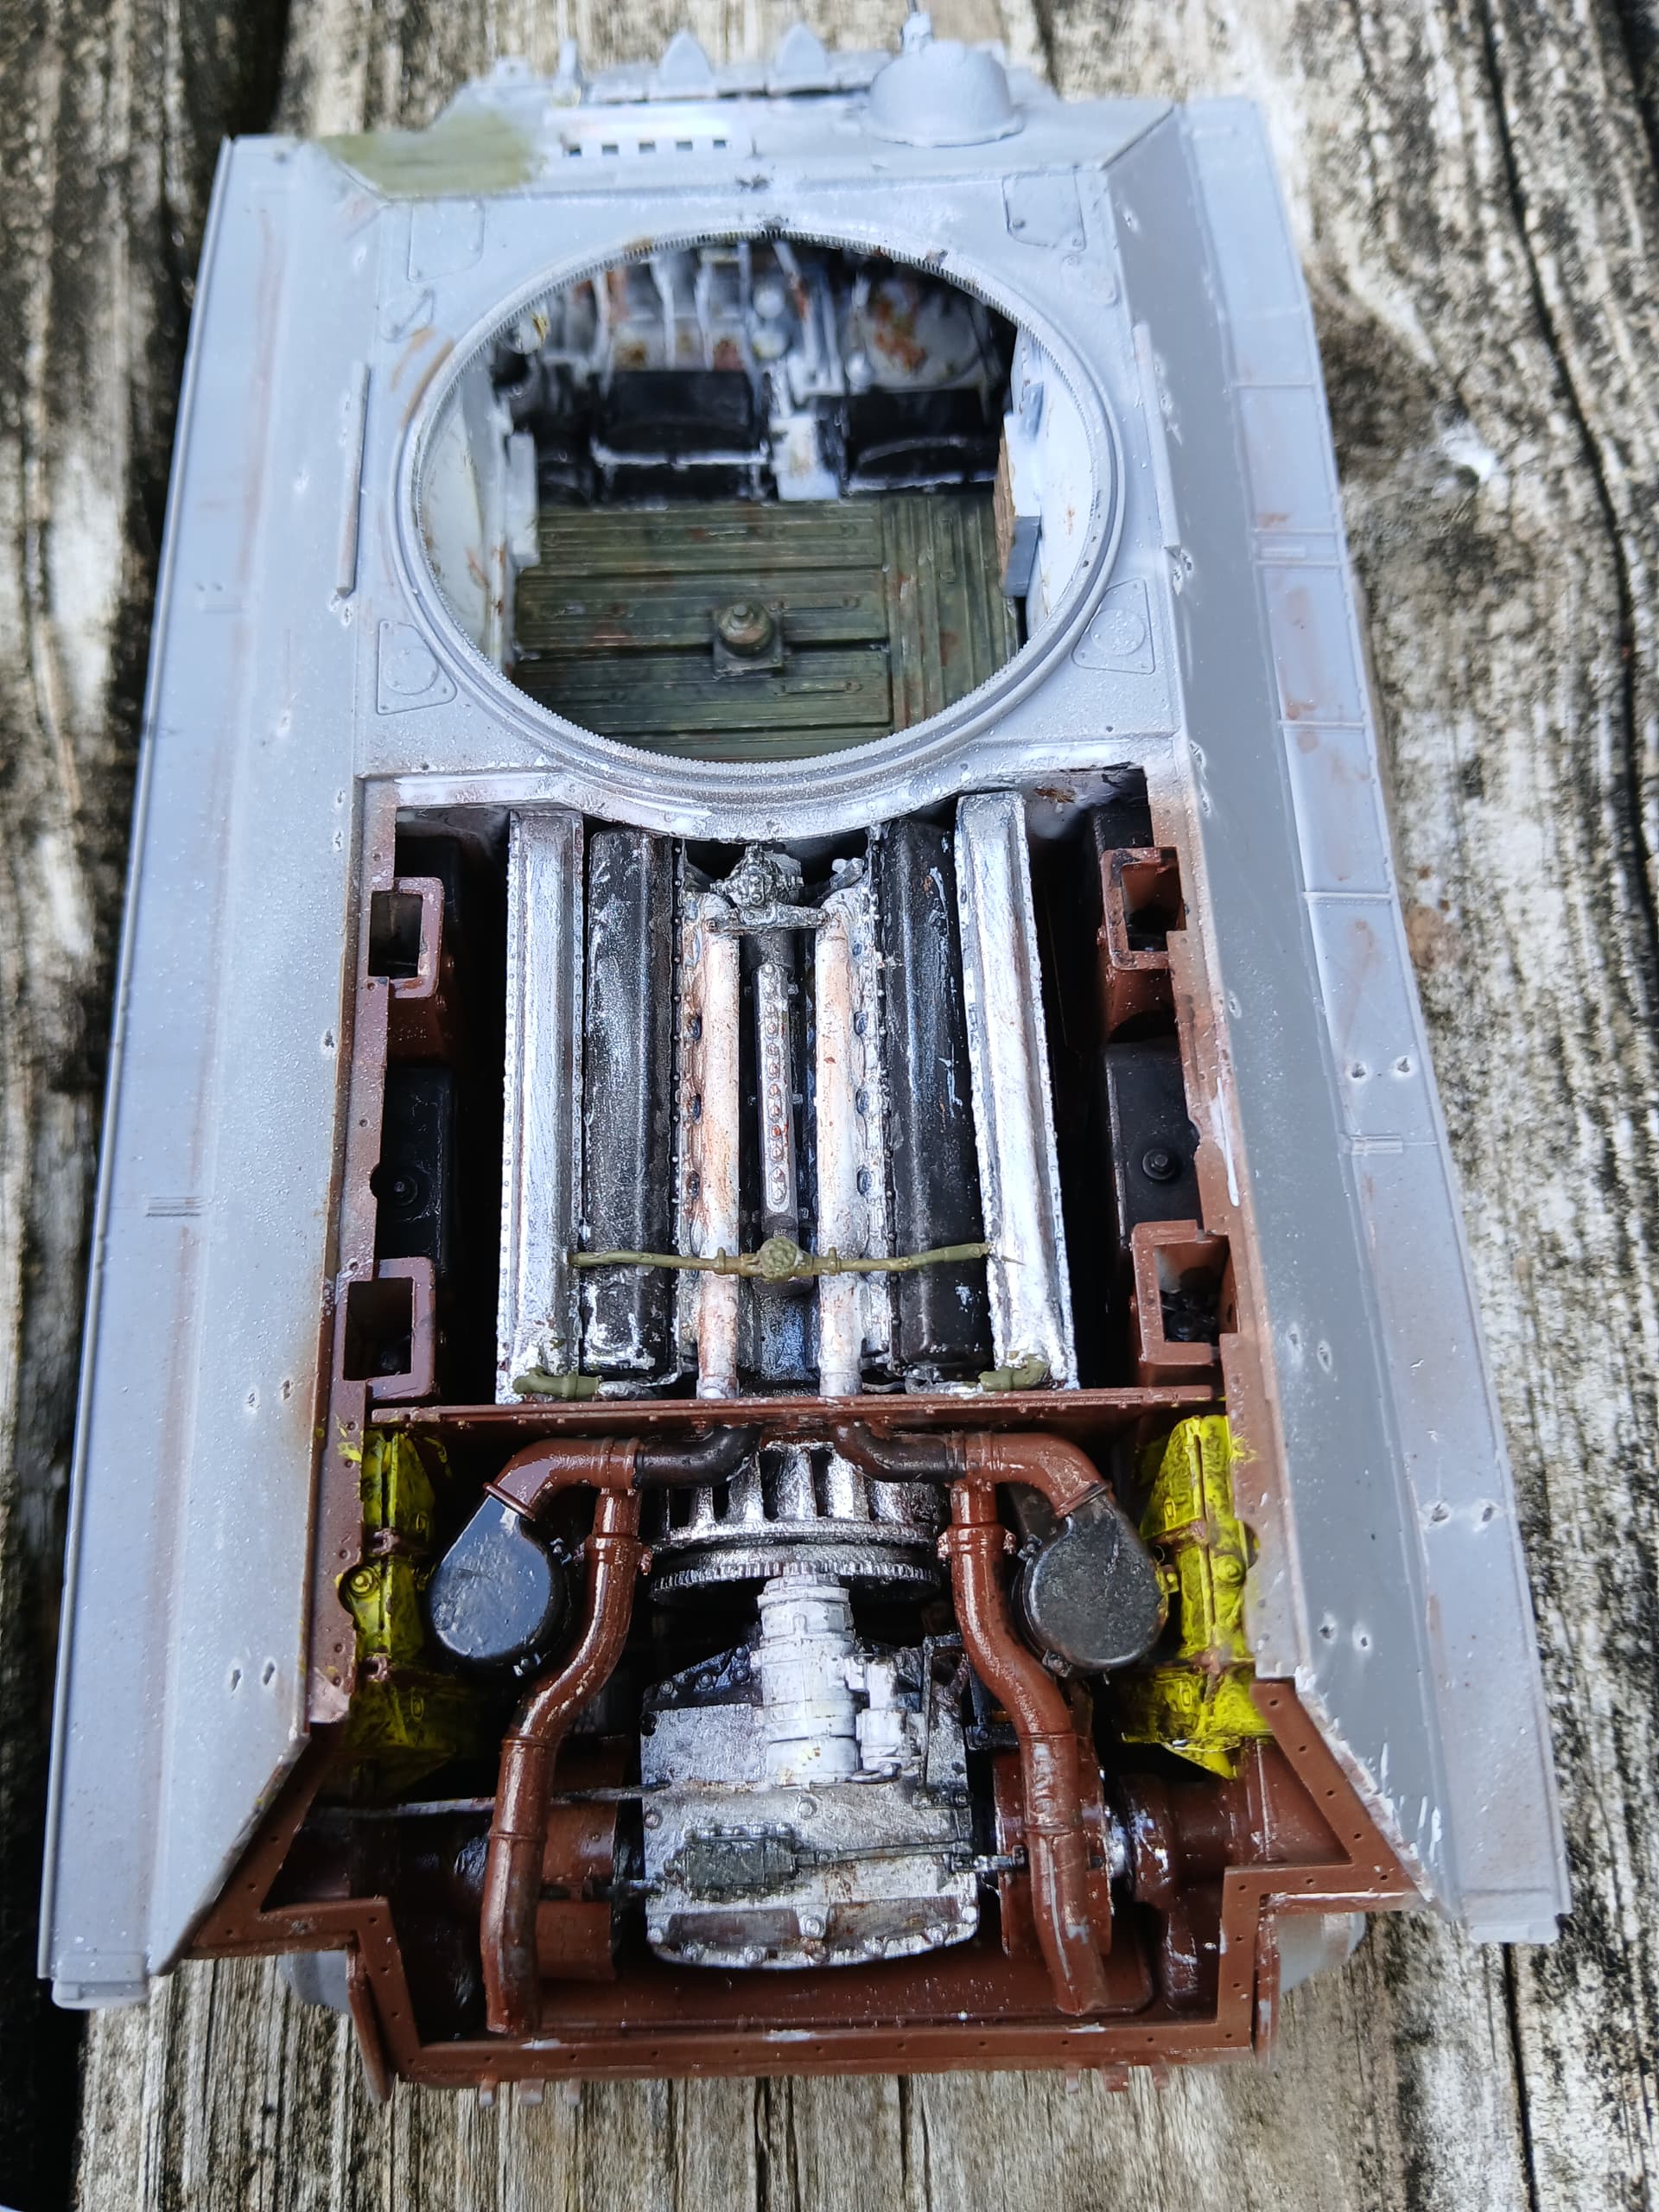
Well, not much progress, but I added the upper hull. Next up, I think I’ll paint the interior before continuing assembly. But I might go ahead and build some of the turret so I can paint the inside of that at the same time.
4 Likes
Your T-34 progress is moving right along but I still can’t believe that you’re going to close up that tank’s upper hull to “hide” all of that beautiful work that you did on that tank’s interior.
1 Like
Today I did some airbrushing on the T-34’s interior. For those who want to build this kit: I have come across “Dec” several times; at first I had no idea what it was talking about, but then today I realized it must mean decals.
But anyway, I’ve been having some trouble. Firstly, I noticed that it references paint color “17” in the instructions, however, it only lists 1 to 16 in the paint colors chart! My bigger problem is that it wants me to use grey blue paint on most of the interior, but I did some research and from what I could find, those sections of the interior were white. Plus, it wants me to paint the lower portion of the ammo container on the hull floor grey blue, and the top of it white. However, my references showed it being all black (or some very dark color) or all green. ![]() If anyone can help me with this, it would be greatly appreciated.
If anyone can help me with this, it would be greatly appreciated.
1 Like
Okay, so I chose to paint the interior white… I haven’t decided about the ammo container yet, but in the meantime, here’s what I’ve done. Looks like I made a pretty silly mistake in going ahead and gluing down the hull… Makes it hard to paint the inside. ![]() Next up, maybe some touch ups, weathering, and then more assembly!
Next up, maybe some touch ups, weathering, and then more assembly!
5 Likes
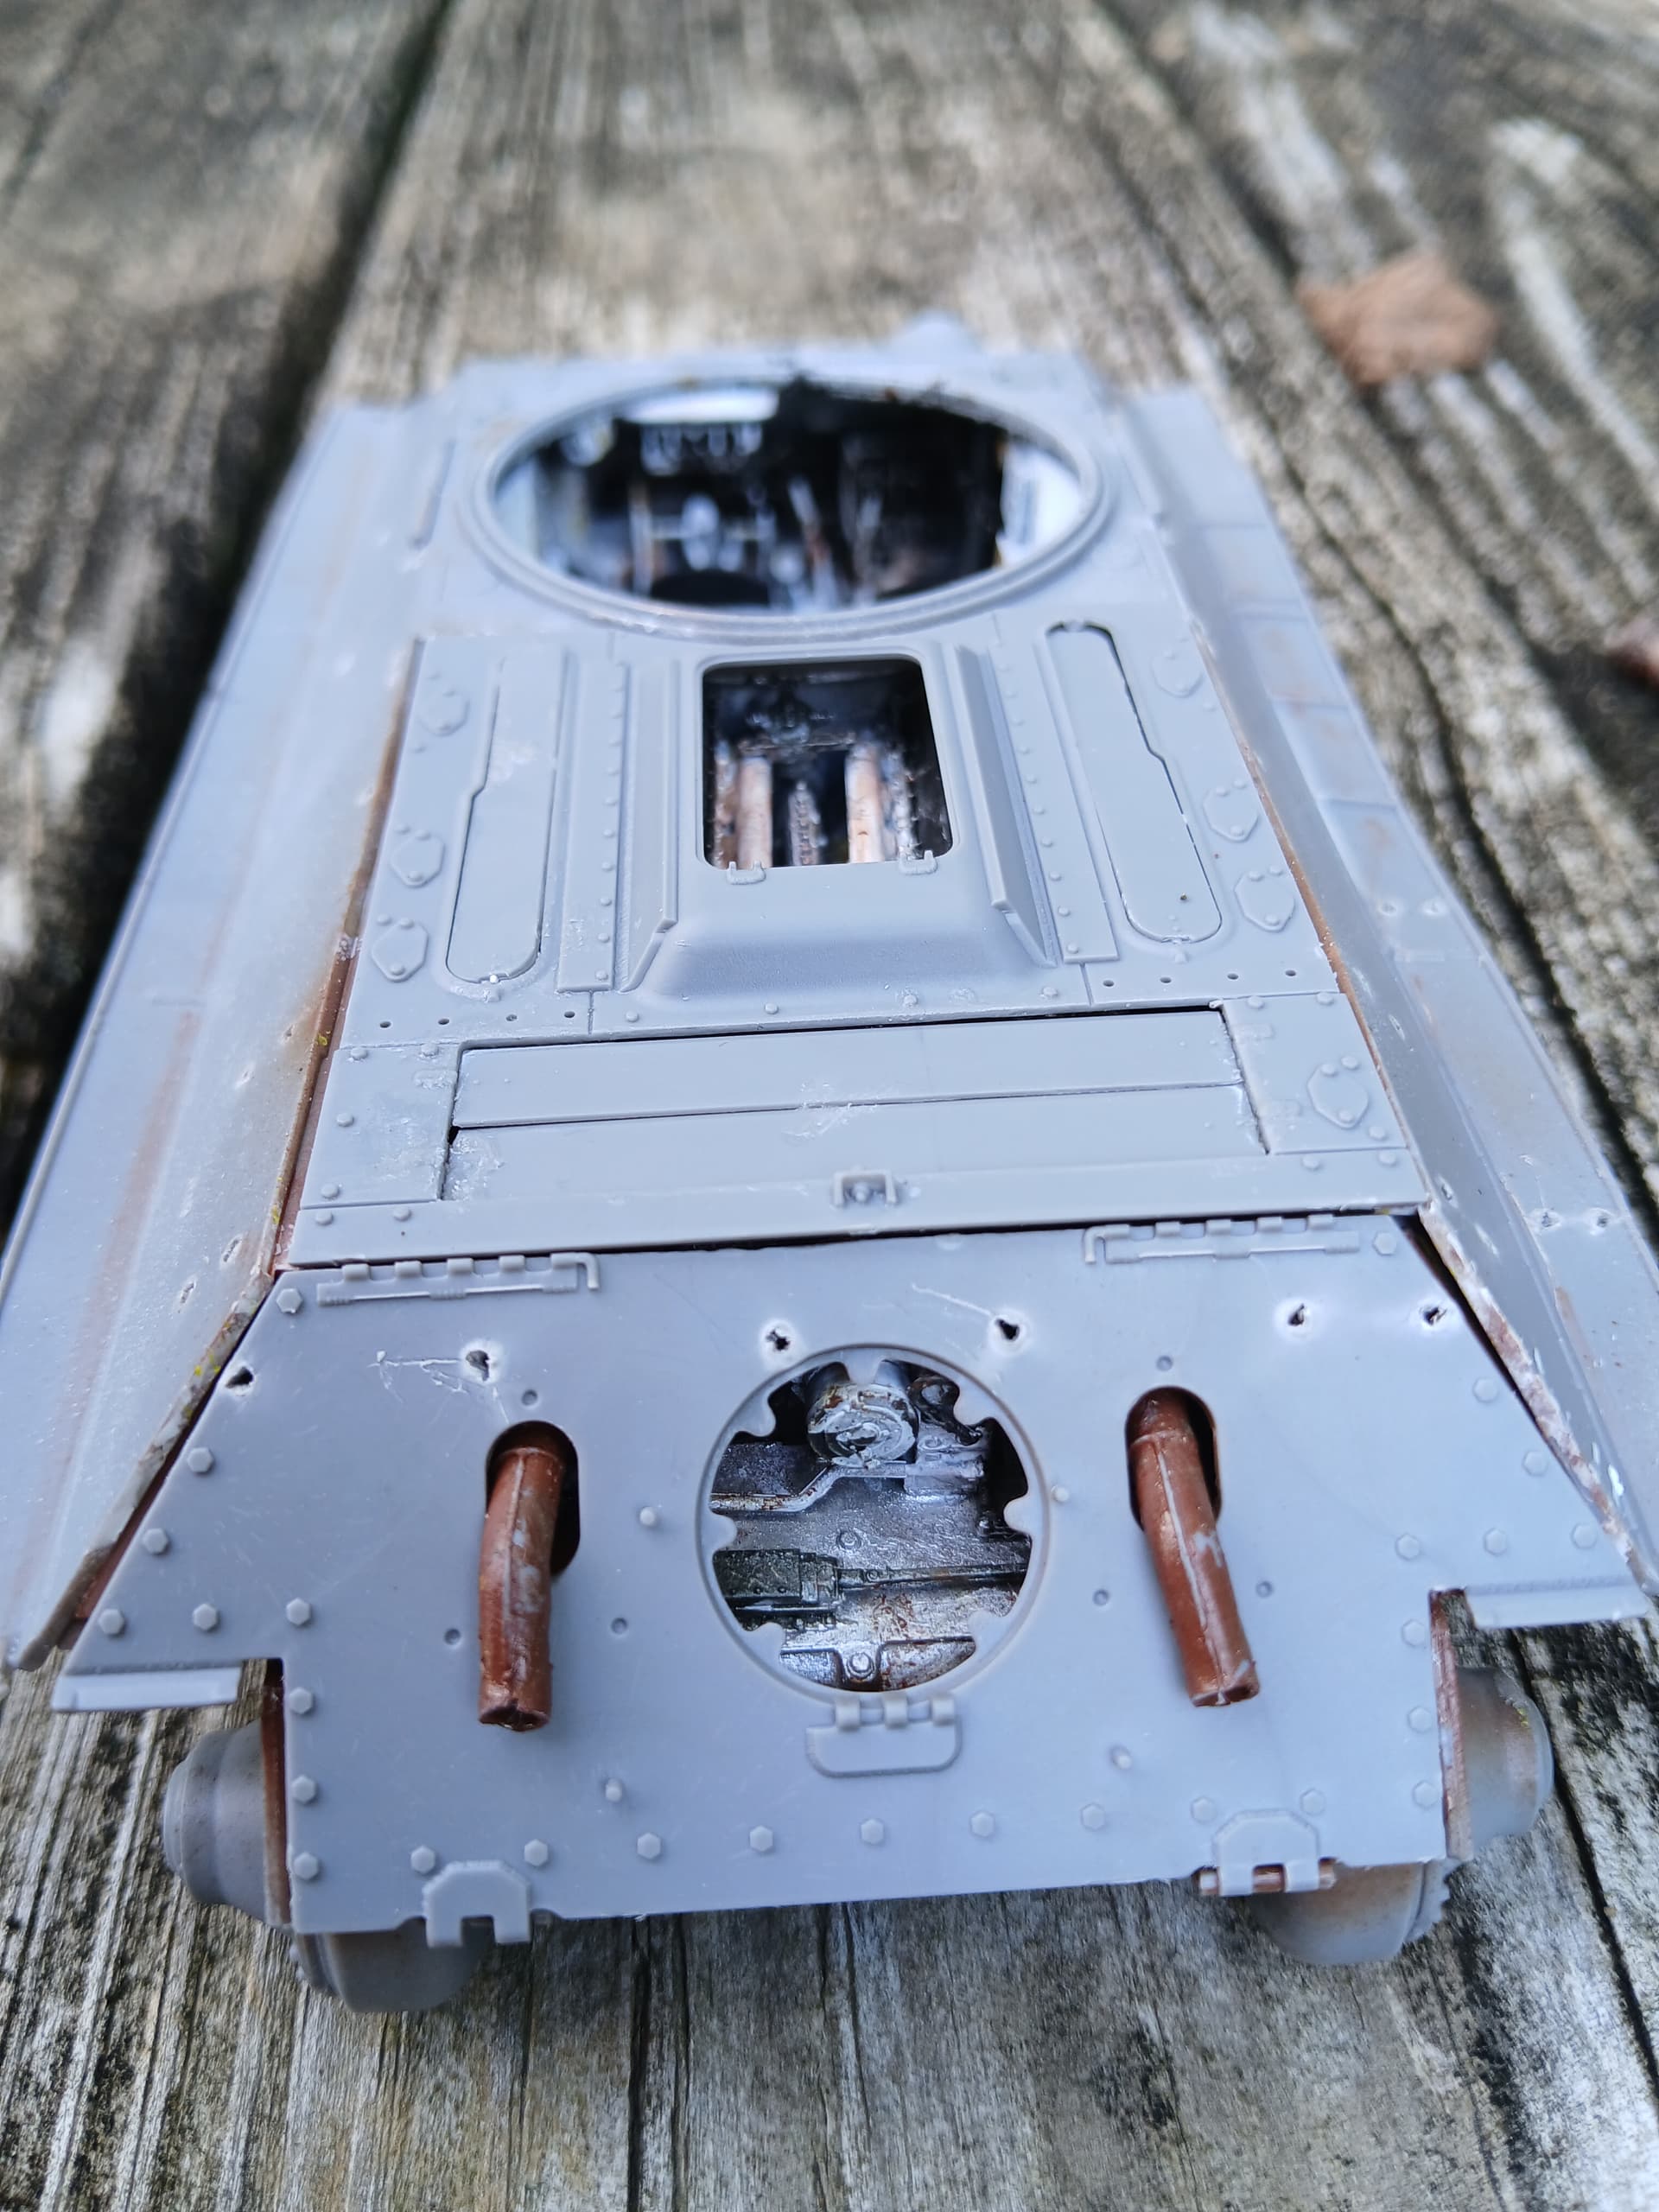
Today’s progress. I’m not sure if I want to have the whole rear panel folded down, or just the hatch open. Any thoughts?

5 Likes
You’ve done an awful lot of work to cover most of it up.
1 Like
Just to say it may be awhile before I get back to this kit… I’ve been pretty busy. I think I will have the whole rear plate down.
1 Like
@S.Hollowell
Your work is excellent!
However, it’s a lot of work to keep it closed afterward.
2 Likes
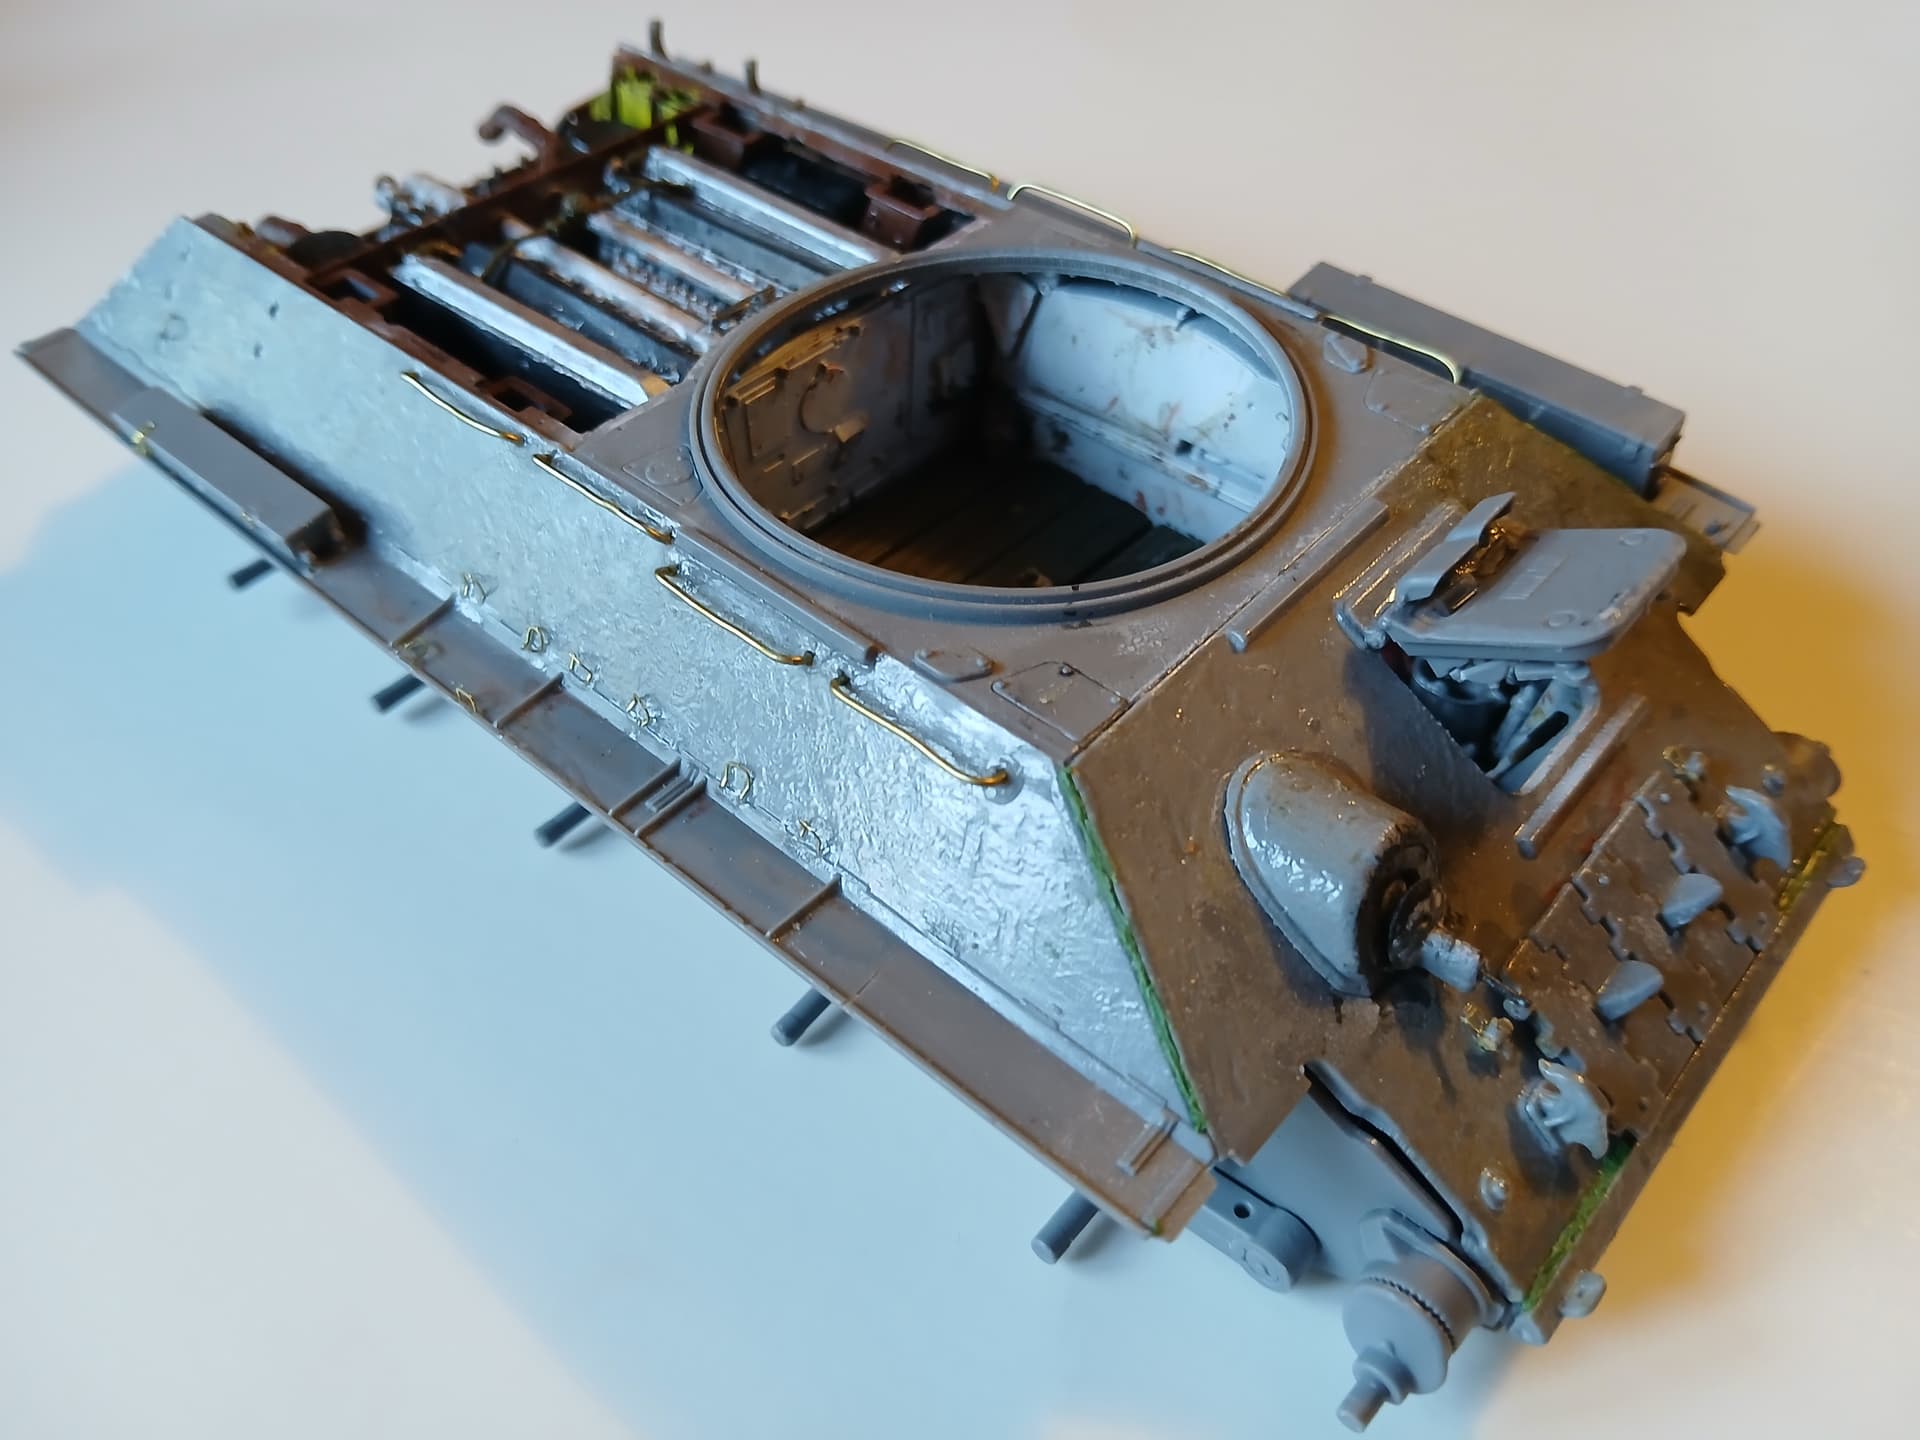
Long time no work… Finally got back to this recently and have done a little. I added some texture with Tamiya cement and a stiff paintbrush, might be a little much, we’ll see. The plastic grab handles included in the kit kept breaking whenever I cut them off the sprue, so I bent my own with a cool tool I got a while ago and some wire. The driver’s hatch had a lot of problems, so by the time I finally got it installed I had broken a few little parts. (It is made out of like 15 parts.)
5 Likes
No pictures today, just a quick update. I’ve glued on some more parts, and I’ve got to say that this isn’t my favorite kit. I recently built a MiniArt Russian truck, it was good overall. But this… I just don’t like it that much. It has quite a bit of photoetch, which I suppose is nice for most people but I don’t really care. The thing is, usually I need to bend the photoetch, but the kit doesn’t give me clear instructions at all about how to bend it. Also, after being a really detailed kit and having all the photoetch goodies, it wants me to scratchbuild the tow cables.
I have started installing the wheels and it turns out that the swing arms are not all at the same height. Maybe it’s my fault, but I feel like they shouldn’t design it in a way that that can really happen. And to be honest, I’m not really sure how that happened. Looking at the instructions, it seems that that must be from installing the springs (or whatever they’re called) at like step 17. I don’t know how I’ll get out of this problem. So far it just seems to mainly be one swing arm at the wrong height. Maybe I can push it up and hold it like that with a bunch of glue or a piece of plastic, or maybe some putty.
2 Likes
A simple display base with a bit of uneven terrain would help the issue with the wheels look perfectly natural as it follows the ground contours.
3 Likes
Depending on how the swing arm is glued on, sometimes you can use your Tamiya extra-thin cement (or similar) to soften the joint until you can turn it to the correct orientation. It might take several applications over a few minutes, but this has saved me several times.
2 Likes
Thanks for the recommendations guys. I think I’m going to try the glue softener technique from Tom, as although the base idea sounds good, I’m still unsure how I’m going to present the model when it’s done.
1 Like
Well, so much for my complaining about the road wheels. I finished installing them and suddenly they all pretty much line up! I guess I managed to fix it just with my somewhat annoyed pushing on the swing arm. ![]() Or maybe it just moved itself? I dunno. Anyway, I have a few things to do on the back part which I have left off so far, then either I’ll install the tracks or wait on that and start the turret.
Or maybe it just moved itself? I dunno. Anyway, I have a few things to do on the back part which I have left off so far, then either I’ll install the tracks or wait on that and start the turret.
1 Like