I was wondering about the cladding. Good work!
Gary
I was wondering about the cladding. Good work!
Gary
I just caught up on this build and all I can say is OH WOW.
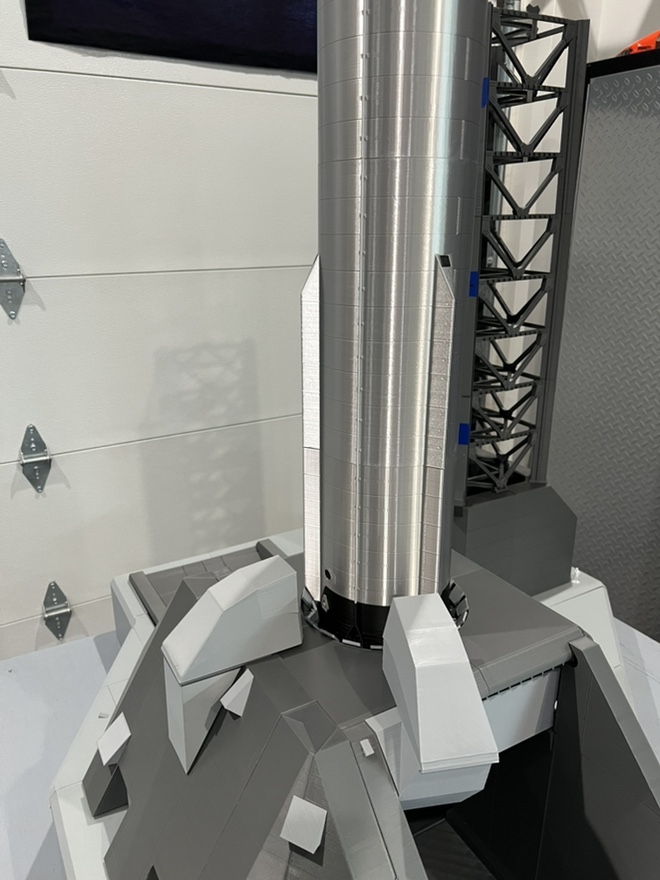
I didn’t really realize the sheer magnitude of this build until the one picture with the masking tape roll on the table. Then there are the pictures with the garage door. Amazing work and it will make such an impressive display.
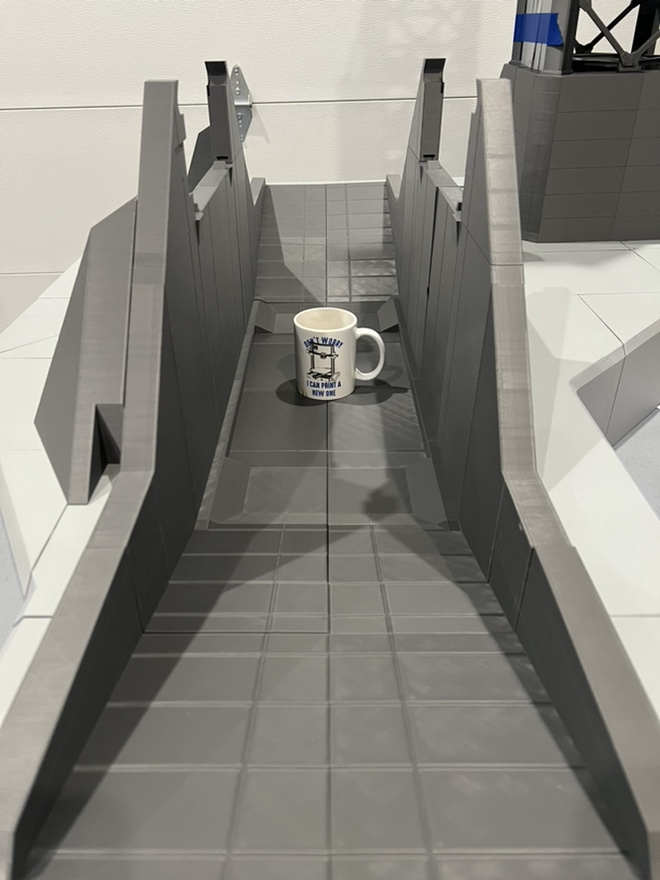
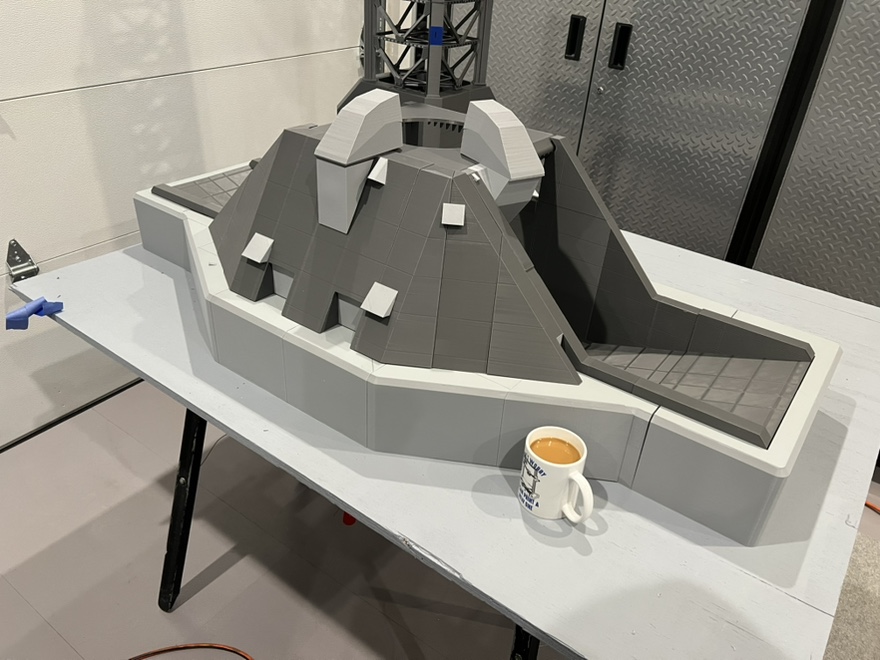
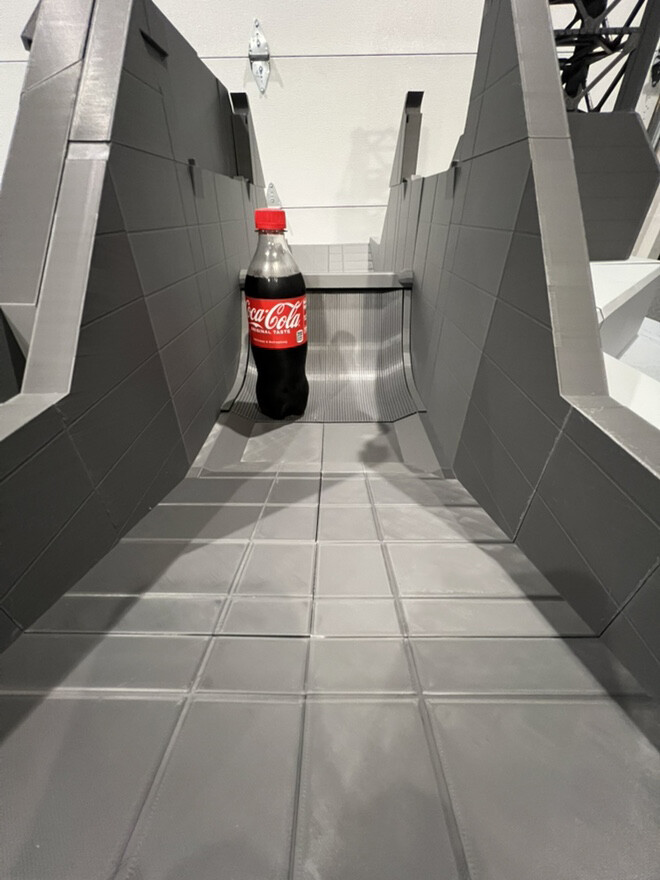
I never thought about putting something in the photo for scale, so here you go. 
I haven’t glued anything together yet, still have alot of parts to fit.
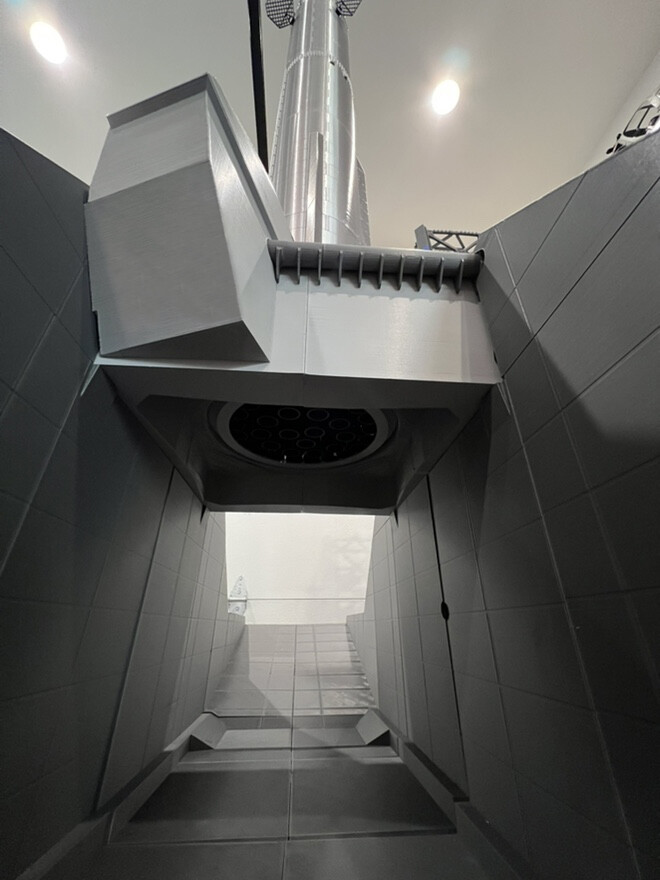
The sides closeset to the columns are beveled on the real thing, I haven’t added that detail yet until I know I have enough clearance for the chopstick mechanism to clear.
Lets try this again…
Let me tell you, I’m burning through rolls of filament on this project.
Parts for the OLM are currently being printed, should be finished with all this
the morning. Deluge pipes are next on my to do list.
I’ve been thinking about how to glue this thing together in manageable pieces so that it could be taken apart and transported, just in case.
One thing I don’t like, other than the color is the sheen of this filament, I think I’m going to hit it with dulling spray. I’ve used that in the past to knock down the shine and works pretty good. I think I can live with it.
When you said you were printing this, I just assumed it was a resin printer. It looks better than I thought it would using an FDM. Which printer are you using? PLA filament or something else? What about nozzle sizes and layer heights?
Sorry to be asking so much, but I’m trying a few different things with mine to get the results I really want.
I don’t mind the questions 
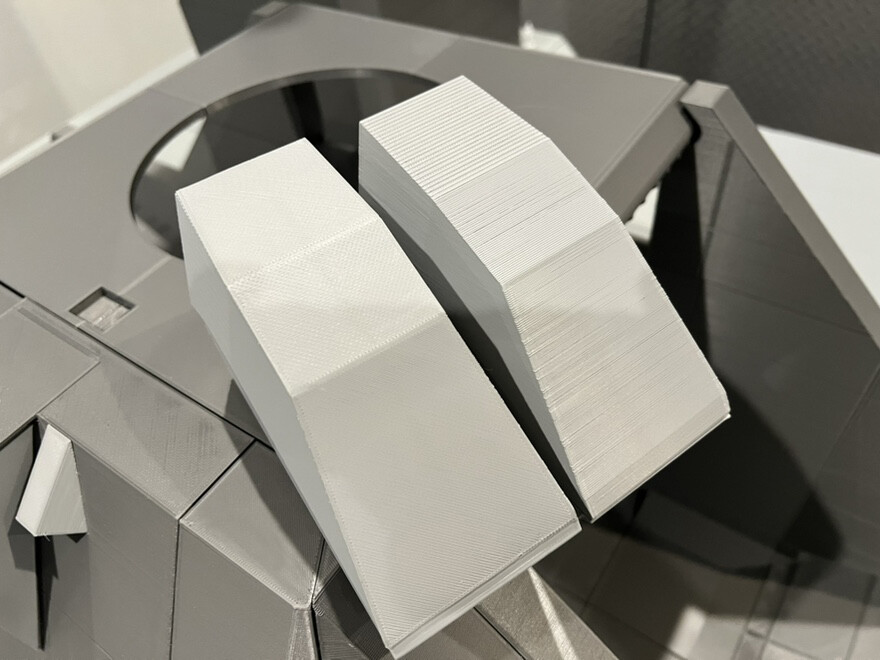
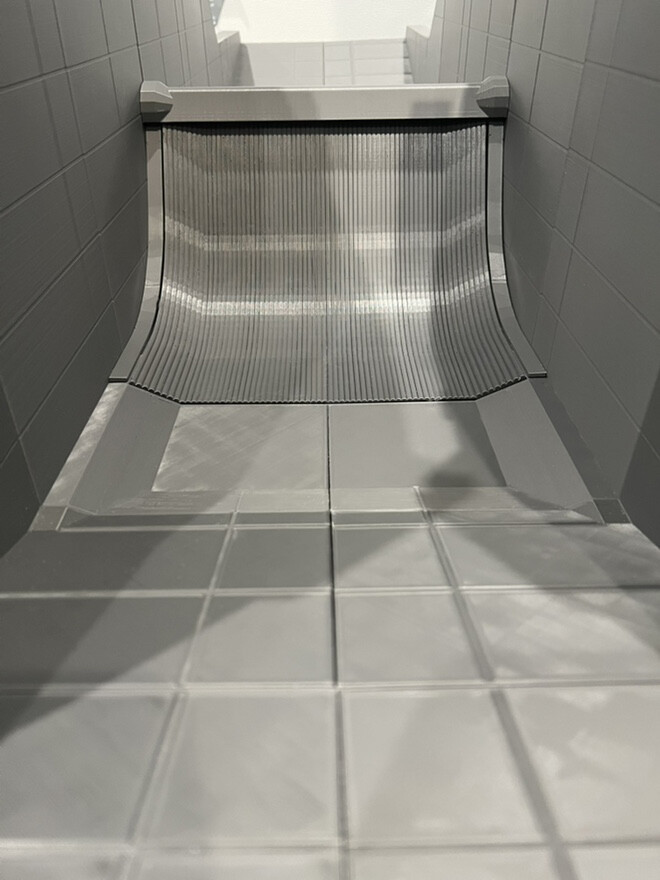
It’s definitely not as clean as resin IE: lay lines. At this scale the layer lines are not too bad but are still visible especially on parts with slopes where the layers “stair steps”. To hide some of that I designed thin covers that get glued over top of the part.
Cleans up nice like this…
Another reason the layer lines show up on my model is that I’m printing at .024 to .028 which is basically draft mode. Because the parts are so big, it was a toss up between print quality and ridiculously long print times. Even at .028, print times on some big parts were 34 hrs, most were about 20hrs.
I have 9 Ender 3 V2 printers, not the latest and greatest but still work well for what I need them for. I’ve added extension kits to four of them to give me 350mm high build volume.
Epic project. What are you using as references for all this stuff? Looks fantastic.
It started with a few models that were published, I then began changing/adding things to each of the versions I found and combining parts. A great source is NSF on YT. I capture screen shots of areas I’m designing or re-working. A couple of areas I’m researching right now are the elevator shaft and the crane pulley arrangement.
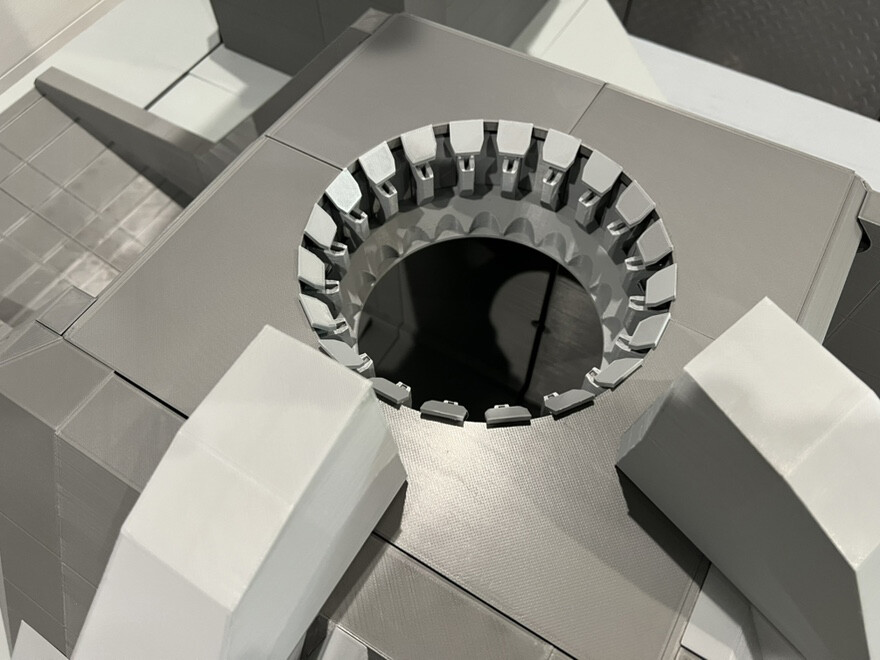
The OLM is finished, dry test fit passed.
The booster fits!
The deluge pipes are currently being printed. You probably don’t want to be standing here at T-0
This is turning into an incredible project. At six feet just for the tower, I have to ask—where are you planning to display this thing when it’s finished? This has gone well beyond a model and is starting to look like a museum exhibit. Very cool.
Thanks Sam,
I have a spot in a corner of my garage that it will fit along with my Apollo Launcher. It’ll be my “space vehicle corner”. I might build some corner shelves for a few rockets too.
A dedicated space vehicle corner—I like it! With the Apollo launcher and this thing sitting next to each other, you’re definitely going to have your own little space museum going out there. 
The corner shelves with some smaller rockets would really finish it off too. I just hope you get lots of visitors to your garage, because this thing deserves to be seen!
That looks incredibly realistic. One thing I’m having trouble wrapping my head around with this entire project is the scale of everything. How big are those deluge pipes on the model? It’s hard to get a sense from the photo of just how large the parts we’re looking at actually are.
At some point you may have to put a ruler—or maybe a Coke can—next to this thing so the rest of us can appreciate just how big it really is.
Are you concerned about the temperature variations in the garage deforming this fantastic build???
Not to worry, it’s climate controlled.
That’s great to hear!
Yeah, that really helps put it in perspective. Very cool. That thing is huge!