Just completed the deluge pipes and published the parts. This was an exercise in 3D CAD design. Not much left now for this model.
1 Like
It’s coming together very nicely. I can’t wait to see the finish display. Keep up the great work.
Thanks. I’m almost there.
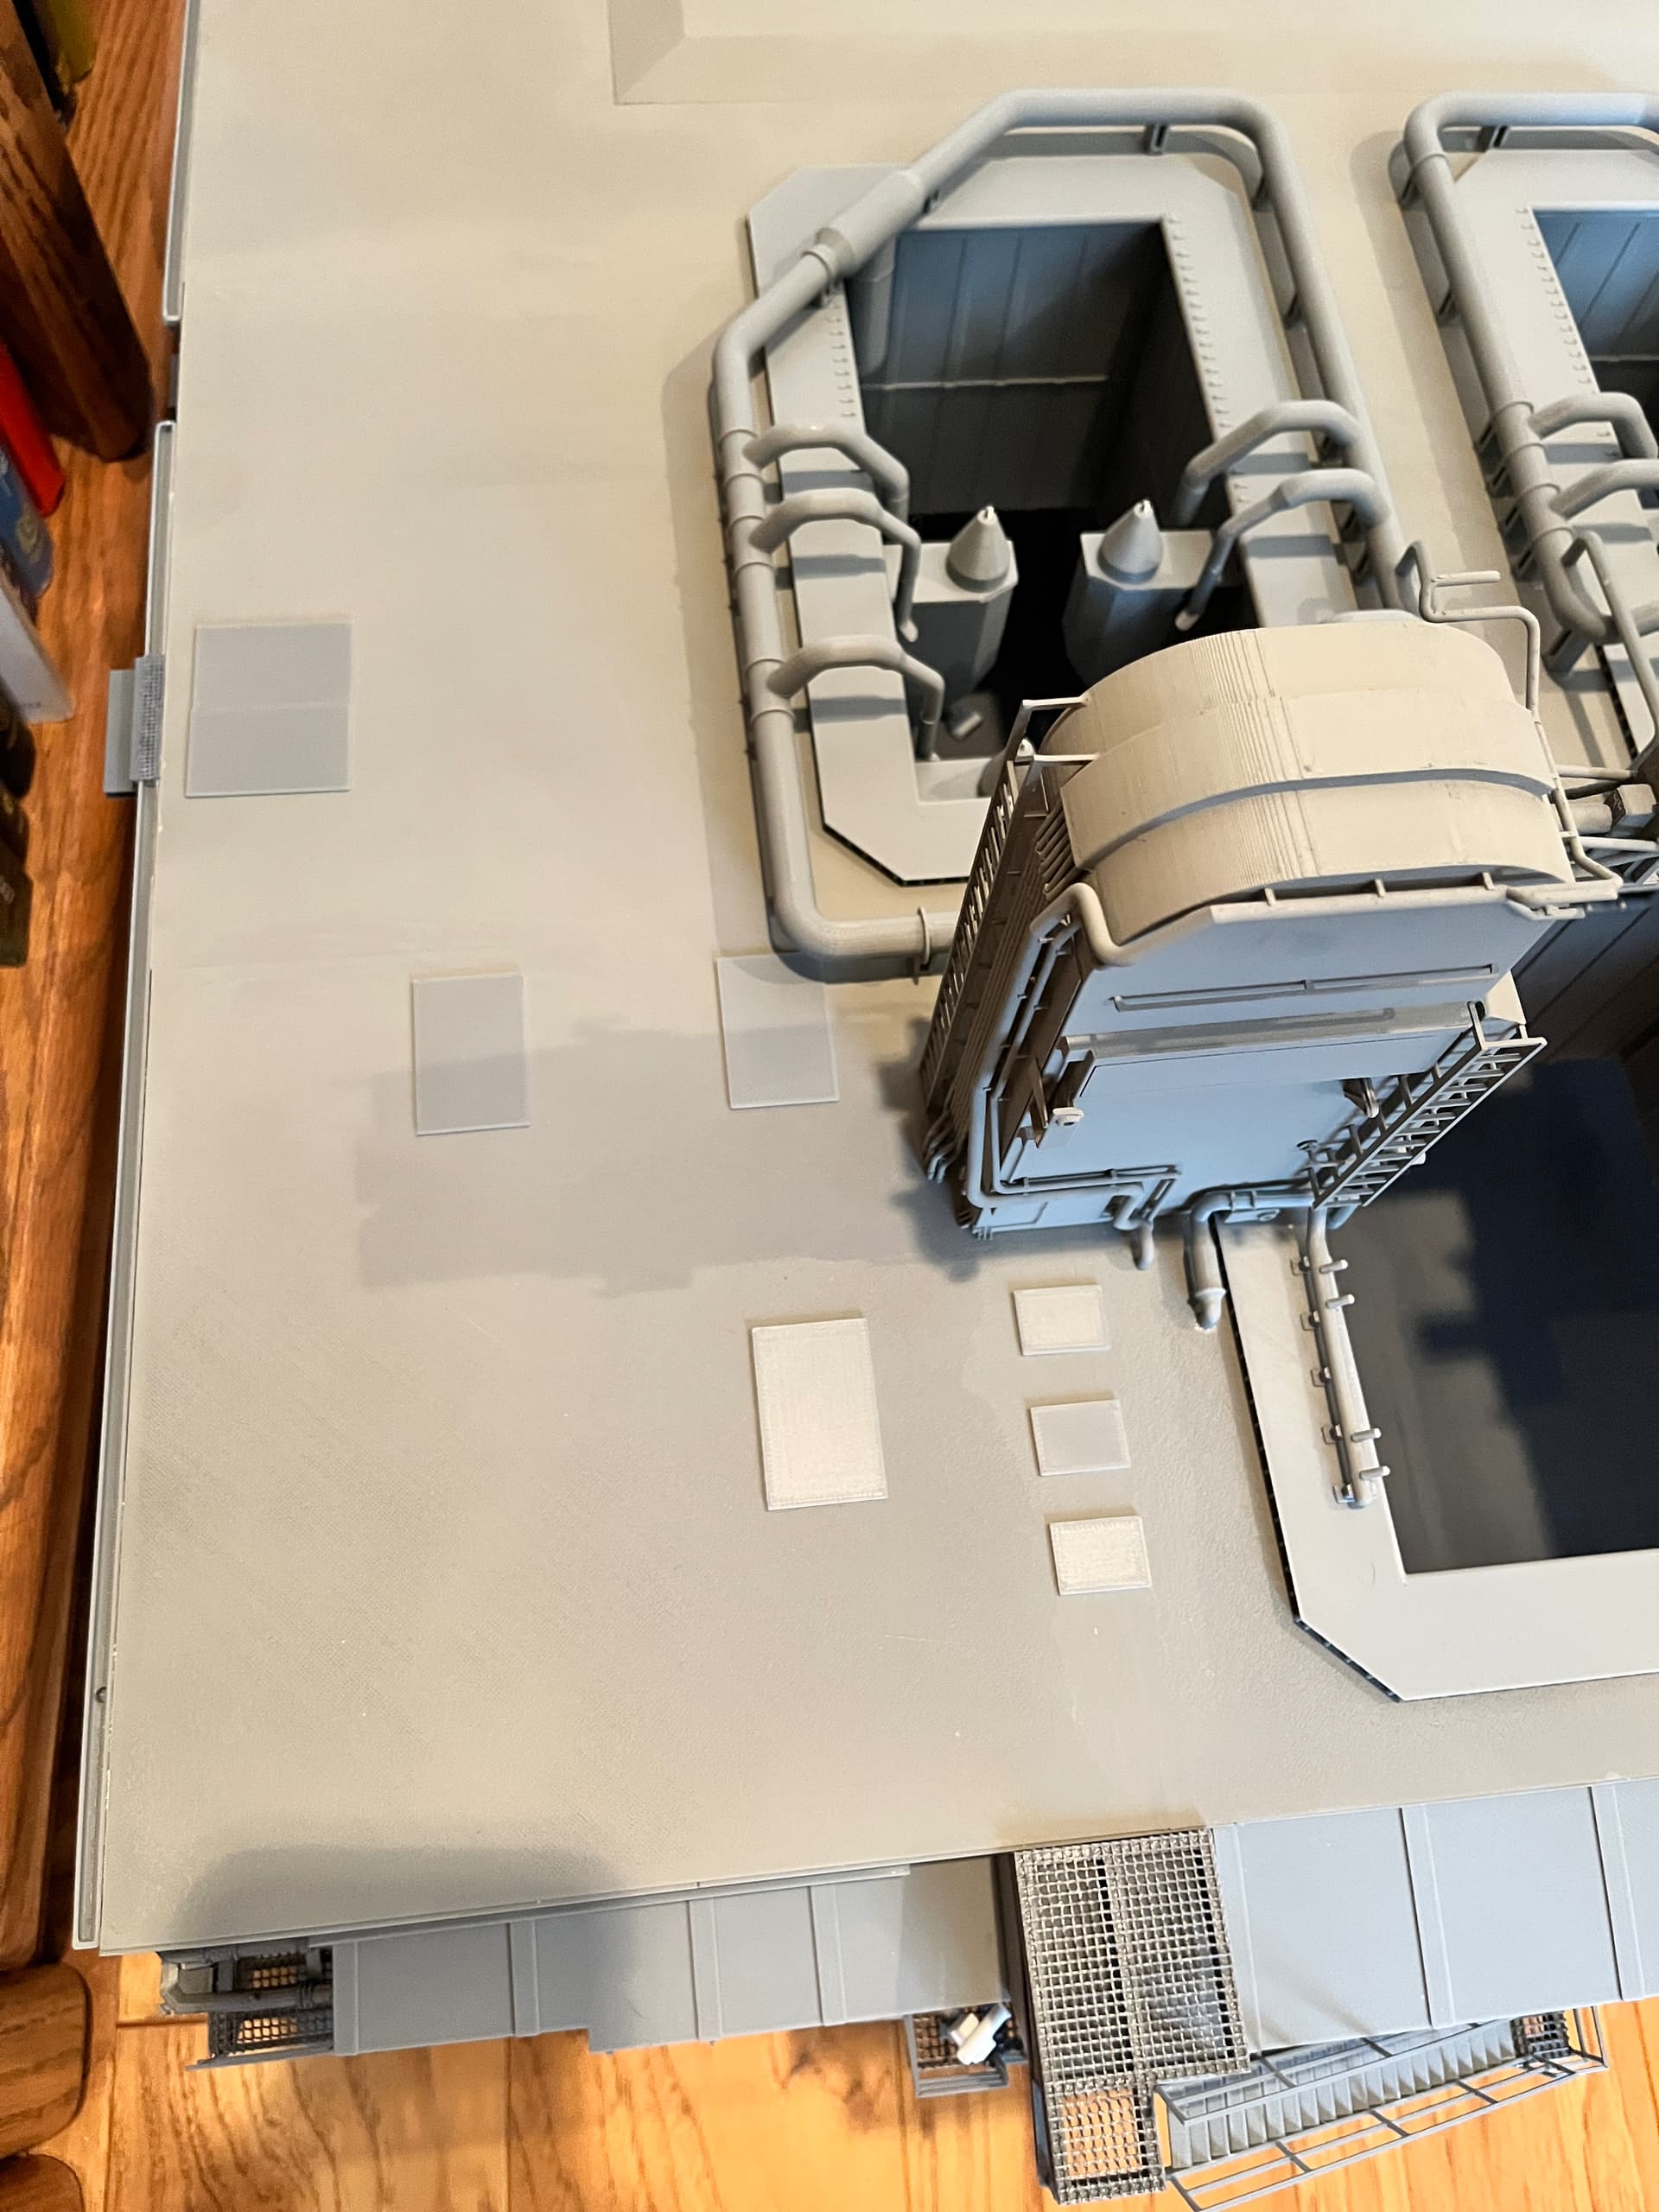
There are 17 access panels. The small ones cover the pipe tunnels that go to the TSMs.
Here are the railbirds printed using both resin and filament. The filament one (in black) has lines on top because it was not flat. For the filament printers out there I sliced this part into two pieces, the post and the top which can be printed flat so these lines don’t exist. I am going to go ahead and print them all using resin and paint them.


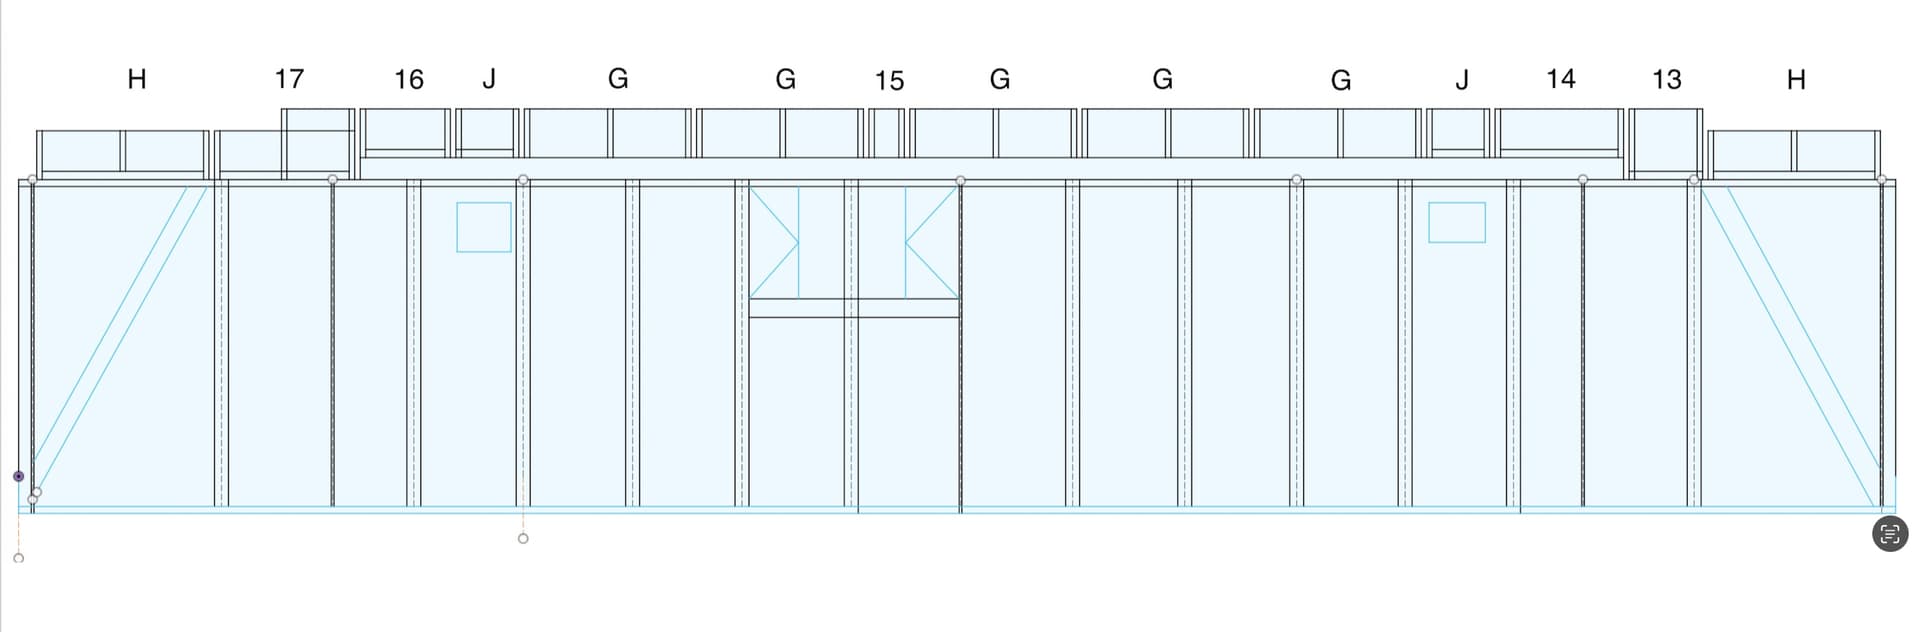
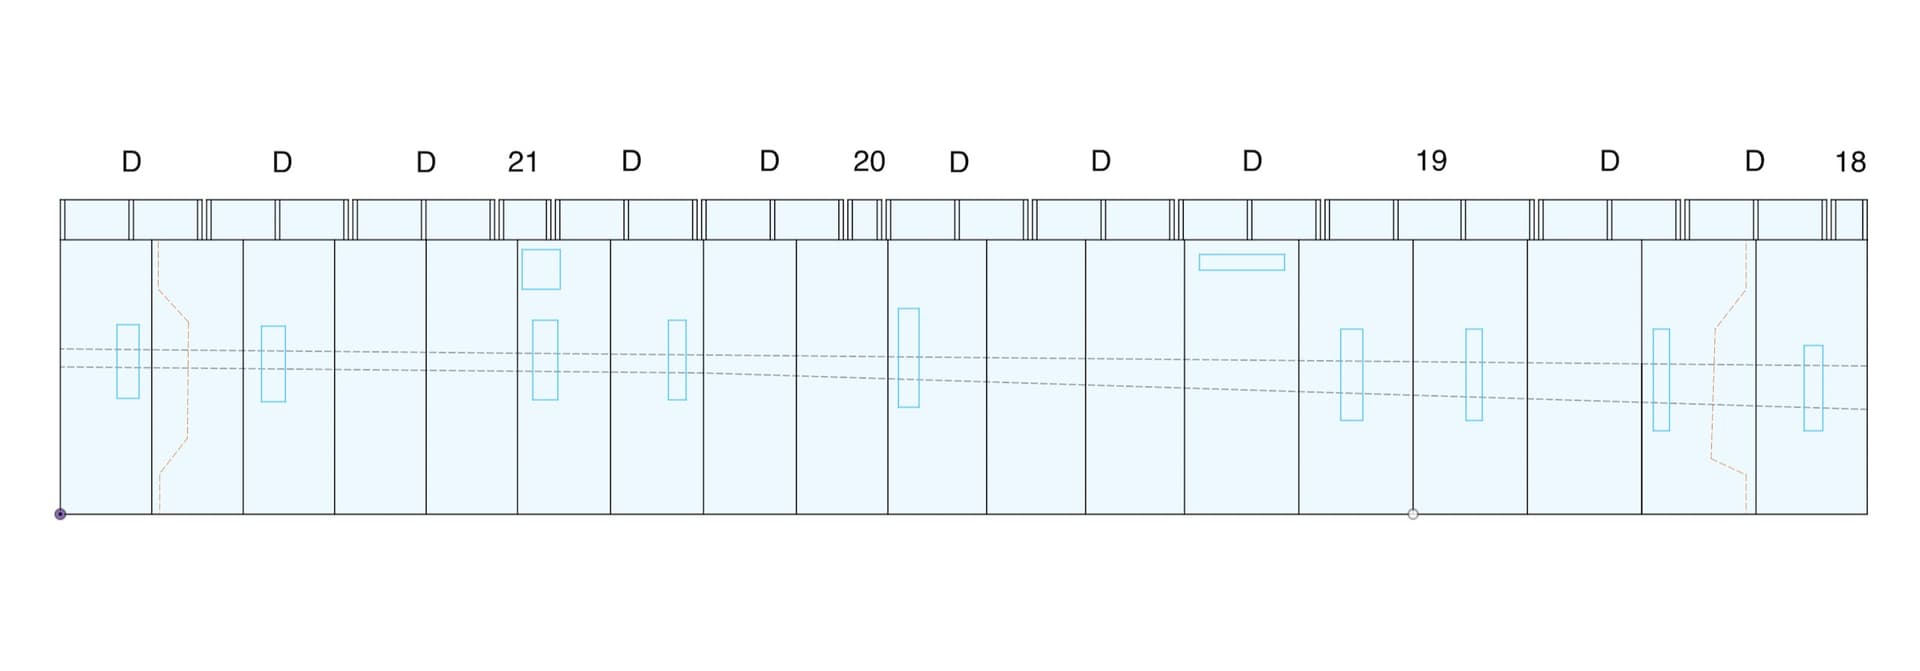
The railings on the Saturn V launcher were pretty easy, only two different railing types. For the shuttle launcher there are so many unique railing sizes (30 parts) that I have to come up with a unique naming convention. I will number them starting at the right side of side 1 and work around clockwise. This is the same naming convention for the side skins. Some of the parts are identical and reused. For these parts I named from A to J, skipping I. The unique ones are numbered 1 to 21. Here is the railing road maps.


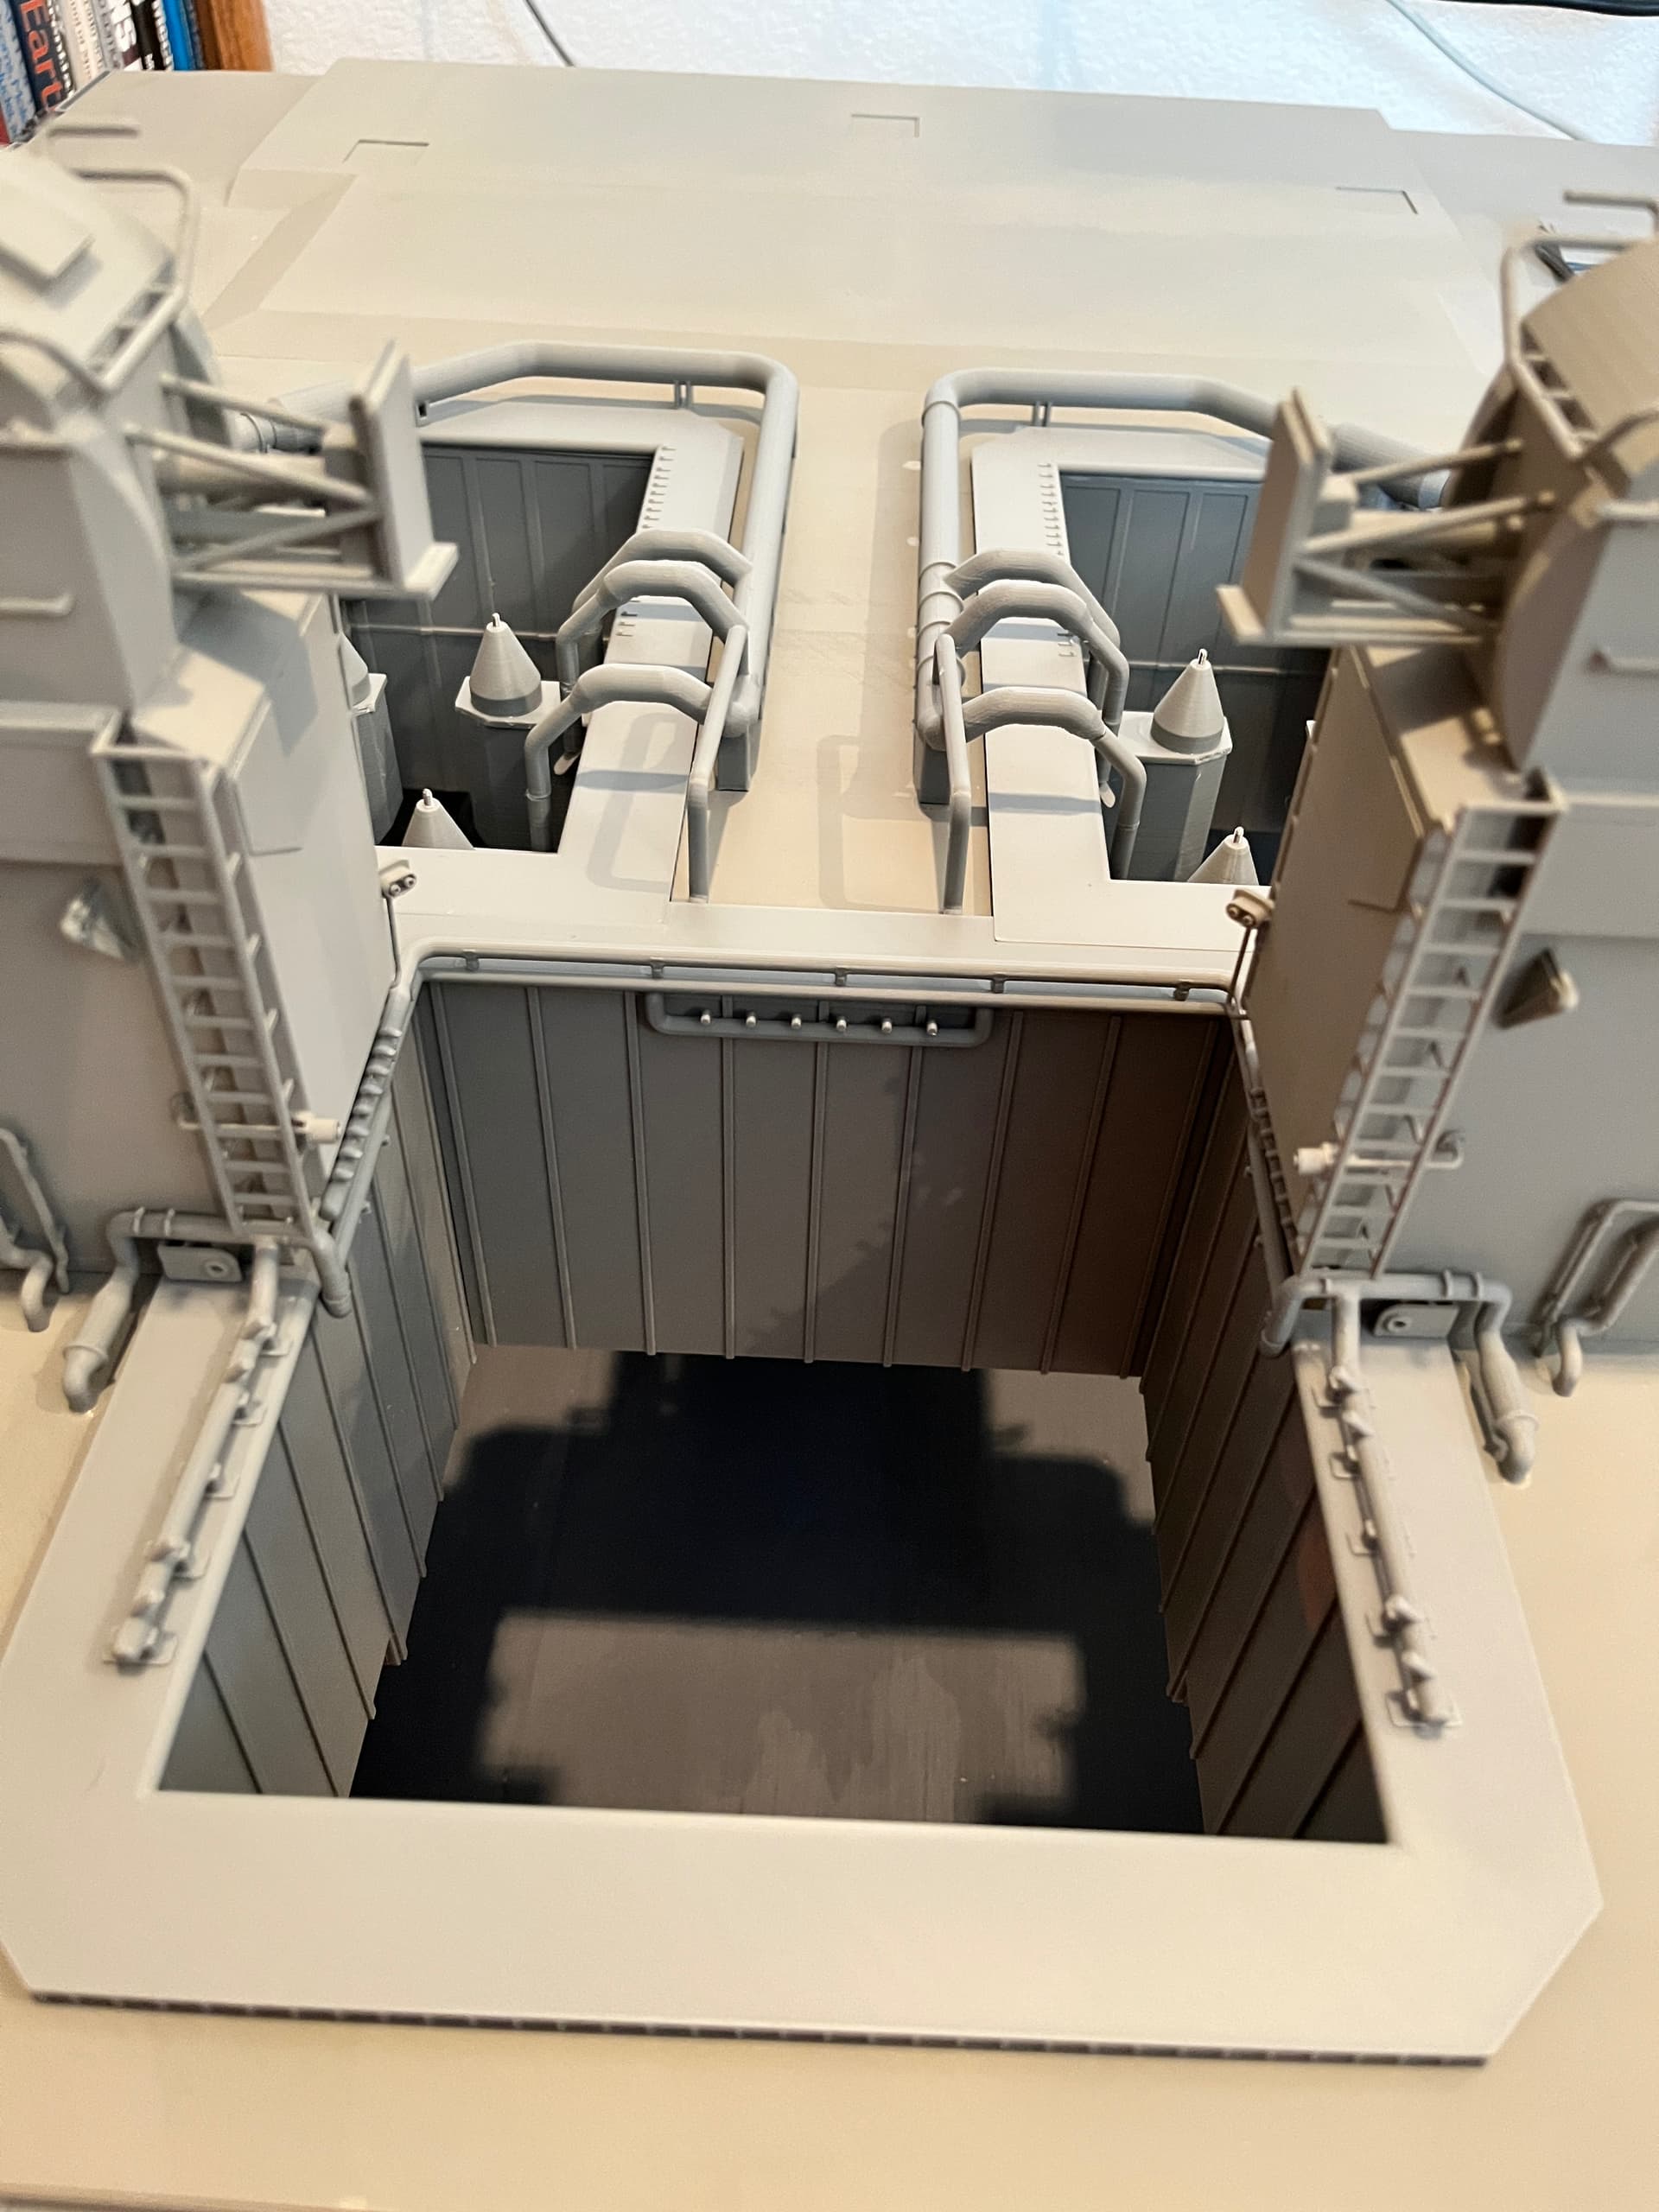
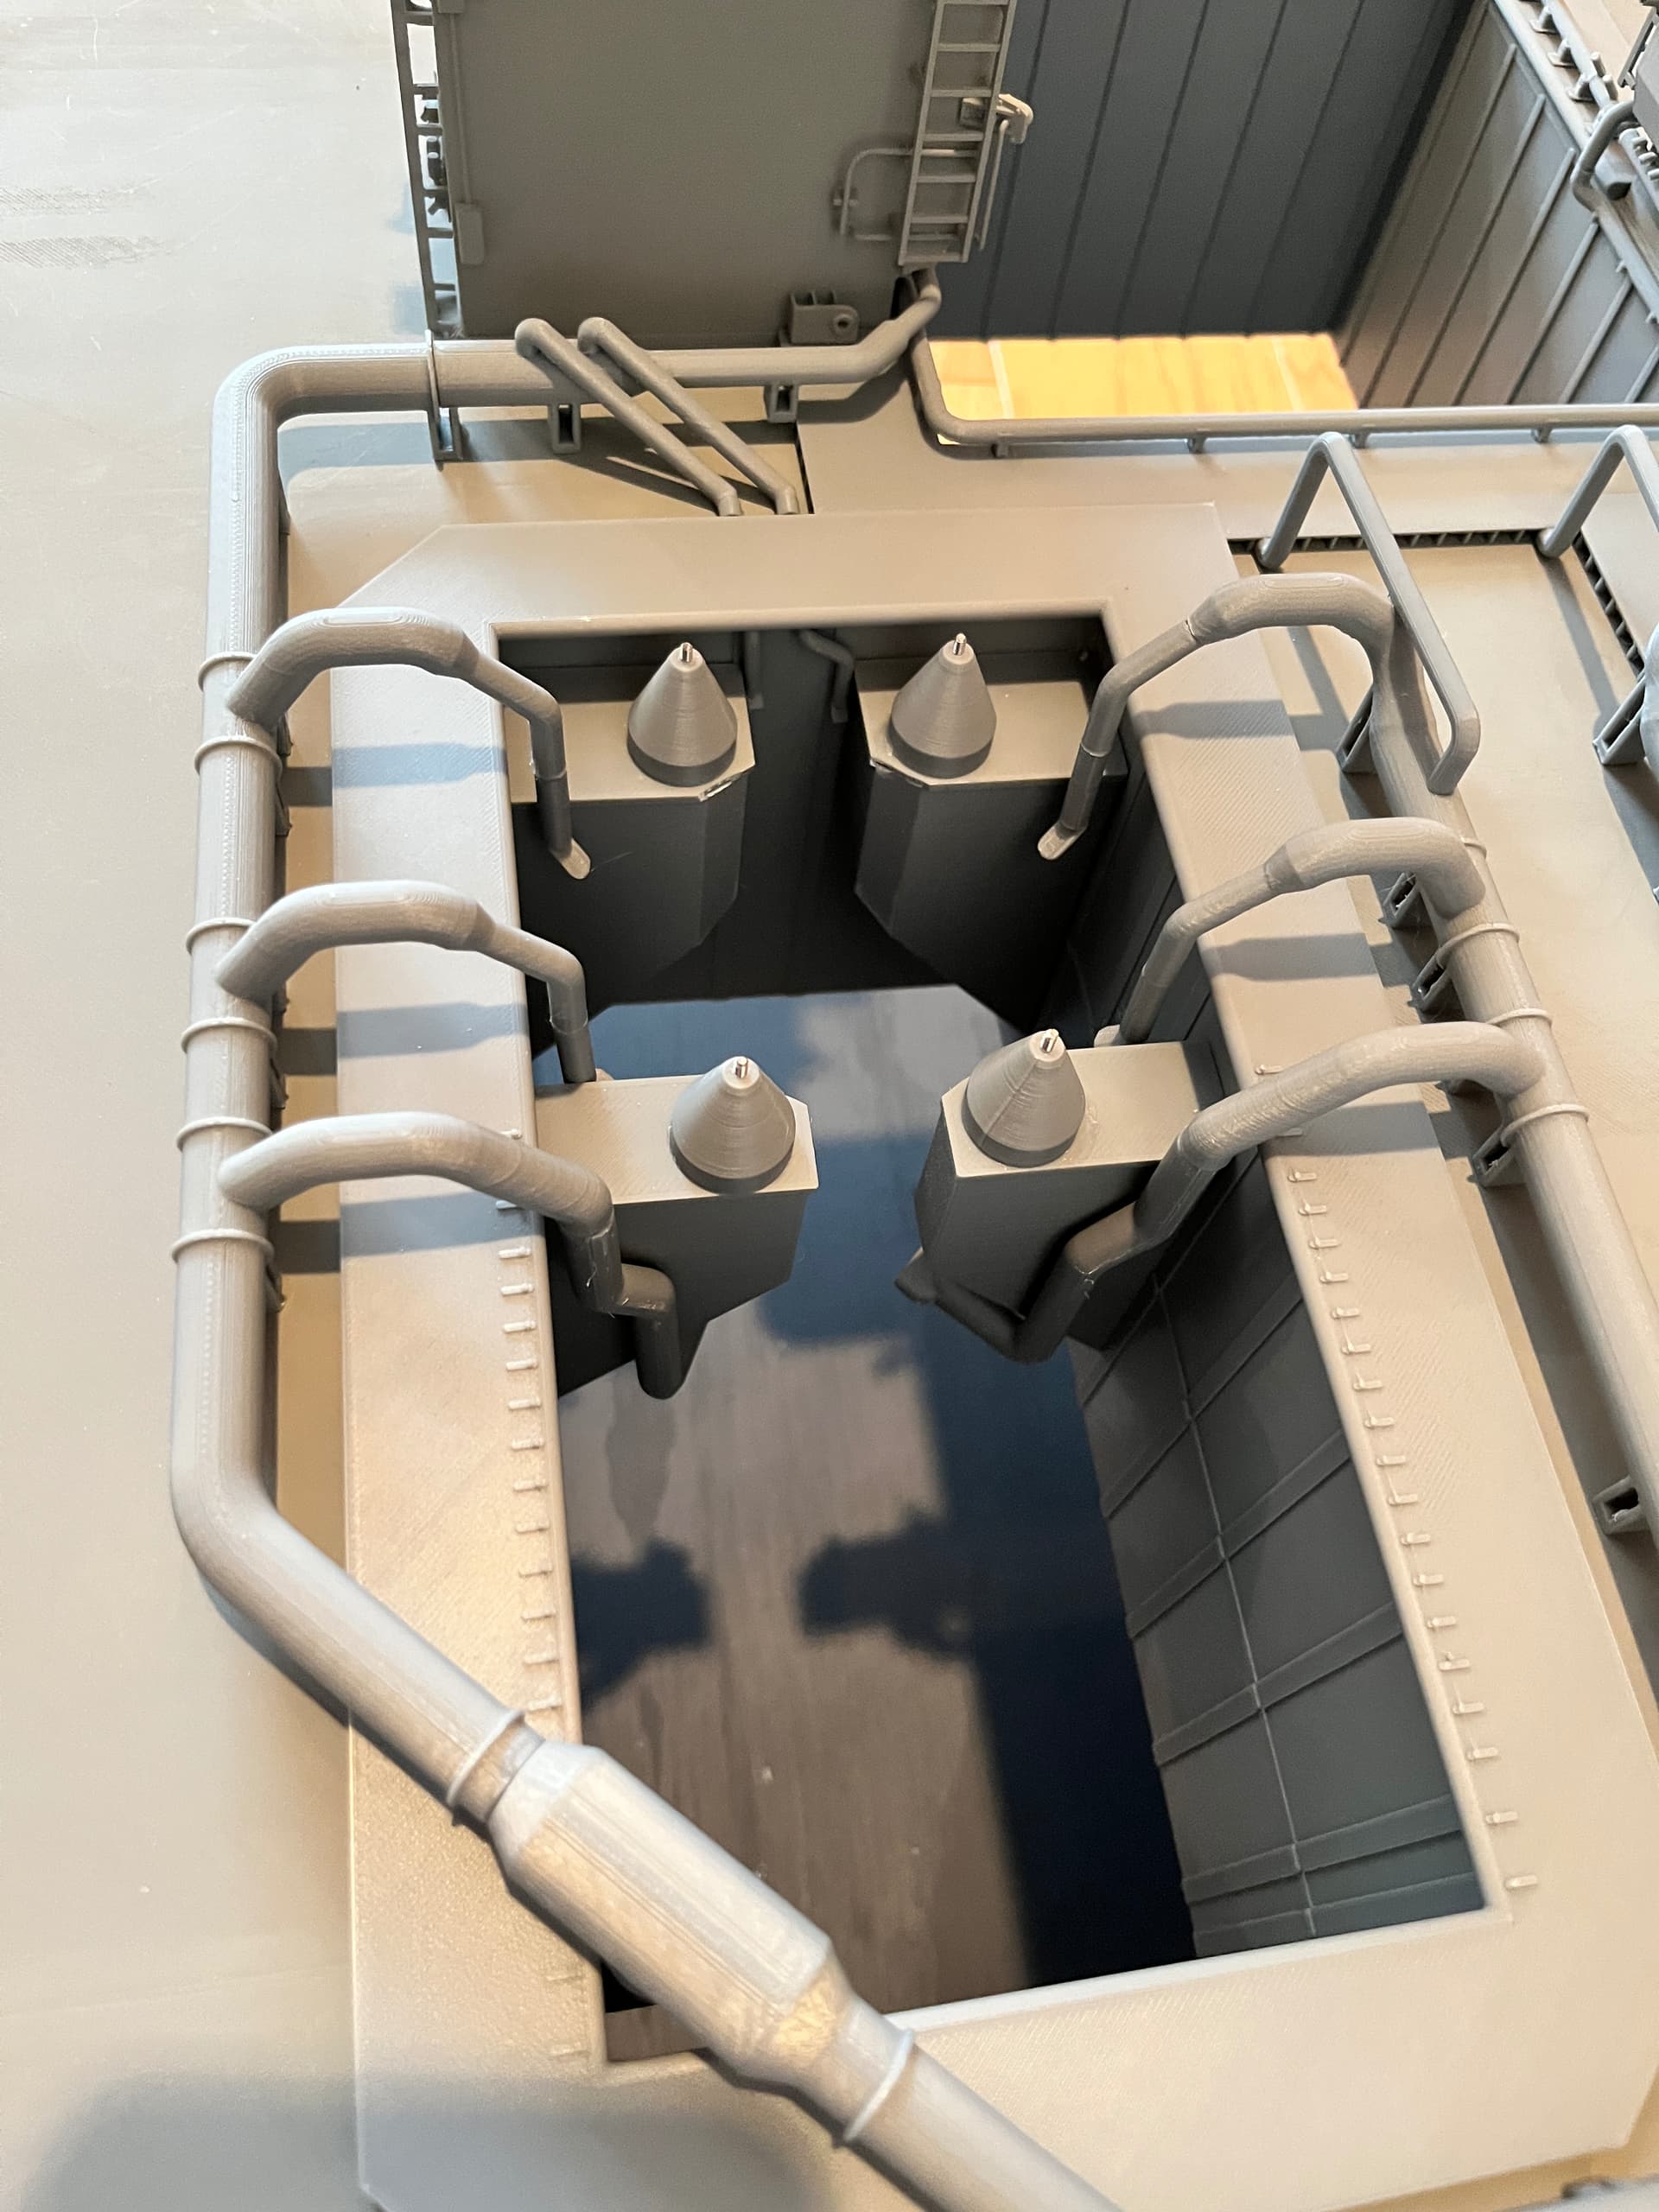
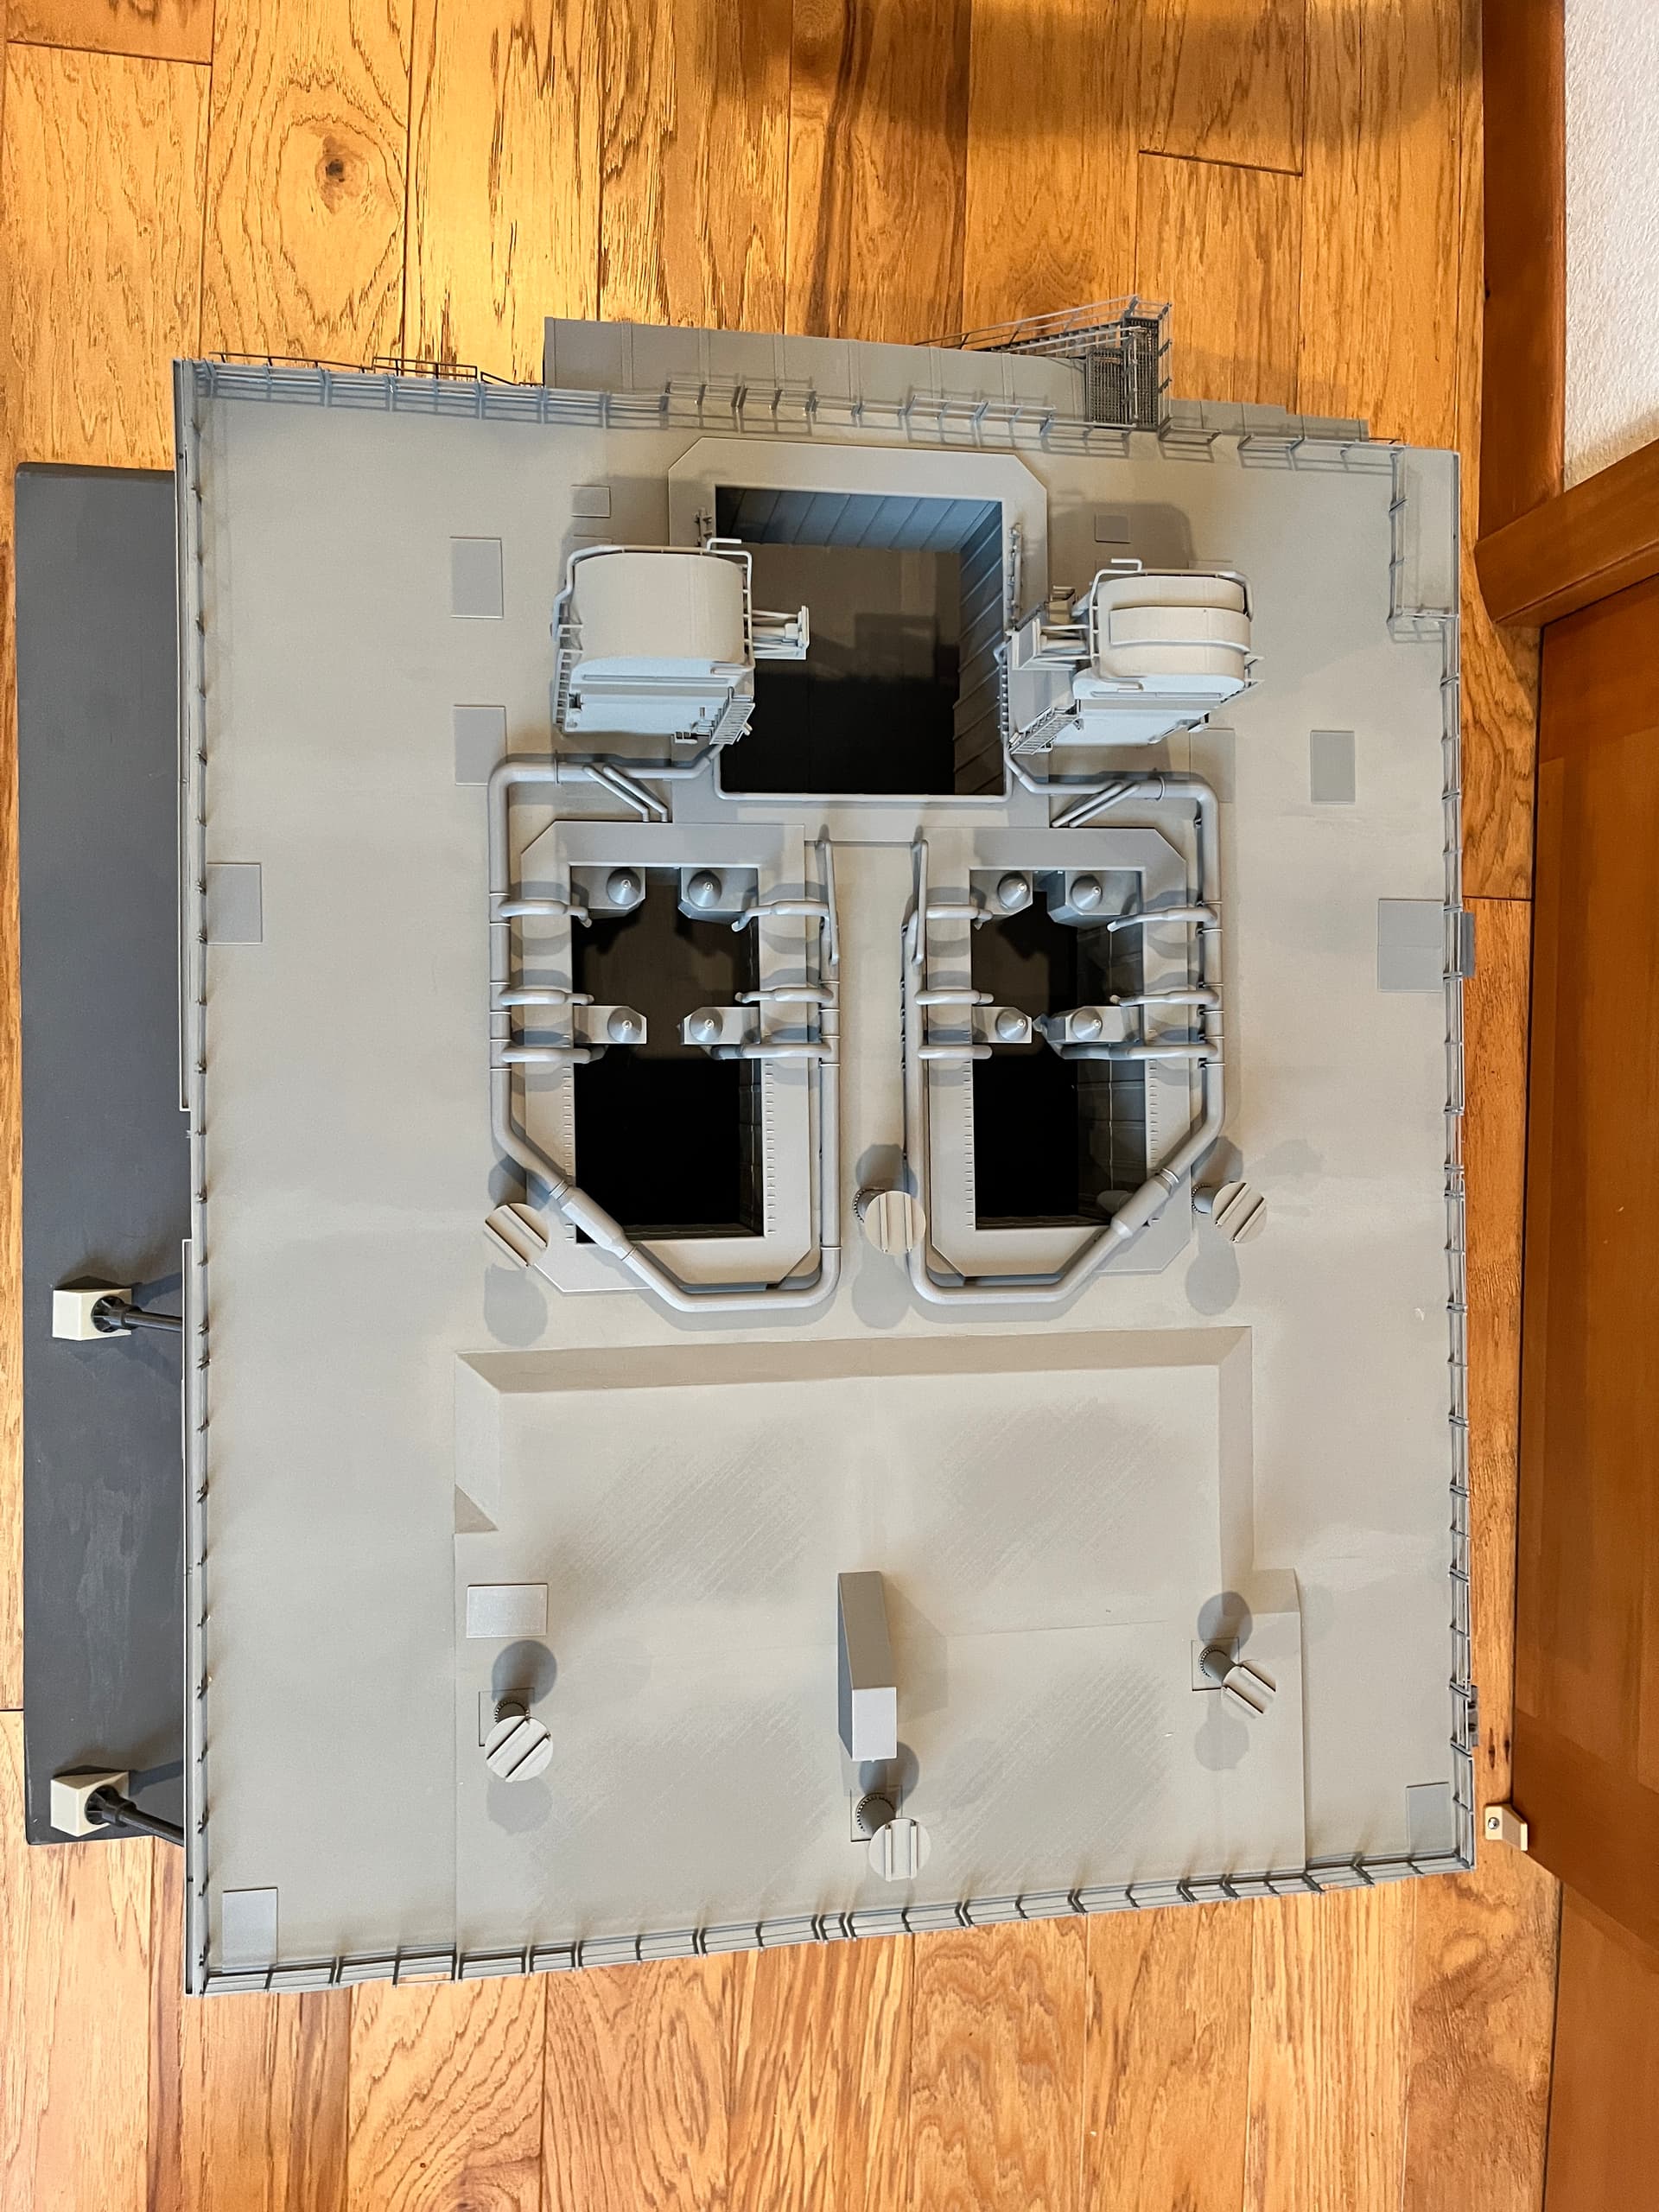
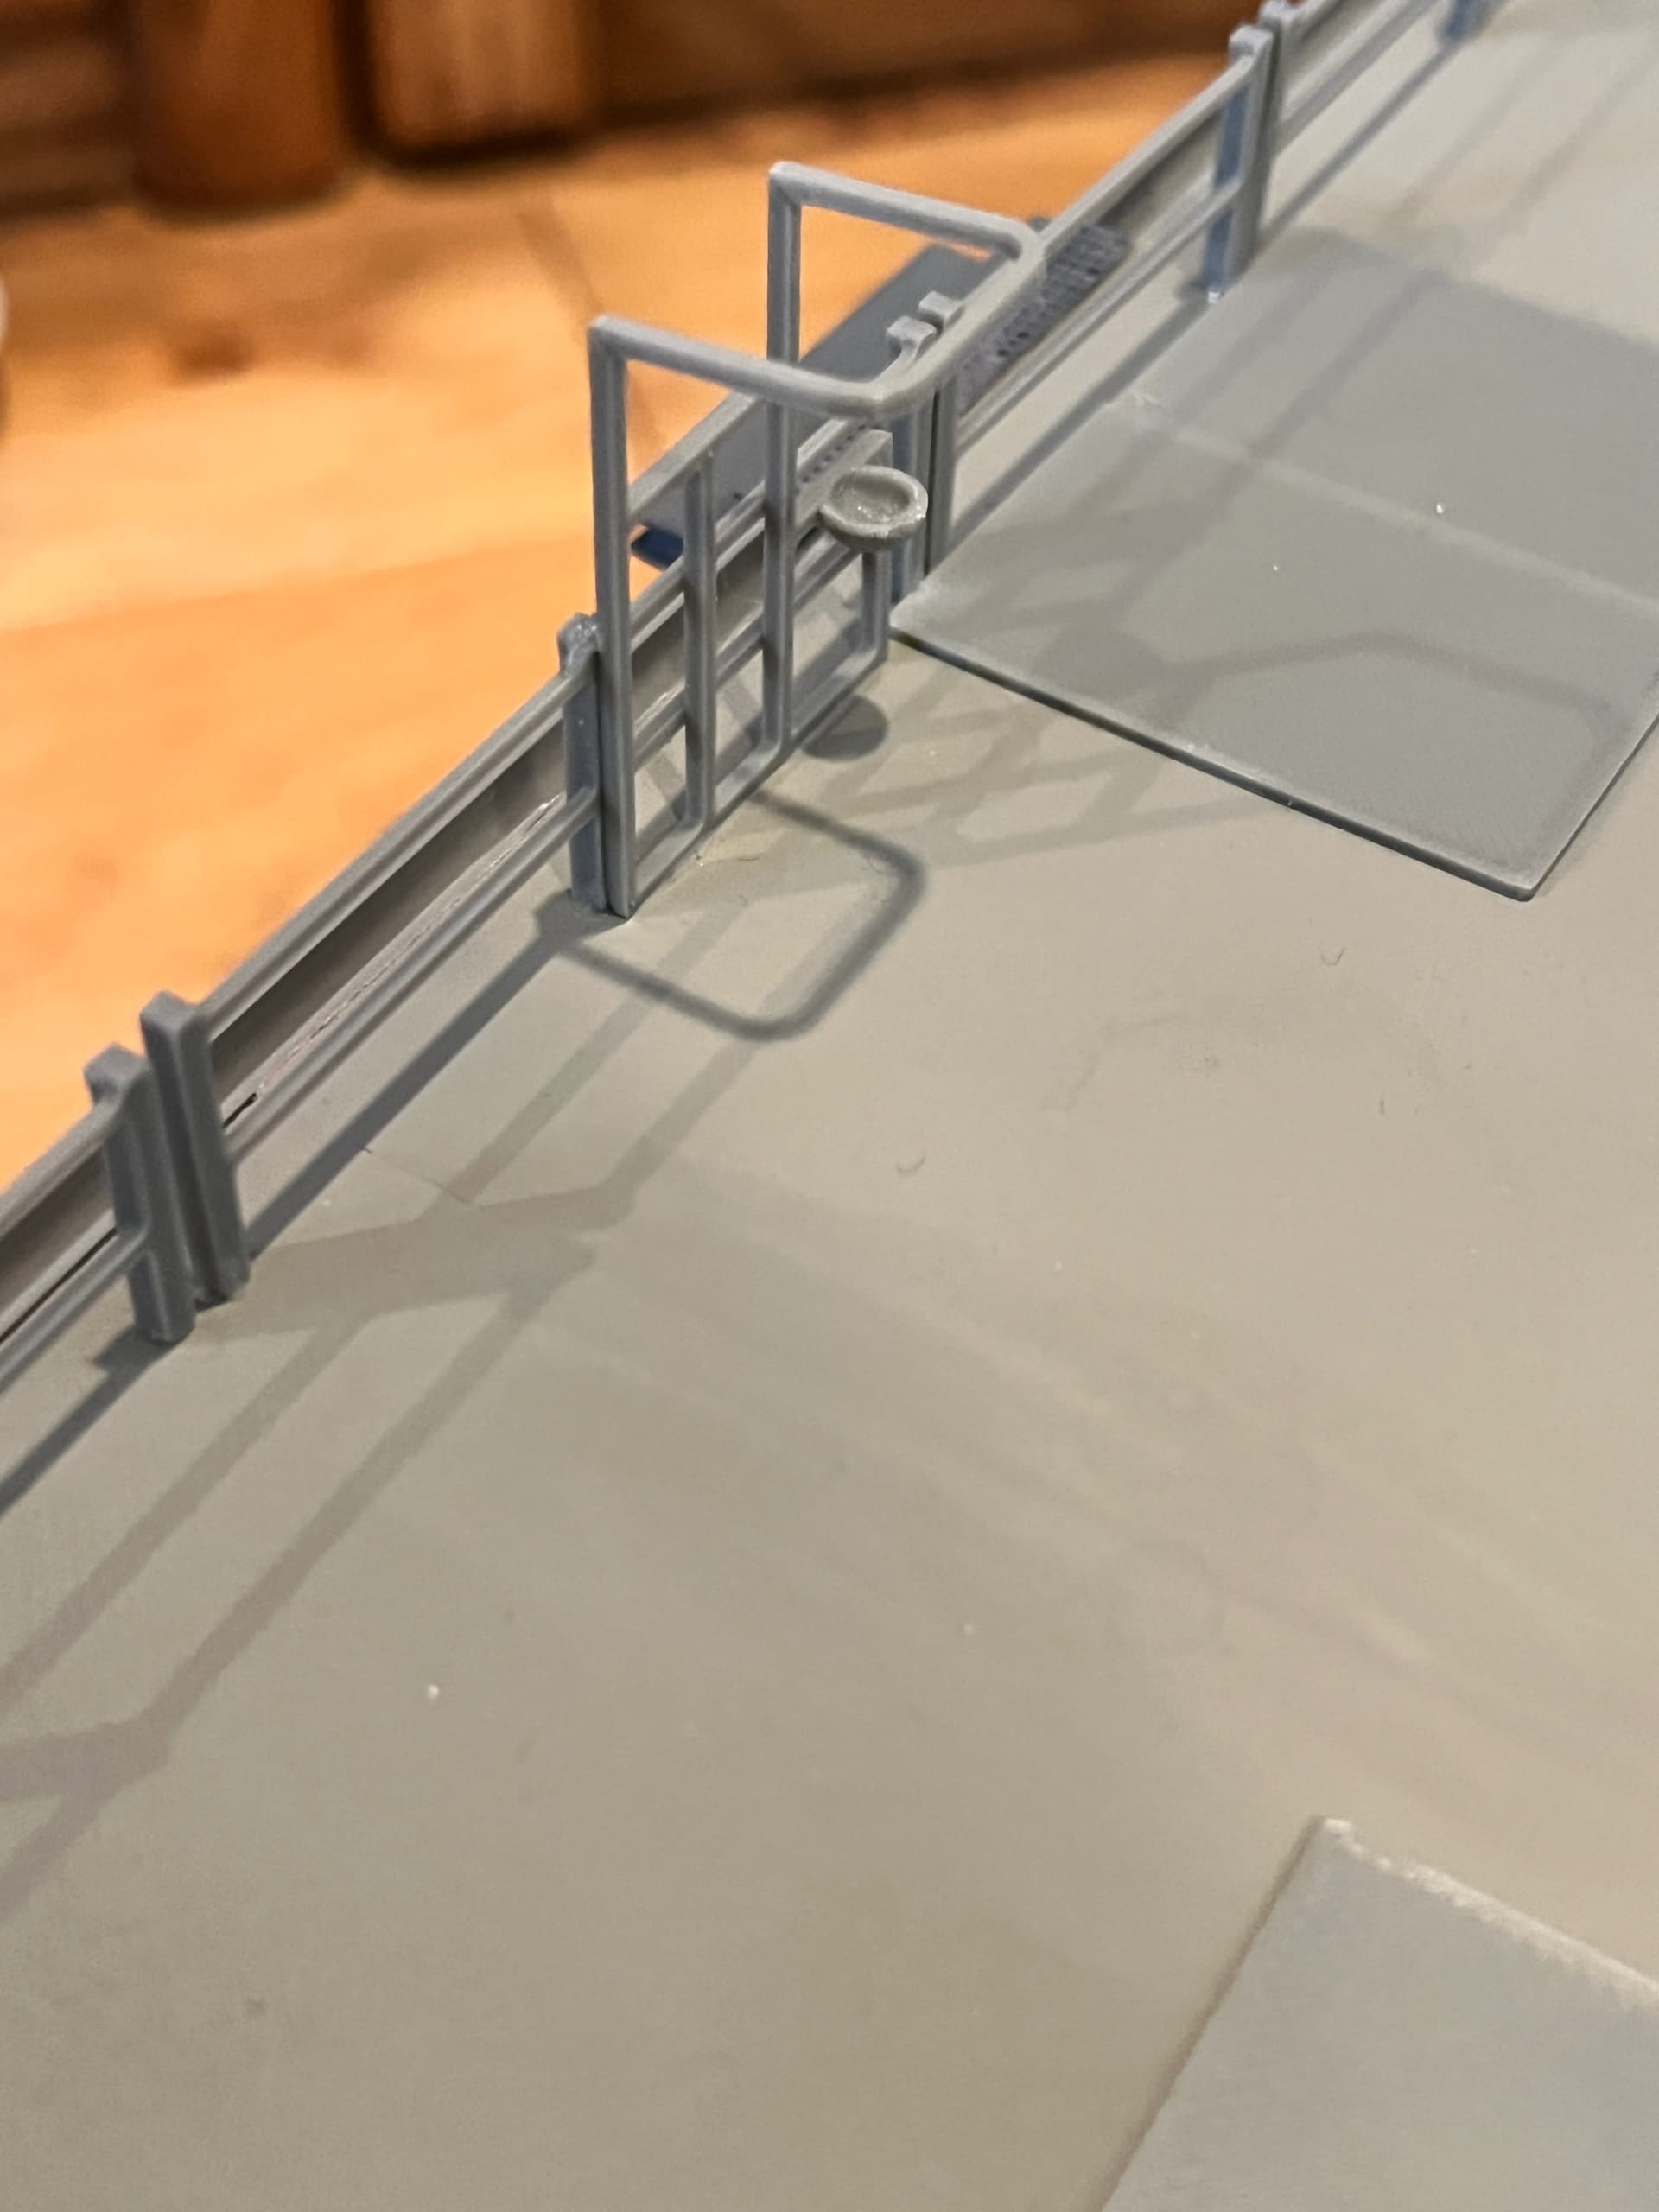
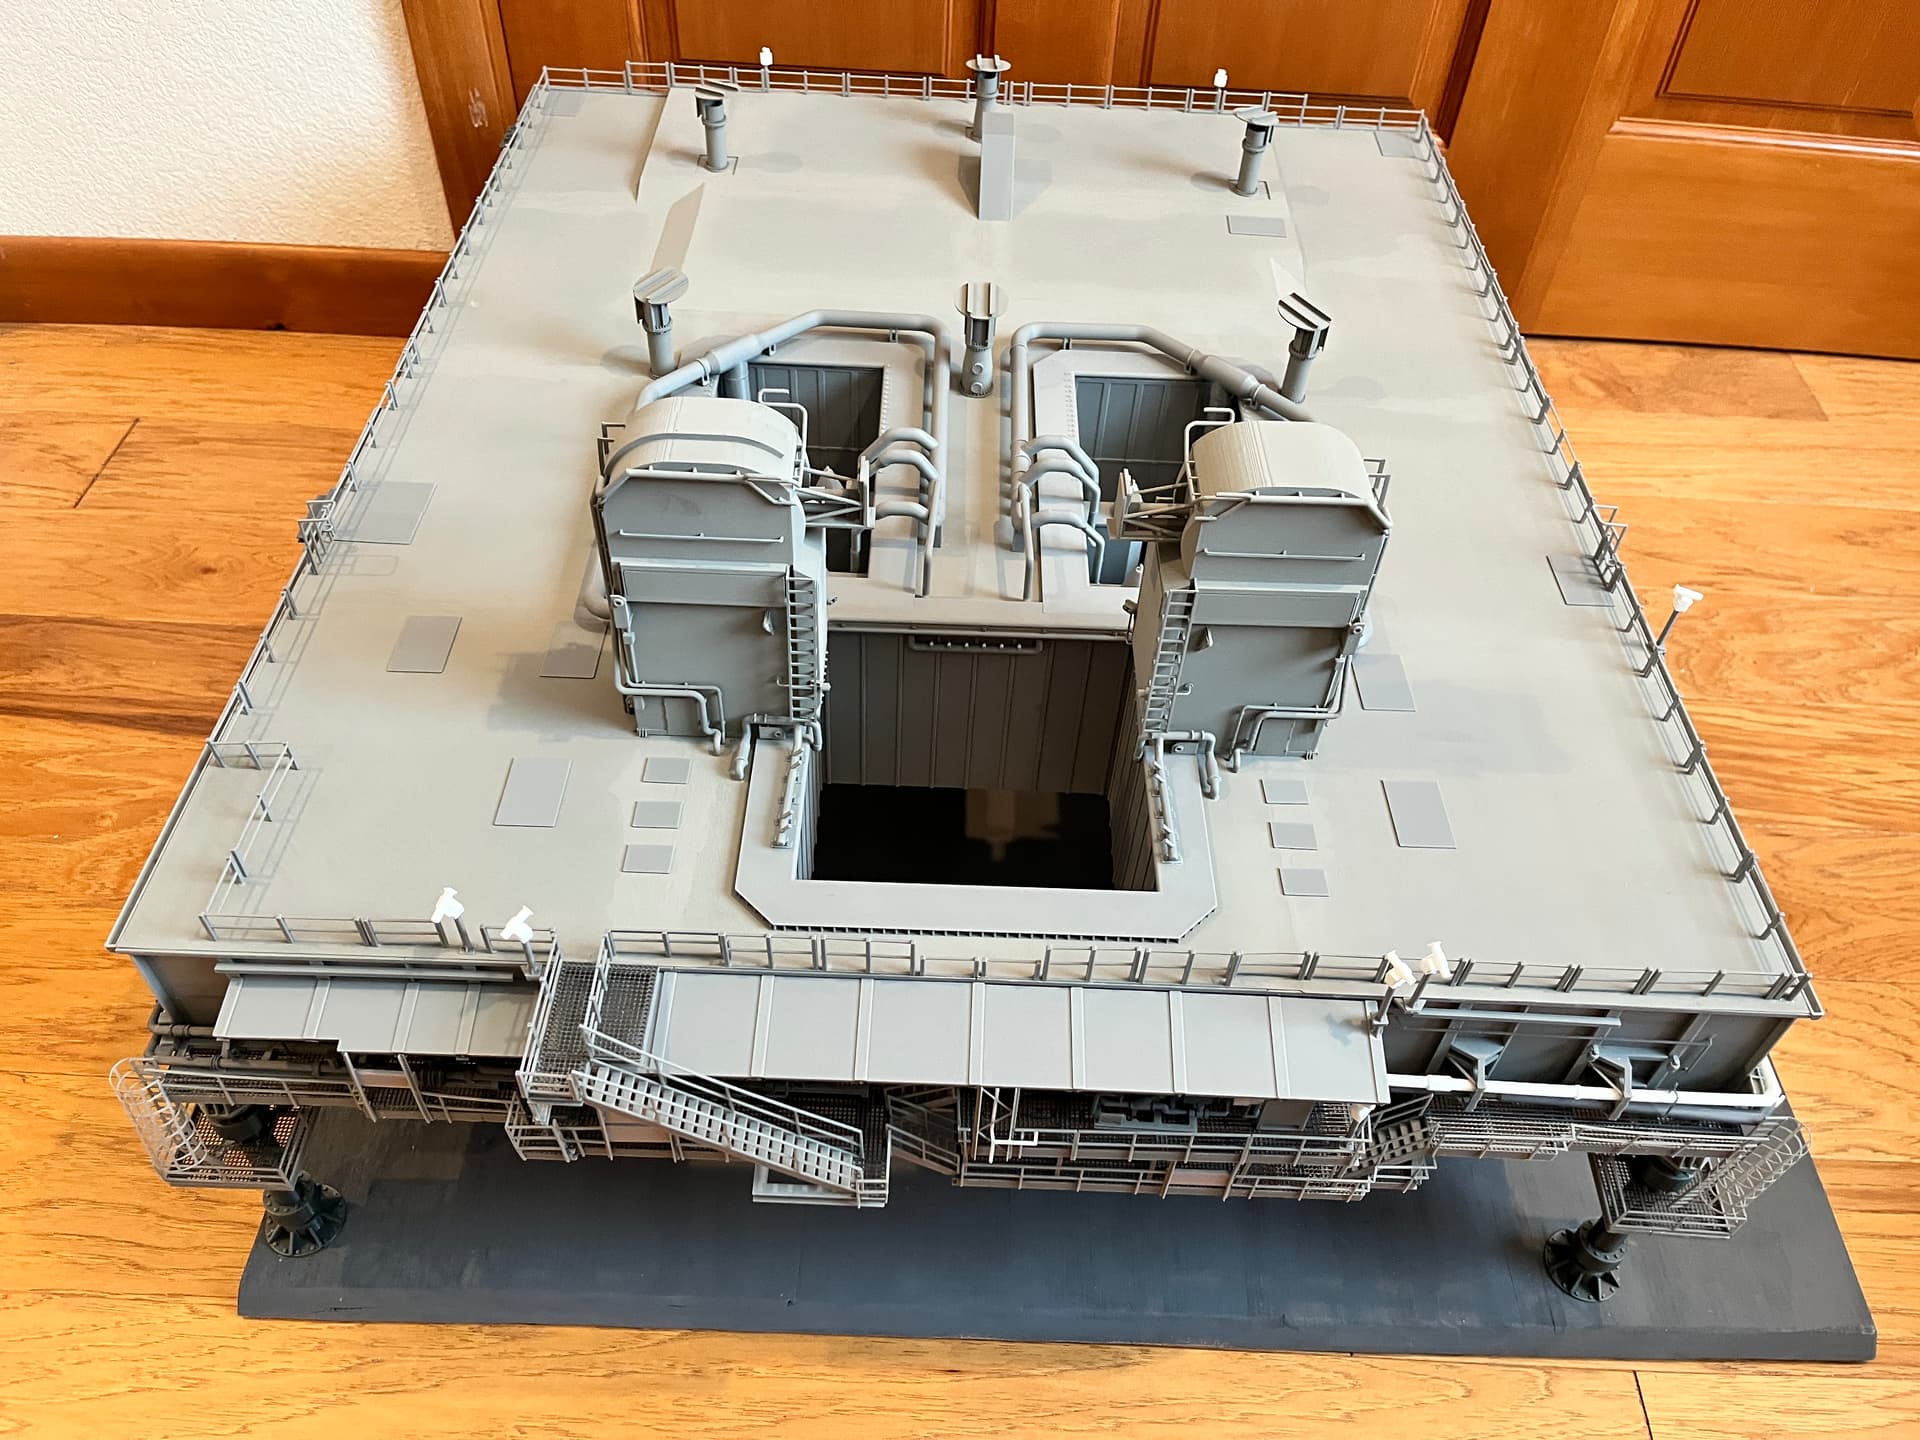
The top railings and top equipment are complete. The rainbirds have been published for both resin and filament printing. I did a resin print and spray painted them. For the railings, it is best to print them out and lay them out in order. When gluing them down start at one of the corners. The railings should be 5mm in from the outer edge. When adding the next section, there should be a 2mm gap between sections. I found it best to use a ruler to line up the railing sections. Here are the railings laid out.

And here are the railings glued in. You can see the rainbirds are also installed.
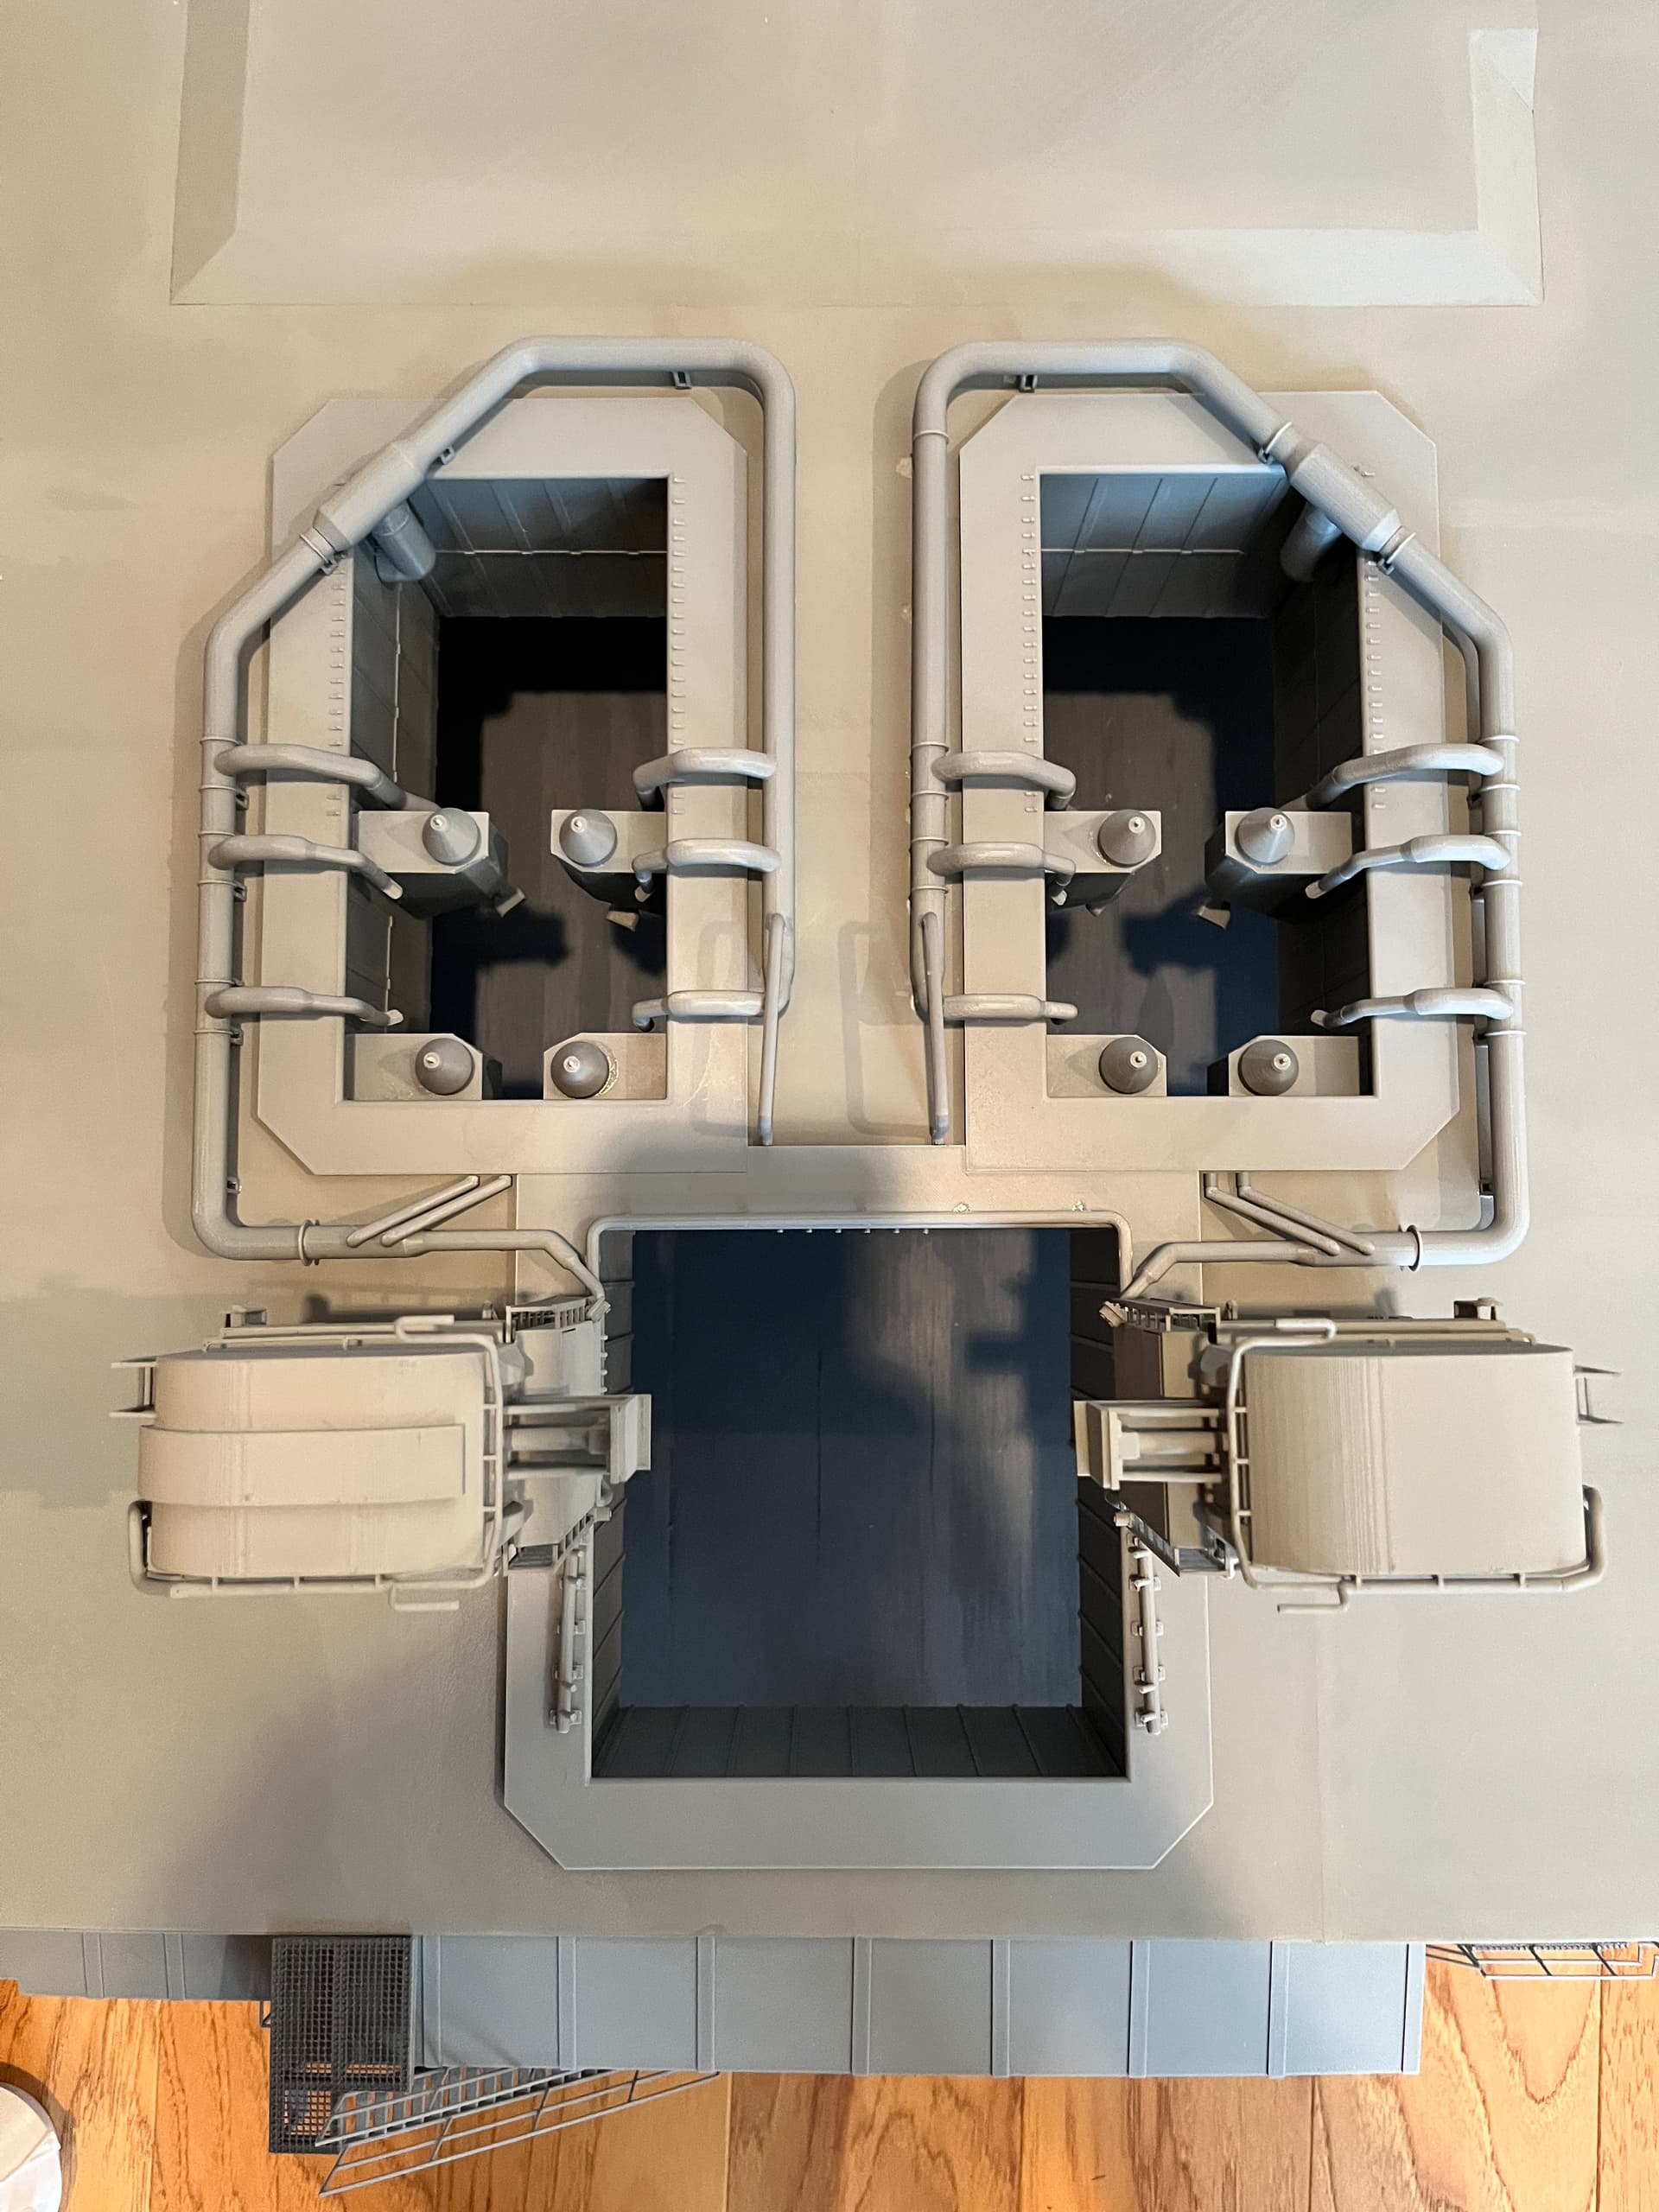
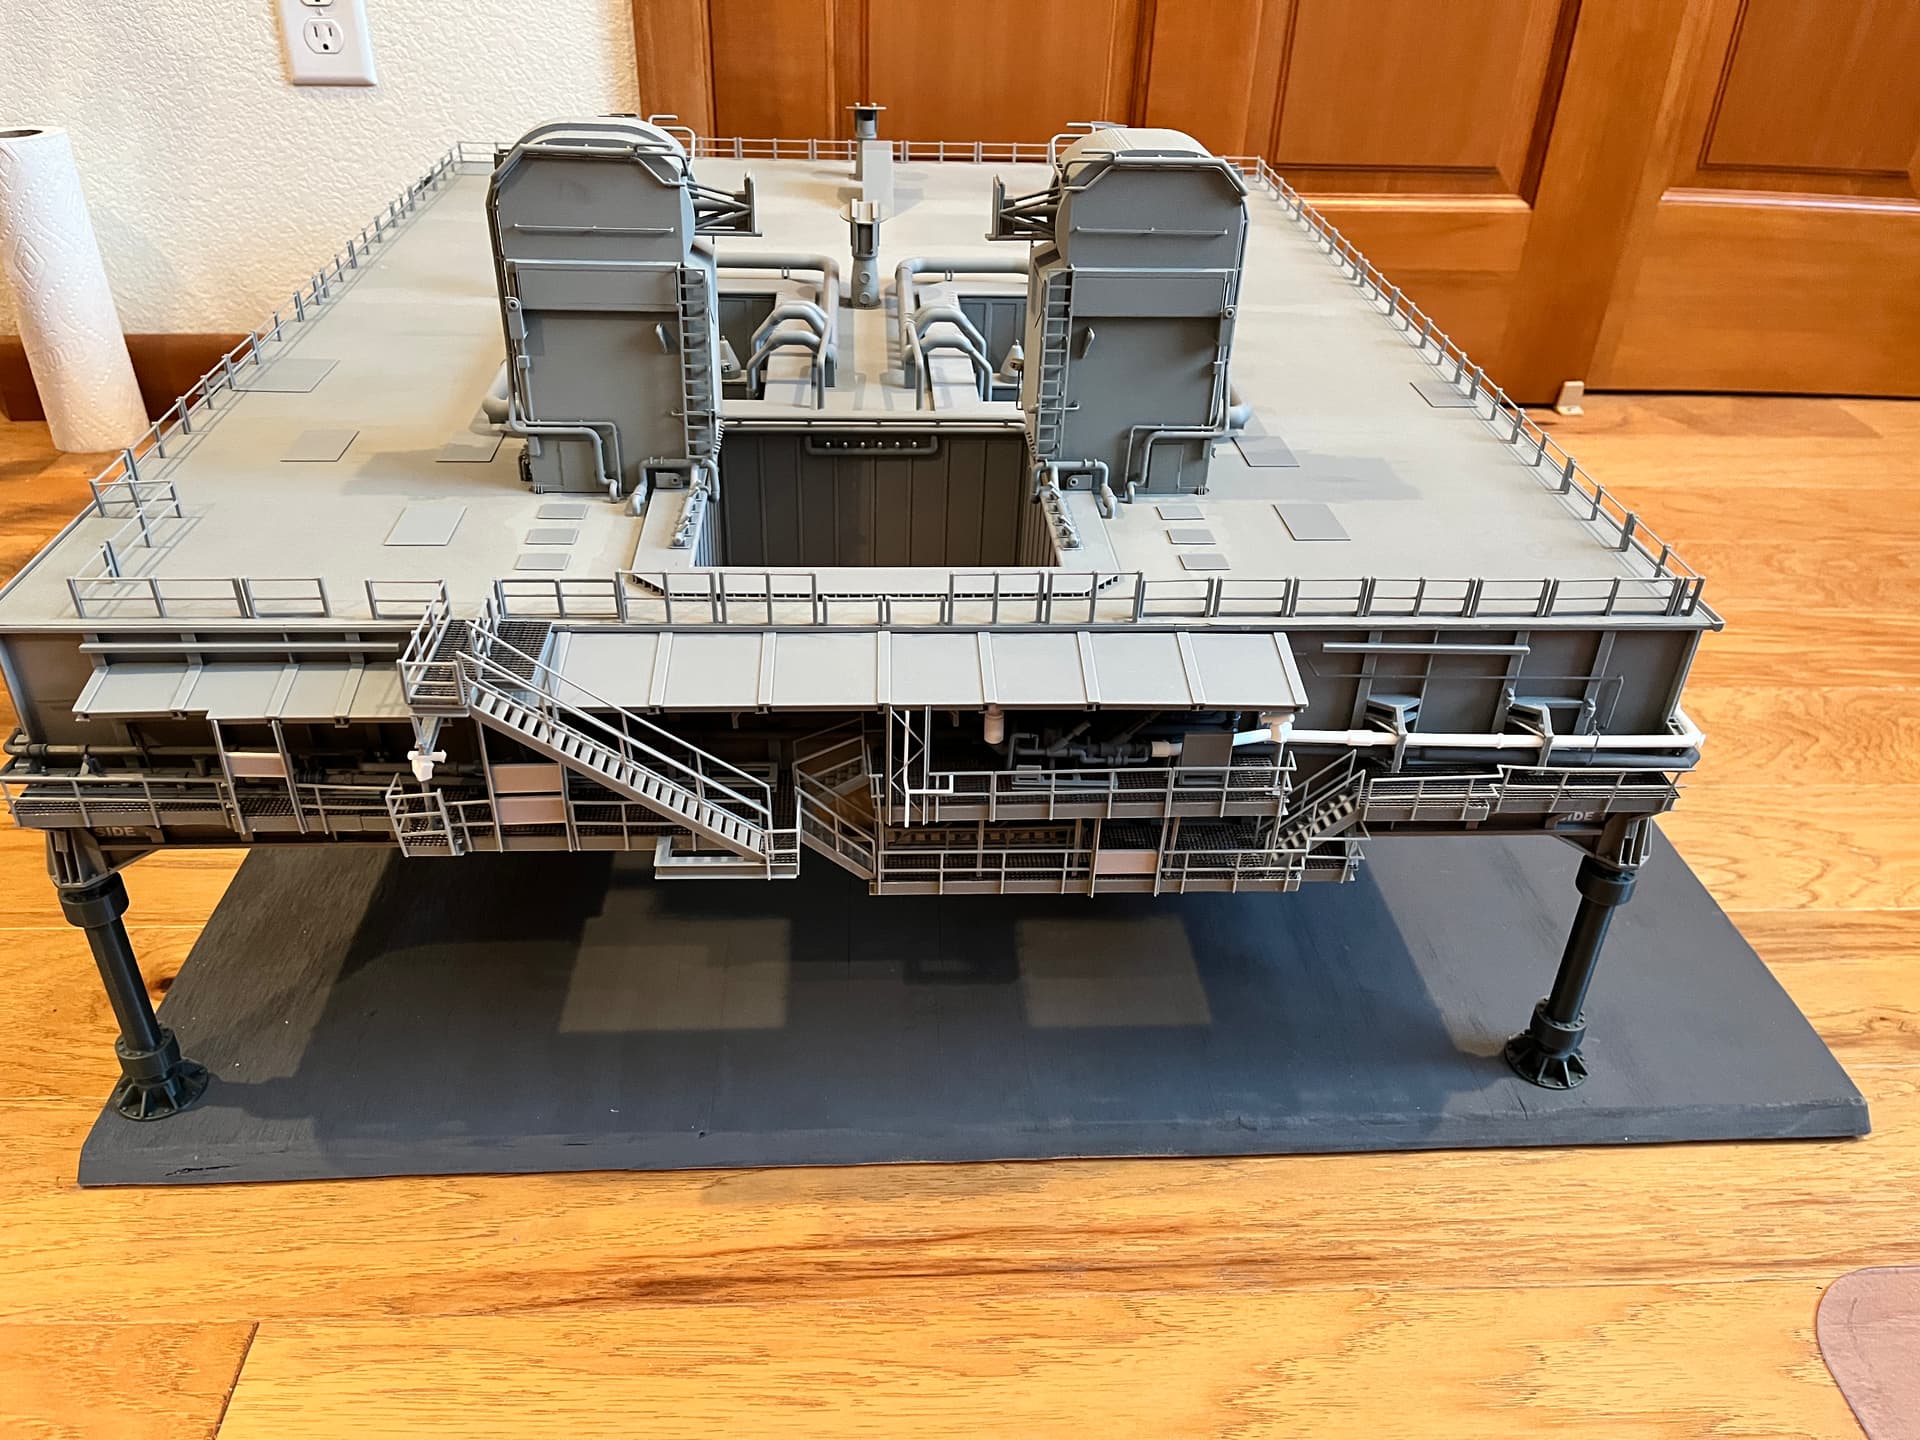
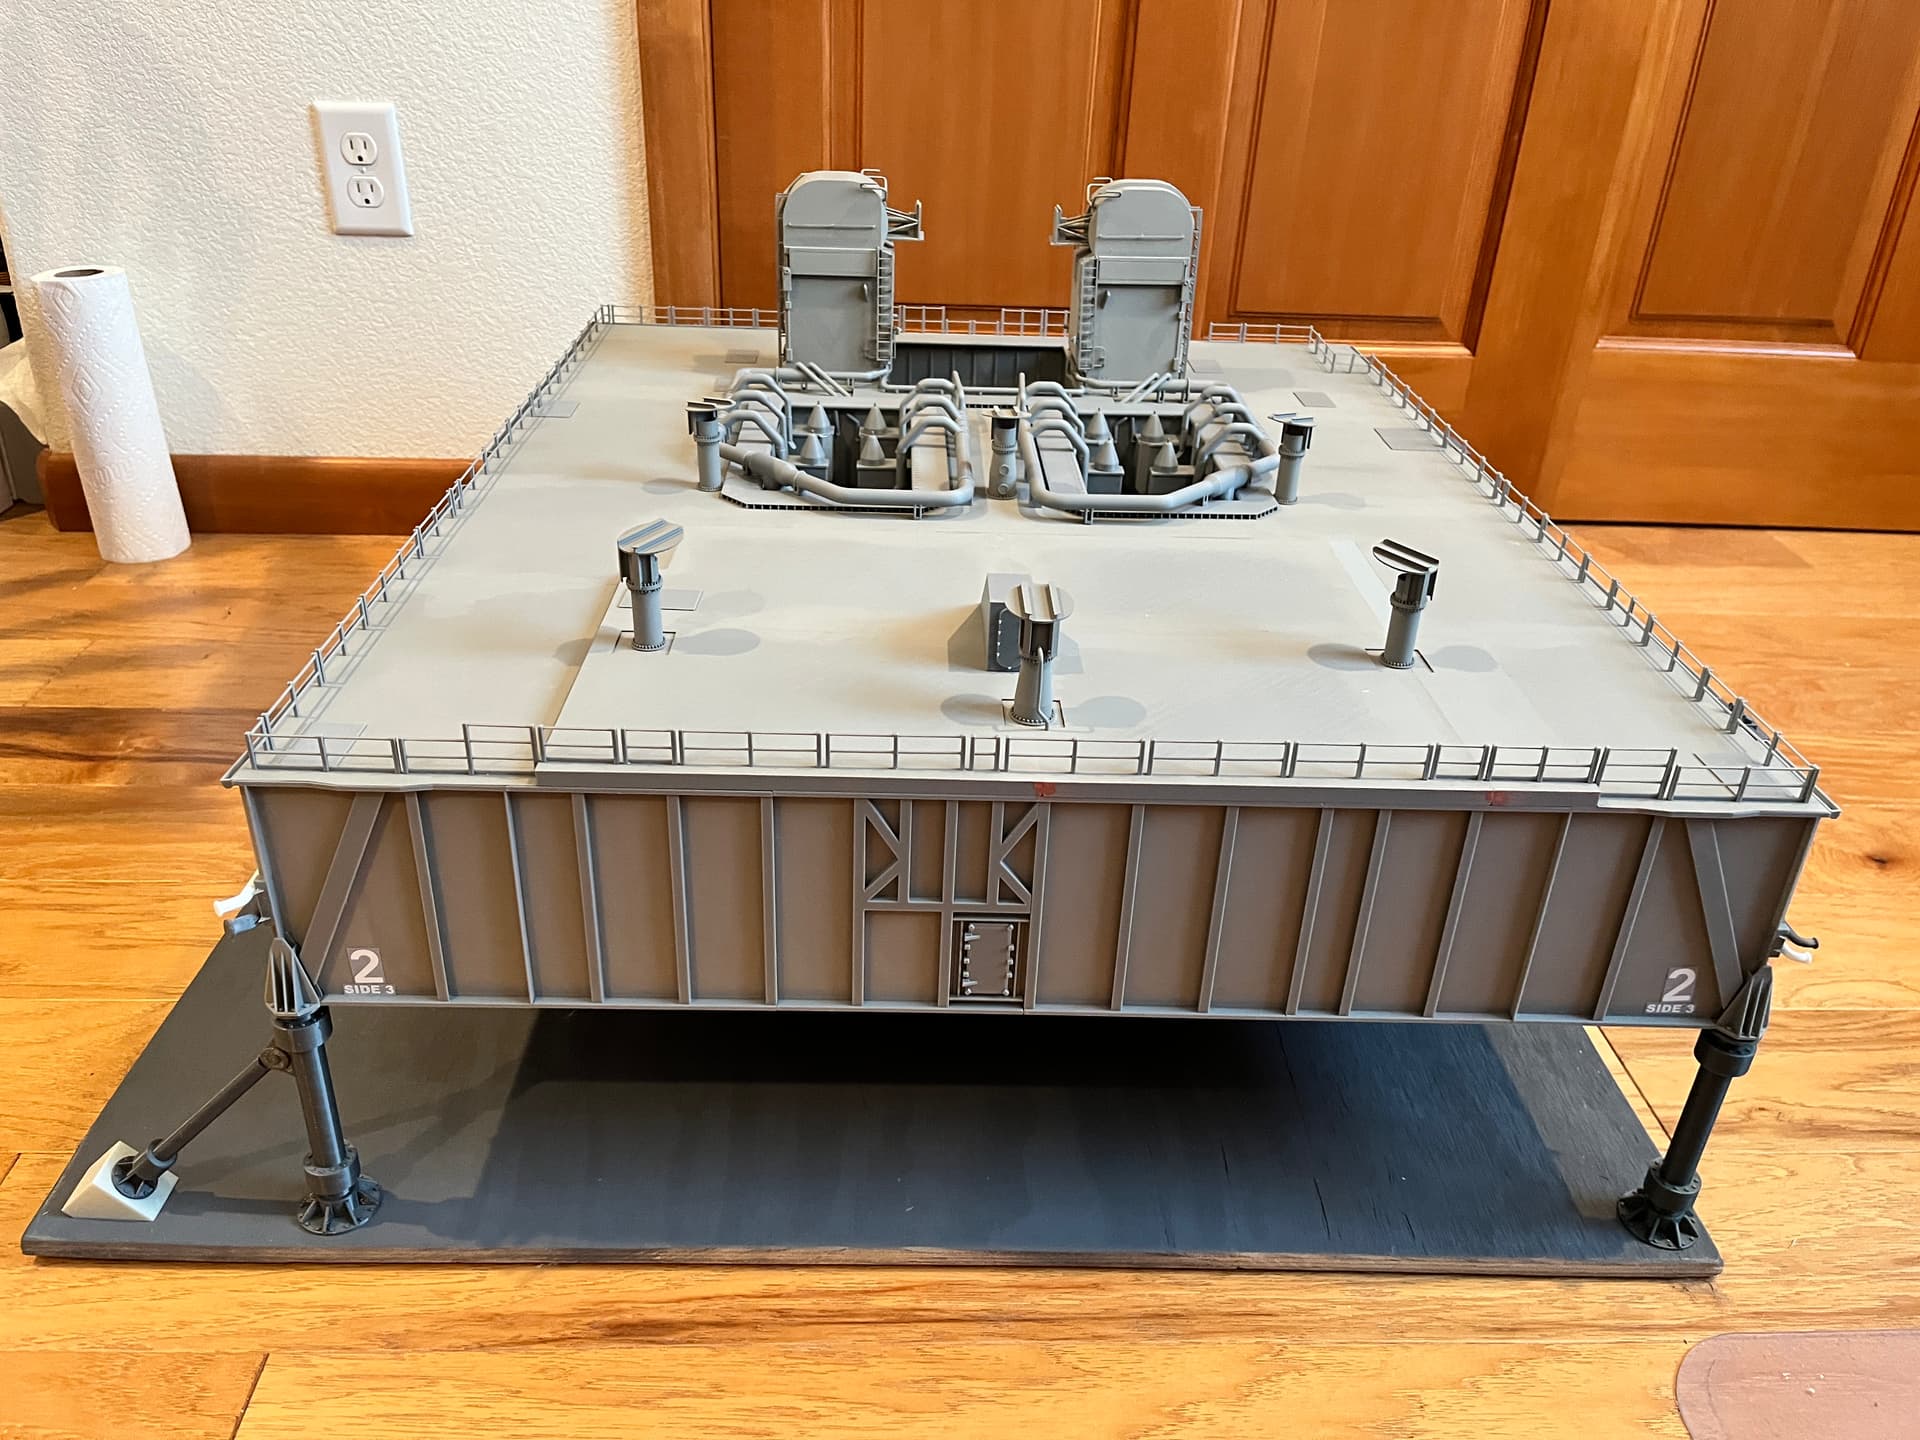
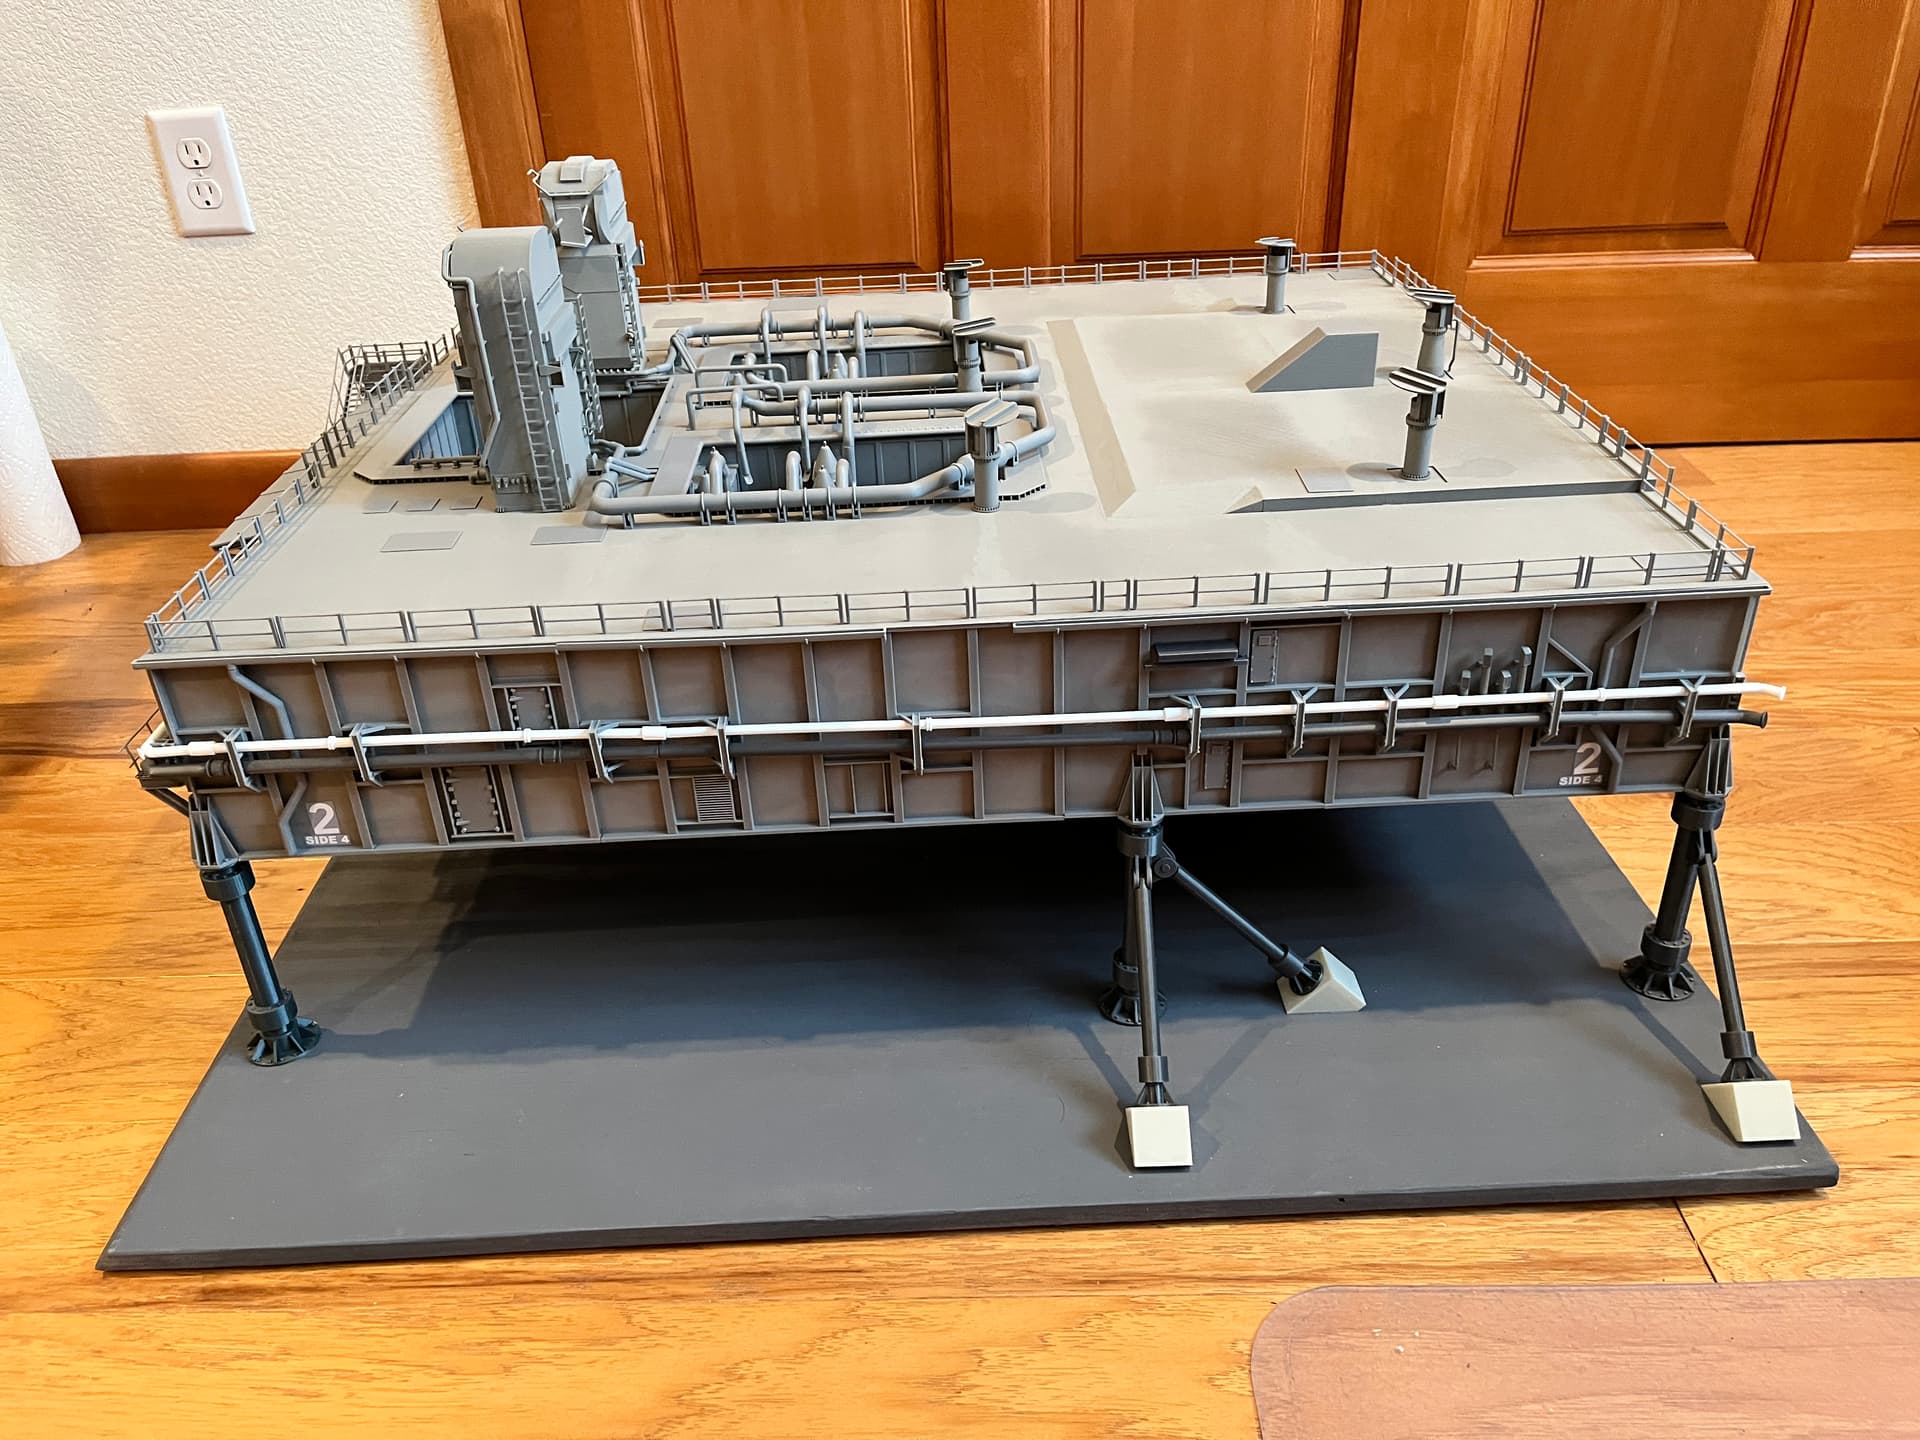
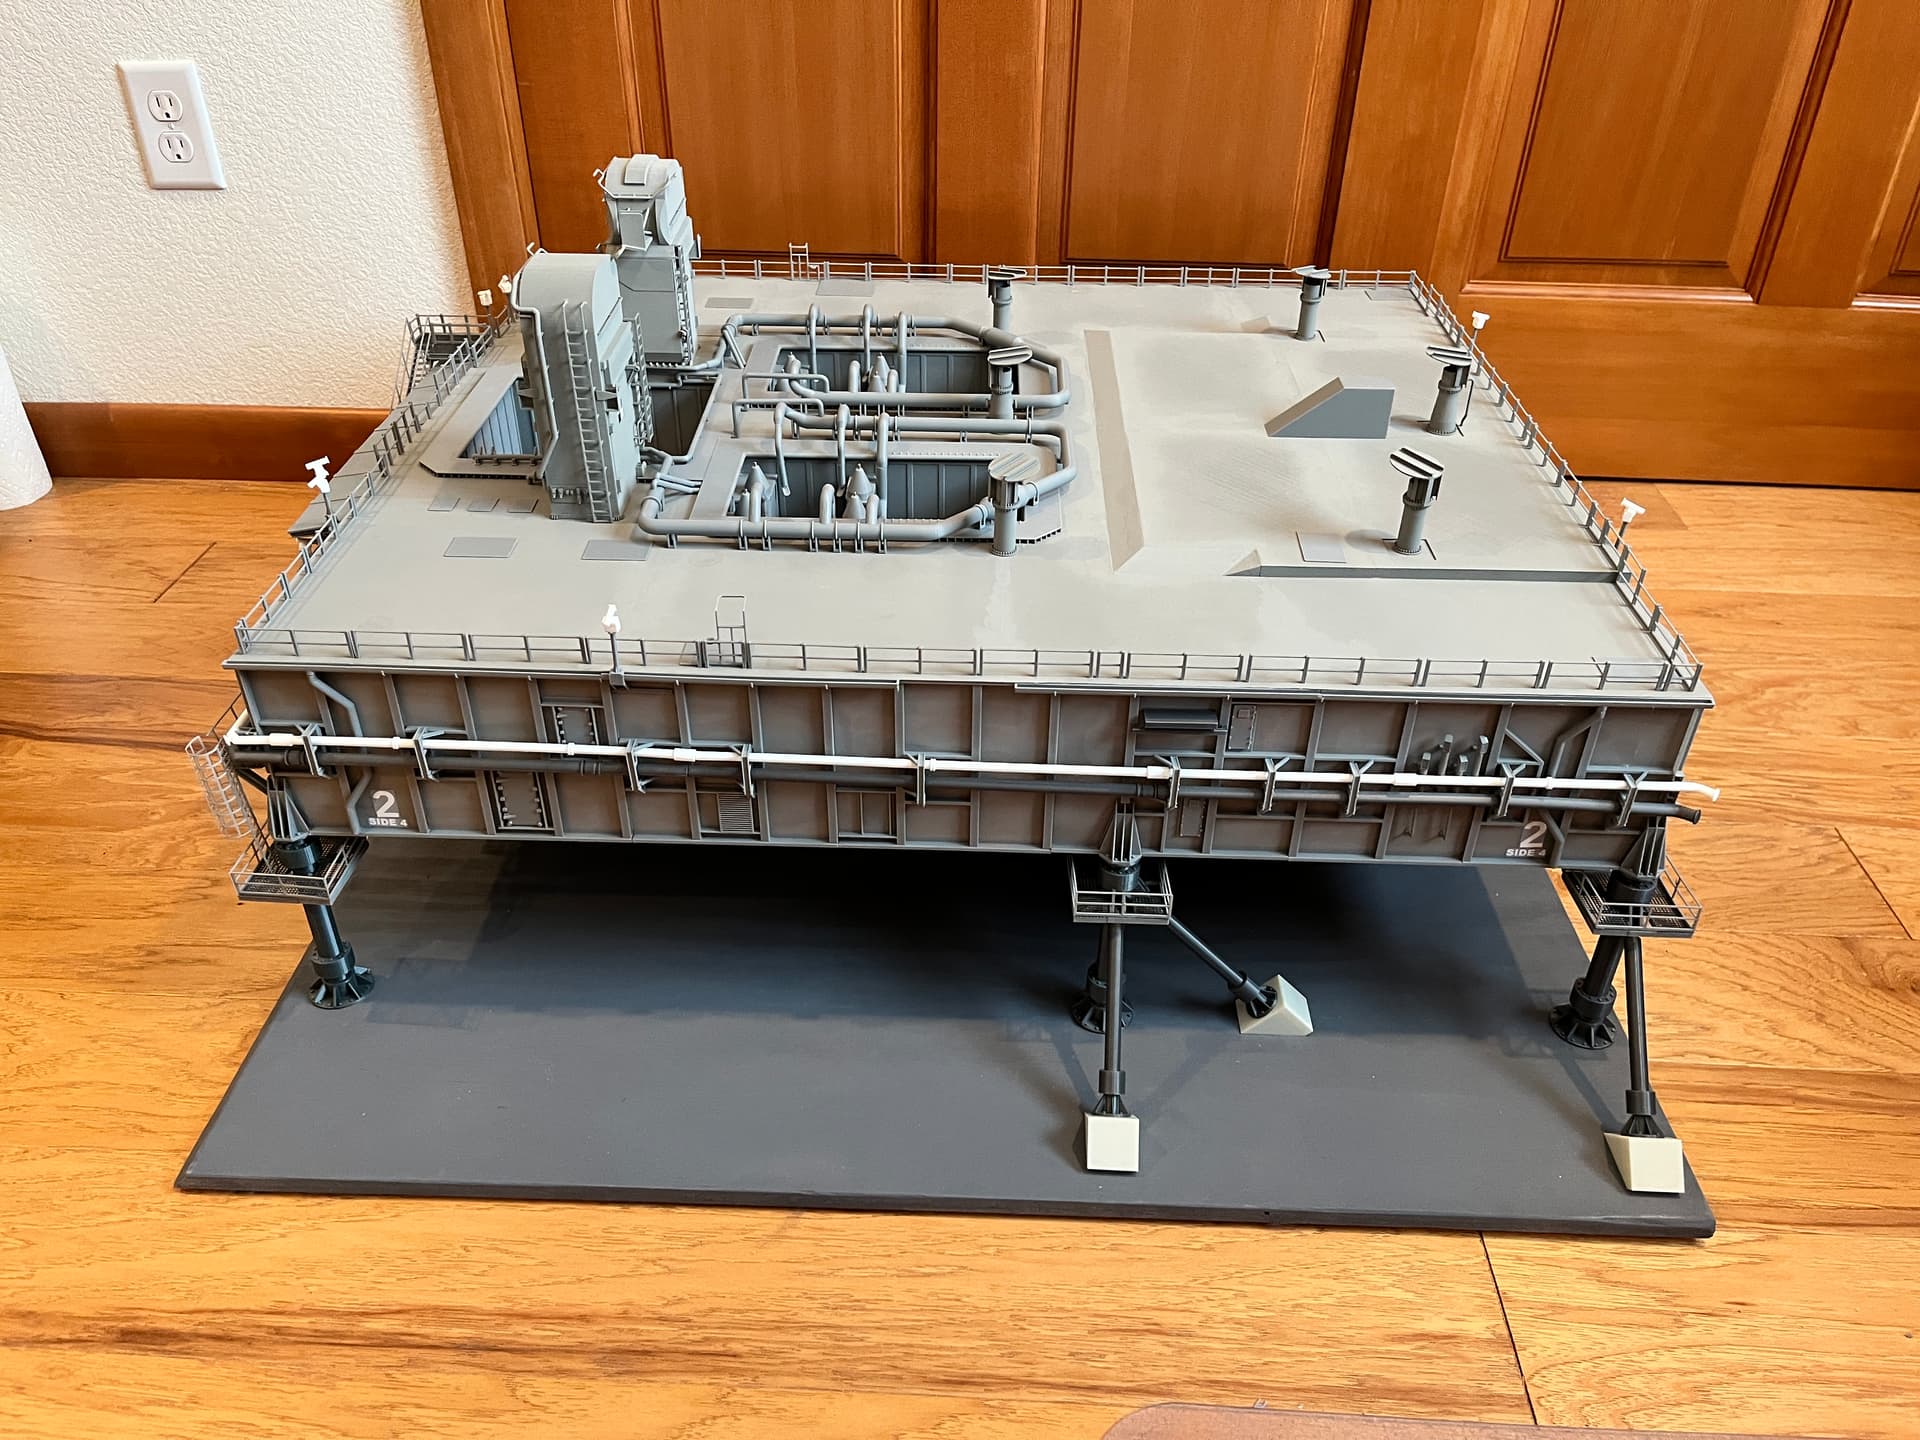
And here are pictures of the four sides.

1 Like
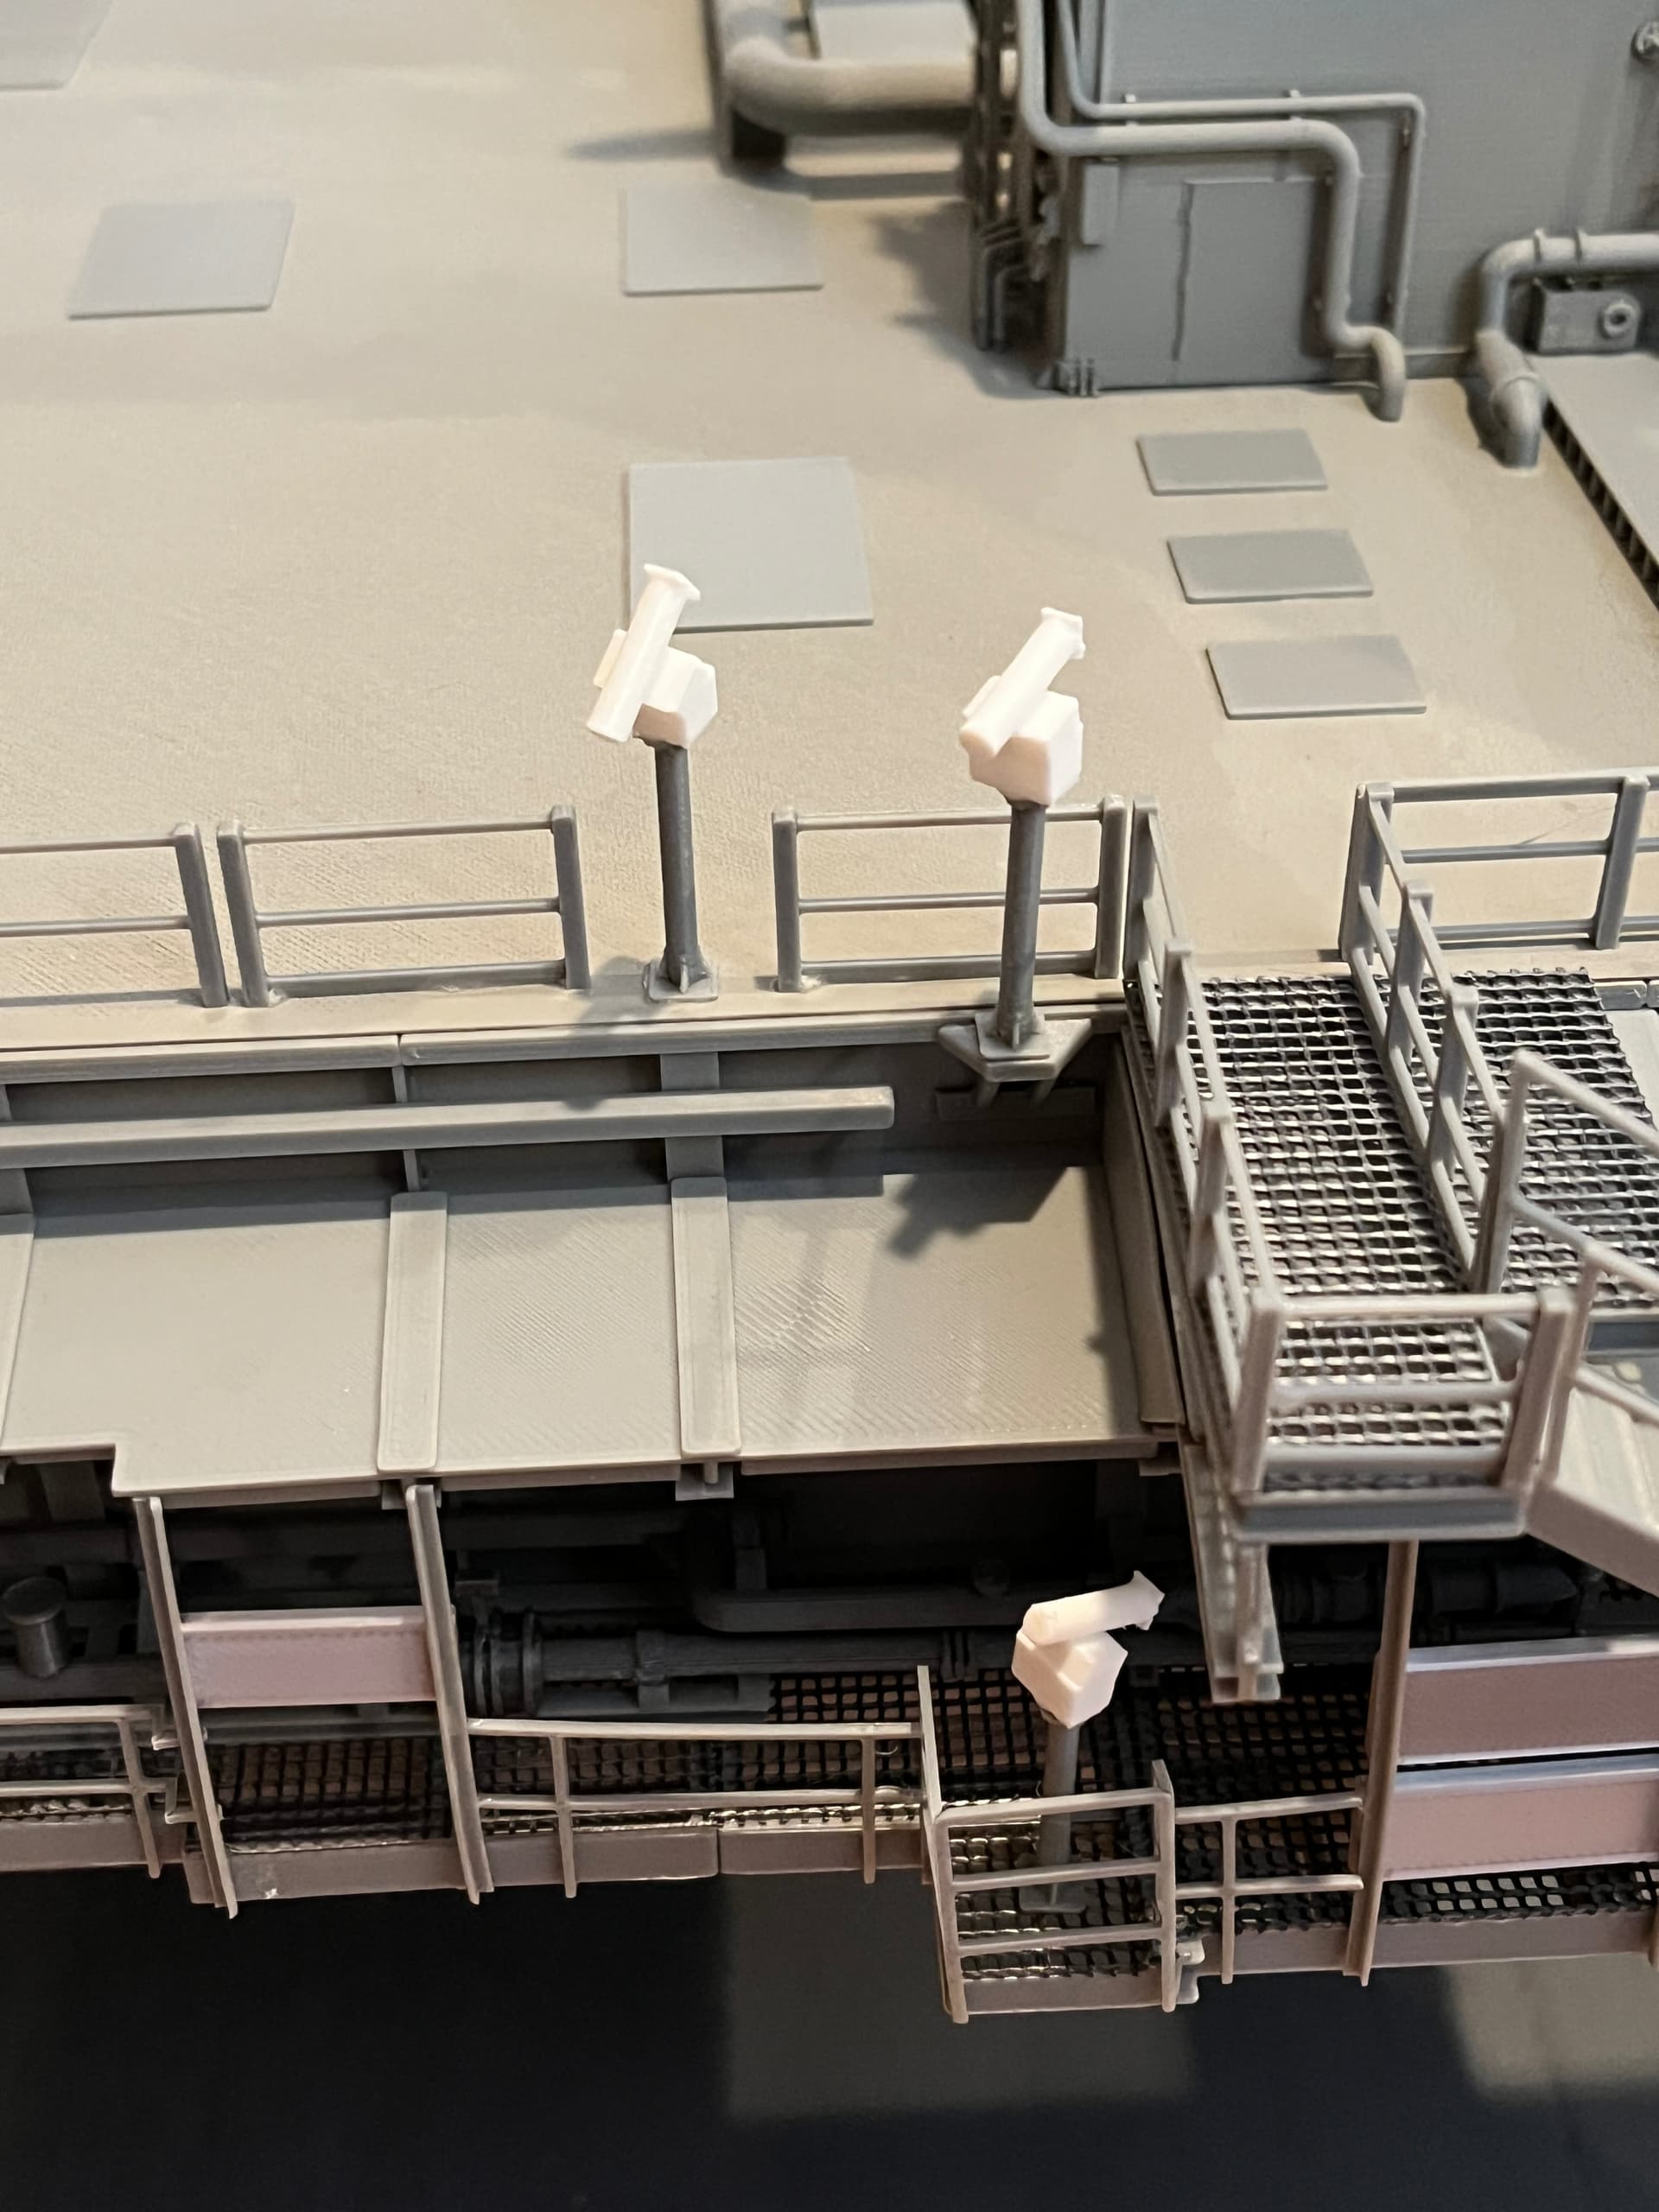
Went ahead and added the shower/eyewash stations in both resin and filament versions. I printed the filament version to show how, like some of the railings, the top is bent over and glued. The resin version is more correct in that the pipes are round and the back to top transitions are rounded.
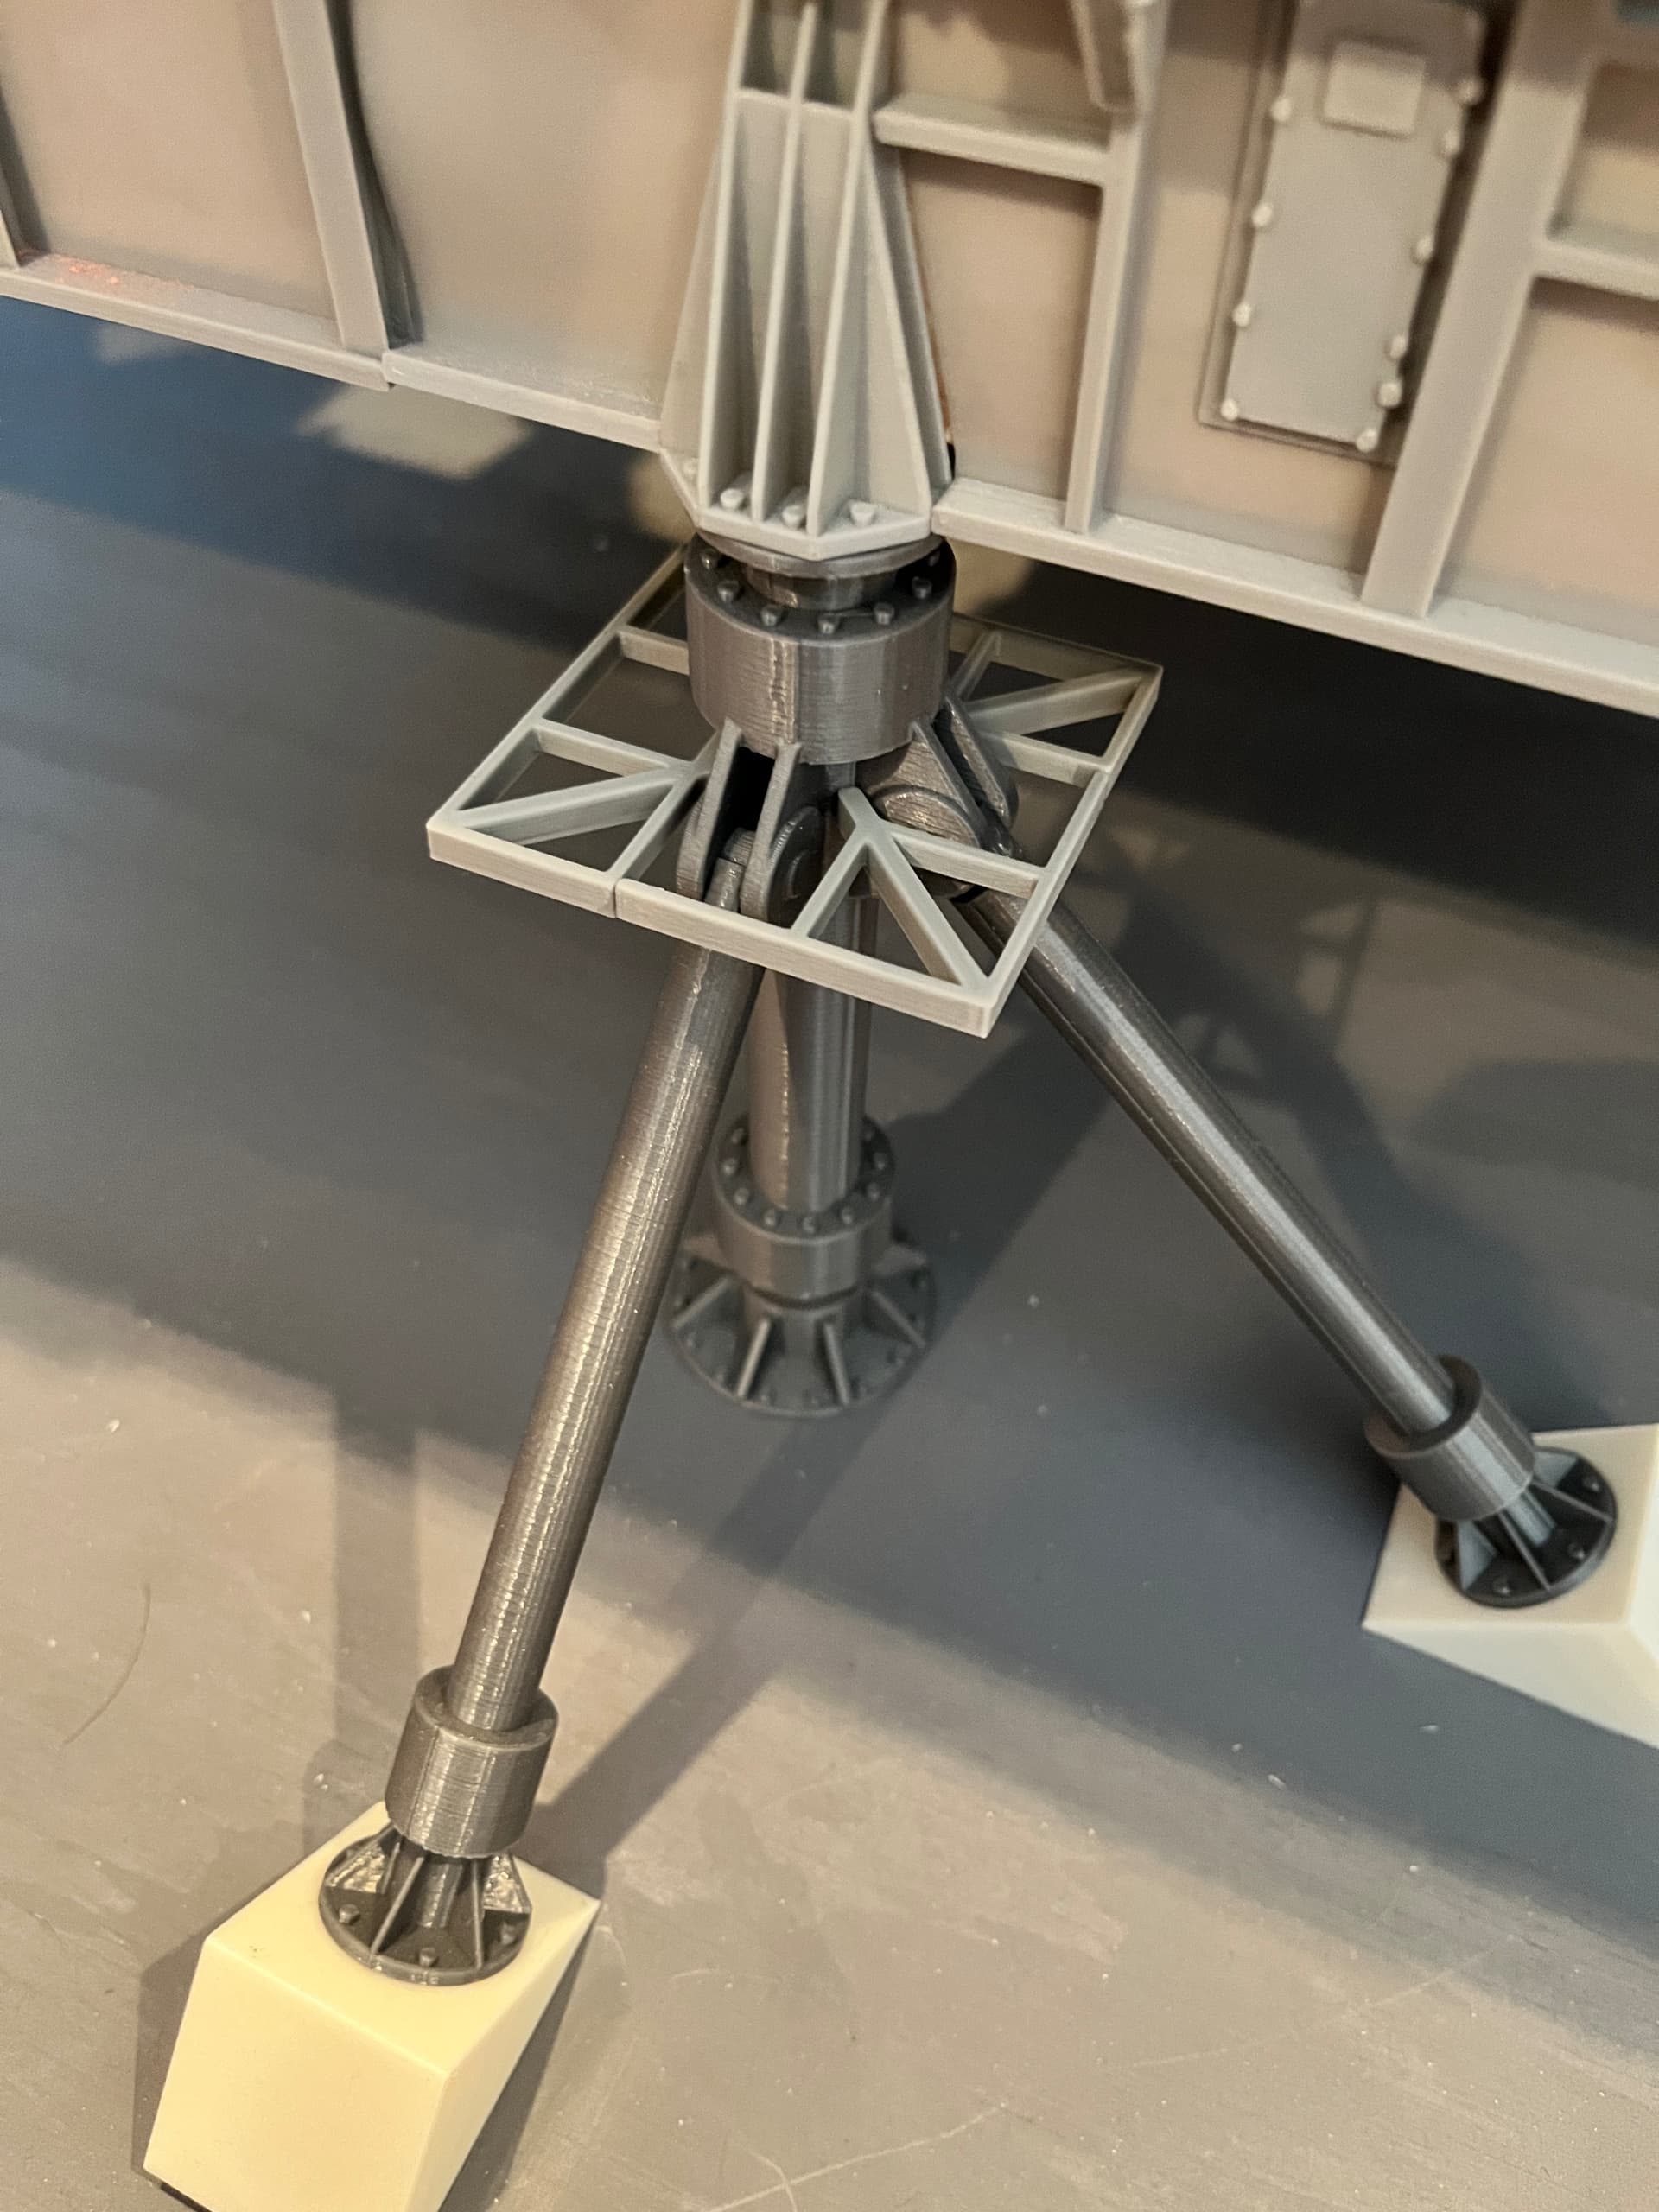
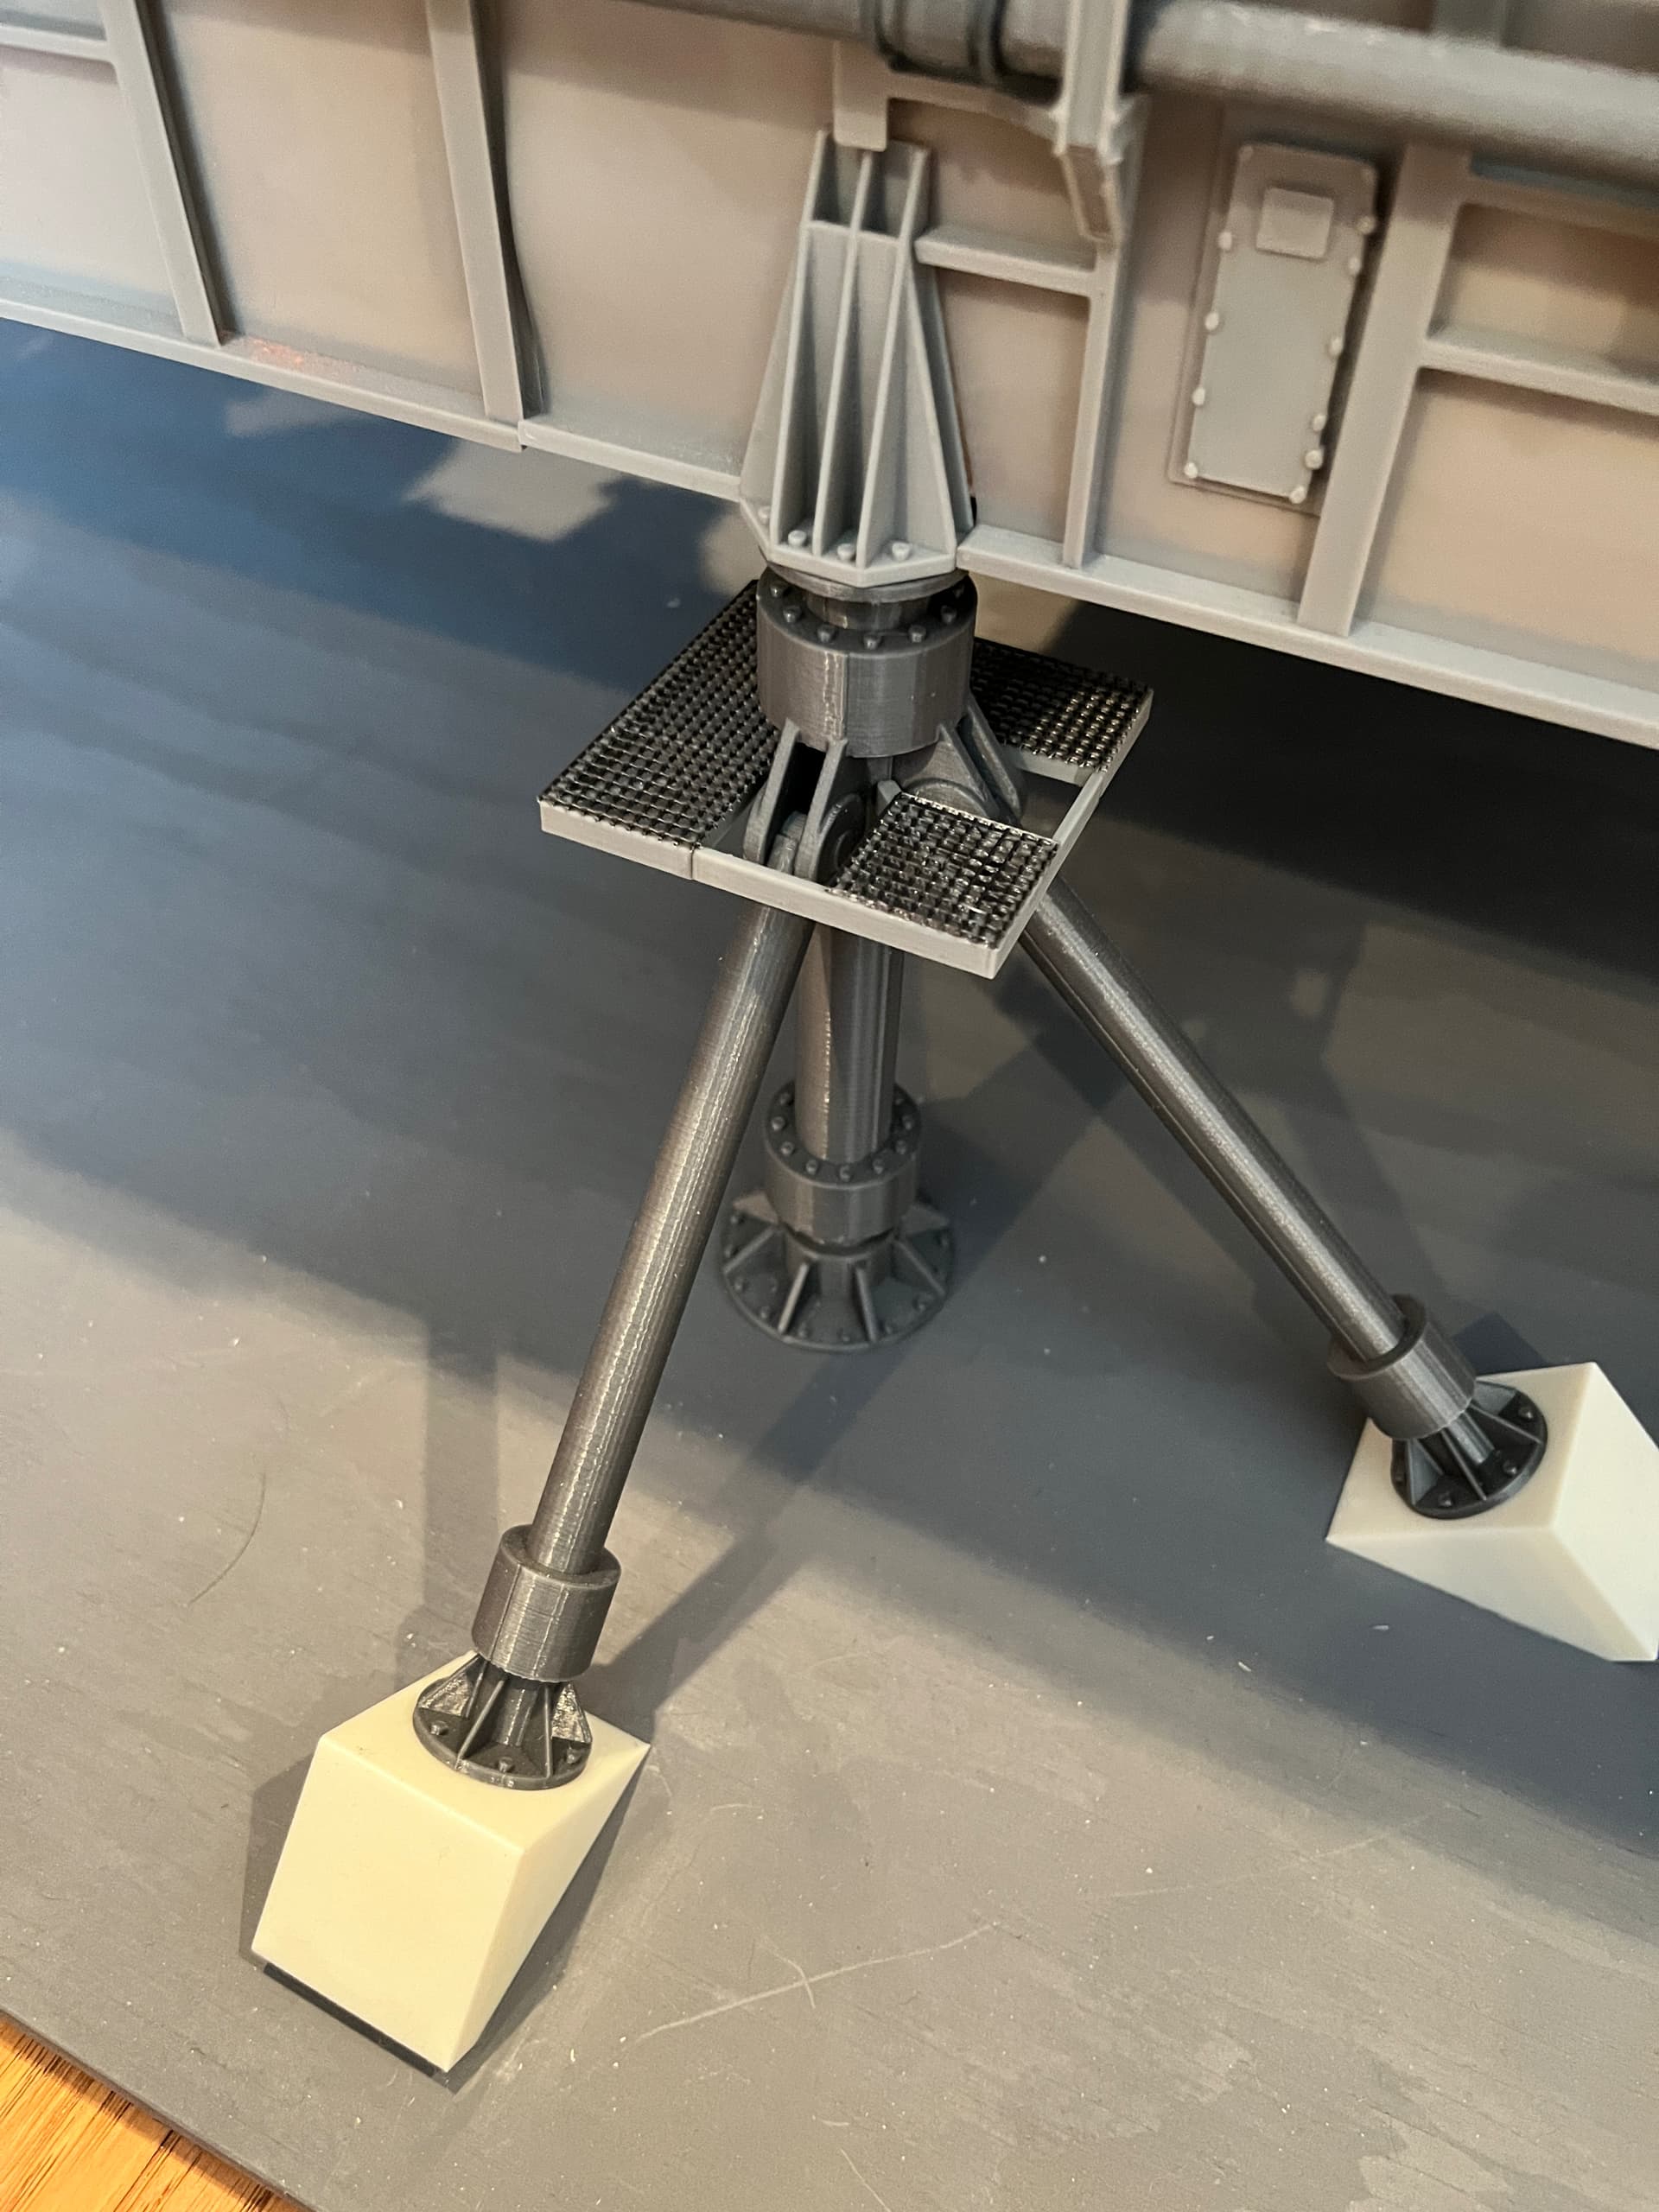
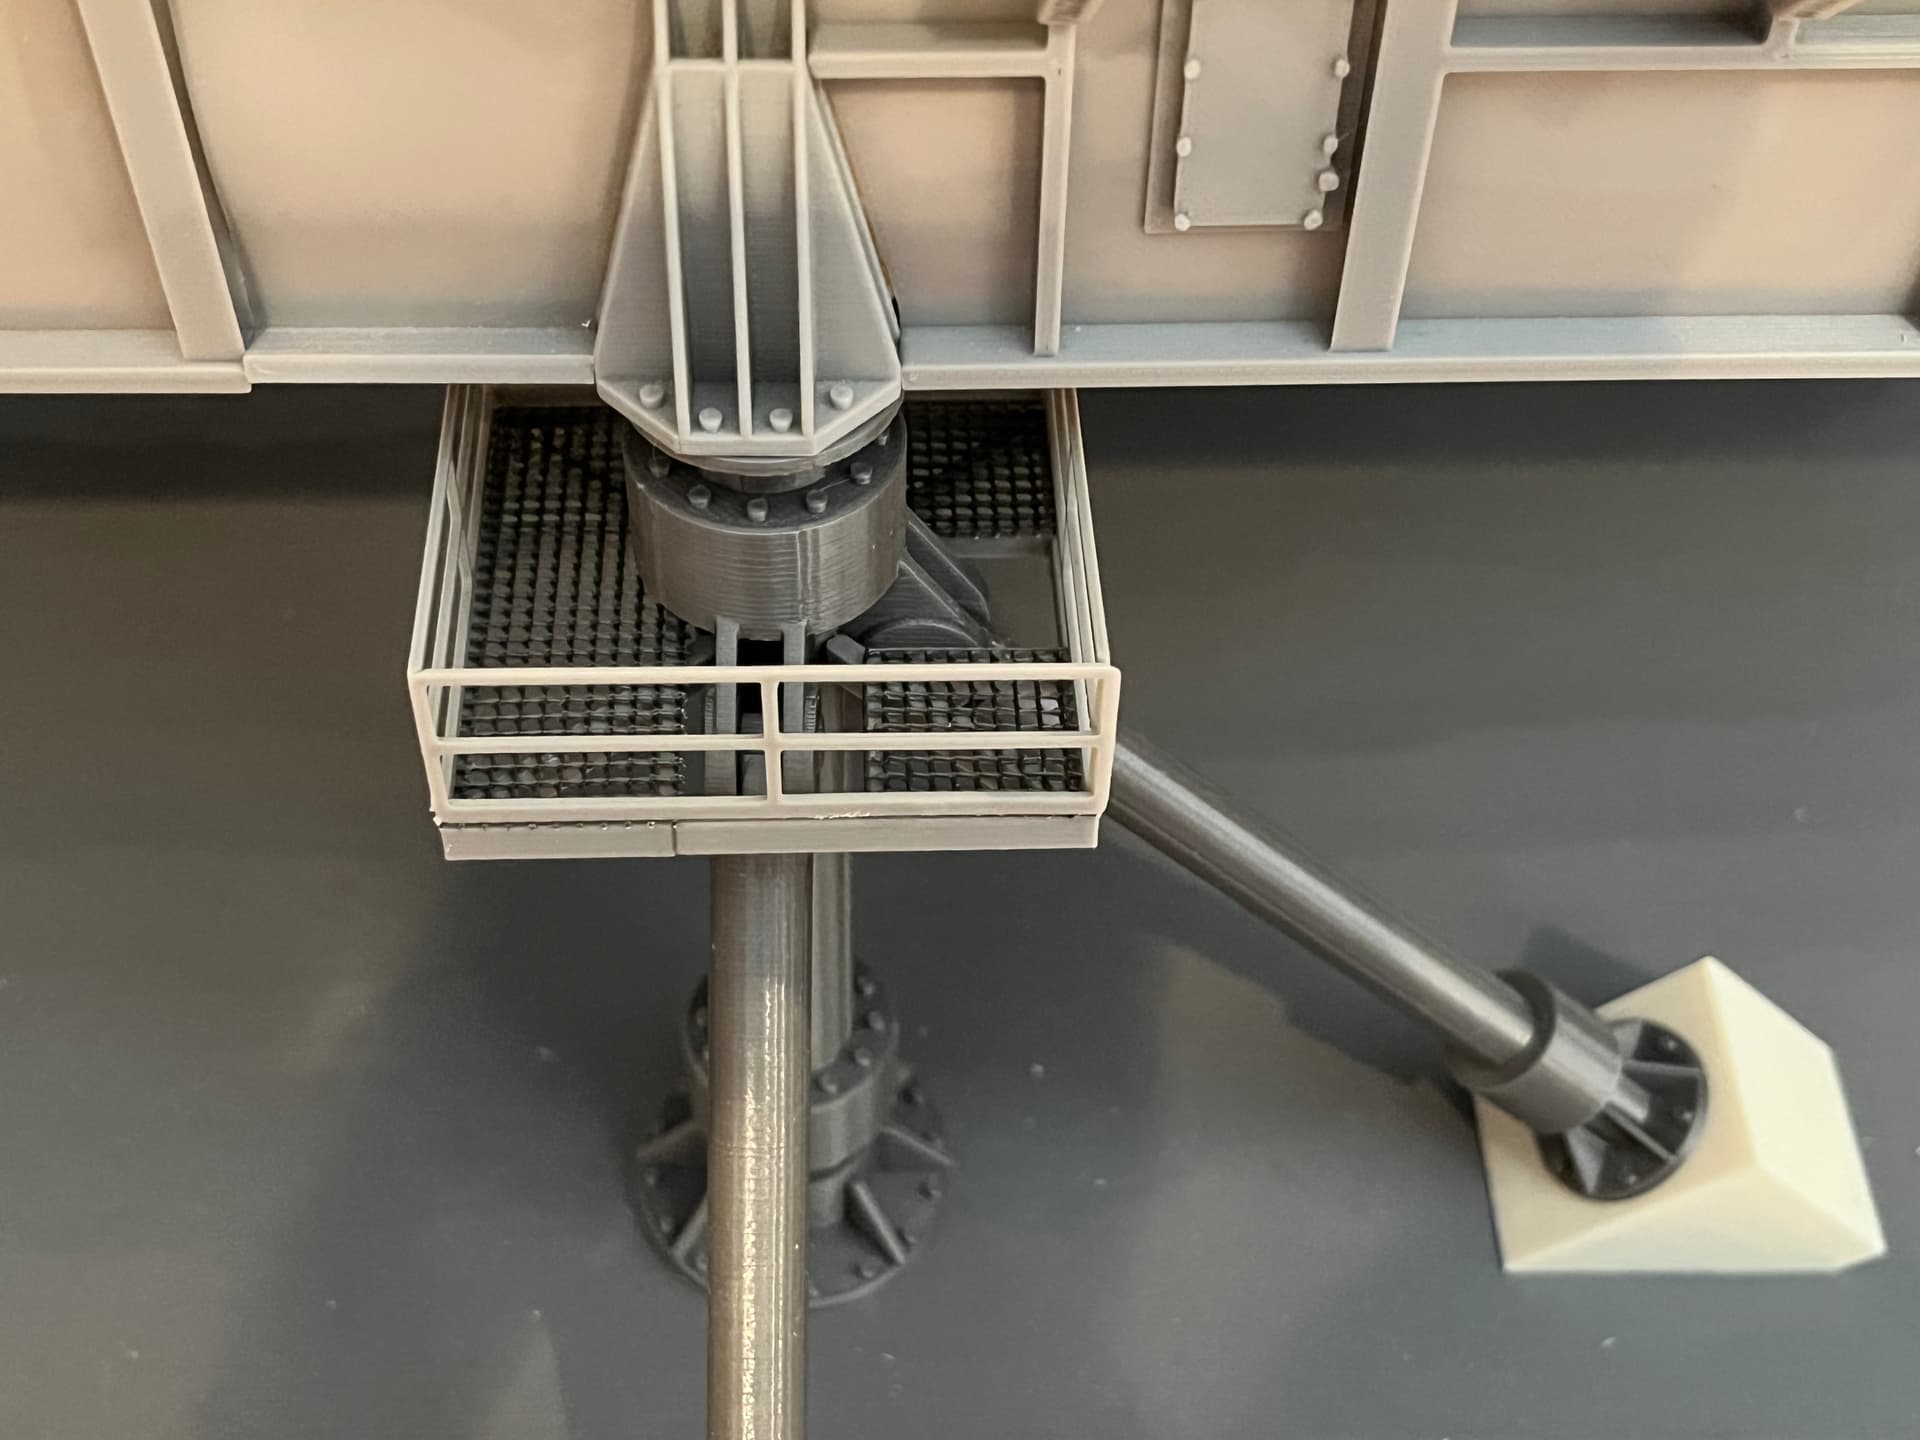
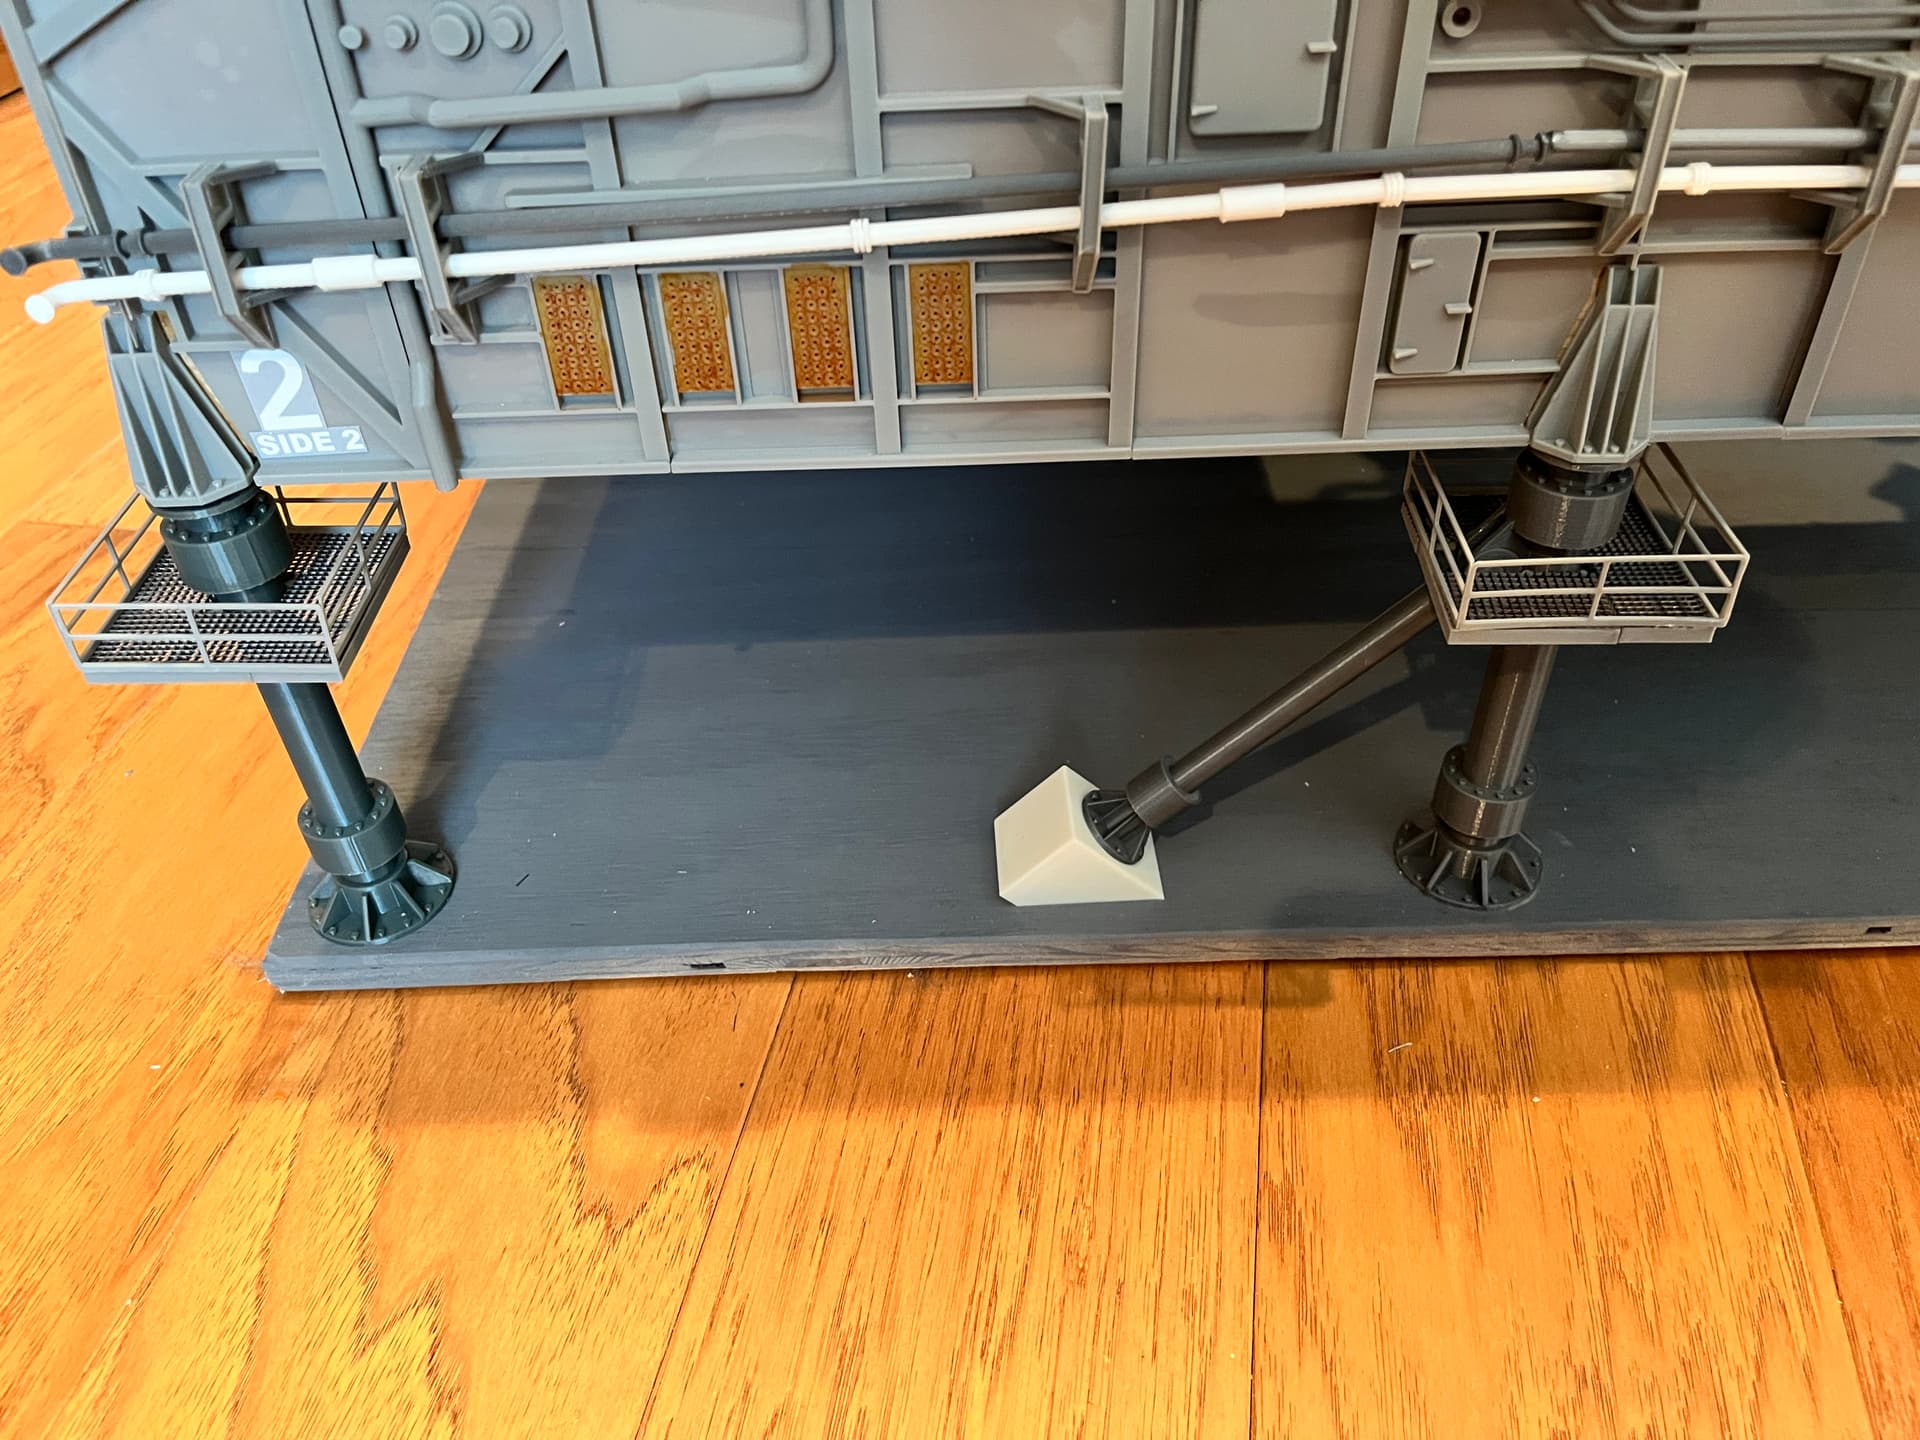
Here are the access platform that surround each pier, allowing someone to help guide the launchers onto the piers and then bolt the launcher down. It must take a really large wrench.
1 Like
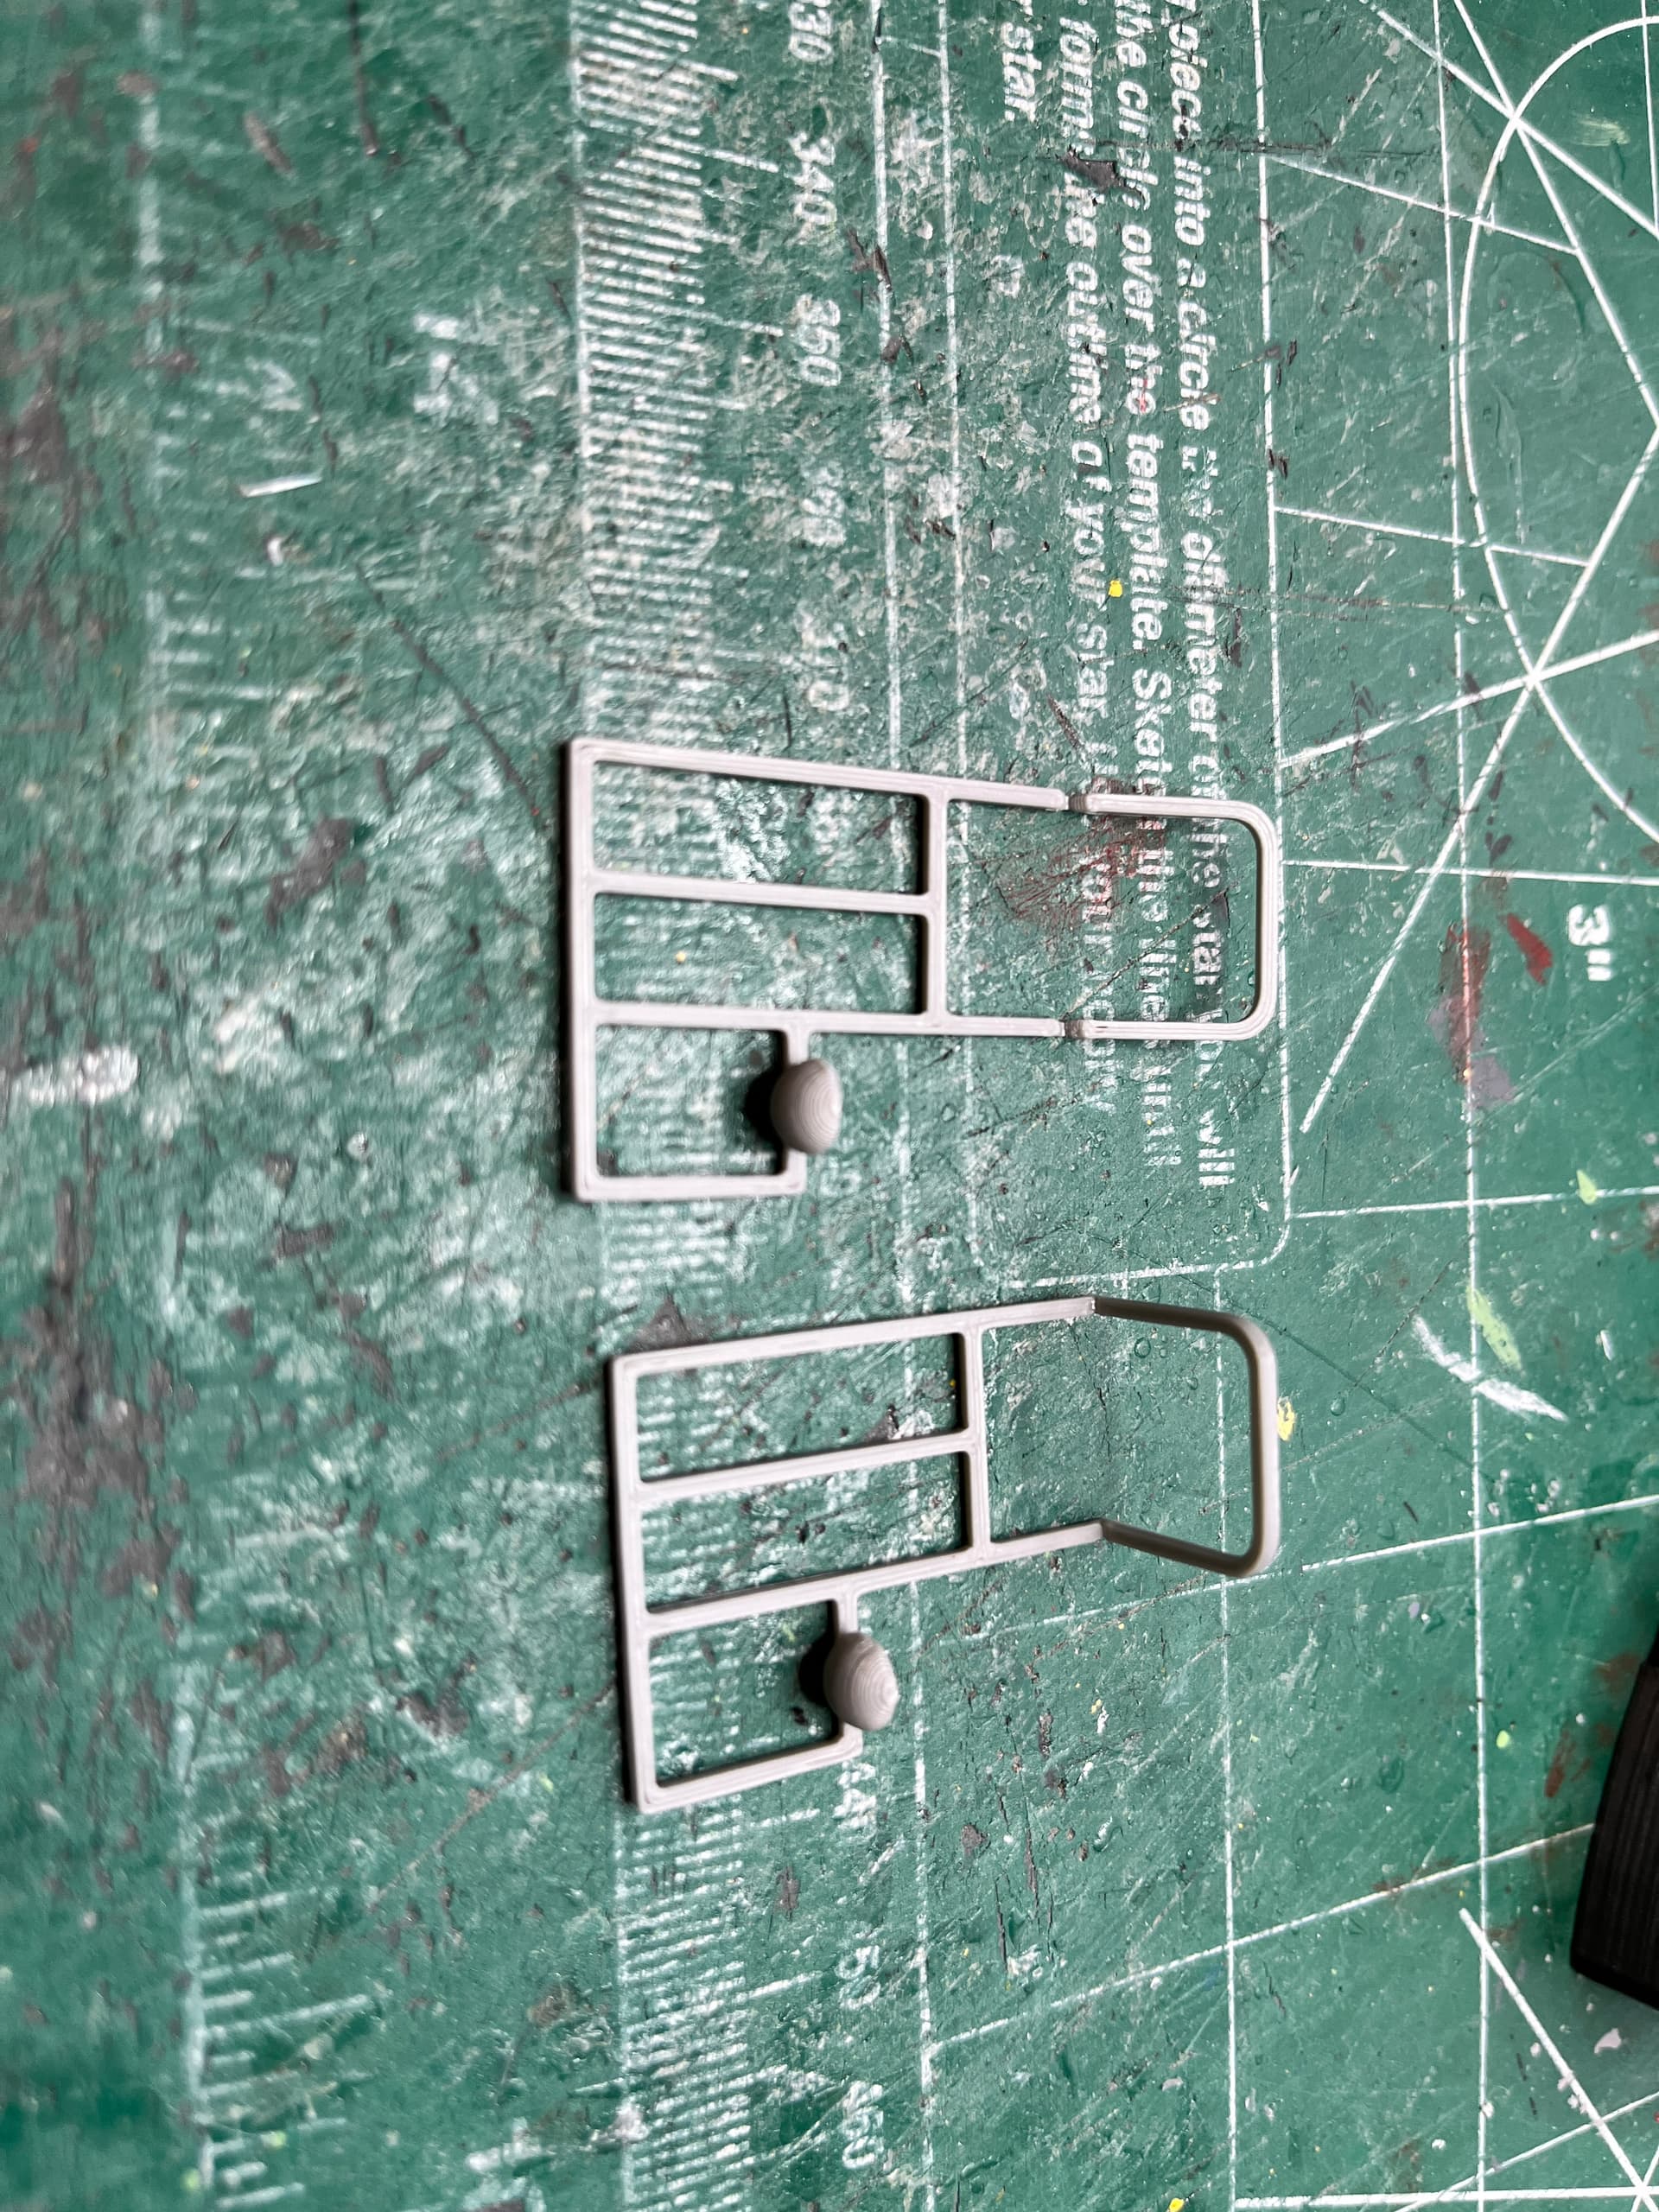
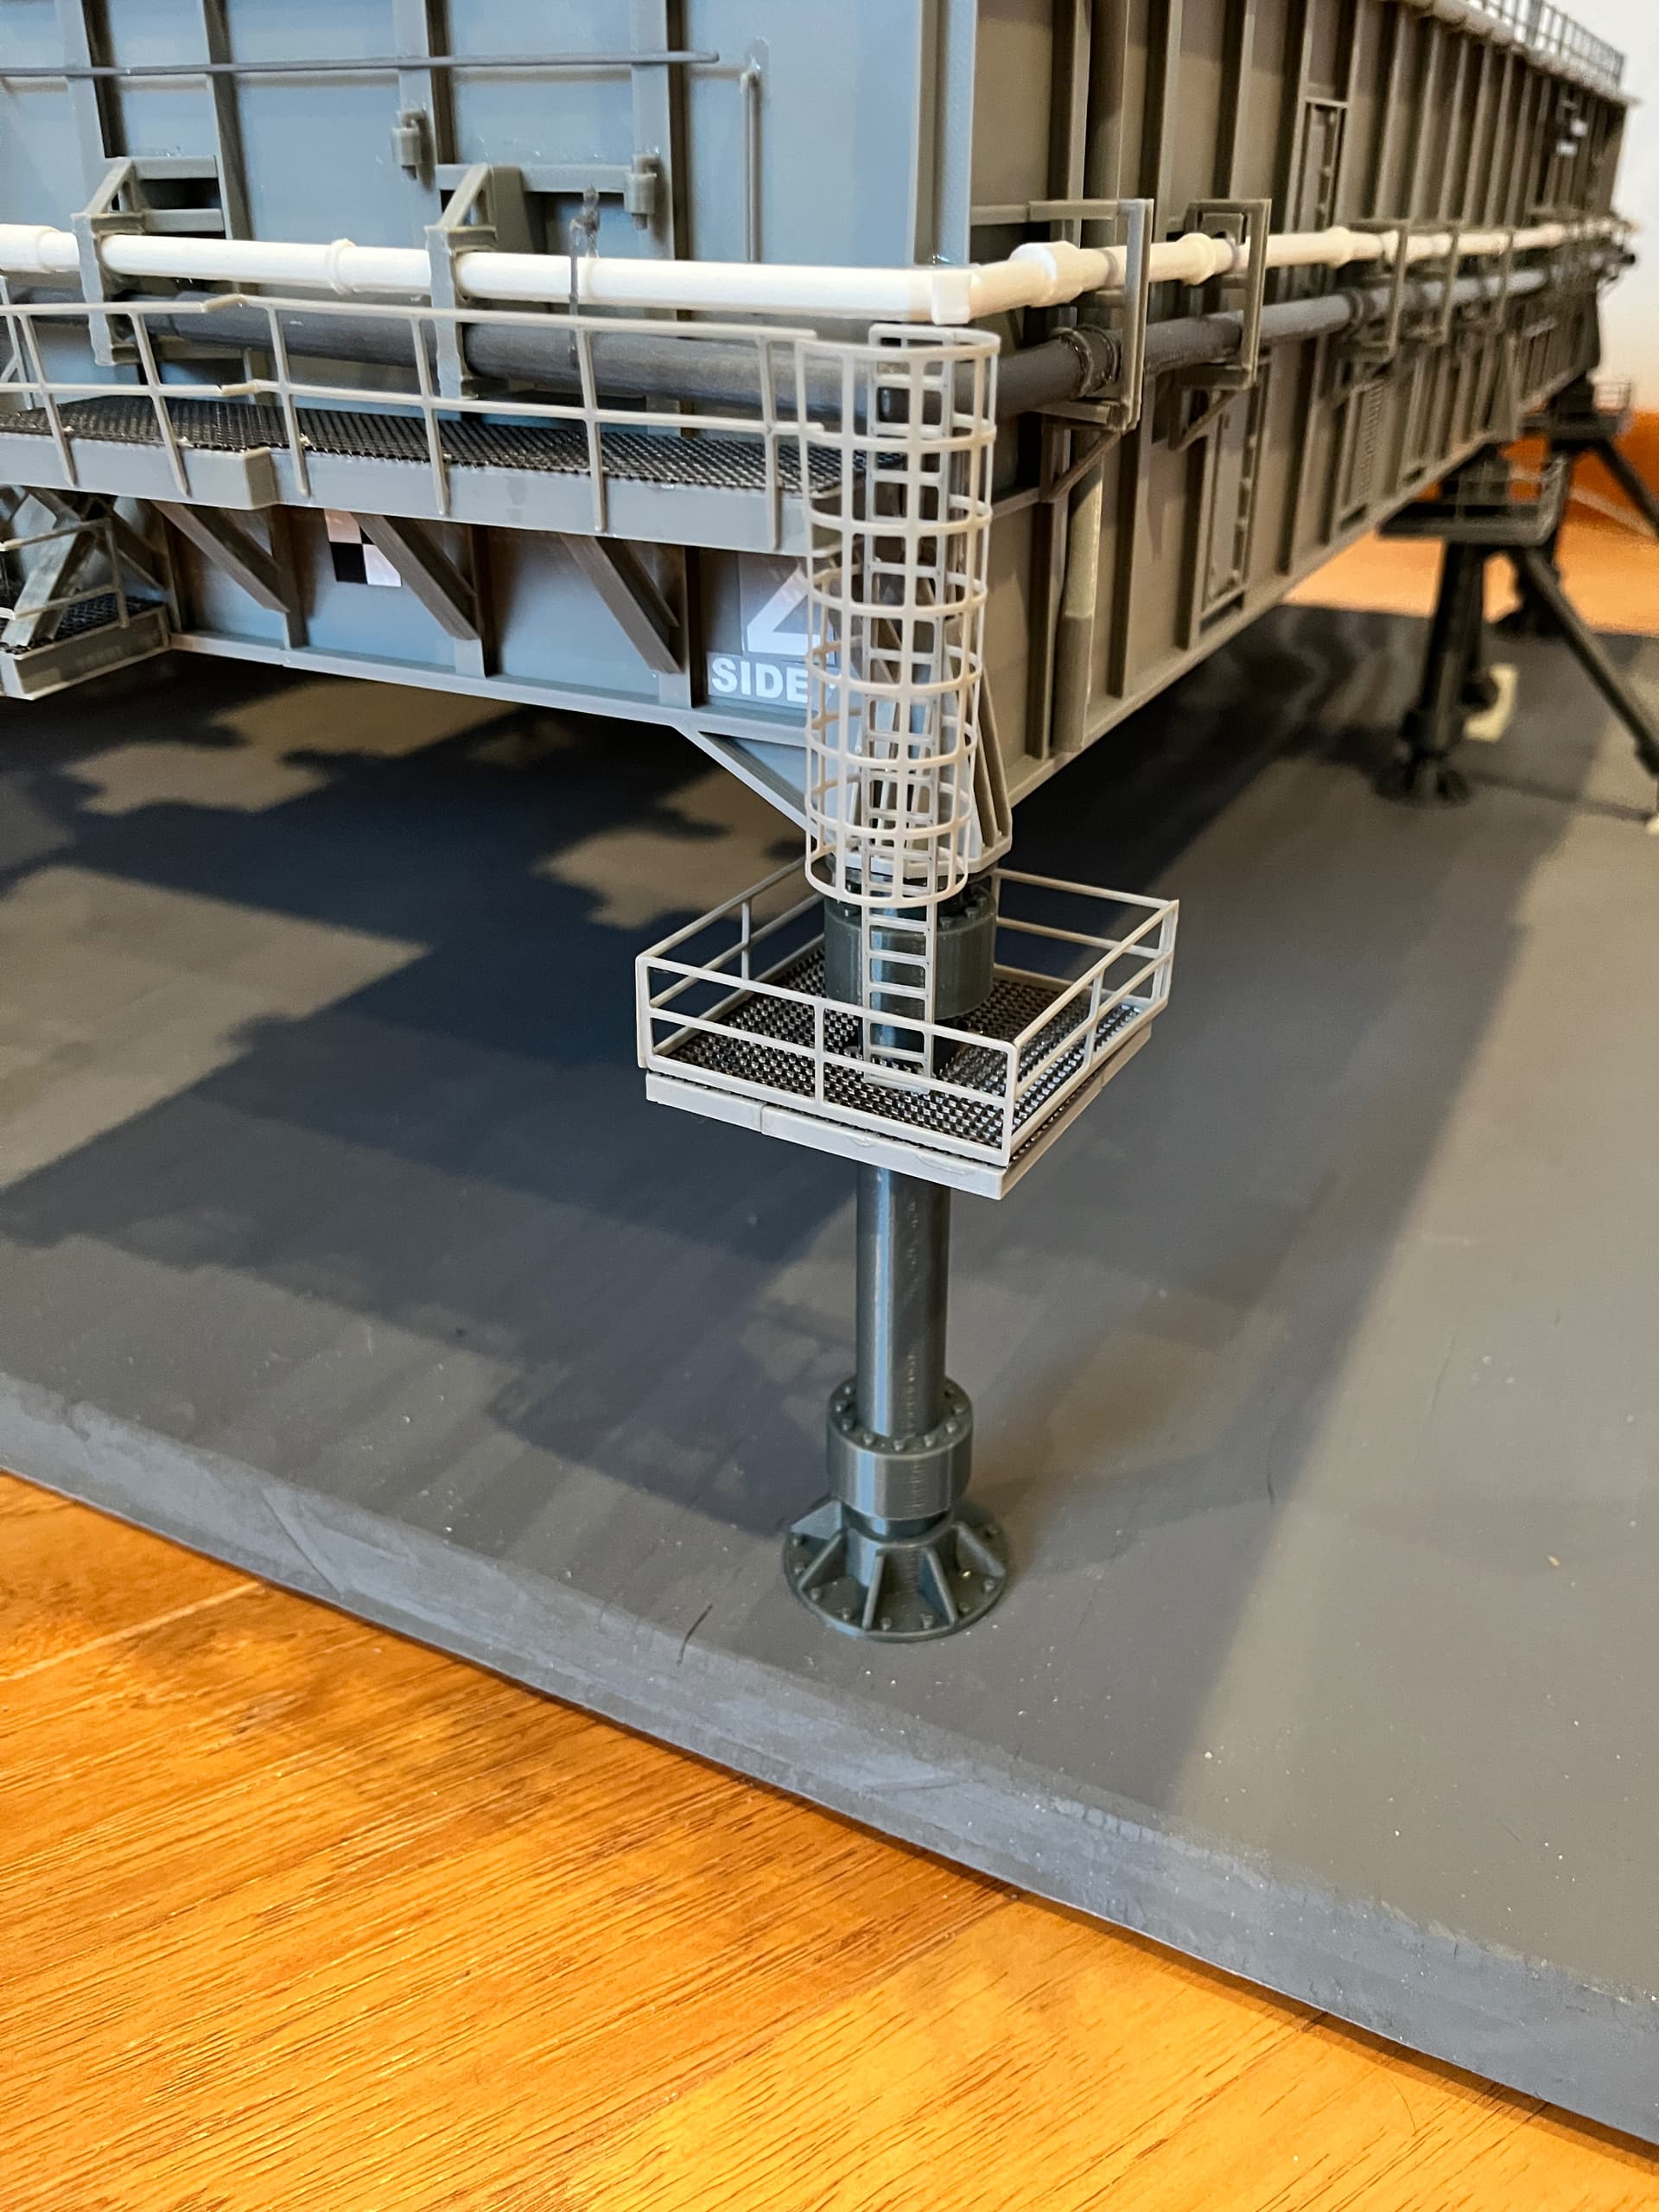
The last part of this sub-model, Interface Supports and Piers, are ladders and cages that go from the side 1 decking down to the interface supports. To make the curved cage, the cage is printed flat and then bent around the ladder.

1 Like
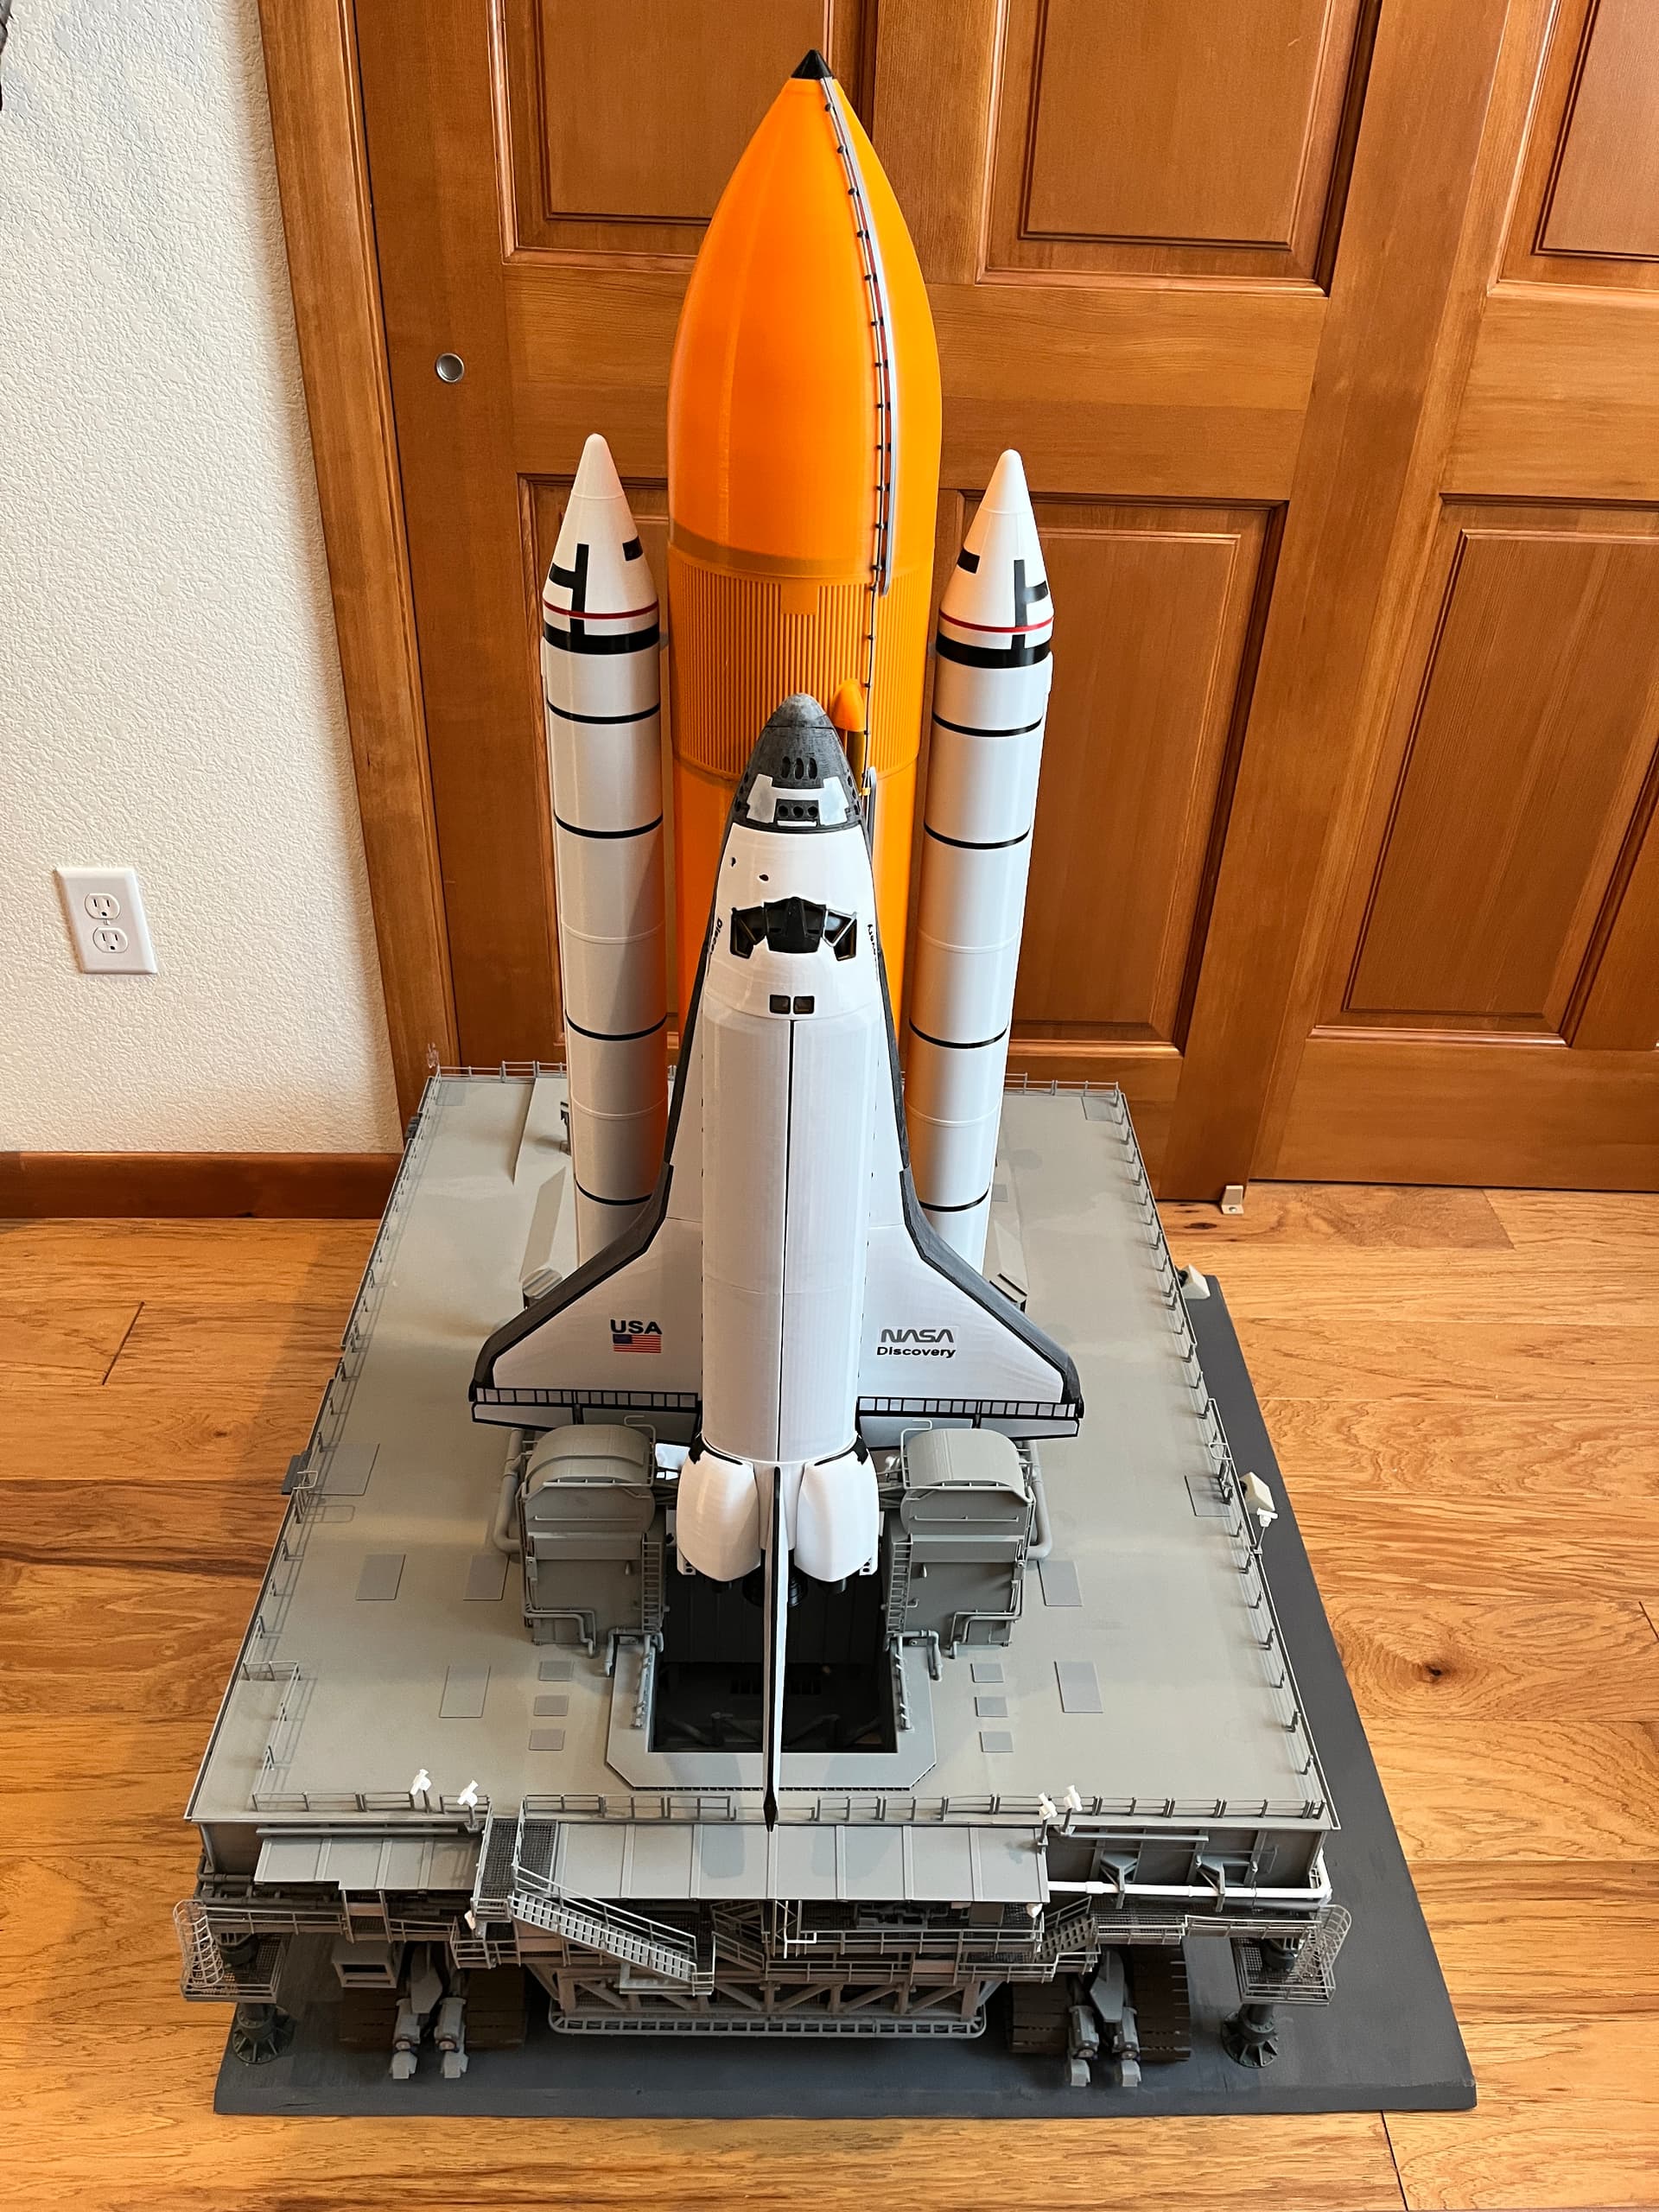
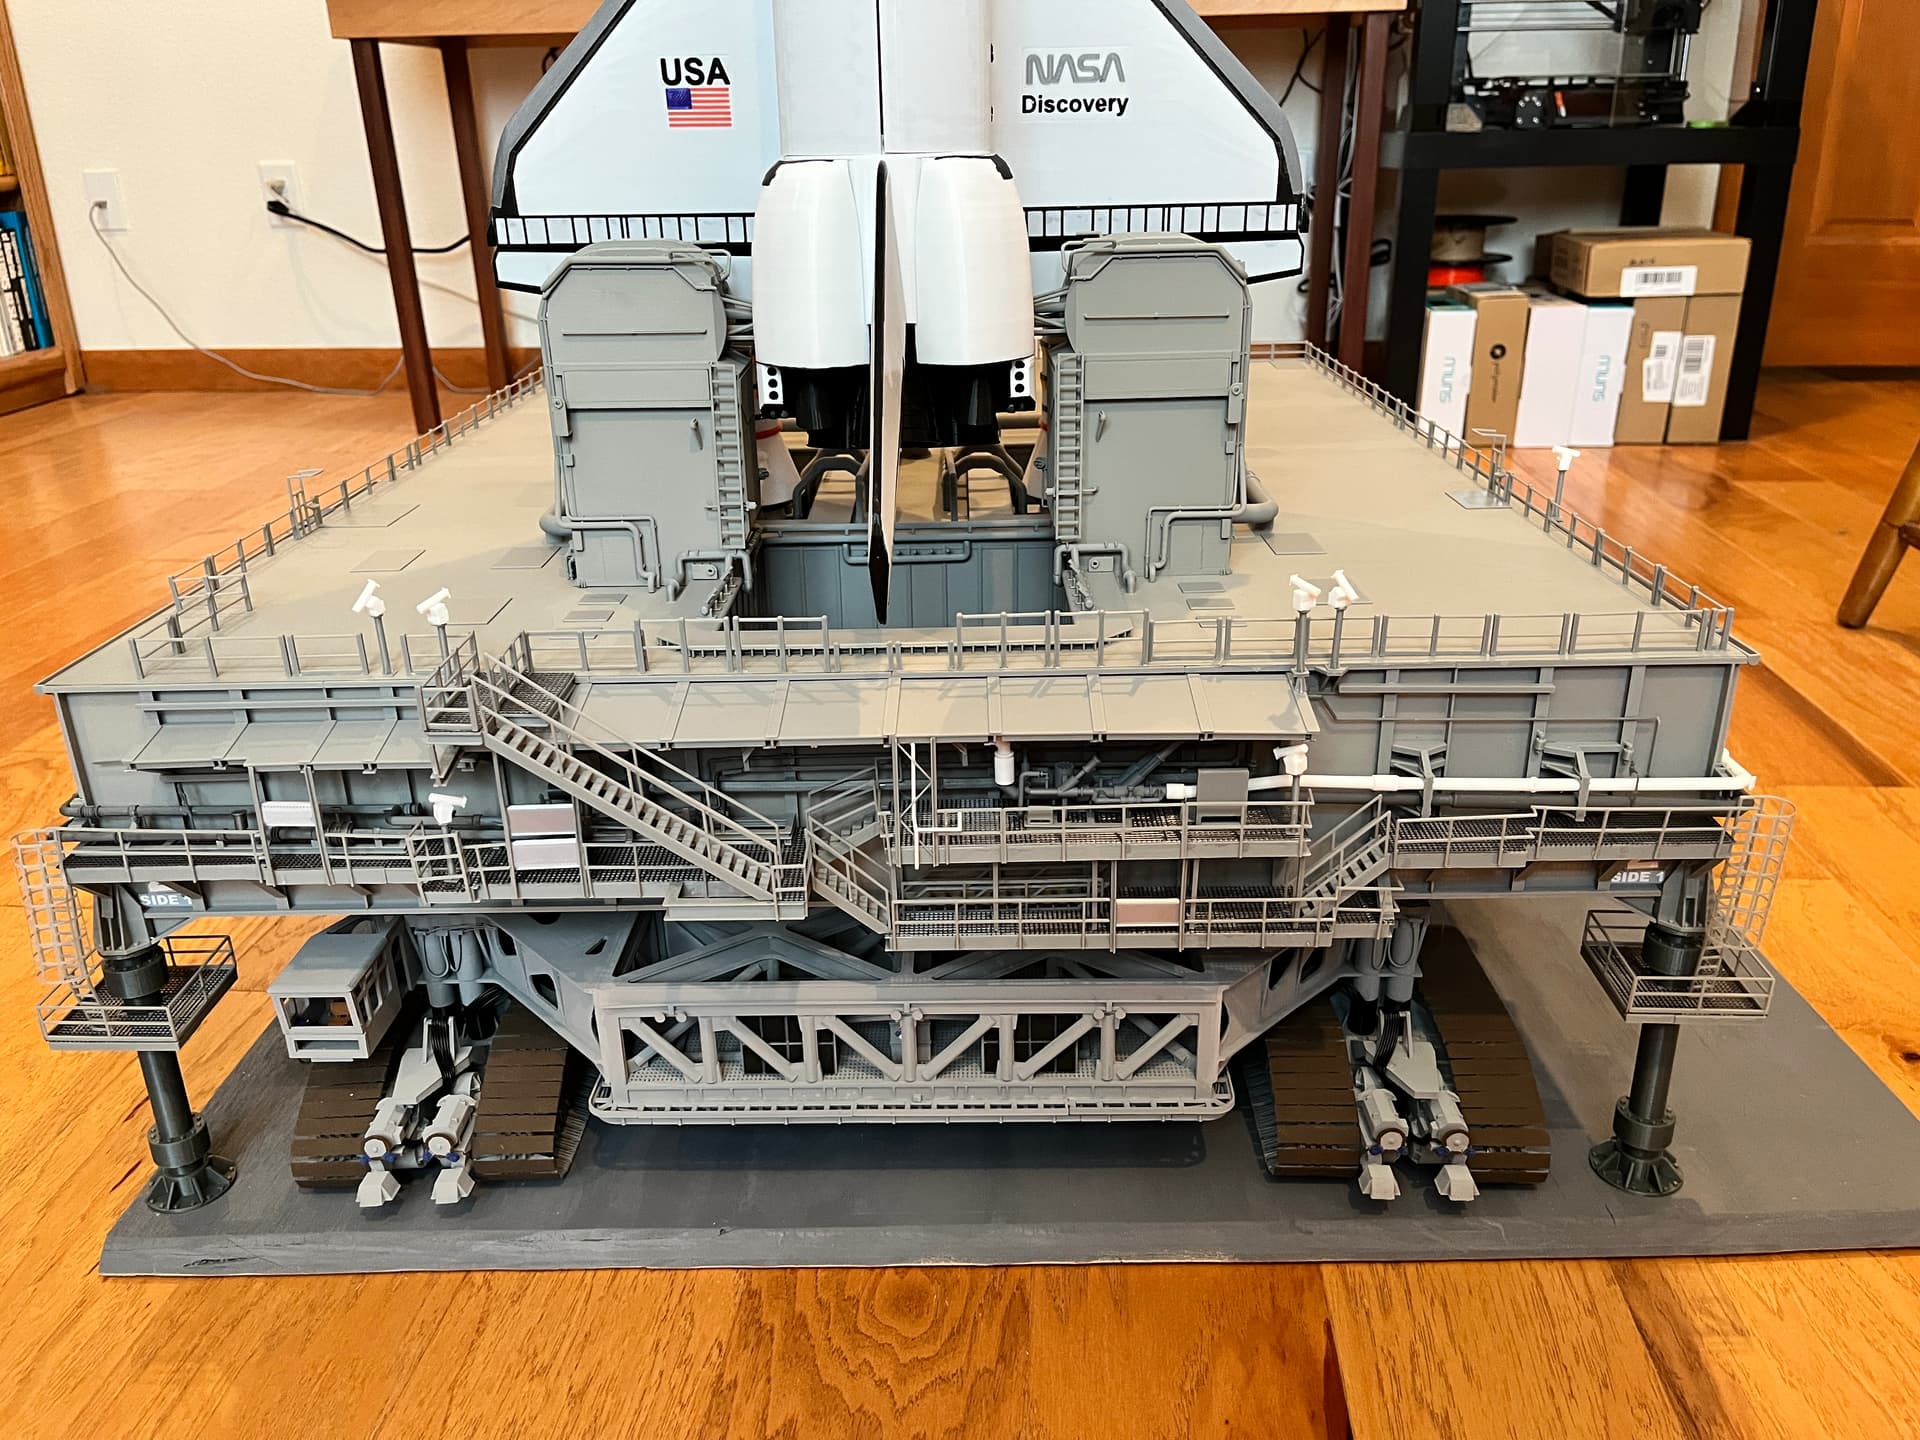
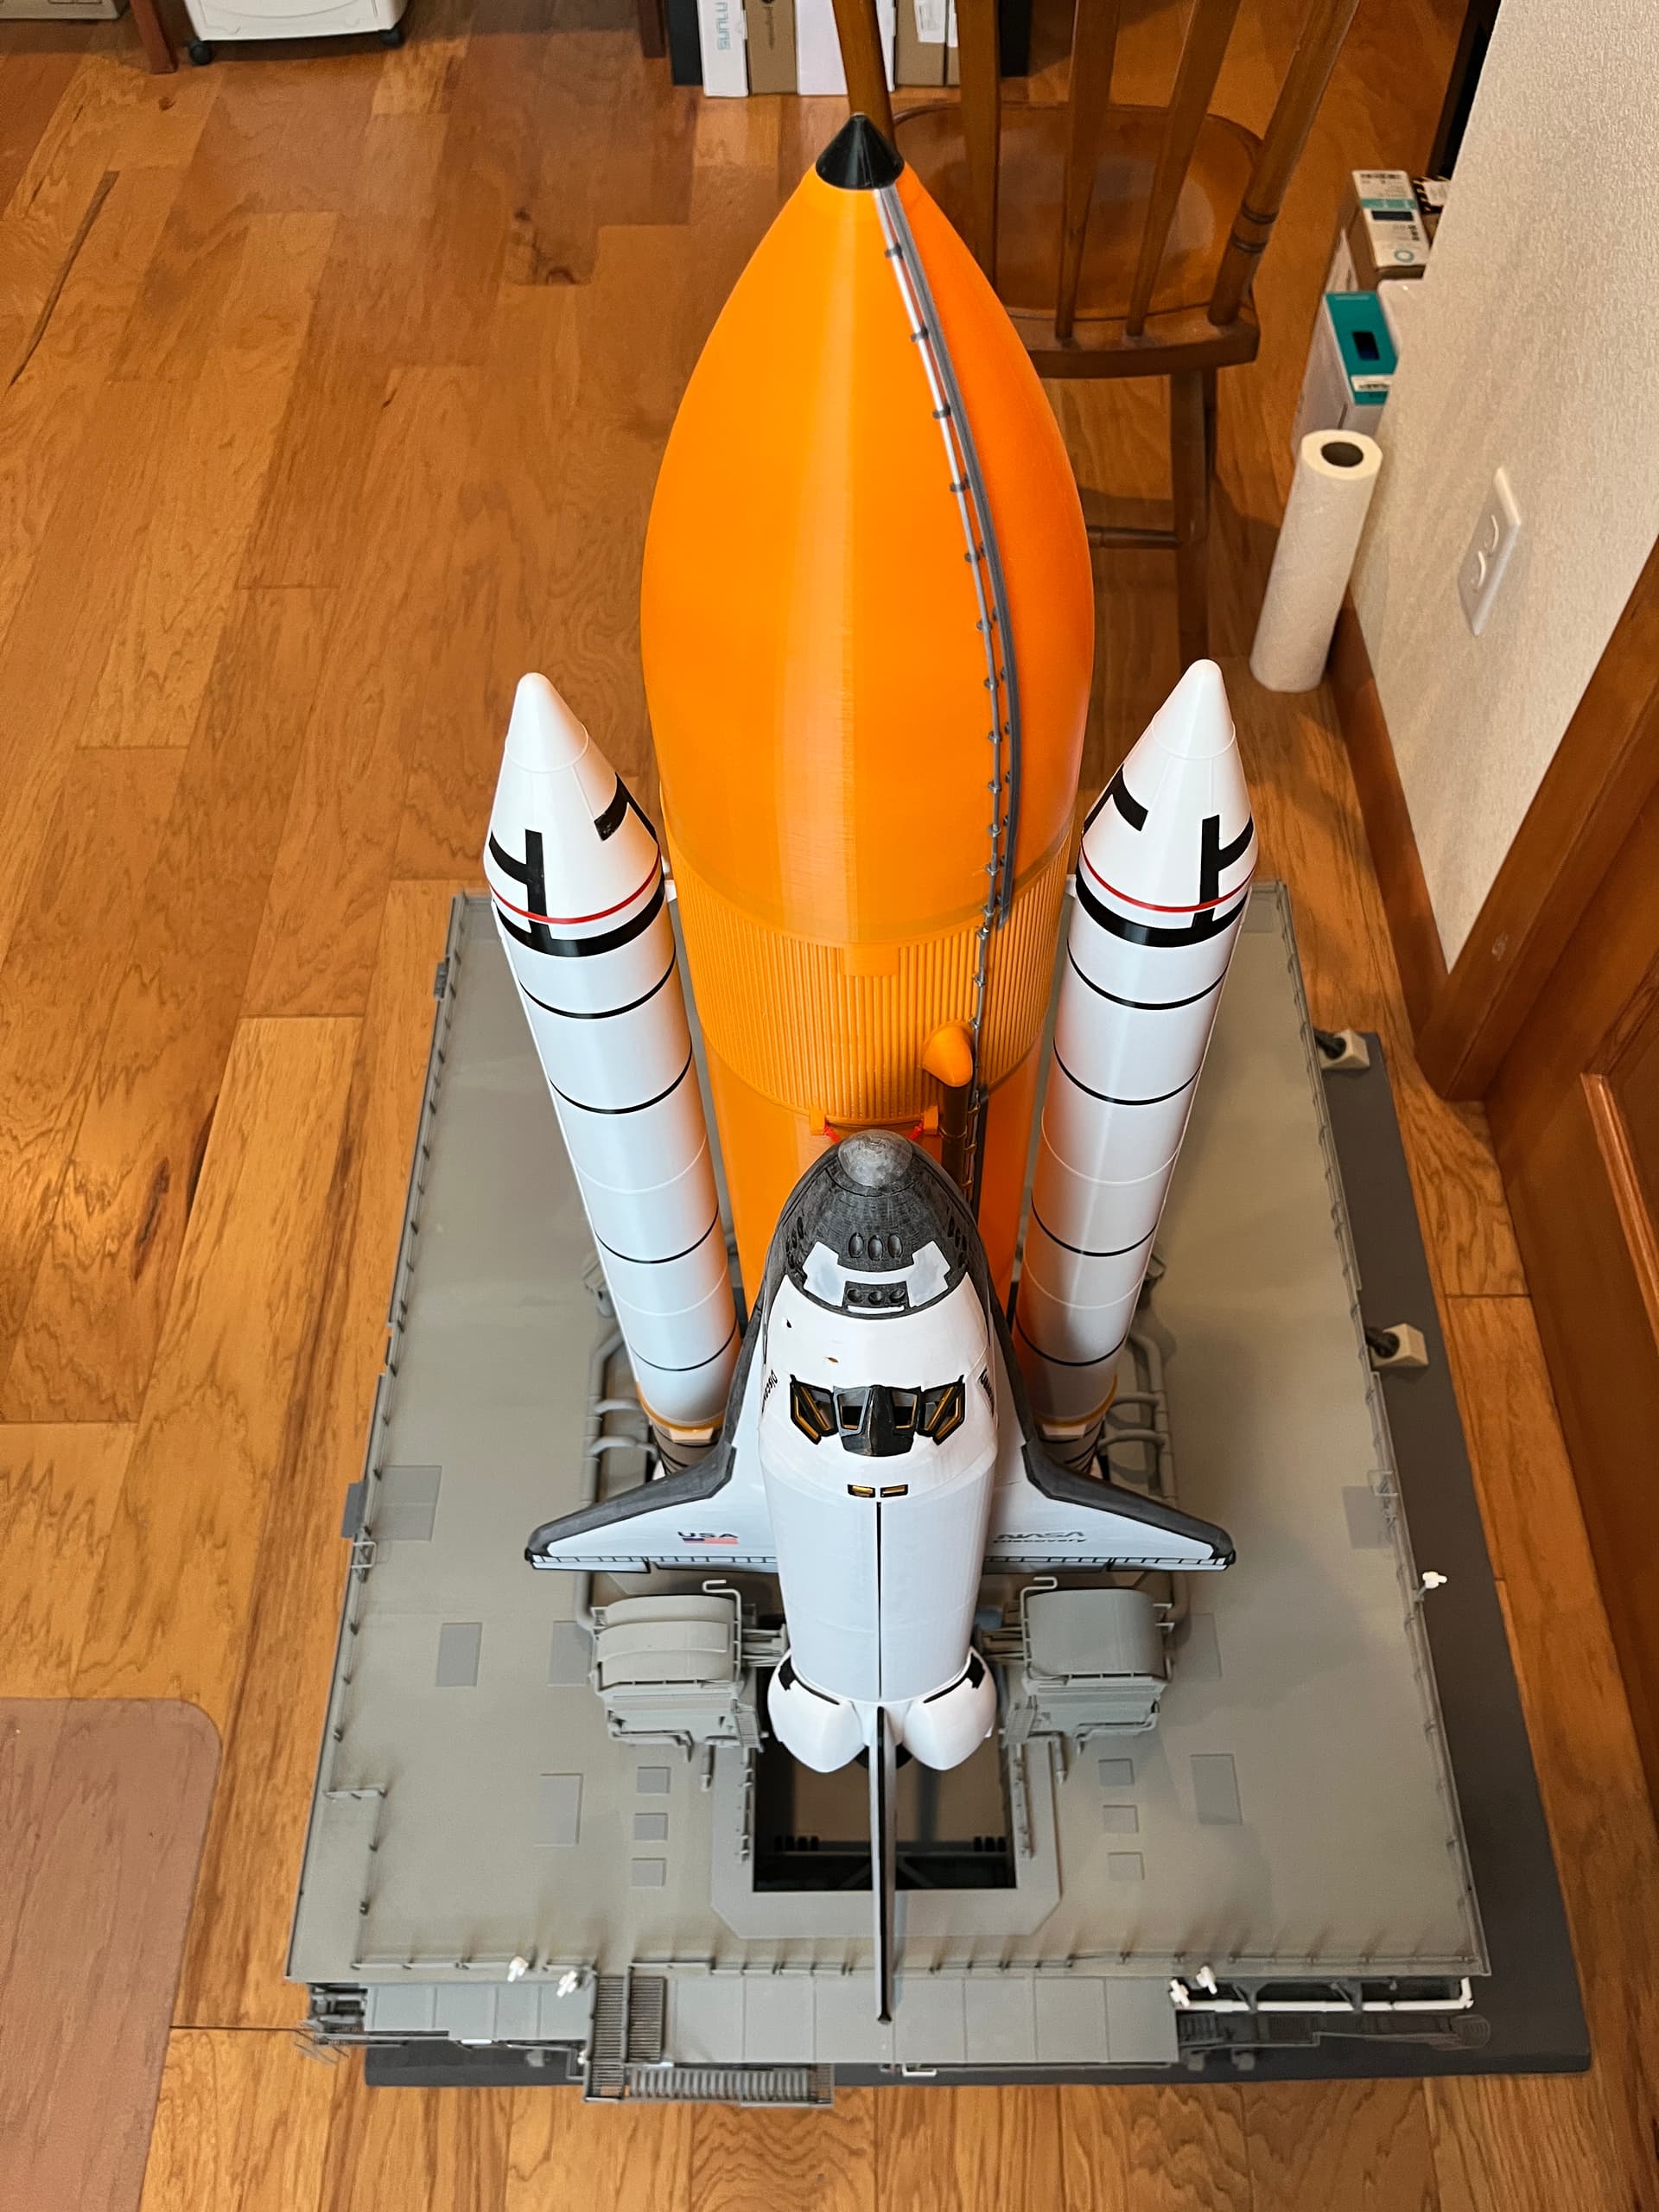
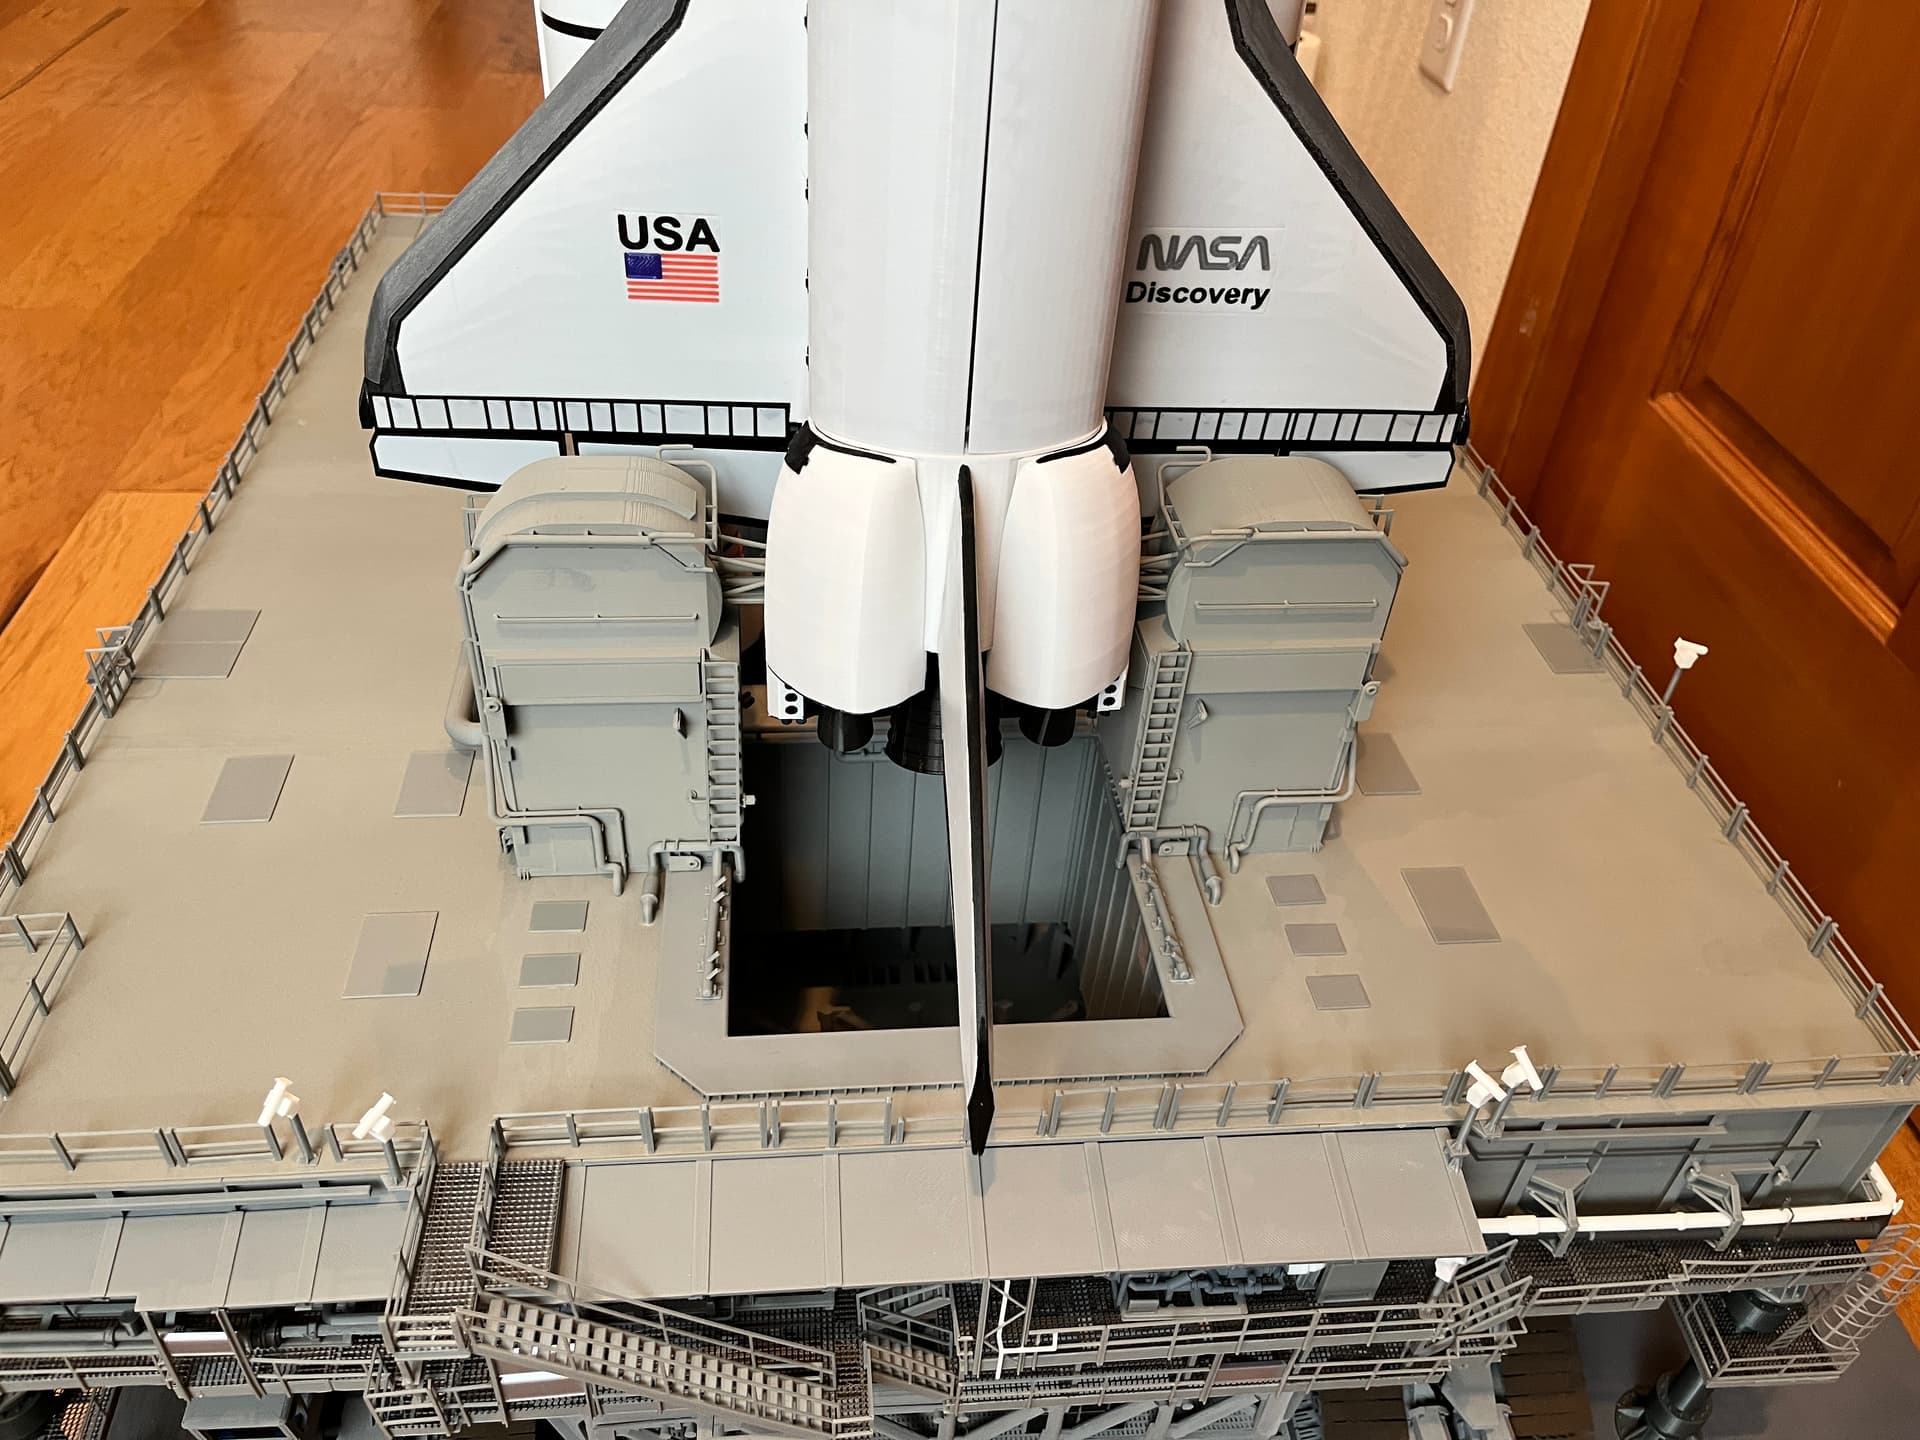
And that completes the model!!! The crawler is underneath. That model is not yet complete. That is my next project, to complete the crawler.
3 Likes
A very good job! It looks excellent.
Congratulations on a very impressive display. It looks great with the crawler underneath it.
Amazing work bud. Looking forward to the crawler.