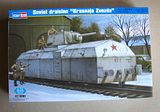
Soviet Draisine “Krasnaja Zvezda”
Kit Number 82912
1:72 scale
Hobby Boss
yup, I started another build . . .
This kit looks like a very simple build and the parts on the sprues are clean casts without seam lines or flash. Crisp detail too.
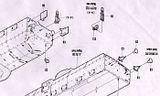
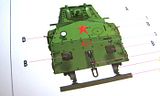
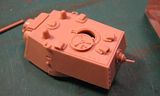
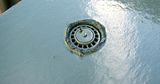
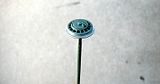
Well I just started and already confused about the positions of the left and right bumpers. The I-sheets indicate the rounded (part C8) to be installed on the ‘left’ and the flat (part C9) on the ‘right’.
But, the box art and painting/marking guide shows the positions as (part C8) on the ‘right’ and (part C9) on the ‘left’.
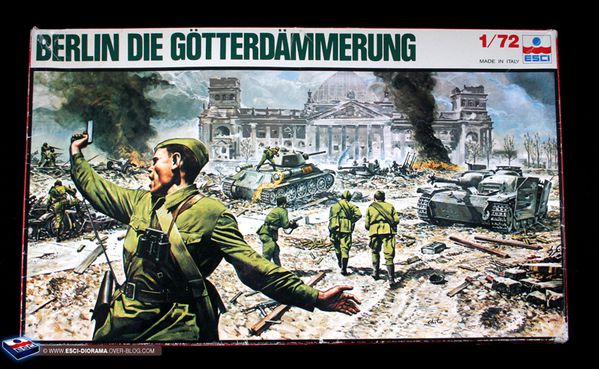
Box Art
Marking & Painting Guide
I’ve search the interwebs as thoroughly as possible and found only 2 pictures that are not clear on this detail.
Anybody know the correct configuration?
i have one of these, kinda an impulse buy at the time but as i get more into 1/72 and have ALL the choo choo and railguns including DORA its not as much an impulse buy anymore. looking at my BR-86 german locomotive if i am in the cab looking forward the round one will be on the right side in the front and the left side in the rear. as yours is more like a rail car as long as the round one isn’t on the same side on the front and back you should be fine.
Wayne funny you said that I’m looking at getting a BR-86, I just picked up a great deal on Ebay for Hasegawa Karl Morser with the rail cars in 1/72 for $18. I opened it up the other day and it looks awesome. Thinking about a Loco to set on some tracks.
Yeah, and it made sense until AP rounds were designed and deployed.
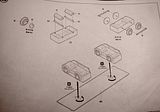
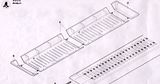
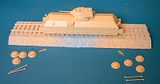
Assembly instructions for the trucks and wheels
I started on the simple truck and wheels assemblies but wanted to make sure I glued the wheels to the axles at the correct width to line up with the fixed rails. So, I started the railroad bed assembly with the rails.
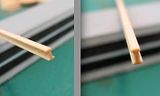
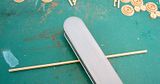
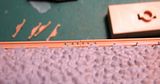
The rail parts have a base and crown. Look carefully
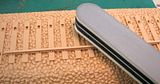
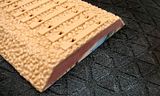
After cutting the parts off of the sprue, I sanded the gate tabs from the bottom first then inserted the rail into the tie bed base
Then it was easy for me to sand the top easily and evenly
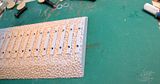
[Y][I] The kit design allowed me to just slide the rail part in from the side under each rail clamp
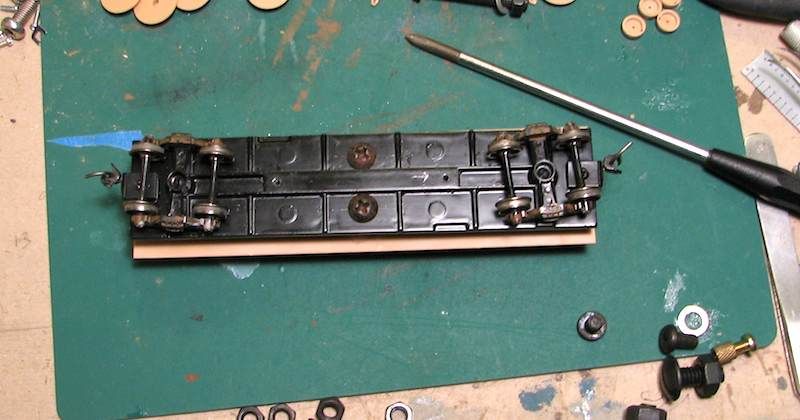
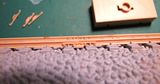
I found out that the correct width is to glue the wheels to the axles at by the truck box width. Easy. I’ll do this after painting
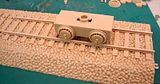
One truck sitting on the rails. This sub-assembly is just dry fit right now
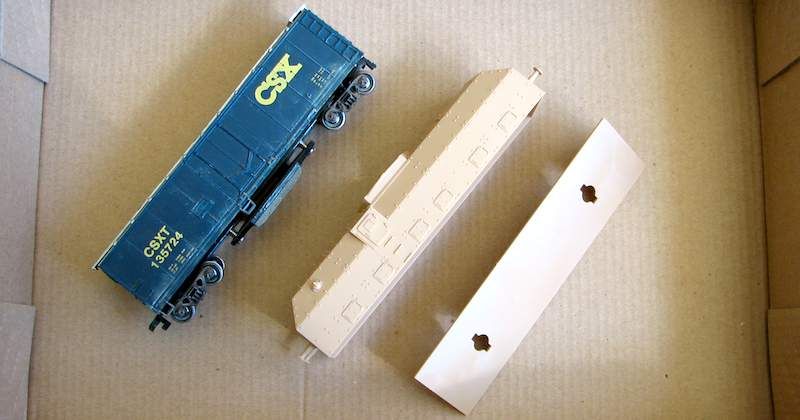
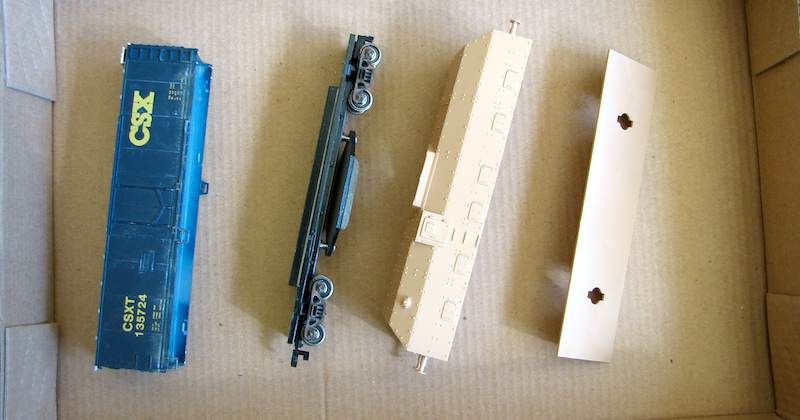
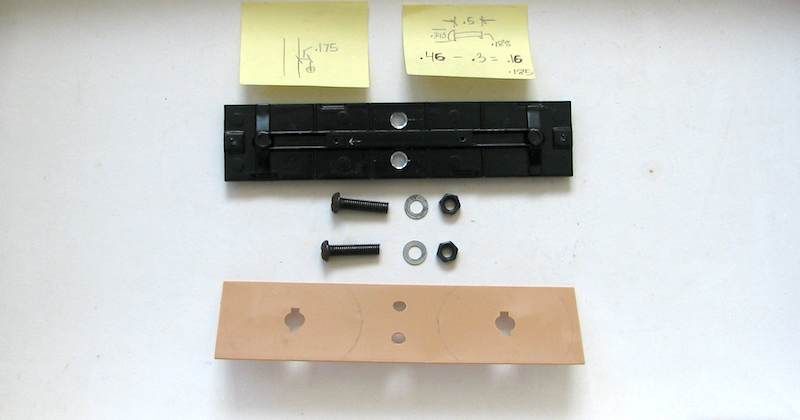
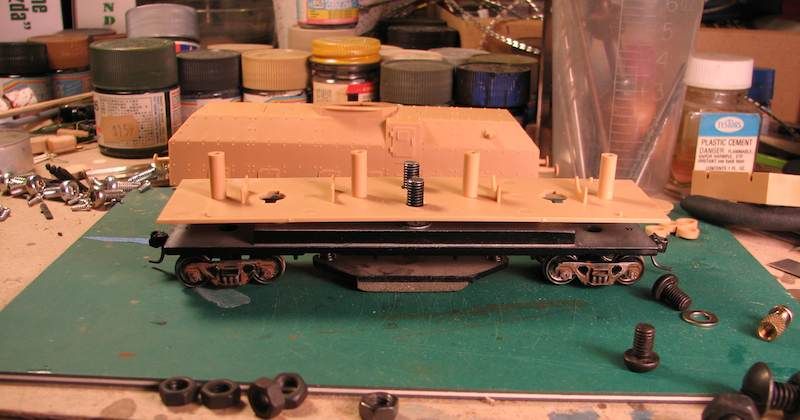
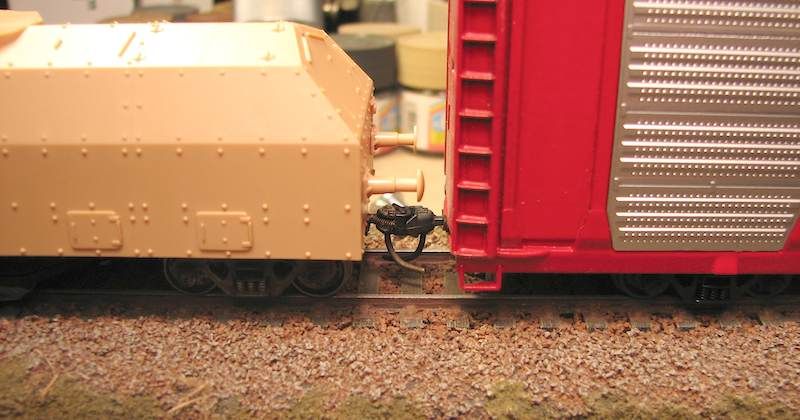
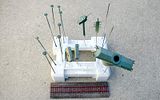
While building the trucks I decided to make an option to HO scale compatibility. This means installing trucks and wheels from one of my HO scale rolling stock cars to the Draisine
I have a track cleaner car that looked like it would fit perfectly
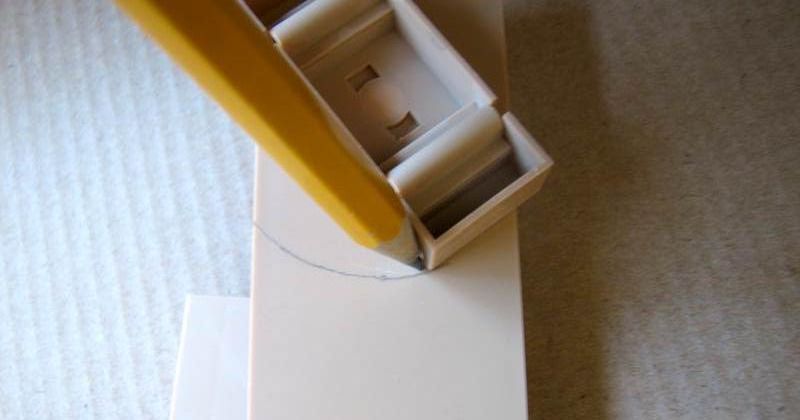
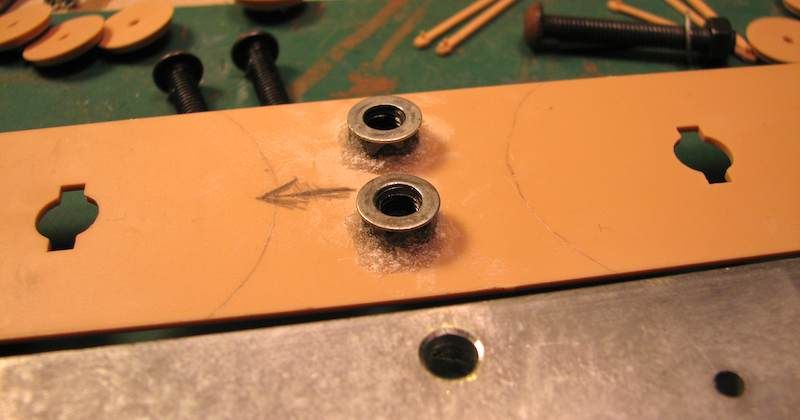
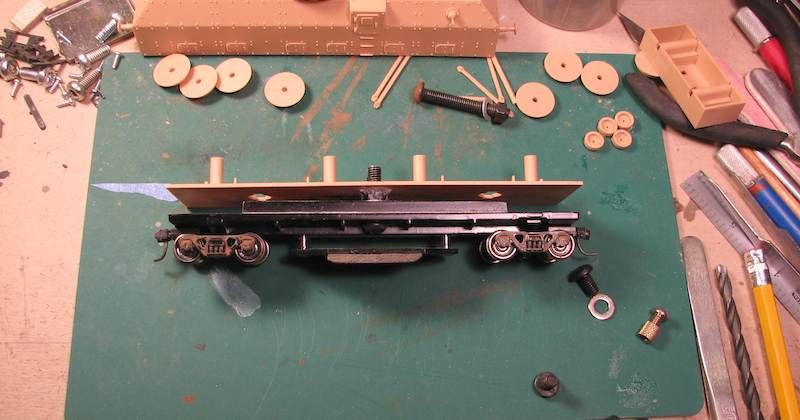
I traced the clearance of the Draisine trucks with a pencil so I know where to mount the bolts to secure the track cleaner chassis
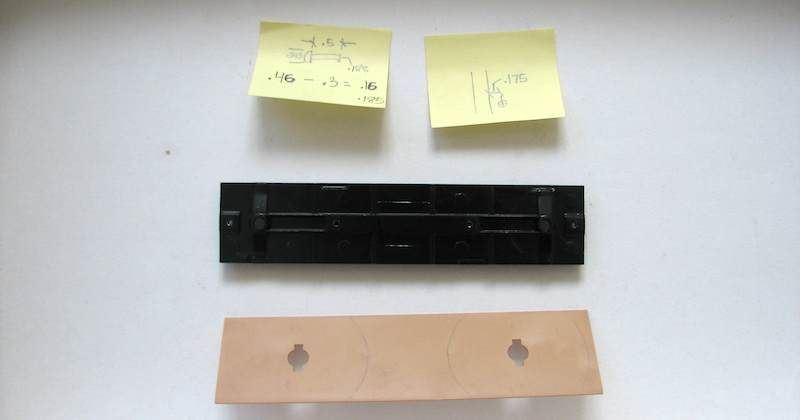
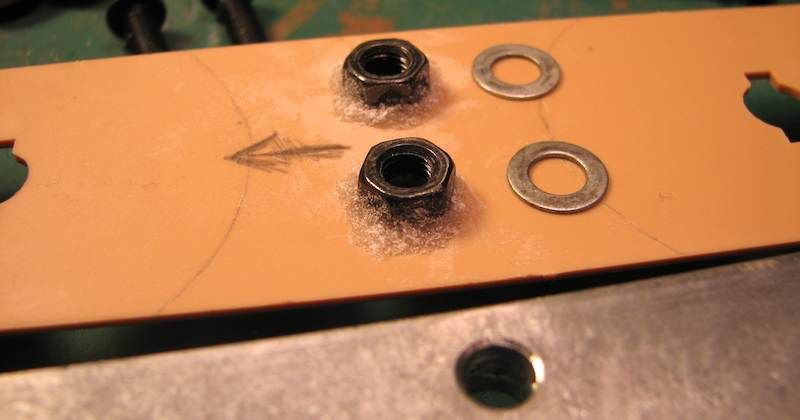
All measurements and marks made then drilled to accommodate the modified fasteners. The nuts and washers provide the exact spacing clearance
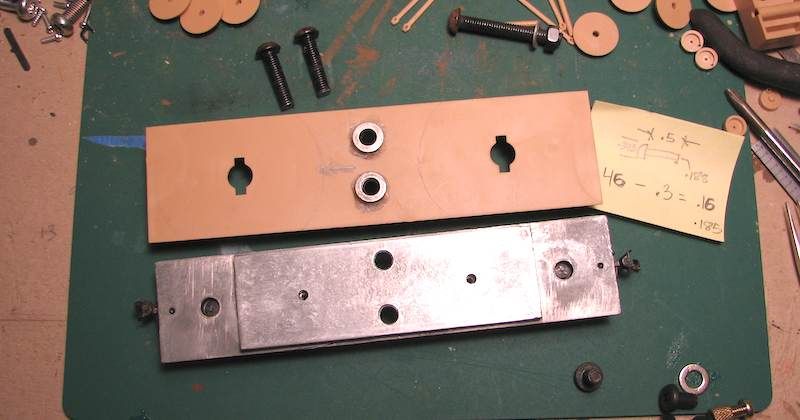
[I][Y] assembly shows that the new modified Draisine Track Cleaner will work together with my other HO rolling stock
ok, now enough with the HO fun . . . back to business
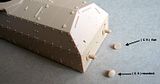
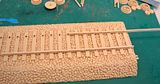
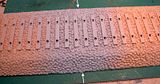
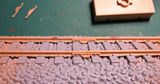
The kit railroad bed was designed as a display base. I didn’t like the end parts (A2) to taper down like a mound exhibit so I filled the ends with stock styrene sheet and putty to model flat ‘infinity’ ends. This looks more like a study display which I prefer the look of
The 2-part ballast bed were mated here (at the arrows). The ballast stones did not match so a careful carving and putty job brought it to a satisfactory look
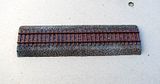
Finishing up the railroad bed and rails assembly I want to share the detail of this kit:
little tiny rail joiner parts, nice!
a bicycle chain link next to this tiny turret.
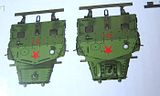
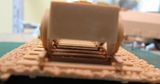
This clean detail on the underside of the TC hatch will never be seen [:^)]
All assembly done and ready for paint which I’ll try to start today