I figure I would start small and work my up the progression of rovers. This little guy didn’t do a lot but was the first. The idea is to use stepper motors to allow the rover to crawl using remote control. The scale is based on the largest parts being able to be printed on a standard 220x220mm printer bed. The brains will be an Arduino Uno. This model is complete and out at Sojourner Mars Rover by bglasford1 | Download free STL model | Printables.com


2 Likes
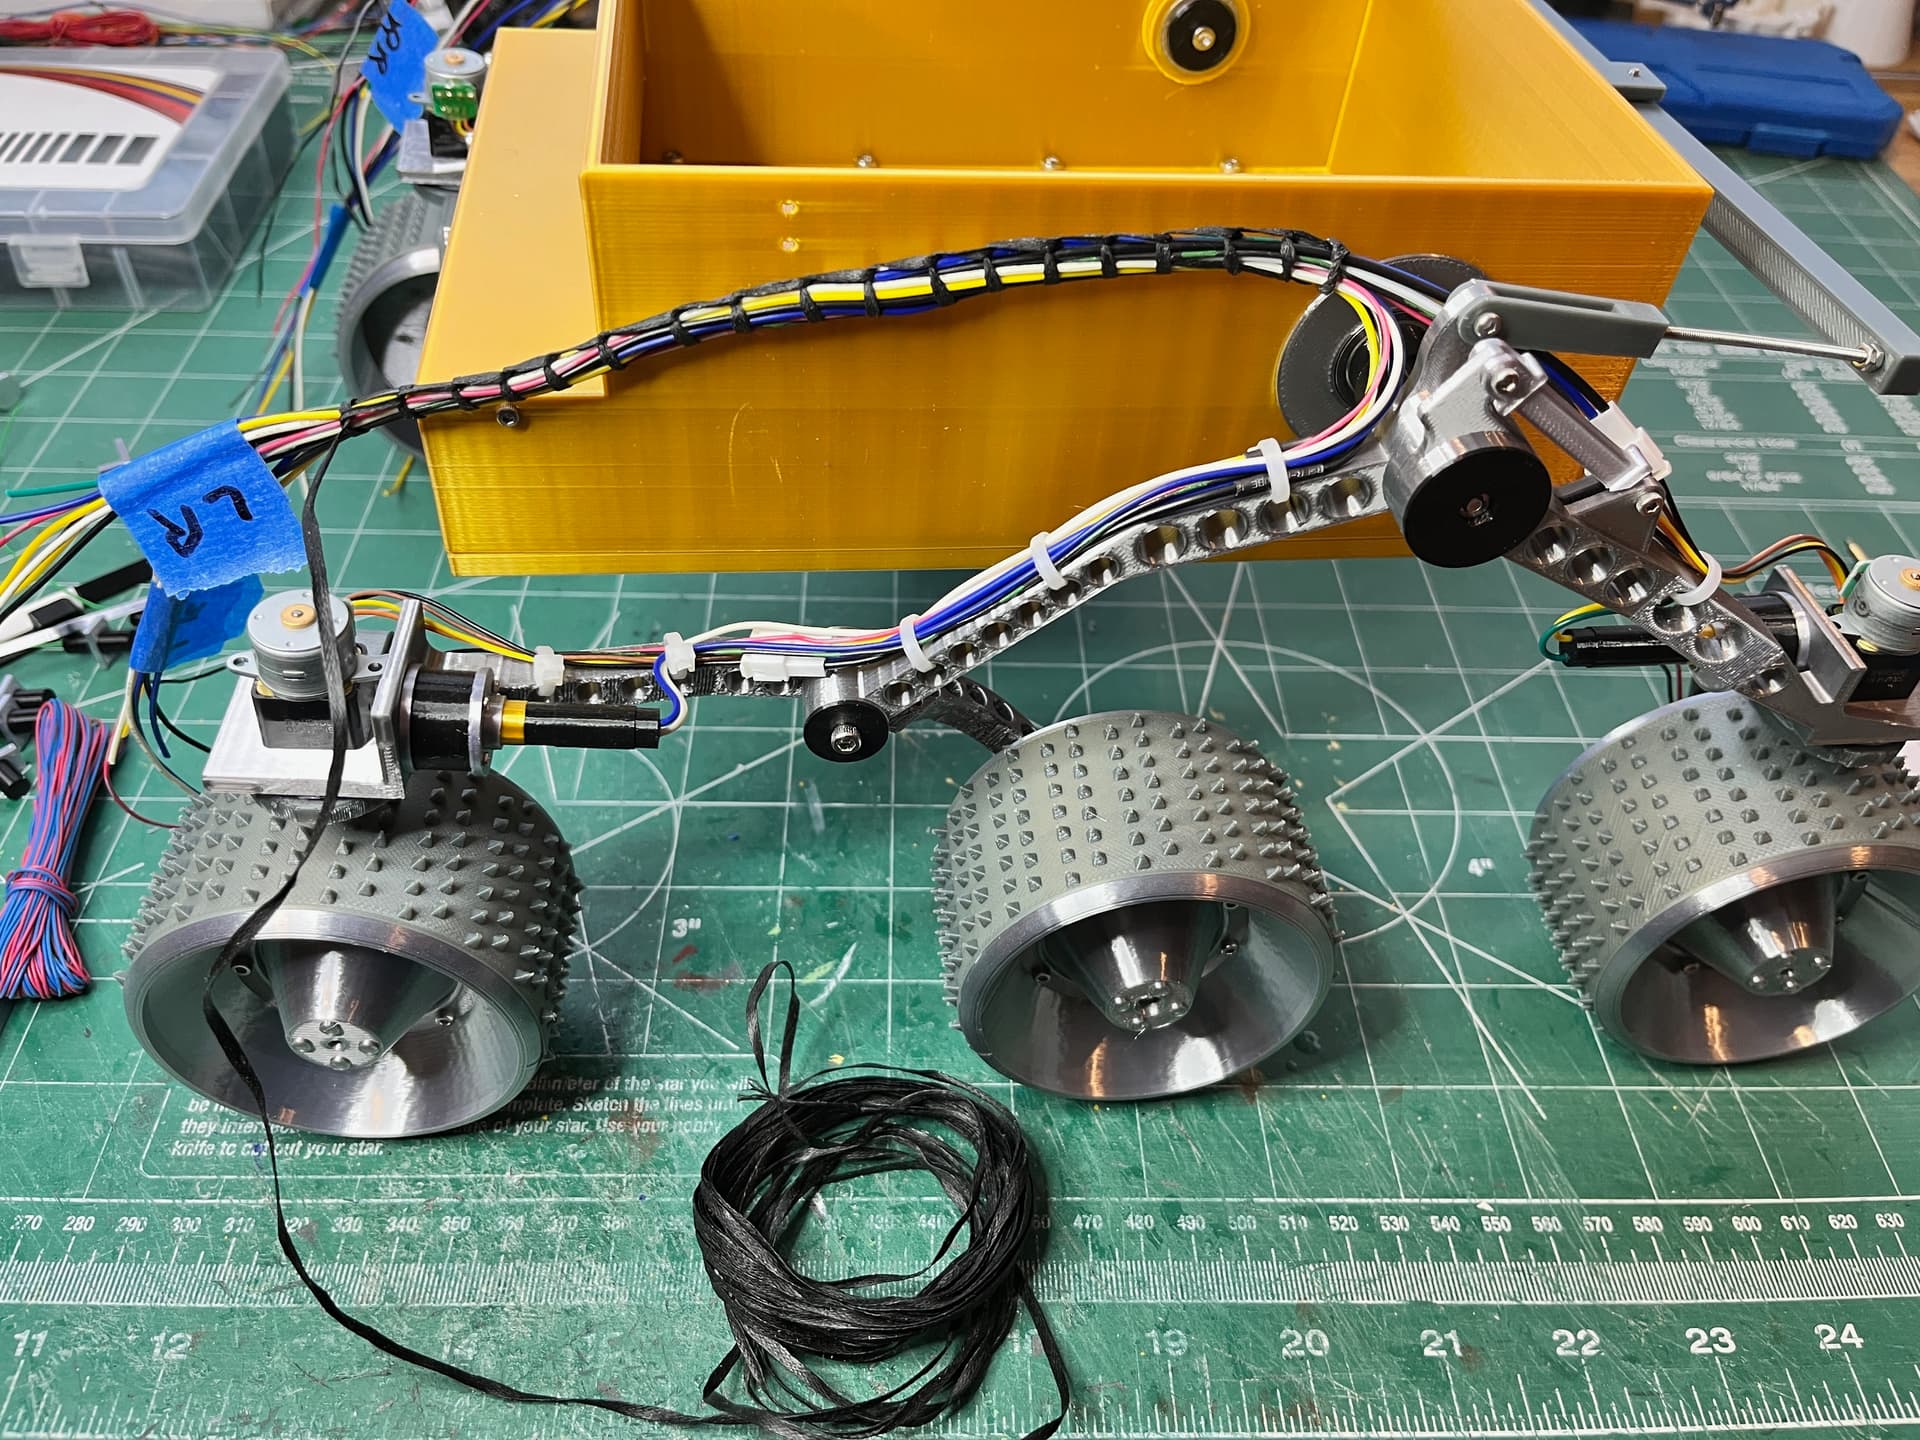
This little rover uses a rocker bogie suspension as do most other rovers. You can see I am using screws to hold many of the parts together instead of gluing. The bottom of the main box is screwed on and numerous small bearings are used.

3 Likes
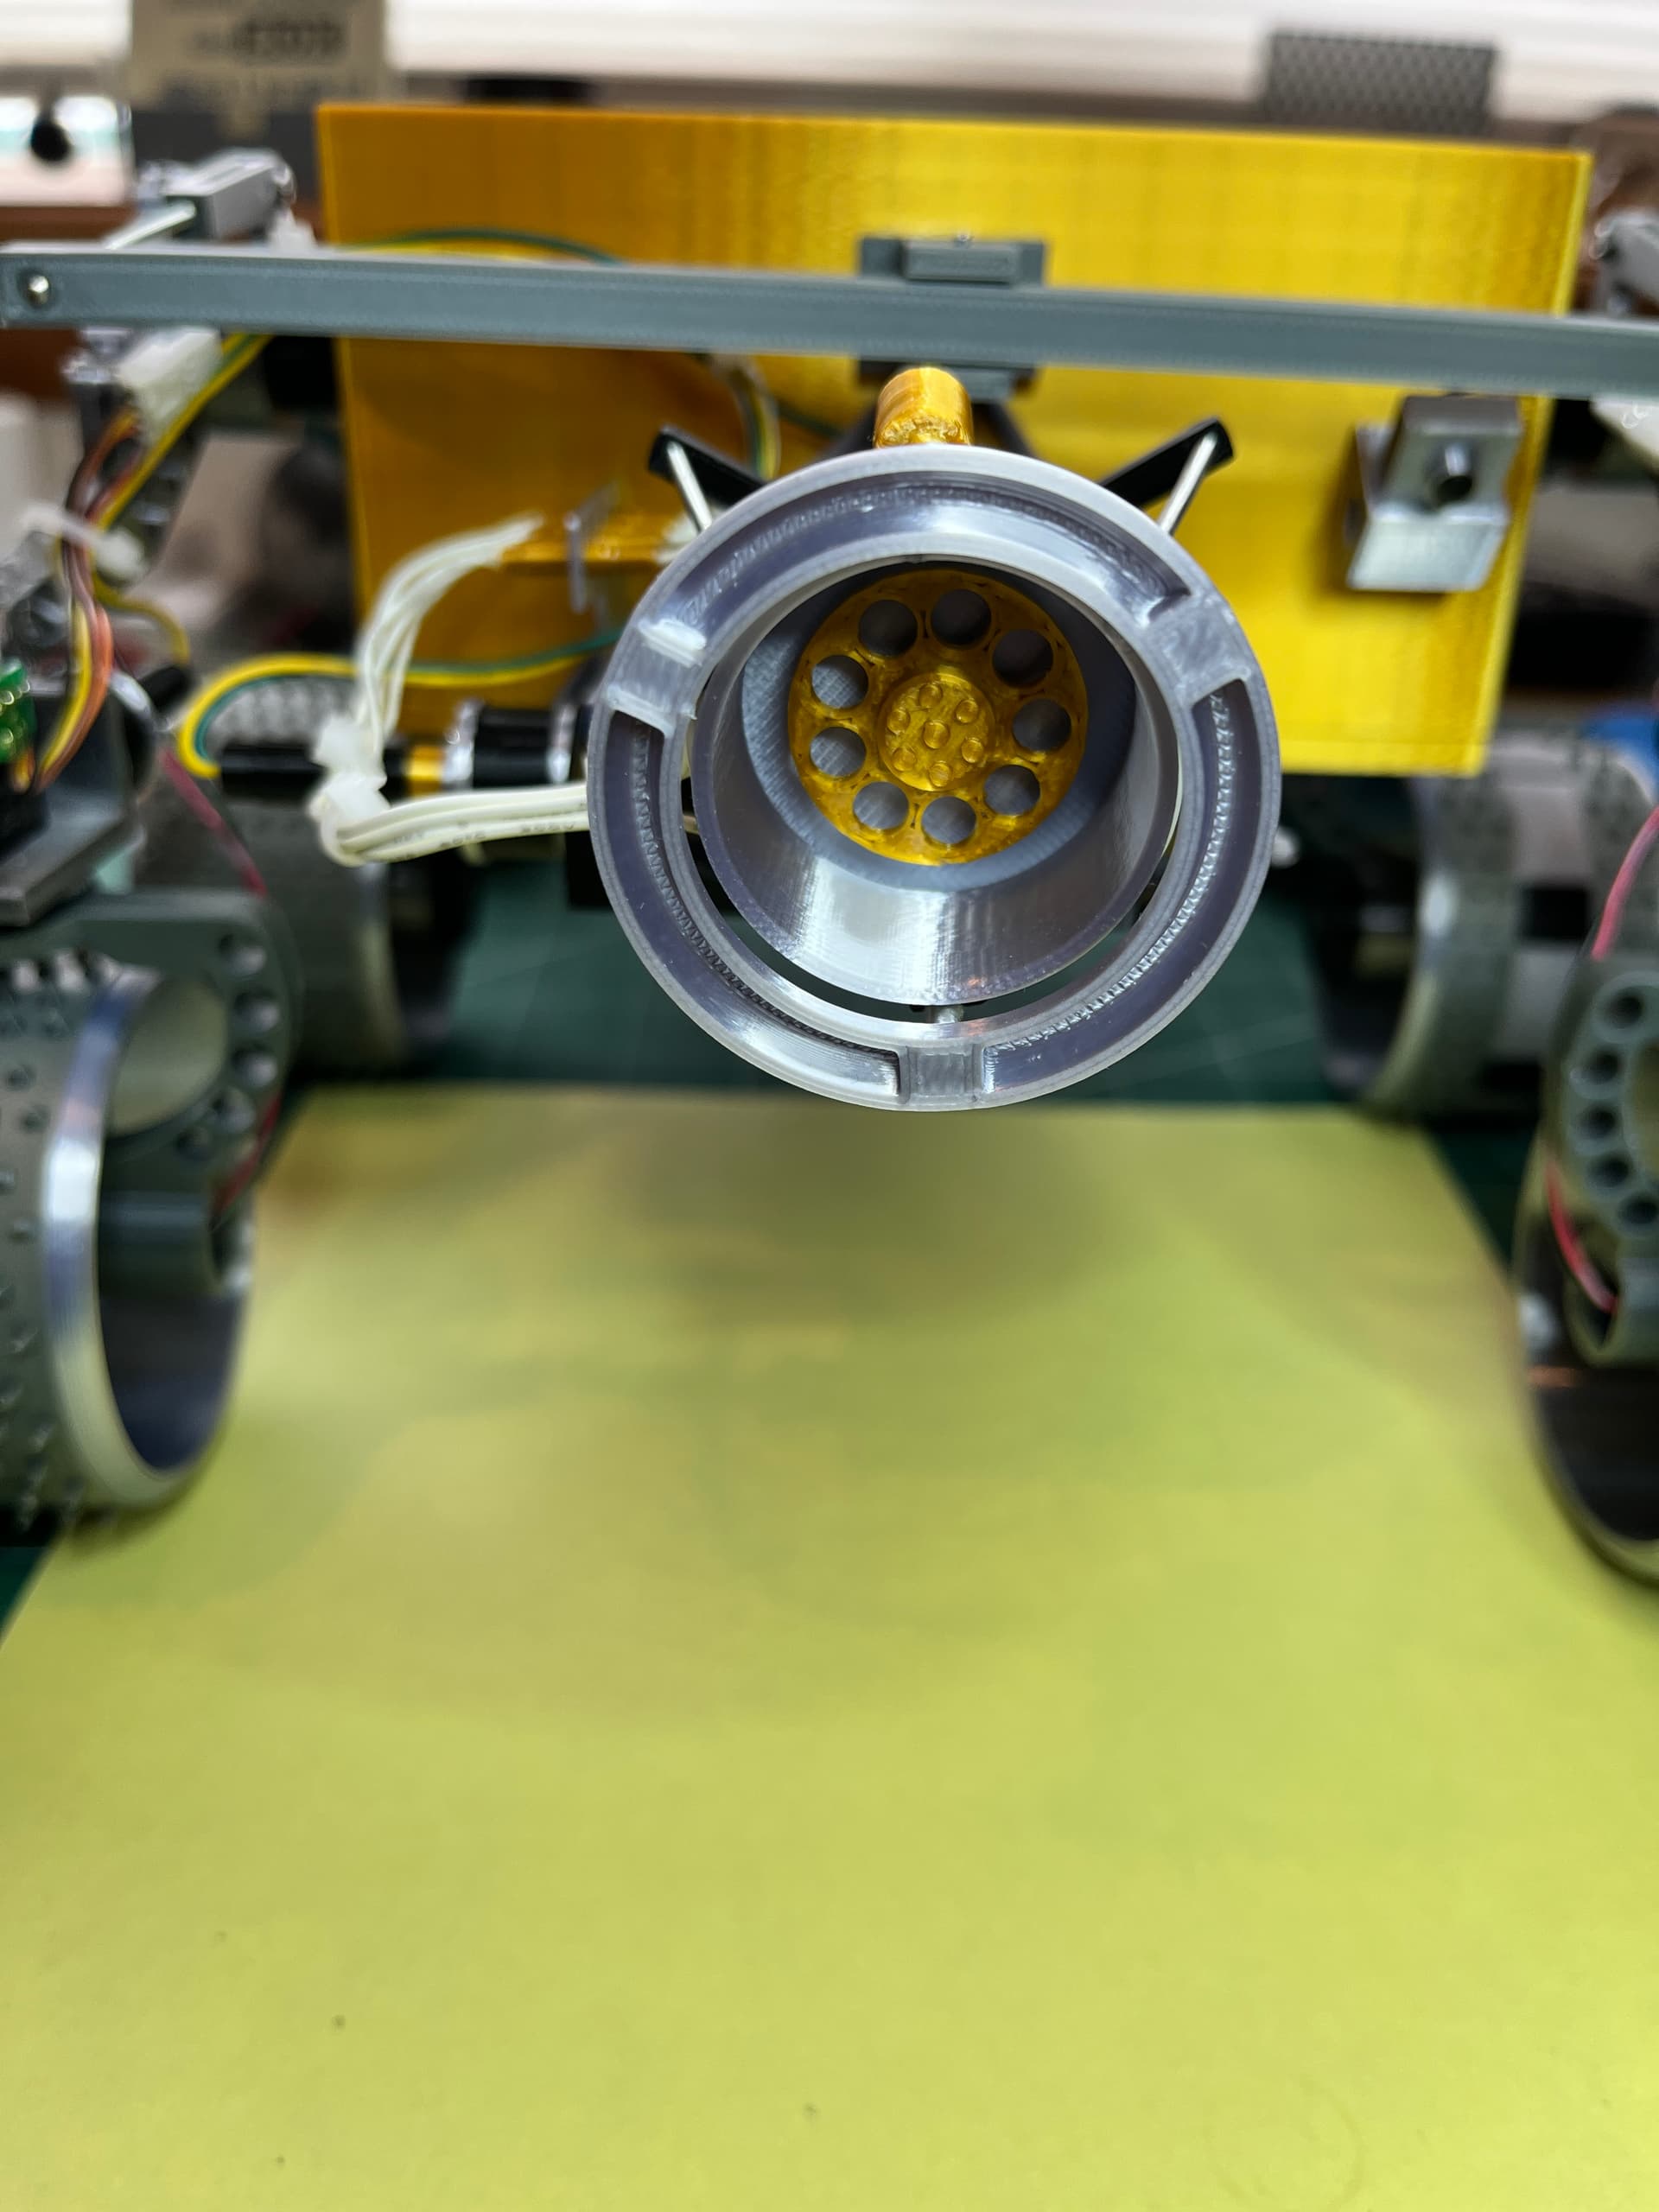
The box would just flop over if it wasn’t for a torsion bar mounted to the back of the box. I used threaded rod to adjust the length until the box was level. I also installed the heaviest electronic parts towards the back.

3 Likes
Instead of driving all six wheels I chose to drive the four corner wheels using small motors that fit into the center hubs. The wheels are knurled. This is achieved by printing the tread flat and bending and gluing them to the wheels. One of the center wheels is encoded so they can visually see how far it has traveled. The steering was very simple for this rover. It either went straight forward/reverse or the four corner wheels were crabbed in and it would rotate in place. For the rotation I used very small stepper motors.

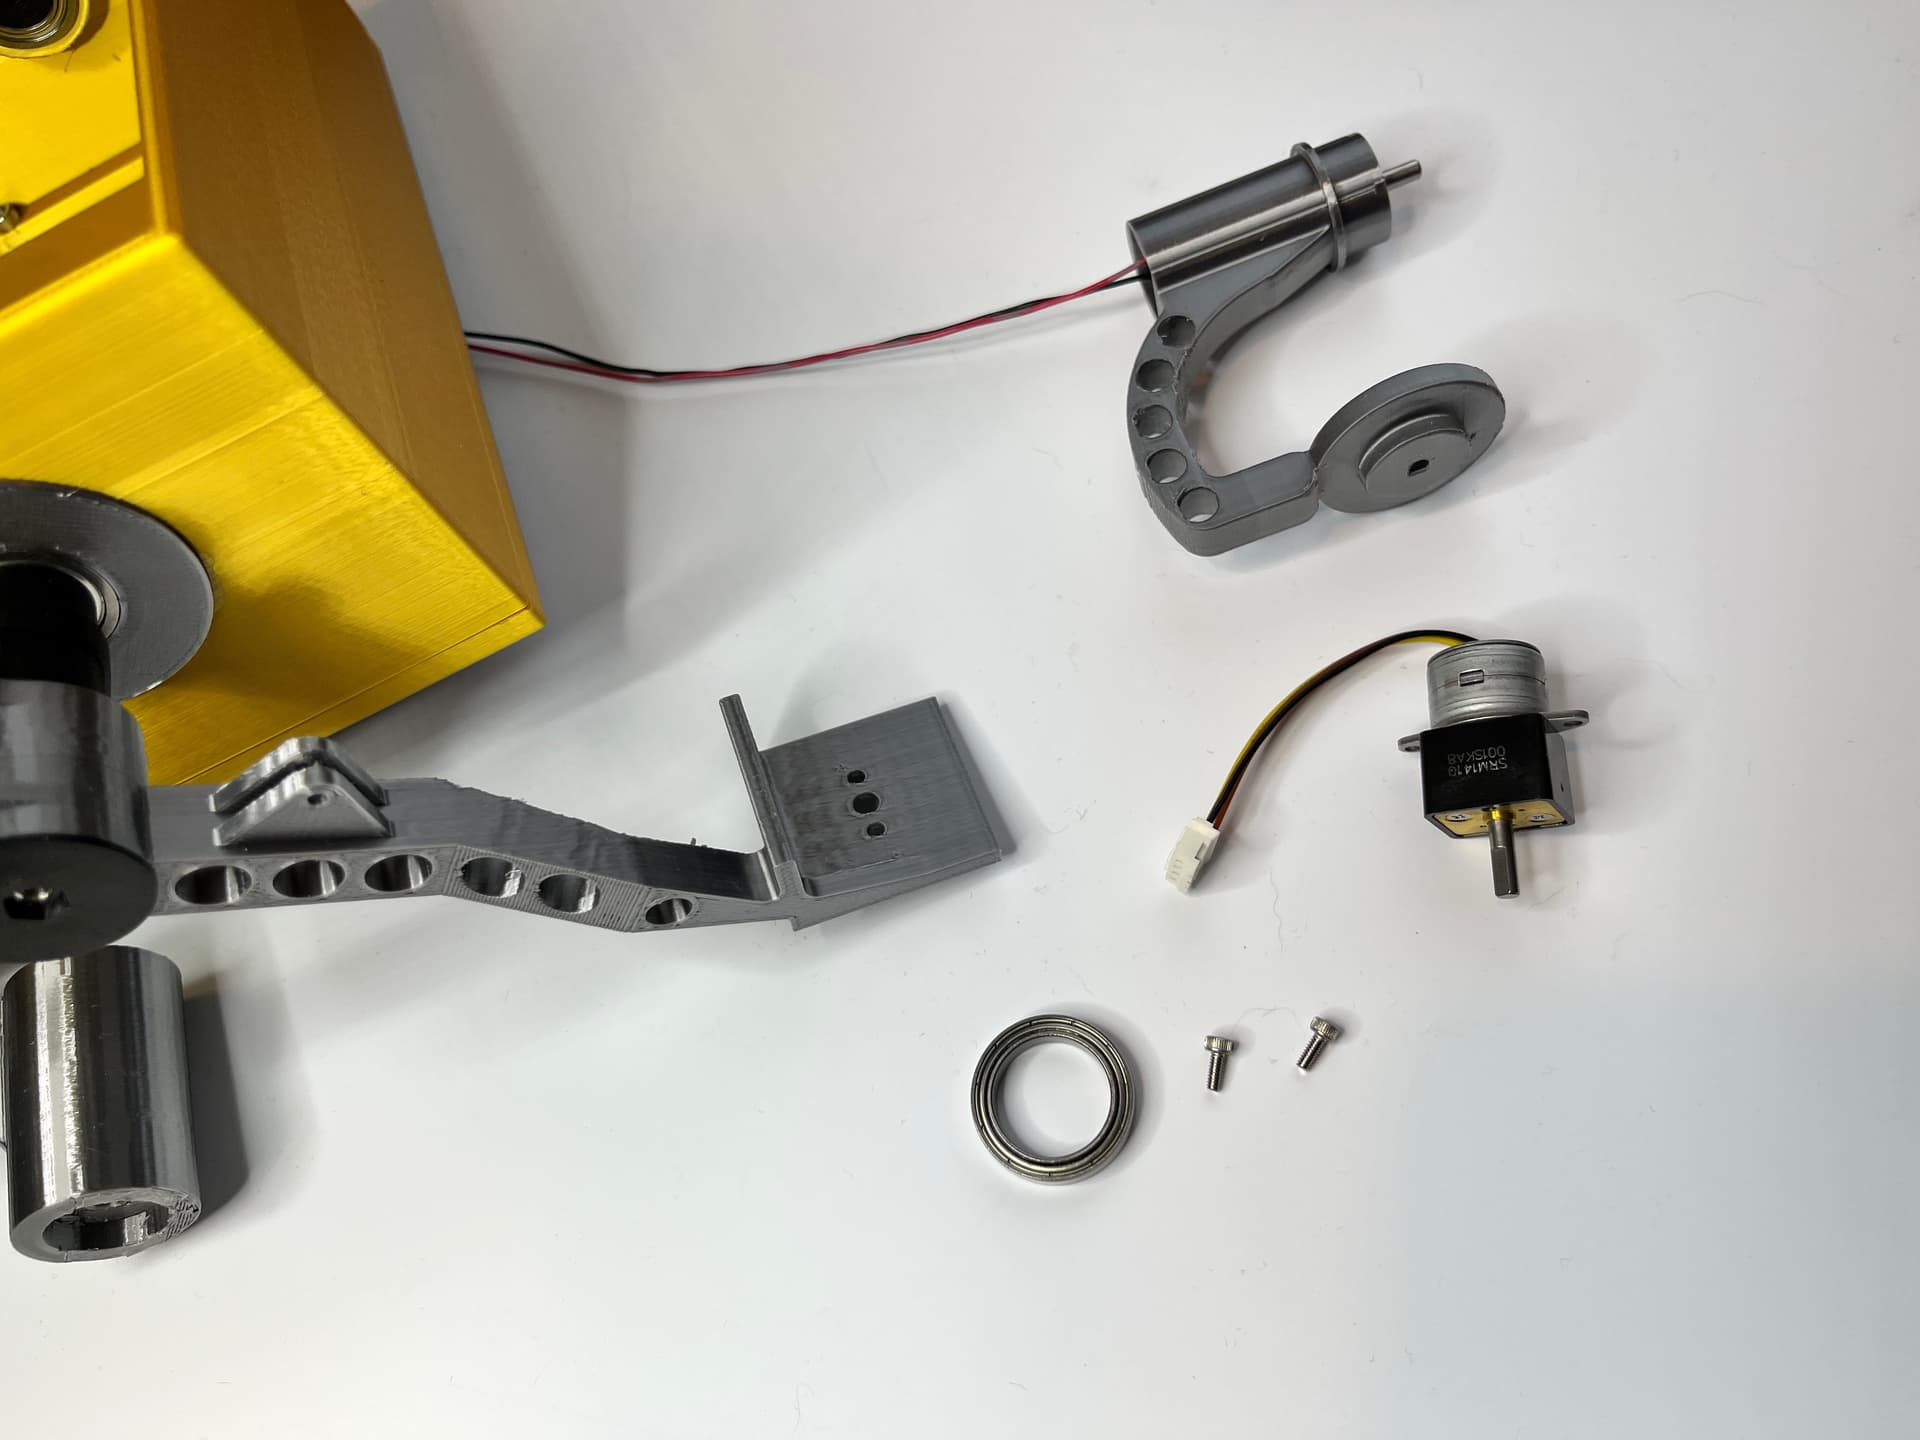
Printing the encoded wheel tread uses a trick I learned by printing someone else’s model. For very thin parts (2 layers thick) you can print different parts without removing the previous print. I had to turn off elephant foot compensation so the next color would fuse with the previous colors. I started by printing the black, then the white and finally the outer knurled tread parts.


3 Likes
The real rover has all its wires lashed to the outside of the rover body. Some of these wires are real, driving the motors, and some are fake just to bulk up the bundle. I used a wax tape to hold the bundles together and zip ties to attach them to the body.

There are also quite a few non-functional parts such as the motor position sensors that add to the fidelity of the model. The black/gold posts use a trick where you insert a pause into the print allowing you to change the filament color before continuing.

The front is chocked full of cameras and laser position sensors. The connector where the wires go into the box is functional, the motor wires. This is the actual location on the real rover.

4 Likes
The solar panel was an interesting part. To get it to look as realistic as possible it is a three color print; the base, a copper substrate and then the black solar panel parts. Here is a test print.

I’m very happy with the results.

The solar panel is large enough that it is printed as two pieces and connected together with a part that fits into the top of the body box. You can’t really see the seam from the top.

There are black and white side parts glued to the sides of the solar panel with along with front and rear bumpers, an antenna and colored strips.

3 Likes
The business end of the rover consists of an Alpha Proton X-Ray Spectrometer that analyzes the composition of rocks. It contains many little parts. The actual spectrometer is held on with threaded rod.


3 Likes
The electronics consist of an Arduino Uno (a Nano would also probably work), two motor controllers (controls two motors each), and four stepper motor controllers. This picture is of the work in progress. The stepper motor controllers will go on the proto board along with a 9v to 5v converter since I am using a 9v battery. The joystick contains an off the shelf joystick.


The unfortunate part is the stepper motors that rotate the wheels work fine on the bench but are not strong enough to rotate the wheels under load. Given that they are the correct size from a modeling standpoint I decided to leave them and not replace them with larger, non-scale motors. If you wanted to scale this up to 1/1 you could install large enough stepper motors.
2 Likes
Here are a few final pictures. This was a good addition to my growing space collection. Now on to other rovers…

2 Likes
That’s neat, where did you find that? The first post link tells me you created it yourself? what did it cost and how long did you work on it?
I make these models from scratch. I included parts so you can make a static version or try including electronics. Someone asked the cost question on the Shuttle thread. Here is the first part of my answer.
There are two answers as to the cost. If you have a 3D printer then it’s very reasonable. If you don’t have a printer then that’s the big cost. I got into 3D printing about 3 years ago and have not looked back. I have used all the traditional modeling methods; wooden ships, plastic with photo etch, hacked plastic models, even paper models. 3D printing opens up a whole new world of modeling where anything is possible. With paper and plastic models you are limited to what the companies want you to build at the scale they choose. With wood you can scratch build anything you want, however it involves lots of time consuming sanding and painting. With 3D printing you can start by building other people’s models before branching out into CAD design. You can also use the printer for other non-modeling projects. Recently the trash truck ripped the lid off my plastic trash bin. I sketched up a replacement hinge pin, printed it with the tough PETG plastic and pounded it in with a hammer. Trash bin fixed.
There are two 3D printer types. One uses various types of plastic filament which is what I use most of the time. There are limitless colors of plastic. The other type uses a liquid resin. I use one of these for very fine detailed parts. They print down to 18 x 18 microns. The colors are limited so most of these parts are painted. I am currently working on a 1/200 scale USS Missouri Trumpeter model with all the Pontos photo etch. Some parts are not included such as the refueling hose rack. I just drew up the part in Fusion 360, printed and painted it. A good addition to the model. The gas bottles are also 3D printed. I bought them from Model Monkey.
I encourage you to try 3D printing. It is very addicting, a major evolutionary step forward in modeling.

1 Like
Regarding the wheel motor controllers, did you go Front/Back or Left/Right?
Rob
Iwata Padawan
If you download the schematic, it is in the “other files” section along with the instructions and Arduino code, you will see how I wired everything up which is important so the code controls the correct pins. You can see on the schematic that the controller connected to D8/D9 controls the left front and left rear wheels. The controller connected to D6/D7 controls the right front and right rear wheels. You could certainly change all that if you want to re-write the code or use different controllers. Hope this helps.