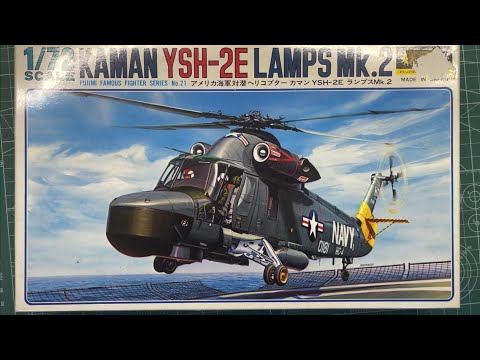
I just got the Kitty Hawk kit for the SH-2F Seasprite. I am looking to build the aircraft that was on my ship (USS Chandler) during our Desert Storm deployment–Seasnake 17, HSL-33 Det 7. I have designed my decals and they are on the way, but I was reading on some old posts from 2017 and in other forums that the transmission housing in the kit is for the -G model and after inspection, it is considerably different than the -F model. I also saw in those posts that there was a conversion set at one time from Cobra Company and that Lone Star Models eventually bought the molds and was selling them. Now, however, when I try to go to their site, it is no longer active. I have searched for the kits on eBay to no avail as well. I am decent with a 3D printer and have designed and made a number of parts, but the complexity of this housing is a bit beyond my current skillset, I believe. I was wondering if anyone had any suggestions, or has this part in their stash and would be willing to sell, or has an STL that I can print. Otherwise, I’ll build it as-is.
I am also considering the Revell kit for a kitbash, assuming the housing is the correct one for the -F. That kit is on its way from eBay, so this looks like my best option. Any advice from previous builds would be greatly appreciated!
Mike closes the lonestar website periodically to catch up on orders and then will re-open. You can get in touch with him on facebook here: https://www.facebook.com/search/top?q=lone%20star%20models
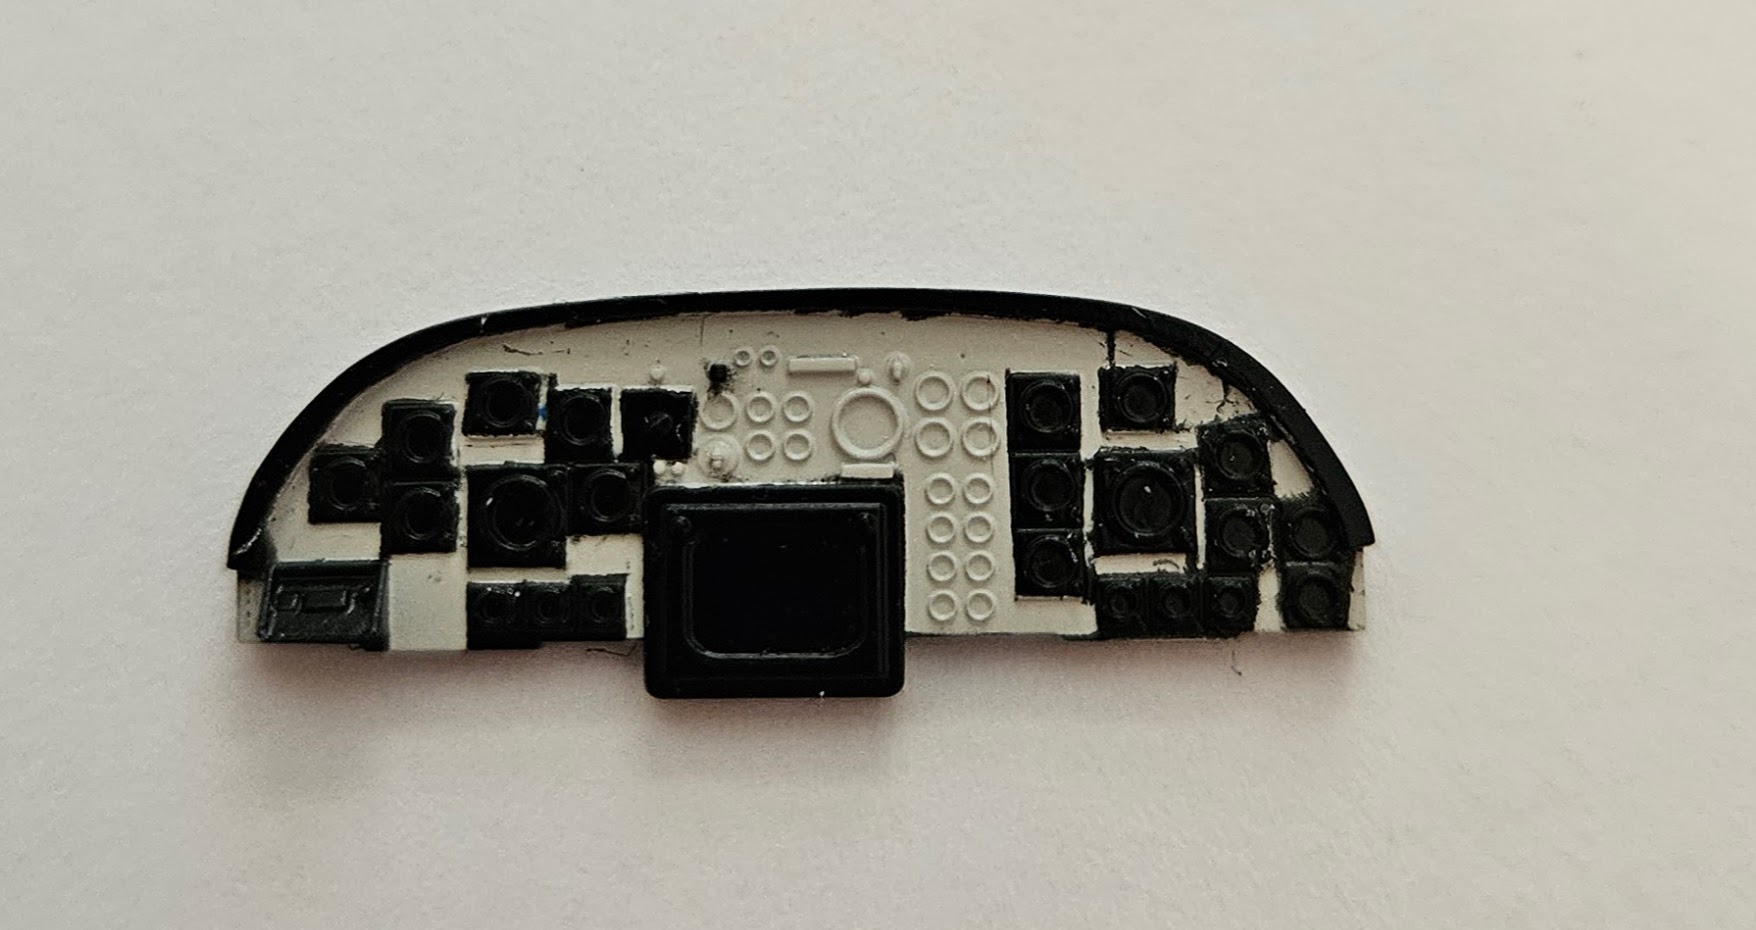
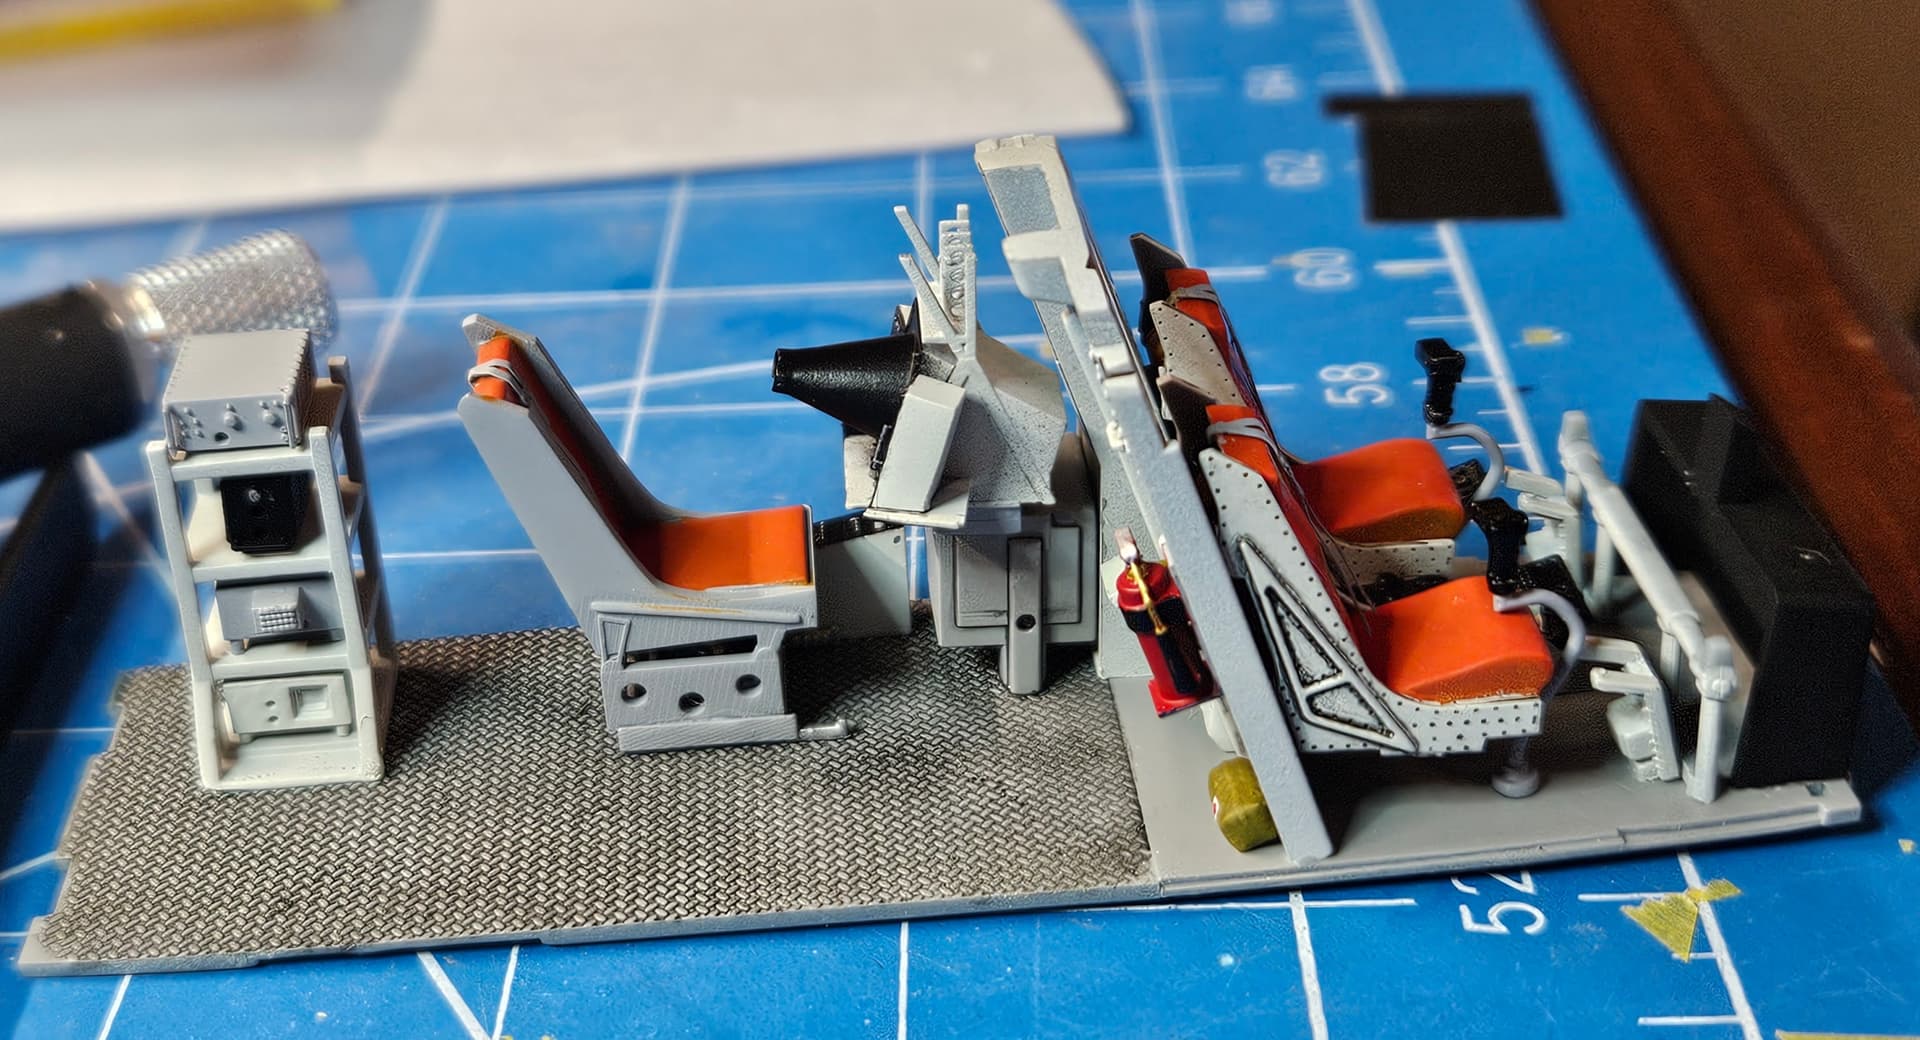
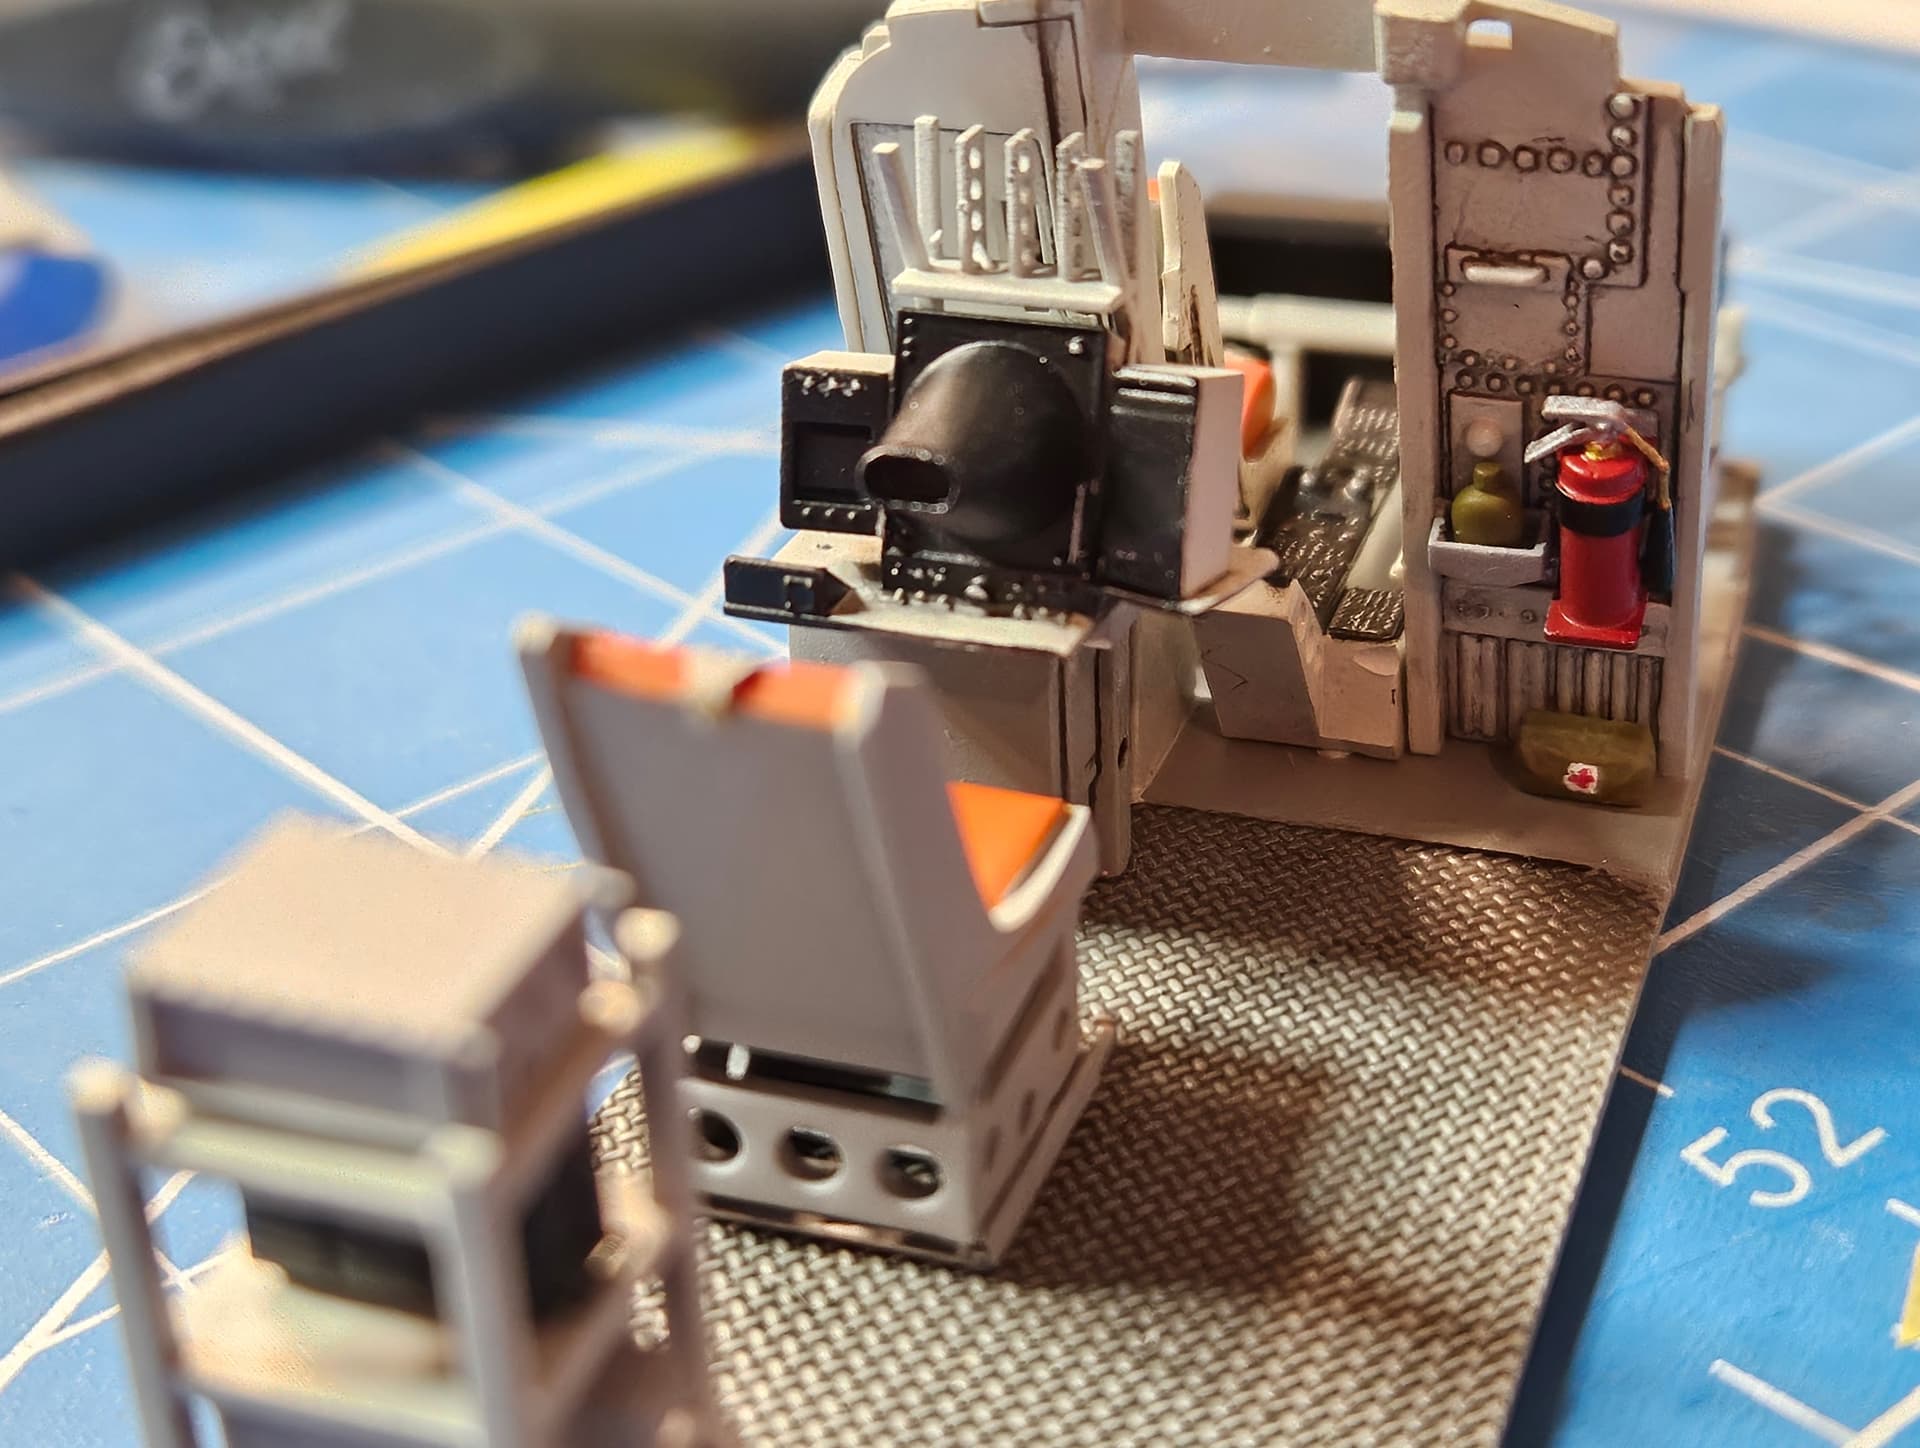
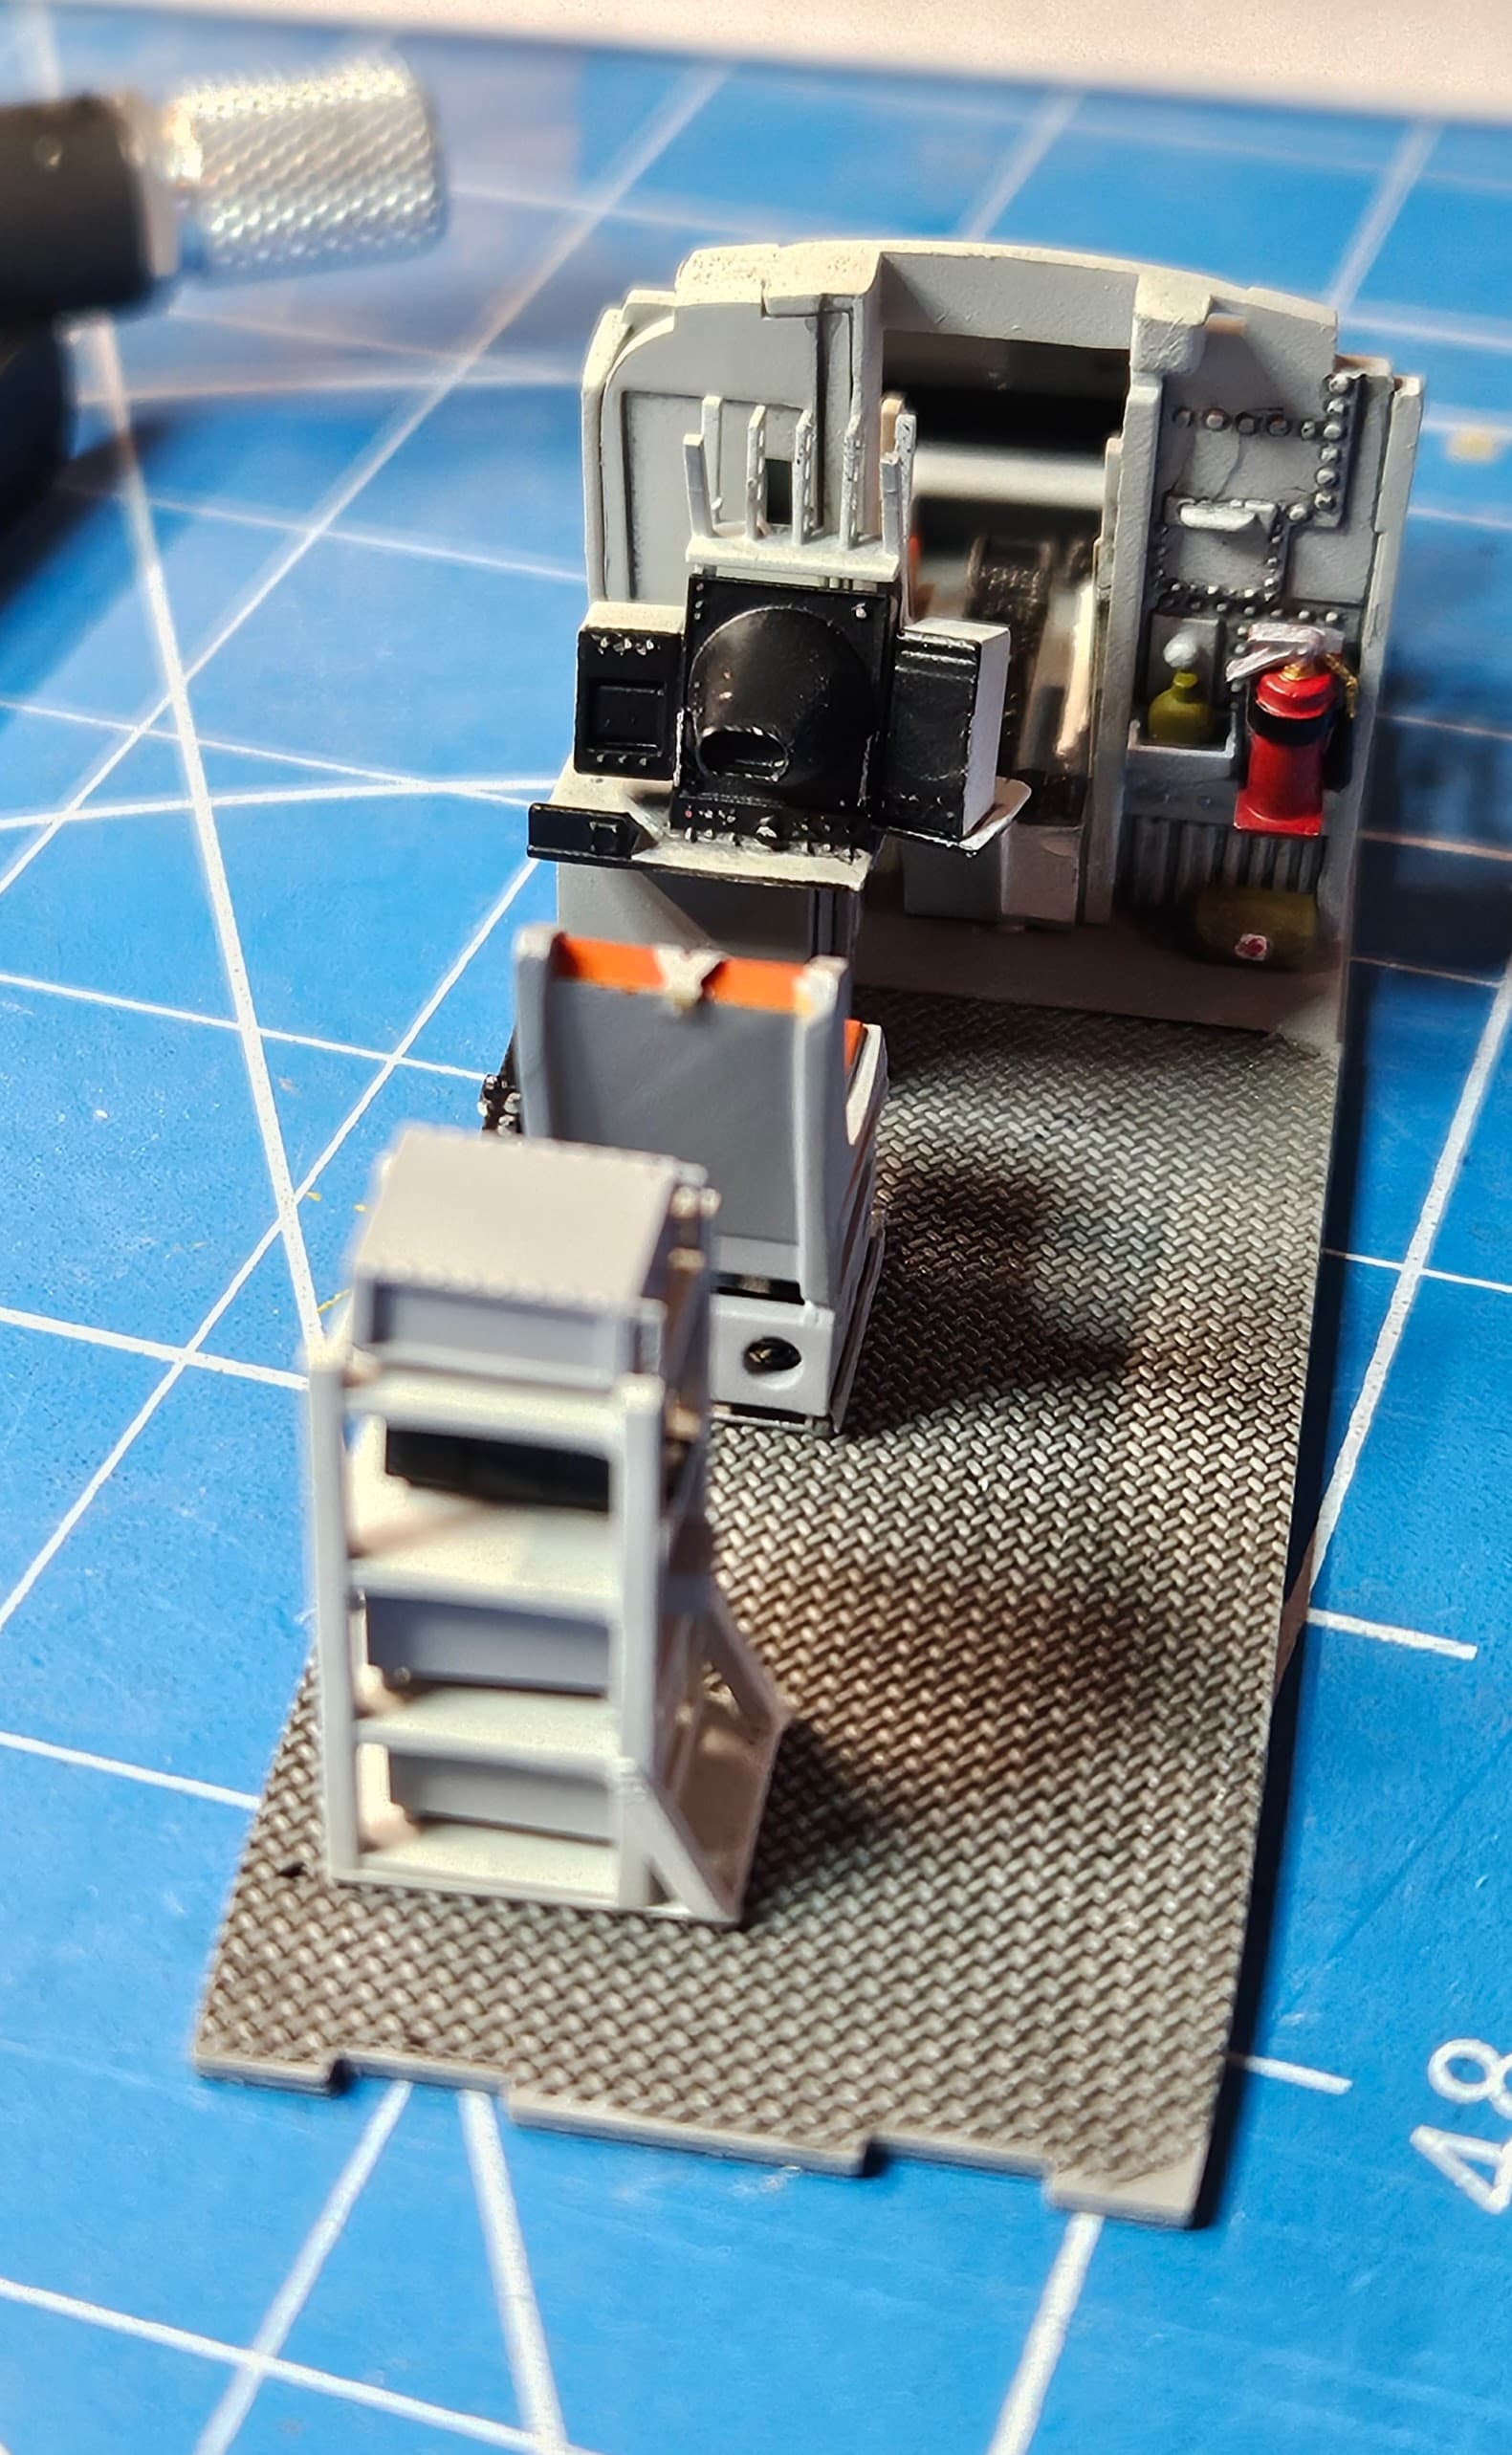
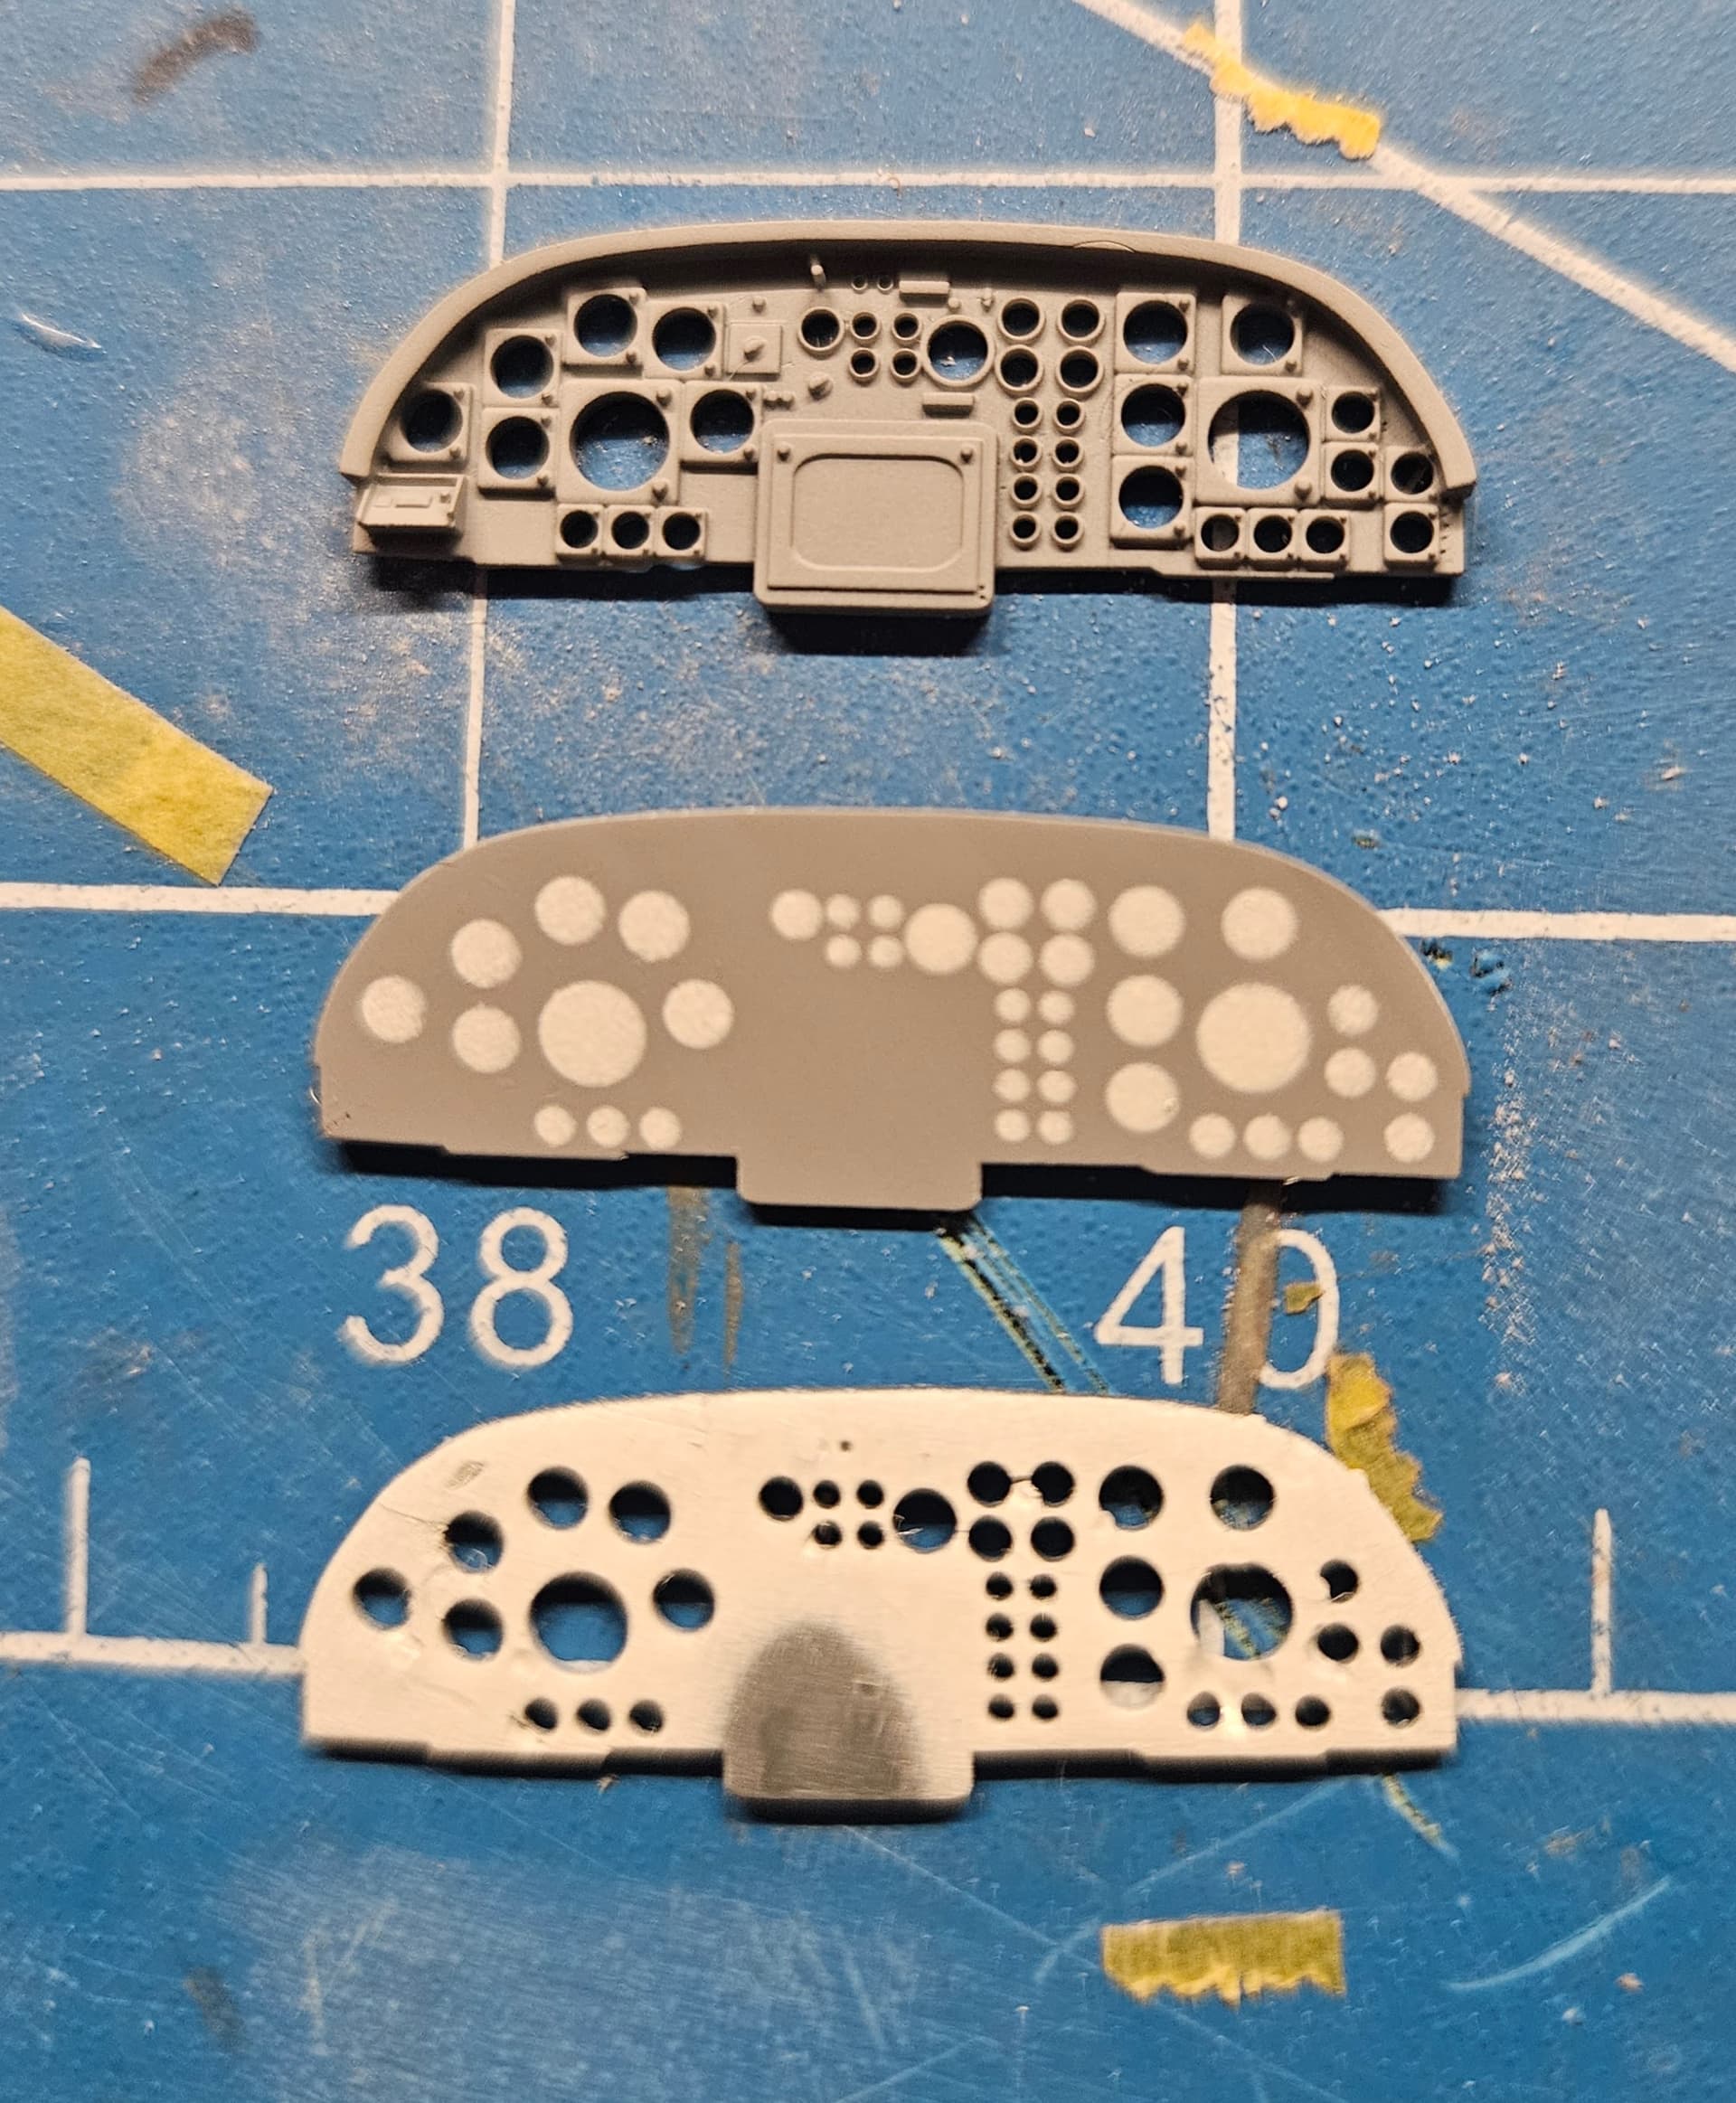
Thanks for sharing the FB link. I have reached out and am still waiting to hear back. In the meantime, I’ve created a good number of parts for the Seasprite in the configuration I’m modeling, including the complete ASW Operator Station with seat, equipment rack with black (gray) boxes, fire extinguisher, canteen and first aid kit, new cyclics, ALQ-144 “Disco Ball” IR jammers, ALE-39 Chaff/Flare dispensers and a corrected instrument panel (like the transmission doghouse, the panel appears to be for the -G model, not the F), and a FLIR pod. I also got back my custom decals, which look good on paper. I’m now waiting to get a set of the Airscale modern Jet Instruments, which I will use to populate the panel. Then I can actually start assembling the interior!


Here’s the instrument panel. The zoom makes the paint job look worse that it actually is from normal viewing distance. ![]()
Cool - nice progress. I just picked up the SH-2G during a sale and got a damaged box discount. Too good of a price to refuse.
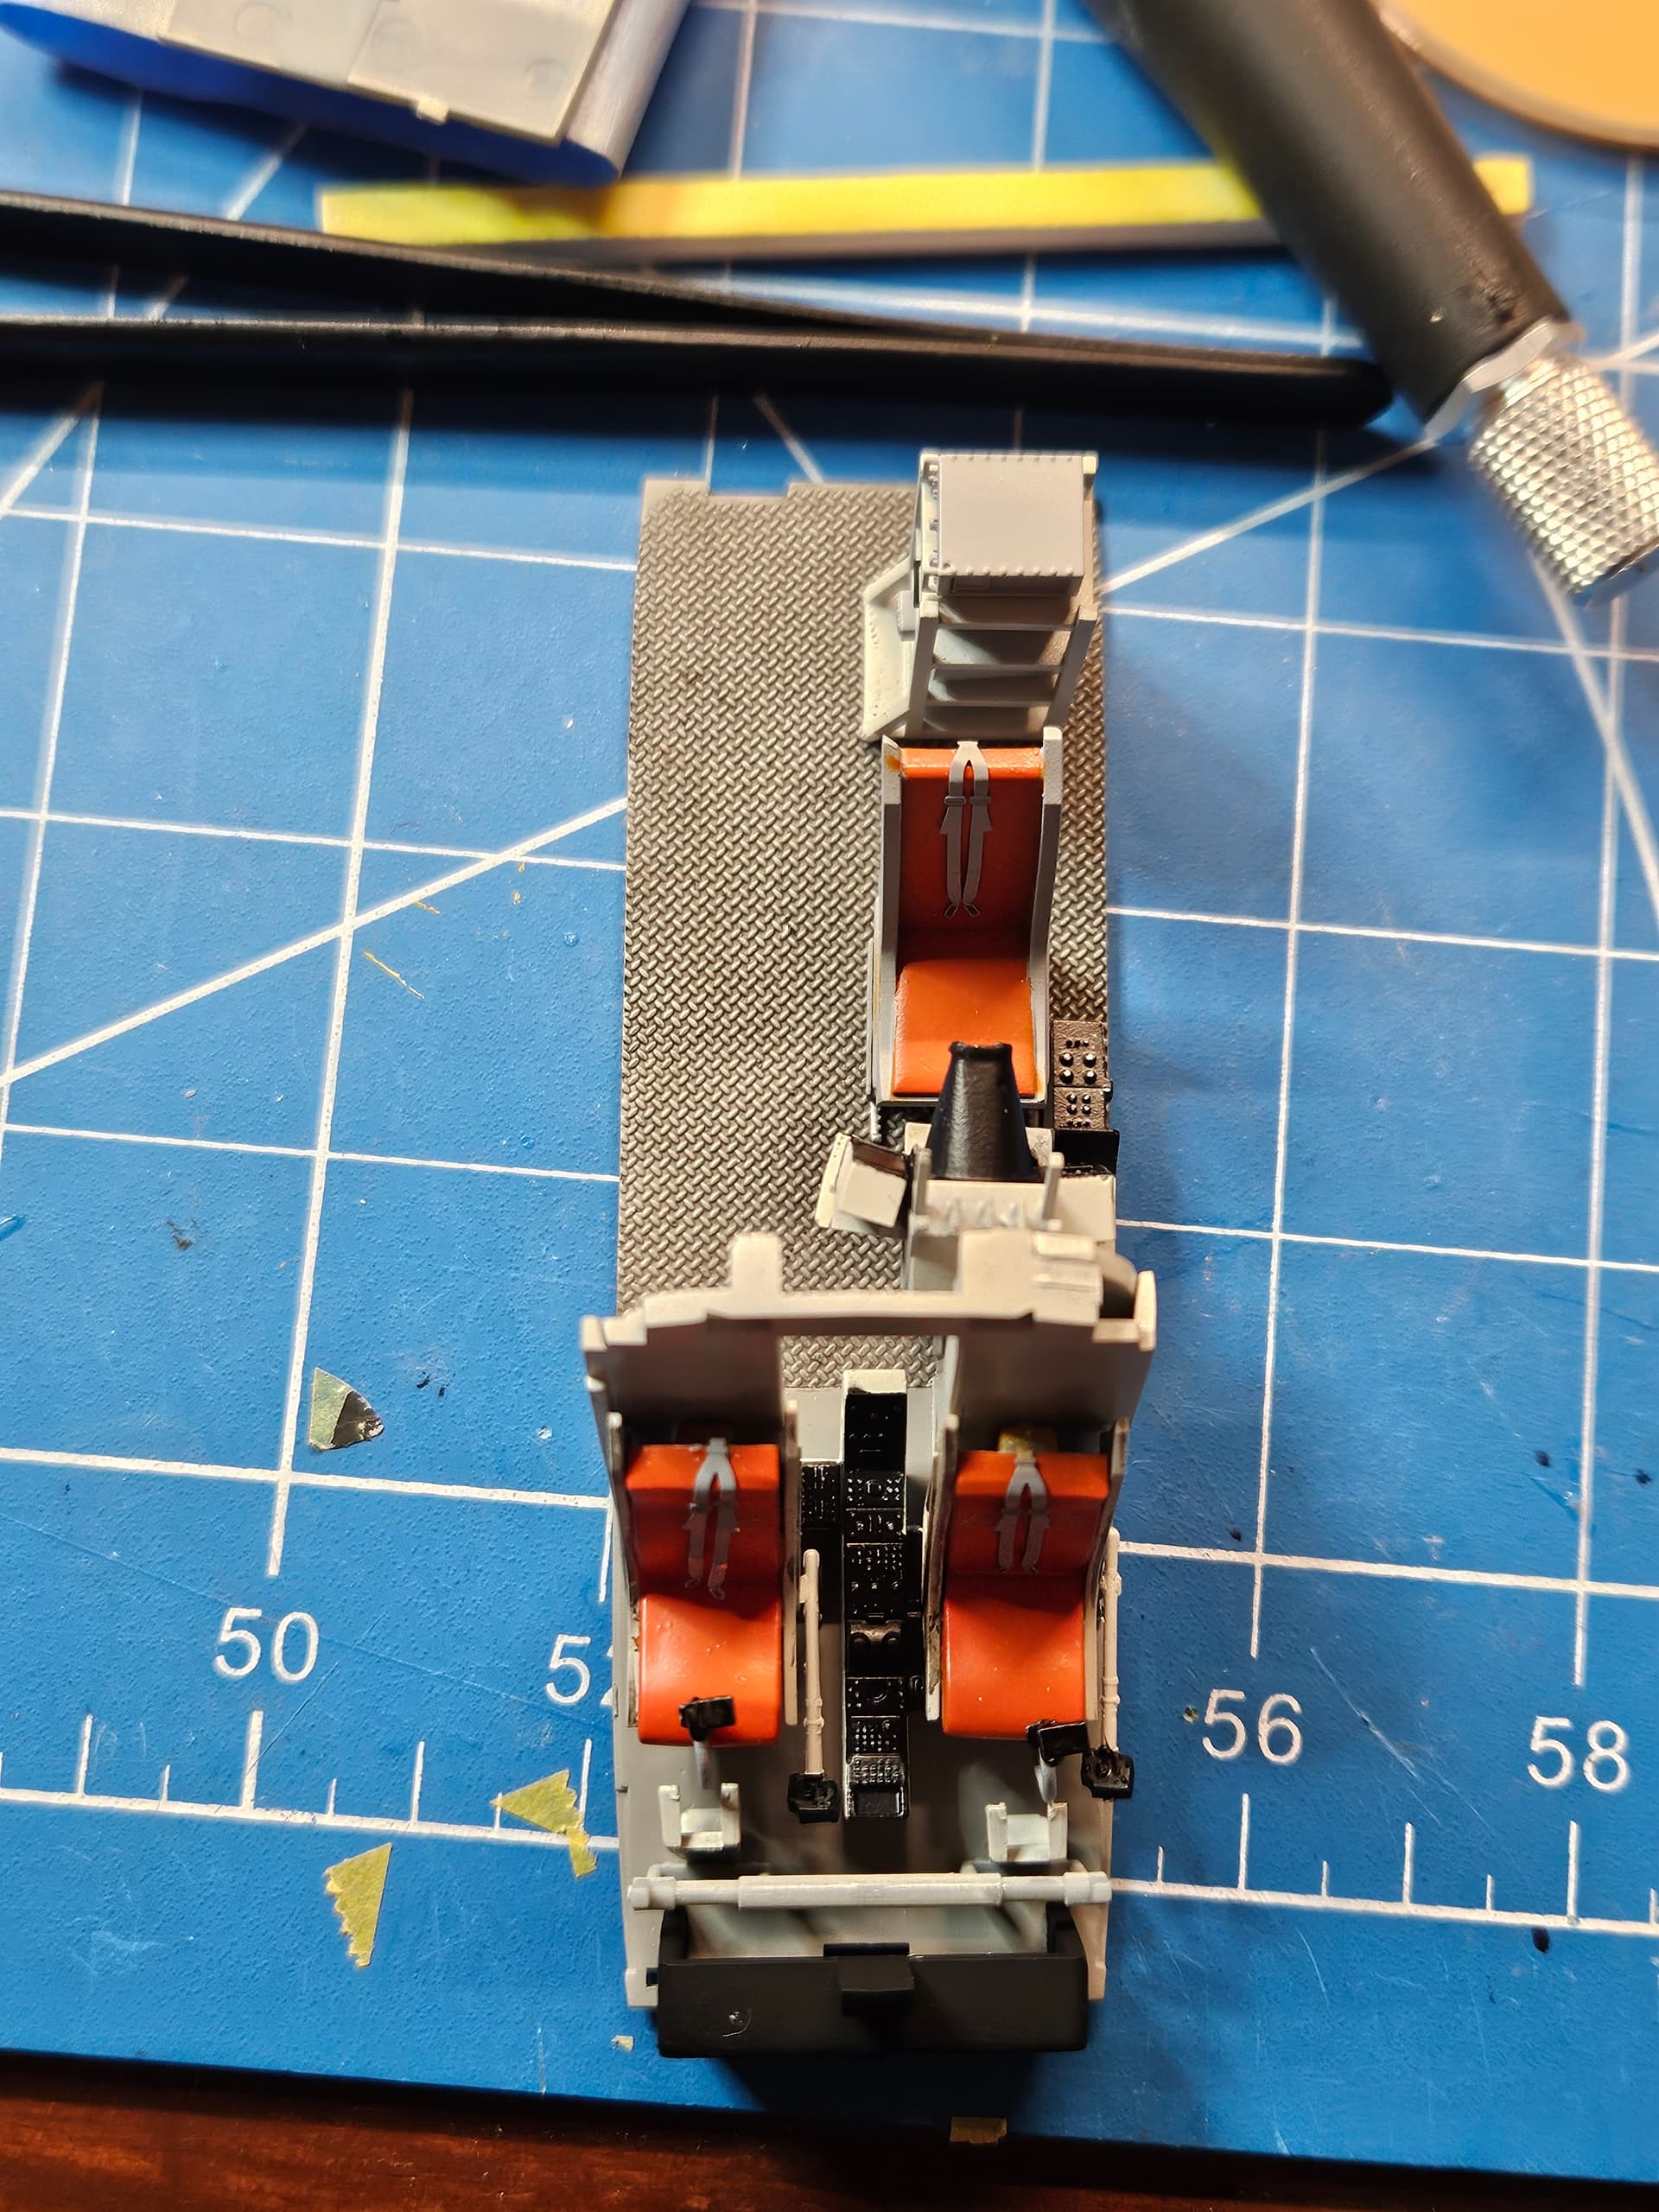
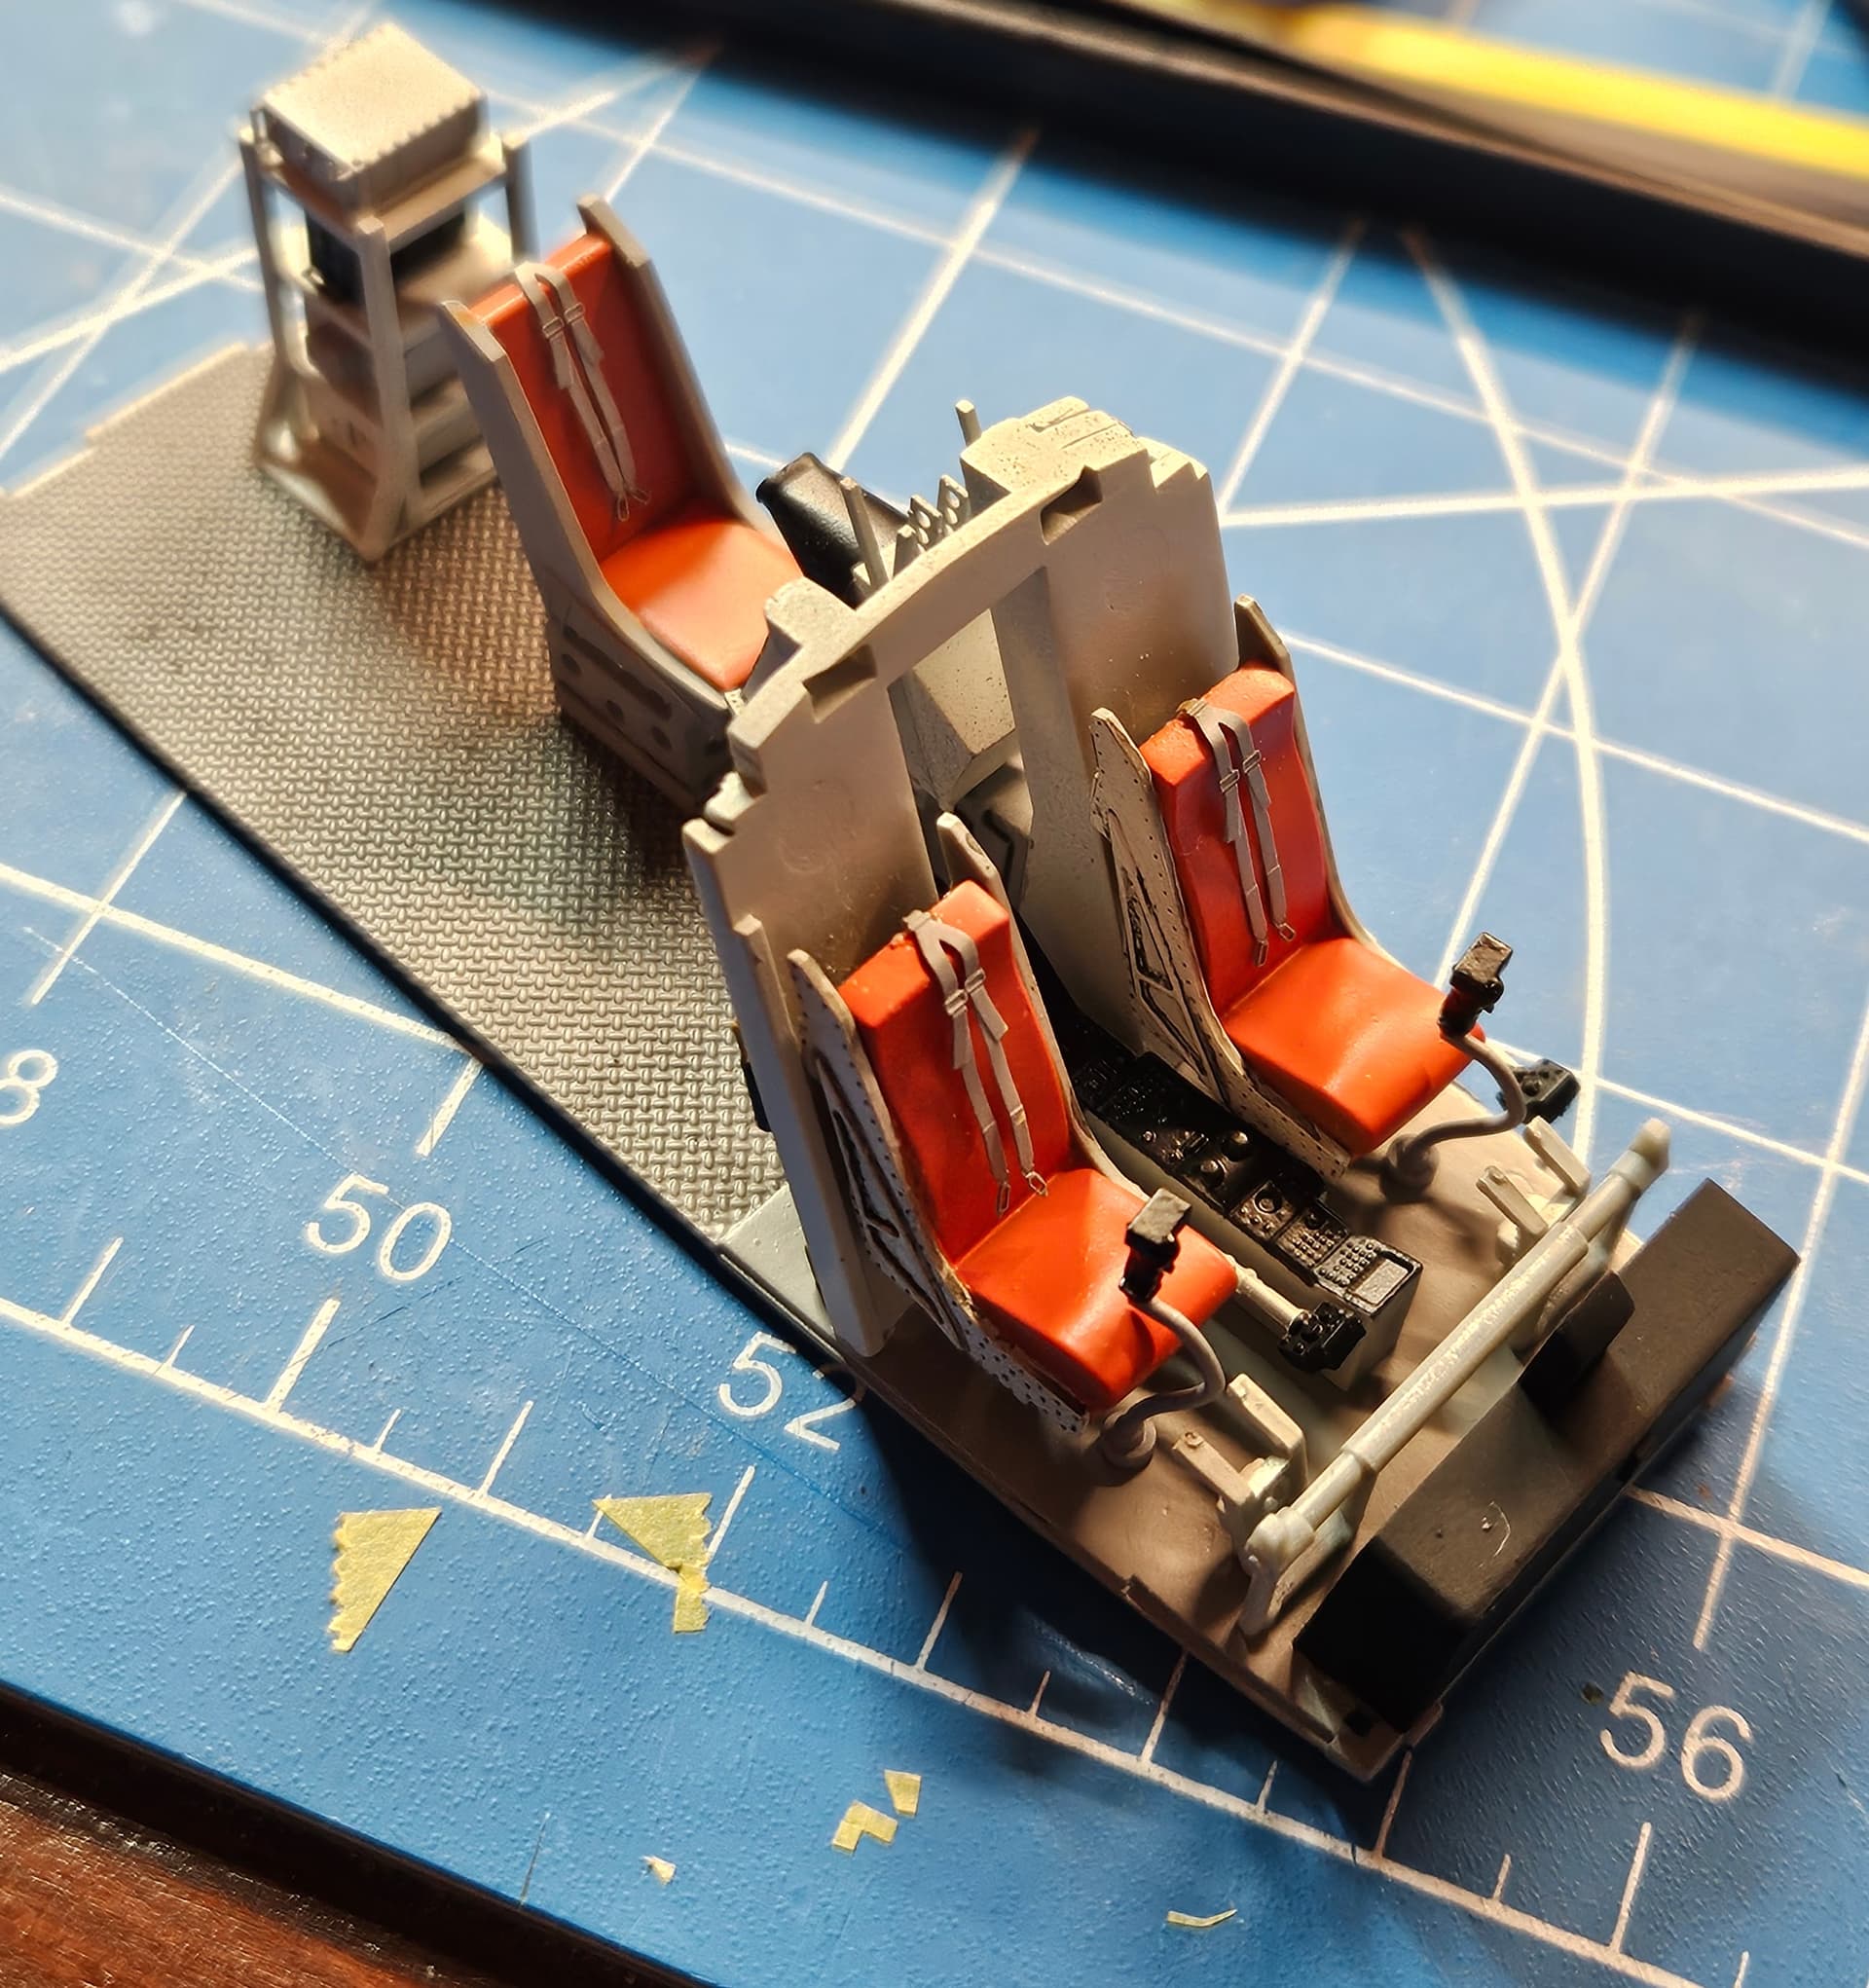
I got much of the interior put together today. Instrument panel needs some touch up and the Airscale instruments, and then it will be ready for installation. I’m pretty happy with how it turned out. Pretty much everything aft of the pilots’ seats and that bulkhead I designed and printed. The cyclics are also 3D printed, since I broke one and the carpet monster took possession of the other one. As was suggested in some of the other build logs I read, Kitty Hawk apparently printed the diamond tread on the underside of the crew compartment deck, so I cut the deck and flipped it around. I have to give a huge shoutout to this page, which provided critical photos of the interior: SH-2F Walkaround c. 1988 | Hampton Roads Scale Modelers
Very nice! Good job on the design & printing. May ping you when I do my Sea Sprite ![]()
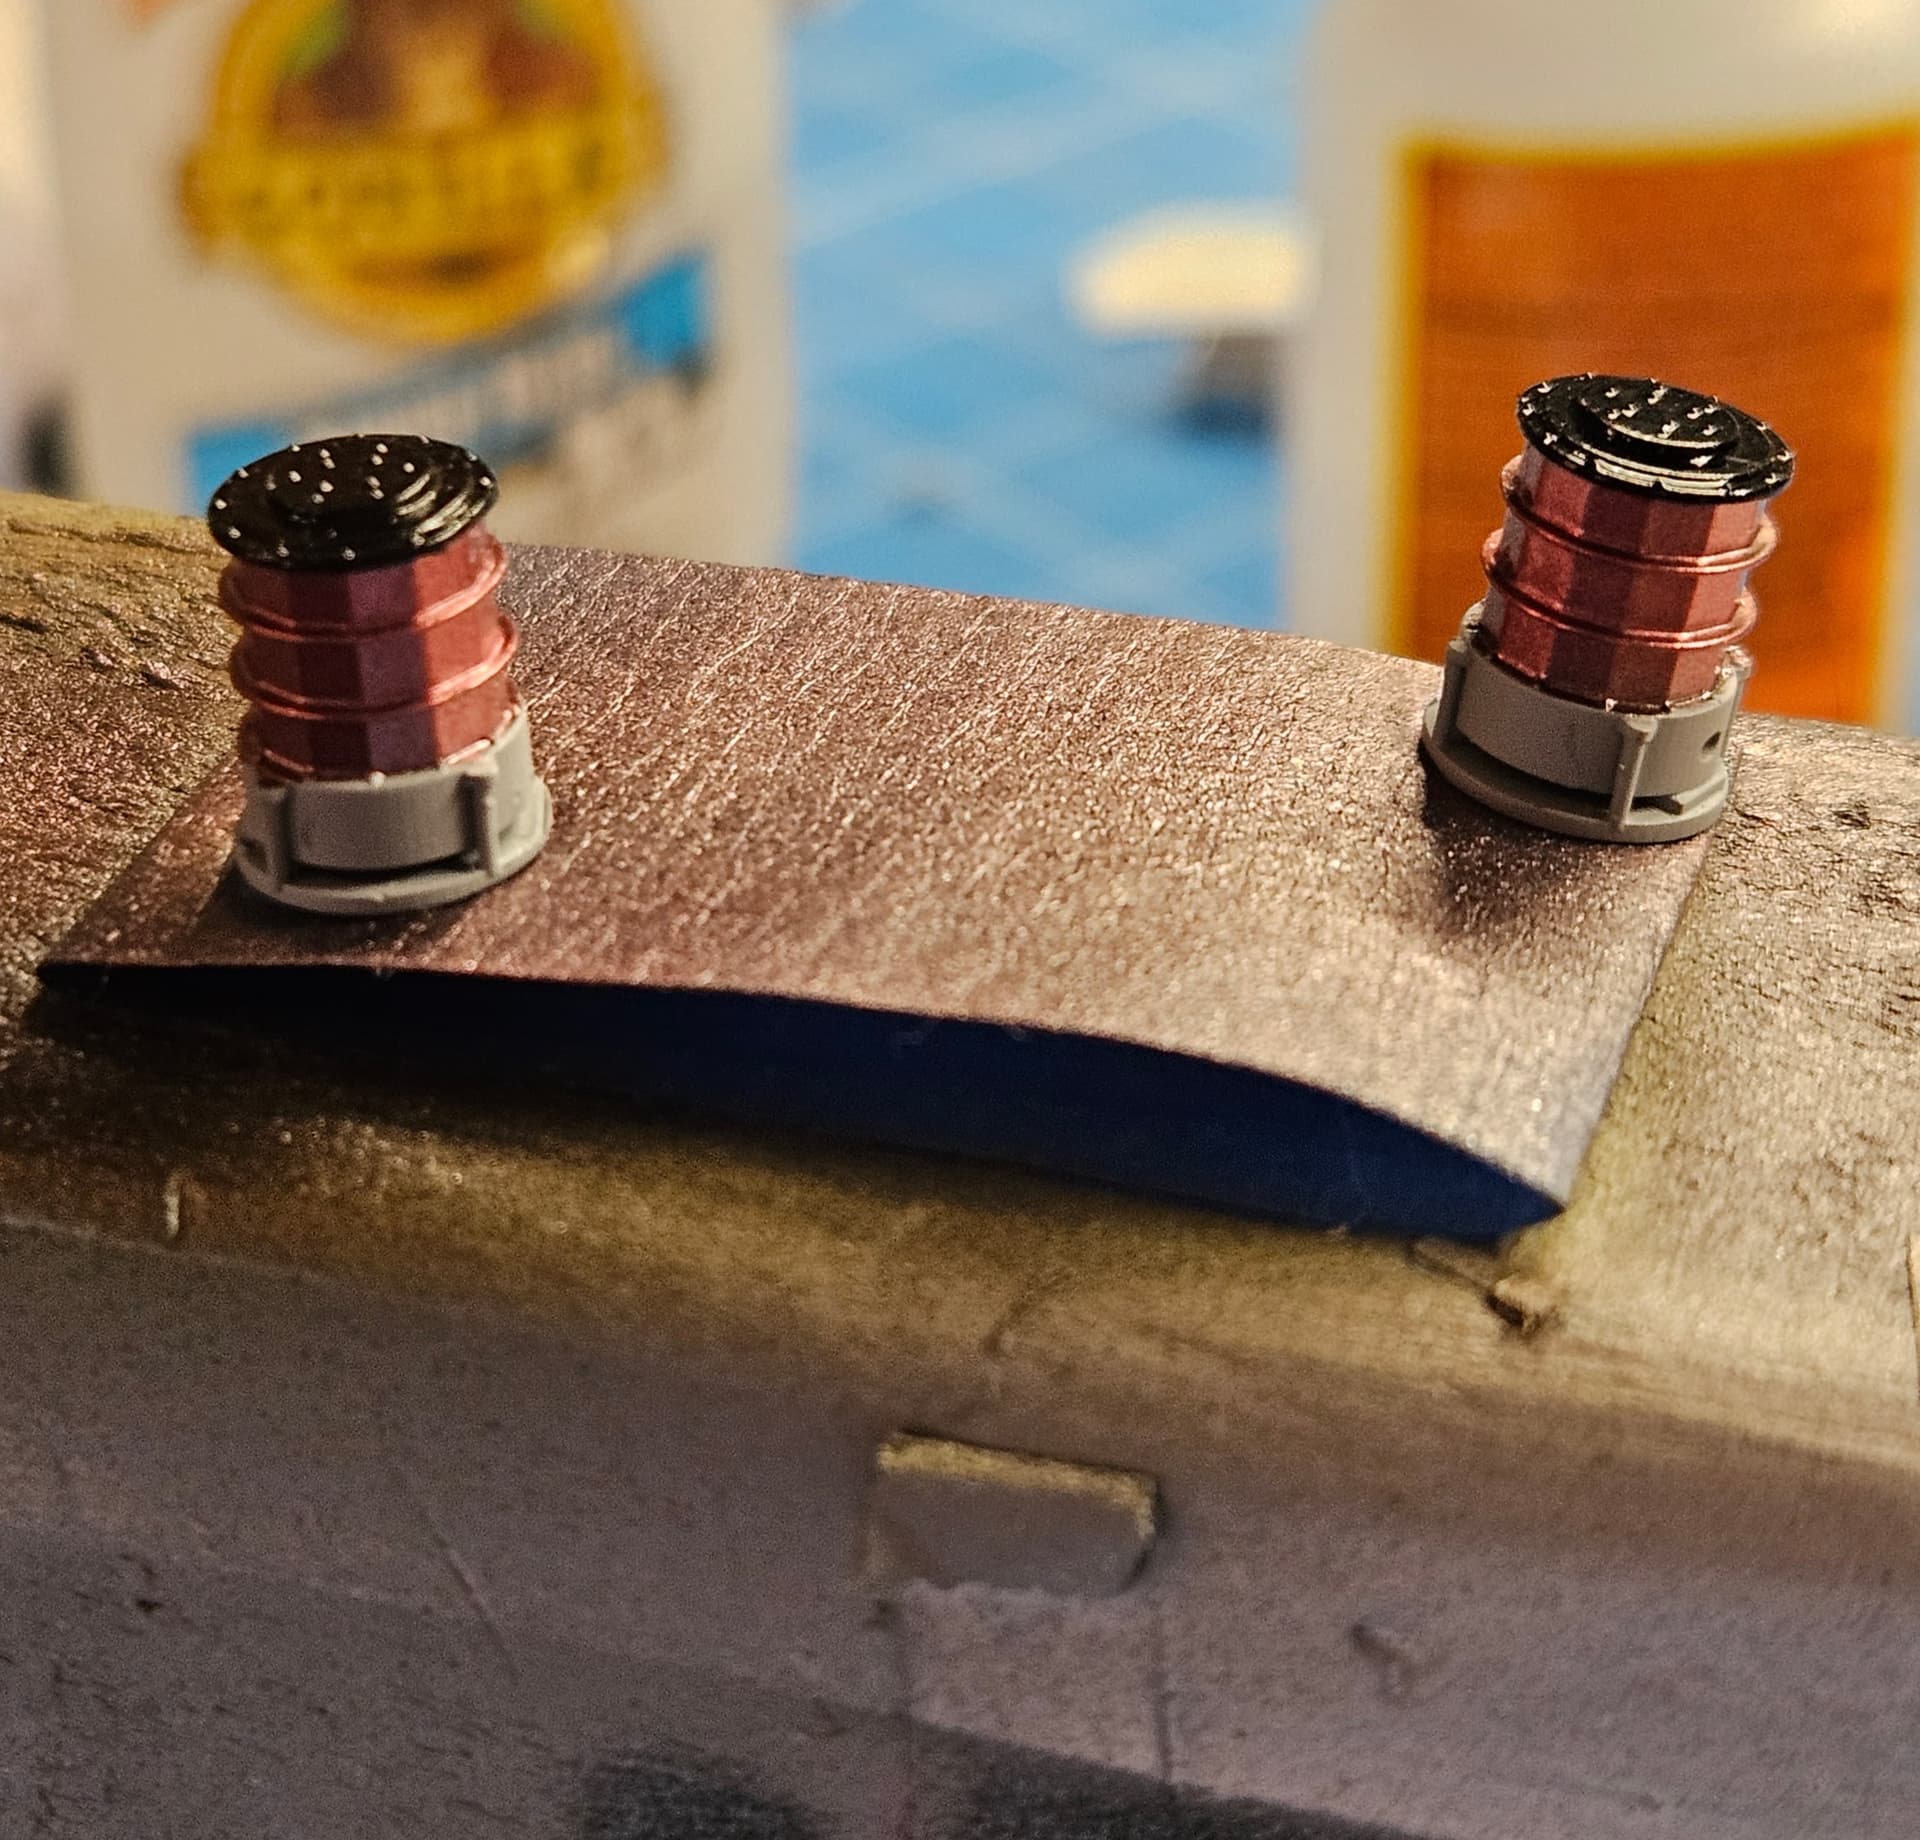
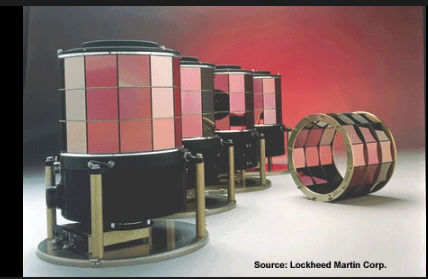
I guess I’m morphing this thread from a question to a build log. ![]() Today, I painted the ALQ-144 IR jammers, commonly known as the Disco Balls. I designed and 3D printed them myself after researching dimensions online. I’m very happy with how they turned out. The glass panels were done by spraying Alclad Gloss Black, followed by Polished Aluminum, then a mist coat of Titanium Gold. Then I misted Gunze Clear Red. Here’s mine compared to the real thing:
Today, I painted the ALQ-144 IR jammers, commonly known as the Disco Balls. I designed and 3D printed them myself after researching dimensions online. I’m very happy with how they turned out. The glass panels were done by spraying Alclad Gloss Black, followed by Polished Aluminum, then a mist coat of Titanium Gold. Then I misted Gunze Clear Red. Here’s mine compared to the real thing:
They look great! Nice job.
Great job on the interior, and disco balls👌
WOW, fantastic work so far ! All the added parts look excellent.
Steve
Thanks all for the kind words, everyone! I’m re-doing the instrument panel, this time with holes for where the gauges go. I’m going to print a smooth backing in the same shape as the panel and will spray gloss white through the holes to mark the positions for the airscale decals on the backing panel. Once I have all the decals applied to the backing panel, I’ll spray a clear gloss coat over everything and sandwich the two pieces together, which should give a pretty realistic panel. Pictures coming soon!
Fantastic work so far. I’ll be bookmarking this for future reference as I have this kit partially done on the shelf of doom.
So, I got the gauge template printed last night and sprayed everything this morning. This turned out well and will make applying the individual gauge decals much easier.
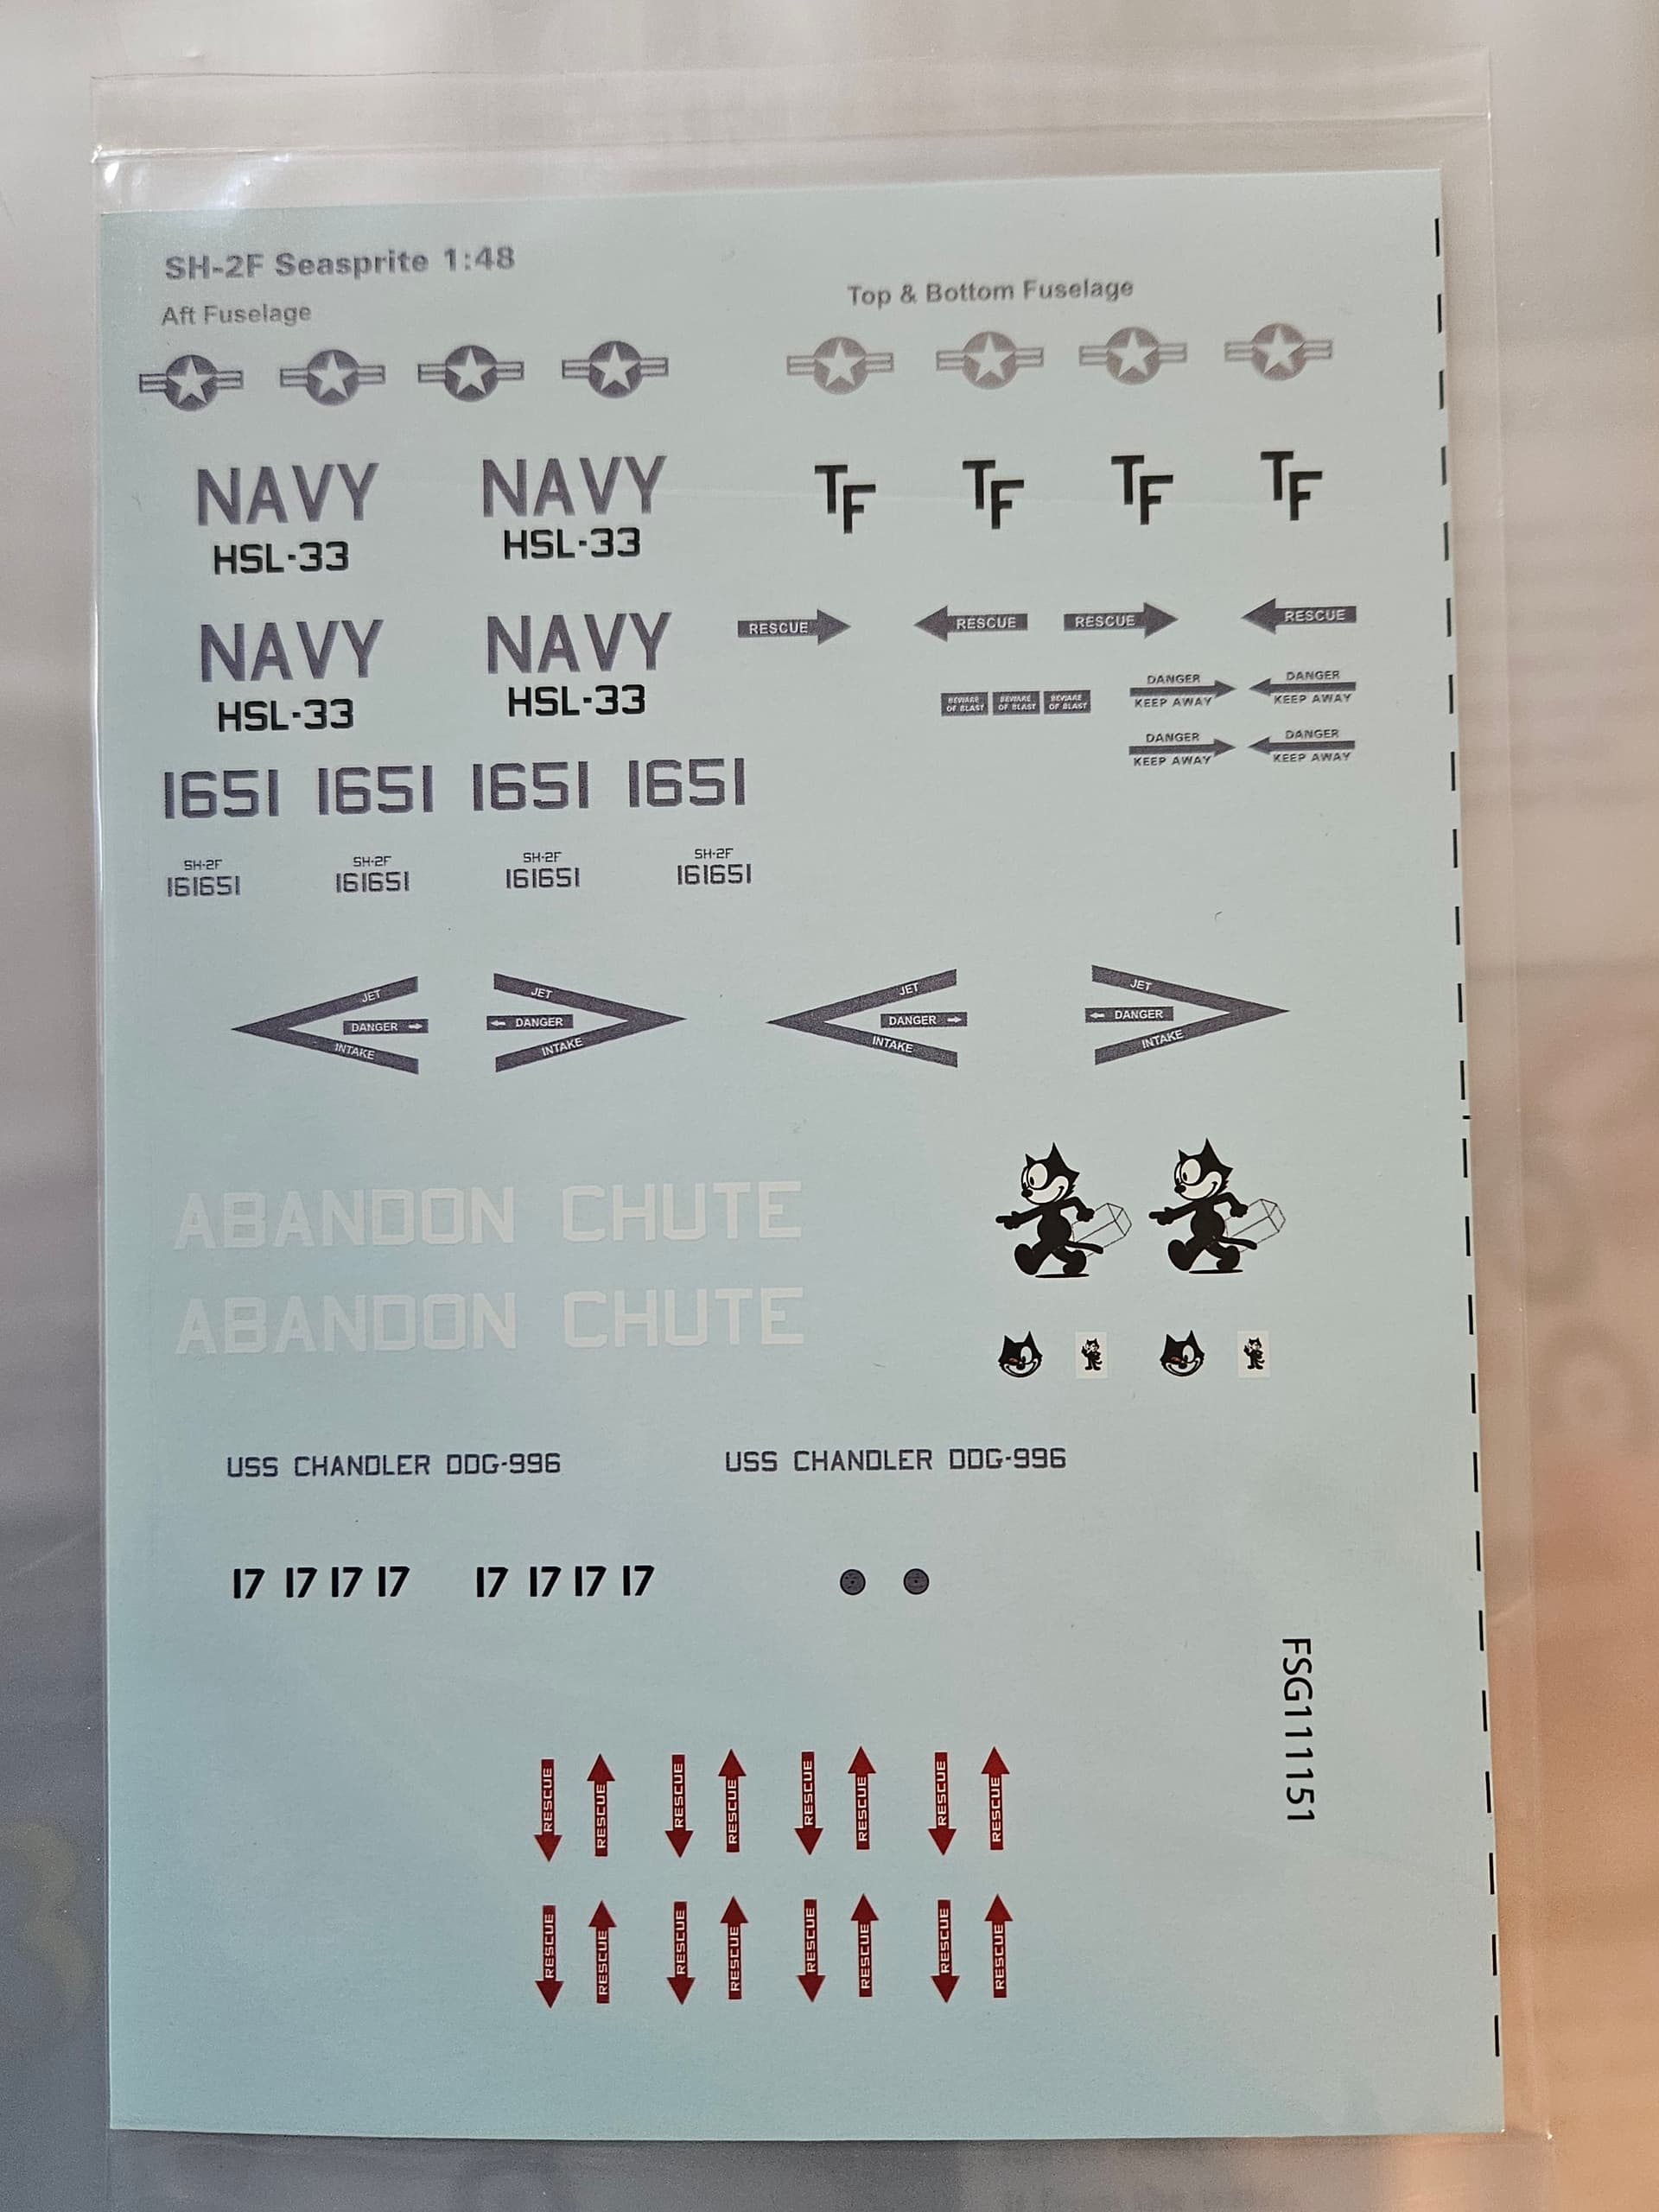
Here are the decals for Seasnake 17. The modern tactical paint schemes are not particularly interesting, but it is what it is and at least we had Felix the Cat to grace our helo! The ABANDON CHUTE and red rescue arrows are for another future project: an HSS-1 for HS-8, using the Trumpeter 1:48 kit. Hopefully, it will turn out a lot like my Italeri 1:72 HSS-1, and I will be doing a full interior for this one as well.
And here’s the best photo I have of the actual helo. It’s from the cruisebook, so it’s a bit grainy.
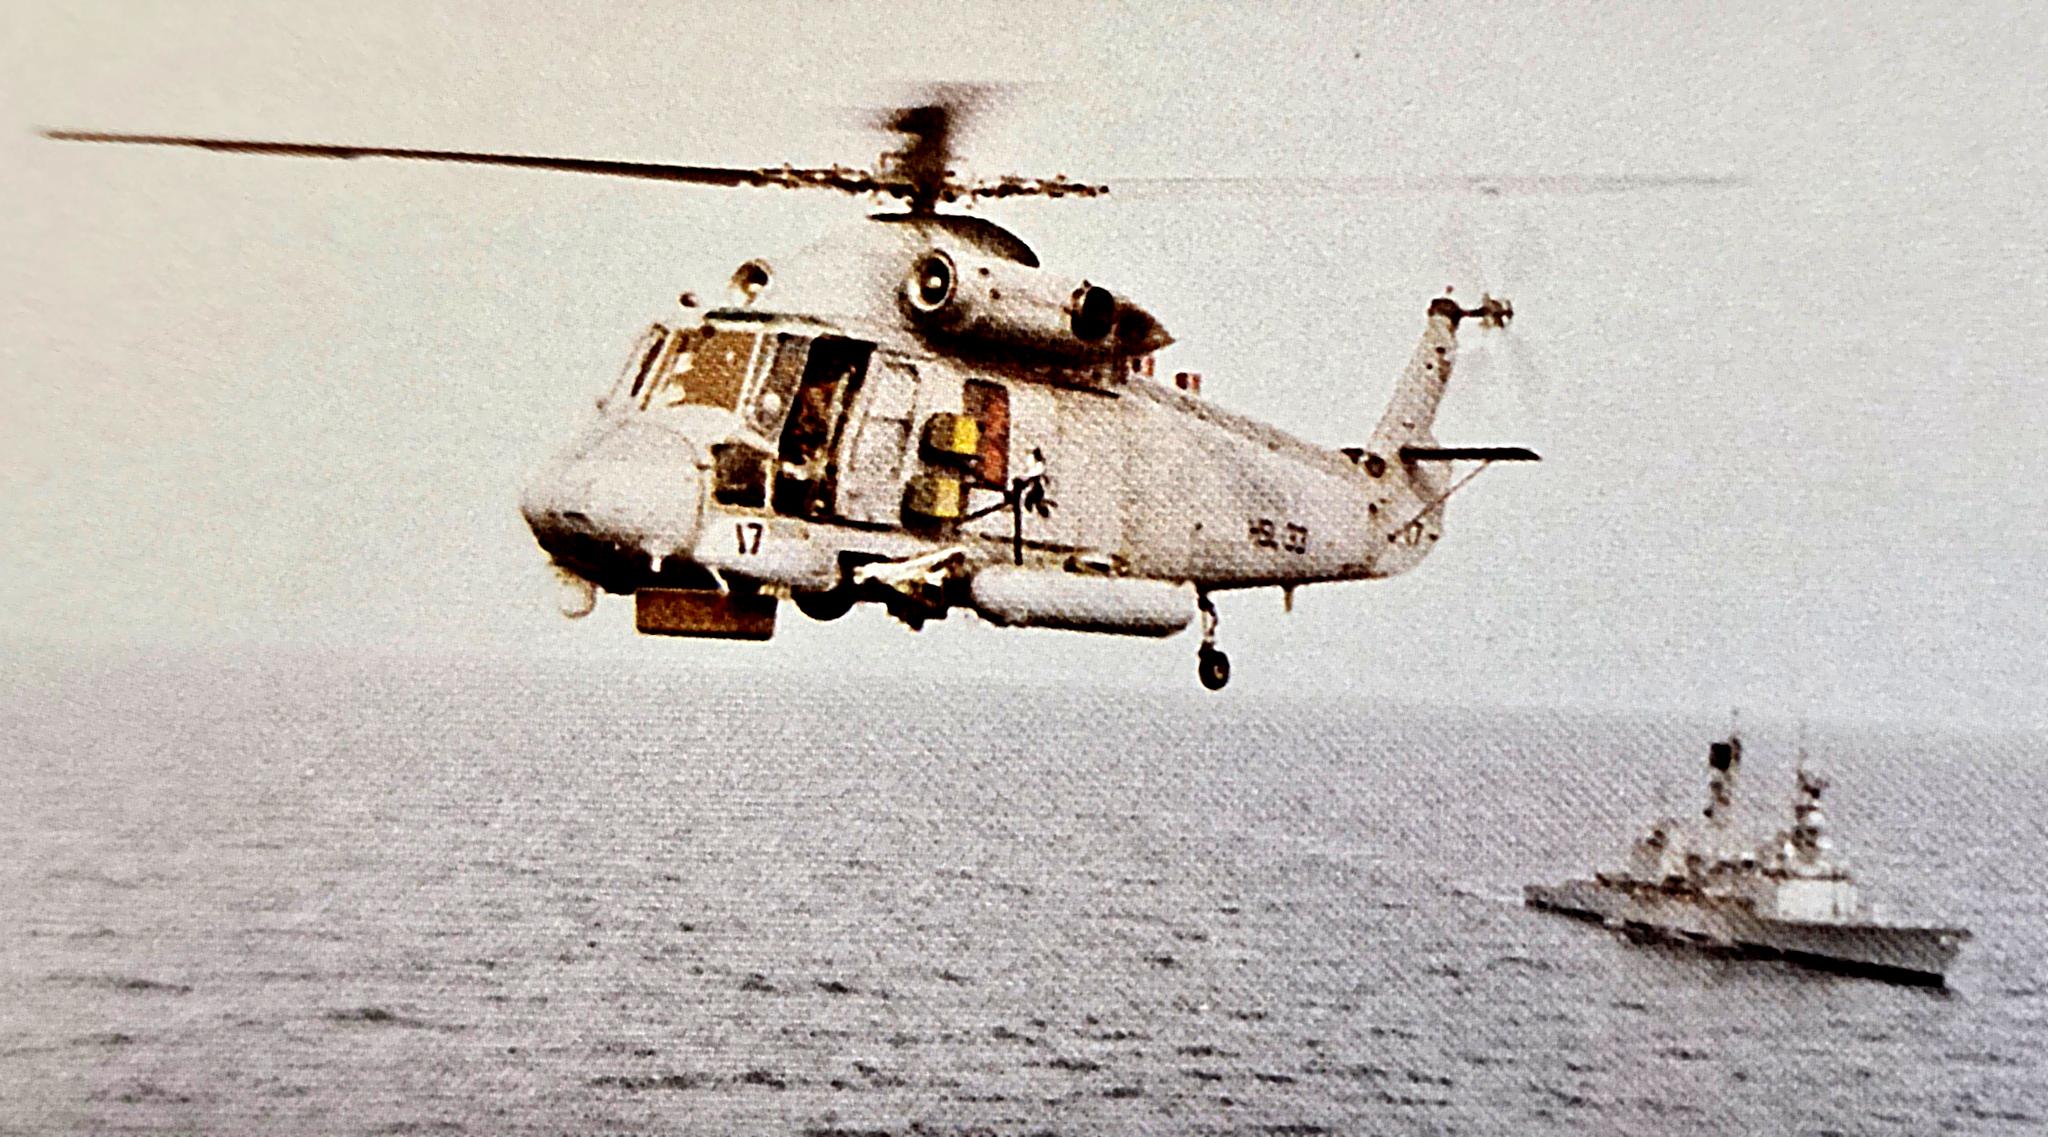
.
Great work ! I have the KH SH-2F kit started, and the cobra Co. set.
Been sorting out the interior details. The tread plate goof by KH was amusing - good solution.
For everyone’s benefit - there was a useful comment on the kit and details on the last paragraphs by Robert Beach here:
Kitty Hawk Models 80122 1/48 SH-2F Seasprite Kit Build Review
Thank you! I wish I could get the Cobra Co. transmission housing, as the Revell one is almost completely bereft of detail and the engine mating points are completely different, so the juice is probably not worth the squeeze, which means I’ll most likely just stick with the -G housing and will probably be the only one who notices on my final build. ![]()
Well now I’m very curious.
I started a Seasprite build many years ago using the Matchbox kit later rereleased by Revell.
Bought that one too.
I was disappointed in the level of detail overall, so after trying to improve it I eventually tossed
the box into storage after the Kitty Hawk kit came out.
Is the transmission housing you speak of - is the big greenhouse thing between the two engine nacelles or the long tube thing to the tail rotor?
I have both the Kitty Hawk SH-2F and SH-2G kits and those parts are the same except for one tiny side panel on the greenhouse which has some photo etch on the F kit (part A-6).
But maybe that’s your point, they are almost the same for both the F and G model.
Here’s what’- s interesting, I have both Cobra Company resin sets made for the
Matchbox/Revell kit SH-2F- Interior detail set CC48004 and exterior detail set. CC48005.
There are no transmission parts in either one.
The Exterior set has nose details, sponsons, disco lights, Flirs and external tanks
That’s it. No transmission parts.
I used to see Chris Miller at the club meetings and contests and bought just about every rotary wing resin set he ever made…I’d be surprised if I missed a Seasprite set and by the time the Kitty Hawk came out I think he had closed shop.