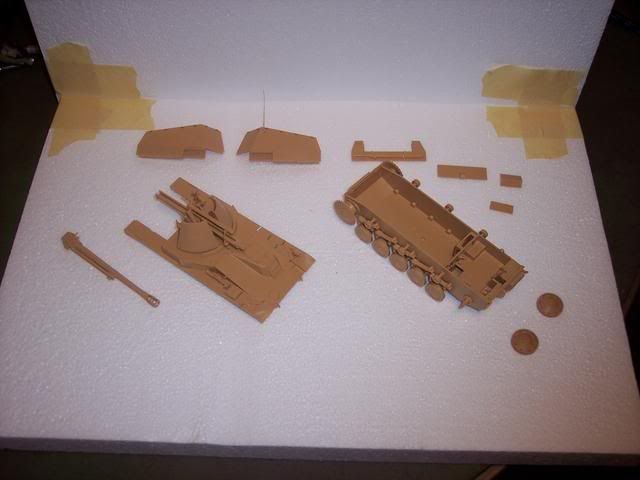
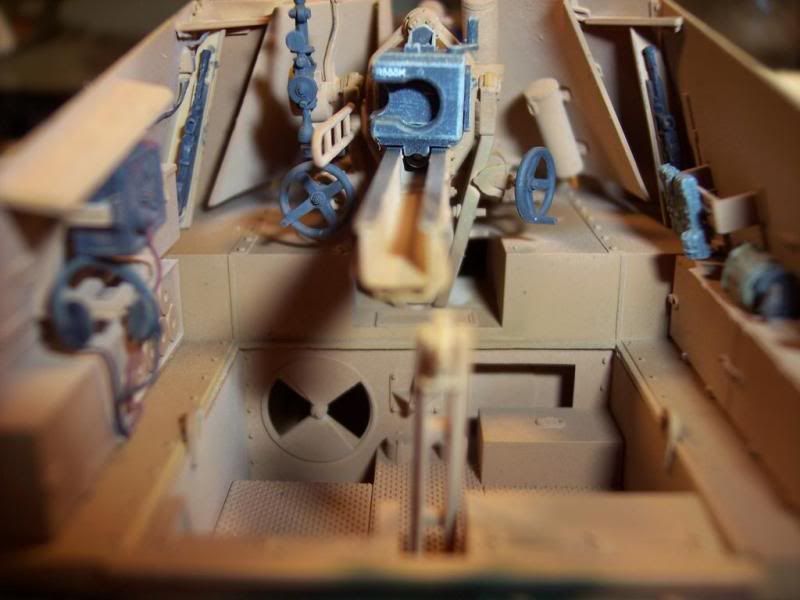
The sides and rear armor are just dry fitted in those pictures, and since the tool clasps work I just remove the various equipment before painting. Unless that makes a difference, I planned to take pictures as I went, since I’ll be adding some pretty heavy weathering, and a lot of gear once the basic painting is complete. I spent the morning being angry at Tamiya for not molding sponsoons and once again requiring sheet plastic surgery.
I haven’t attempted the air compressor yet - if you don’t hear anything by tonight, you can probably assume it won and I’m pouting.[:(!]
That’s the one big annoyance I have with the Tamiya kits (which are generally pretty good)… those damned open sponsons, what’s up with that? Why don’t they close those up? It makes what would otherwise be a pretty good kit more in line with what you’d expect from a toy. [xx(]
For the same reason they sold necessary parts for the Leclerc MBT as a seperate set([censored]), and always use vinyl tracks. If they added sponsoons, they’d have to clean up all the ejector pin marks and rough CAD machining on the underside, and do something else about the always-thick fenders. They aren’t really very concerned with customer satisfaction, which you would find out in a hurry if you ever try to contact customer support. That’s the one reason why I don’t like Tamiya.
I can see it coming now - an “I hate Tamiya” GB![;)]
I am not buying any from Tamiya anymore because of the lack of underside details, and the ugly fit of the rear panel to the hull where the idler wheel is mounted… Not sure if it has been corrected on the 3.7cm Mobelwagen or the Wirbelwind… that why I passed.
Well, I managed to wrestle the compressor back downstairs, and had quite an eventful afternoon (attempting) to paint the Wespe.
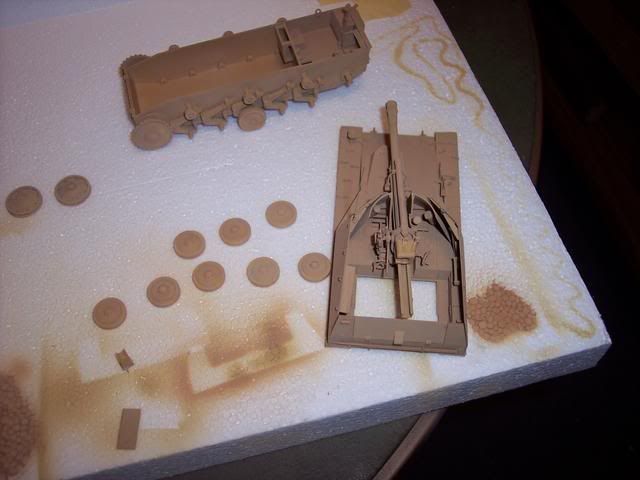
I gave everything a final cleaning and used the airbrush to dust the parts off one last time.
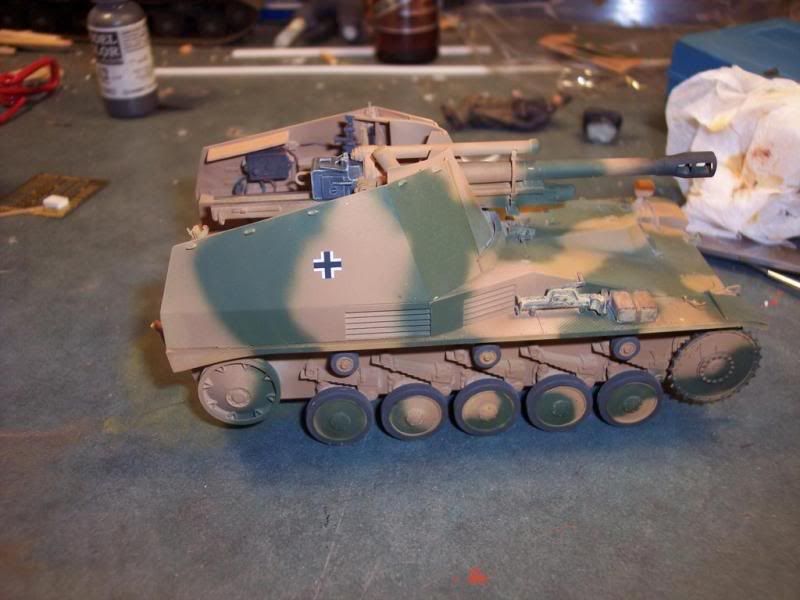
Then I painted the entire vehicle with a custom-mixed Dark Yellow, 90% XF-60 Dark Yellow and 10% XF-7 Red. The red corrects the overly green tone of the Tamiya color.
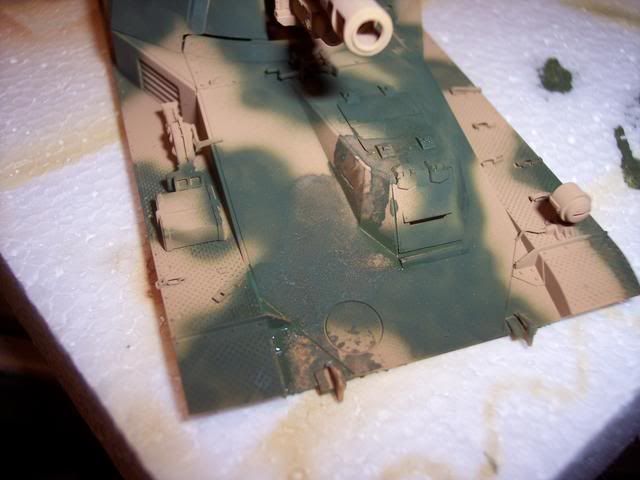
I began painting a wide, random camouflage pattern with Tamiya NATO green, and managed to commit the biggest airbrush mistake possible - spill the paint in the color cup onto the nearly finished model! Fortunately it was only a small area and was pretty easy to fix.
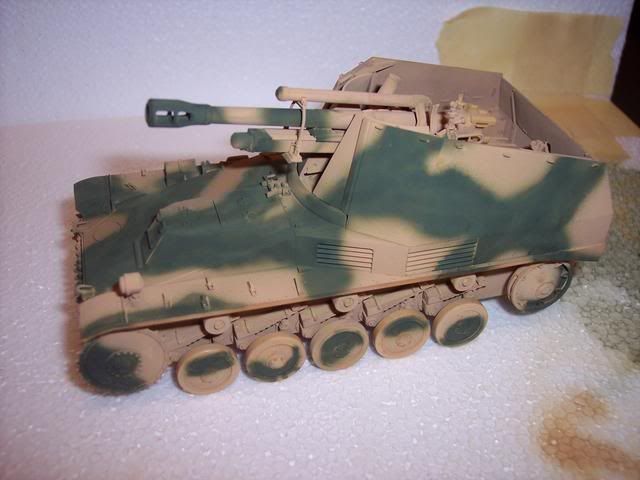
The finished camo, ready for detail painting tomorrow. I deliberately add a visible ‘squiggle’ to the green to give it an uneven, field-applied look without being lumpy.
At this rate of mistakes, I ought to be done by Christmas[:(!]
I finished detail painting on the Wespe and added some gear from a Gen2 figure set, with more to come after weathering. I used Archer dry transfers for the markings.
Alright… I made some progress, so here’s some pics[:)]
I drilled and installed the idler wheels. Care had to be taken as the retaining arm is a separate part and you can adjust the idler’s position with it. I also added styrene for more details.
I finally made those “U-Joint”. [:)] and they are workeable [:D] I’ll wait for the “Scratchbuilt” forum to be operationnal to explain how I did them.
I also started the gun’s construction. Eduard’s PE helped in hidding a few seams (like in the craddle) and adding details.
There is a lot of steps that will be confusing after that. A lot of planning will be needed for the gun shield, barrel, muzzle brake and forward assembly of the craddle. MTF
Bravo on the U-Joint GT! You must have used an electron microscope to put that assembly together. You must also have some pair of steady hands. And I see by your photo that you have some great looking fingers. [:)] .
Well thanks Larry [(-D] I wasn’t expecting that. Let’s say it took a while to get them together, and a few prototypes… I saw your Hotchkiss, and you have a way better interior with Bronco than Trumpeter. Too bad I already got the Marder I and the Beobachtungswagen from Trumpeter [:P] Oh well… C’est la vie
Thanks Hermes! That howitzer is a bit trickier than the one from Tamiya’s Wespe. But it has such a unusuall look [8D]
I finished the gun assembly. The inner shield is left out for ease of painting. The muzzle brake is held by blue tack, as it will be impossible to remove the barrel after installing it. Same with the sight for ease of painting. Here’s are some pics.
The craddle wasn’t centered in the carriage, which might have resulted in alignment problems in the future. So I fixed it with a hairdryer. But I wasn’t carefull enough…[V]
It has been fixed though, by replacing the recoil guard by one from a Tamiya’s Wespe in my scrap pile (pic 2 and 3)
You did very good on that beast. [8D] Your camo scheme is top-notch! And the subtle weathering really brings it to life. I have seen real vehicles with paint scheme that looked only half decent as yours.
Great results on your behemoth AFV. The camo is spellbindingly perfect. I’m not exaggerating…it’s really well done. I particularly like what you did with the rear of the vehicle, an eye-catching finish. Your photography is excellent, does justice to your fine build.
I have that kit in the stash. Every so often I open the box and take a look, wondering if I should take the plunge. I got the kit pretty cheap on eBay, but the low price was because someone had started the kit and then abandoned it. The turret and mantle were assembled were very poorly assembled. Everything else appears intact. I’m working on the tiny Soviet ASU-57, which should not take long. Maybe I’ll start the PzH2000 next.