Looks like you’ve got things under control Piers, looks good!
Got the top wing on the rightside, started off at the root and got it aligned, then started with the trailing edge.

As you can see taking time and doing plenty of dry fitting has given a mostly neat fit at the root
One done, one to go.

Good looking stuff guys.
I’ll be starting the Sunderland soon. I’ll be getting the Eduard exterior PE for it and am going to show it taking of in a seascape, just about to break the water.
The kit was a new mold in 2019 and new parts in 2020. It looks to be an excellent kit
Oh wow - looking forward to that!
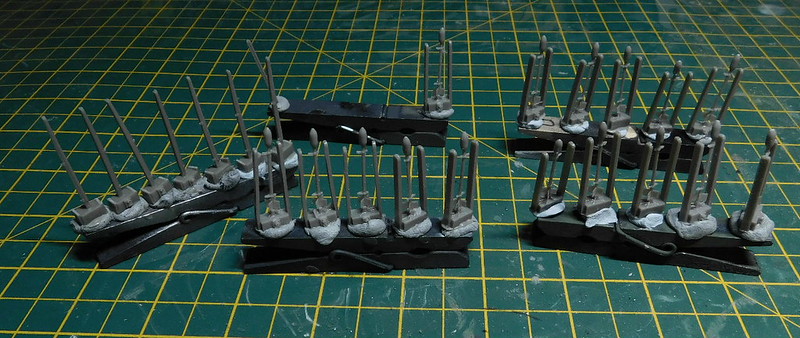
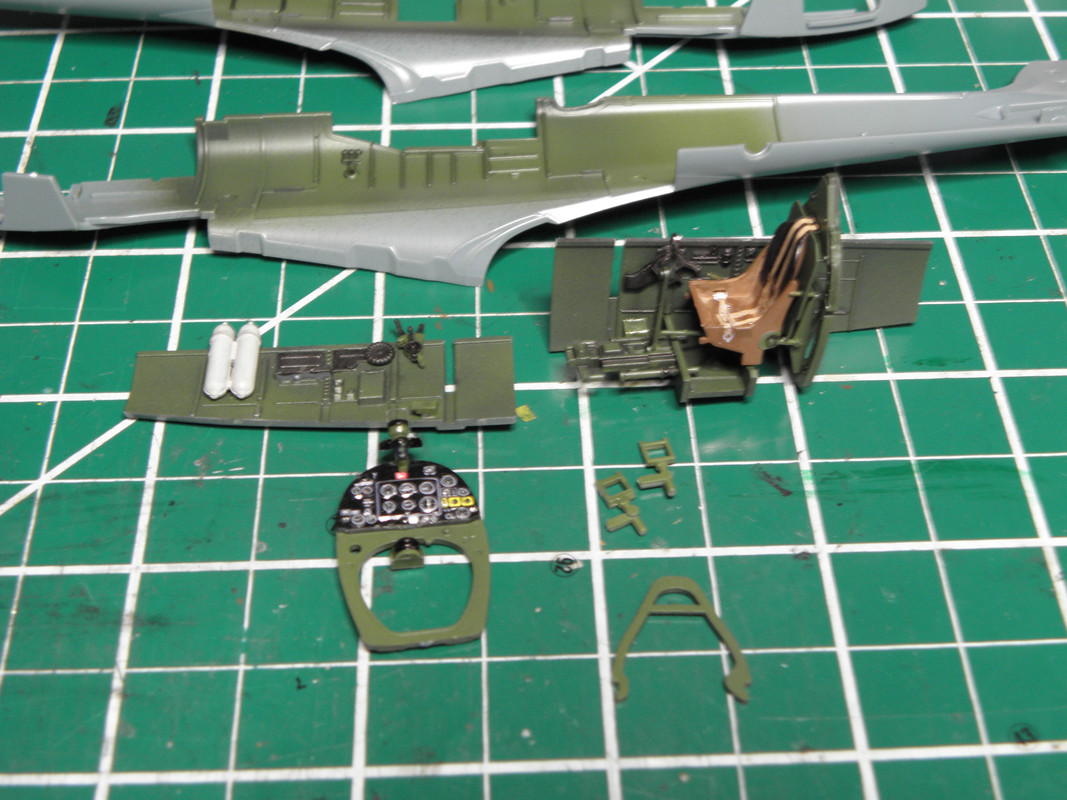
Finally able to get an update posted. I was able to get the missiles ready for painting. I am useing Plus Models resin set for this. I originally bought just one, i was planning to have missiles laid out on the ground ready for loading. then i saw some photo’s of Mosquito’s and beaufighters being loaded with the missles on Type C bomb trailers. I thought that would make a much better secene, but decided i needed another set of missiles, which arrived mid week. I’d already attached the resin mouthing plate to the kit, these are the missiels and rail ready for priming.
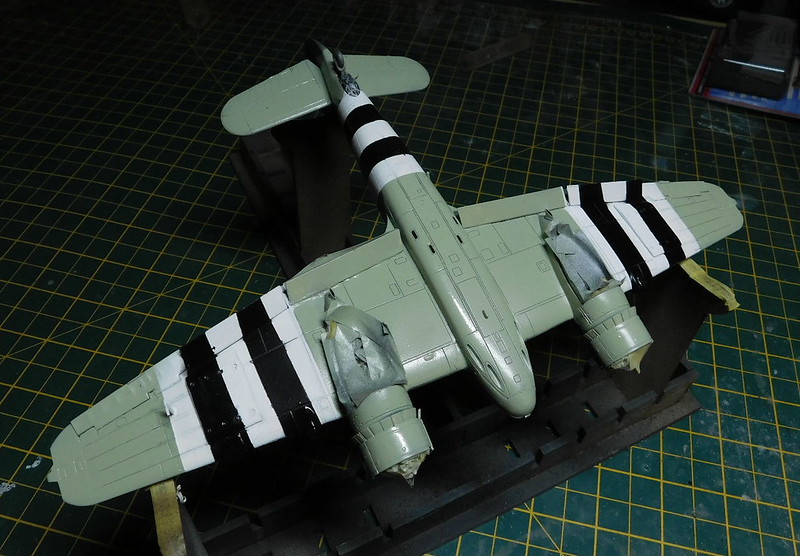
I got the aircraft primed and painted. This is my first time doinf invasion stripes. I had to tidy them up a little after spraying, but didn’t worry about them being perfectly neat.


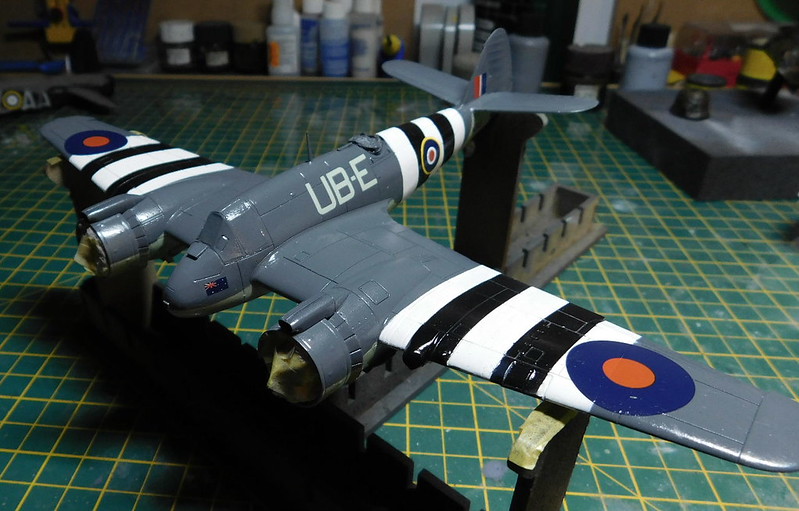
And then the DK decals.

The decals include 2 Australian flags to go one either side of the nose. But the photo’s i have seen of this aircraft which show the right side there is clearly no flag. But pics of other aircraft show one of the left side. So either way, DK have got that wrong, and in light of having no pics of the left side of this aircraft, i decided to put the flag there.
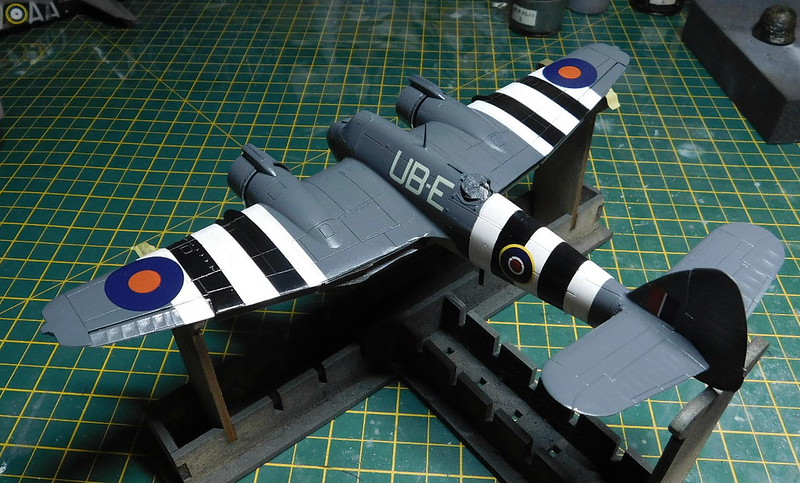
Now for some light weathering.
Thanks John.
That looks fantastic Bish [:O]
Whoa. Apologies all, very strange year. I did get around to some (I think reasonable) work on the Buffalo today but my publishing is fighting and this way lies madness. Hope to reply soon!
Patrick
Very nice Bish.
Oh that looks so good Bish! The invasion stripes look fine! And looking forward to seeing the trailers with the rockets on them!
And I think I’m in the same boat Patrick, haven’t gotten anything done in a week or so here. It’s been so hot and humid that as soon as I get home from work I just turn on the A/C and collapse.
Bish, your 455 squadron Beau is looking very shmick. A very attractive finish. Your idea for the display sounds good too. And you’re right not to worry about the stripes, by all accounts the standard varied a lot depending on the unit.
Steve, very cool, it is a great subject!
Thanks guys.
I’d read that the stripes were often painted at short notice and could be very rough. At a distance mine look pretty neat, but close up you can see rough edges so i think its about right for the scale. Pretty pleased with it.
Yes you should be pleased with it Bish.
The Hawk has wings and tail on - a bit of error as i should have done more seam filling and scribing before putting them on as I knocked the tail off a couple of times. But anyway, here you can see the multiple layers of filler to get the wings blended in underneath.

Forgot to take a photo rightway up until after the primer was on, here is the result. Not much fix up required
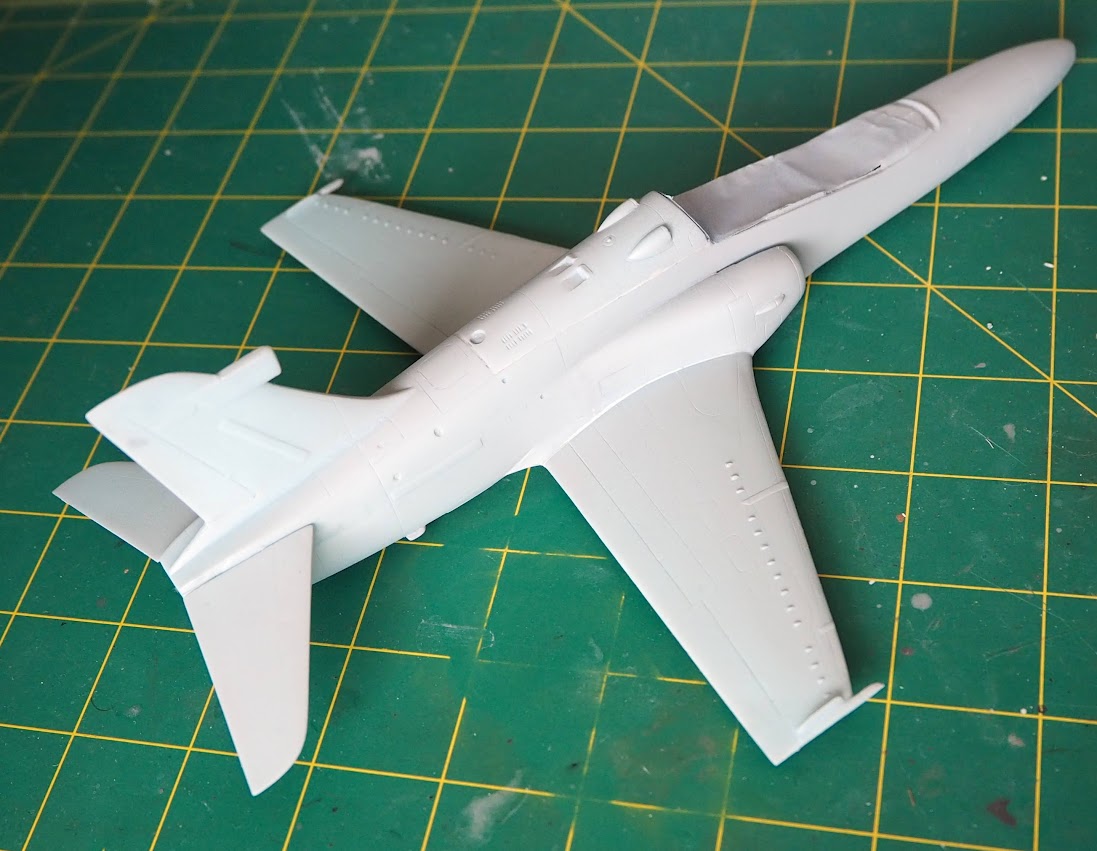
And underneath looking okay too, including scribed panel lines which need a little cleaning up.

Looking good Piers.
BTW, I received the Eduard cockpit, exterior and masking sets yesterday for the Sunderland, and two 1/72 RAF pilots the day before to fly that big boy off the water.
I’ll be starting on it after the IPMS Nationals this week. The next two nights will be getting my entries set up and the car packed. [:D]
Wow great stuff from you guy’s…
I started on my 1st Eduards kit… boy do I have my hands full with this kit.
The pic is a little fuzzy ooops.
its all OOB build. The decals are a bit tricky we will see what happens down the road.
Great work there Piers and Nick, coming along fantatically!
Looking good and detailed there Nick - I have heard the Eduard Spitfires are really good, how are you finding it?
Steve, looking forward to that!
I like the kit so far, its very detailed with very small parts. Some parts are so delicate I’m using enough tamiya cemment to hold the part in place then reinforce with thinned clear gloss enamel paint.
The details do look great in the cockpit Nick.
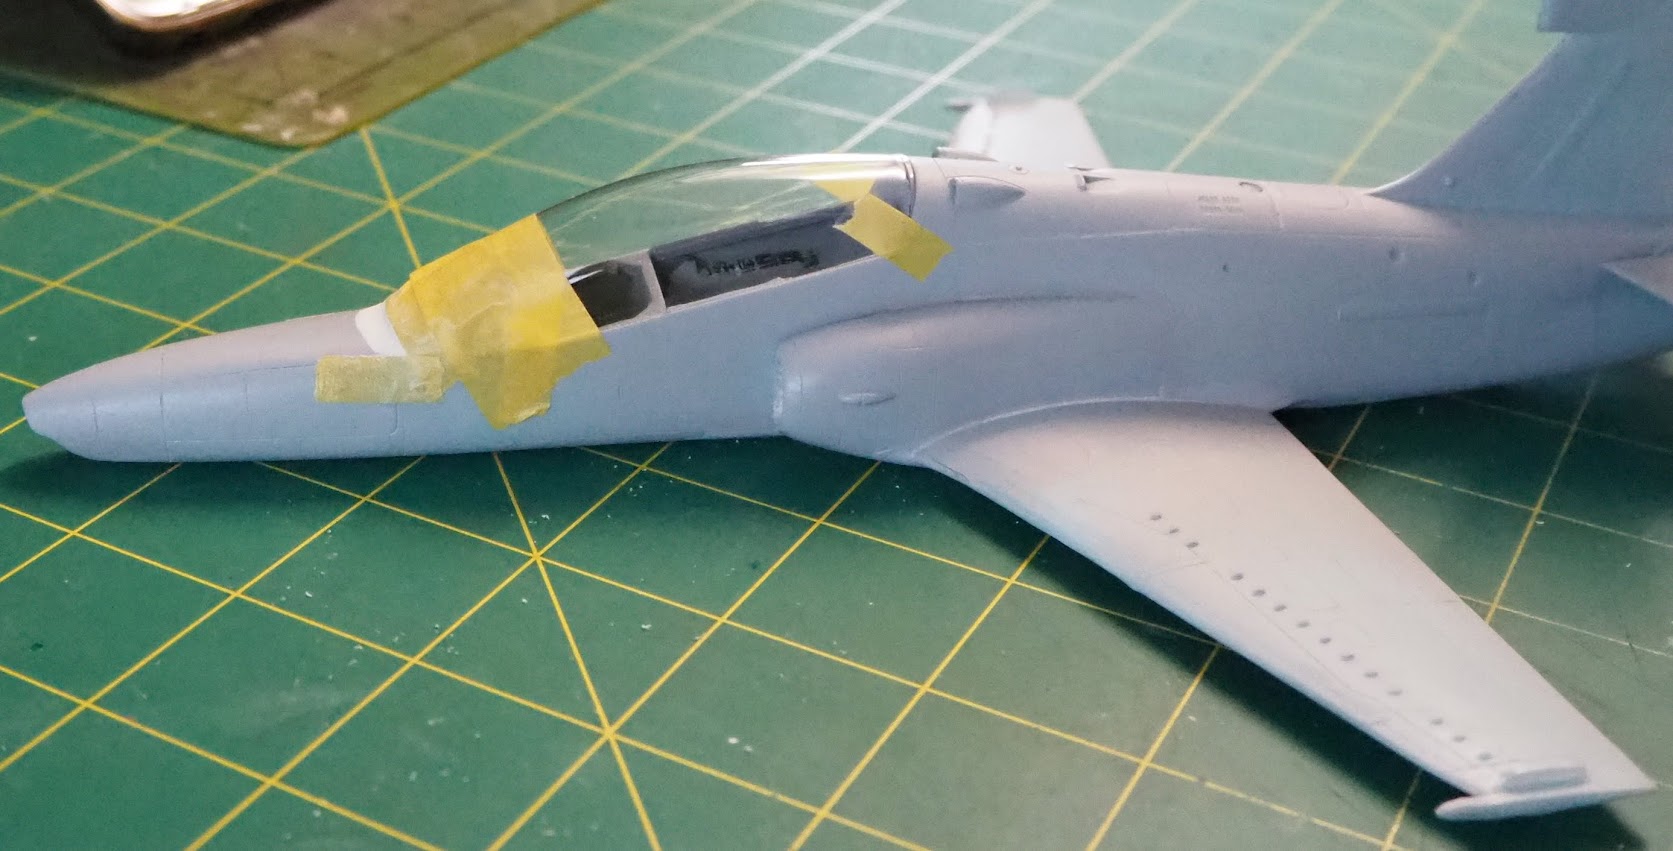
The Hawk cockpit is slowly coming along. The first trick is getting the resin IP shroud fitted. When it is in position it interferes with the fit of the canopy. Mind you, so does the rear seat - something that was noted in the FSM review too.
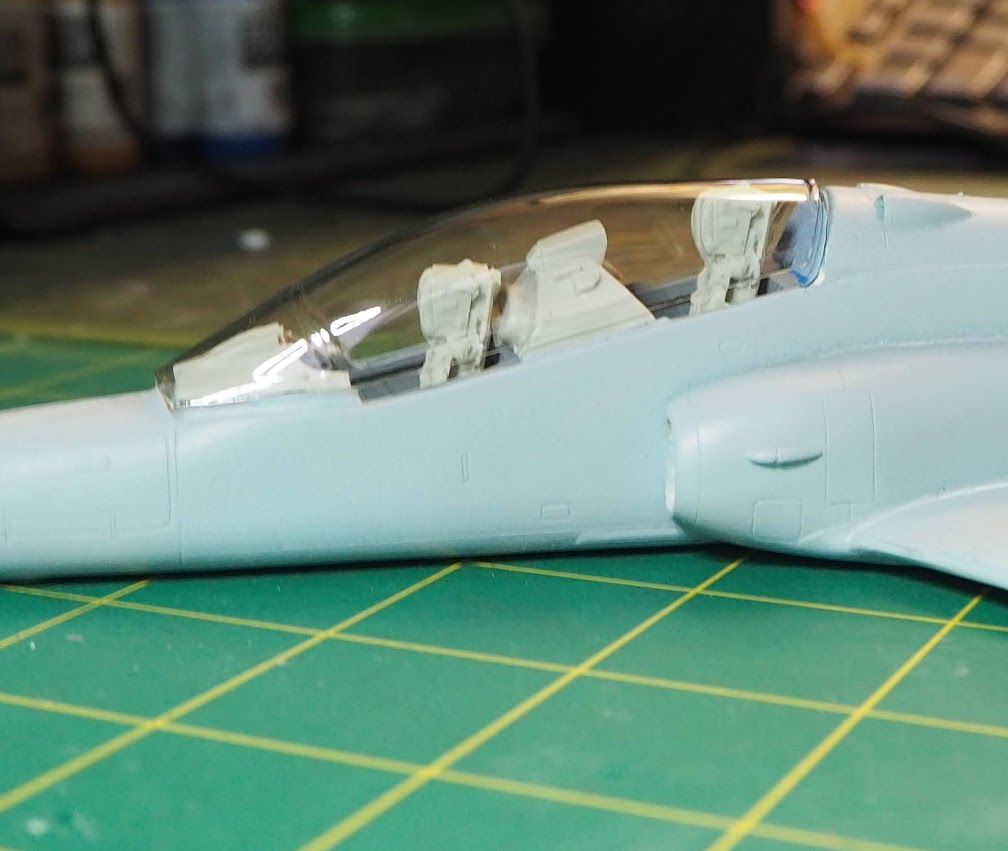
So I filed down the deck the shroud fits on (the big metal file into action again) - just not too much… And took a millimetre off the bottom of the back seat. Also faired the canopy front in with Milliput
 DSC_1215 by Patrick Nevin, on Flickr
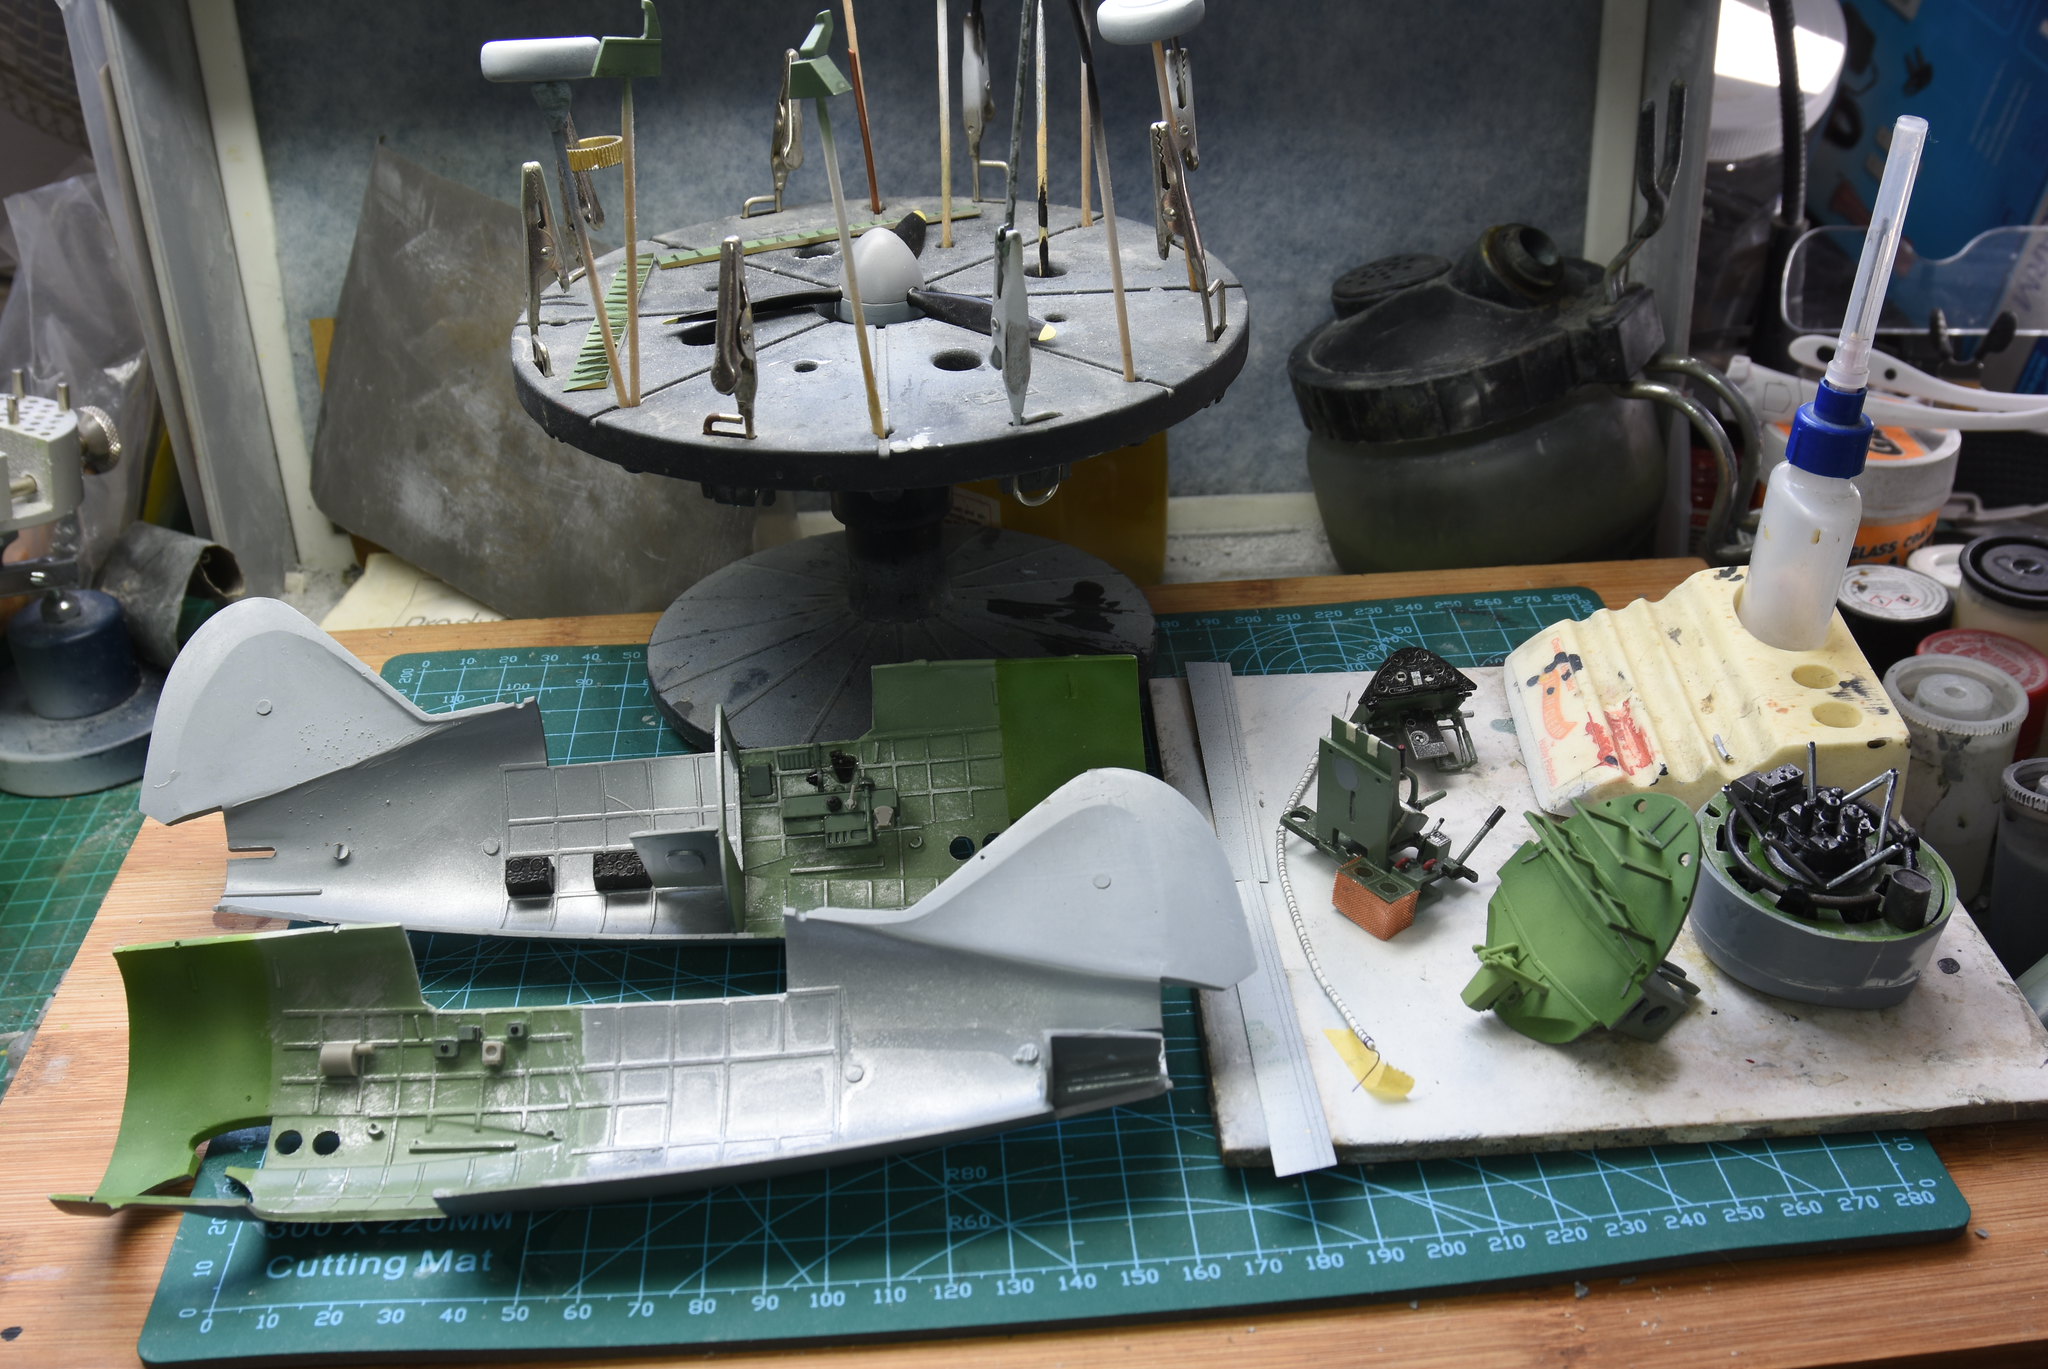
Got most of what remains of the kit cockpit furniture in. It is slowly coming together. Today I dropped the throttle quadrant into a pot of black paint and had fun retrieving it. Though now that I think about it, the last time I poured what I thought was one drop of thick cyano and actually put a thimble full of the thin stuff over my hands…
Realised what others have meant about the oxy tank enclosure being only partly there and used some mesh on this (not quite the right stuff but think it looks OK.) Noted on the (invaluable) cockpit pictures there’s really a load of plumbing there and feel bound to at least nod in the direction of trying to show some ![]() Plumbing, weathering, progress to follow (I hope.)
Plumbing, weathering, progress to follow (I hope.)
Piers: The canopy looks great! Gee friggin’ whiz- it’s annoying when you have to make all these modifications just to get everything to fit.
Patrick: Looks great, really nice work!