Off to a good start there Bish, I am watching keenly as I have one of my own to put together. The PE looks good.
One thing, the cast pits will make sure it isn’t going to sit on the tail!
Off to a good start there Bish, I am watching keenly as I have one of my own to put together. The PE looks good.
One thing, the cast pits will make sure it isn’t going to sit on the tail!
Thanks LA. Its usual Eduard standard.
Piers: Yow! I’ve added some aftermarket cockpits that required some sanding to fit but I think that one is going to take a metal grinder! Best o’ luck!
Bish: Ohhhhh, love the Beaufighter! That’s one aircraft I’ve never built though I do have a 1/48th Tamiya kit. Love the interior detail and the ribbing!
I’d agree with both of those - I’ve never seen a metal cockpit tub before. You’re a brave man taking that on, but I guess it solves the hunting around for nose weight.
And Beaufighters do have a certain something about them, or perhaps that’s just me having a thing for twin-engined multi-role aircraft. Perhaps if I break my Mosquito obsession, I might look at one of them in the future.
Minor progress update - I’ve been wiring up the rear of the control panel instruments, hopefully have some pics up soon-ish (mainly when I’ve unglued myself from the parts - that Roket Thin is a lively old substance!)
Cheers guys.
There was a bit of work, but got through it.
Used a sanding bit in the Dremel and that didn’t do much, just melted the white metal. The cutter bit was pretty useless too taking tiny chips out. The metal file was the best and quickest.
I’m going to leave it like this and dry fitting wings, canopy, intakes etc before taking it apart to paint etc.
Looks great Piers!
Thanks Cliff, got the main components taped together and trimmed to fit as a test.
Happy with this, even got through the traumatic moments of cutting through the vacform canopy! (no spare in the kit)
It will all have to come back undone again for the next steps
Again, she’s coming along just fine!
I agree with you, cutting though any canopy gets the pucker factor going but vacuform is esp. horrible. When even the slightest pressure of a razor saw causes it to smoosh and deform it gives me the willies.
Well, I’m at a bit of a roadblock. First time I’ve used Ventura decals. And the sheet is a little old. They came off the sheet without problems and applied without any issues. But I got these weird black marks on the white areas. They look almost like fingerprints. I at first assumed I had some black paint or ink on my fingers and it had transfered my fingerprints over to the decals. So the next set I washed my hands very well and I still got the marks. Then I used a paint brush and didn’t touch the decals at all- still marks.
Just very weird, I’m not sure what’s going on. I picked up a sheet of white trim from Microscale and I’m going to seal the model with a coat of gloss and then cut and apply pieces of trim decal over the white areas with the black marks. Cross your fingers- this SHOULD take care of the problem.
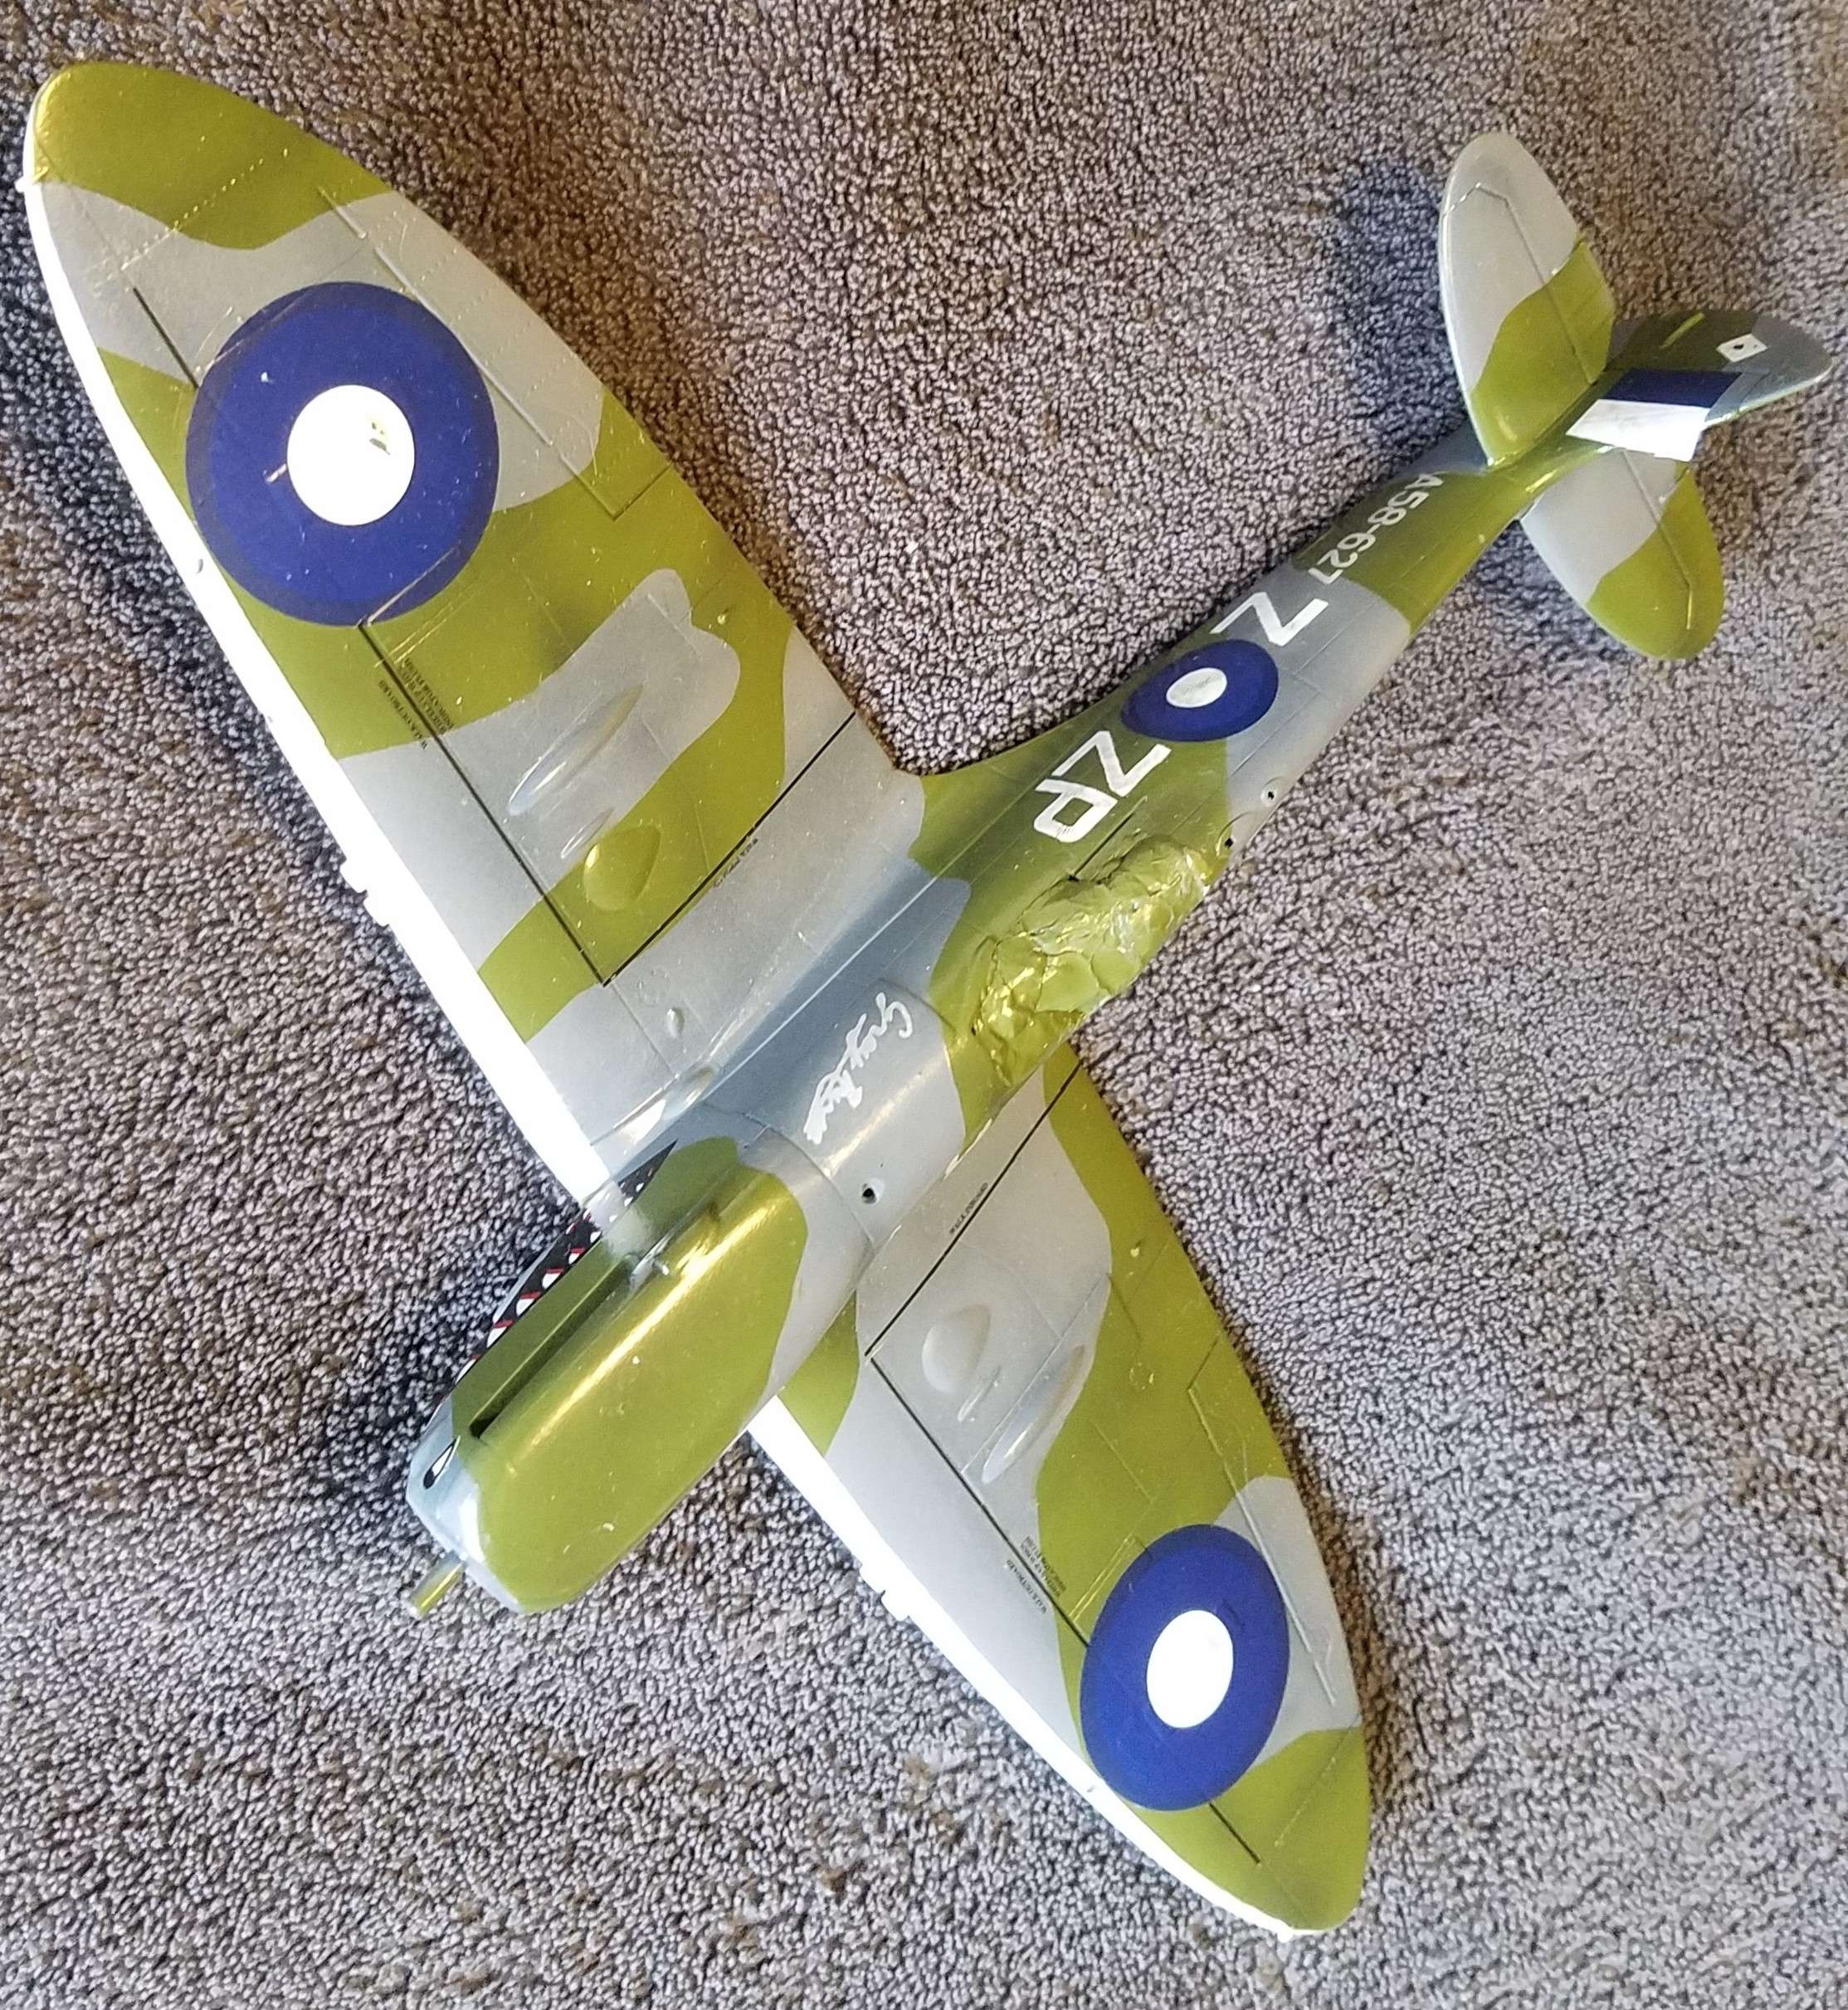
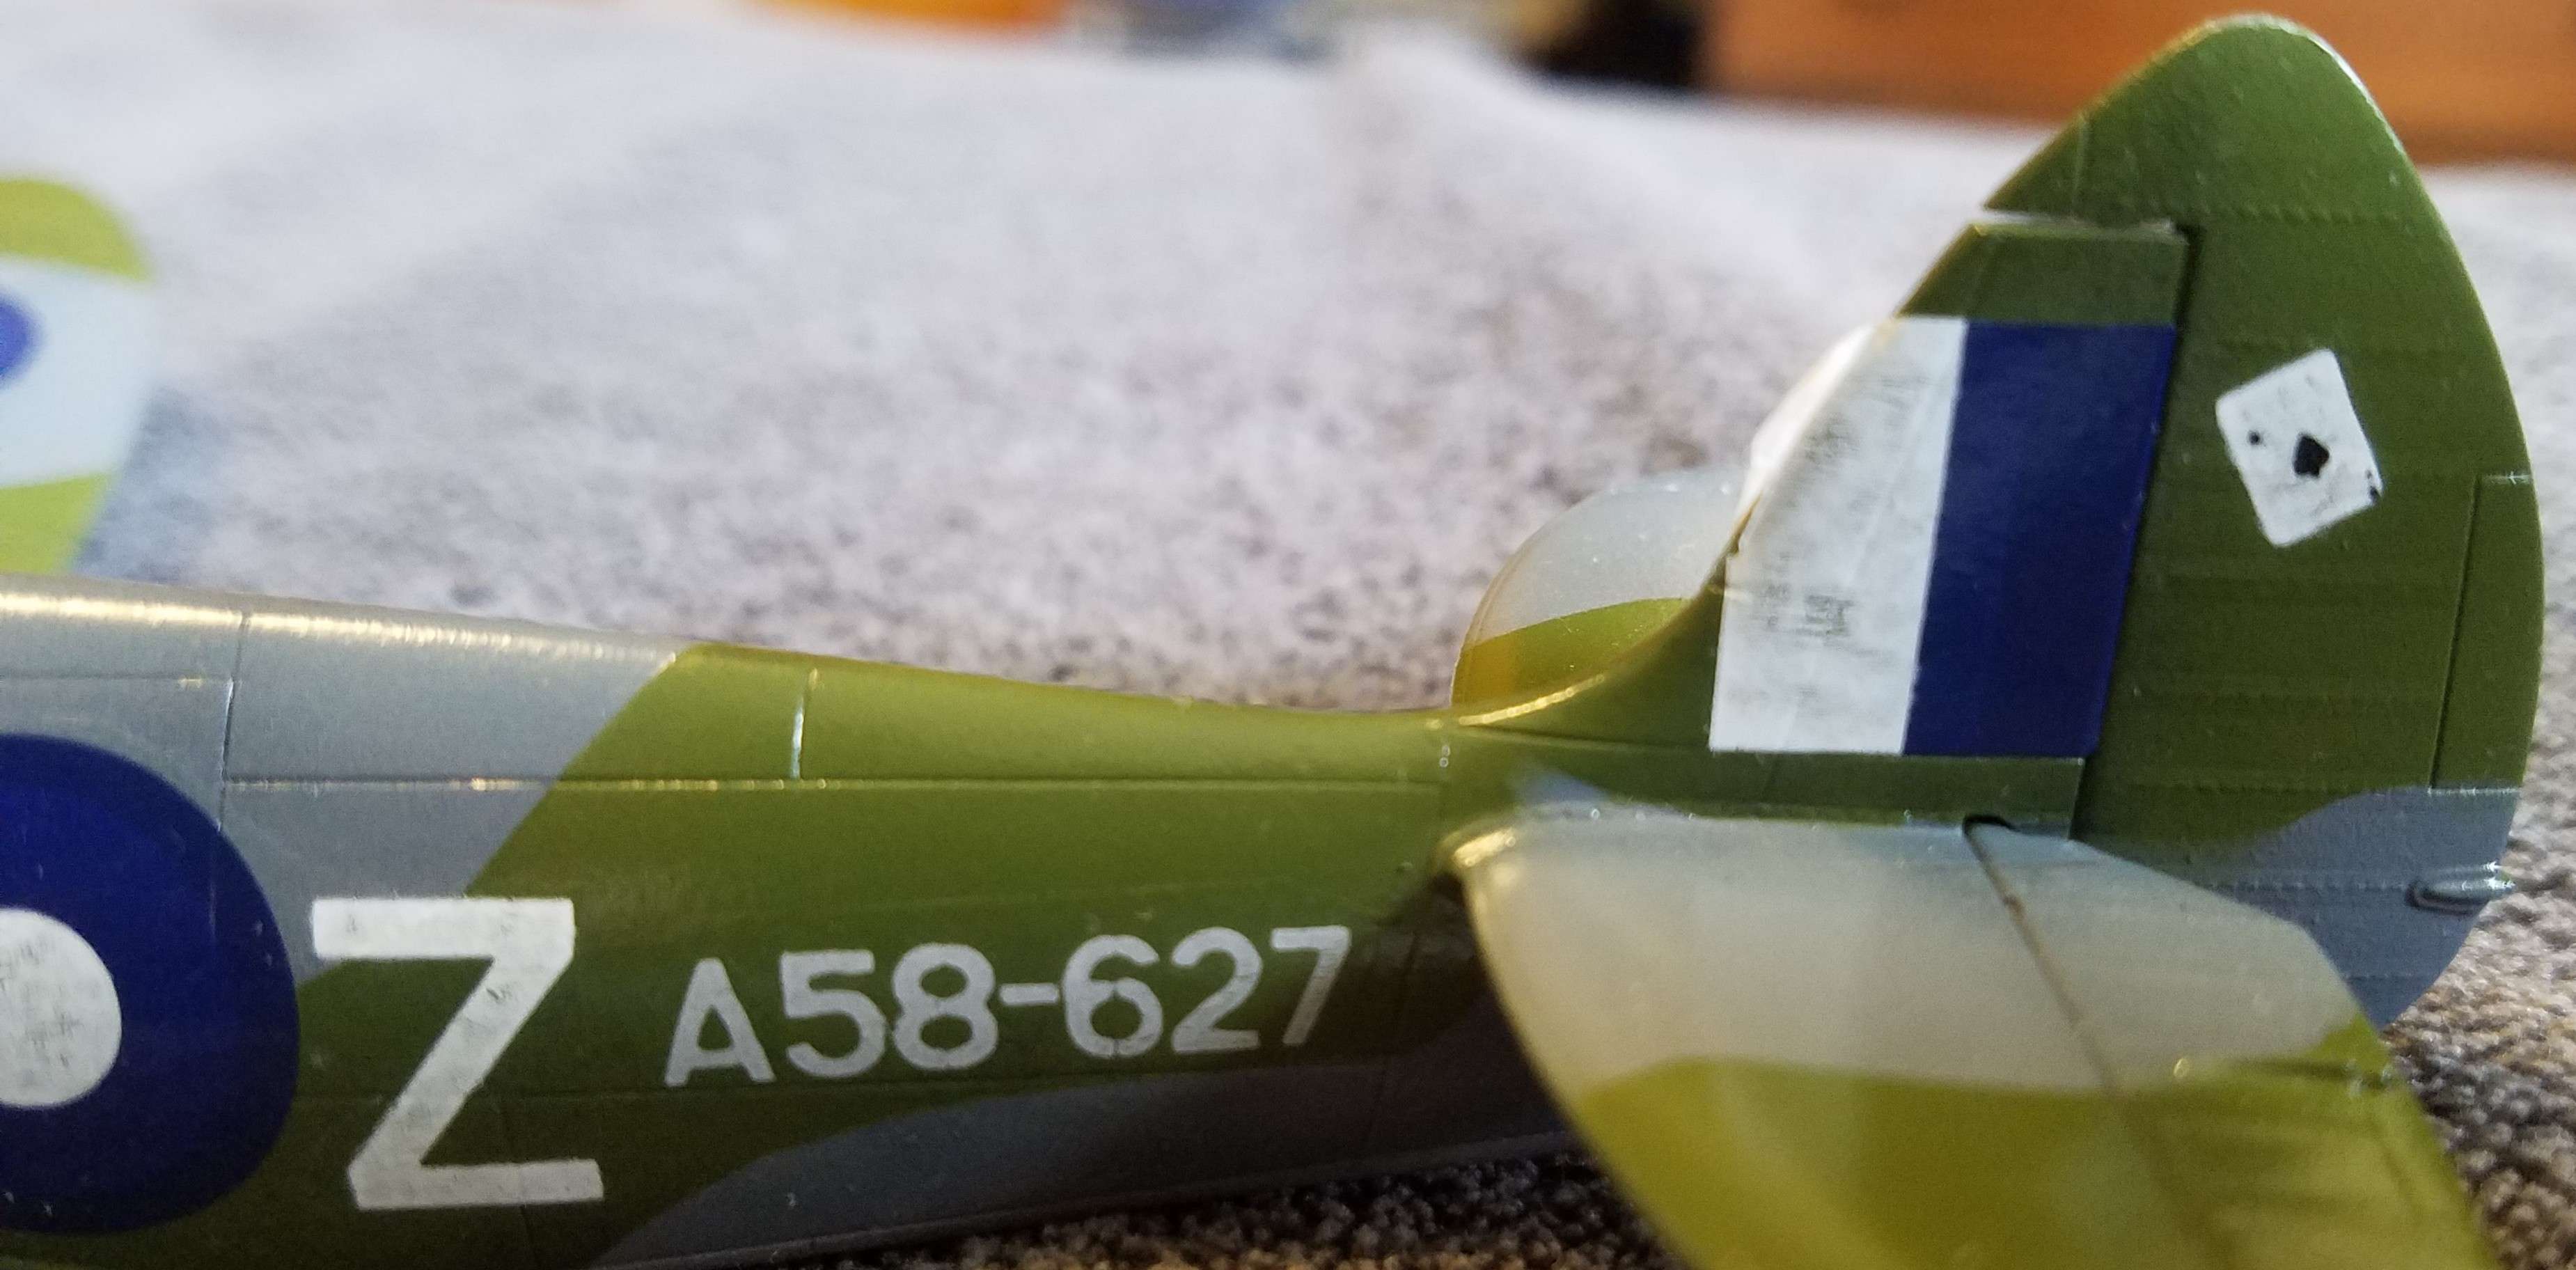
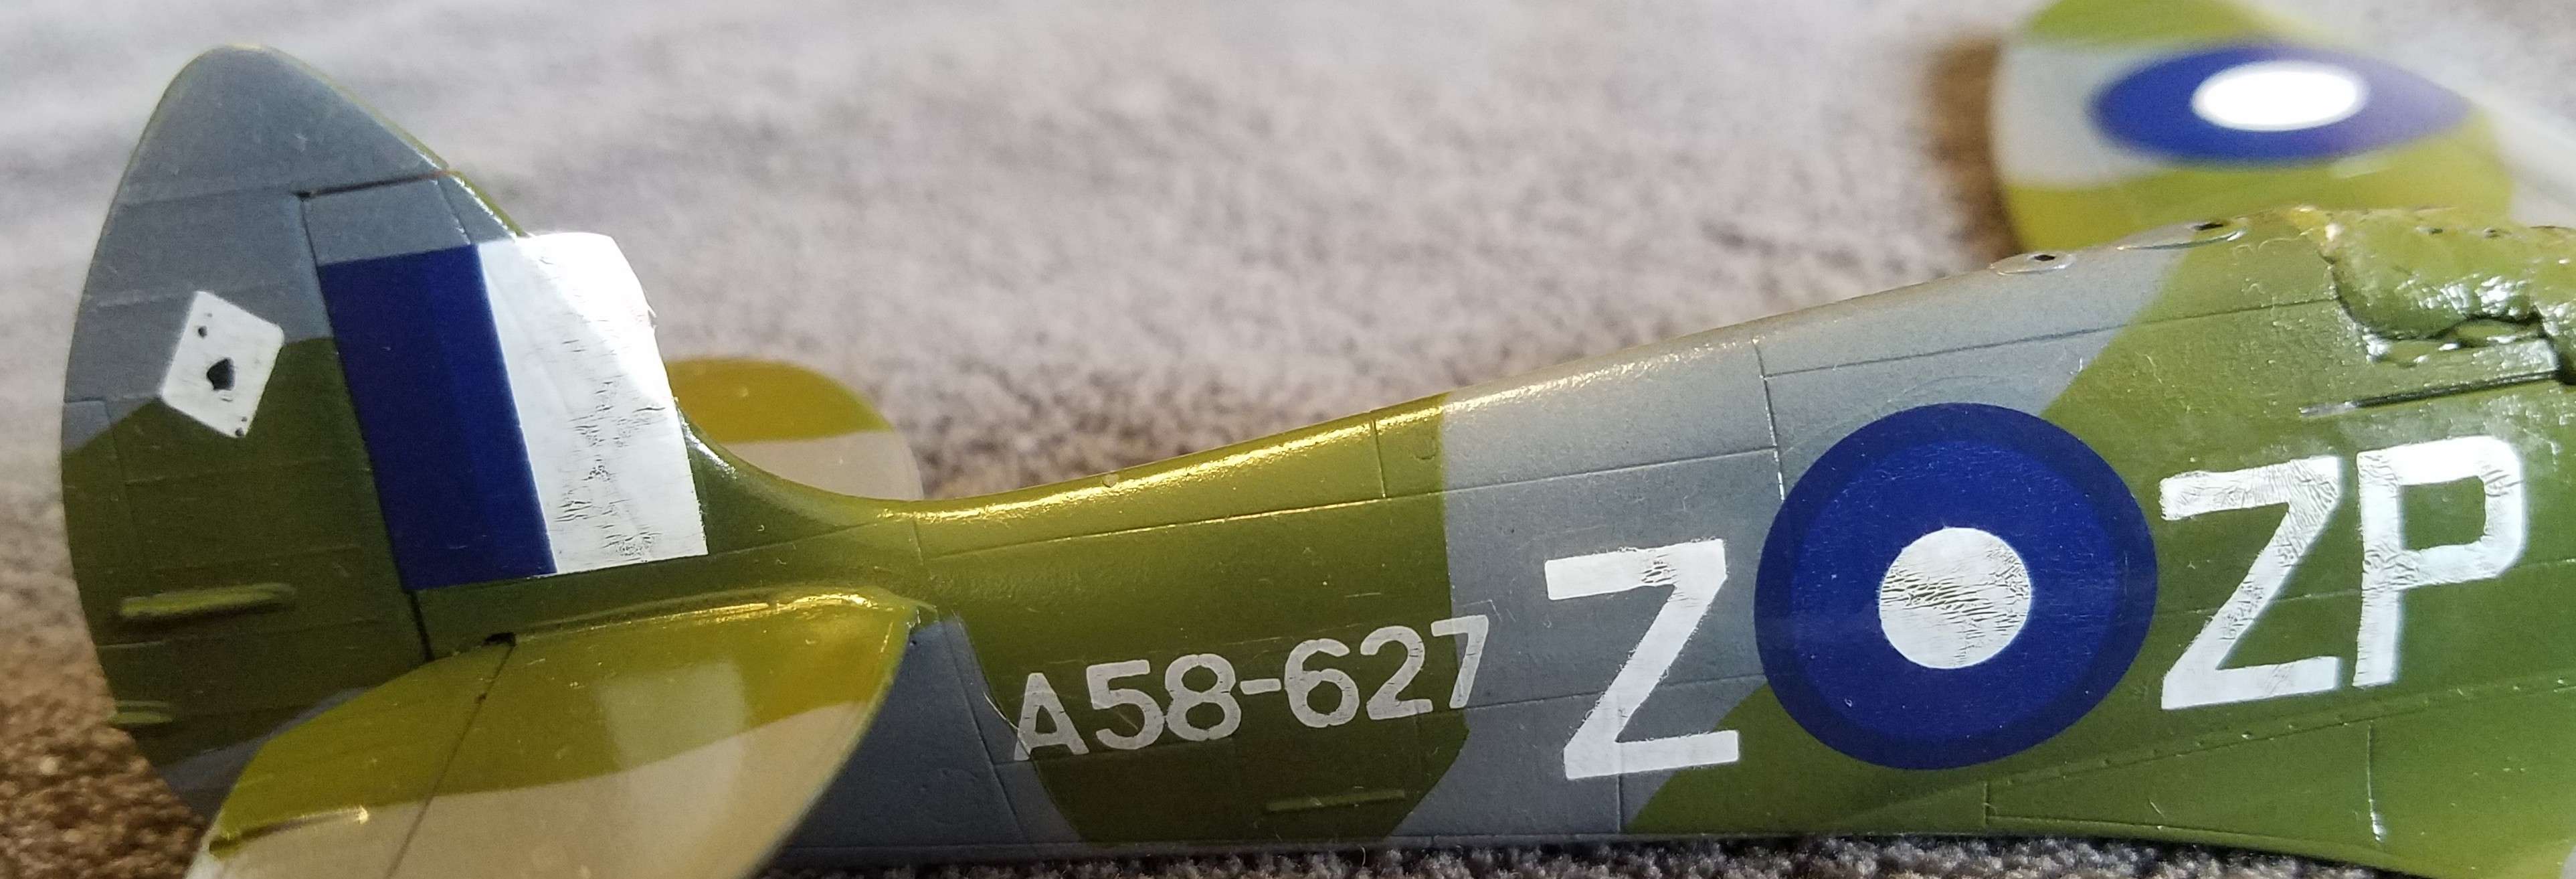
That really is wierd Cliff, some of them seem to be smudged like you say, but the fuselage roundels and codes look like they are splitting in the white areas.
Better go check if I have ventura decals…
Hi Piers. If its acceptable I would like to change my entry to an old Otaki MkVIII Spit. The Boomer is complex and I doubt that I will finish it in time. I intend to keep on with the Boomer, but to support this GB I think the Spit is a more practical option. I have attached photo and will need to obtain some decals. If this is not okay, thats fine, I will withdraw.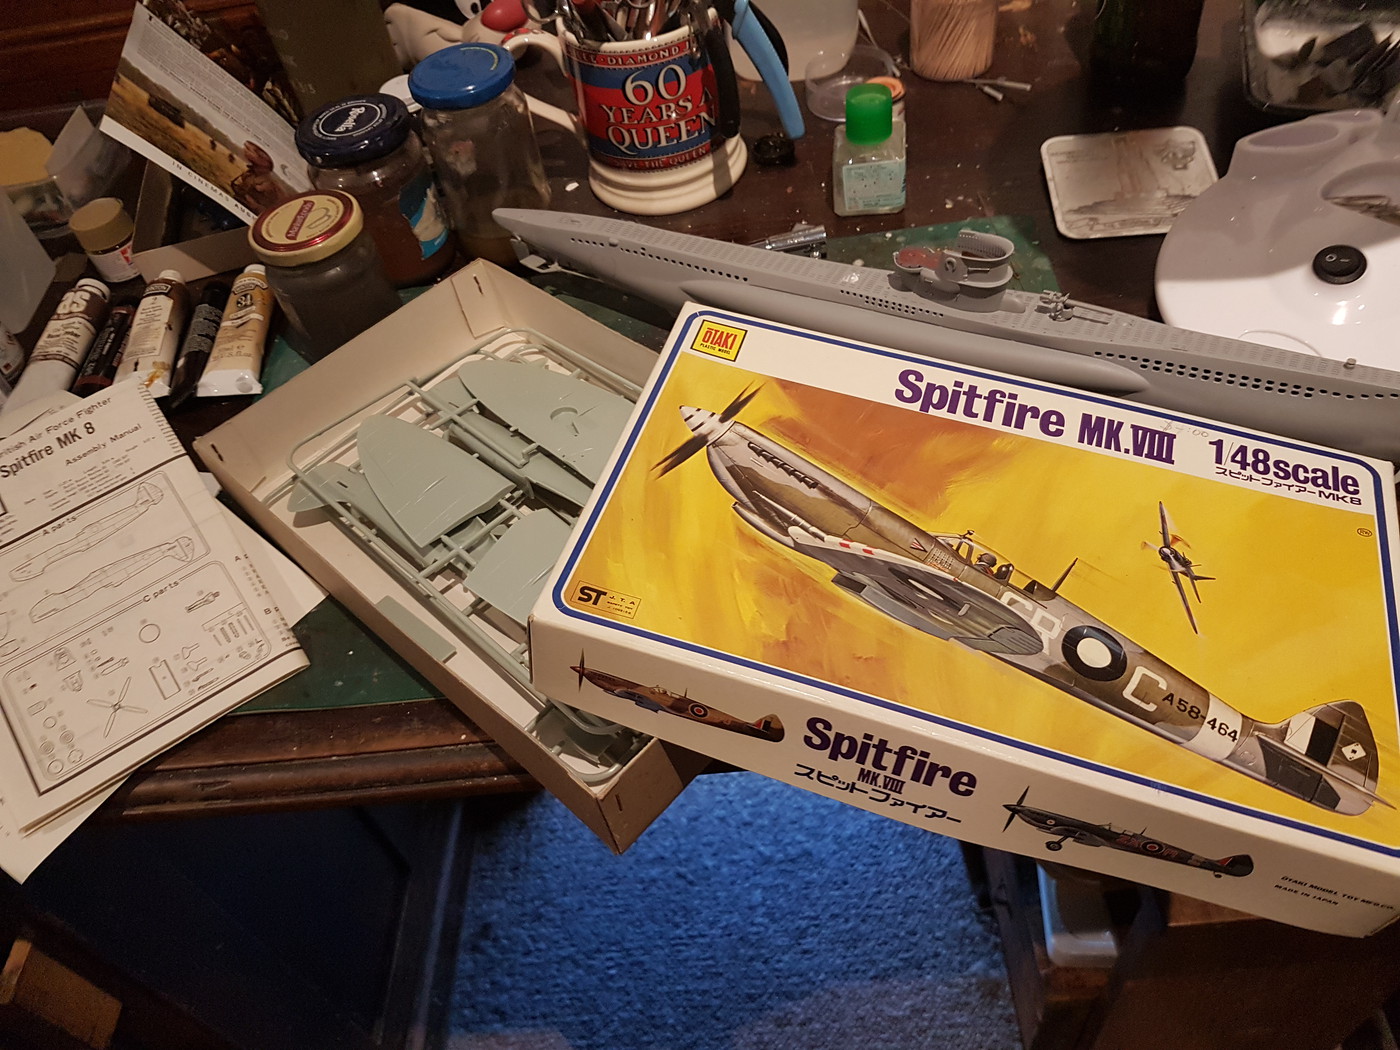
Progress has ben slowed a tad by my Wellington build, but i finaly have something to report. I got the pit installed, completed with the coloured PE. The floor alon with the seat, goes in after from underneath.
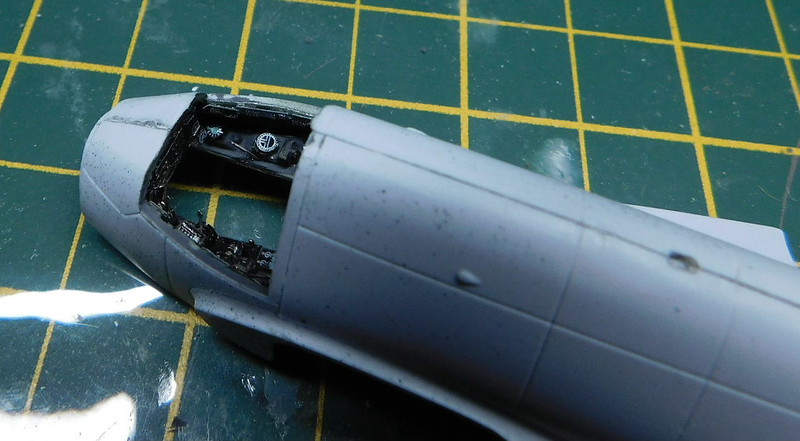
The floor went in well, certainly easier than the Airfix stuka.

After that the wings and tail were fitted. Some filling was needed at the join of wings and fuselage, more so at the front. Hutch had the same problem with his kit.

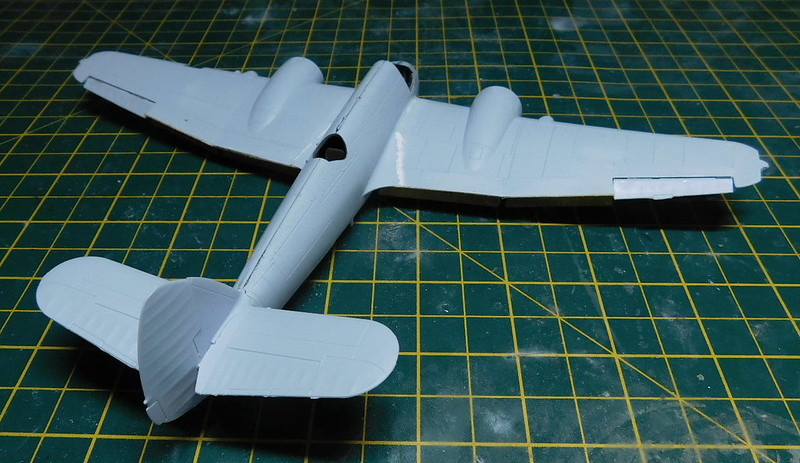
And the eduard PE flaps were fitted.

I’m now working on the engines so i can get them painted and fitted and get the rest ready for painting.
Hi Dodgy, no problems mate, go with the Otaki Spit - it is a classic. I do have a prop and spinner from that kit in my spares box from a few decades ago.
Bish, that is coming together well, following with interest for when I get to mine. The PE is showing up well in the cockpit - are the seat belts PE too?
Dodgy: Great choice! I built the same kit years ago. Funny enough it was as an Aussie Spit too.
Bish: Really liking the looks of the Beaufighter-same purposeful look as the Mosquito and the Me-410.
Piers: Yeah, some of the decals did split. Which I’d kinda expected so it’s not that big an issue. I’ve got the fighter sprayed with a second coat of gloss and I’m going to try to layer the decals this week. Cross your fingers!!!
Bish, your Beau is looking good. Its always been a favourite of mine. How did you go with the PE flaps?
Piers, that Hawk looks like it’s comming together very well. I’ve not run across a metal cockpit tub before, but the Boomer has the engine and various other parts produced in resin and then duplicated in white metal. I have decided to go with the resin, particularly in regard to the engine because of weight issues. So now that you’re this far into the Hawk, how does your experience compare with the review?
Cliff, your Spit is looking great. It’s a bugger about the decals though. Good luck with that. I’ve got another couple of old Otaki kits in the stash. I plan on using them to get my skills back up before going onto better things with wings. Had the Zero ready for painting and then ruined the canopy. Ah well. It wont hurt to have another practice model for brushing up my airbrushing skills.
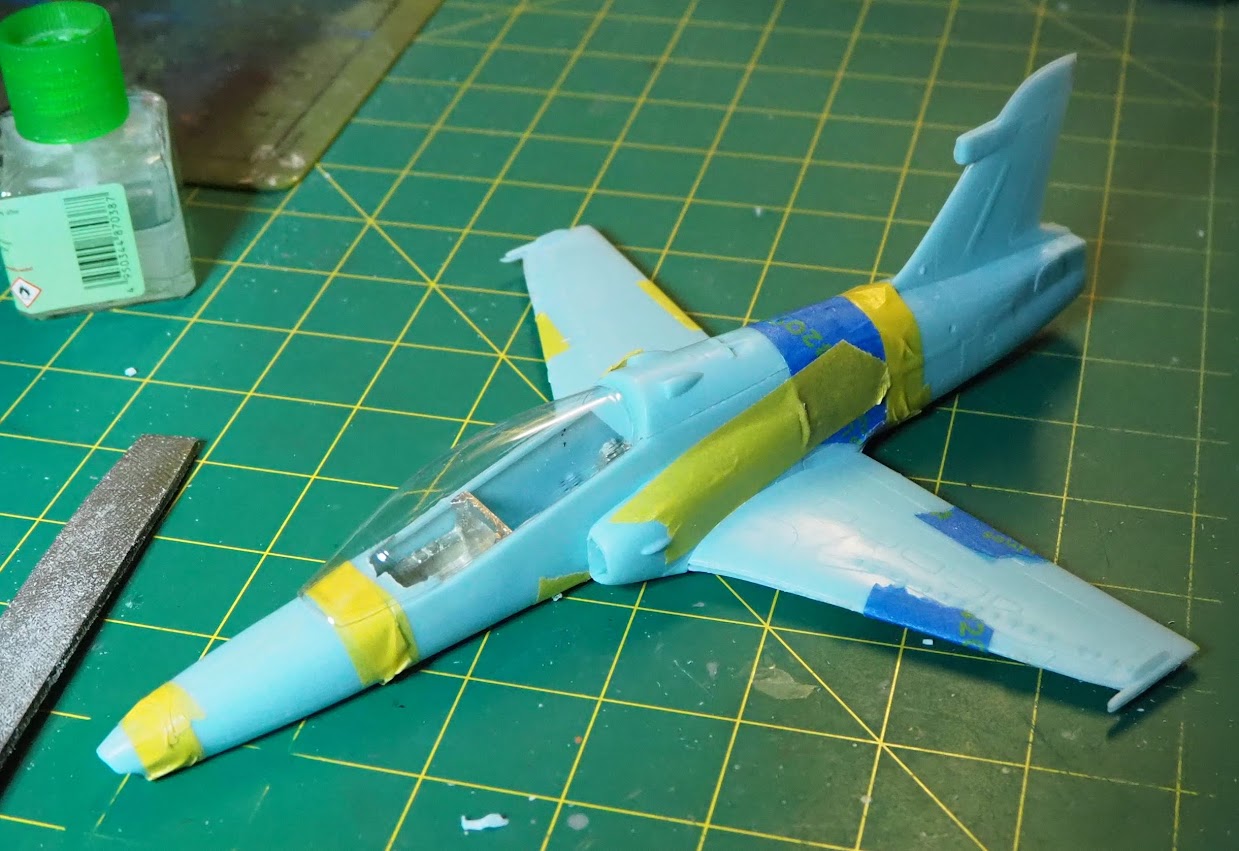
Thanks Dodgy,
The Hawk is coming together slowly - plenty of test fitting. I have been following the comments in the review, and the High Planes models instructions are pretty honest as well. Today I finished glueing the fuselage up - did it over two days as I worked my way around. At the end I had to use super glue to hold the bottom seam closed. And there is a big strip of filler on the lower fuselage that has to be sanded down.
There is a sizable gap between the back wall of the cockpit and the back of the rear cockpit - needs to be covered over - and there is a shelf here in the real plane. so a little piece to be scratched there.
Thanks guys.
gamera, ye, i know what you mean, it has a similar look to it.
Dodgy, these flaps were quite easy. Each section was one piece. The one on my Wimpy had seperate ribs and took a lot more work. Eduard do tend to keep it simple.
Piers: Looks good! And I know what you mean, some of those seams make you want to scream. Had a few I had to go for epoxy or superglue myself.
Yep there is a lot of ifller in the bottom seam as well. There is still more to do when the wing goes on.
Followed the kit instructions and got the wings top and bottom dry fitted. Then glued the bottom wing on. With glue holding it also added superglue in case there was not enough contact area. And needed plenty of milliput to fill in the canyon gap front and back of the wing. Also needed to take a fair bit of plastic off to even it up despite all the dry fitting.
Next the top wings and more filling and sanding…