So far…weather just about put me down the last couple days, but I did manage a little work between naps.
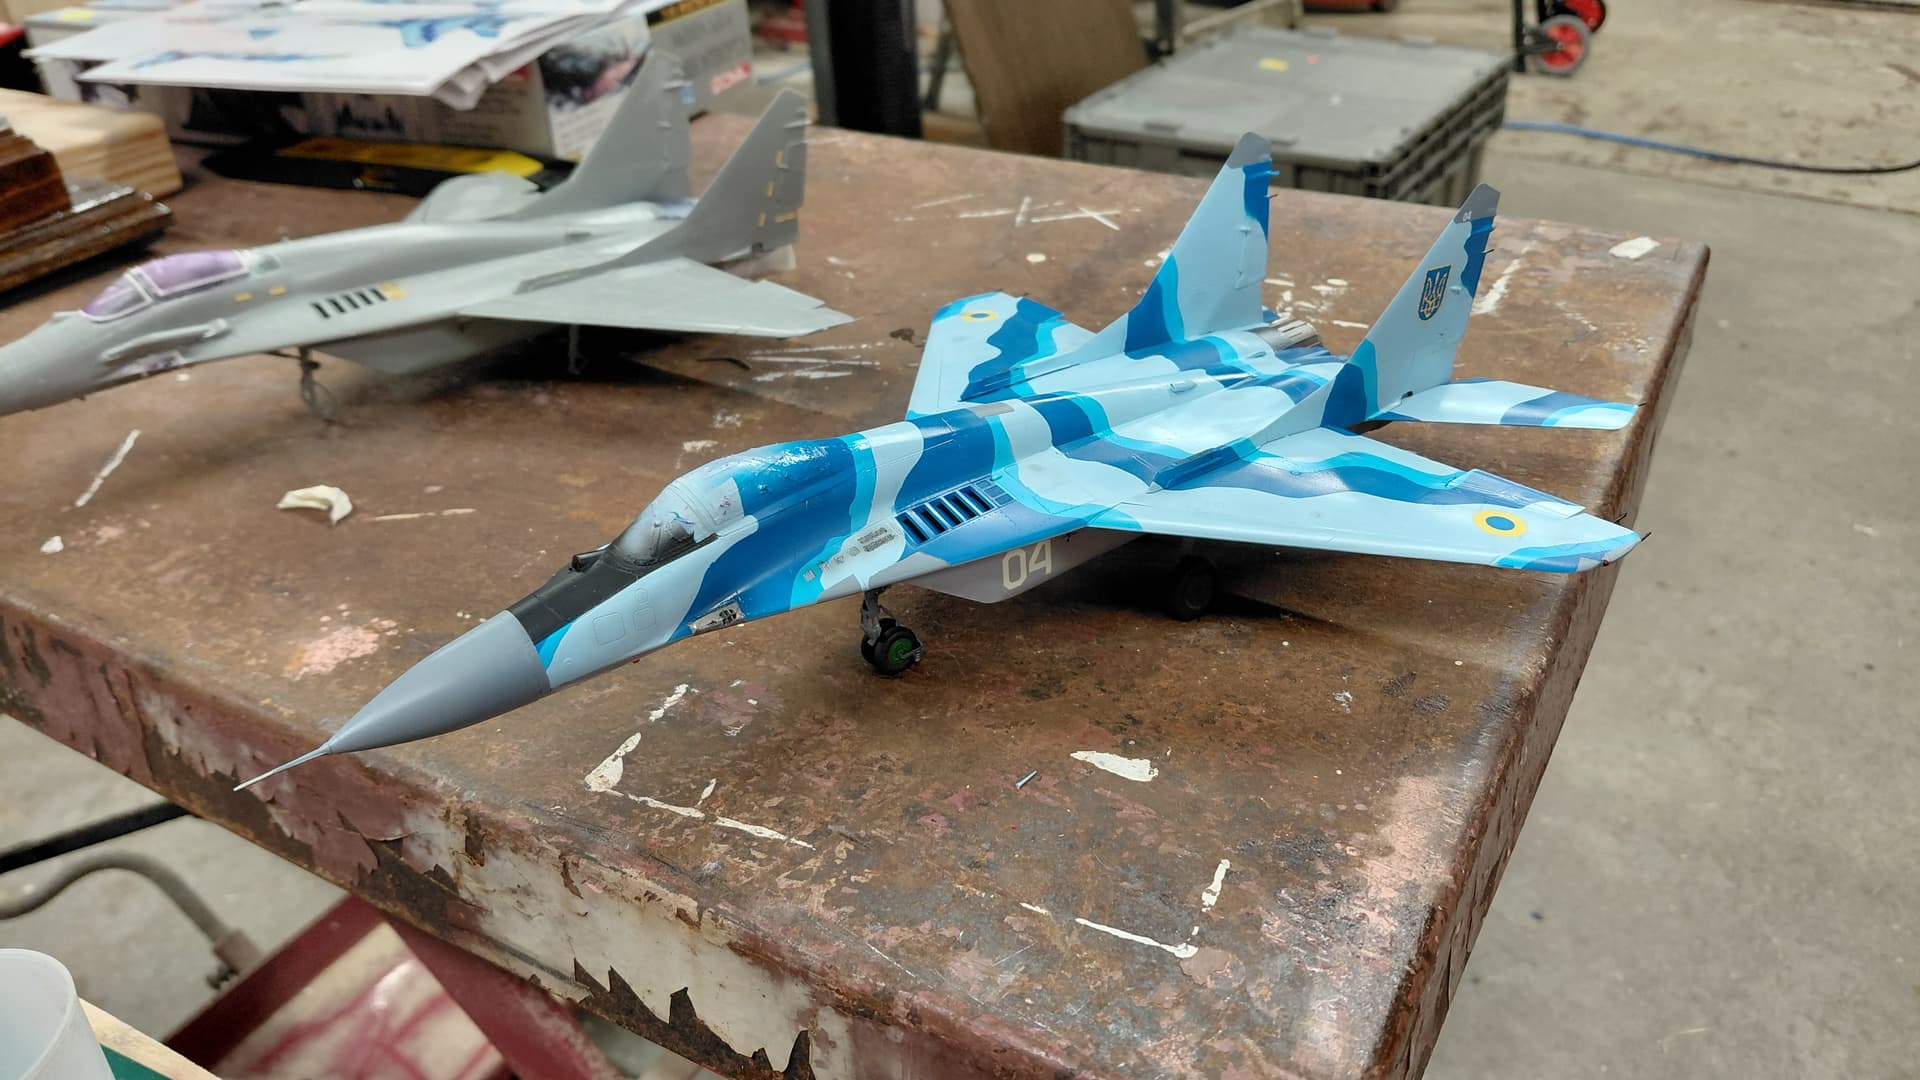
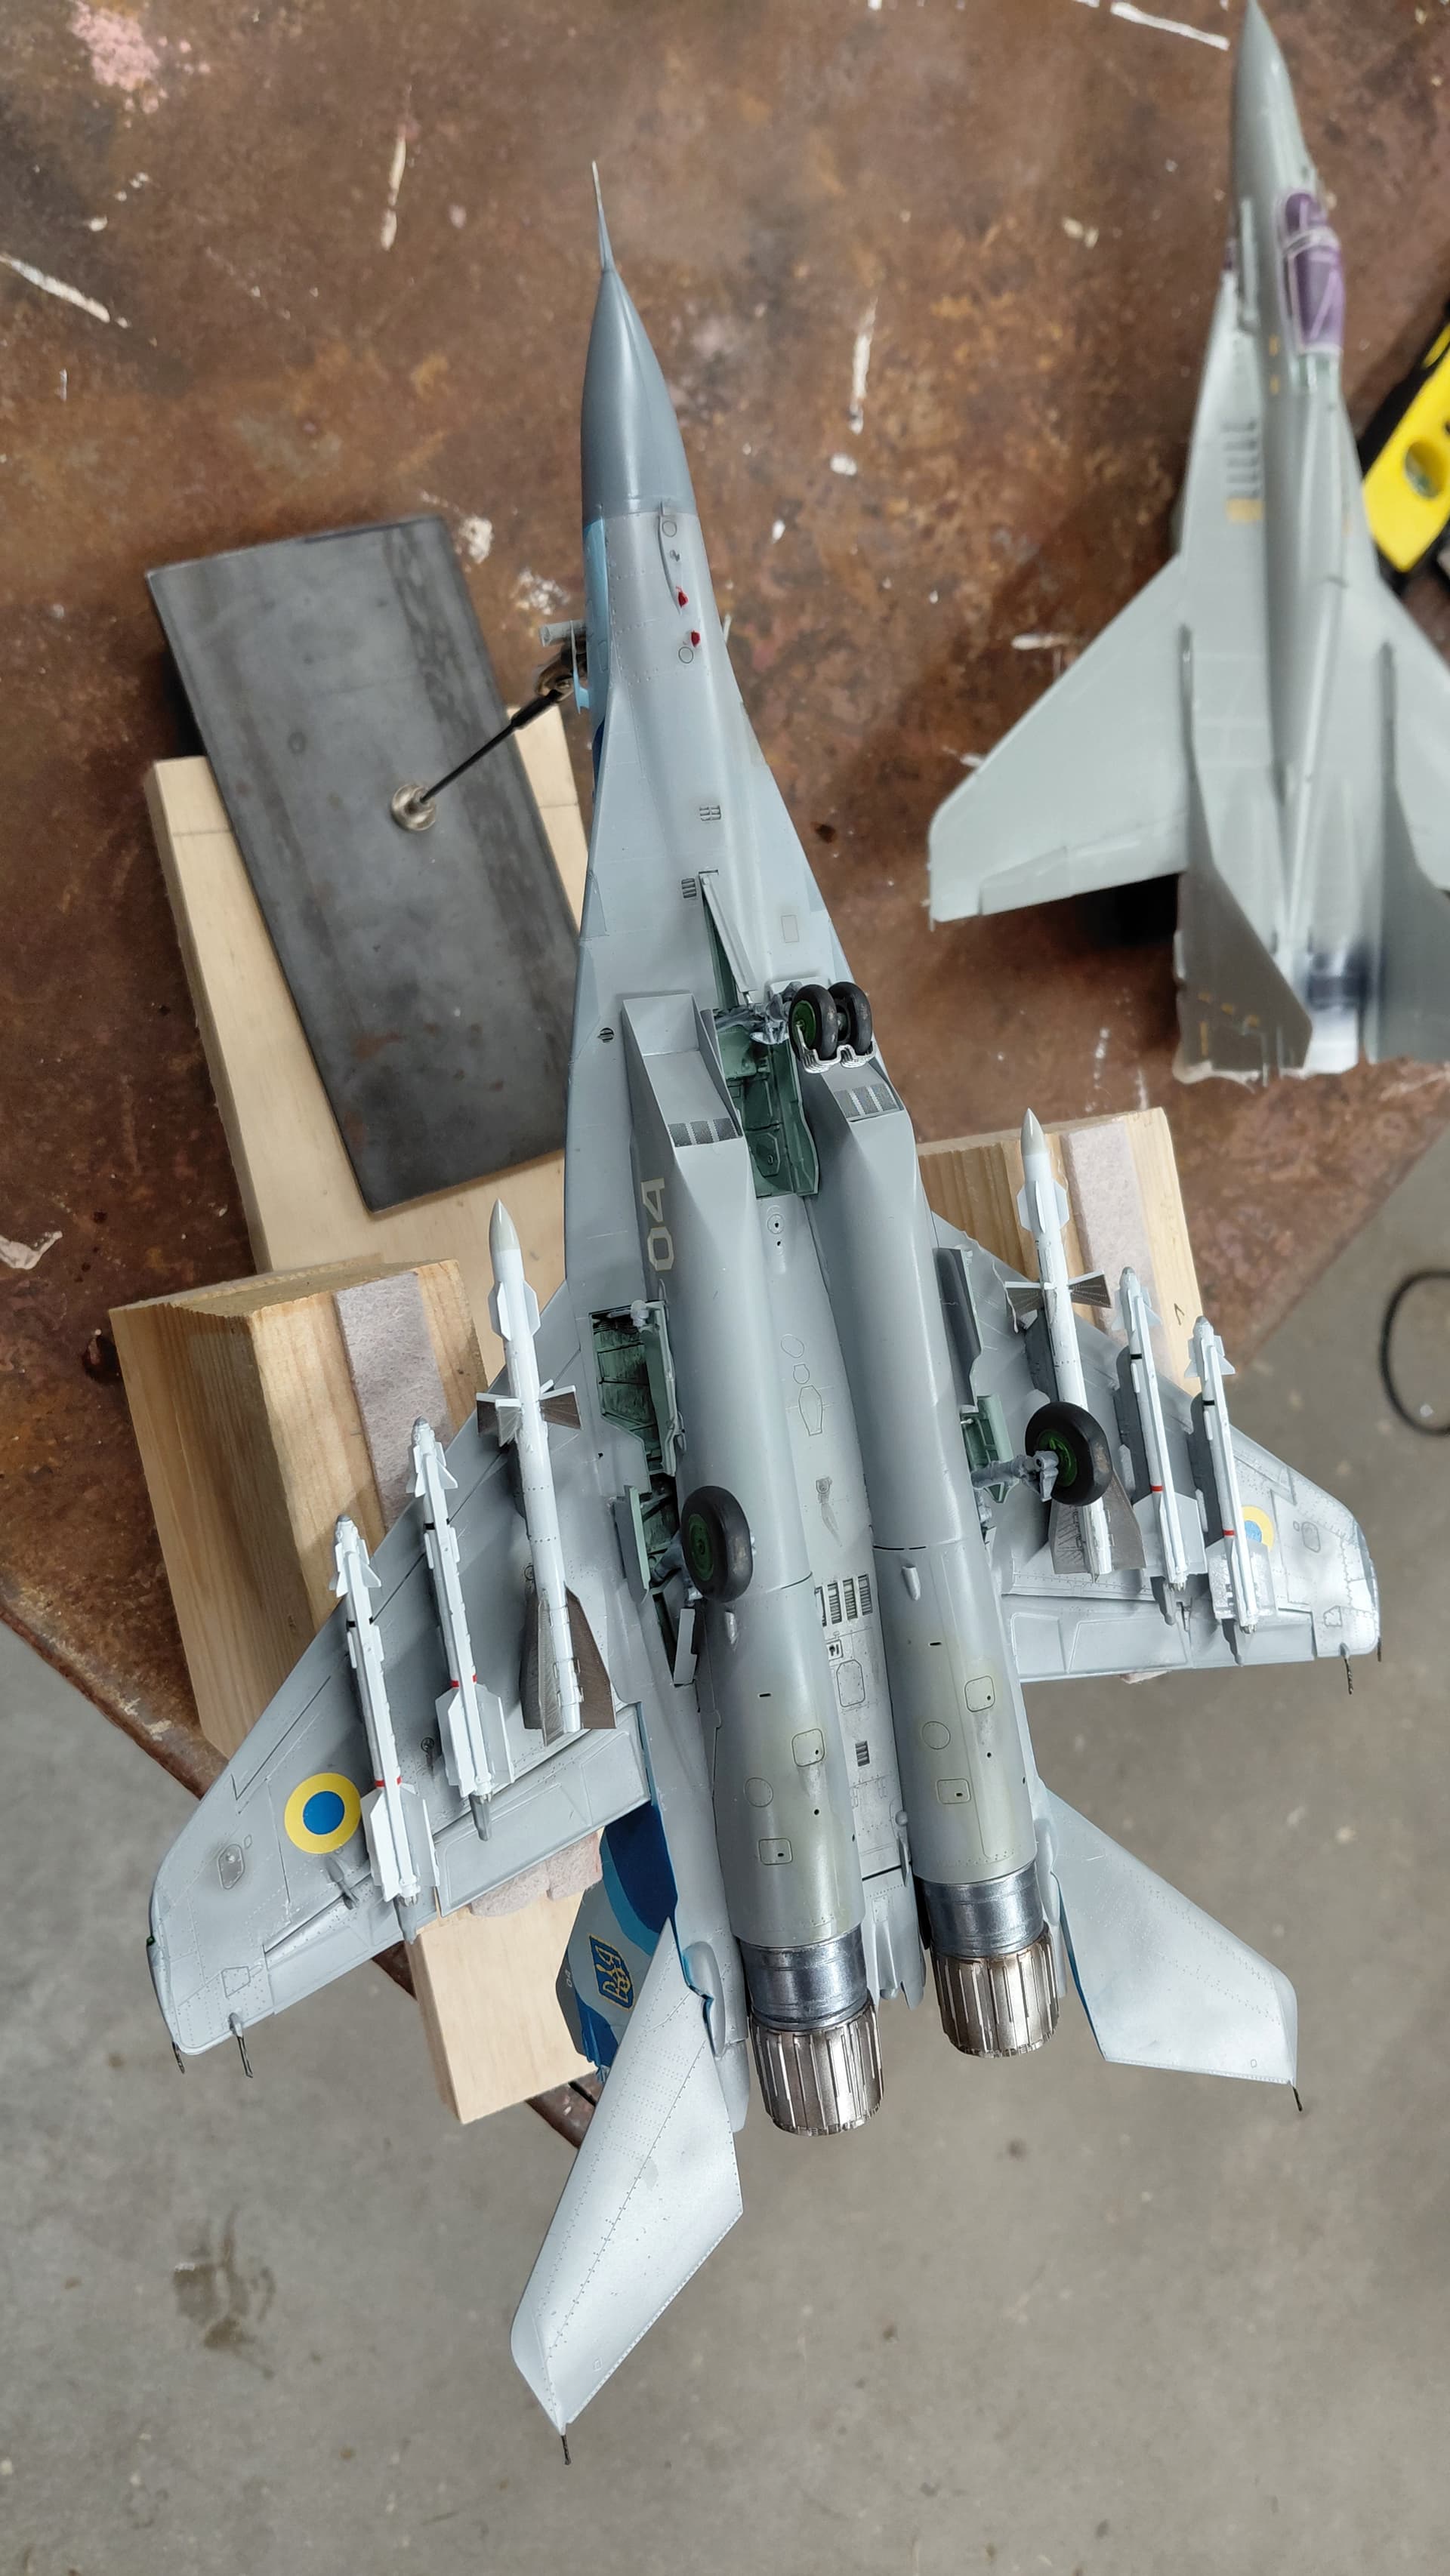
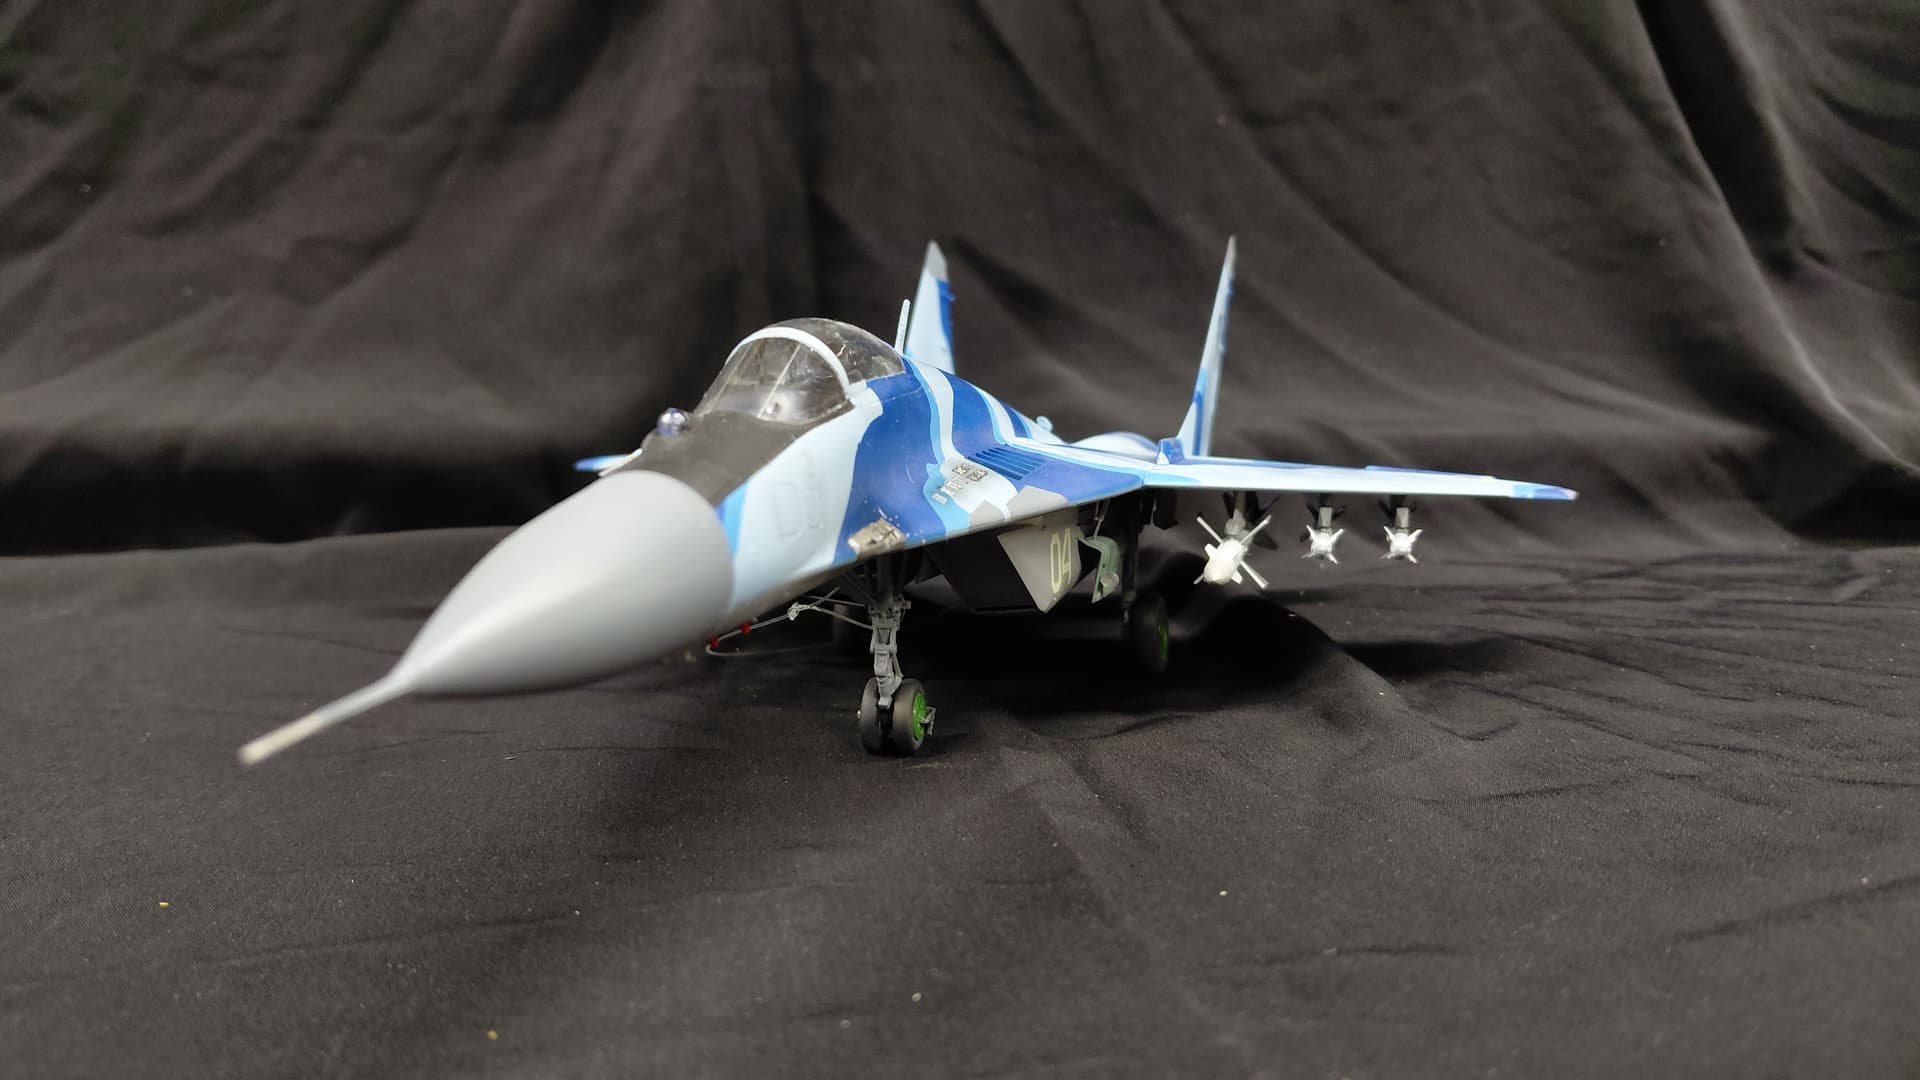
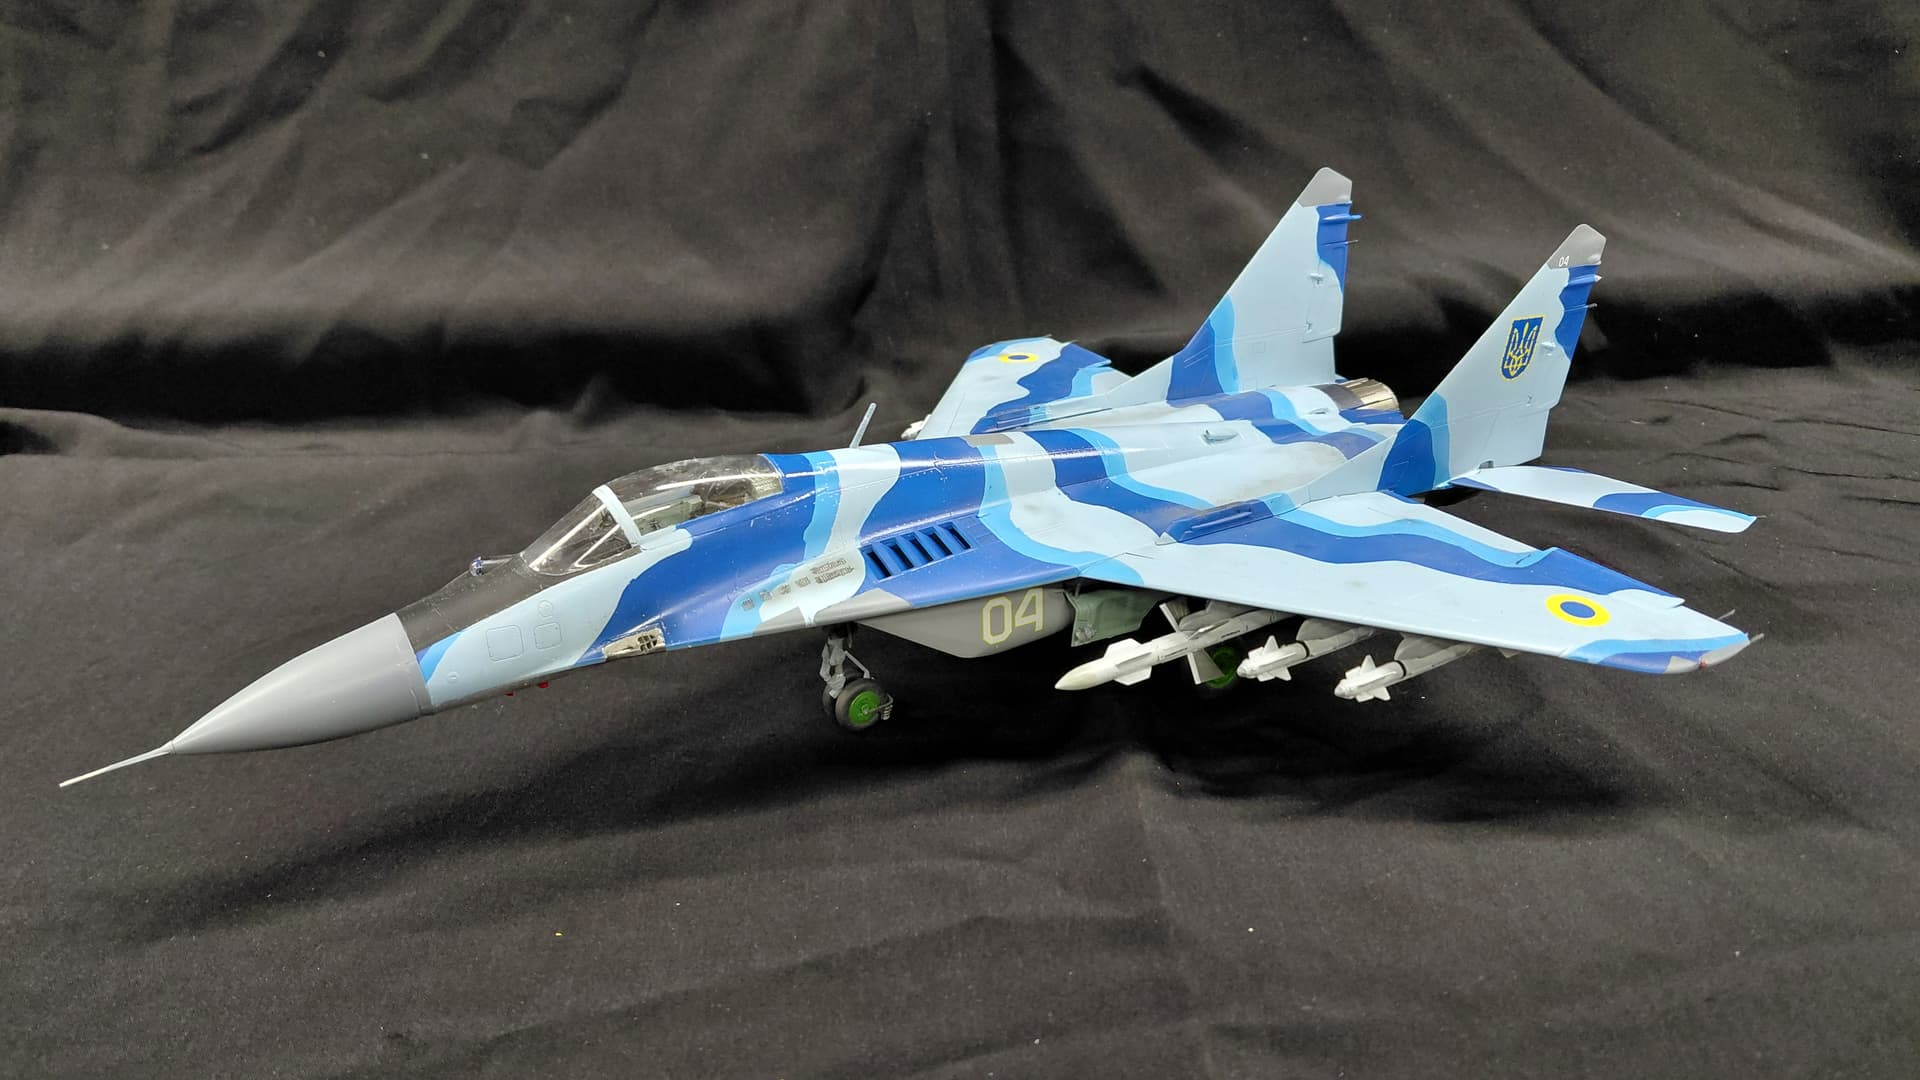
This is prior to pylons and some wear & tear being added.
This paint scheme did not come with all the warning placards so I lucked out…no tiny “no dancing past this line” in Ukrainian,
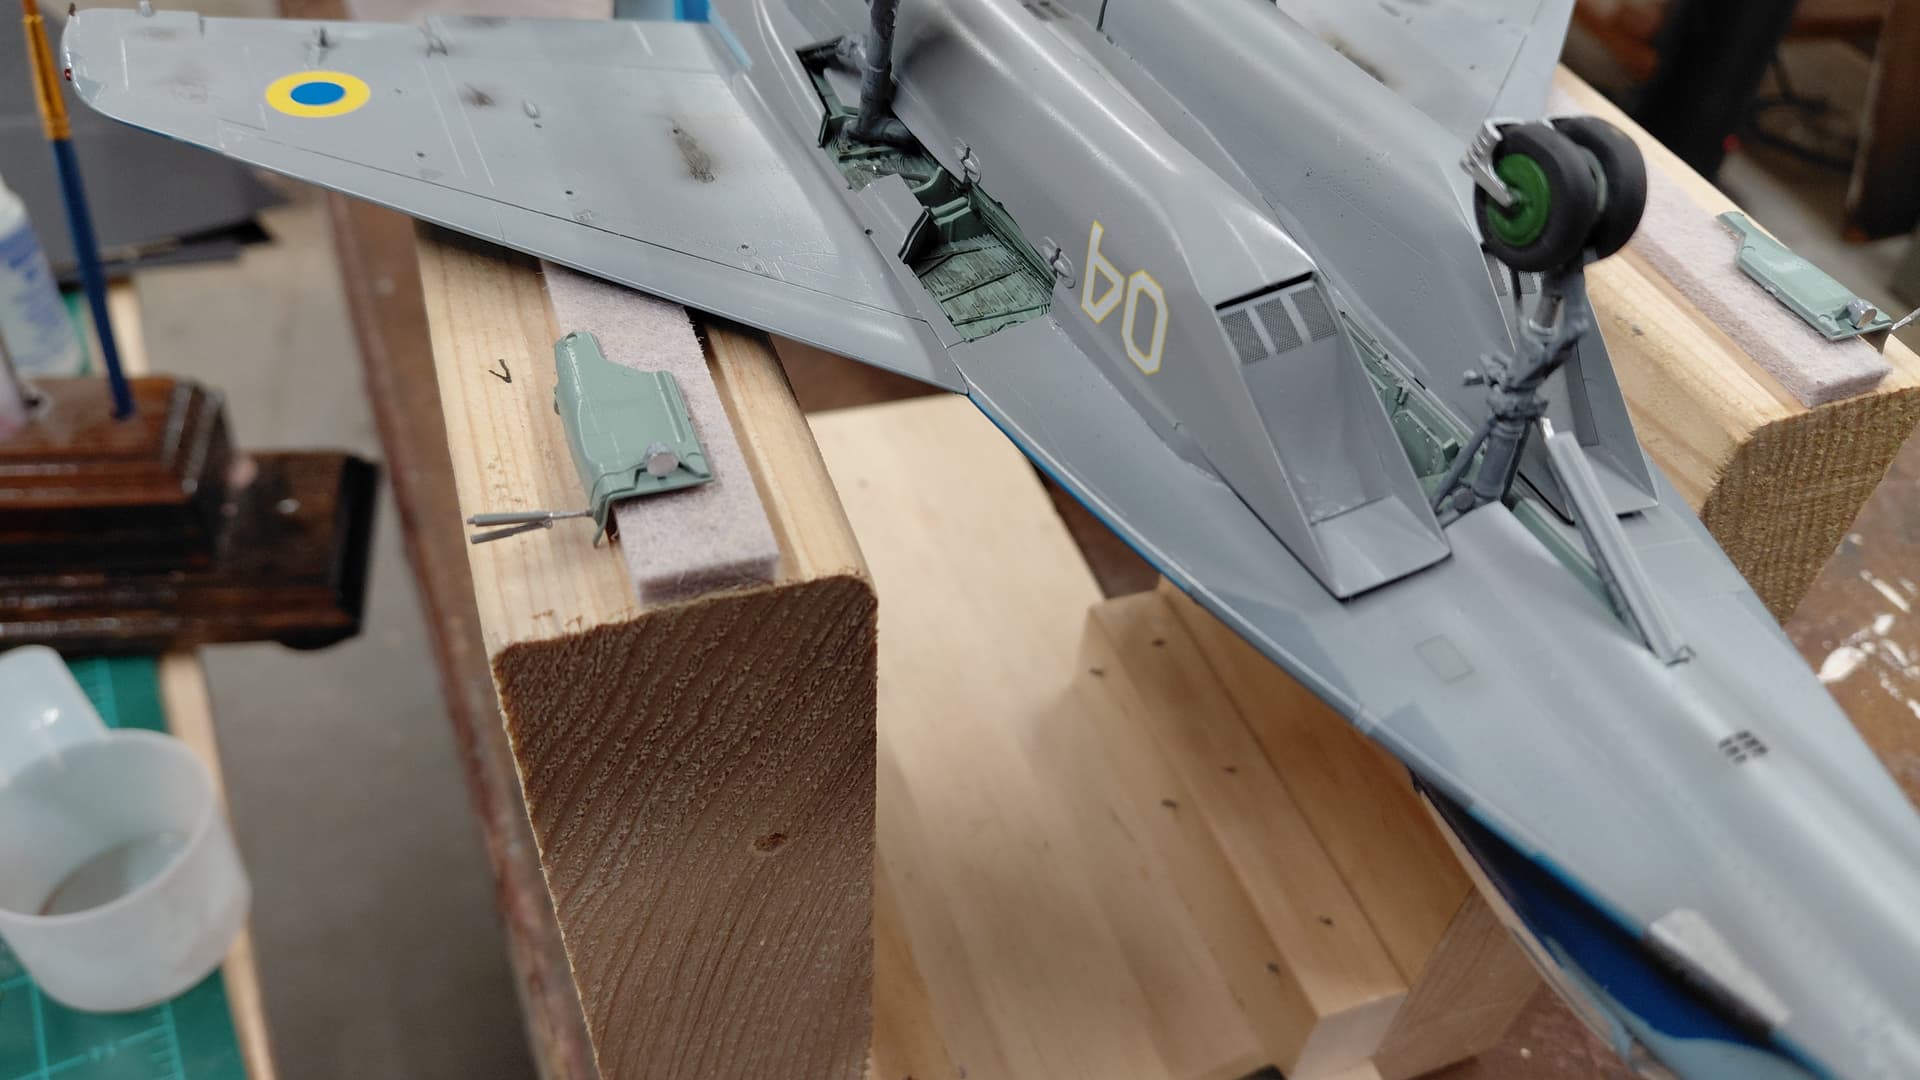
Added smudges, a few stains, some dullcoat and, horizontal stabs.
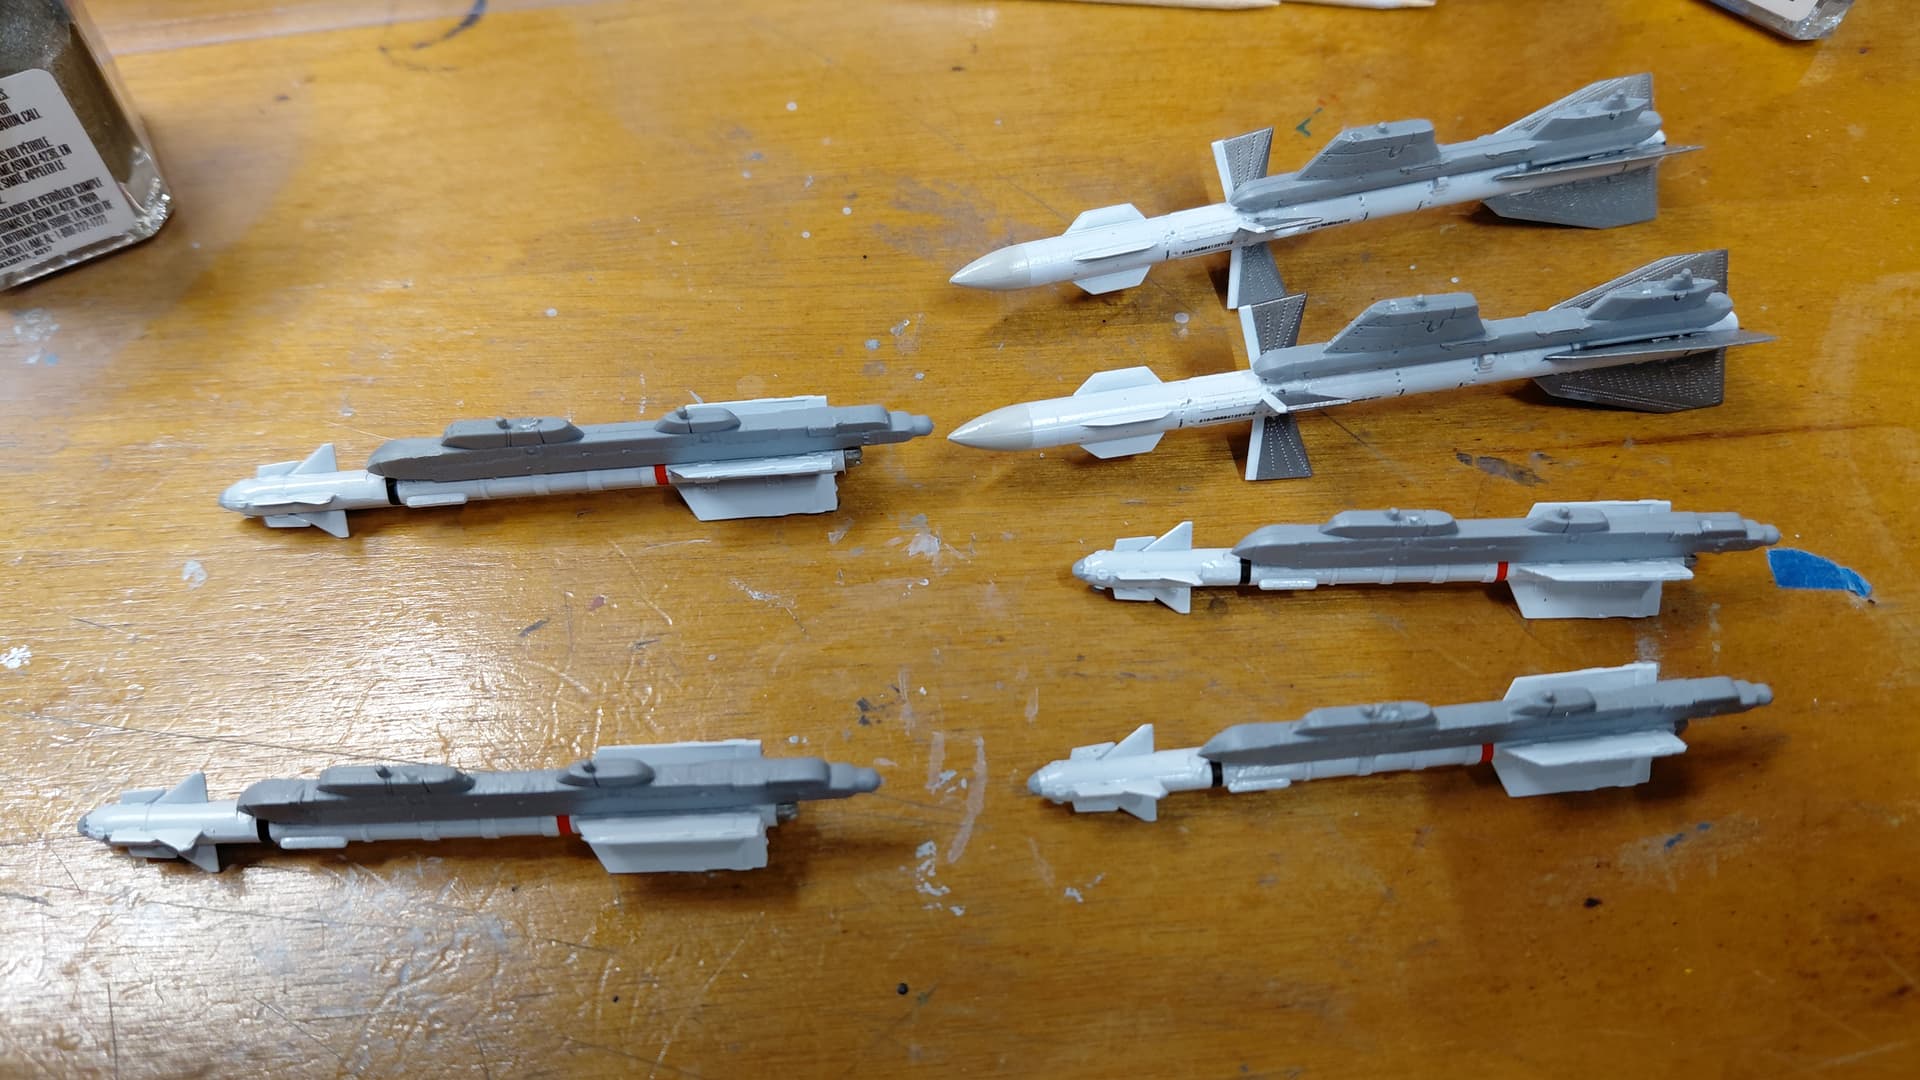
Still need to build the air to airmissiles and pylons…and gear doors.
I need to add some foot traffic smudges around the base of the flare dispensers and verticle tails as well.
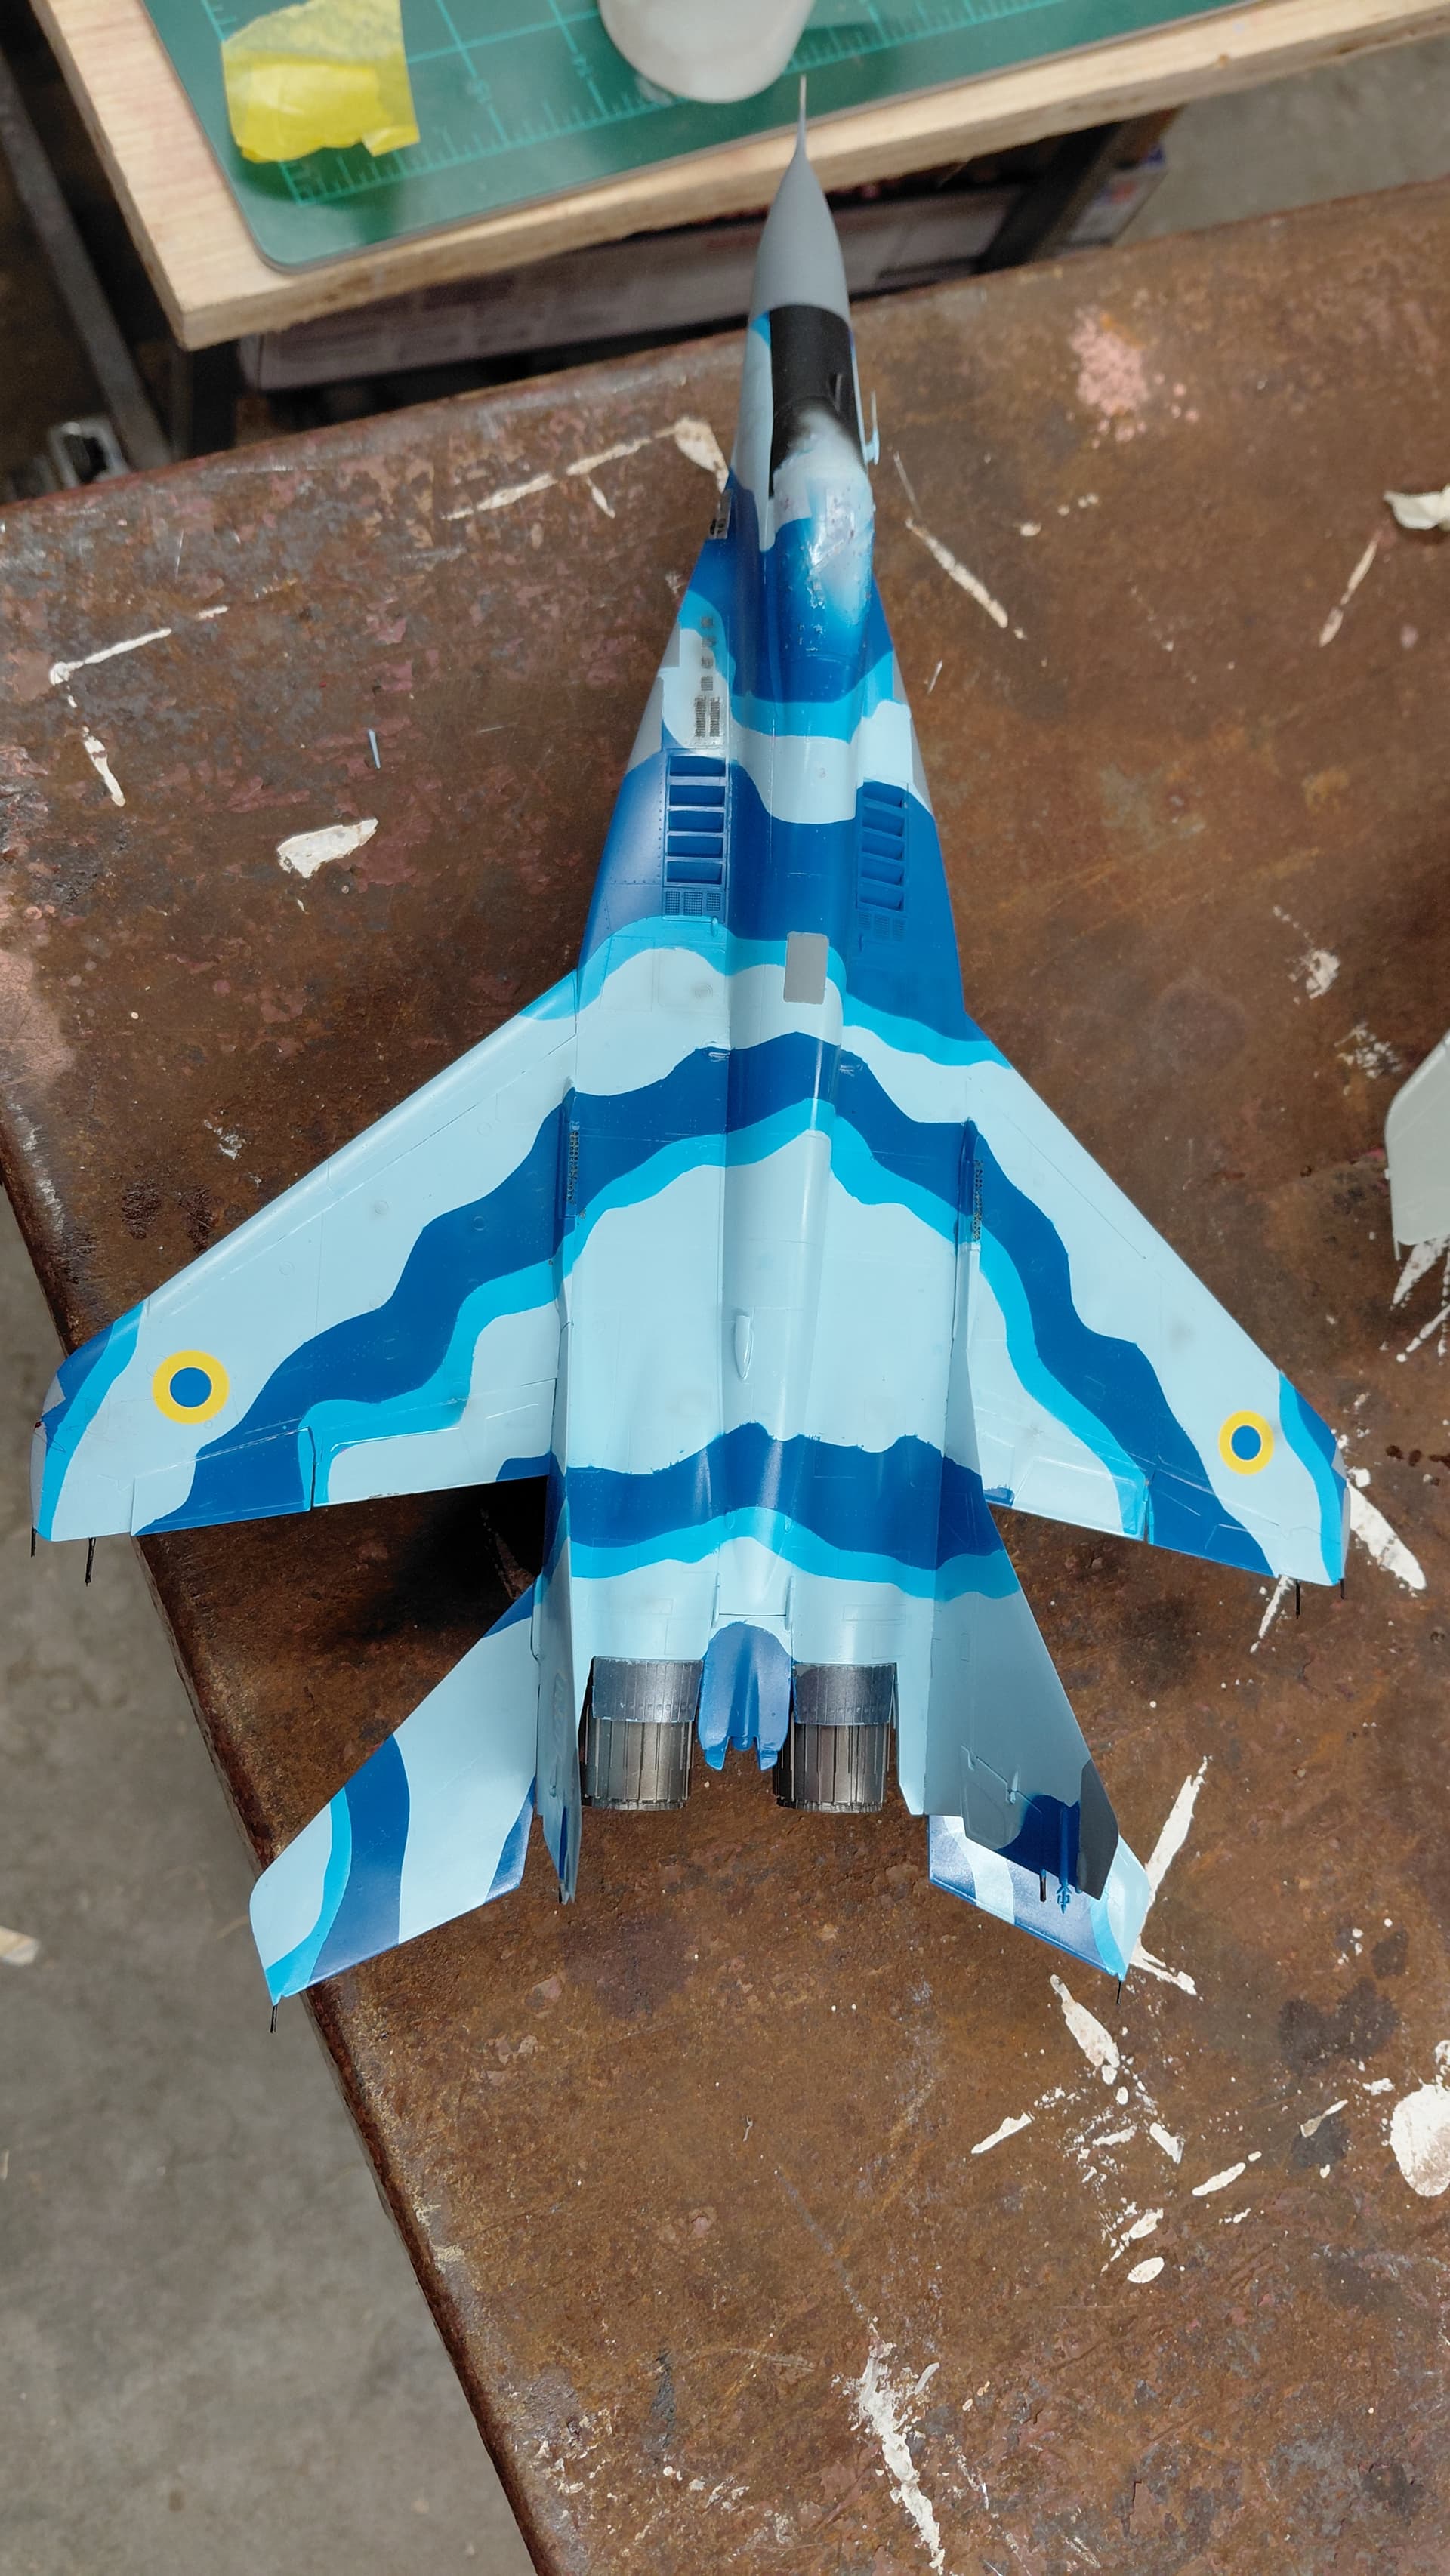
Added grodyfoot traffic near the flare dispensers and also along the top of the fuselage between the vertical stabs.
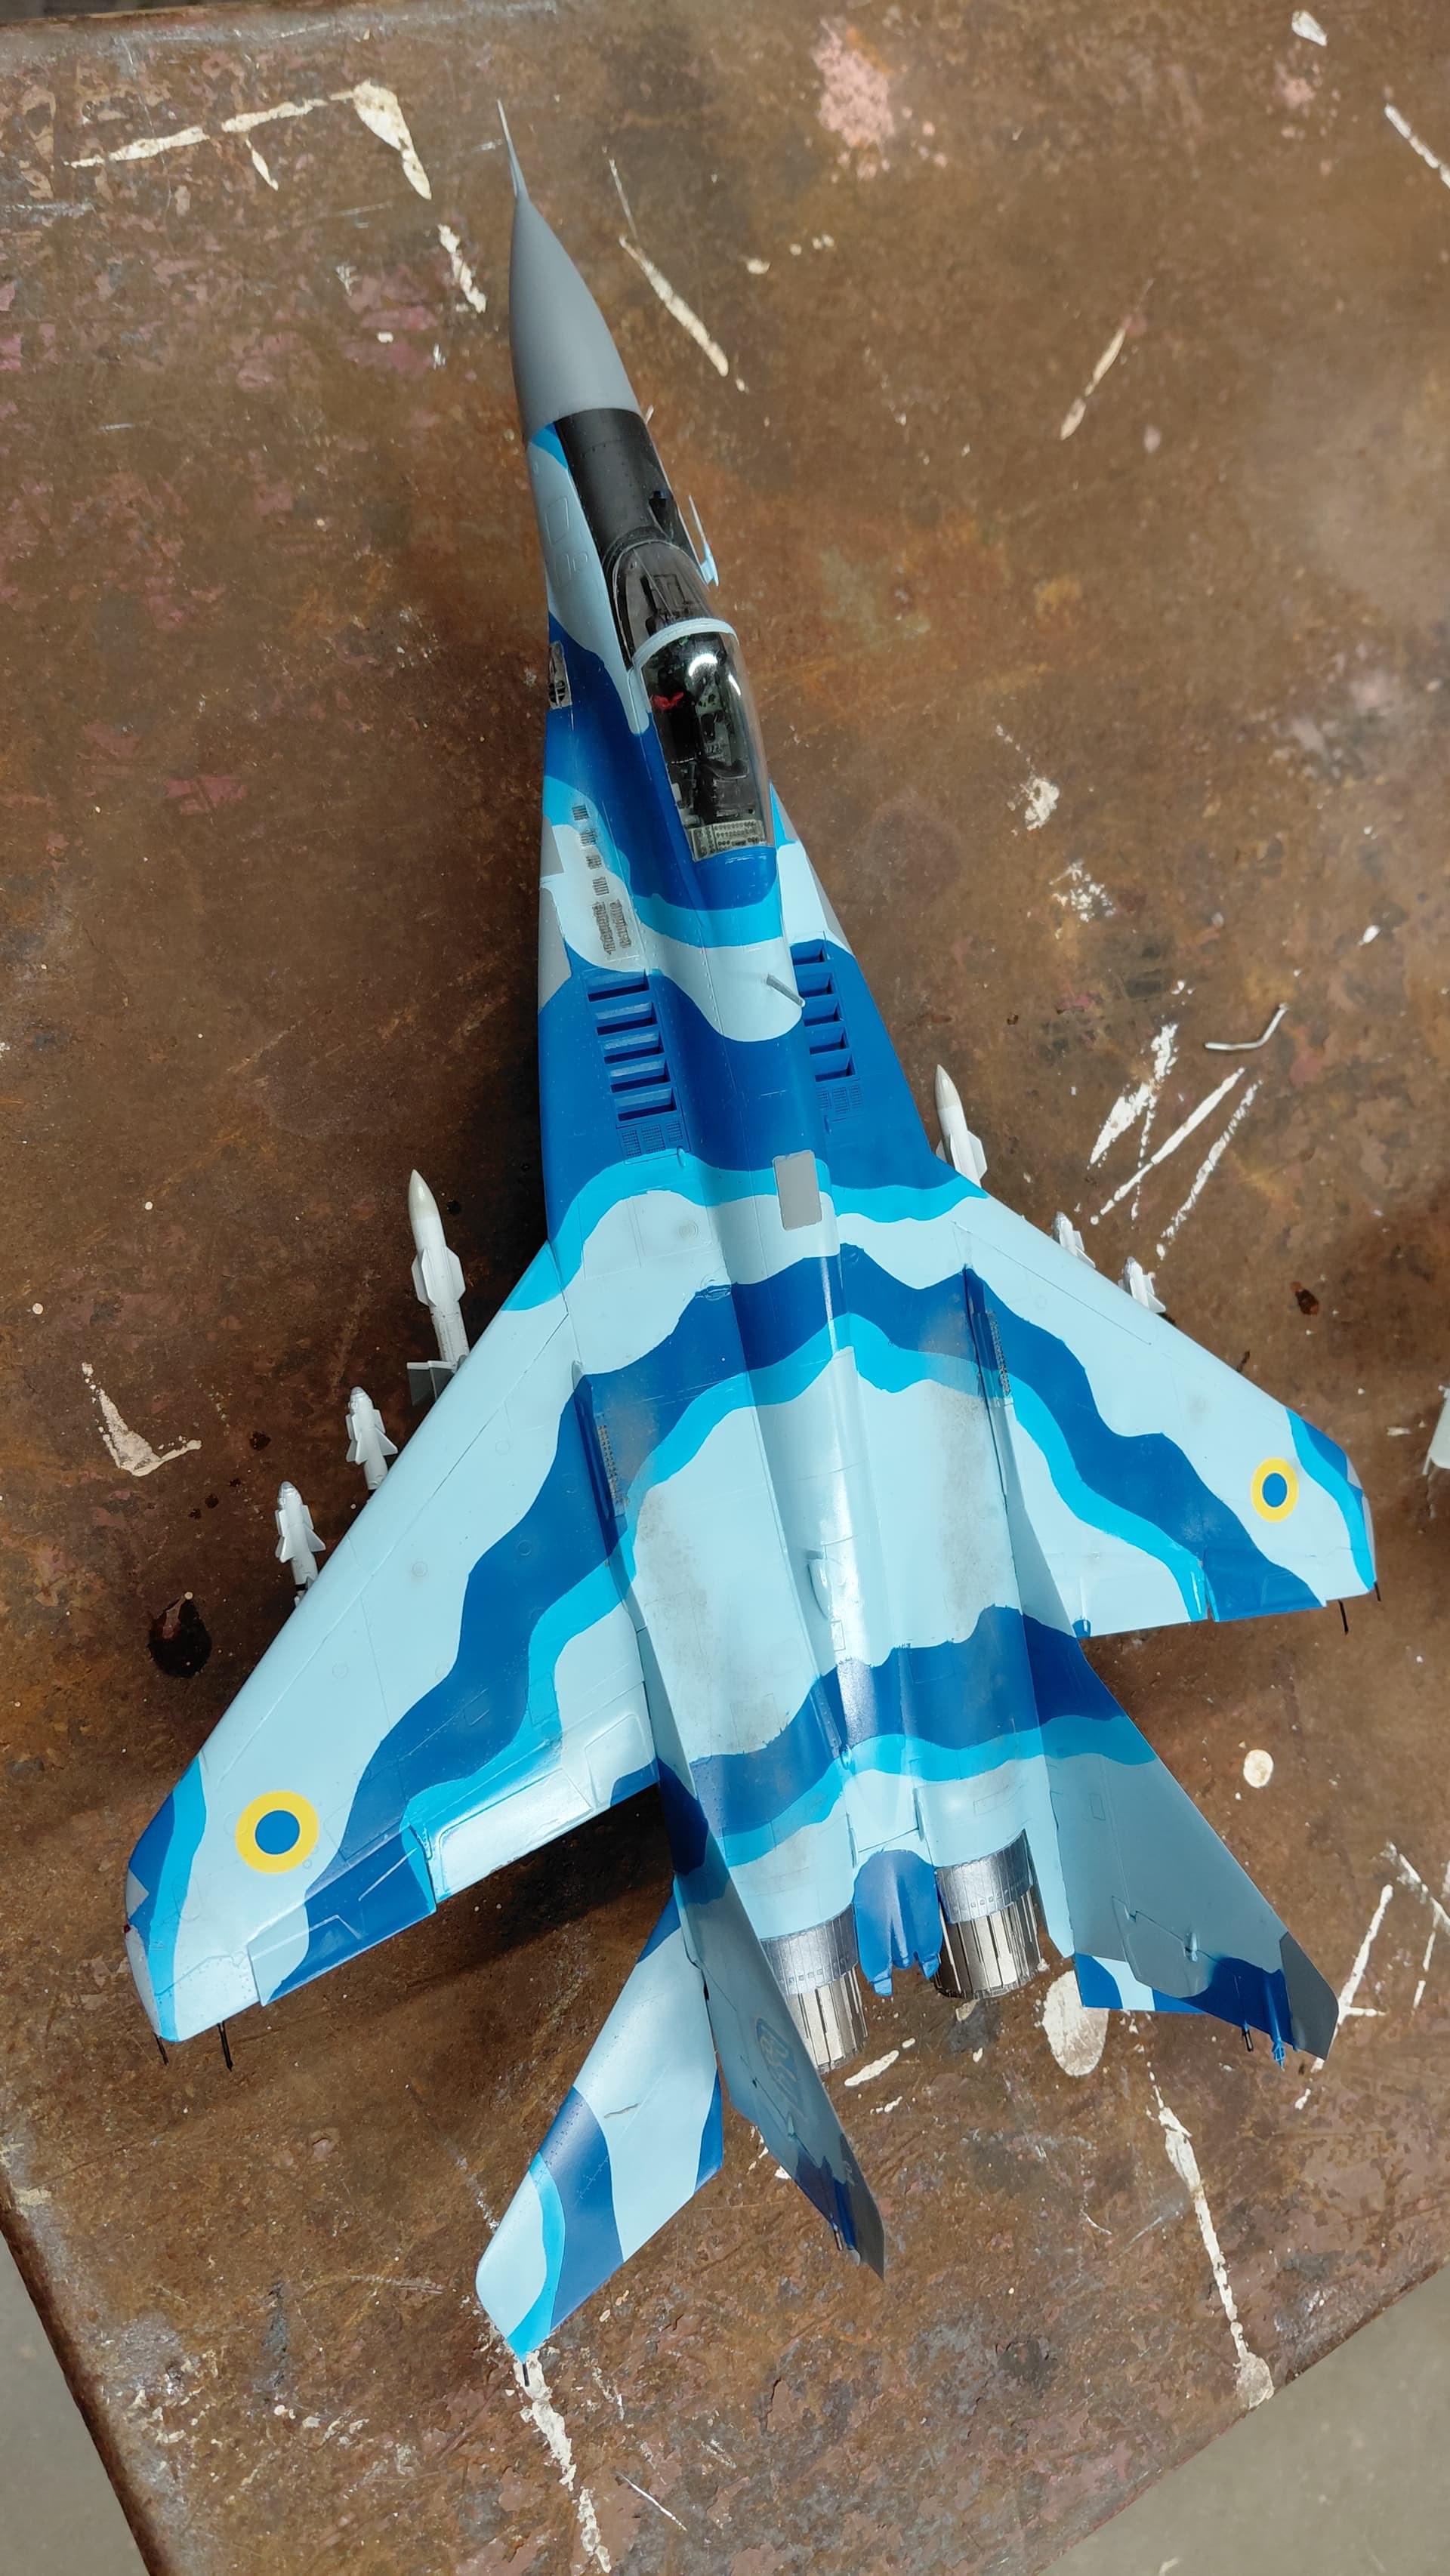
I took a photo of the underside to show oil & fuel stains I added previously.
I broke off the radio antenna again and now I have to make one (@#*^).
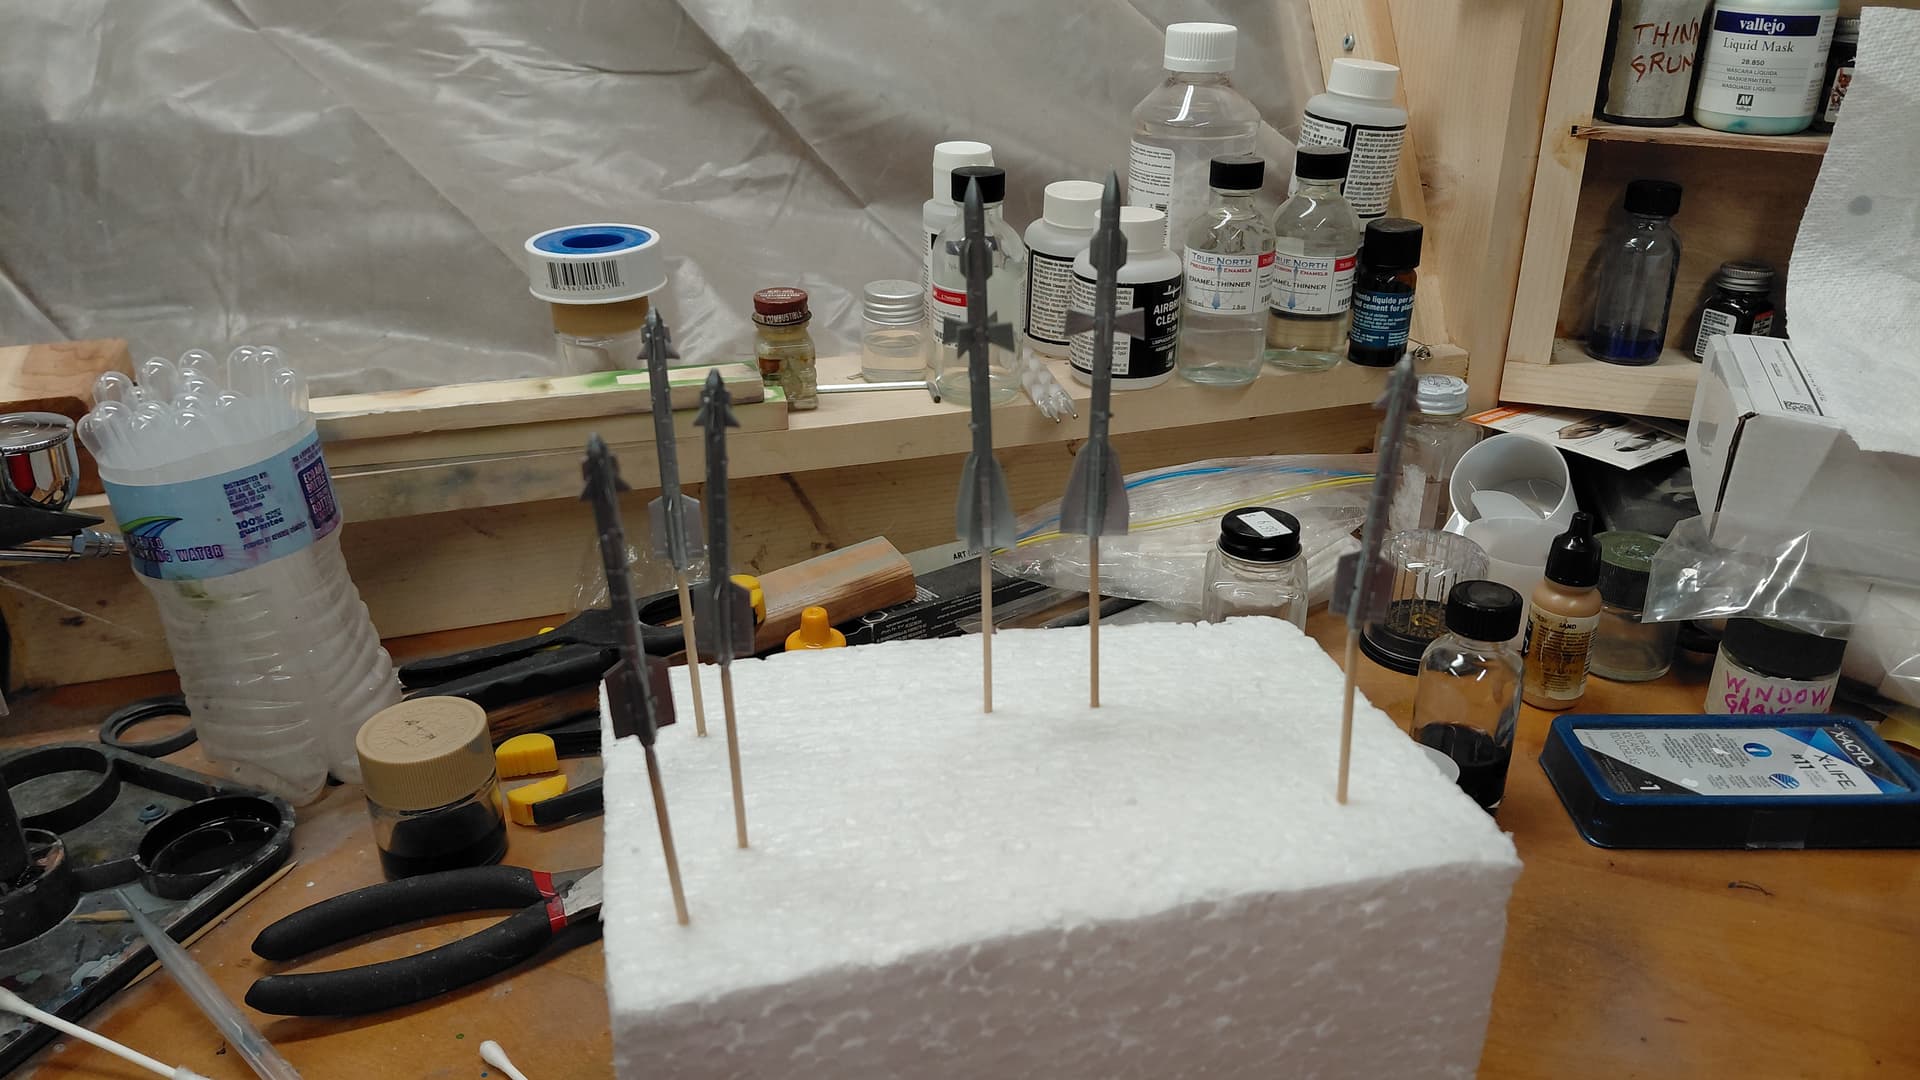
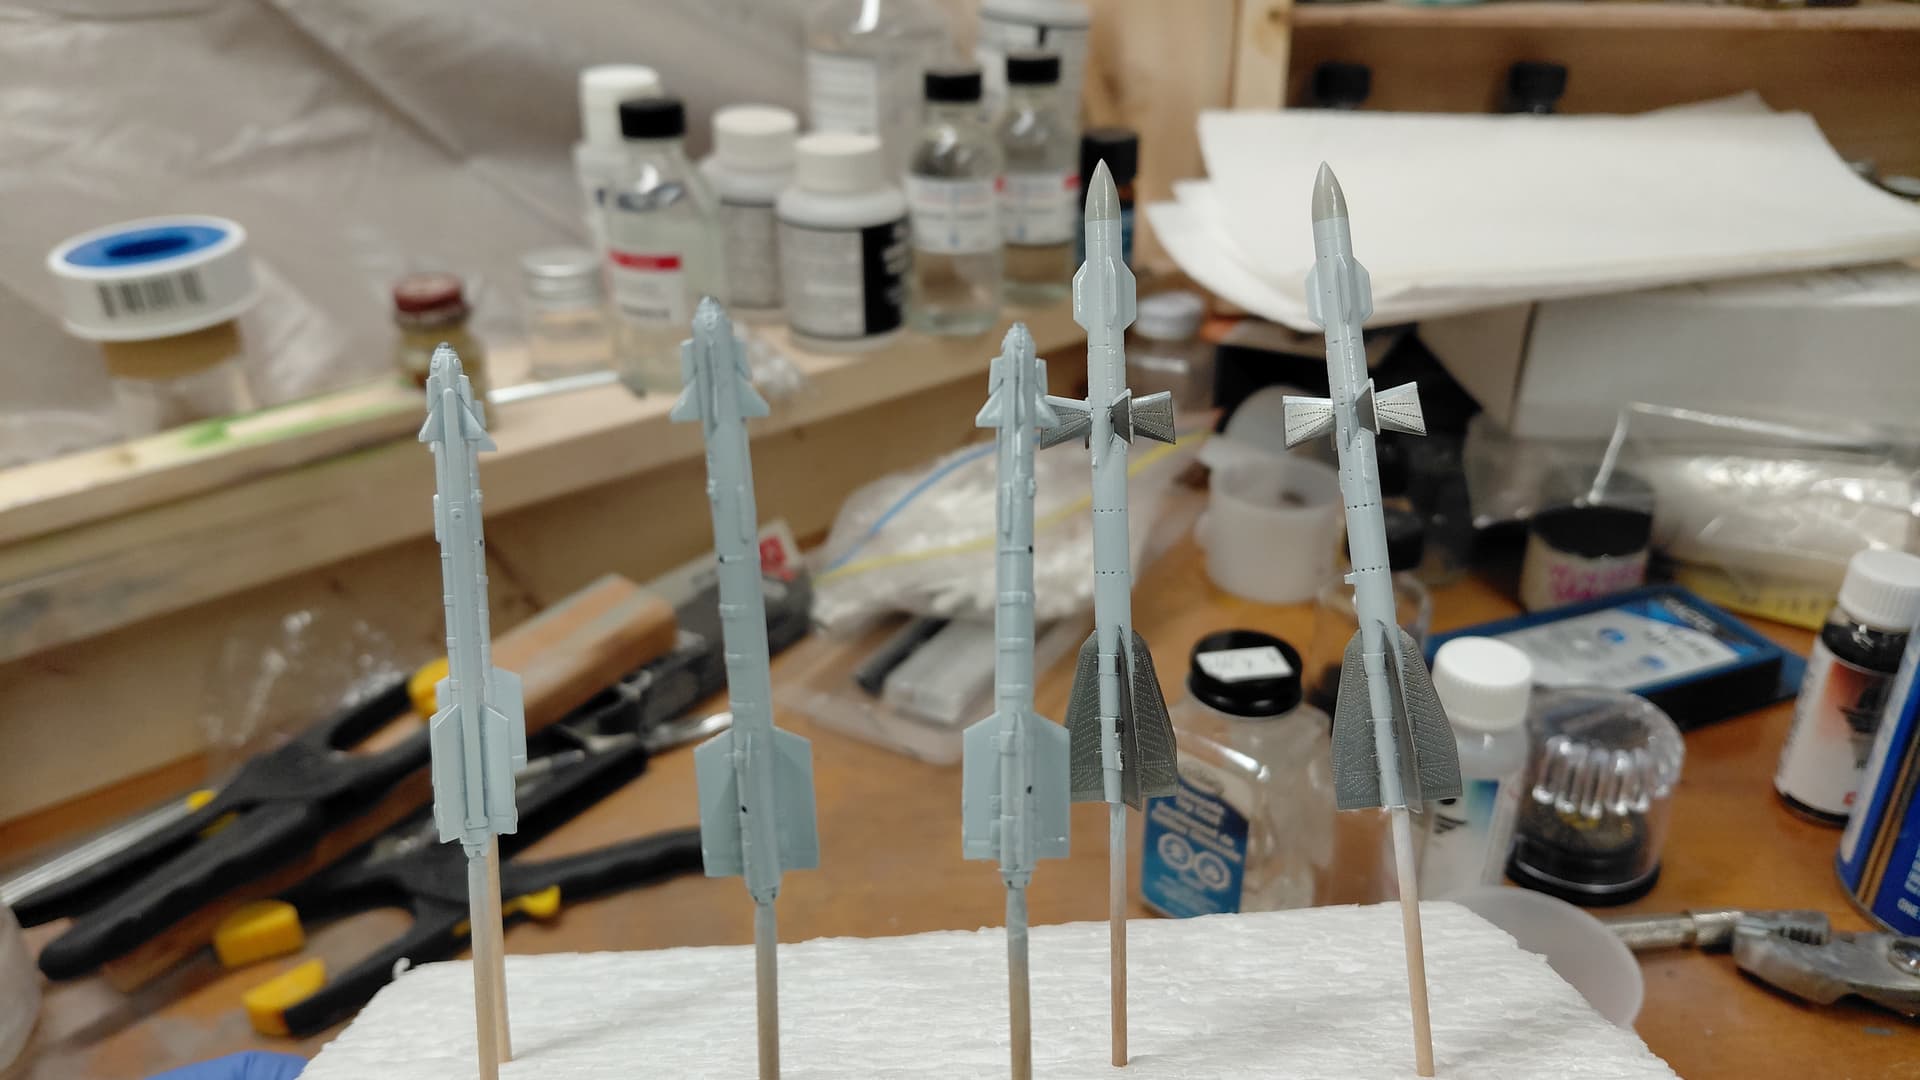
I drilled the exhaust ends of the missiles and wedged toothpicks in and shoved them into a block of styrofoam to hold them while drying.
The blocks of foam were free and it it’s for free… it’s for me.
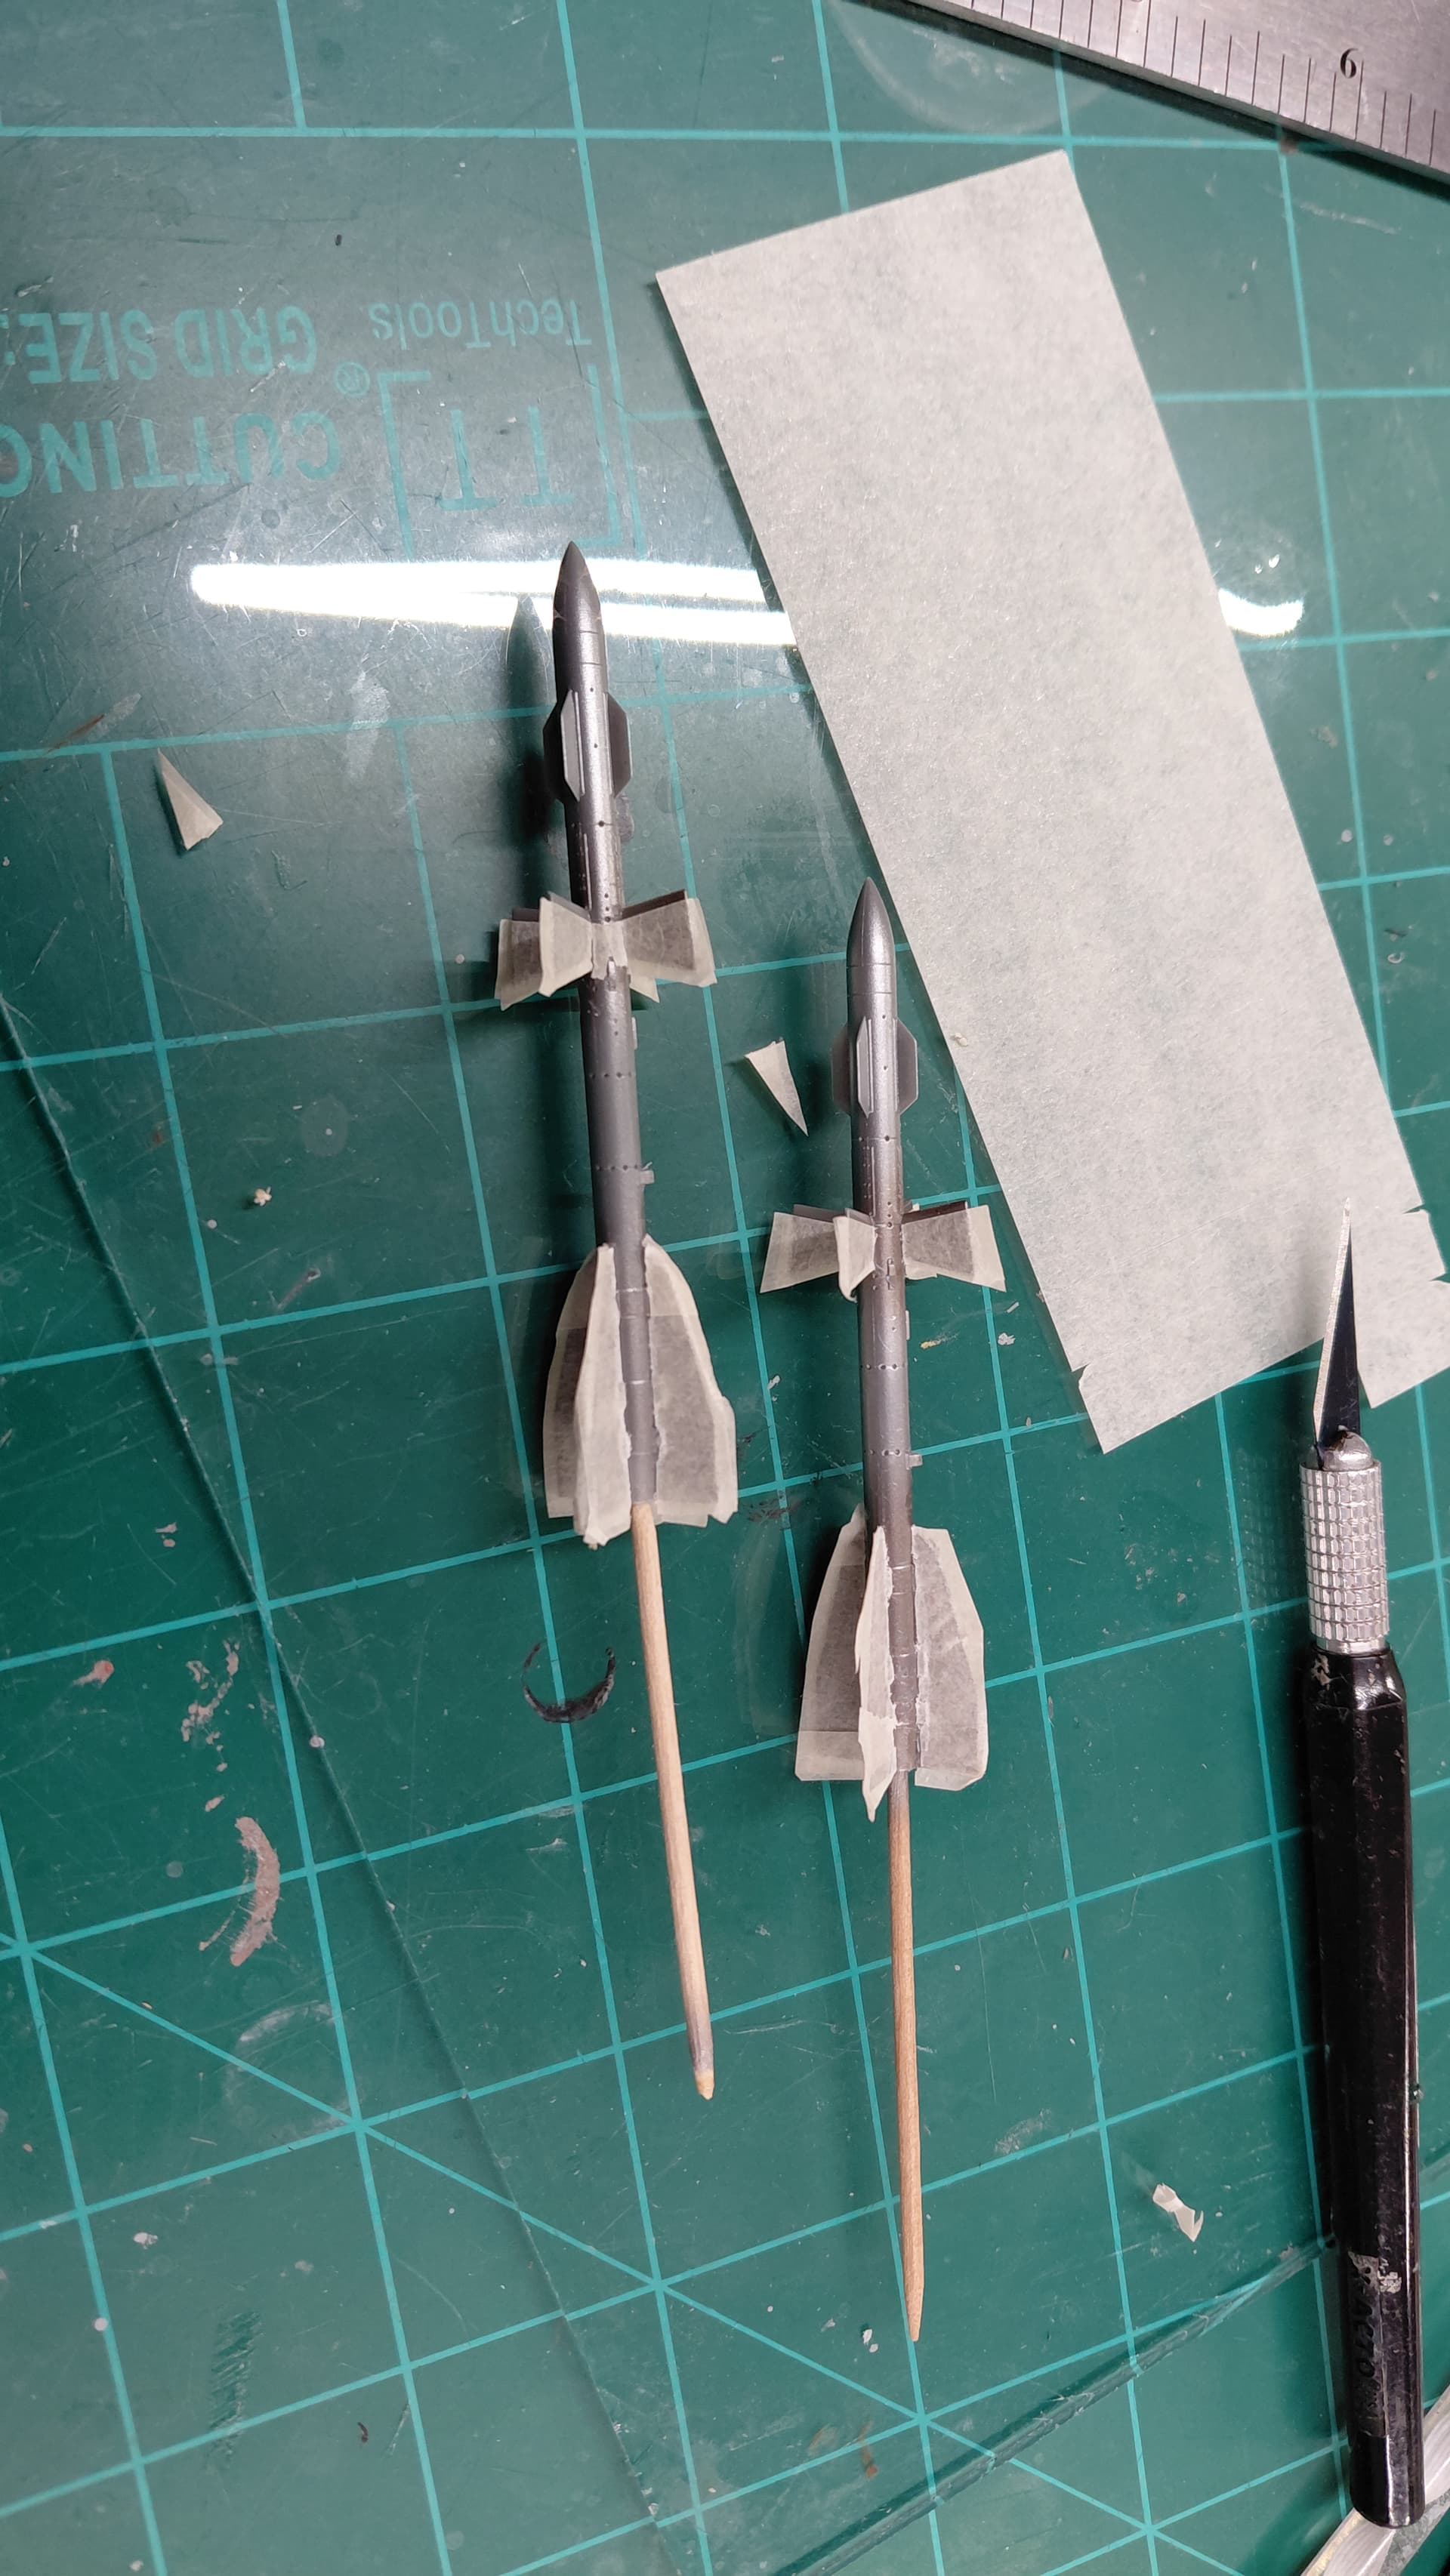
Painted the kit air to air missiles silver first to make it easier for the white to cover more evenly.
Normally I would paint colors starting light to dark but the larger missiles have exhaust metal colored fins…sooooo…I’ll tape those after painting THEN shoot the white.
All the paint I’m using at this point will be MRP.
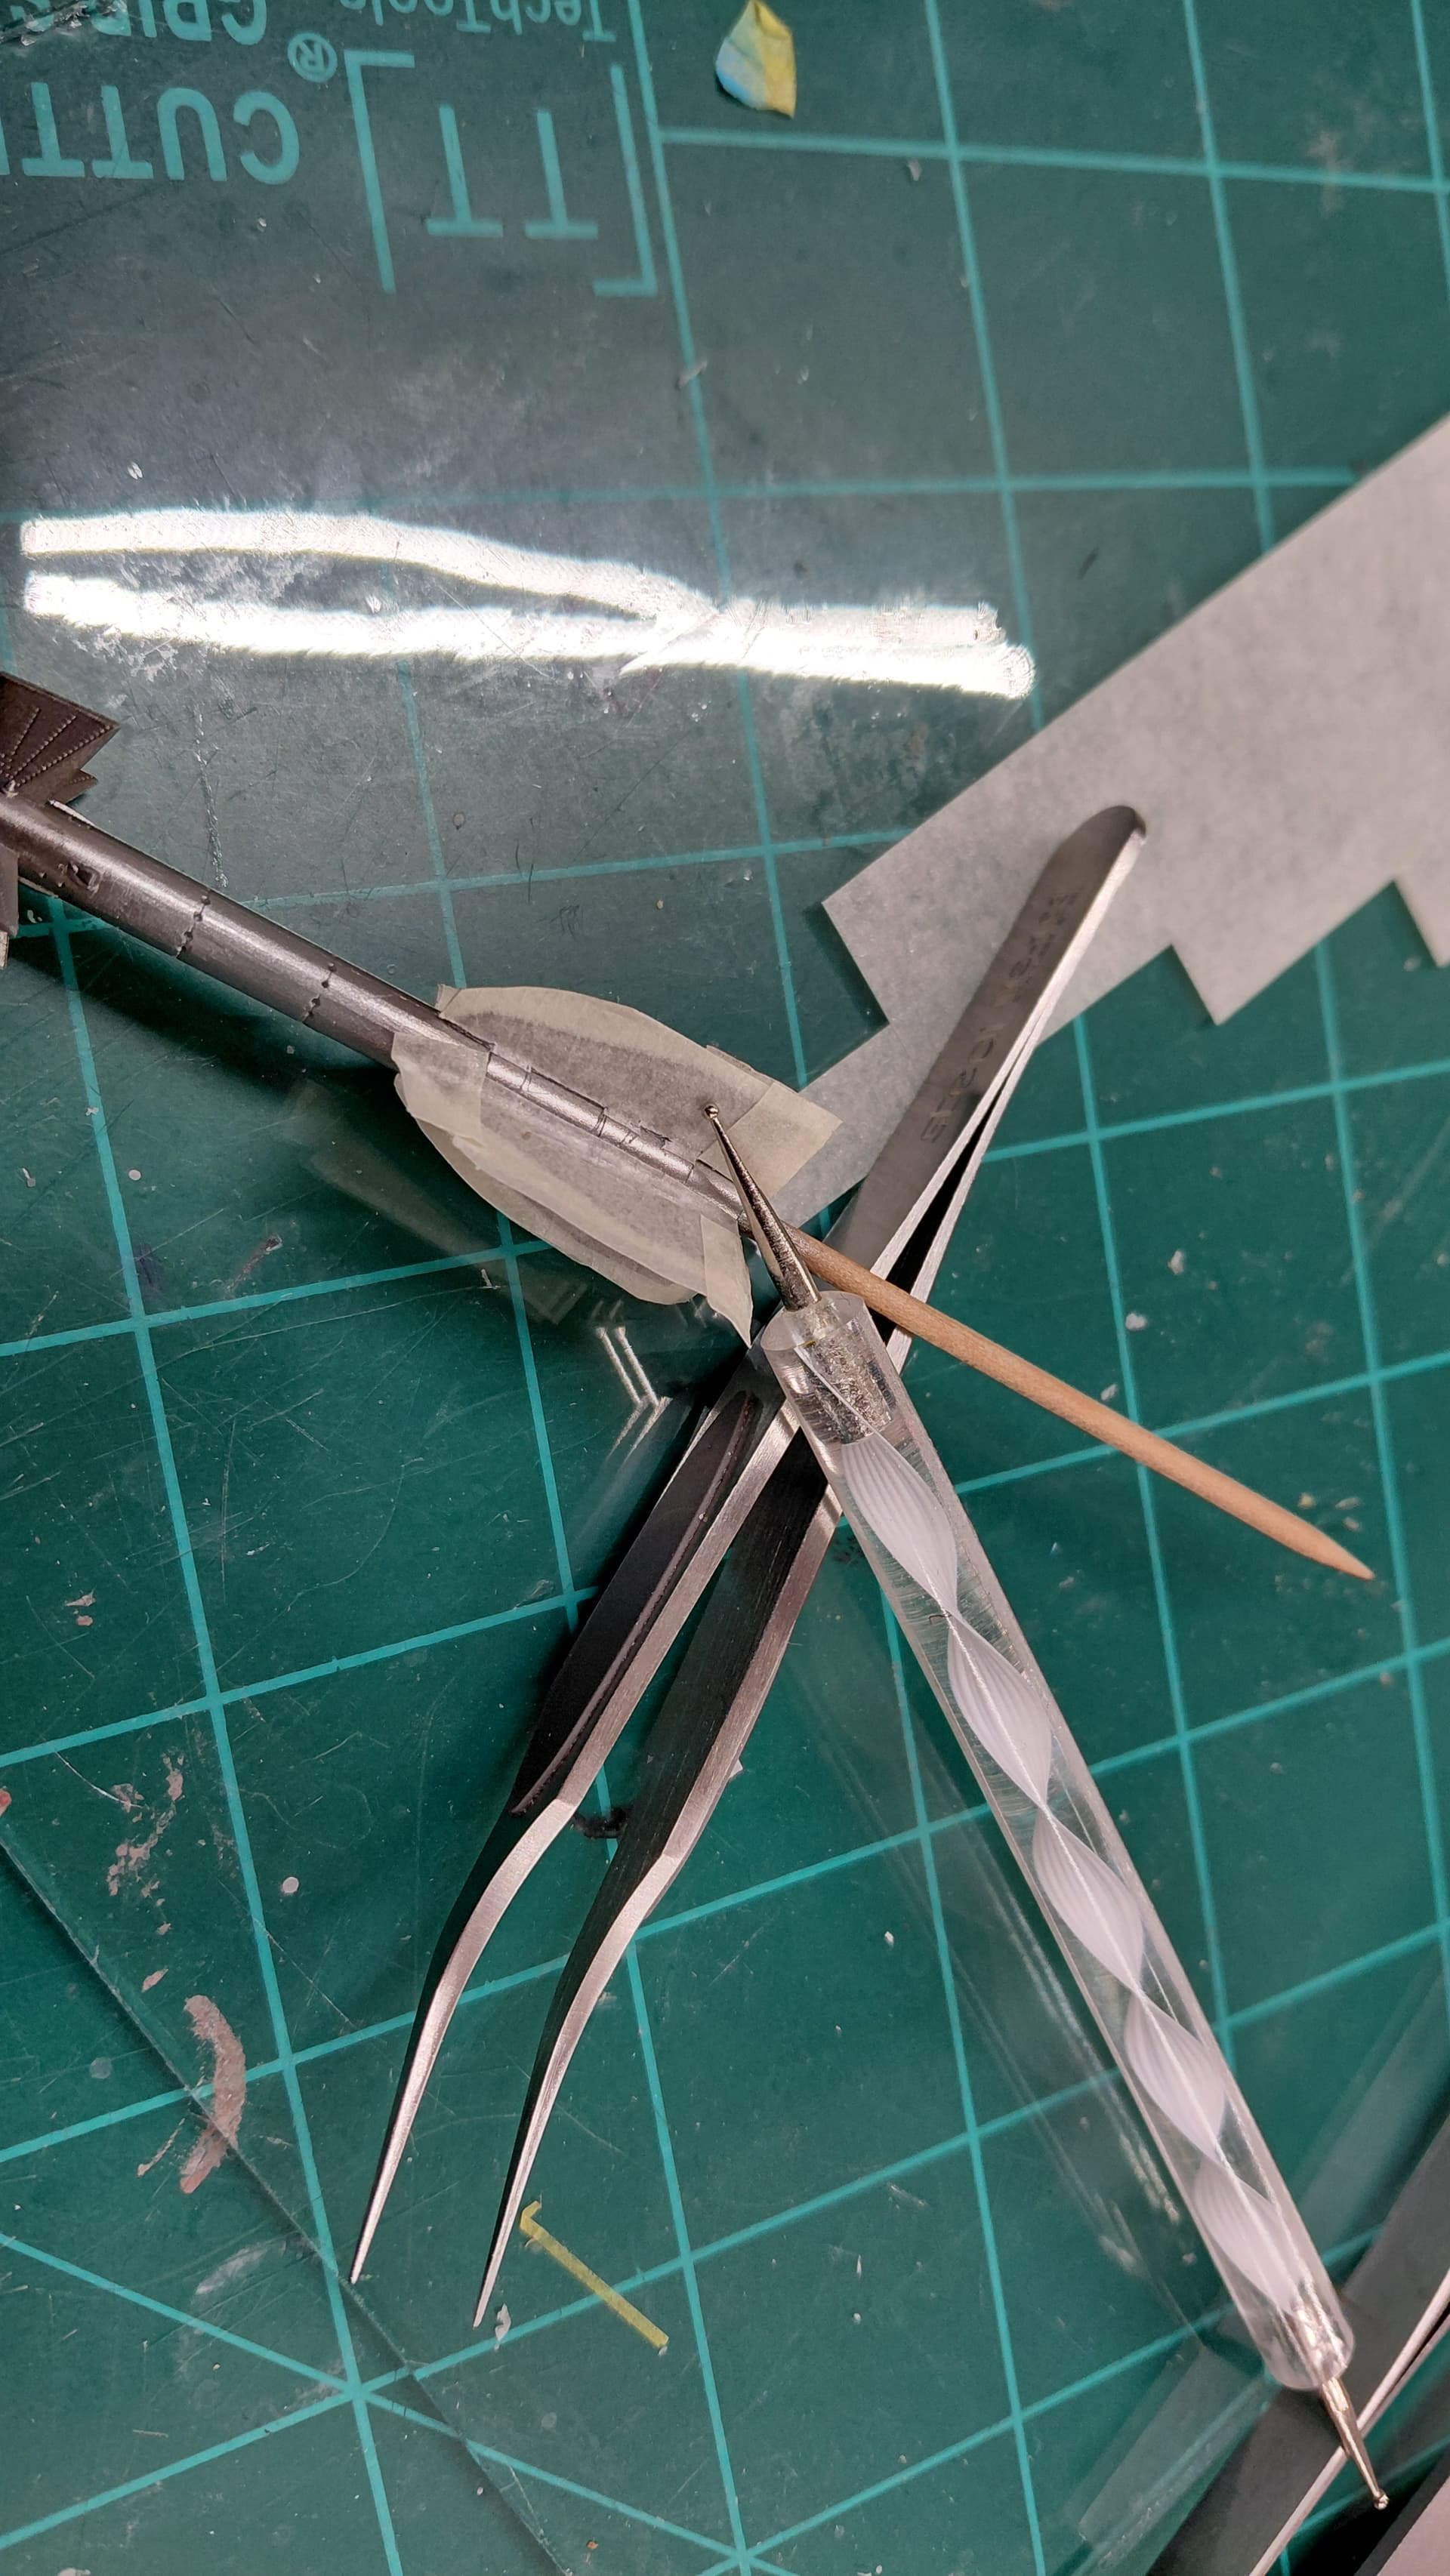
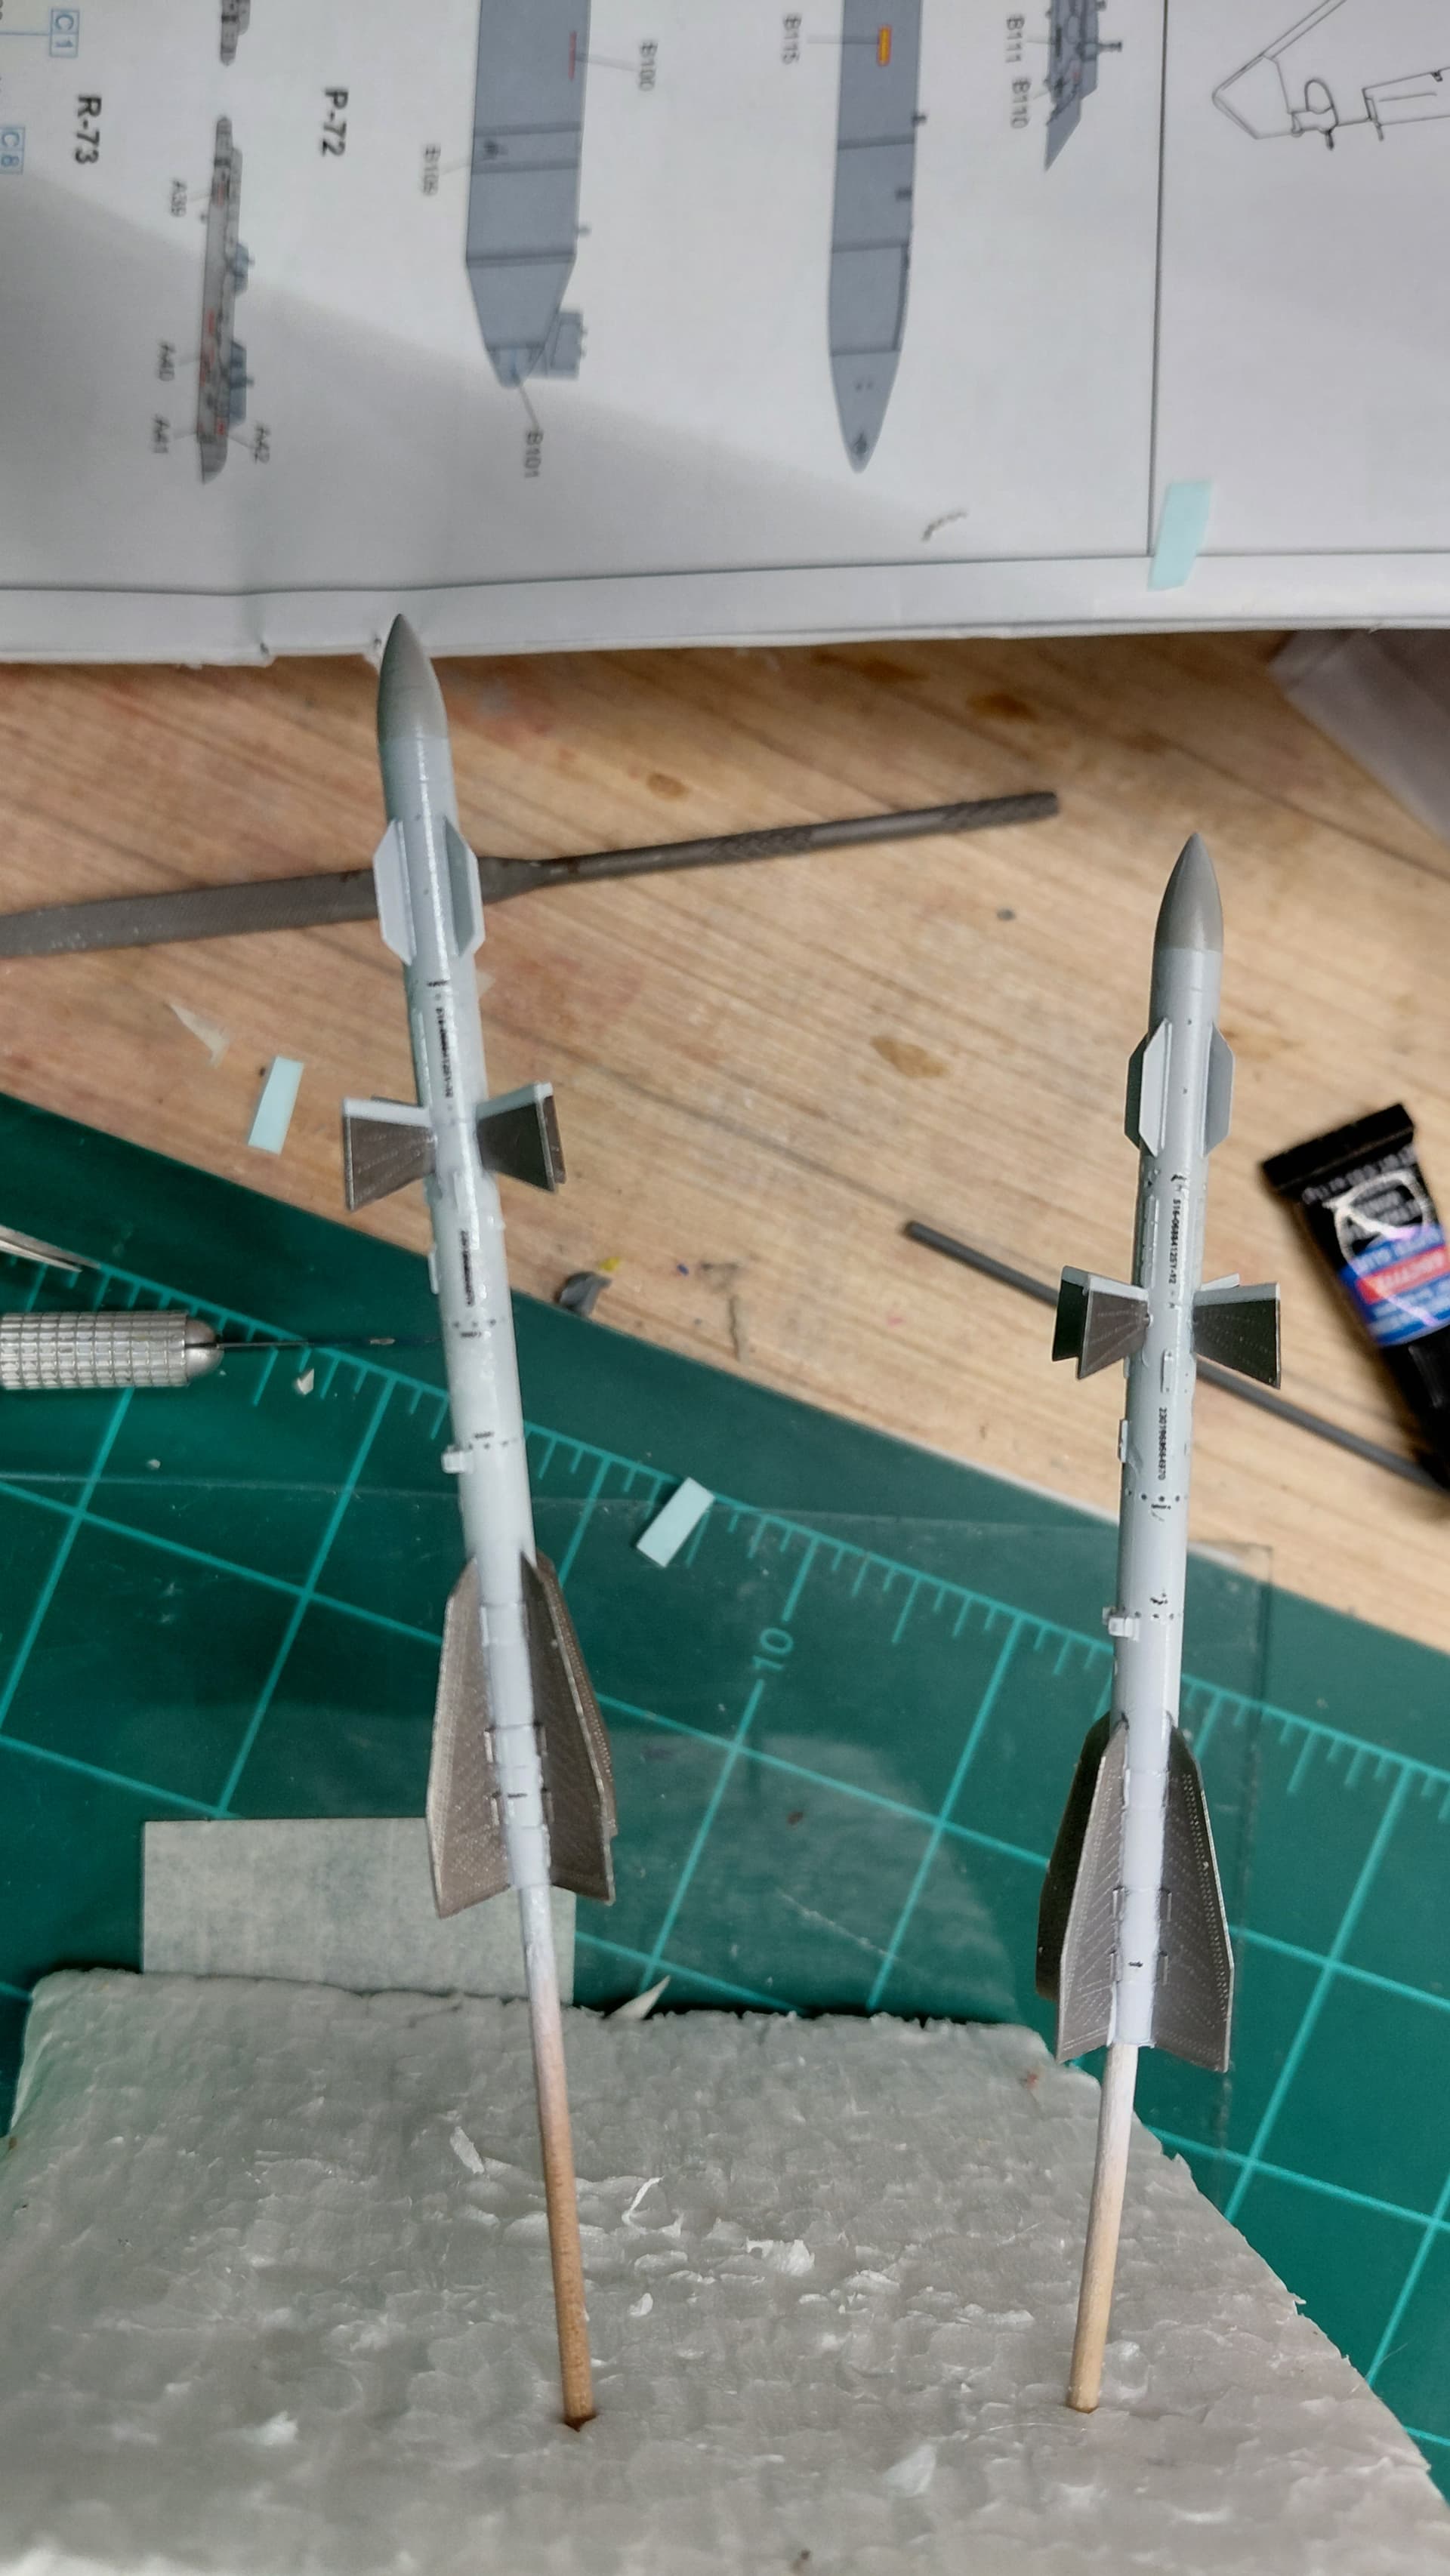
Masked the missiles after painting the fins MRP exhaust metal.
I did the tape test using regular masking tape, none of the paint pulled off (yay !).
I uses a burnishing tool to work the tape into the corners making it much easier to cut the tape at the base of the fins
.
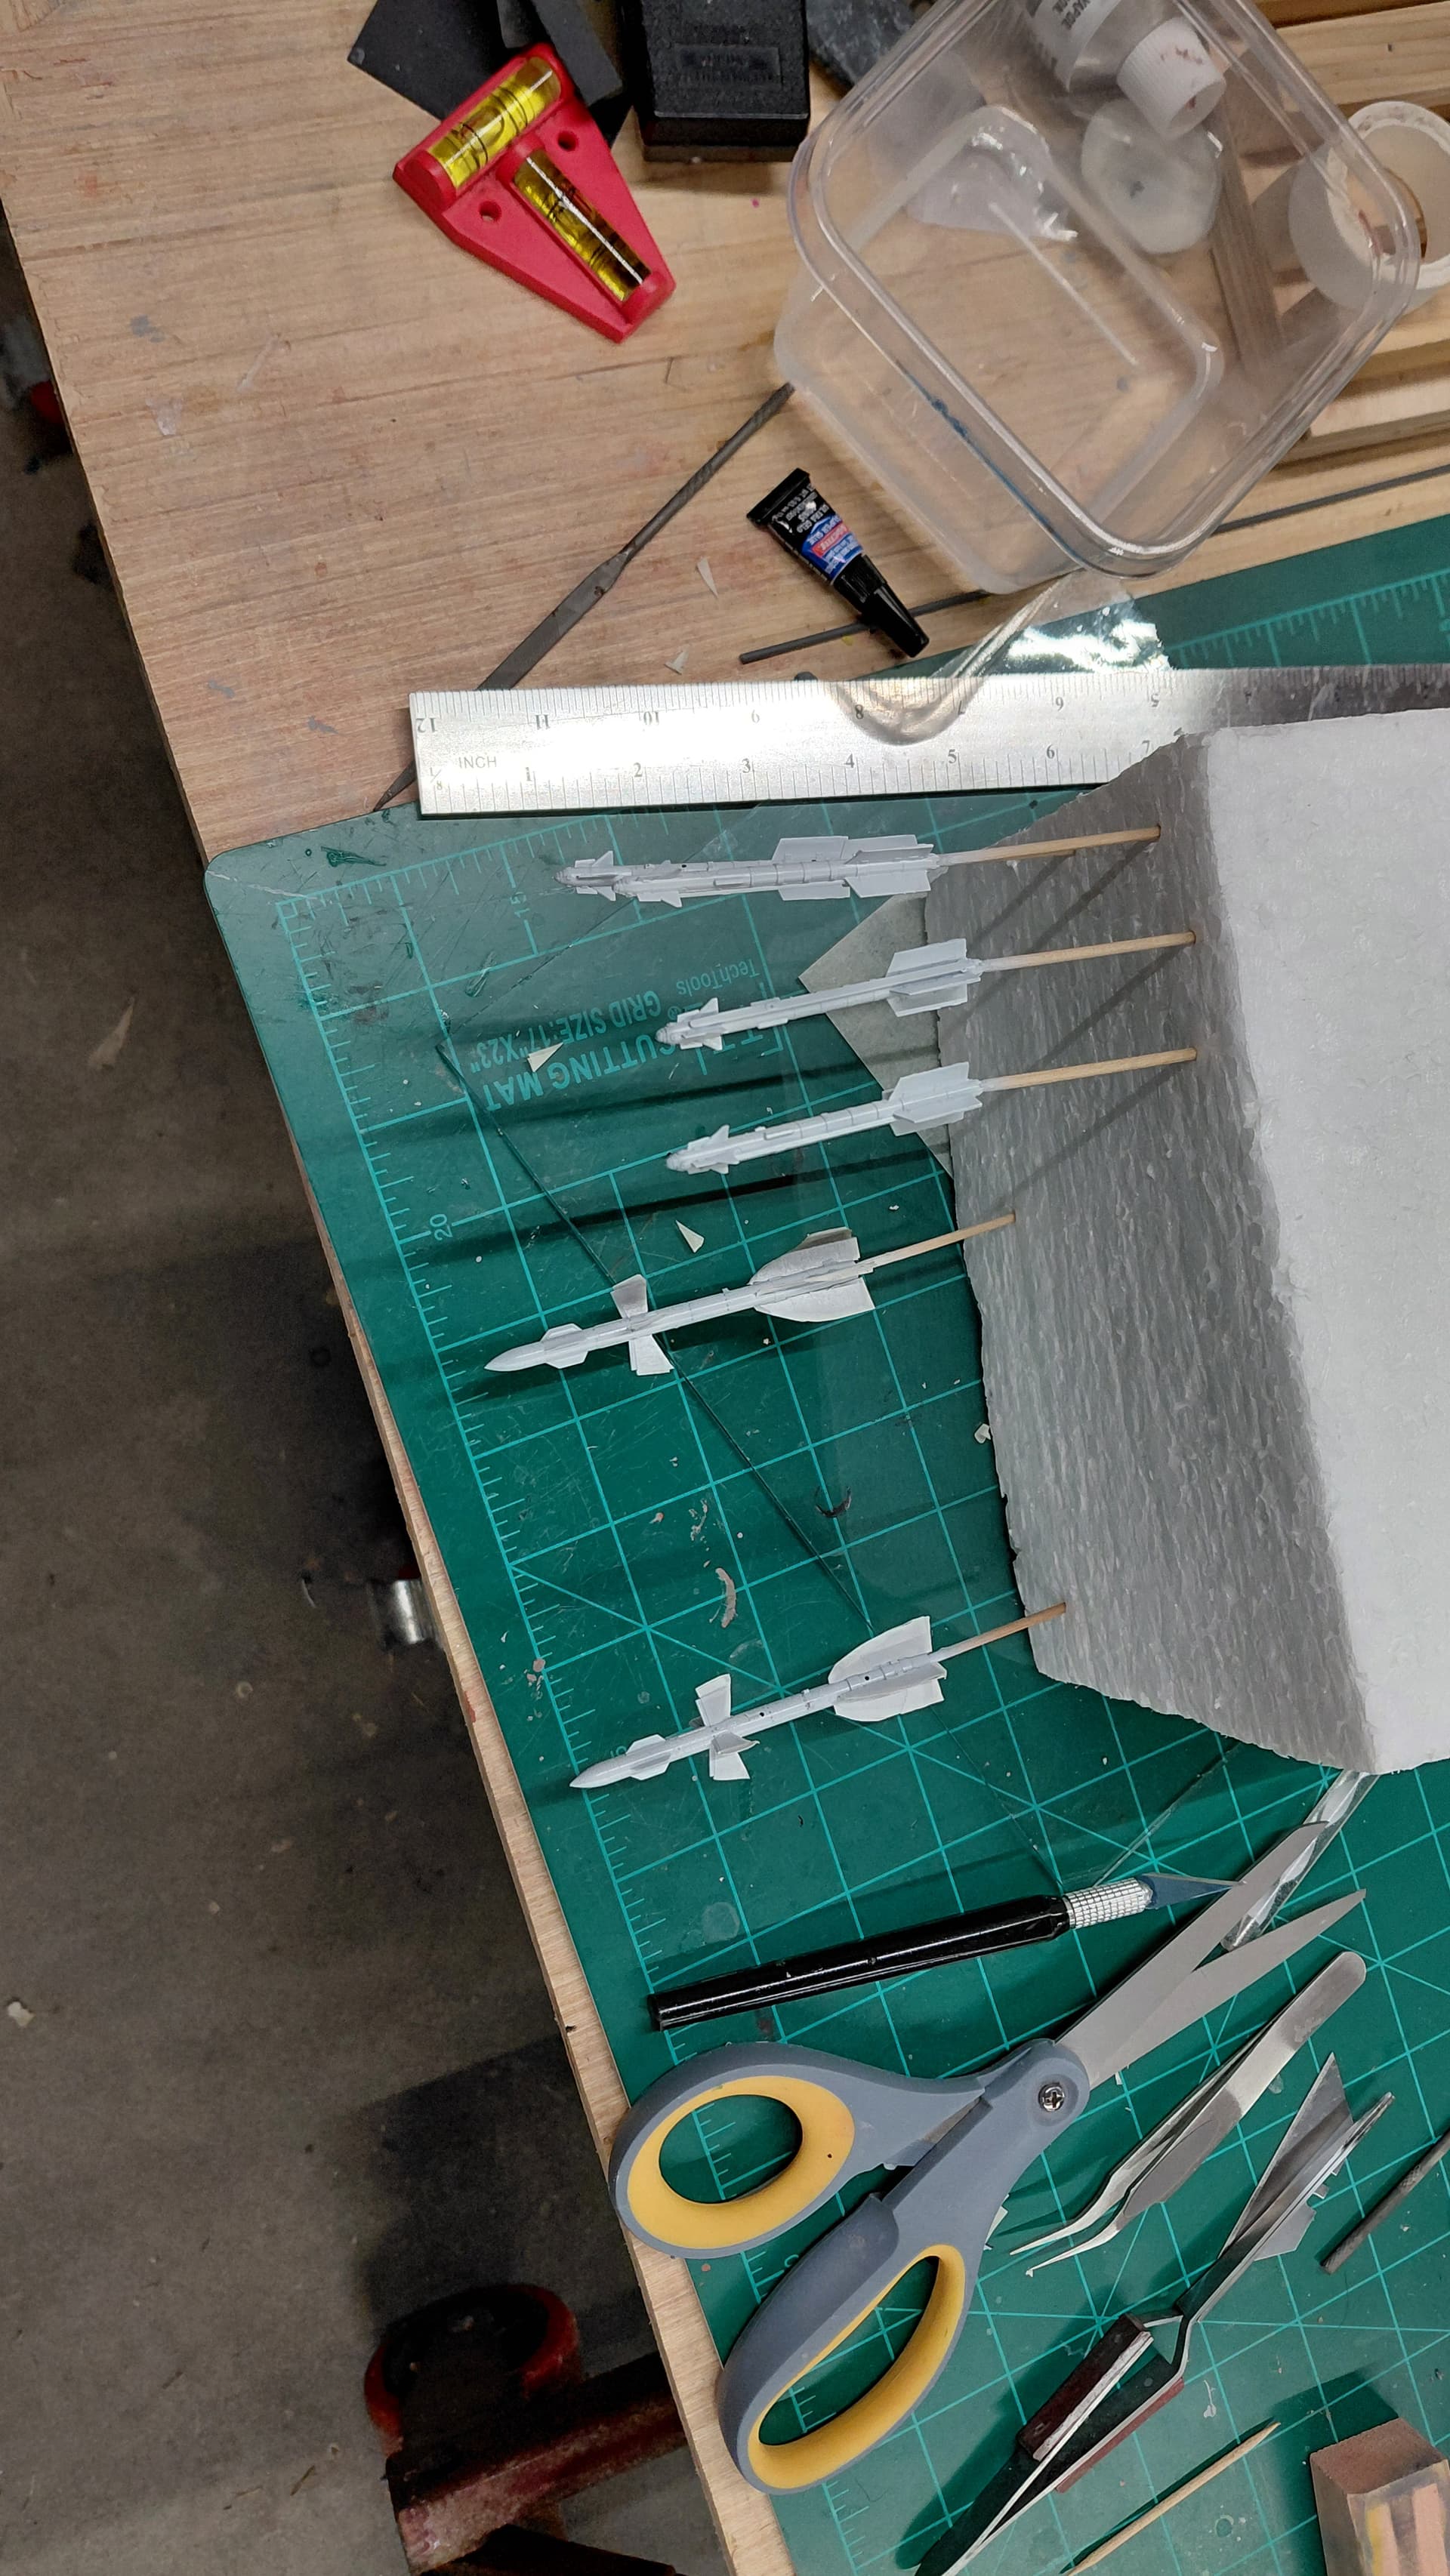
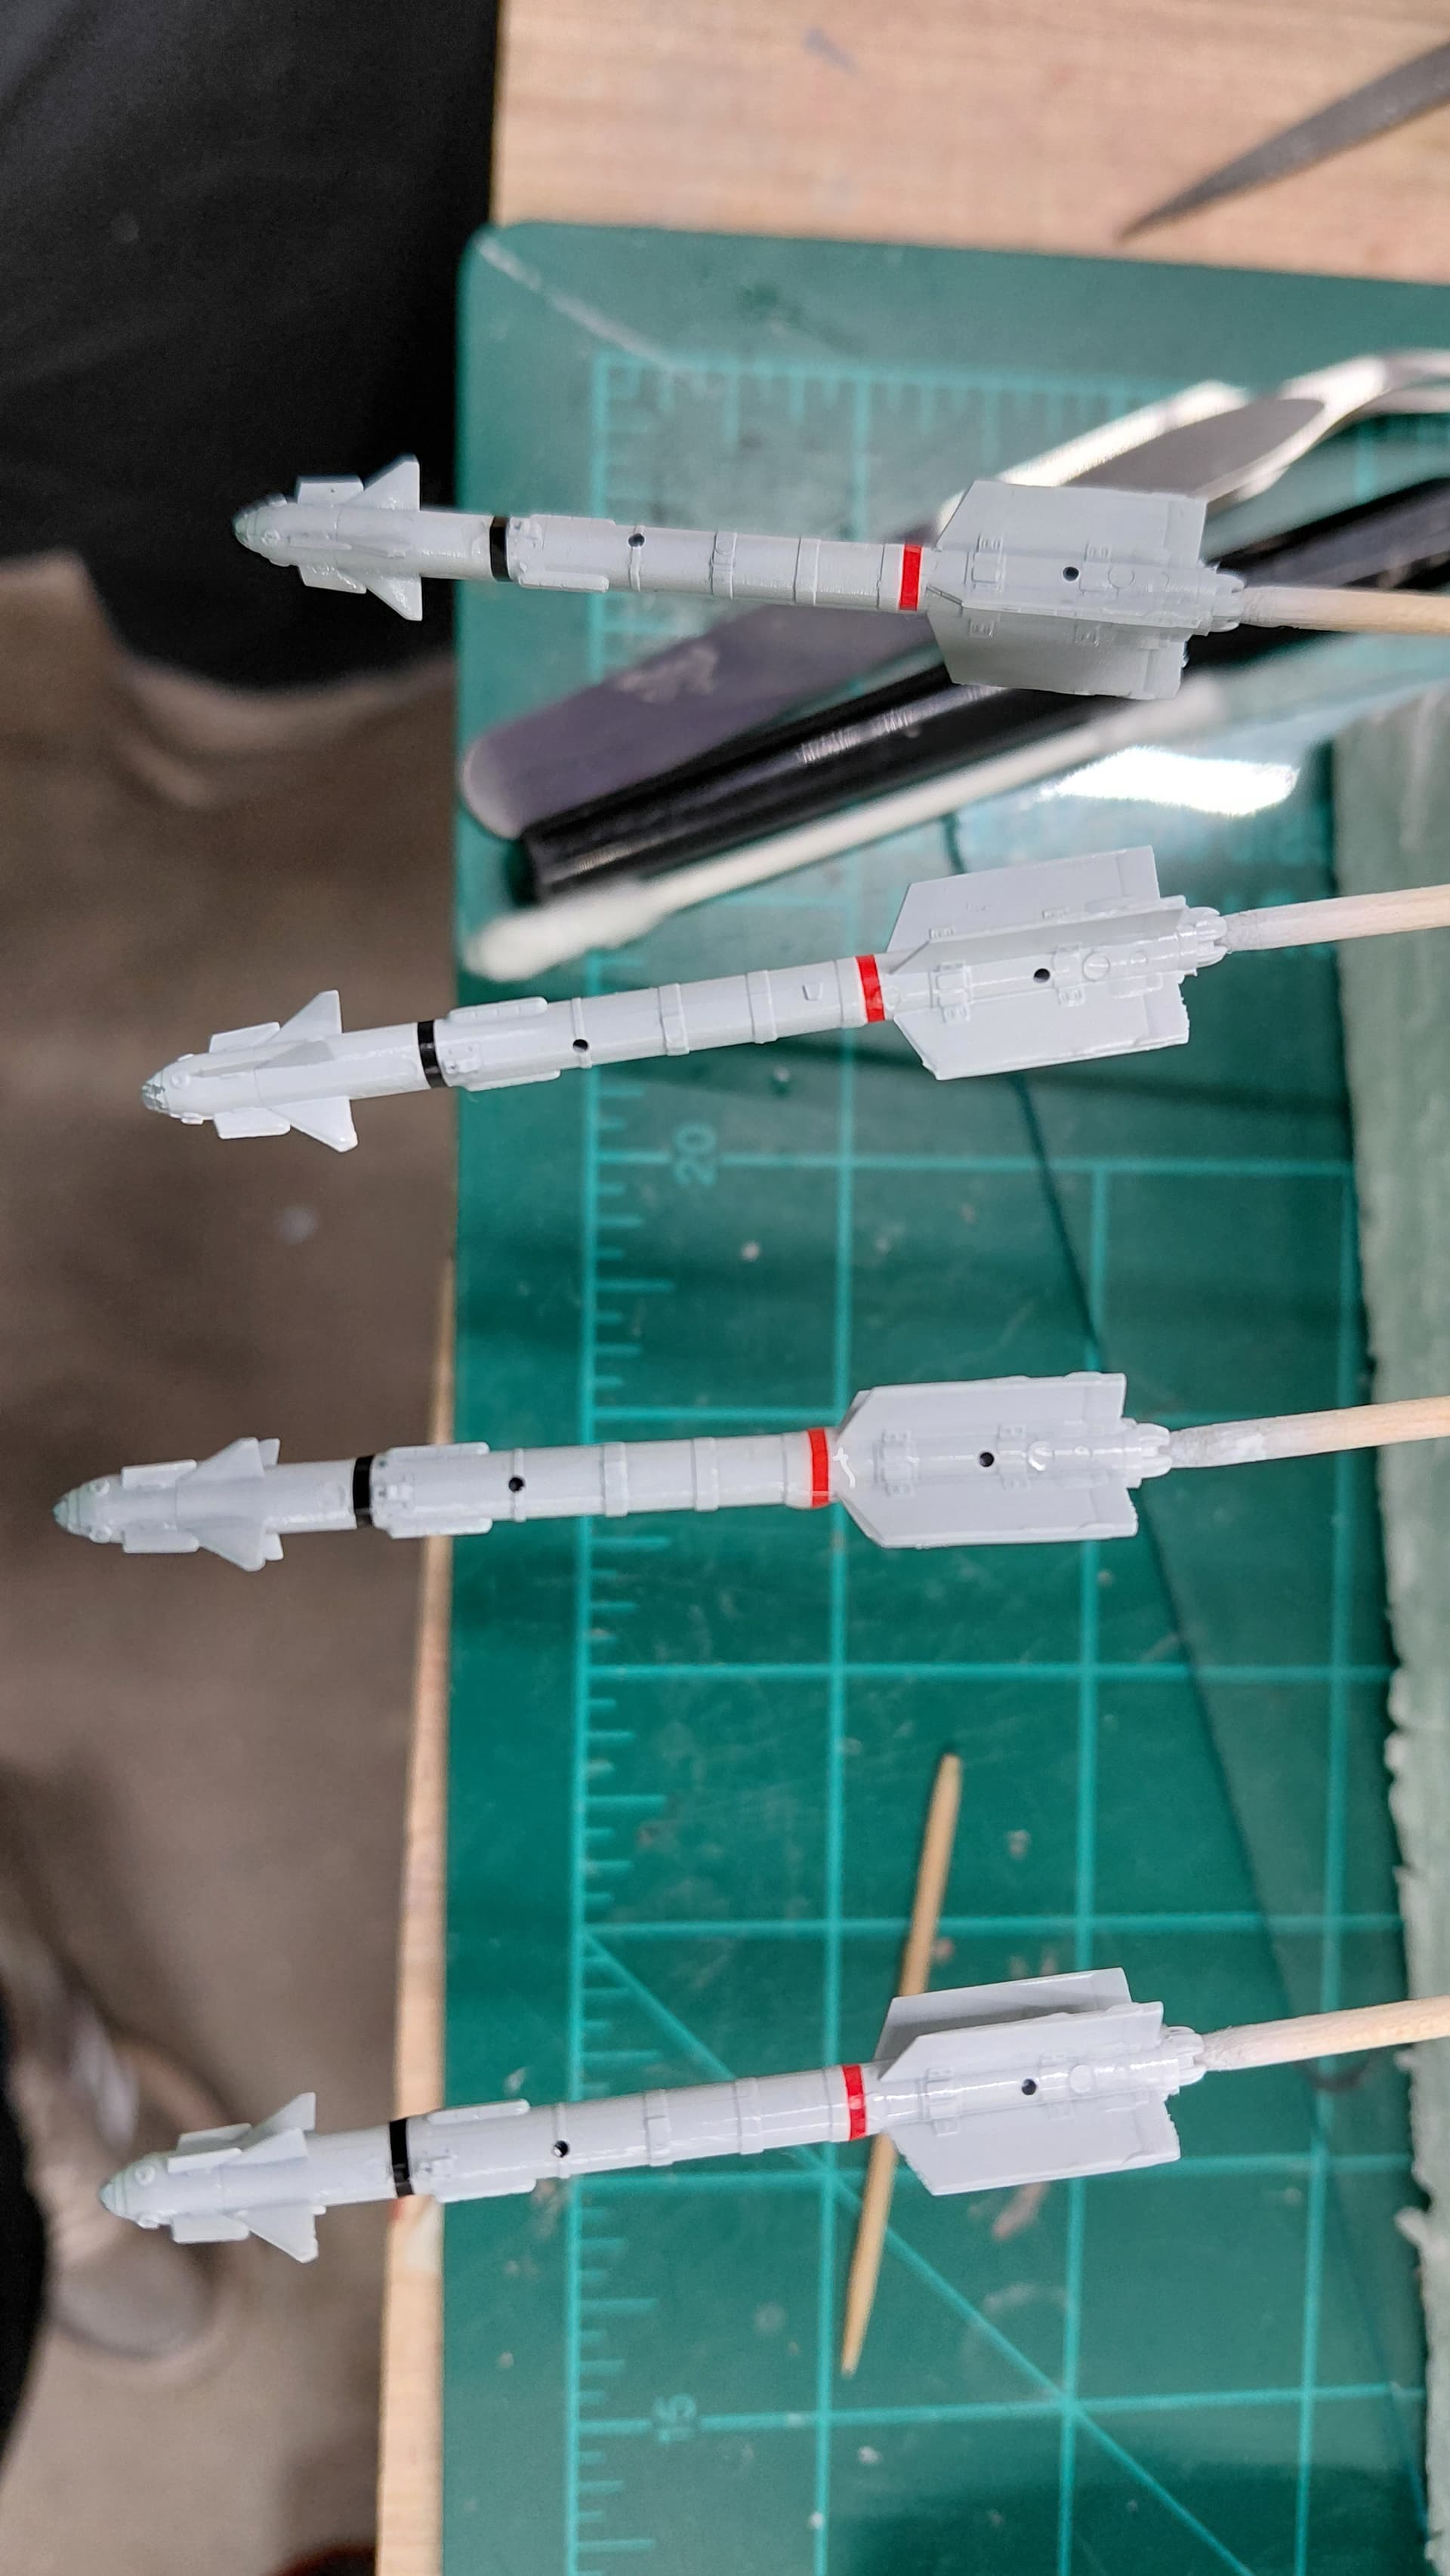
I sprayed the white at 17 psi. and it covered the silver base paint perfectly.
I will be adding all the kit decals on the missiles which surprisingly is a LOT.
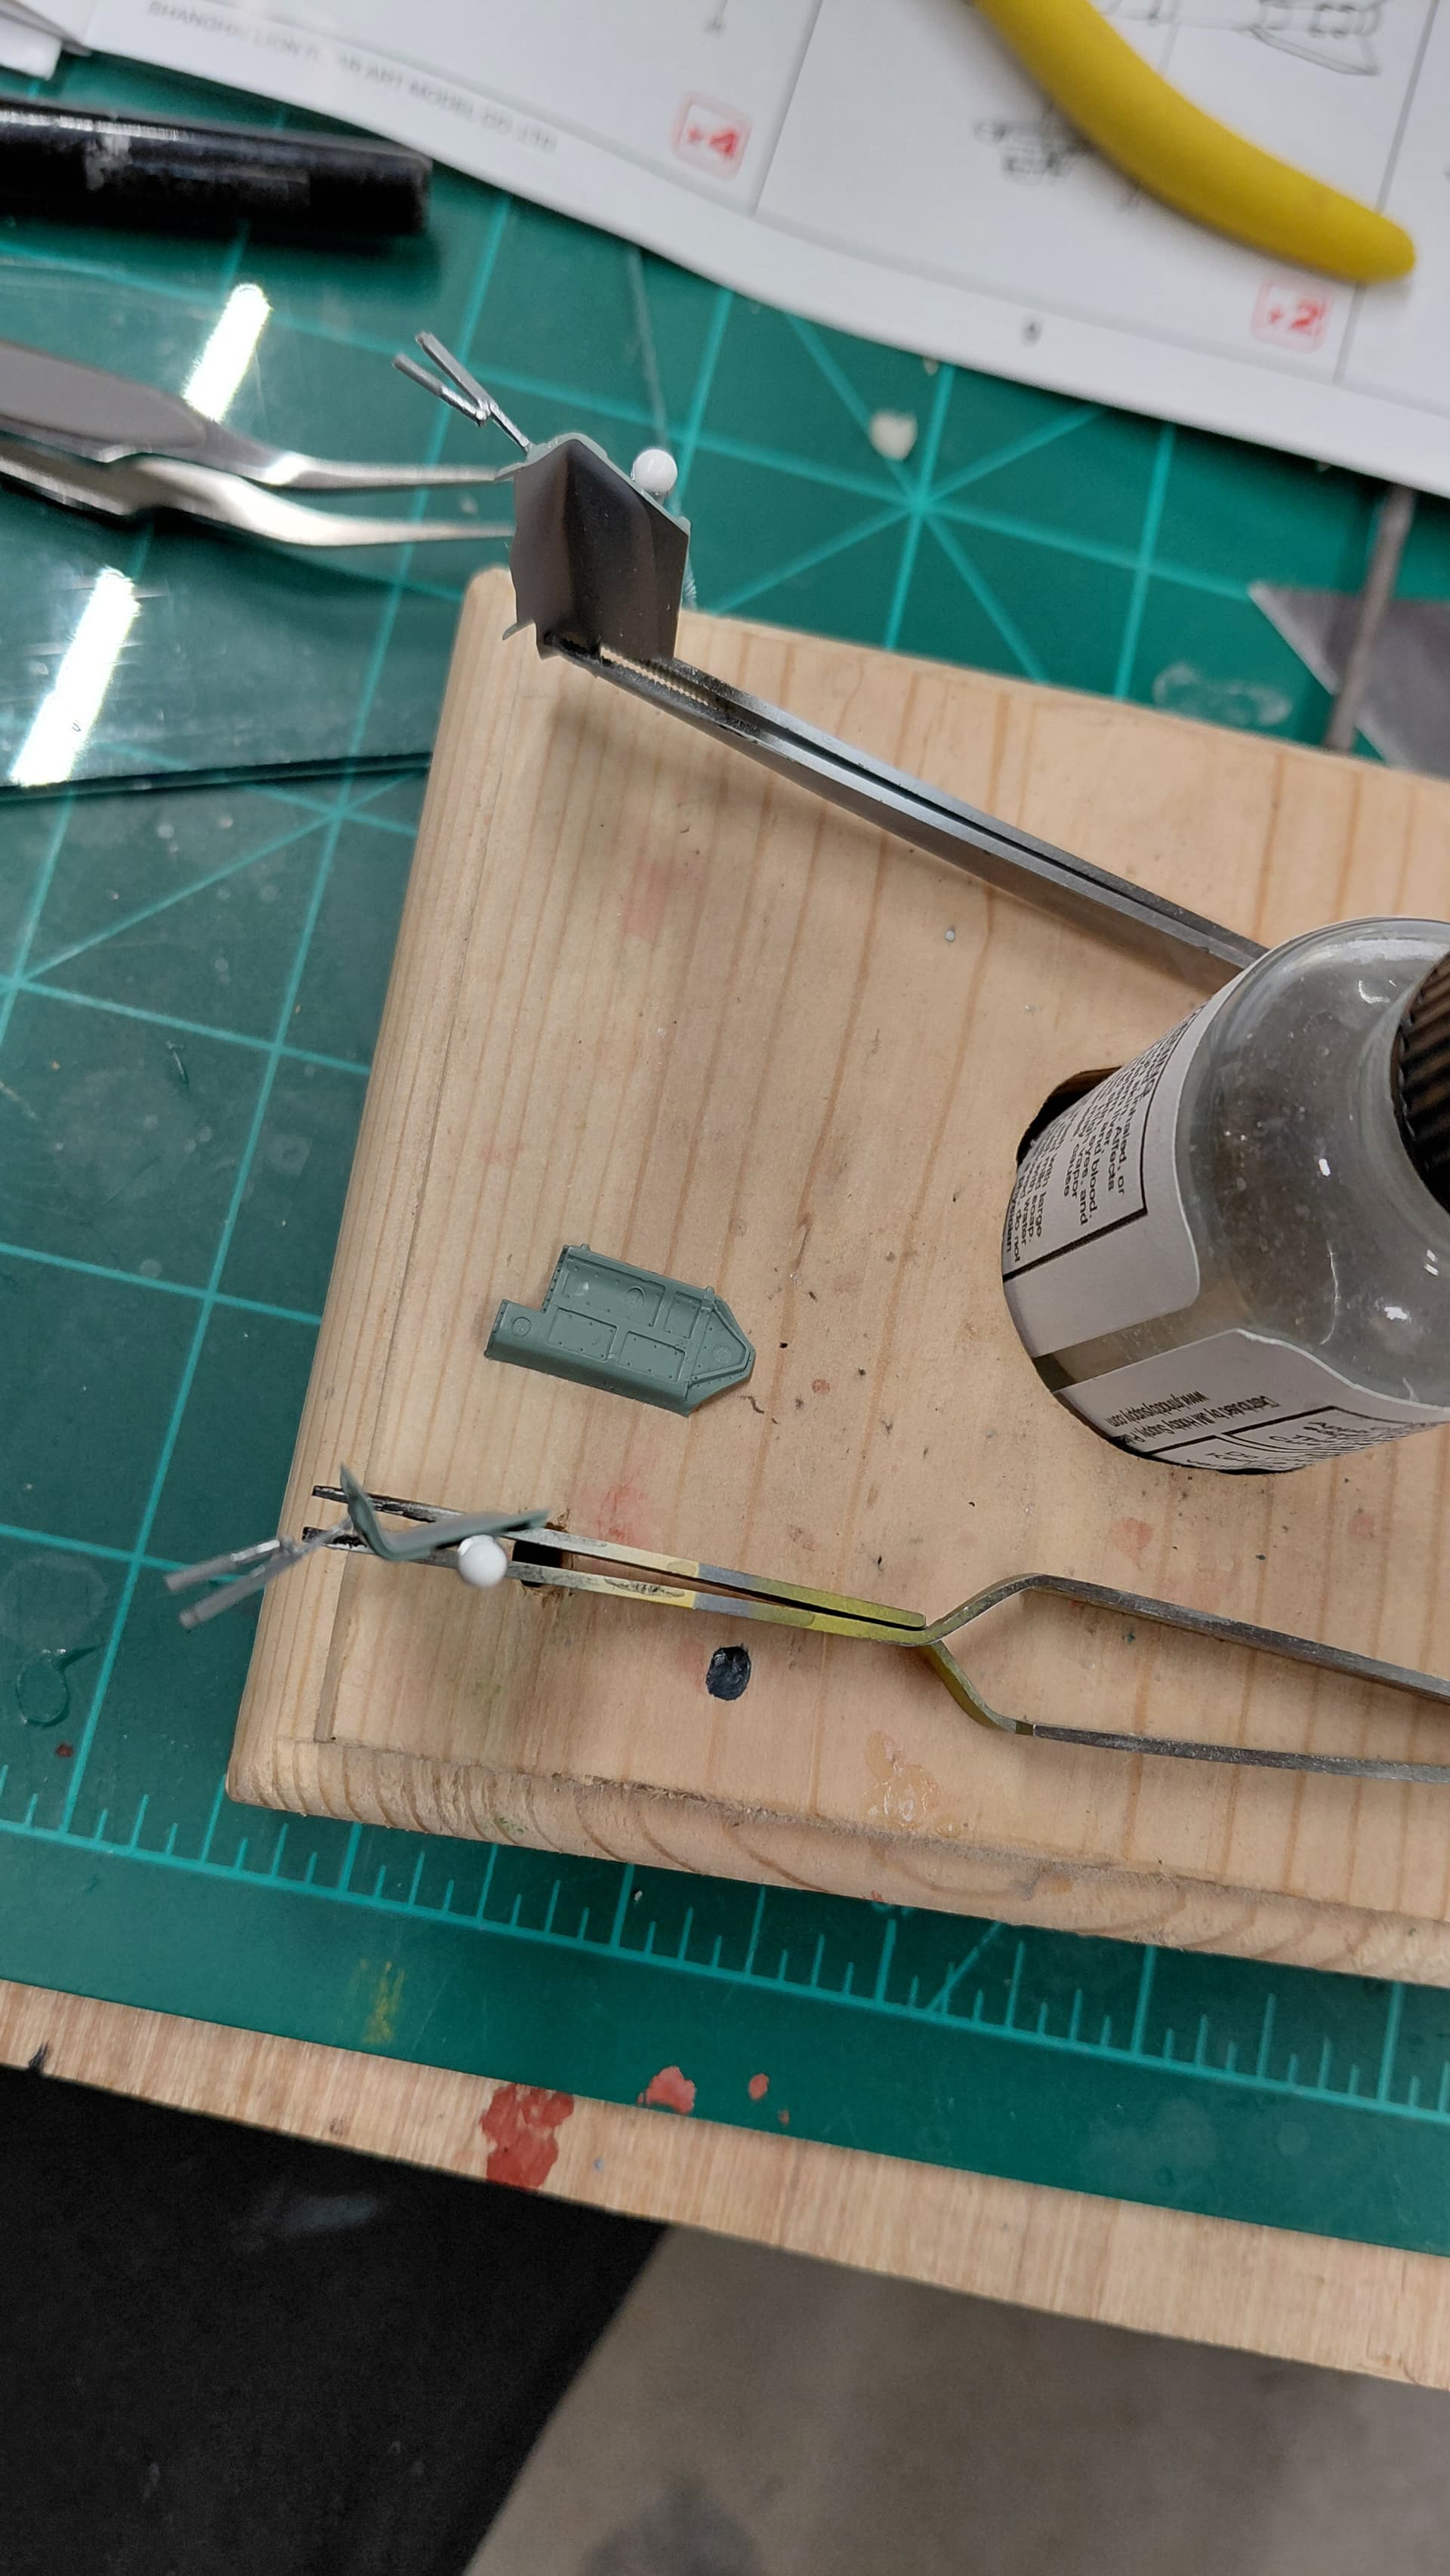
I have to make mention of…yep…Tweezers.
I have pinged many small parts out of the thin seemingly spring loaded parts small parts flingers and had to create replacement parts on many occasions.
Take a close look at the thick beefy tweezers in some of these photos, they even come with adhesive backed rubber grips.
Since I started using the three types I have tossed my old parts flingers. The nomally closed tweezers will still be in use, mainly because I use them as parts holders.
I have a horrible memory to be sure and all I can remember is I searched on Amazon for quite a while for them and I don’t have a company name.
I mainly wanted people to know about the great reduction of frustration and time consuming tiny parts fabrication that good tweezers help with.
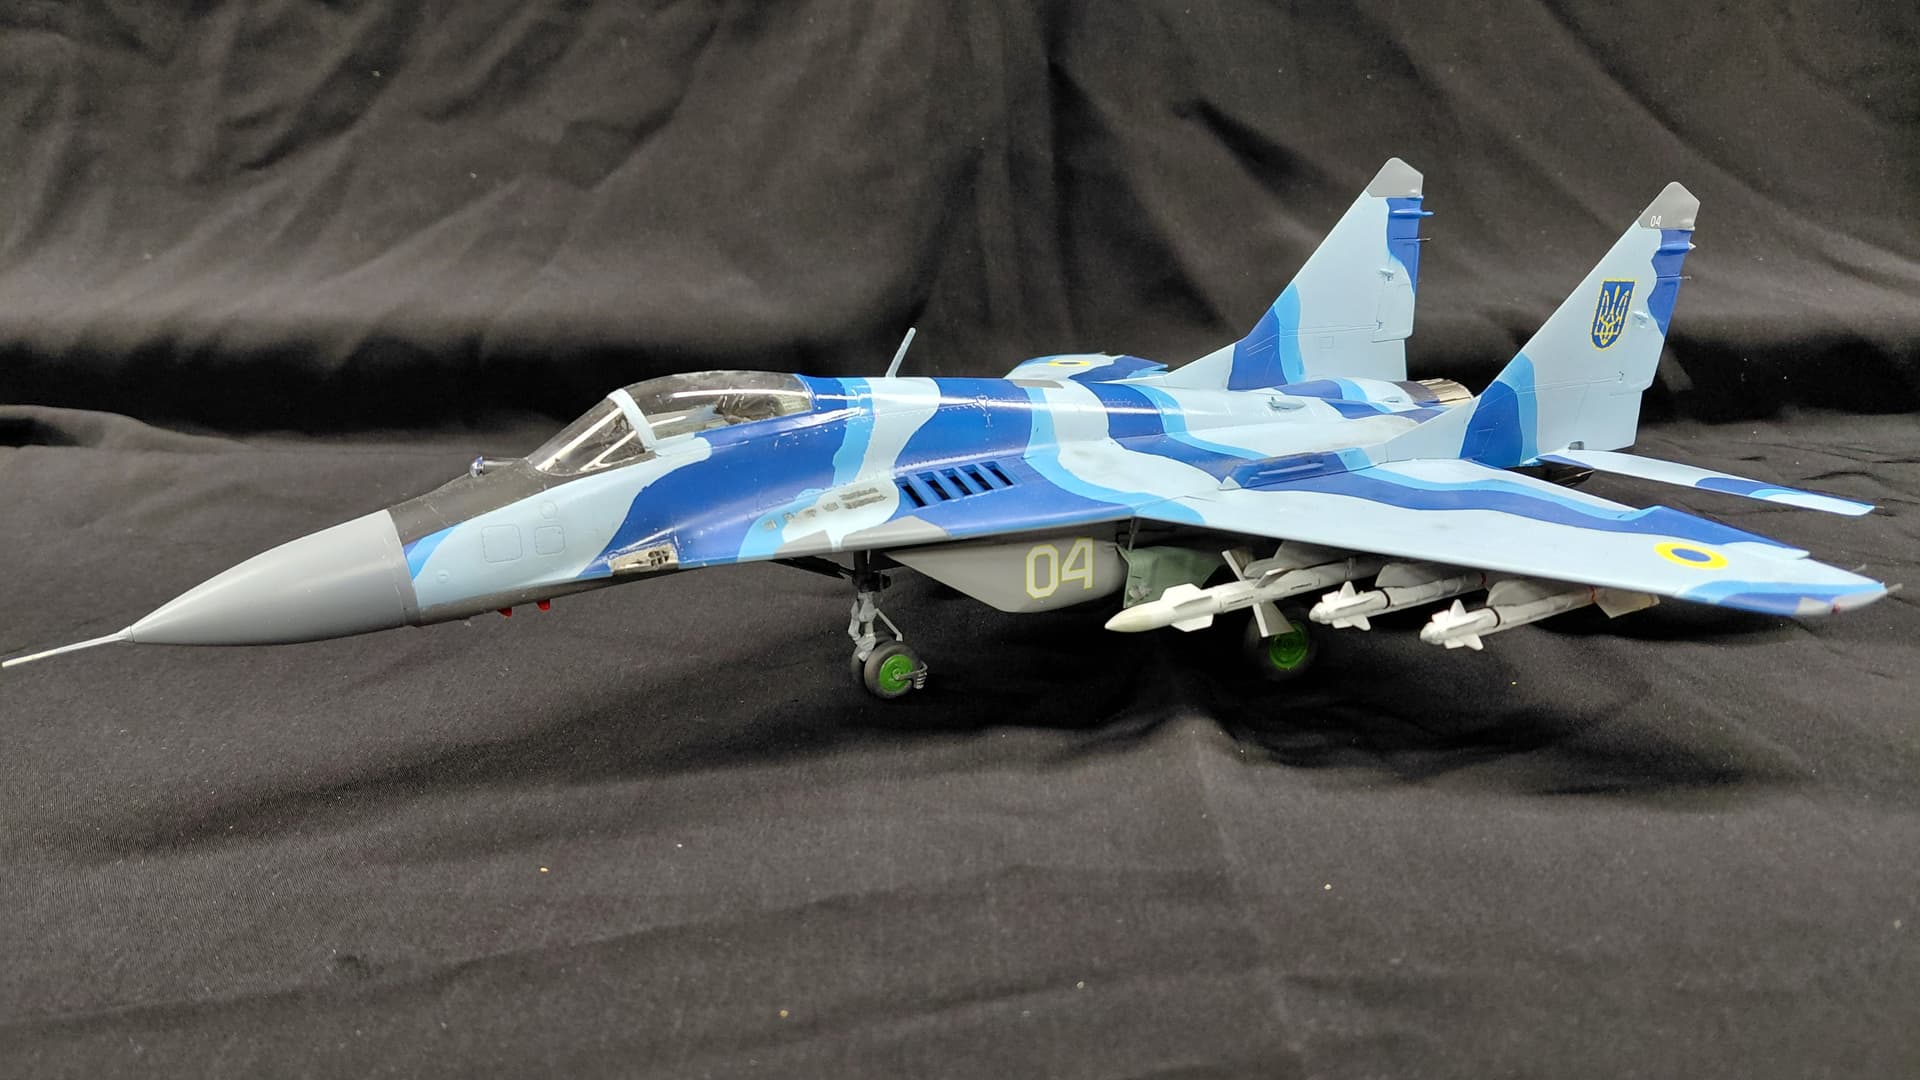
Air to air missiles are glossed for decals.
There are small details I’ll need to brush paint, but that will be accomplished after the decals are applied.
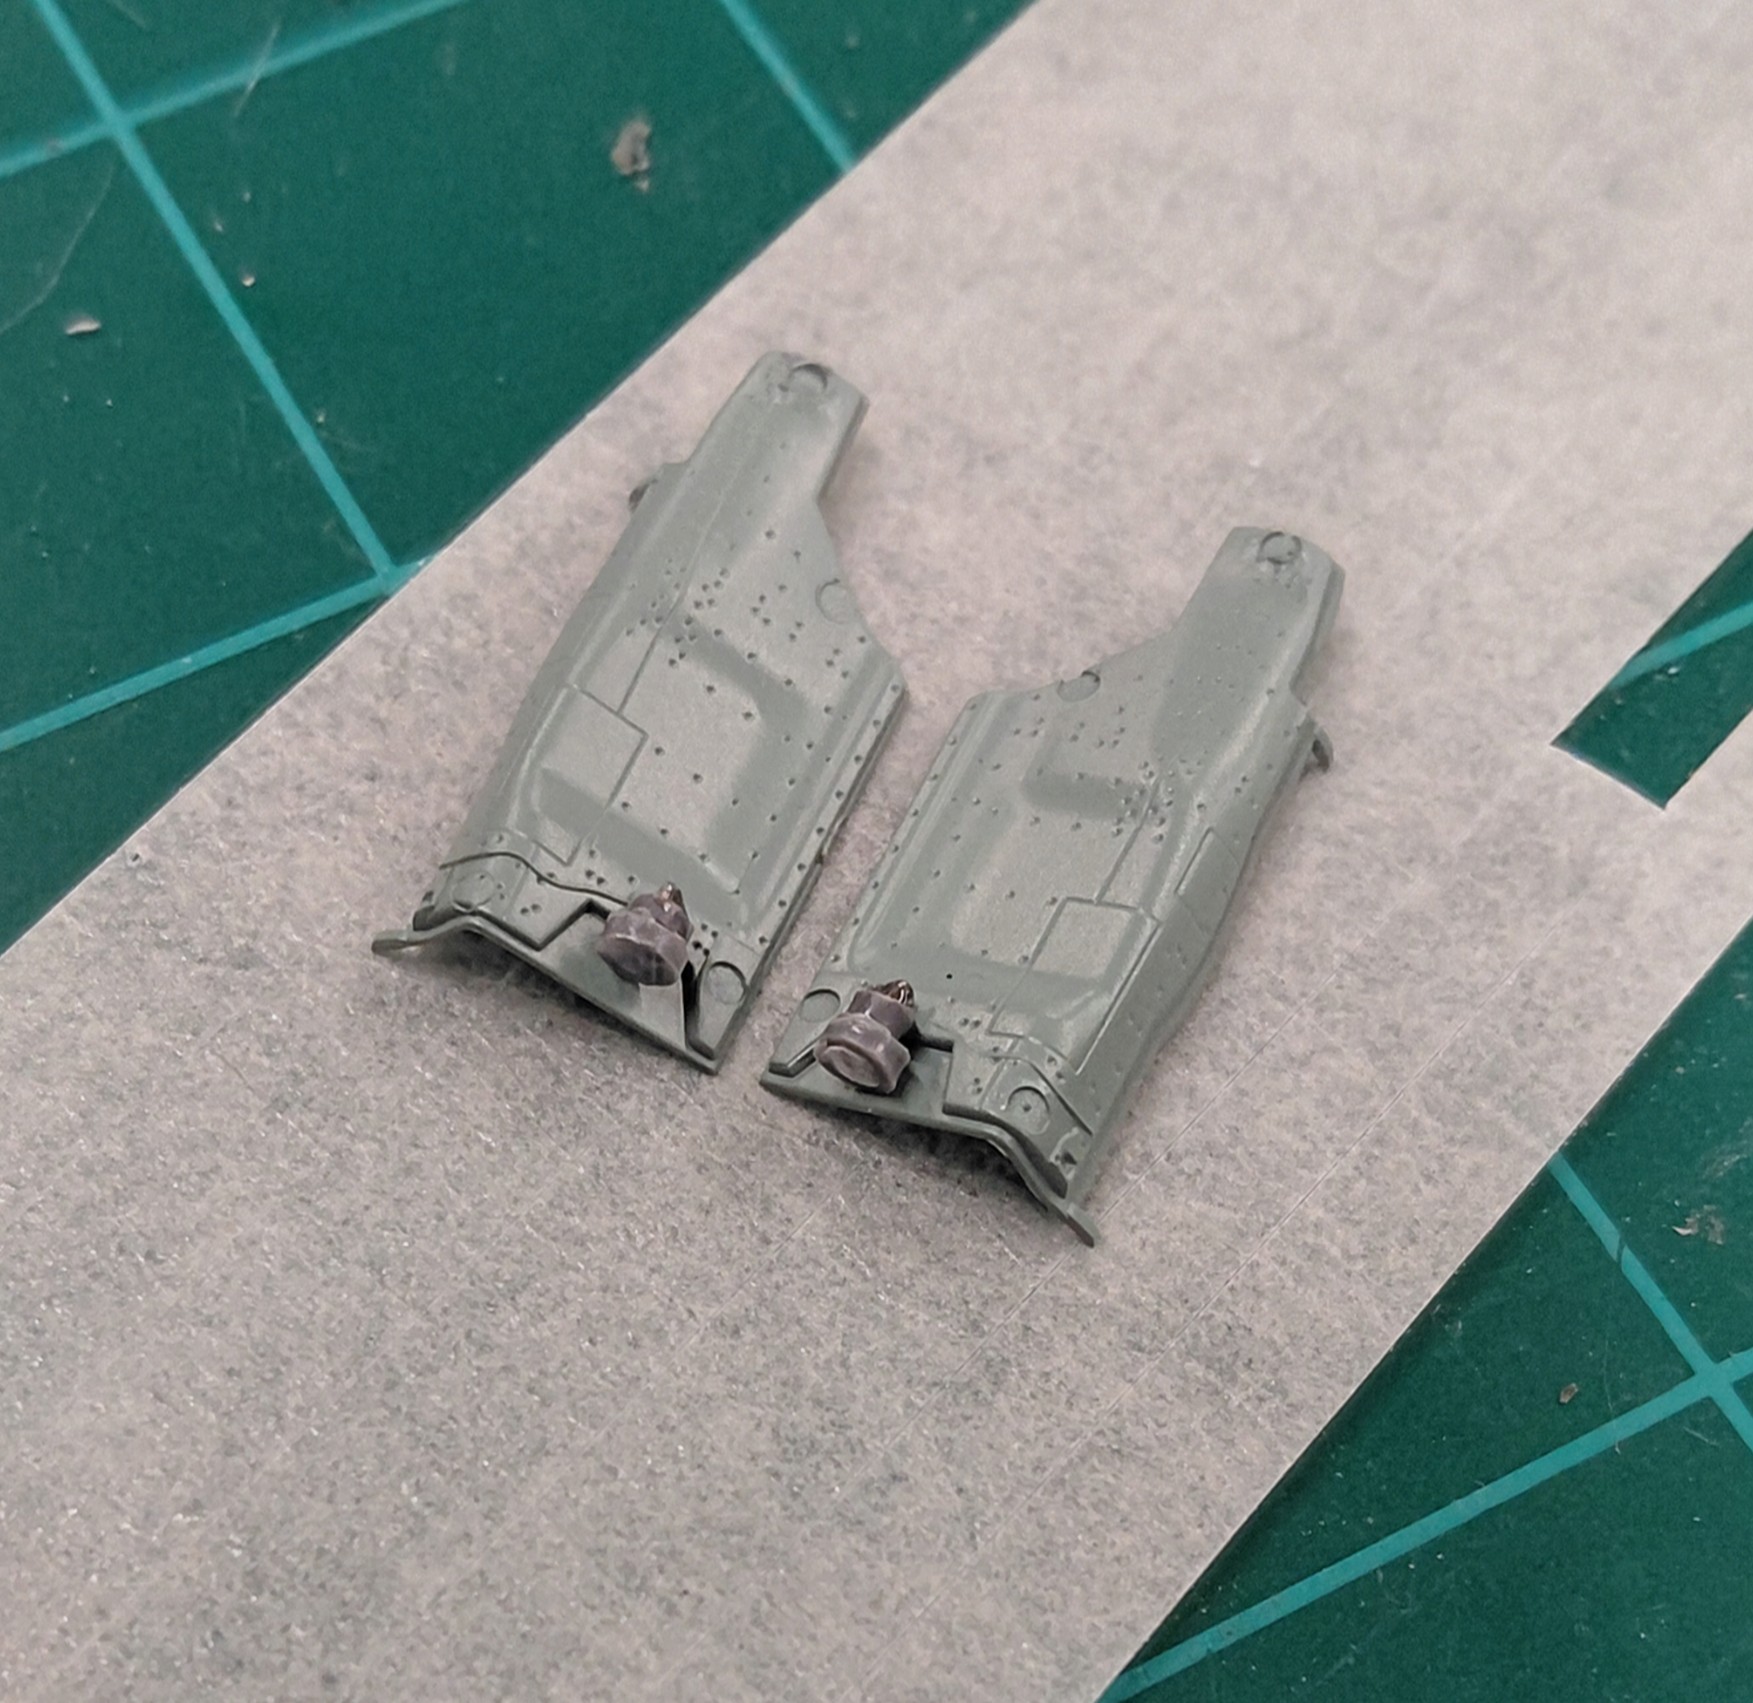
Missiles are ready to install but, I have to install the gear doors first … however, I dropped both landing lights and because they are attached to the main gear doors I fabricated them.
The lights only bounced once and then vanished into the nether…wasn’t the tweezers either, I dropped them both from my fingers.
The gear door actuators had to be superglued to the doors first and positioned in place without glueing them to the aircraft so they could be painted before final assembly.
The Micro Krystal klear was added to the landing lights for lenses.
The actuator rods were painted with silver enamel first.
The mid main gear door actuators were also added and similarly painted.
One part remaining…the IR sensor dome just in front of the cockpit.
One stabilator twisted the locator pin off when I tried to rotate then up into the “parked” position, needed to be drilled, a wire inserted, and superglued in place.
One suprise I got was to discover the locating pins on the wing pylons do NOT match the holes in the underside of the wings for the radar guided missiles.
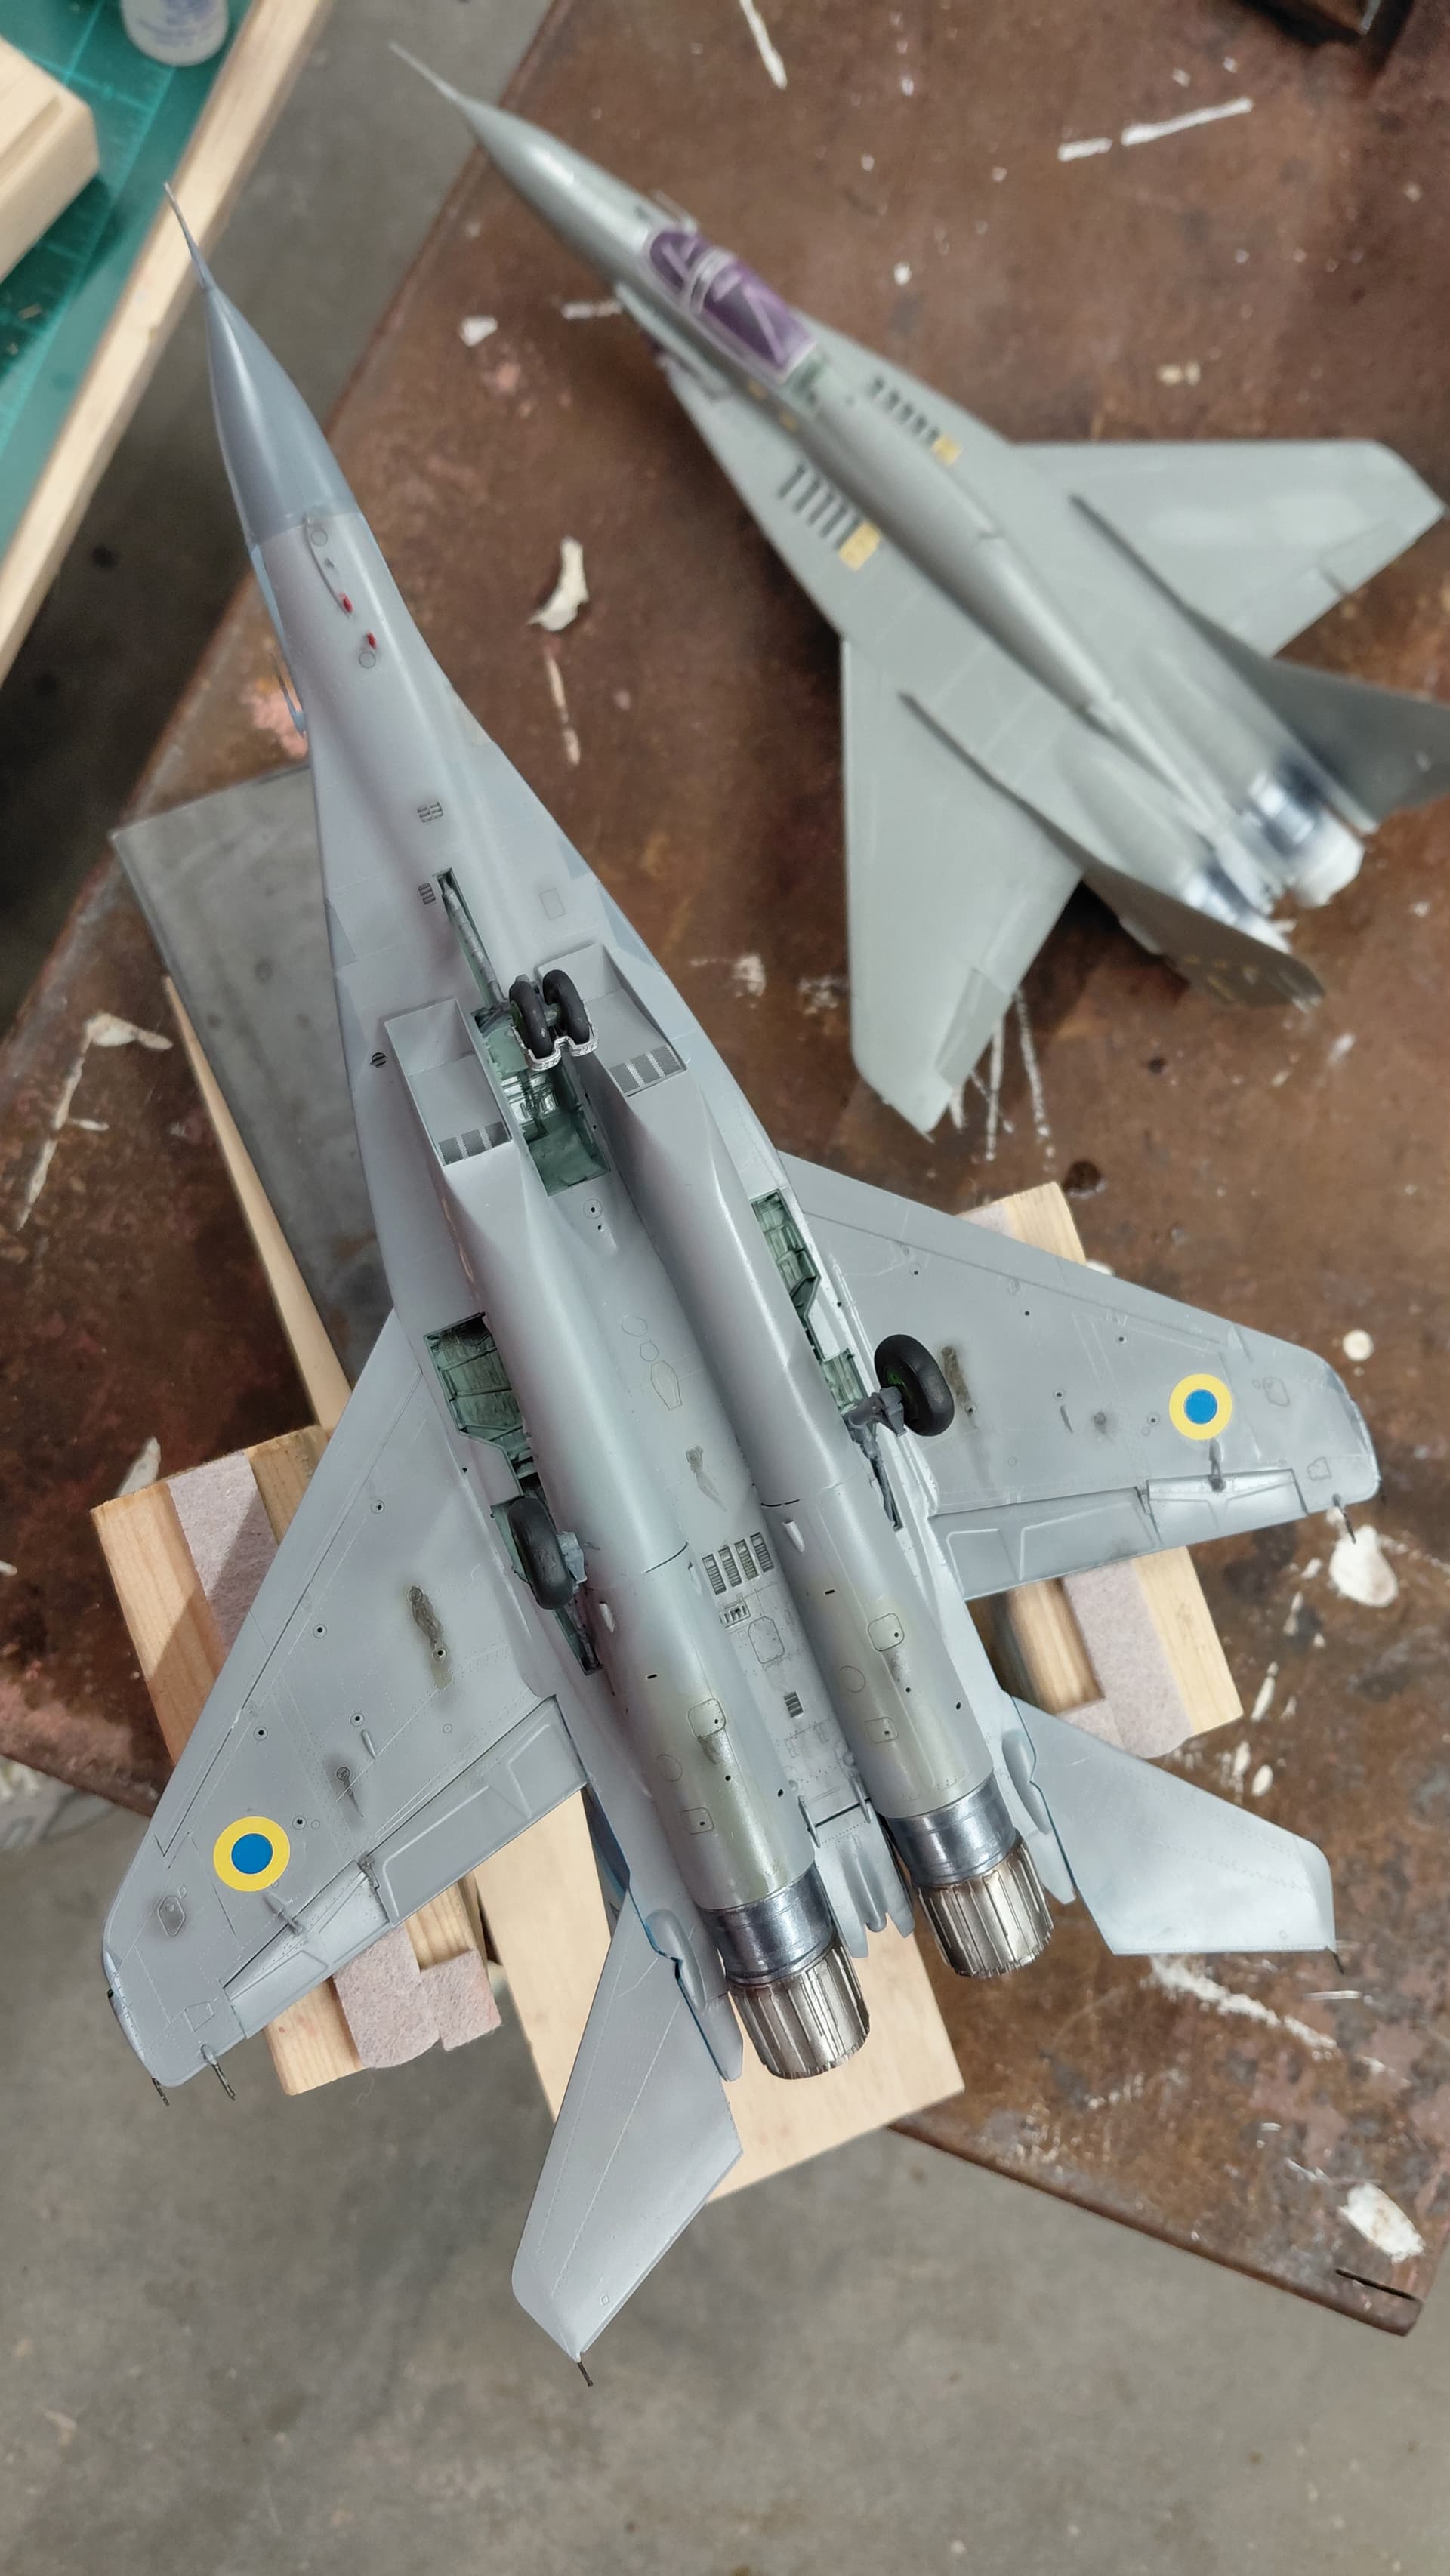
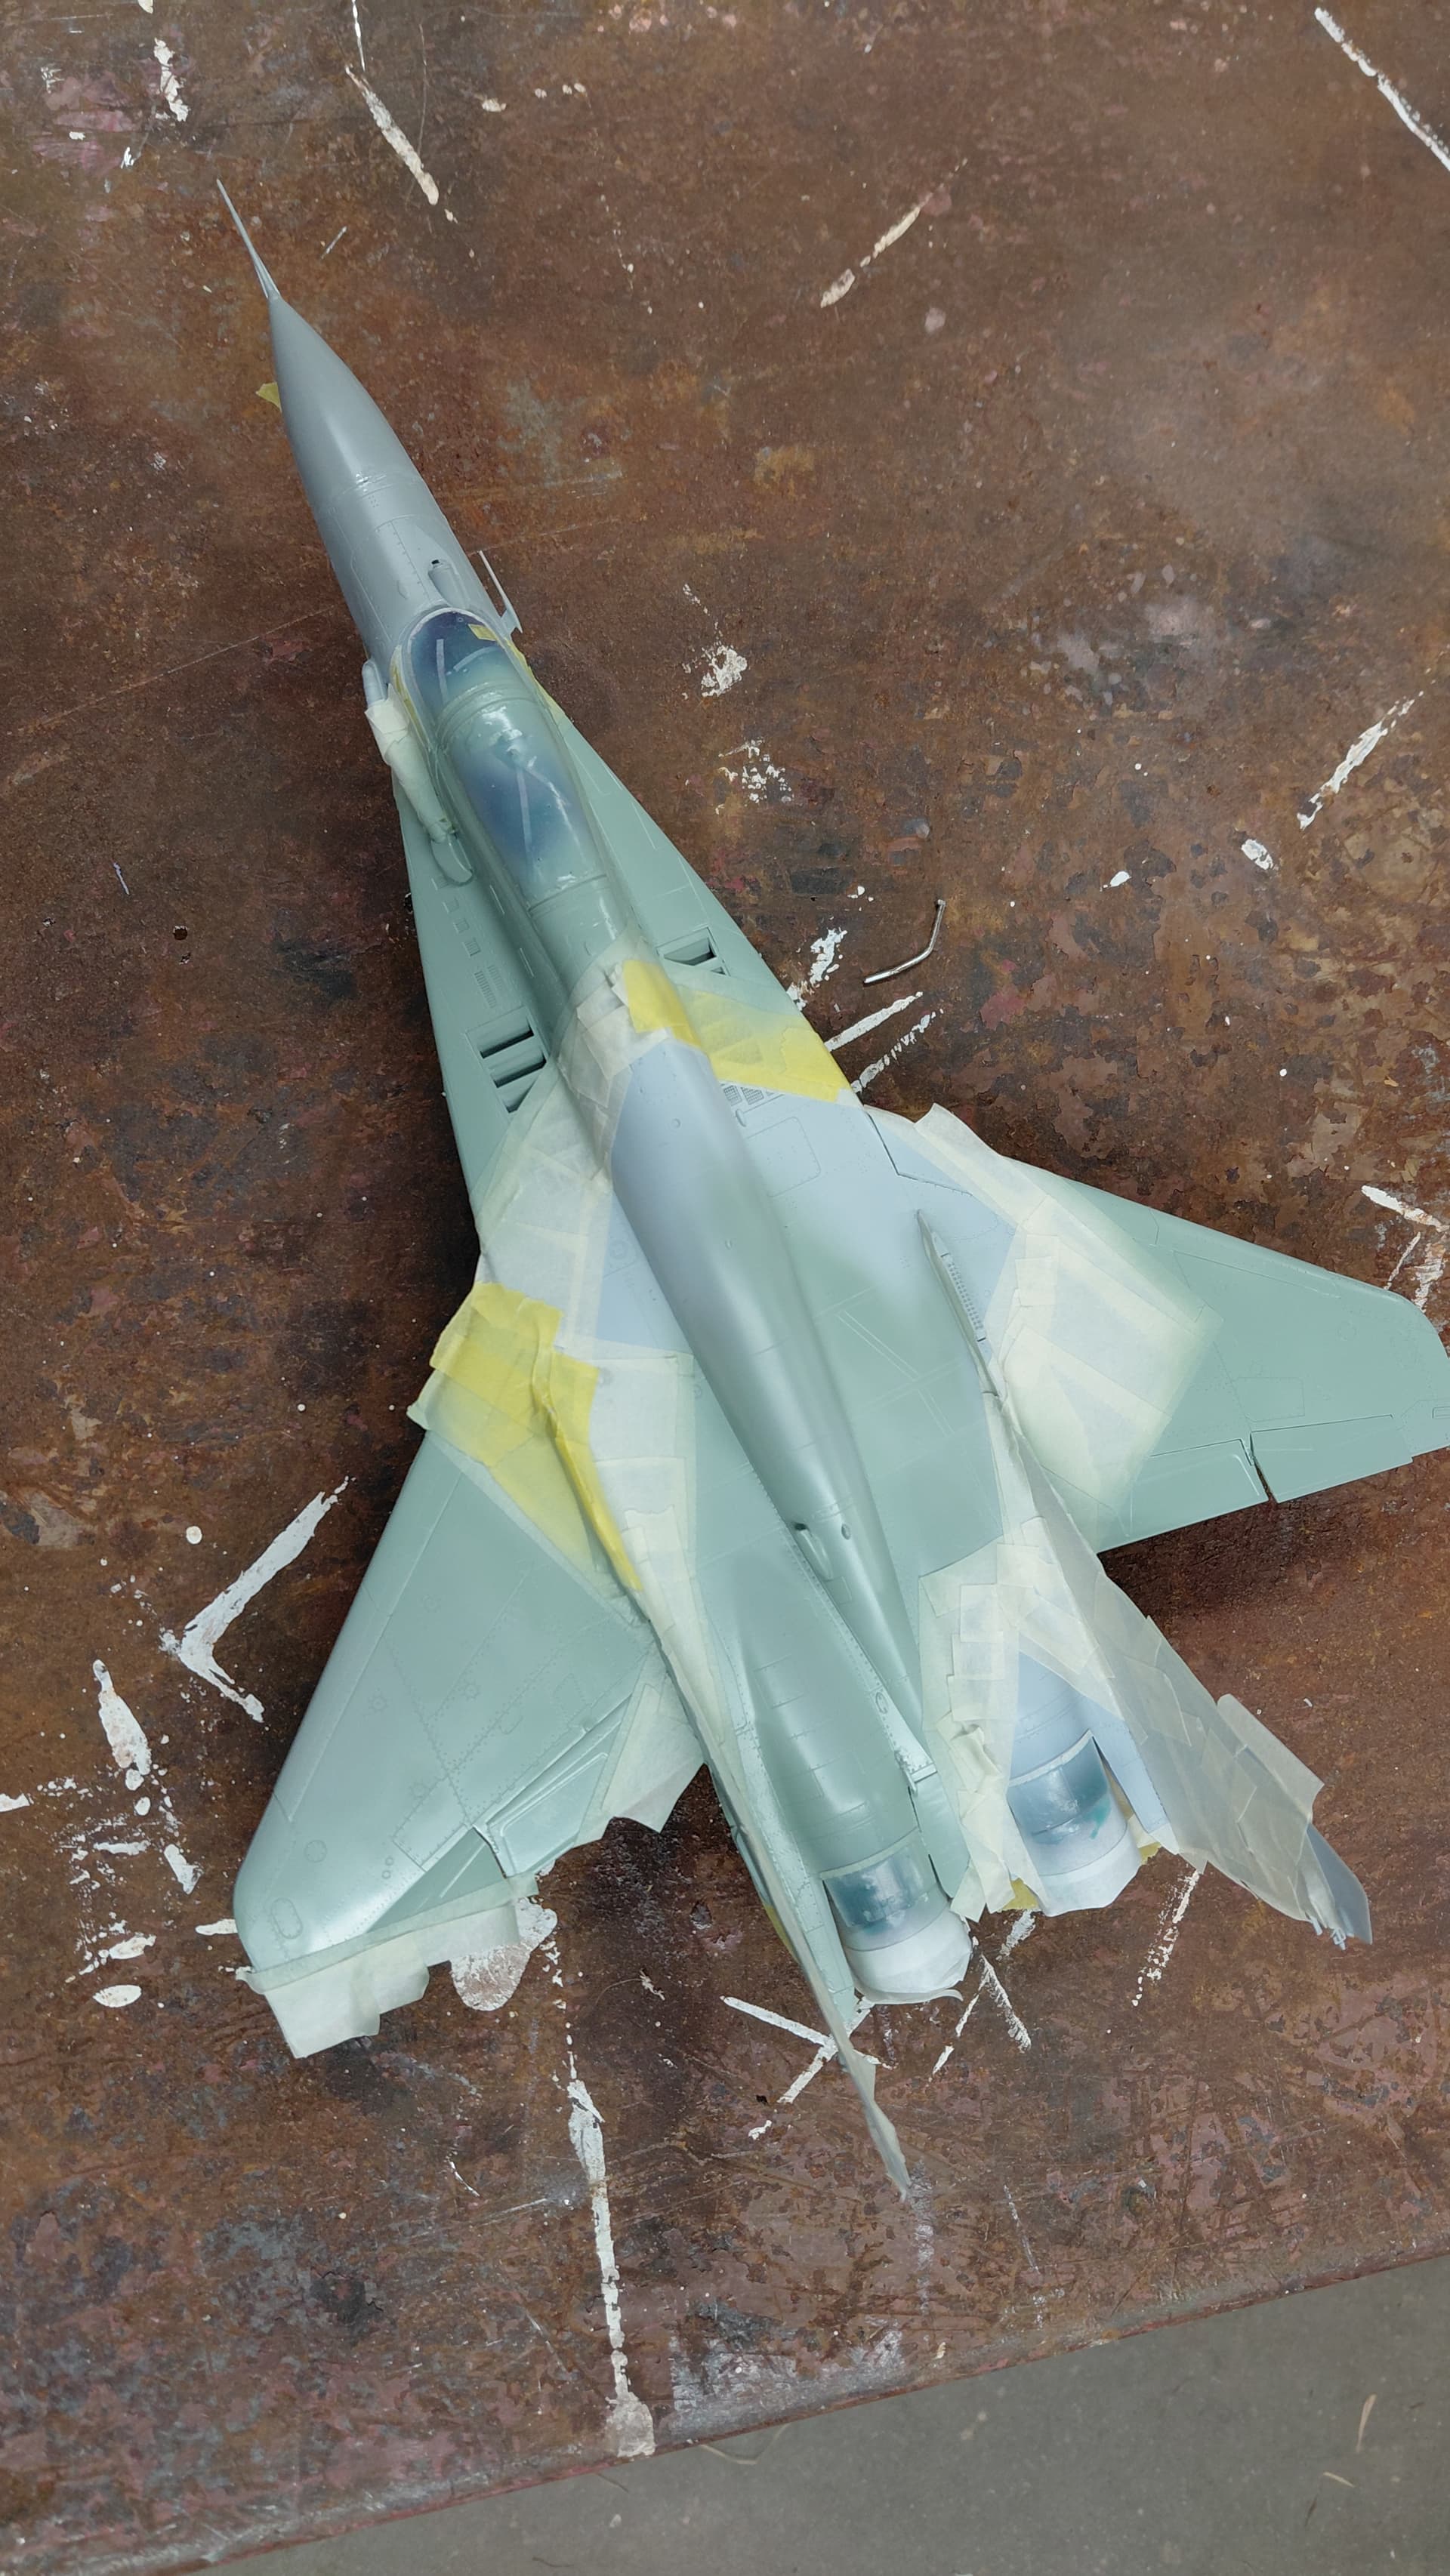
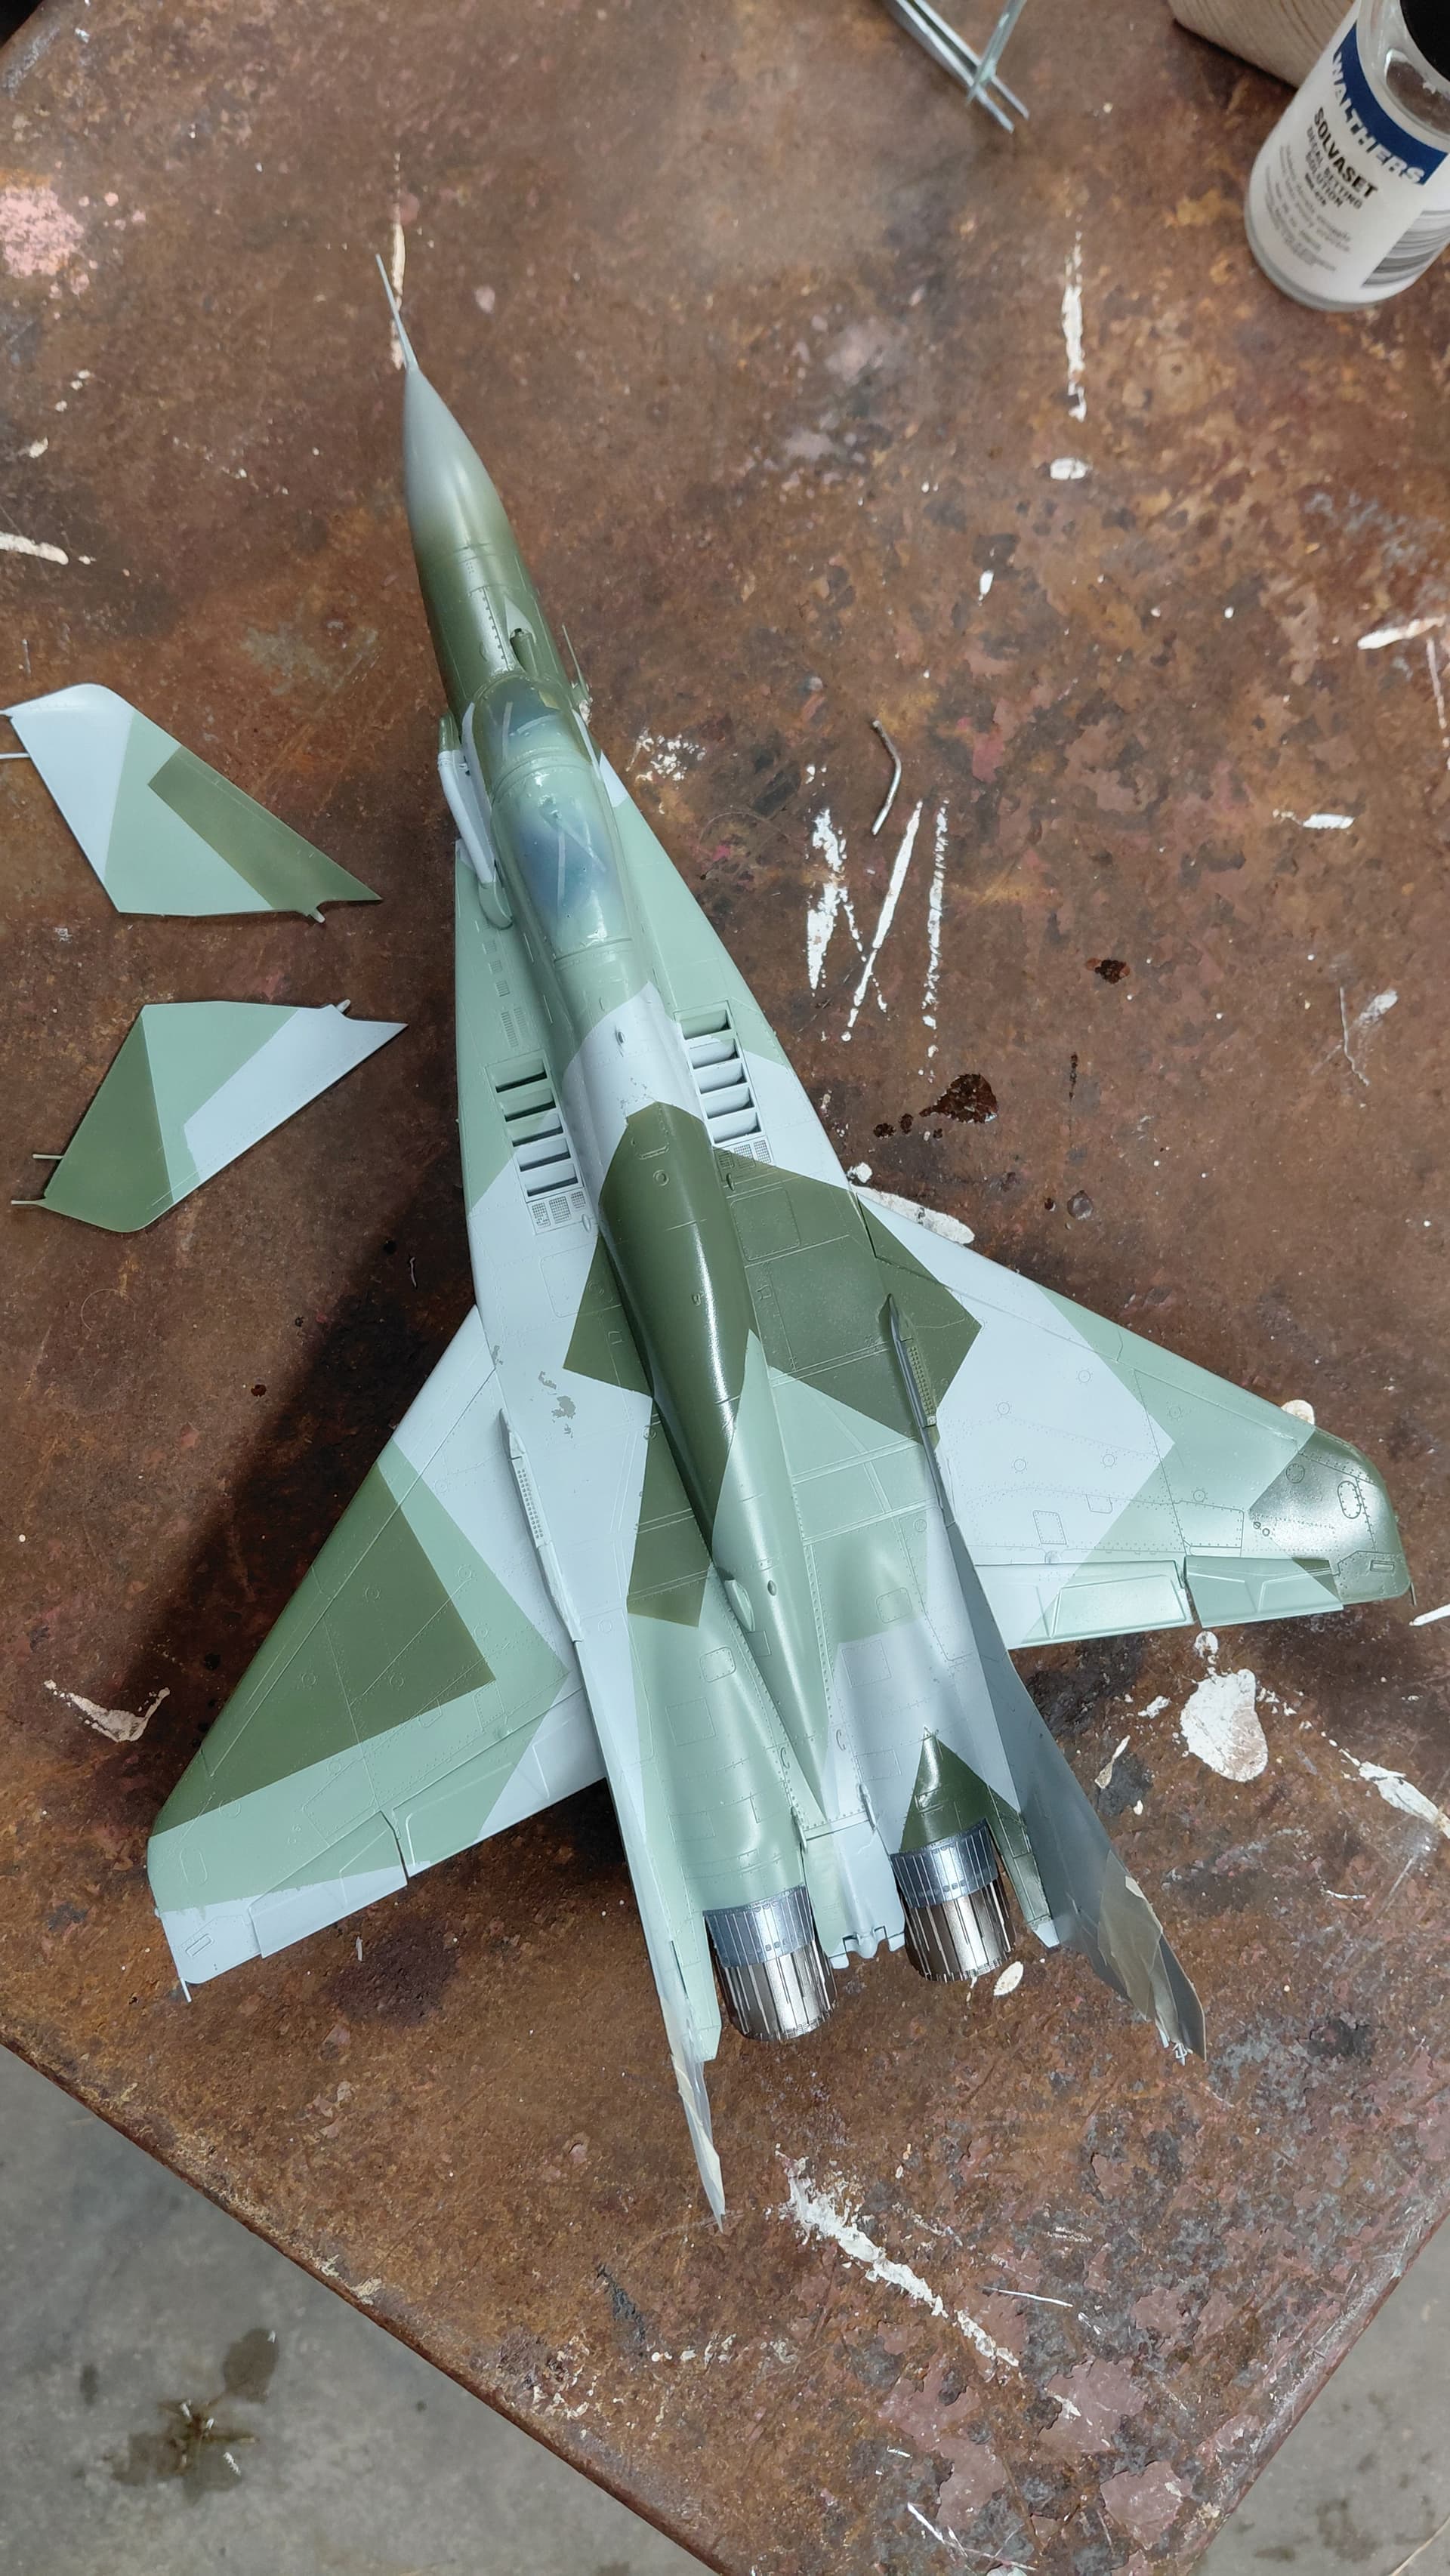
The build also included the Mig-29 SMT at the same time as the Mig-29 9-19.
Today the second color was sprayed at 16-19 psi., the SMT is a “right out of the box” build.
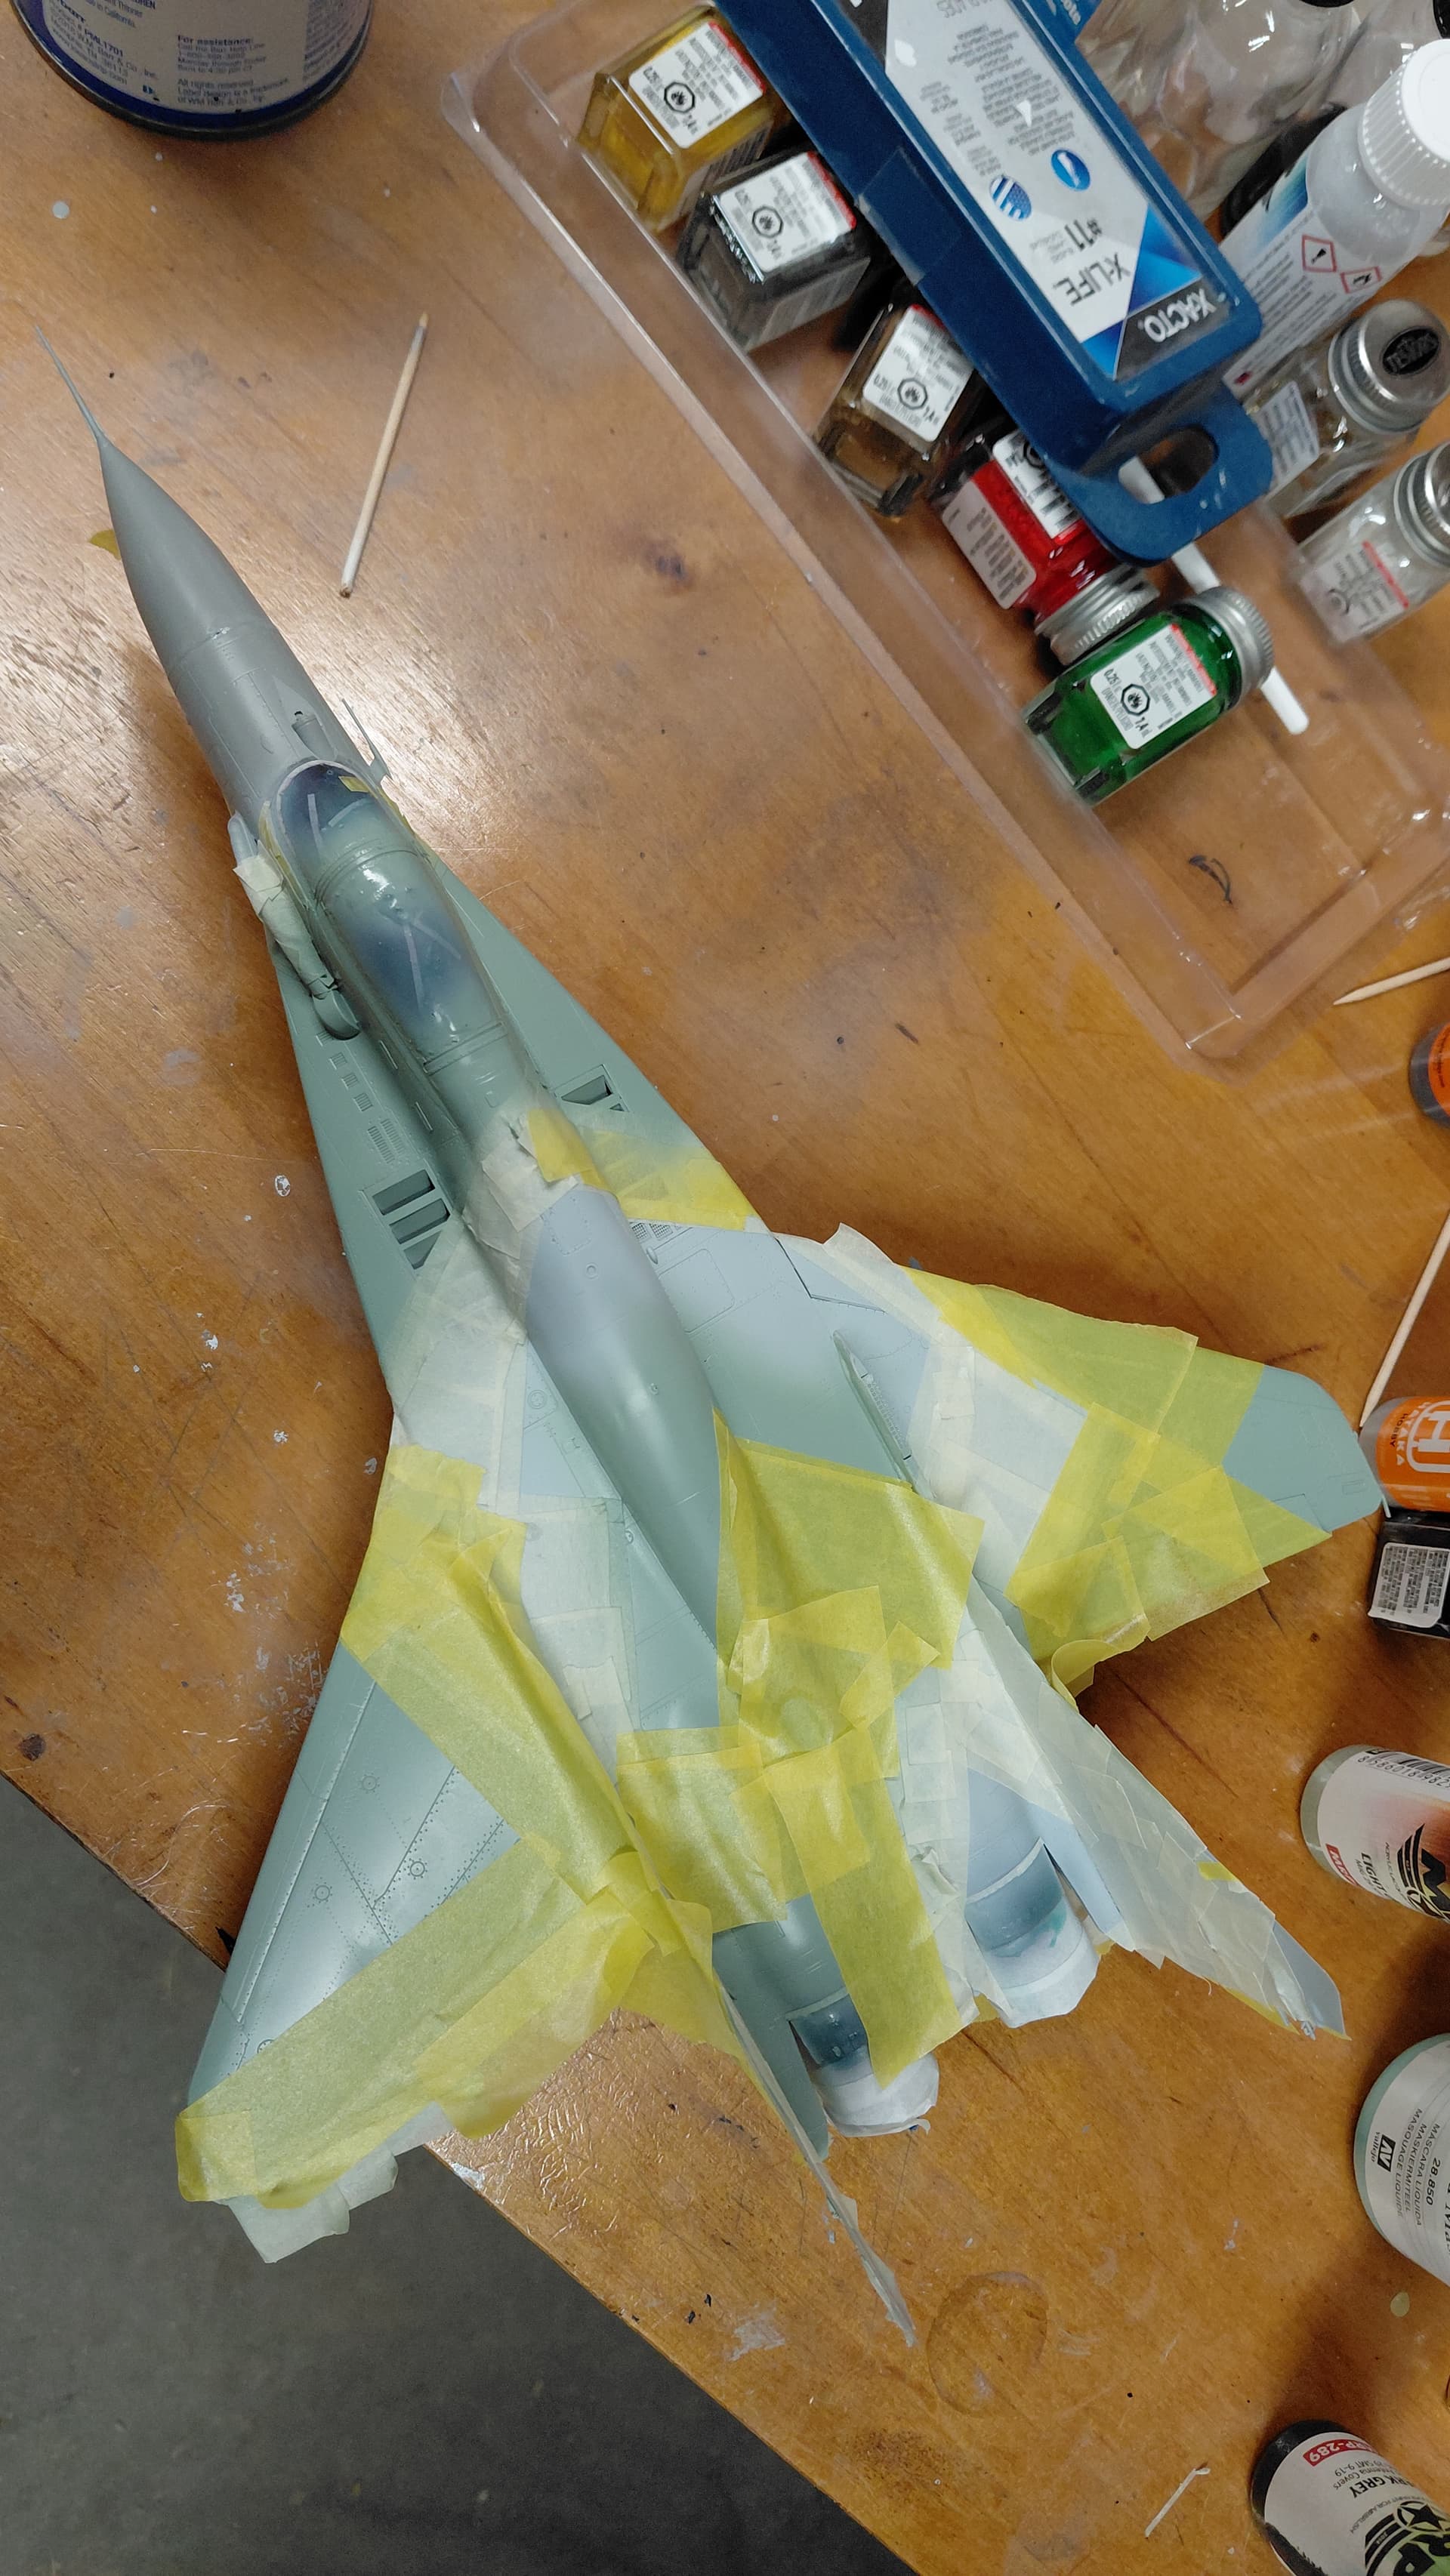
The taping off of the first color took most of the day and of course the shooting of the paint was fairly quick.
The paint is all MRP Lacquer colors.
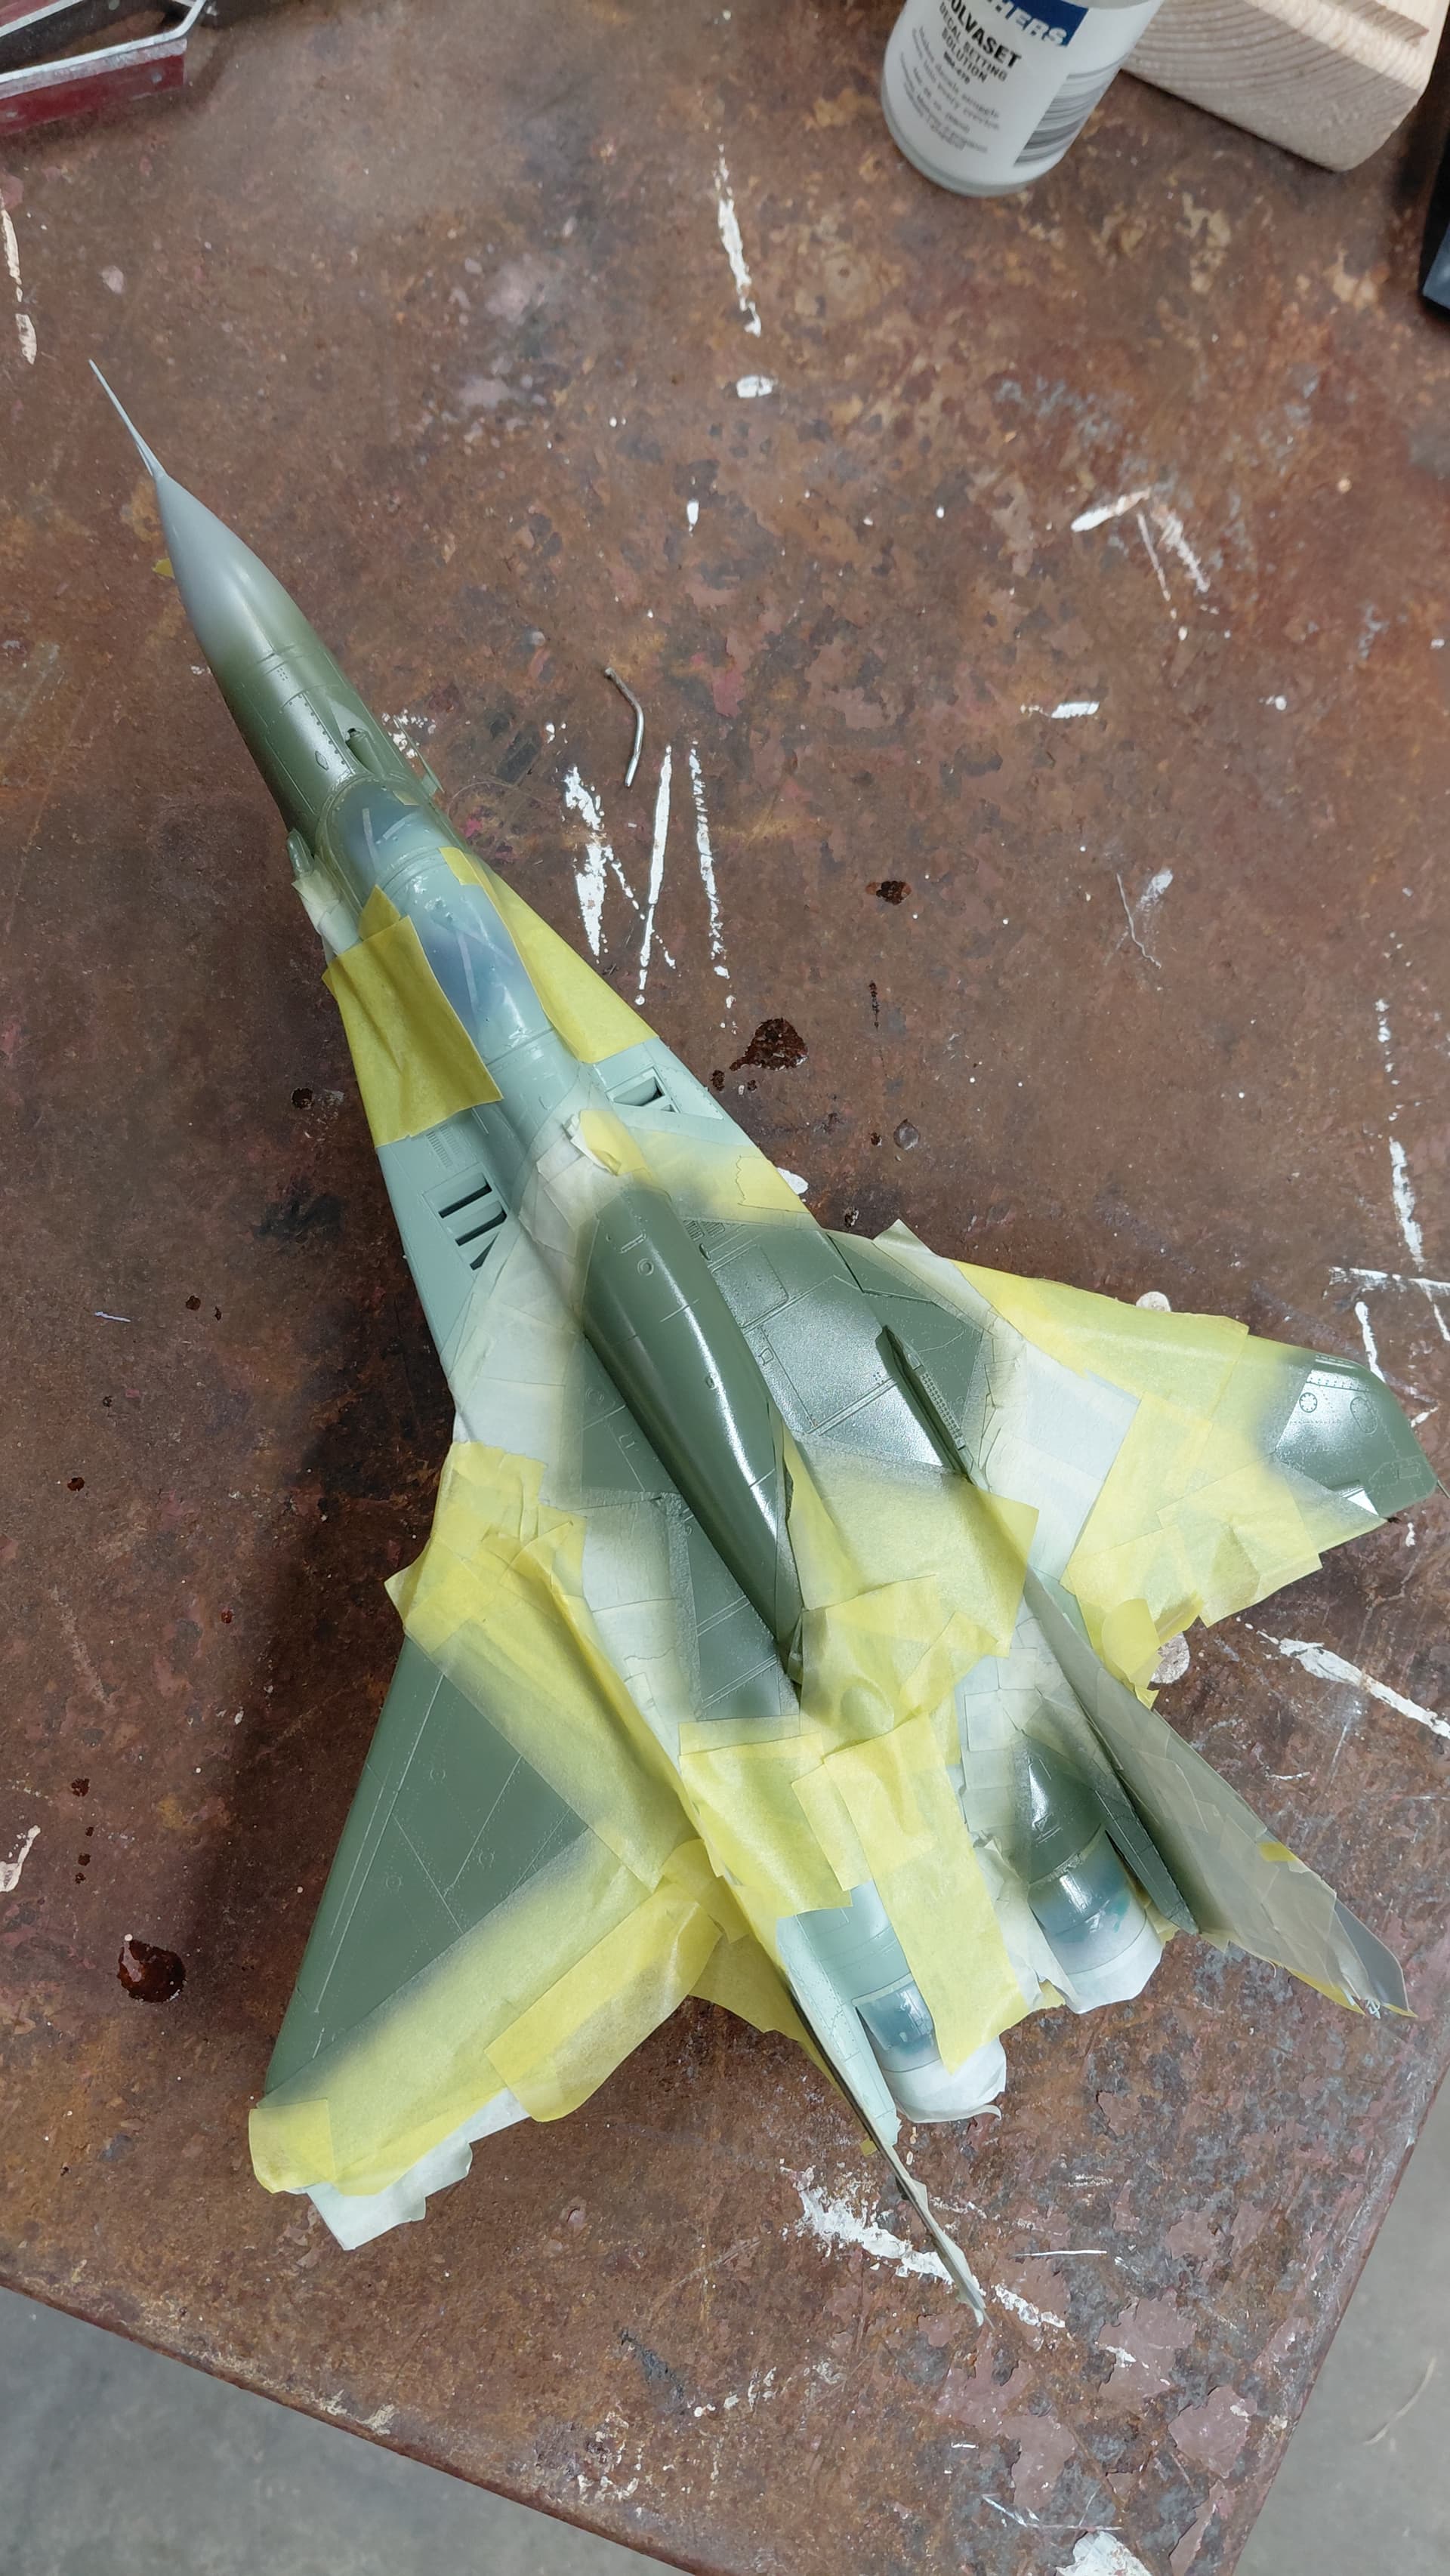
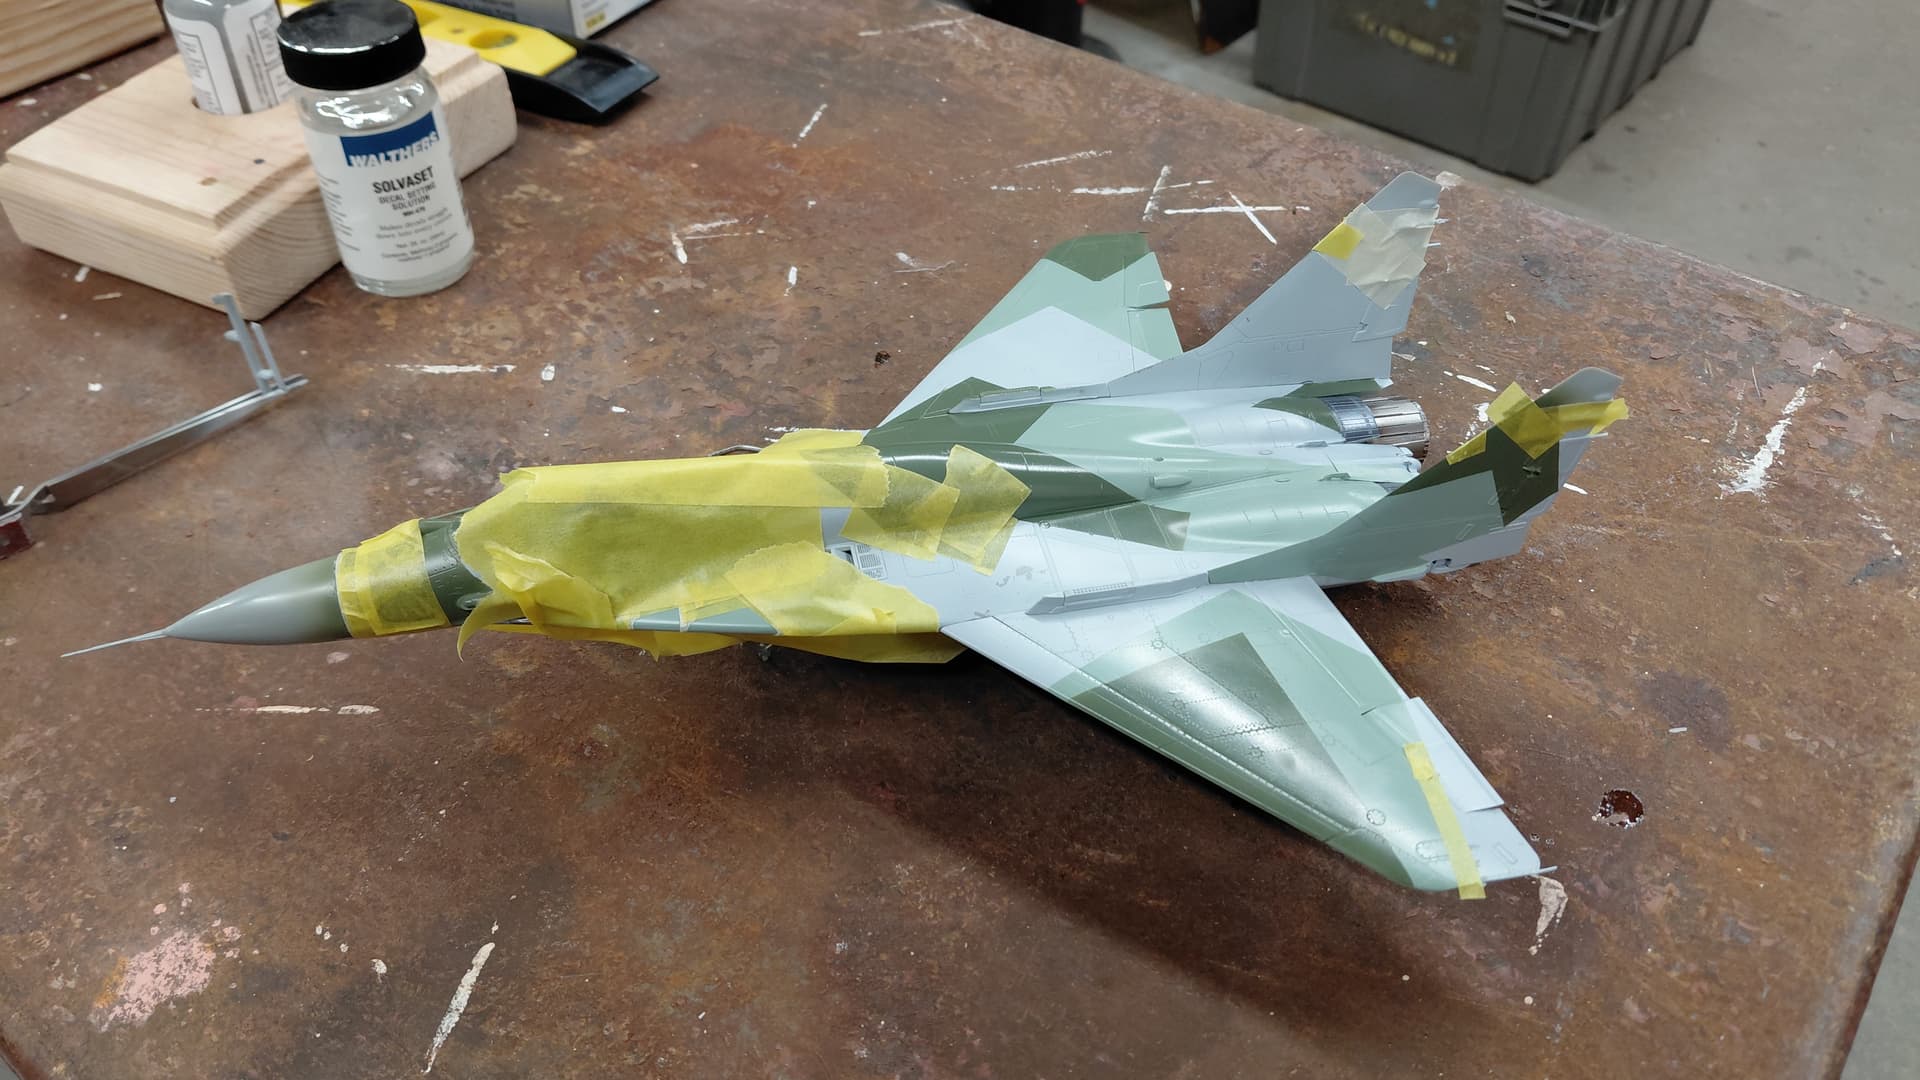
Taped…annnnd painted last camo color.
There a few more colors for dielectric panels, lights radome…etc then…DECALS !.
This just feels like it is screamingly fast as compared to the the Mig-29 9-19.
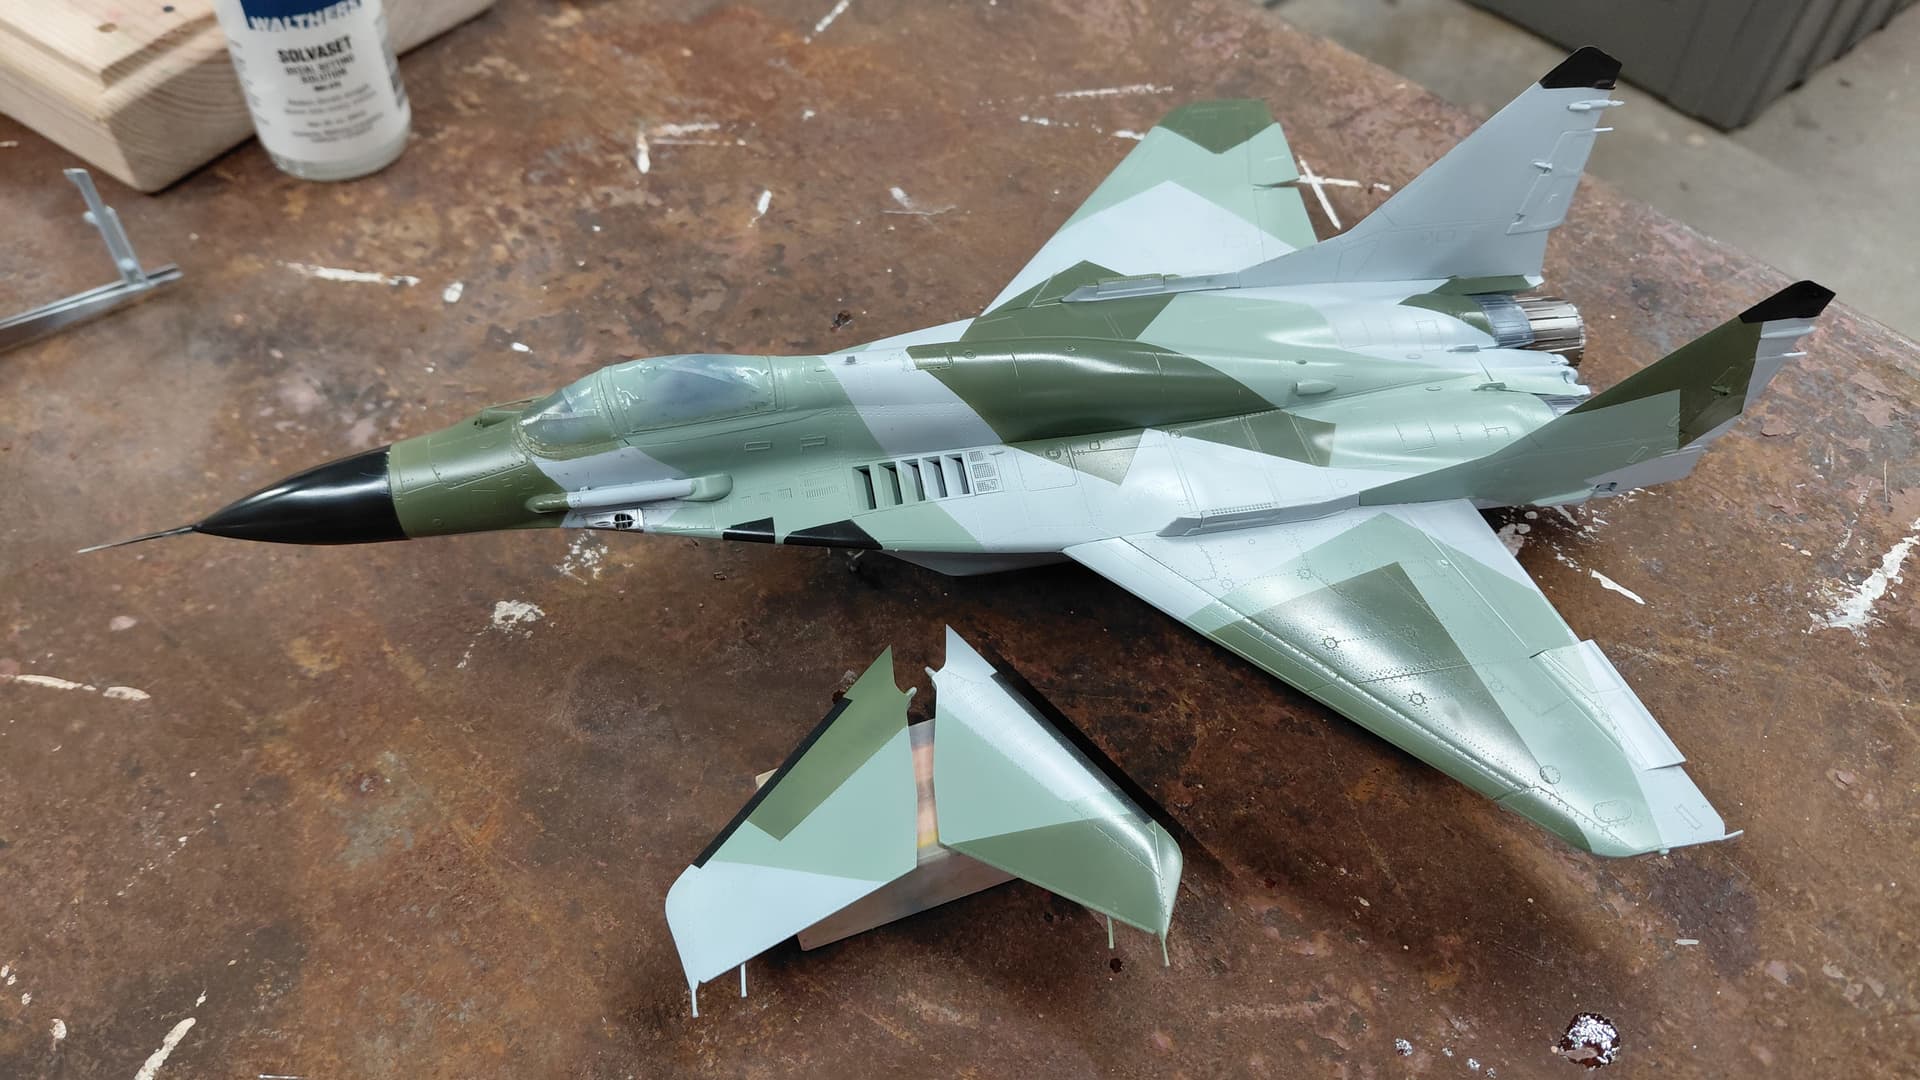
Pulled tape and there are just a couple minor spots to touch-up before I paint the dielectric panels.
I used a combination of tapes as seen on the previous photos.
The really old masking tape which, over the years has been heat cycled repeatedly and it increased its tack.
I will use regular masking tape sparingly, mainly for canopy frames and such and will use the tamiya tape with the folowing caveats:
1). Use in 3/16" minimum width.
2). After applying Tamiya paint as soon as possible.
3). Never install Tamiya tape and leave it on before painting for greater than 12 hours.
Because I have found that any thinner and it will ahere initially but lifts after a small amount of time.
I’m not sure if it is temperature or humidity sensitive but…
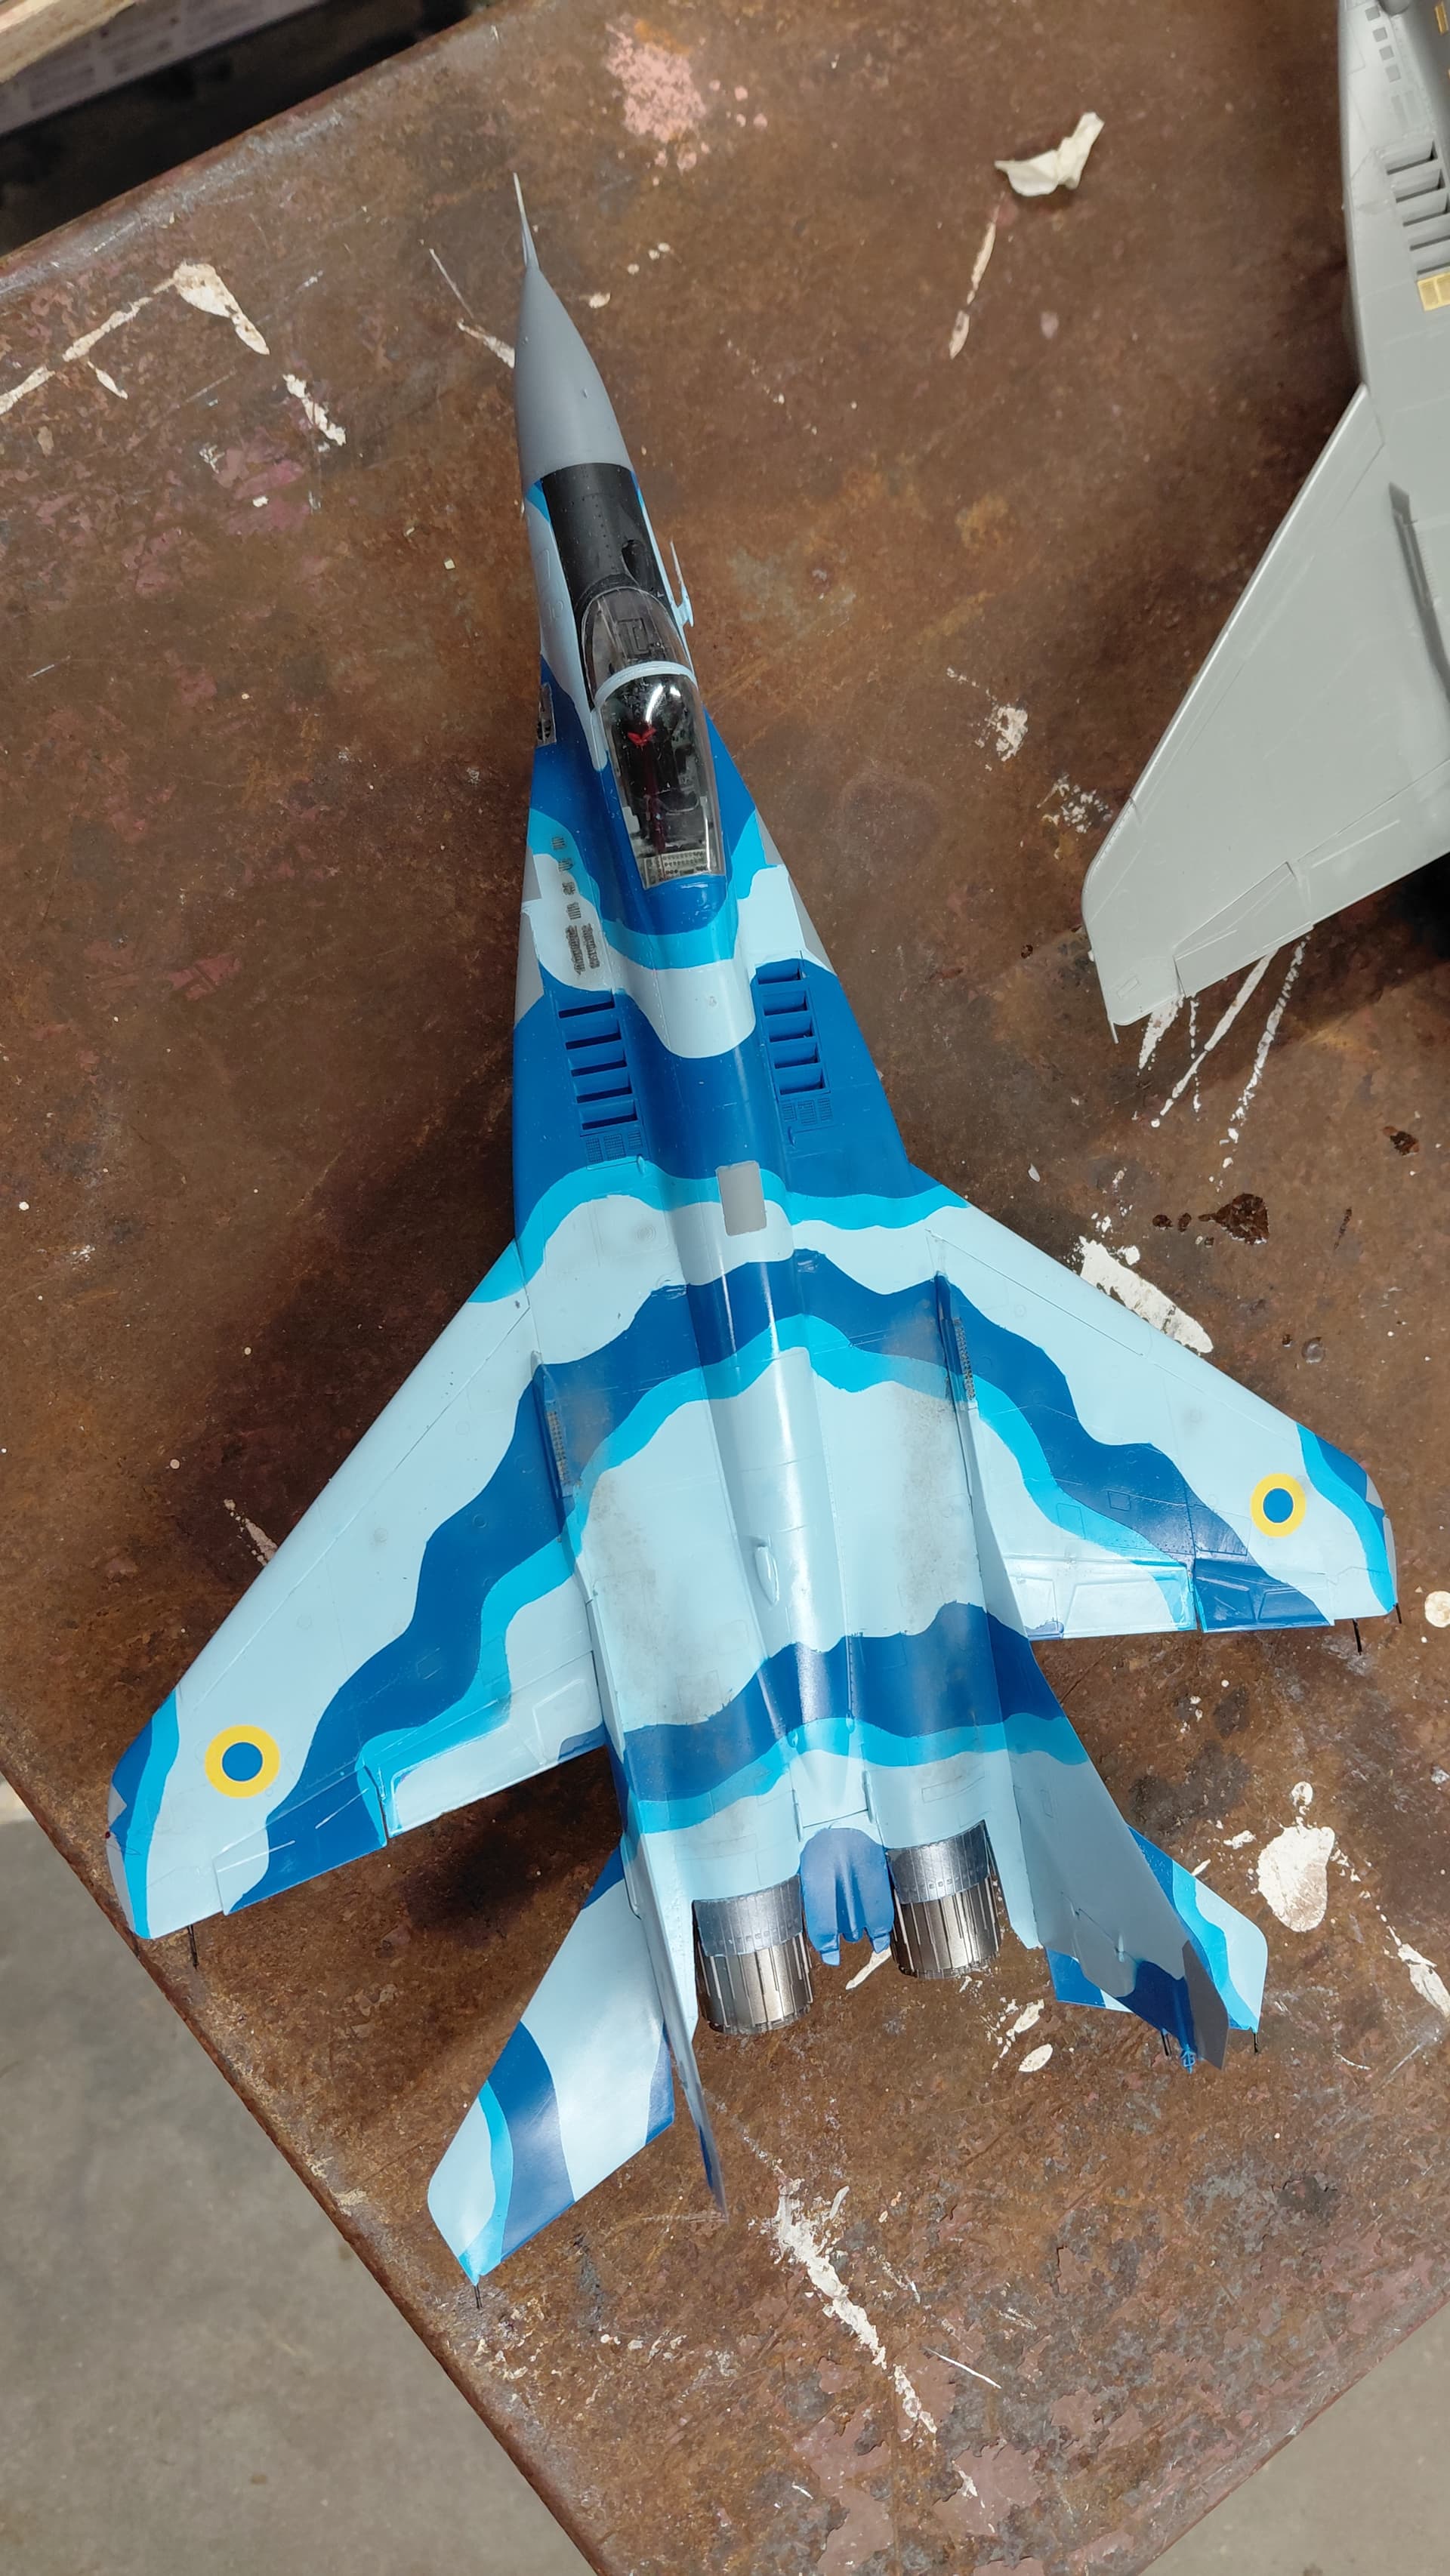
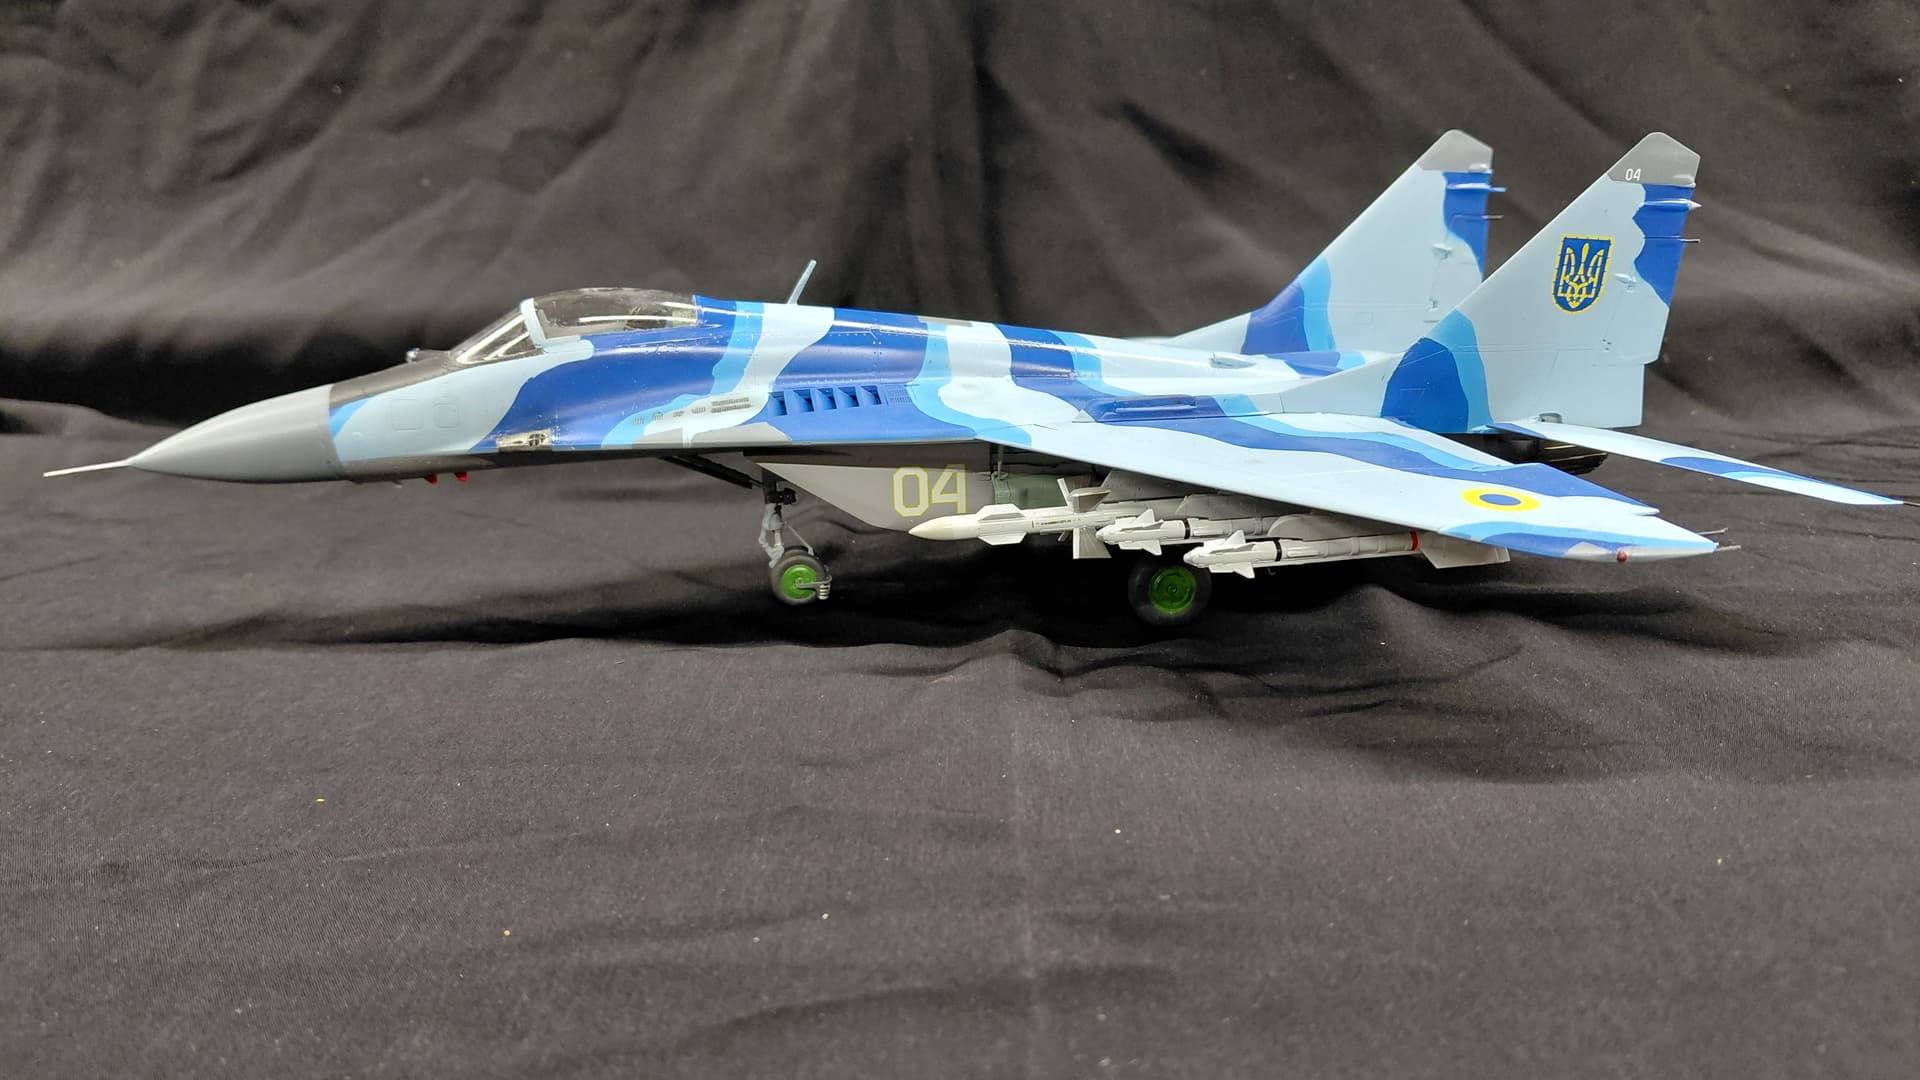
Taped, painted and tape pulled.
Next will be hand painting the landing gear and installation of the wheel assemblies and gear doors.
This paint scheme has a lot of small decals (yay, fun) so my next available day will be glossing the entire aircraft and decal application.
I know…fun day coming up !