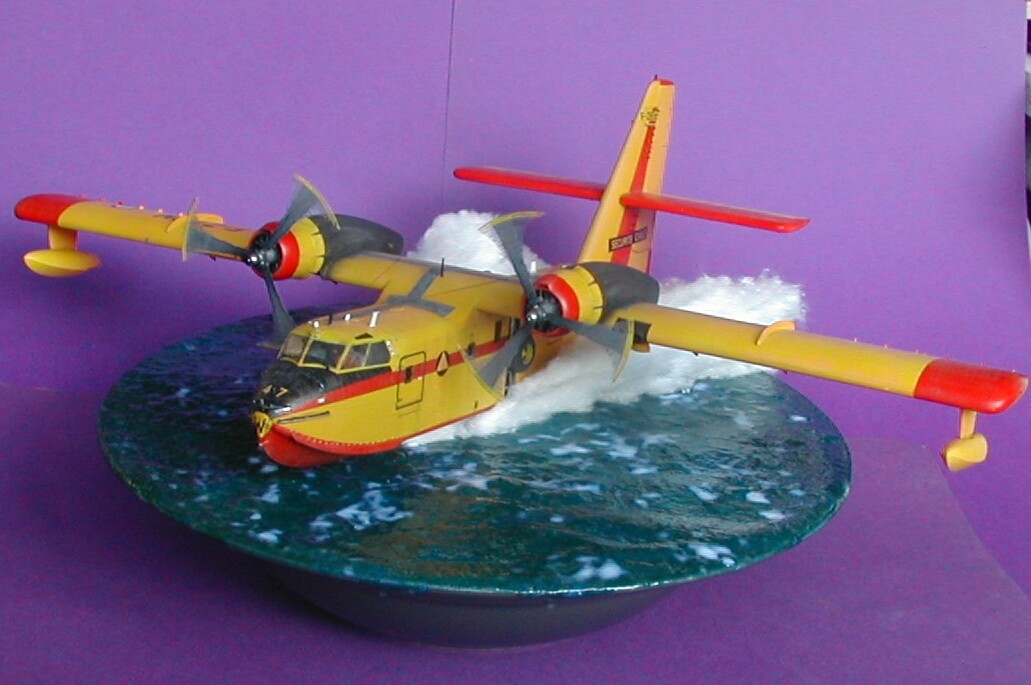
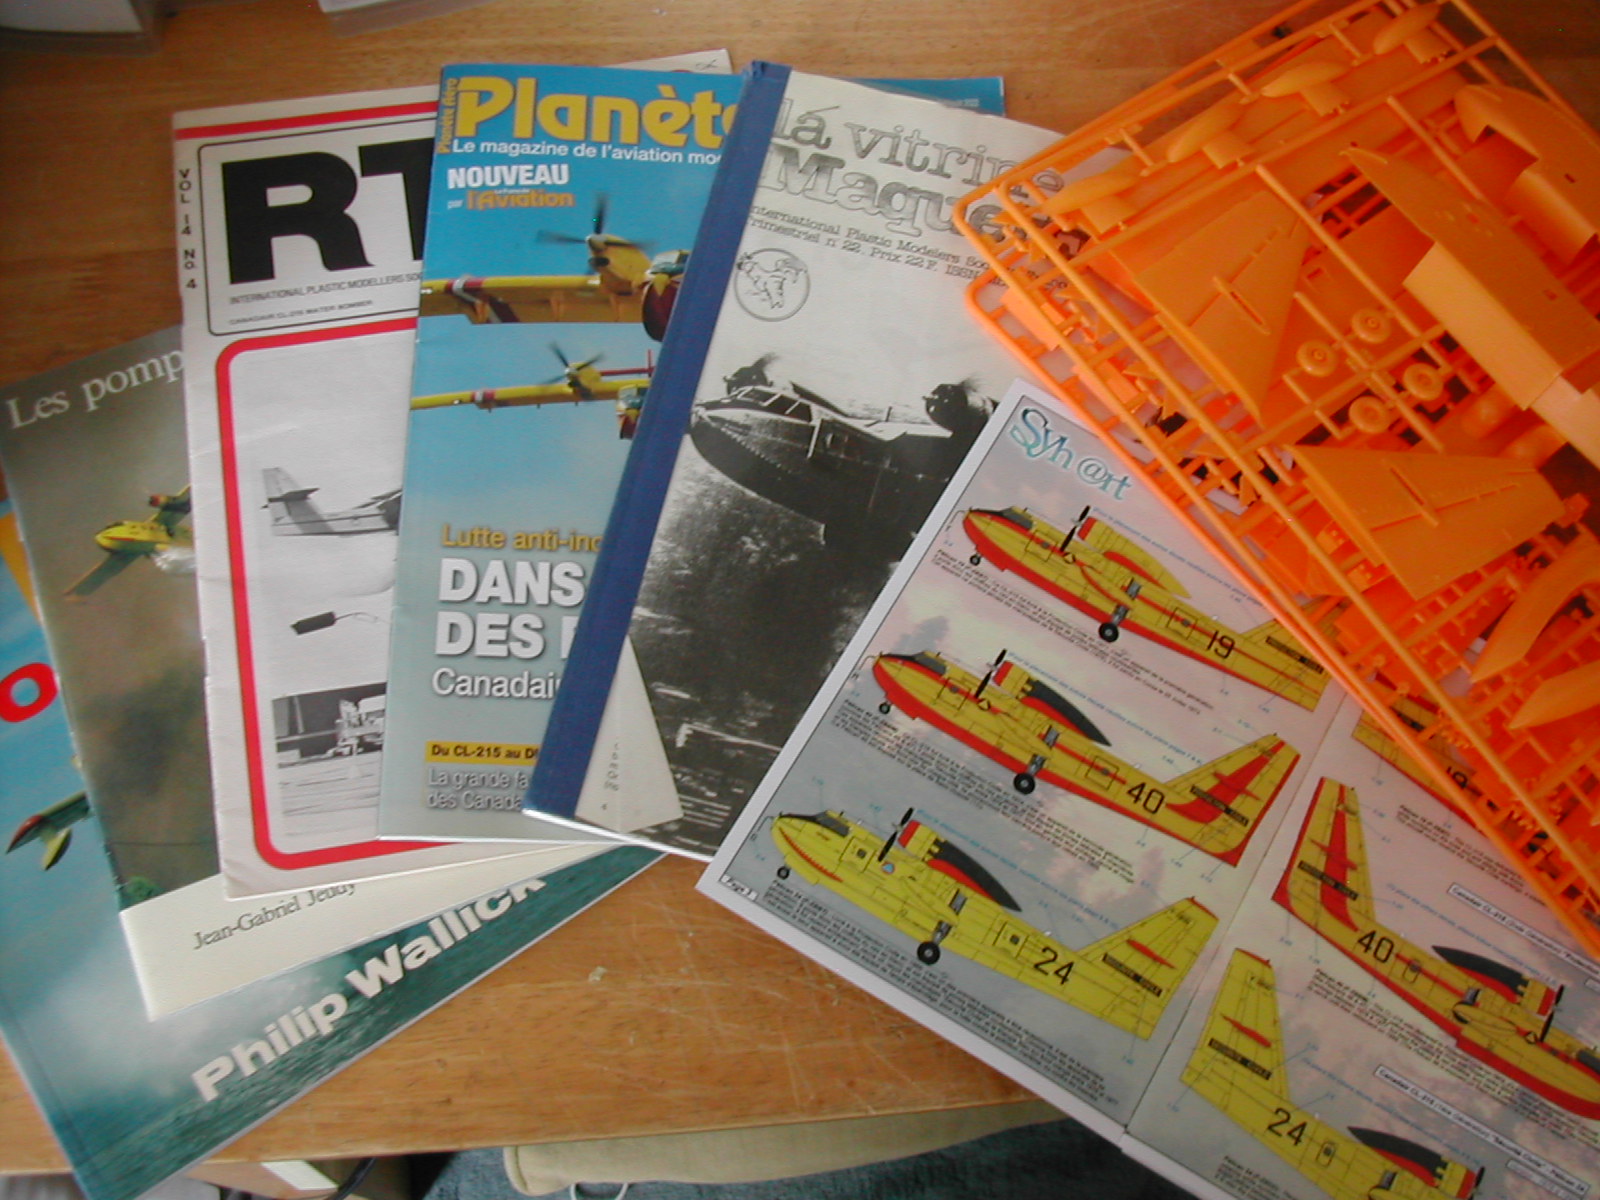
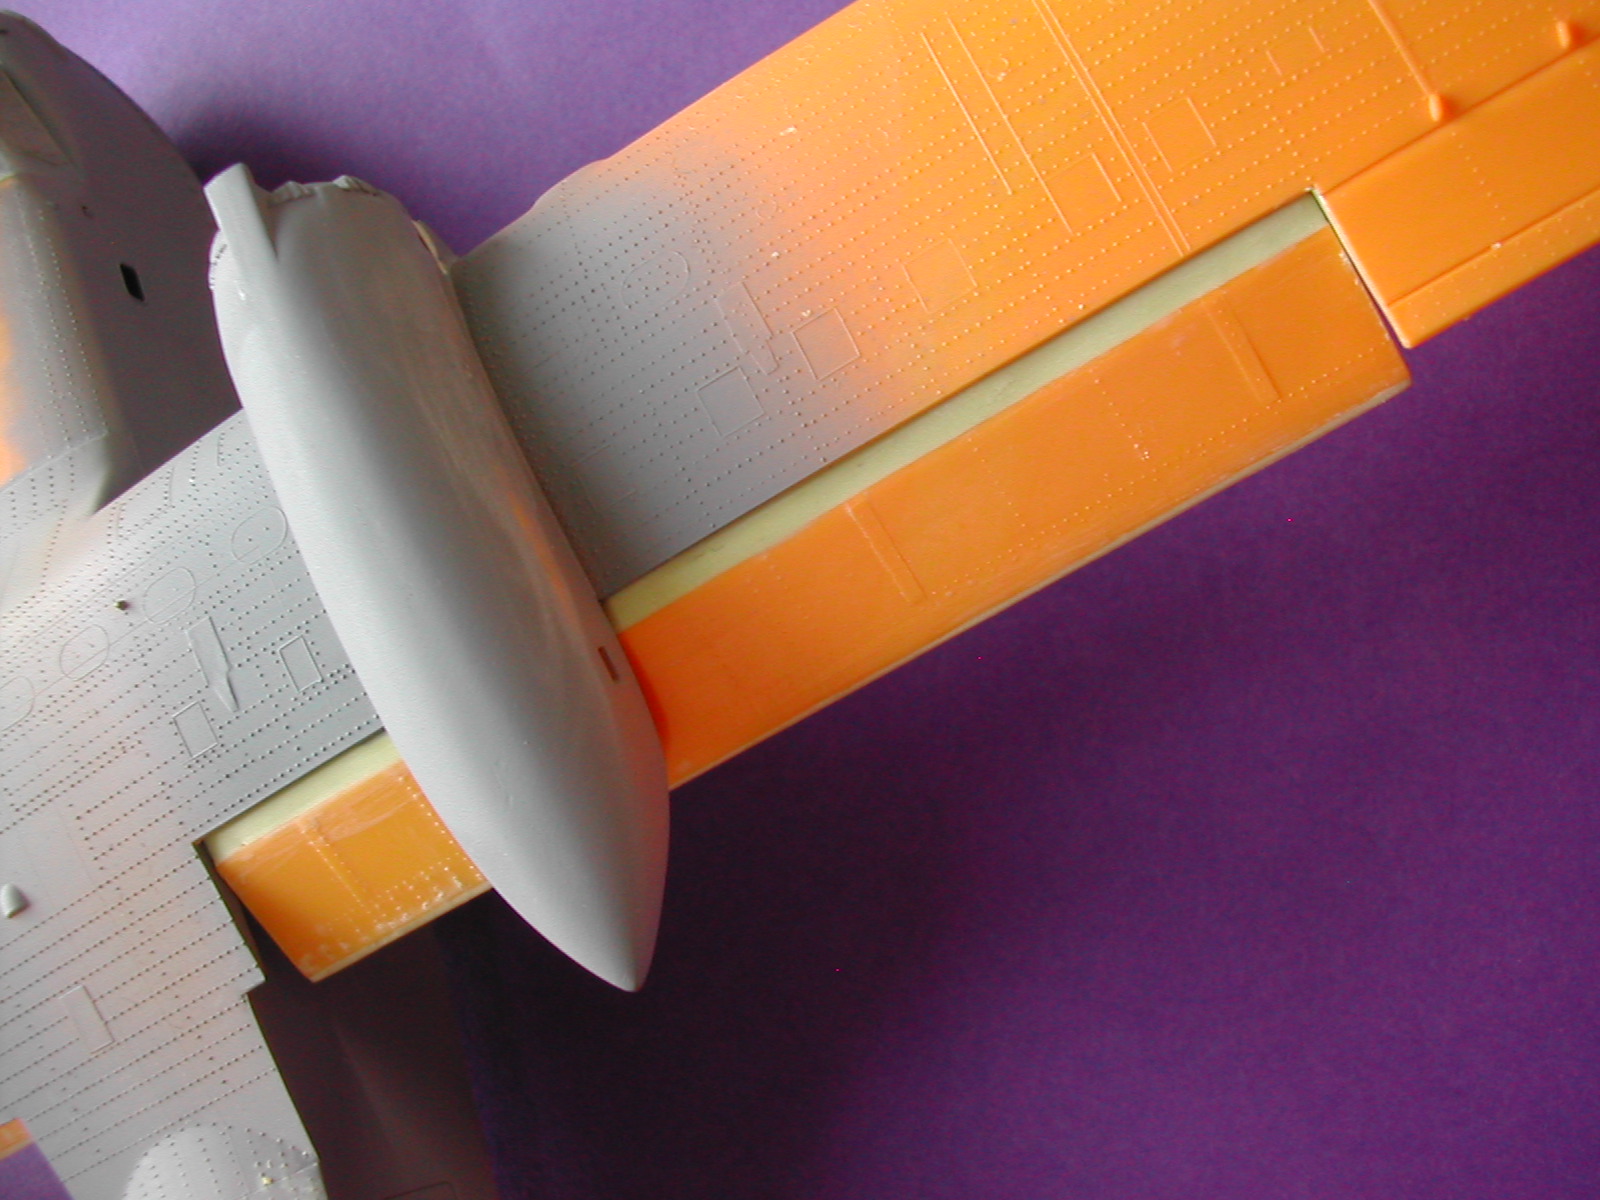
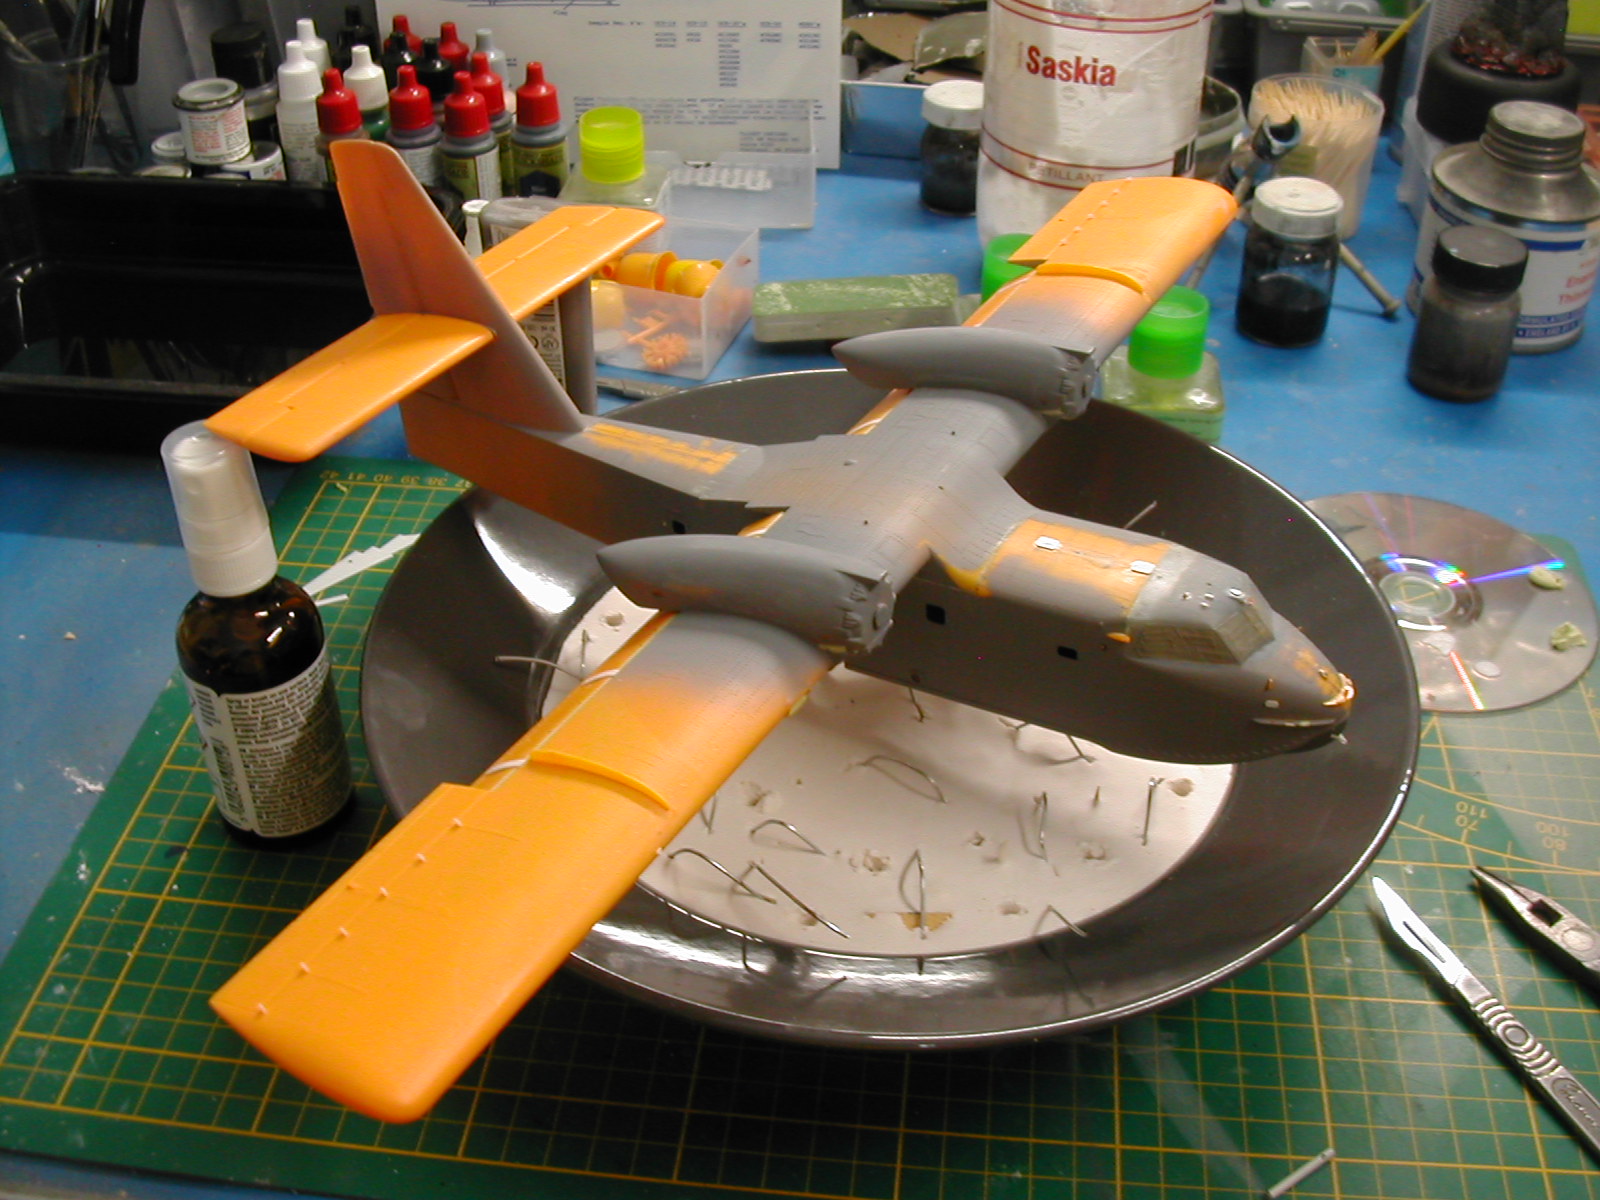
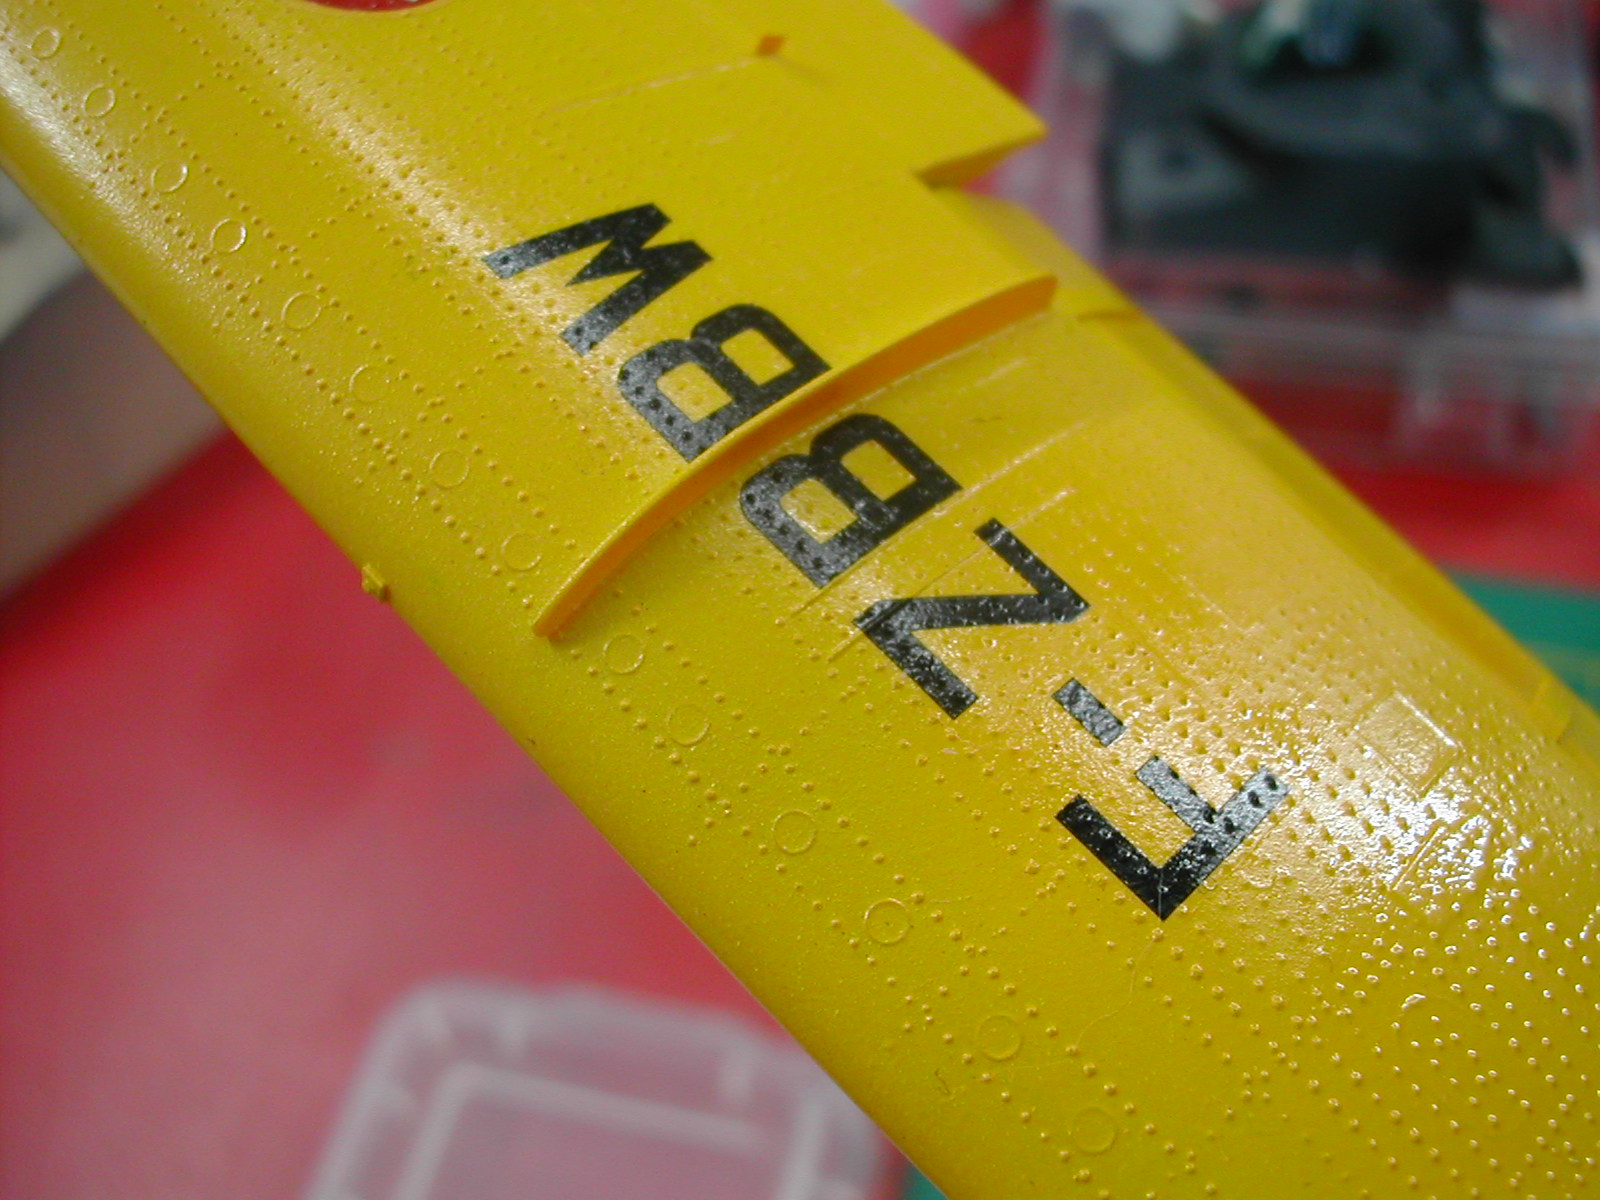
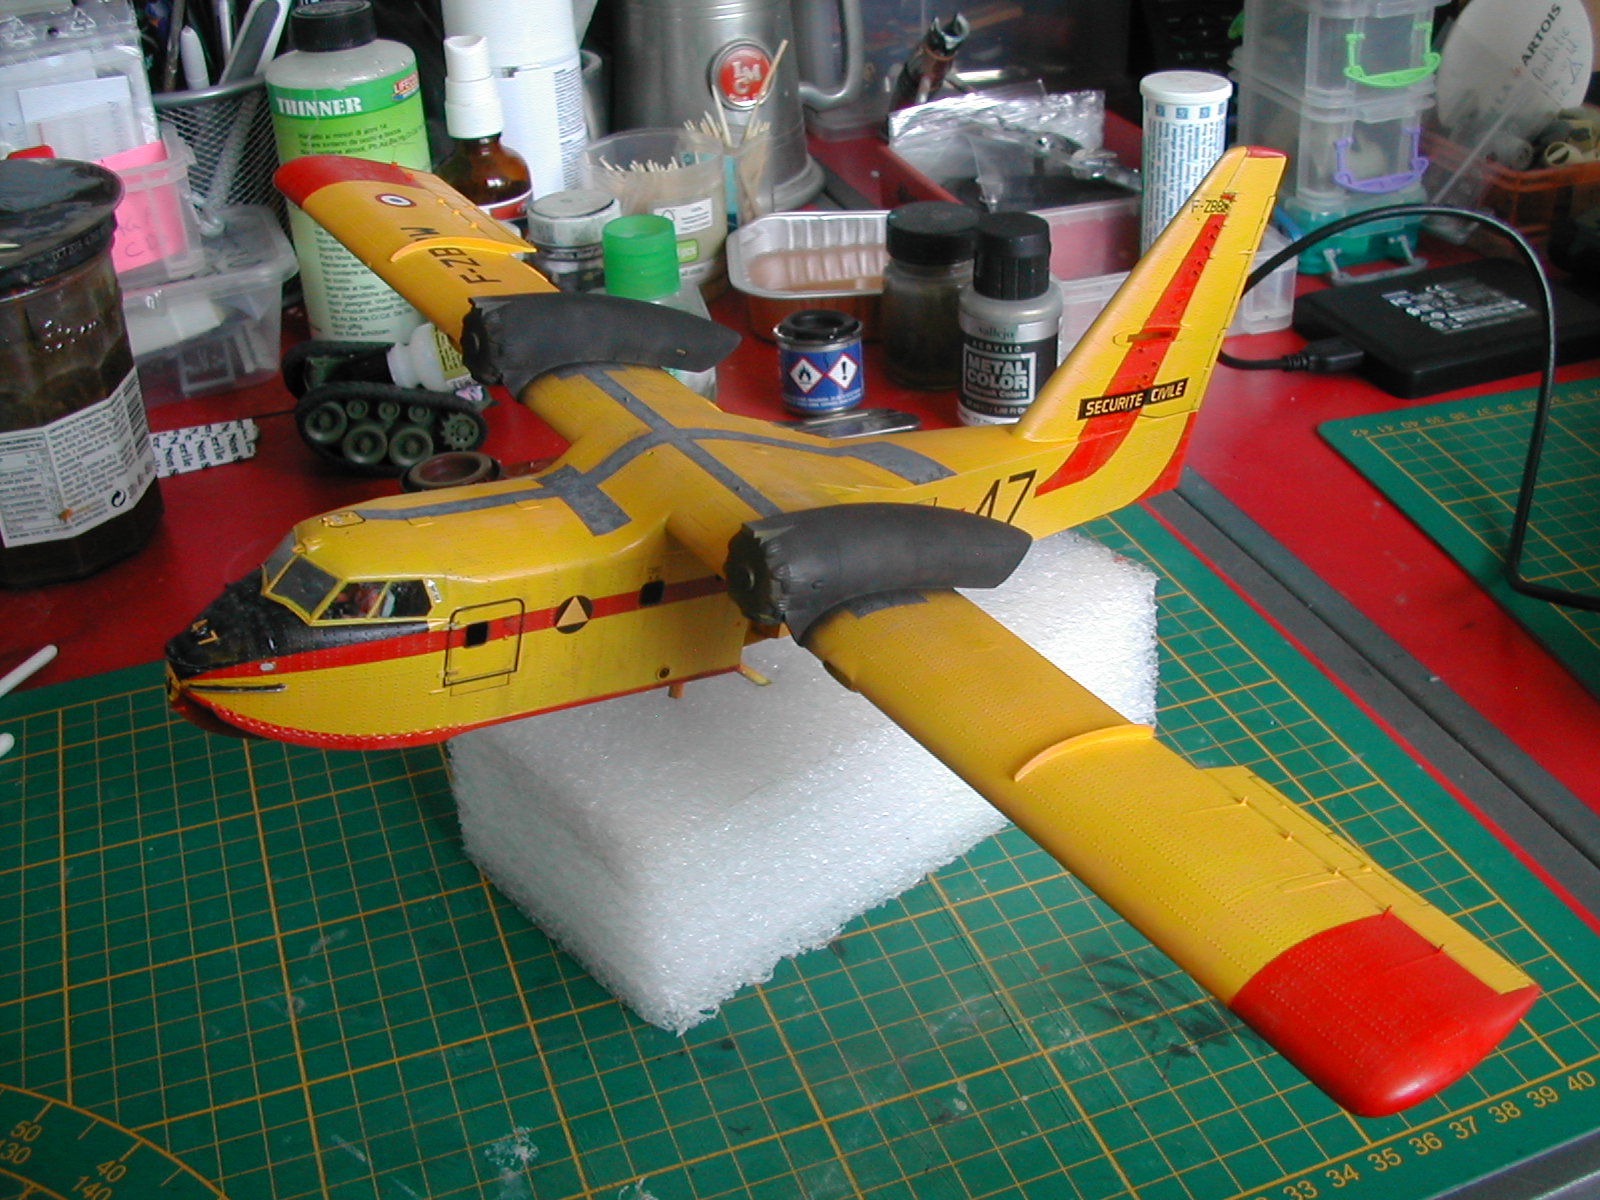
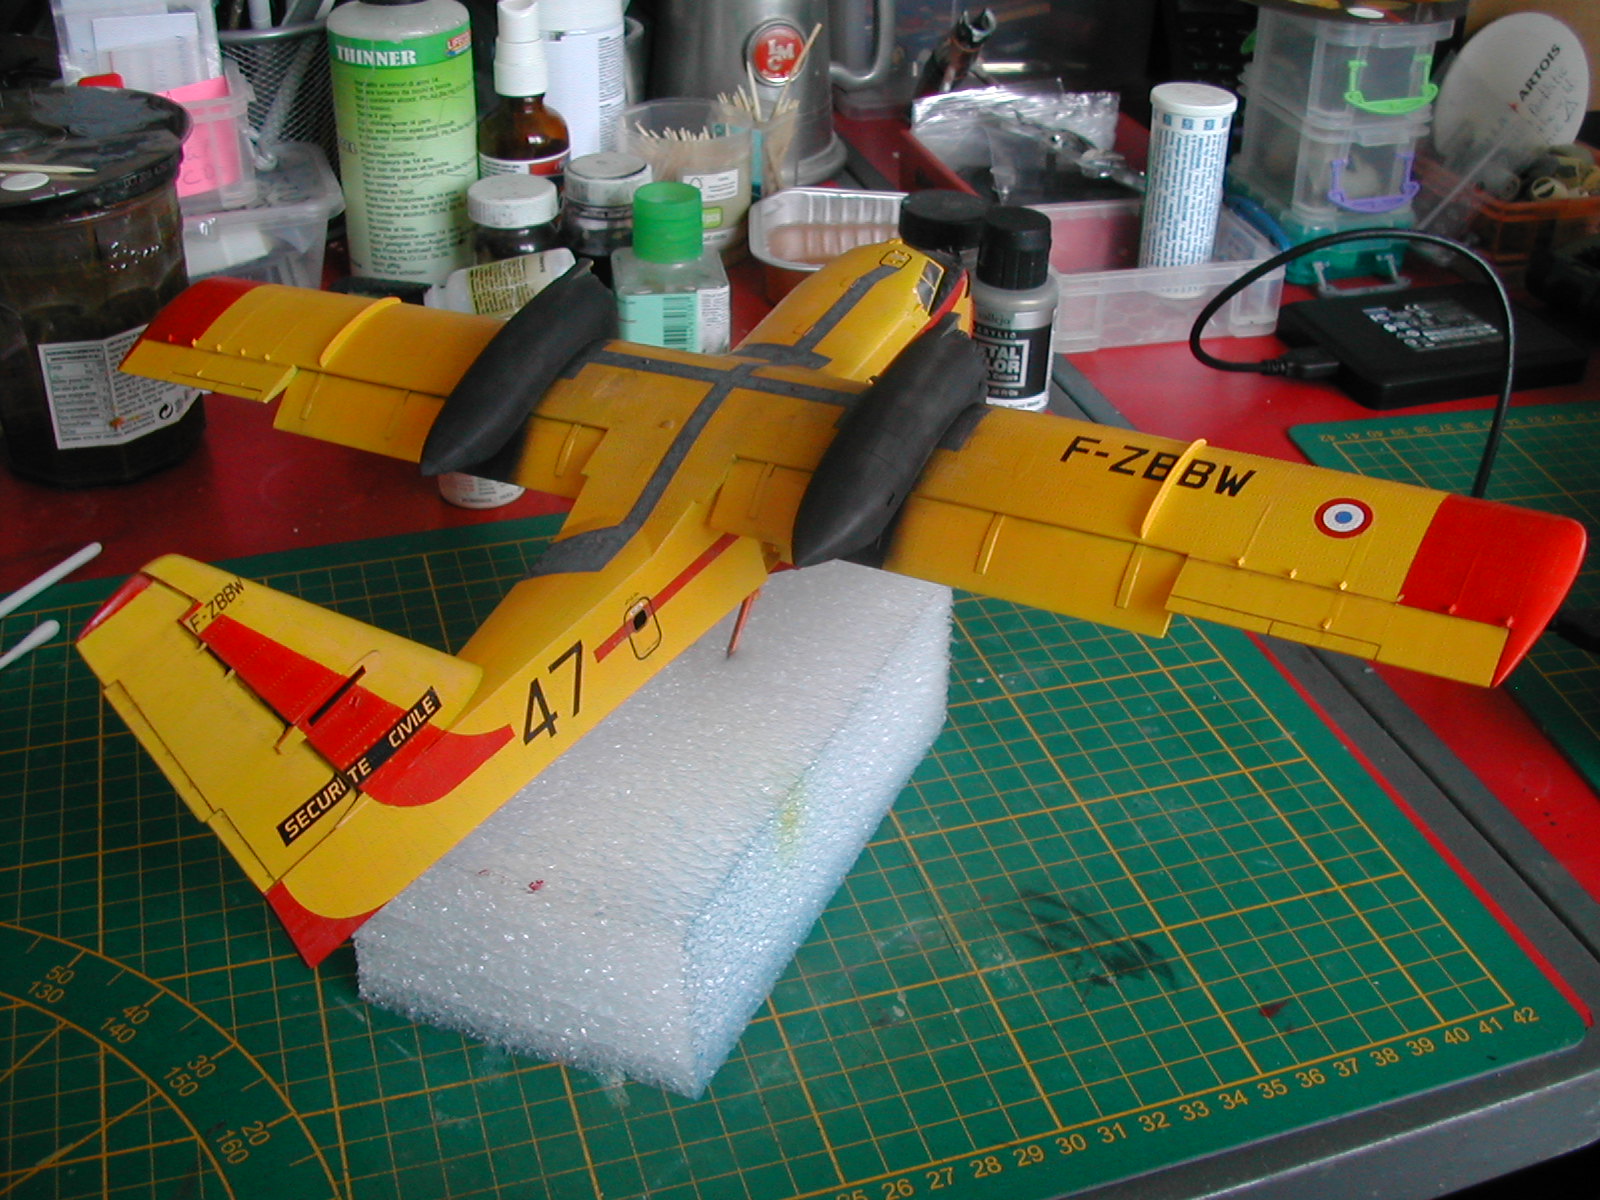
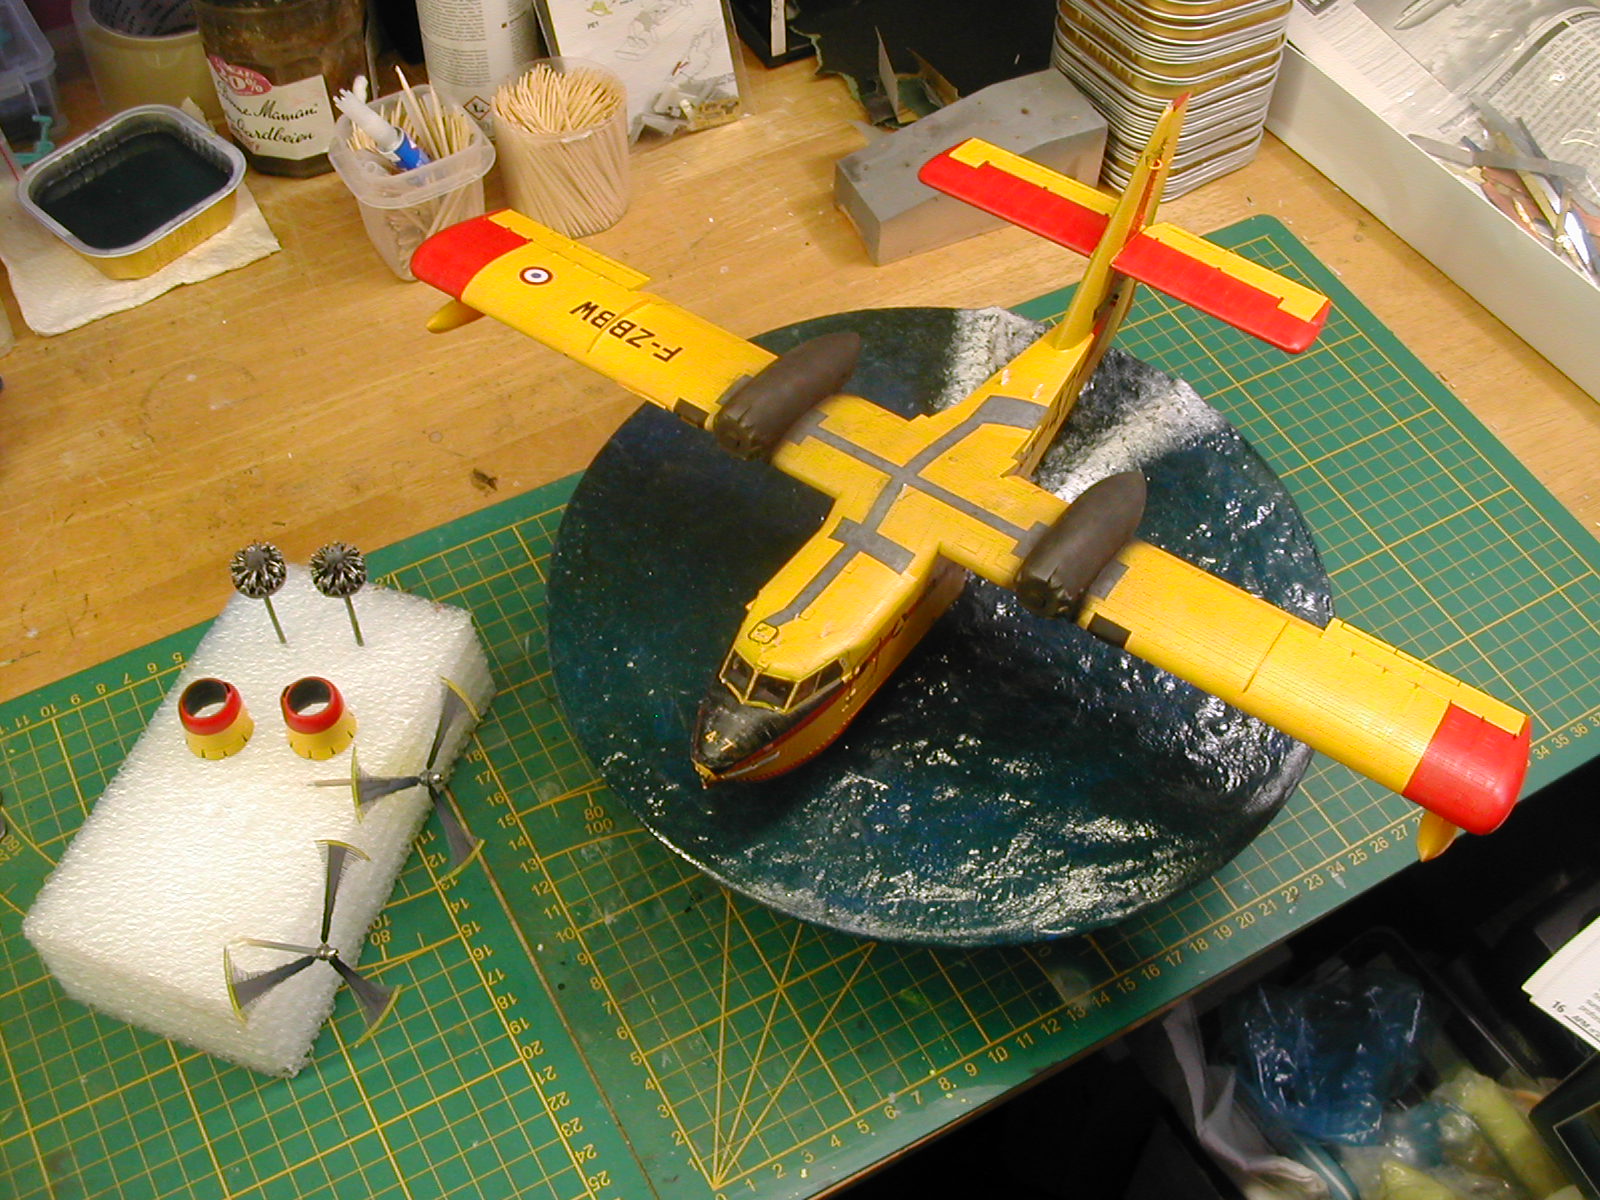
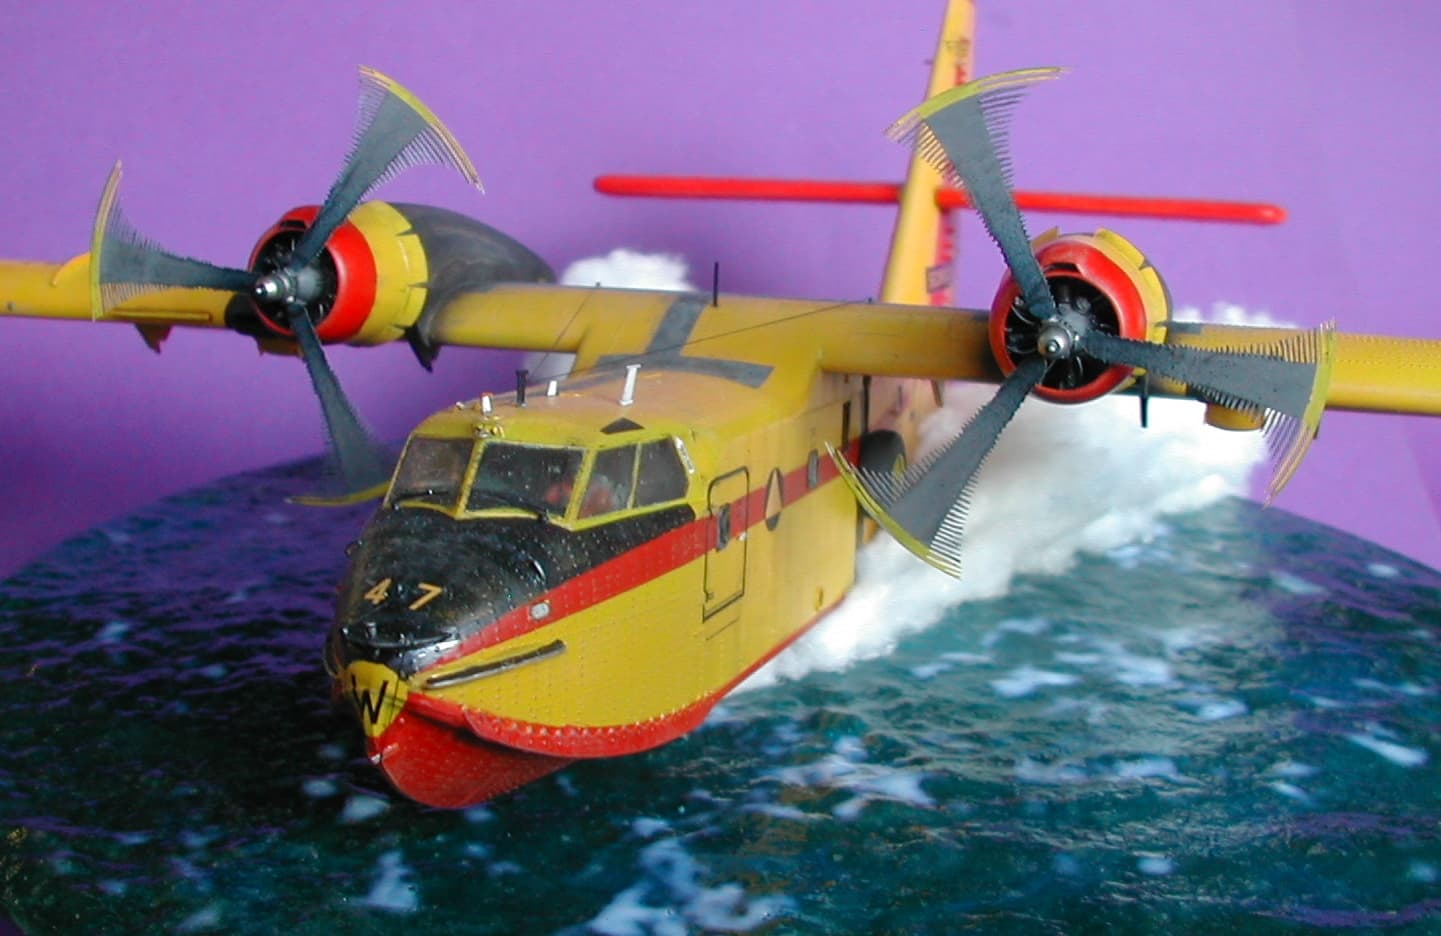
This is the 1/72 Heller Canadair CL-215. The kit had been travelling with me since 1989, I just completed a few weeks ago. This is IMHO one of the best Heller kit ever produced. It has its faults, but the kit is 45 years old now. We’ve come used to better things (though one can still buy brand new kits that are worse!). Lots of reference was used to improve the smaller external details on the kit. The cockpit was somewhat improved too, but with the two added figures, not much else can be seen. The cabin was not improved at all, not even painted. As long as the access doors are left closed, nothing at all can be seen in there from the tiny side windows. So, there are things that could have been better on the kit, yes, like the fuselage/wing joint, that needed, fore and aft, Milliput. The raised, millions-like rivet heads, were left as is but some needed to be re-done after being covered up with the Milliput. I used, as usual, dimensional fabric paint (for garments) to recreate them, one by one. Tedious, but it works. Some of the original markings offered by Heller as decals are also appearing as raised lines on the fuselage. This is annoying, difficult to remove because of the raised details that need to be saved. Also, if one decides to represent a different aircraft, those lines are not going to be of any help, but a bother. They needed to go. I chose a livery out of a SyHart decal sheet dedicated to the French water bombers. Heller decals are not that good after 40-odd years.. Since the aircraft was going to be scooping water, I needed to modify the kit, by lowering the flaps and retracting the main landing gear. The engine cowlings were modified too, by opening up the flaps, while the Heller engines got a bit of extra detailing (though the base engine is very decent). The still water is made of plaster, painted and varnished, while the spray is made from cotton wool, that hides the two metal tube sections that keep the model on its ‘stand’. Colorful and quite impressive, the model always attract eyes and comments at shows. Really glad I finally added this bird to my collection.

Great job, the finished result is awesome.
Steve
I Love the Base!
Can you describe your process on the water?
I used a ceramic fruit bowl as ‘base’. It is quite heavy and won’t topple with the model on top. I first superglued some scrap plastic card at the bottom of the bowl to ‘hold’ onto the future layer of plaster. I then then poured a first layer of plaster, added more bits sticking out, let it dry, then repeated the process twice before adding a final layer of plaster. Each layer was about 1,5cm thick. My plaster was mixed with water and PVA Glue, that I find makes it less brittle in the end. The wake (all but invisible under the aircraft and spray) was created during this last pouring phase, using a much thicker plaster. I let dry for a long while, then drilled deep holes into the plaster to hold two metal tubes into which two smaller diameter metal tubes sticking out of the hull of the aircraft could slide into. I then painted the top surface with a mix of poorly mixed blues and greens. Once dried, I added AK’s Water Gel, two heavy coats, let dry for a while, then gave the whole thing a couple of coats of acrylic gloss varnish in spray can. A little drybrushing with some titanium white (oil paint) finished the process. The spray is just cotton wool stretched here and there and glued with PVA glue; it is further put into shape once the PVA has set. That’s it.
Nicely done. I like the fire fighting aircraft. I’ve done two cal-fire birds myself. Great action dio.
Have you showed them off here?
I did the S-2T Tracker - Cal Fire Grumman S-2T Turbo Tracker COMPLETE
And the OV-10a Bronco - OV-10A Bronco Cal Fire build COMPLETE
And I have the AMP dash 8 air tanker in the stash.
Neat conversions !! Not for the faint-hearted modellers, particularly the Tracker.. LOL Great job on both !!
Great display. I have a question about your process for replicating the rivets. I have tried the same process in the past and didn’t get the results I was hoping for. What do you use to apply the texture paint? Do you thin it at all?
I’ve tried round tooth picks, dental tools, sewing needles and more, but always seem to end up with mis-shapen globs as opposed to round rivets. Also, many times once dry, the paint ends up slightly concave instead of convex.
The water came out great, Domi! Nice work.
I’ve been using this technique for over 25 years.. It takes patience to obtain the desired effect, but mistakes are easily and quickly fixed since the offending blobs can be removed a few seconds after having been applied (once dry is the best time to remove the blobs) without damaging anything else around. I still use a sharpened cocktail stick to apply the blobs; depending on how sharp your cocktail stick is, you can apply larger or smaller ‘rivets’. Usually, I do not apply more than 3 rivets before wiping the excess paint off and dipping it again into fresh dimensional paint. By ‘fresh’, I mean a pea-sized amount I’ve put onto an old CD (or any other material that will not absorb the paint). After 10 mins or so, I add a new pea-sized amount of paint onto the CD and start again with ‘fresher’ paint. The type of paint you use is important: while in the US, I used to work with the brand Plaid. That was very good but ‘plain’ paint was paramount; those with glitter, the neon colours, the pearlescent did not work as well. Other good brands are Nuvo and Pébéo. Not all brands give you good results, I’d say stay away from the cheapest brands. The great thing about those paints is that you have lots of colours to chose from, and the color I use depends on the color of the plastic I work on, so that I can see what I’m doing. Glitter and pearl colours are more difficult to dose, that’s why I stay away from them. Work on small areas at a time, and give each a coat of Future before moving on to another area, because without it, the rivets can easily be damaged.
Thanks for the information. I’m using the same paint, but got the neon pink as I figured it would show up better while I’m applying it. I also wasn’t cleaning the applicator often. I’ll try changing both of those and see how it works. Again thanks.
Nice save, and a very convincing diorama! Thanks for sharing your techniques. I’ve seen loose cotton used in many ways, most of them just look like ‘cheap effects made with cotton’. Yours really looks good!!
I love seaplanes, for some stupid reason. I have several in my stash that I’ve been collecting AM parts for over the years. I really need to get to them!
I’ve seen the Heller kits available in 1/72 and 1/48, but remember that they are Heller kits, so will need a LOT of work. I’ve done that with past Heller kits, though, and they can be made into quite the silk purse. 
I just heard that the ex-Brand Manager for Airfix has recently become the Brand Manager for Heller, so here’s to hoping some new and better things come from them.
That is truly an example of building a kit rather than just assembling one. That is an awesome job !
To be fair, Heller kits were pretty good for their time, and offered far more details than most of what was available there and then. By today’s standards, most are just collector’s items but some, produced in the late 1970s and early 80s, before the link up with Humbrol, remain pretty good. Both Canadair 215 and 415, the Caudron Simoun, the SAAB Safir, to name but 4 I dealt with recently again, were and remain very good kits. I also very much appreciated the originality of some of their kits, some of which remain the only game in town to this day; the ANF Les Mureaux 117 for one, also a very decent base. To me, the Humbrol/Airfix/Heller period was the worst and to this day, I can not comprehend how they managed to release a 1/72 Concorde that is fraught with so many problems.. Since the Germans took over the company a few years ago, we have seen new Heller kits coming in and frankly those few I bought, mostly 1/24 civilian vehicles, are really good kits. Not Bandaï-like quality, but still very good.
Very cool bird!
The Canadair is one plane I also would very much like to build some day. The mostly yellow paint is, however, pretty scary, as yellow is quite hard to do “properly” 
Love the little motion blur effect on the propellers.
Coincidently, You may probably be aware that sadly in France these days, fires - mostly arson - are ravaging our forests. Close to Paris, in the West, in the South west…
Let’s say that the french Canadairs are pretty much a hot topic ( if you will pardon the pun ) these days…
Looks great. I thought at first it was the plane from TailSpin (stupid small screens).
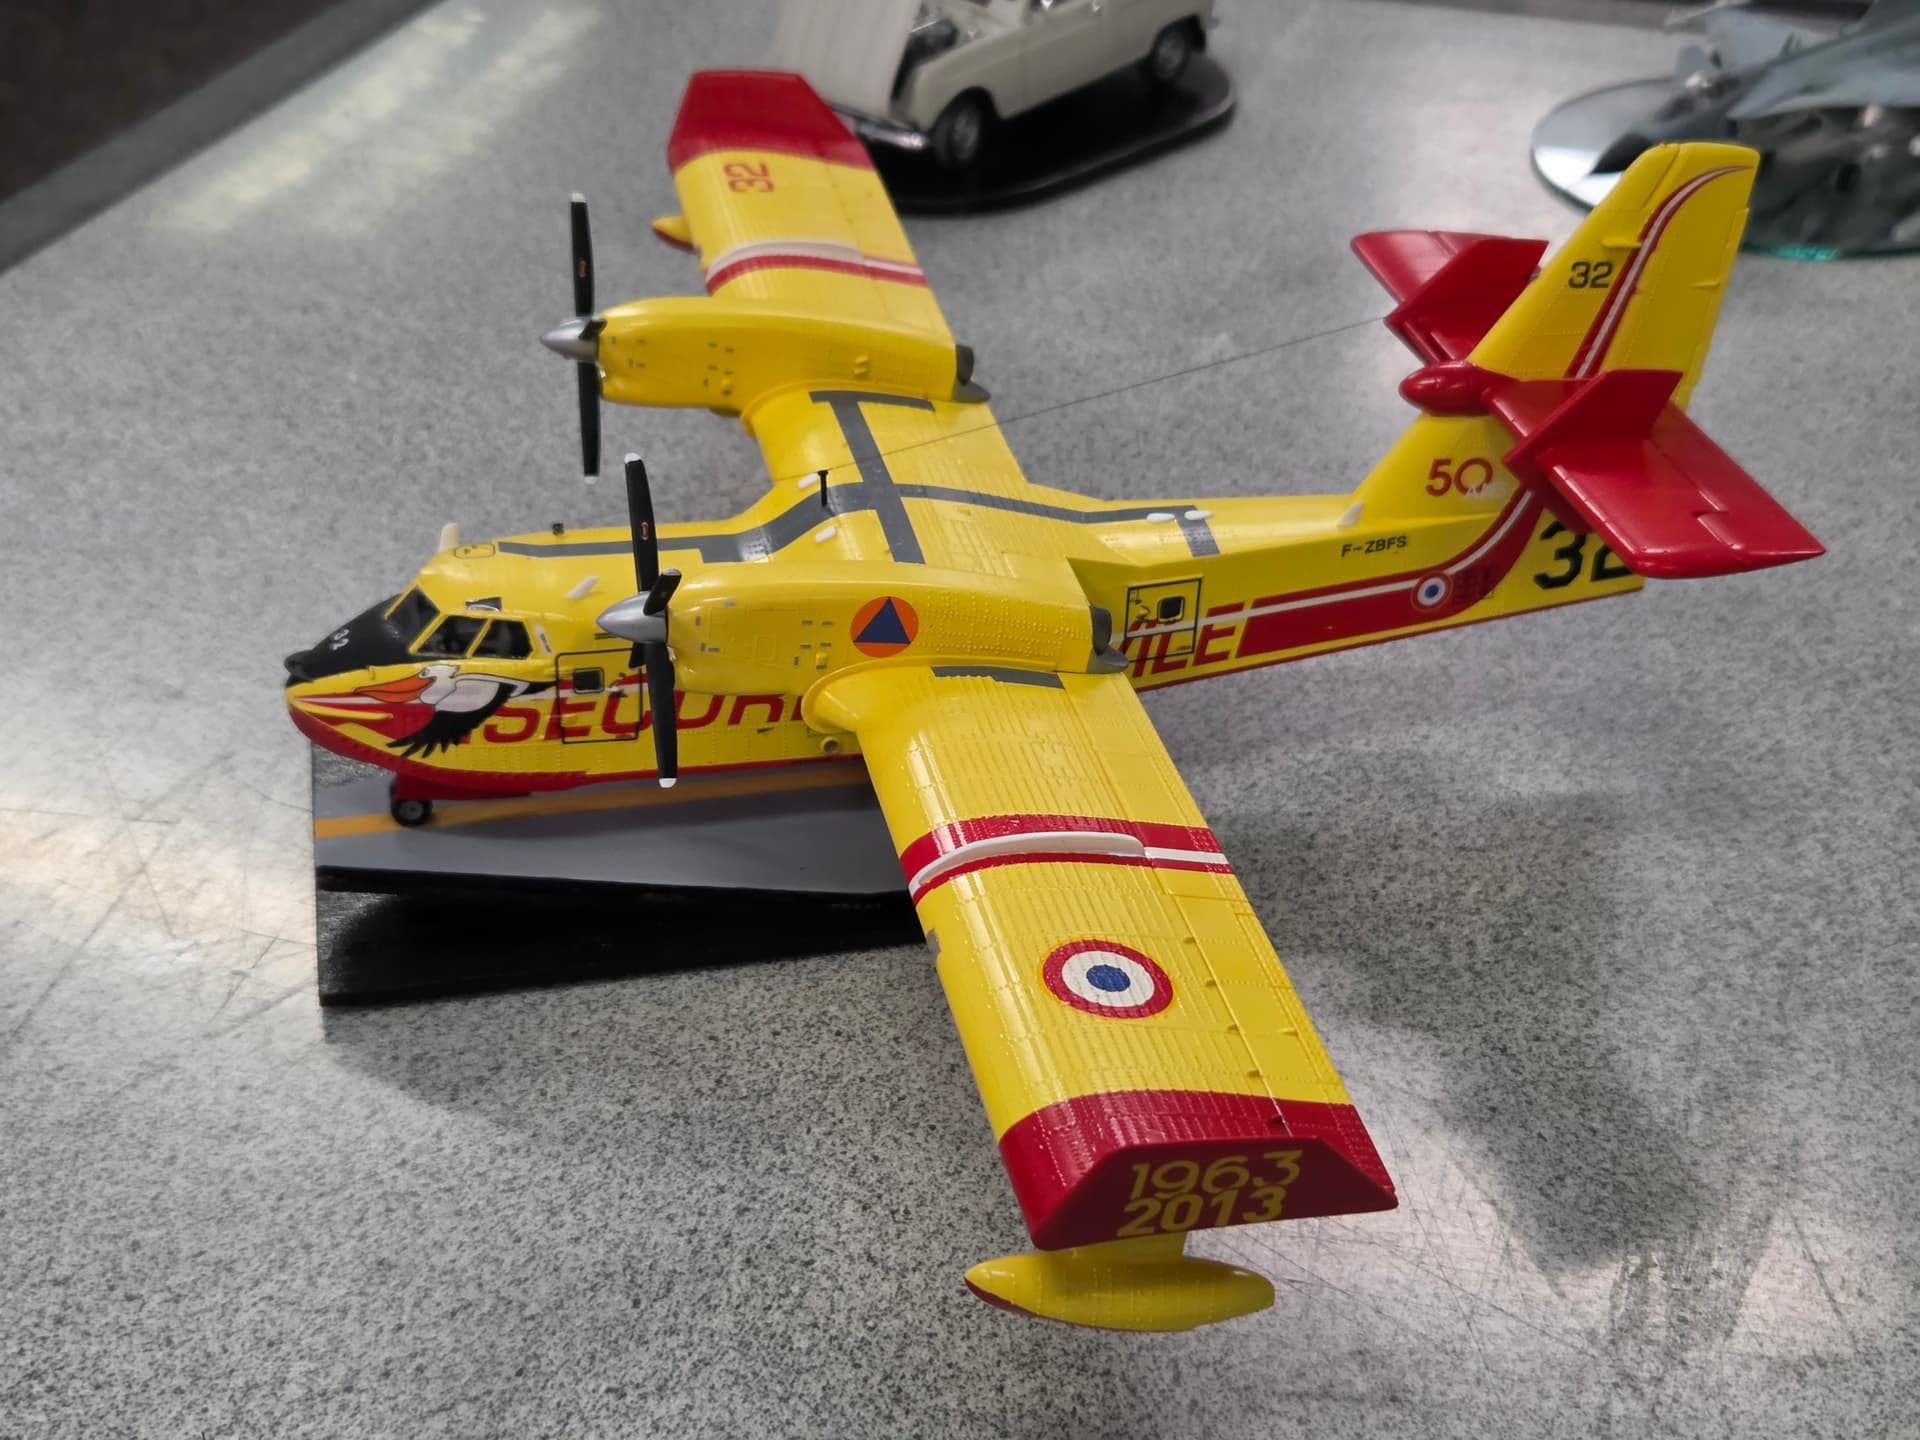
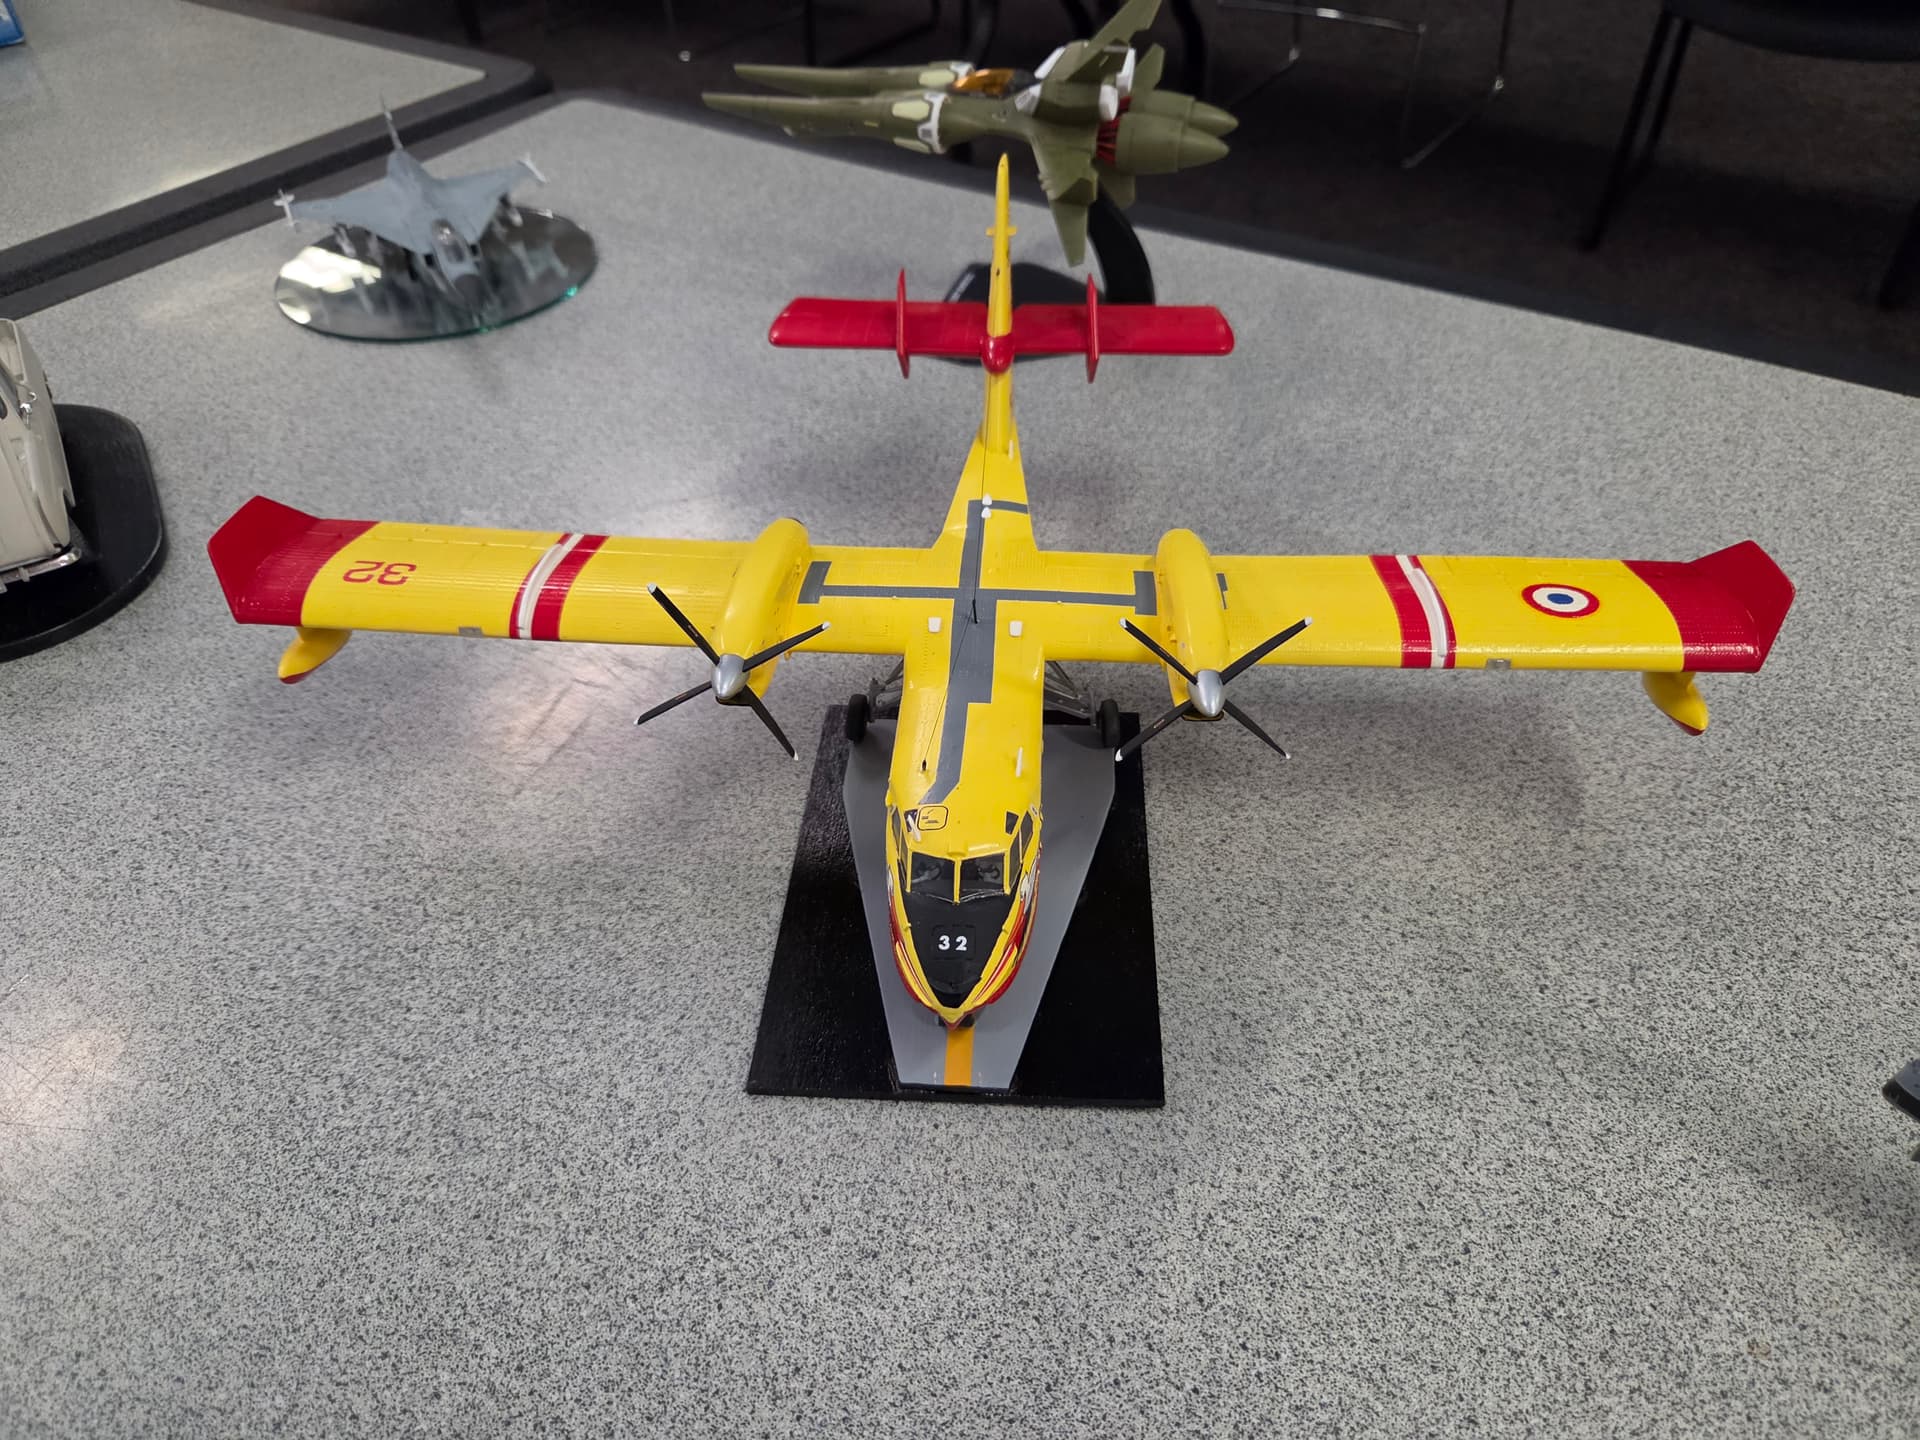
You are right, yellow is a tough paint to ‘master’. It took a lot of very fine passes with the airbrush and Tamiya’s yellow to cover the primer properly. An yes, we feel for you Guys in France, but also in Spain and Greece.. About 40 years ago, while vacationing in the South of France, I went to the Etang de Berre to watch the Pélicans (as the Canadairs are radio-called in France). Wonderful but also tragic.
Love it, though not as much as the CL-215. Nice model, though!!