You can try Federation Models. They are in the Tampa area on the Gulf Coast and should have several companies who make decals, stencils. I have used them several times in the past and will be needing them again after my current project is finished.
I’ve ordered from Federation Models a couple of times. Great guys to deal with.
So, worked on the build for a bit. Had this awesome idea to use lacquer thinner to remove some excess putty from some of the seams. Did you know, that the plastic used in the 60’s and lacquer thinner are not friends! ![]() So there was some melting. Nothing bad, but the model went from having grids on the saucer to now being a smoothies!
So there was some melting. Nothing bad, but the model went from having grids on the saucer to now being a smoothies! ![]()
Smooth is actually accurate. The grid lines were lightly penciled onto the filming model. Lacquer thinner will melt any vintage plastic.
lesson learned. [:D]
Lol. Welcome to the club!
Hi, I’m building up this exact same model, same version - the Short Box. Will be following this closely. I’m still scraping off gridlines of the top of the saucer and waiting for new modelling putty to fill seams (I’m really starting to hate Testor’s putting and trying some new ones, like Mr. Dissolved putty and Perfect Putty).
I am intending to get the new decals from Federation Models, any maybe a new B/C deck housing. I’m not planning on lighting it no matter how tempting.
One thing I noticed: there’s a lot of “accurizing” parts out there, but I have seen several straight builds without them and was honestly amazed at how good they look without those parts. I’m torn if I’m doing that or not.
John A
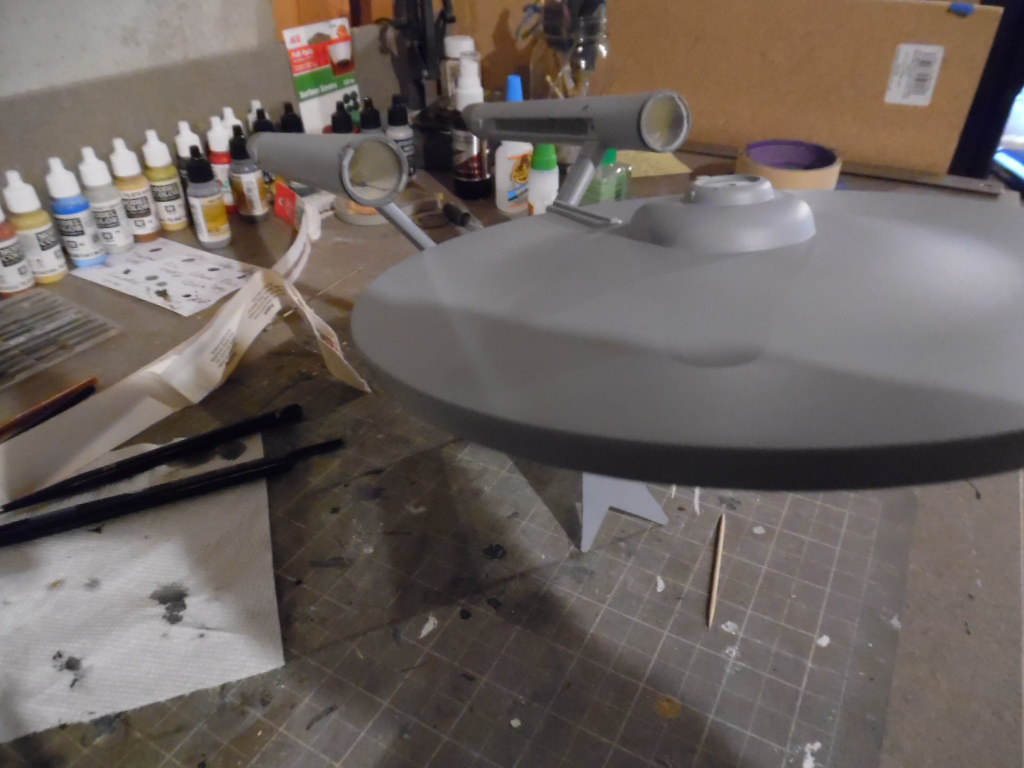
I’ve noticed that also. I will be going with a straight build on my end. Currently right now I am in the process of “trying” to apply the primer. I say truing because my airbrush was acting special. One thing I ran into, was that I had a hard time getting the top of thedefelctor section on the secondary hull with the saucer attached. So I had to remove it and I will affix the saucer later.
I read that Tamiya light Grey primer spray is a good match so I bought a can. I tested it over the weekend on some patches. Looks like a keeper.
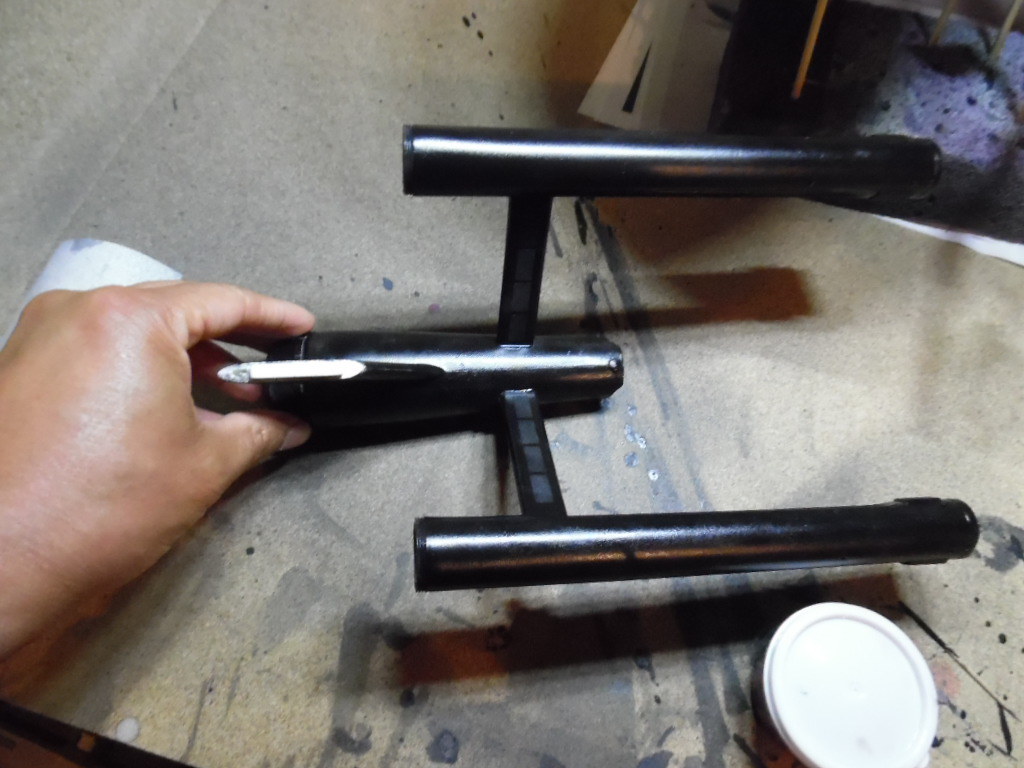
Now in the priming stage. Had to seperate the saucer just to get all around the secondary hull.
 SAM_8312 by Darren Keller, on Flickr
 SAM_8313 by Darren Keller, on Flickr
 SAM_8314 by Darren Keller, on Flickr
 SAM_8316 by Darren Keller, on Flickr
 SAM_8322 by
  SAM_8323 by Darren Keller, on Flickr
 SAM_8324 by Darren Keller, on Flickr
 SAM_8325 by Darren Keller, on Flickr
 SAM_8326 by Darren Keller, on Flickr
Now that’s looking smart!
Cheers,
Josh
That’s does look good!
The Terran Empire from the mirror universe should have painted their ships a cool black like this!
Looking forward to seeing her in Starfleet grey.
Nice!
The Enterprise set up for special opps!
It’s coming along. So far the plan is to paint it in Light and Dark Ghost gray. I have a set of decals from JT-Graphics on order so I won’t have to use the 50+ year old decals from the kit.
Good. The font of the kit decals are inaccurate.
Sounds good! The new decals should be an improvement in every way.
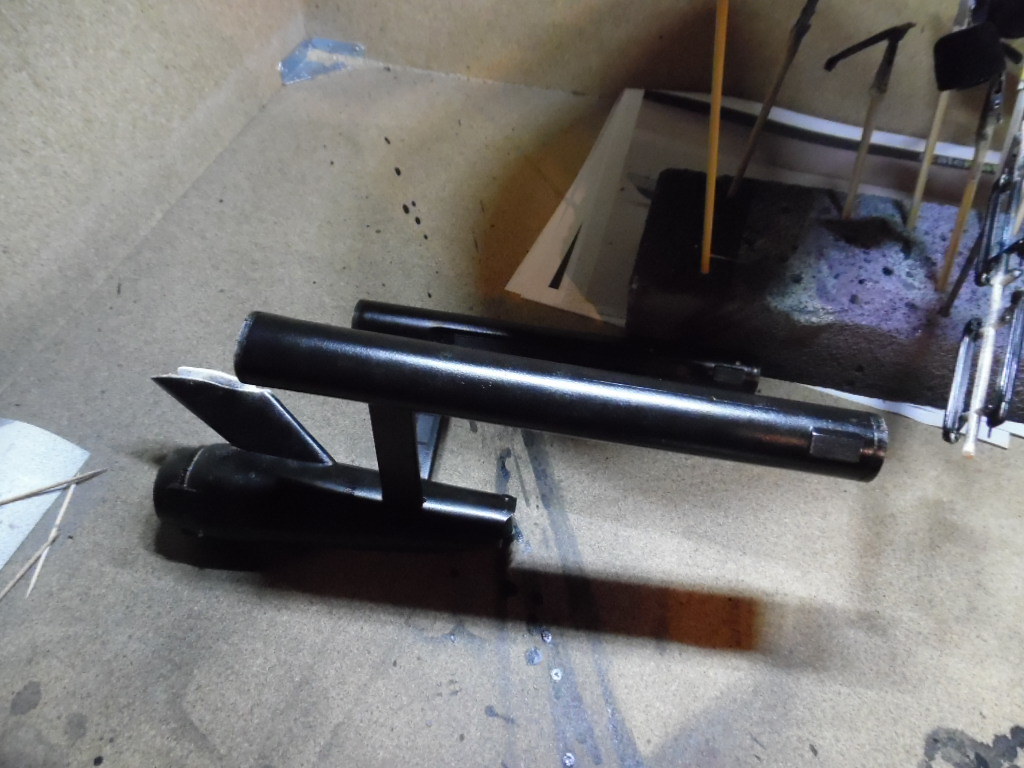
The 3 tri-angular things were supposed to be landing pads for the primary hull. I was that a LONG time ago at Star Trek convention I was working at. Yes, the kit is a challenge to build.
Yeah I remember reading about that. I am using the old Starfleet Tech manual and the new NCC 1701 USS Enterprise Illustrated Handbook fo a guide on how to build this model. The instructions are… interesting. [;)]
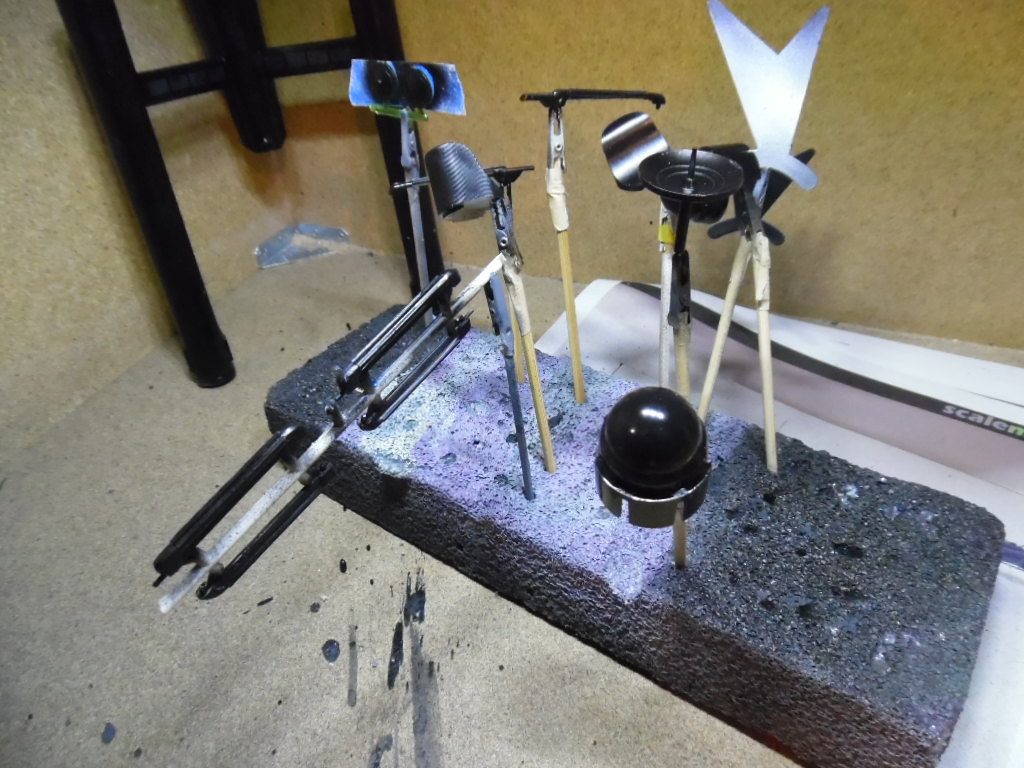
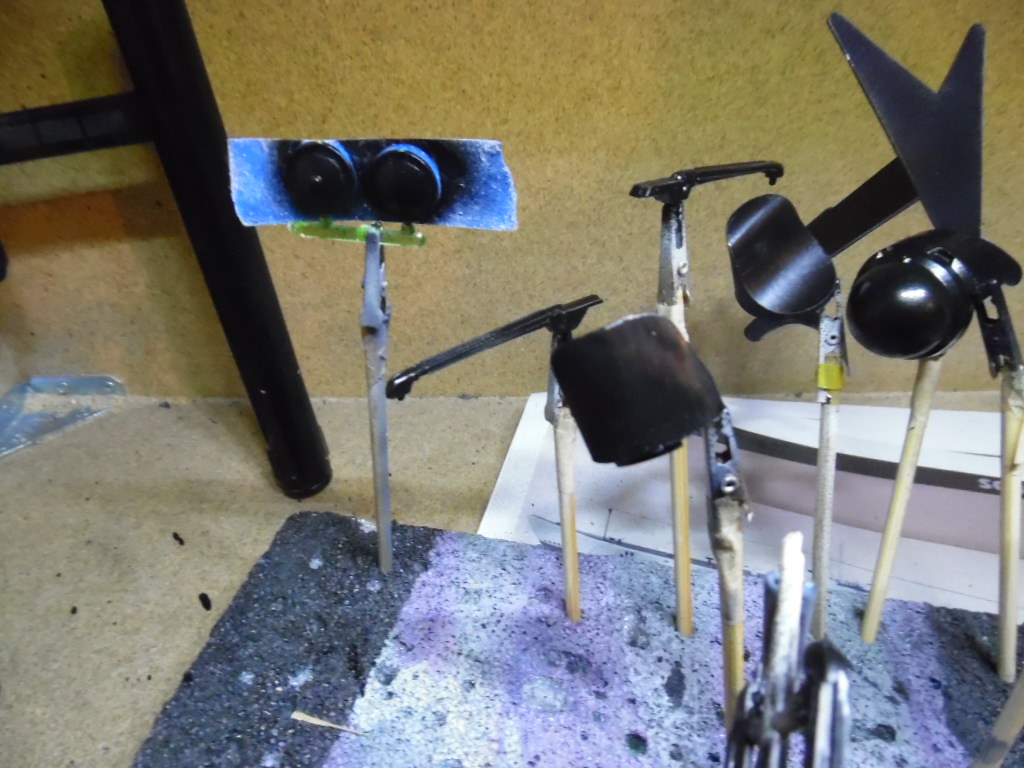
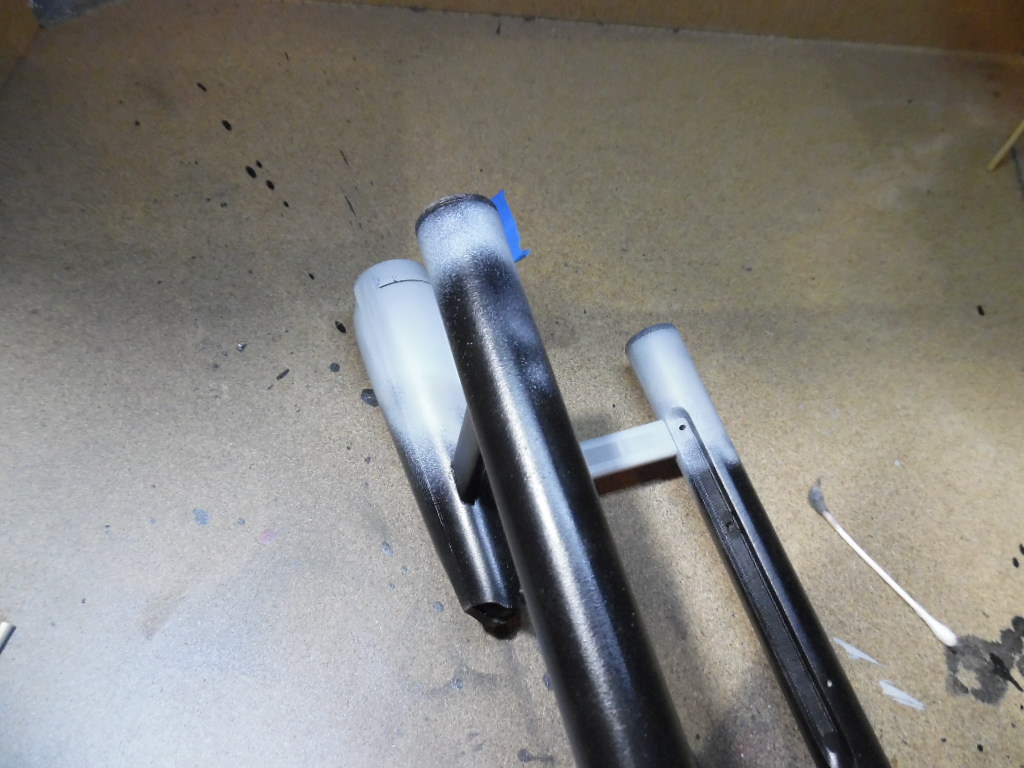
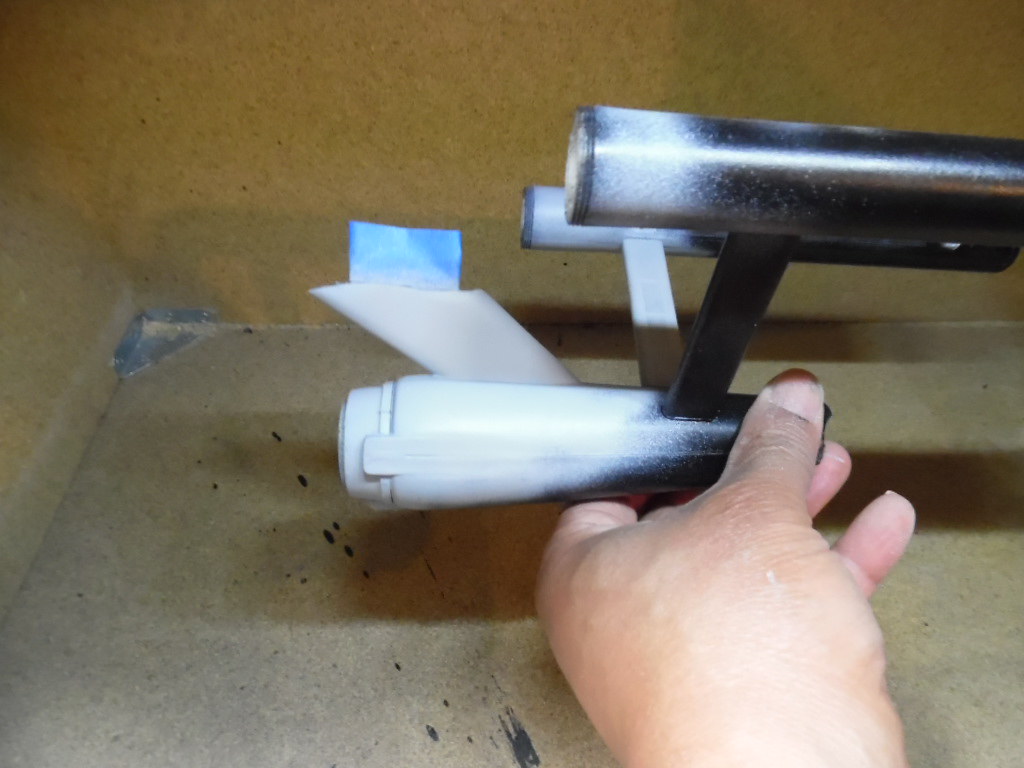
The color is slowly coming along, but I am fighting my airbrush just to get good coverage. It’s clogging too much. Overall I am happy with how this is coming along.
 SAM_8334 by Darren Keller, on Flickr
 SAM_8335 by Darren Keller, on Flickr
 SAM_8336 by Darren Keller, on Flickr
 SAM_8337 by Darren Keller, on Flickr
 SAM_8338 by Darren Keller, on Flickr
 SAM_8339 by Darren Keller, on Flickr
 SAM_8340 by Darren Keller, on Flickr
 SAM_8341 by Darren Keller, on Flickr
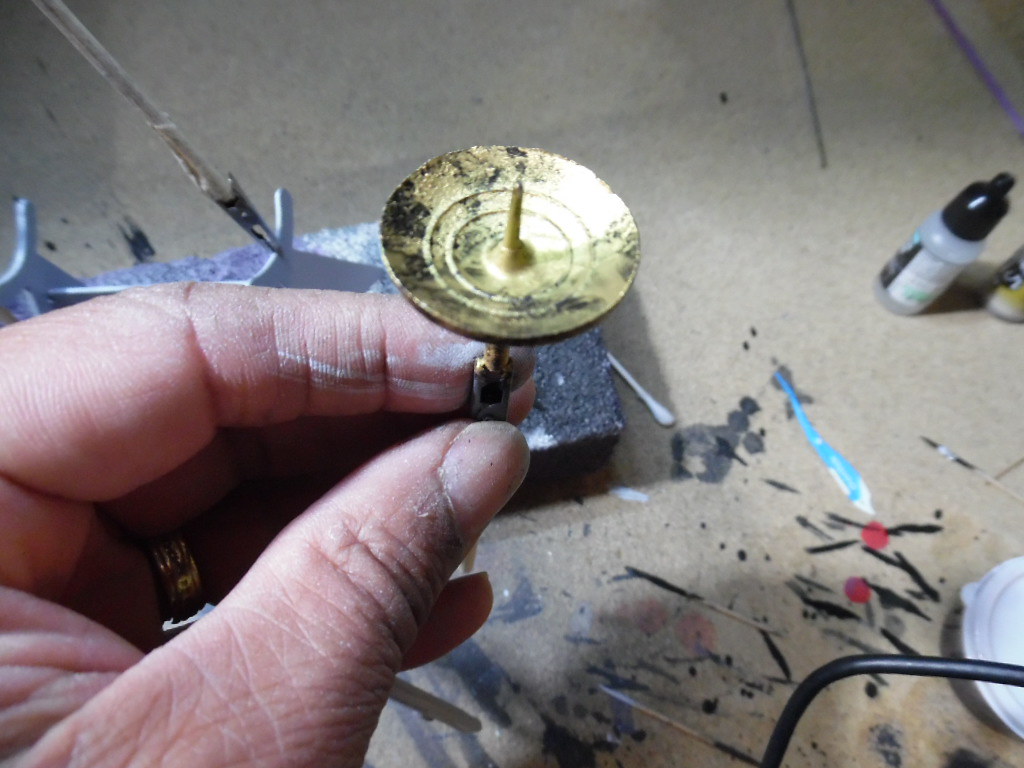
Then there is the deflector dish. Problems with my paintbrush (crappy) means I am going to have to redo this.
 SAM_8342 by Darren Keller, on Flickr
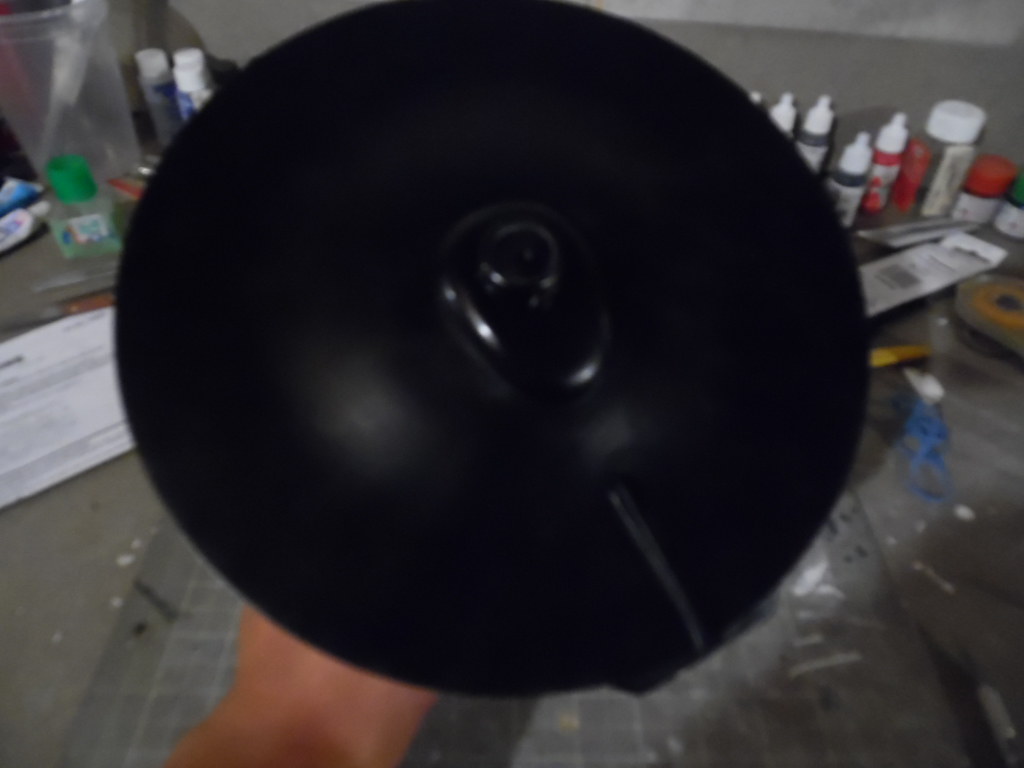
Here we go, most of the painting is done. Had to fix a broken nacelle/pylon that came apart after painting. Not a pretty sight. Also forgot my own warning about the lacquer thinner and the plastic this model is made from. Somewhat melted deflector dish. Looks salvagable, will know for certain when I get the chance to sand it smooth.
 SAM_8360 by Darren Keller, on Flickr
 SAM_8361 by Darren Keller, on Flickr
 SAM_8368 by Darren Keller, on Flickr
 SAM_8369 by Darren Keller, on Flickr
 SAM_8370 by Darren Keller, on Flickr
 SAM_8353 by Darren Keller, on Flickr
 SAM_8354 by Darren Keller, on Flickr
 SAM_8355 by Darren Keller, on Flickr
 SAM_8356 by Darren Keller, on Flickr
 SAM_8357 by Darren Keller, on Flickr