Oh Good Heavens, Don’t shake the ship! The crew will think they are in the Grips of a Leviathon of the Deep ! Nice work. Yes, I buy a tube or two of drill bits every three months or so. I seem to break more at 77 than I did at 37!
I just absolutely love your paint work. I have the same ship in stash. I dunno, Room is at a premium right now.
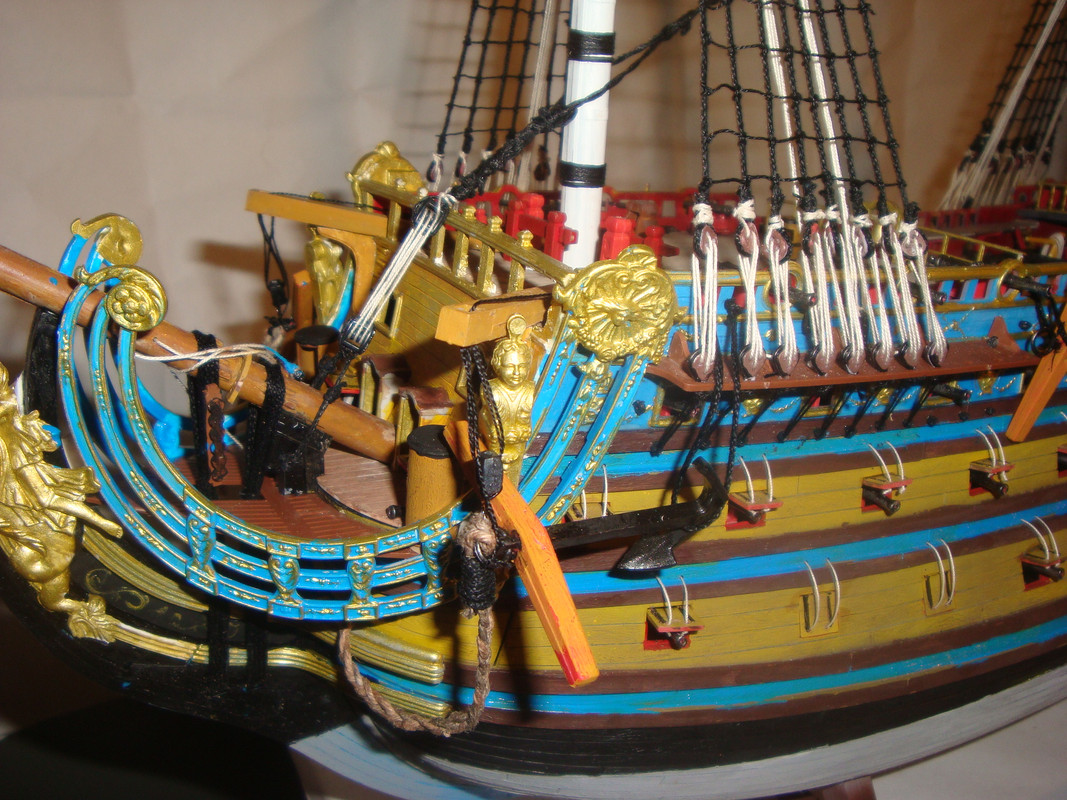
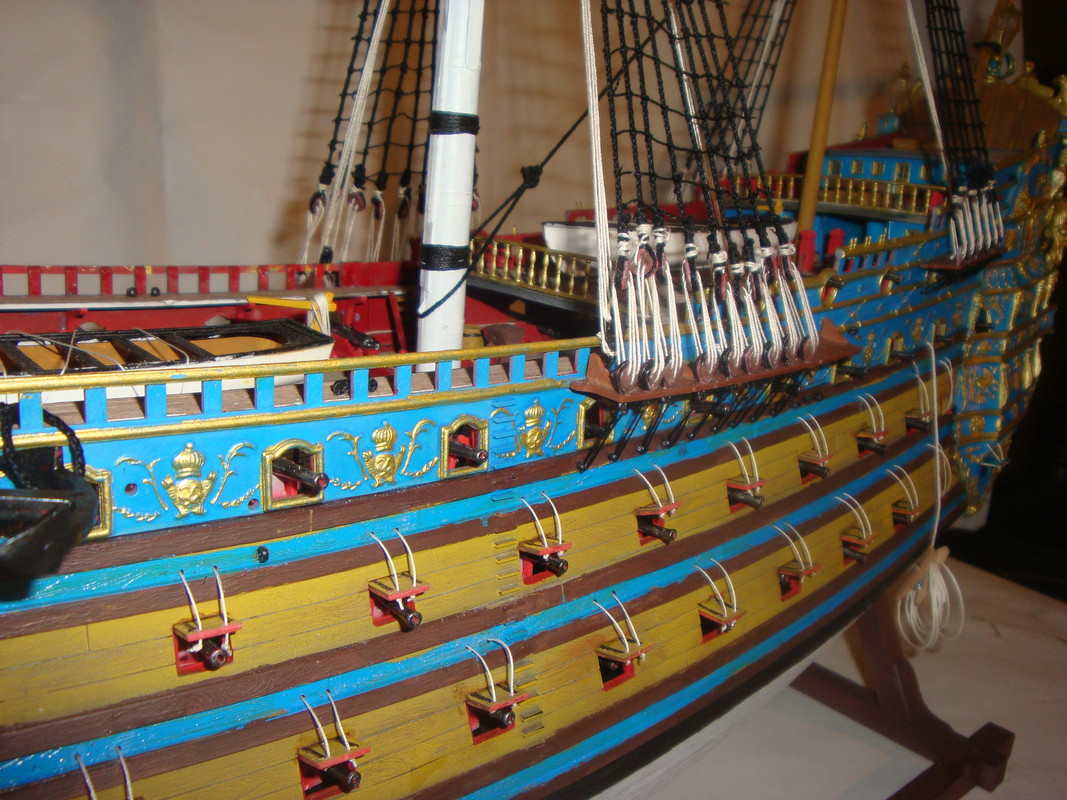
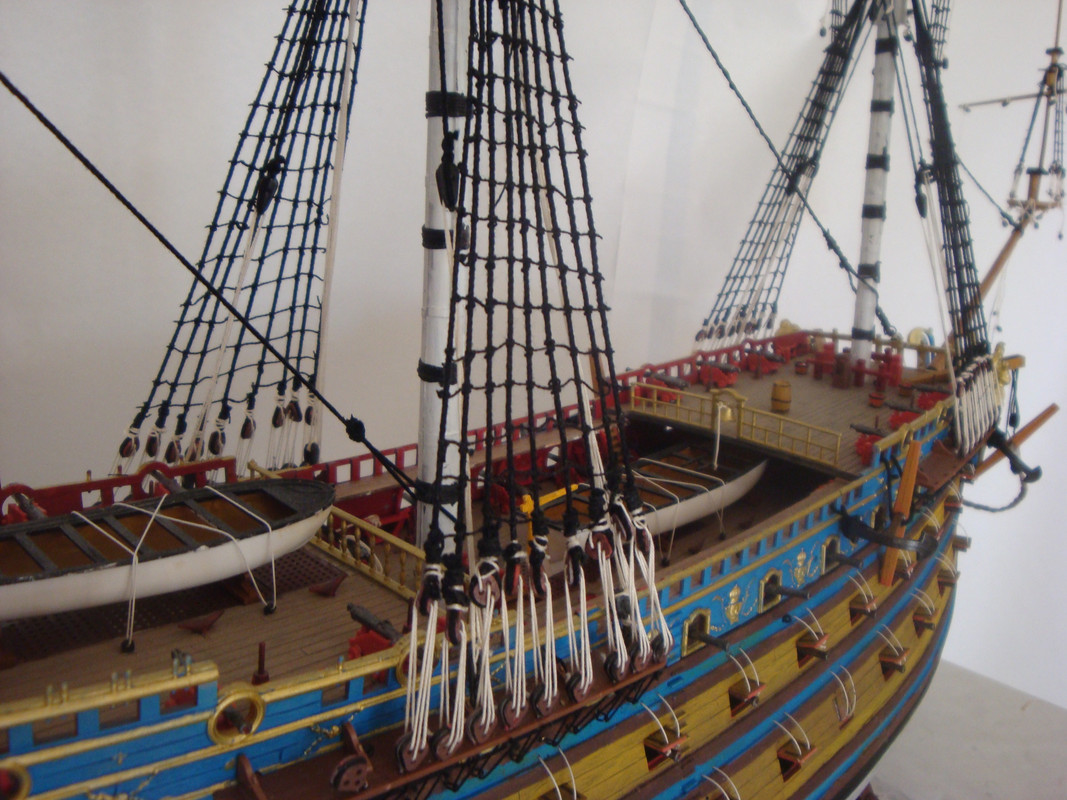
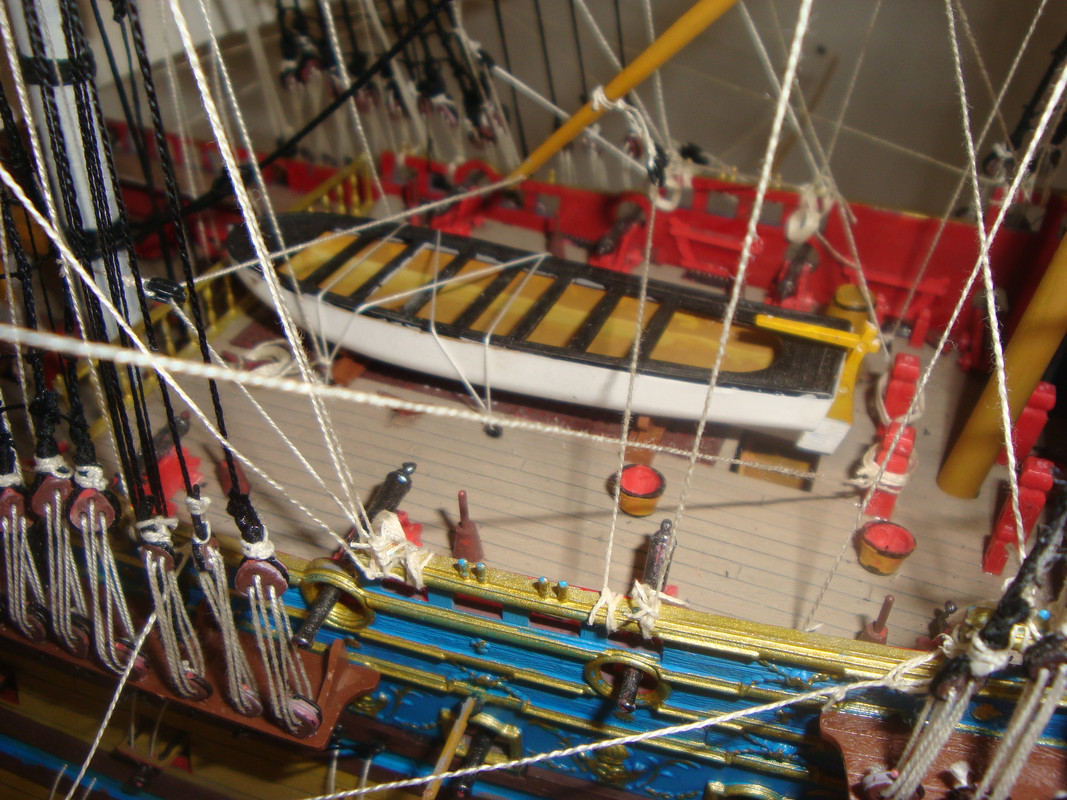
Ok, next update. I have completed all the shrouds and rat lines on the lower section of the 3 masts and the little mast on the front, I also added ropes to the gun ports doors. Adding the ropes was not as bad as I imagined, I have a small electric drill and I did have to order more drill bits ( I broke 4 of them) but I was able to do the work.
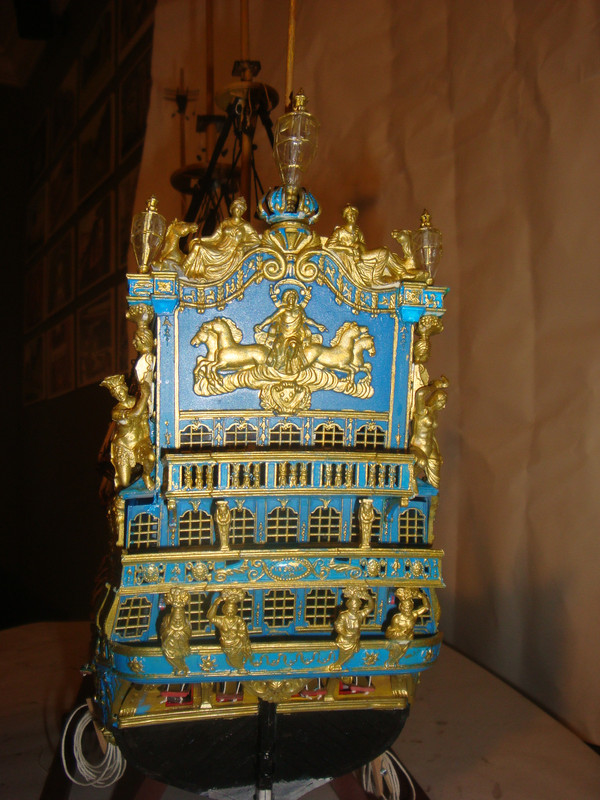
I also attached all the parts that have the bright gold colors, the ship is looking pretty good, if I may say so. Attached are some photos:
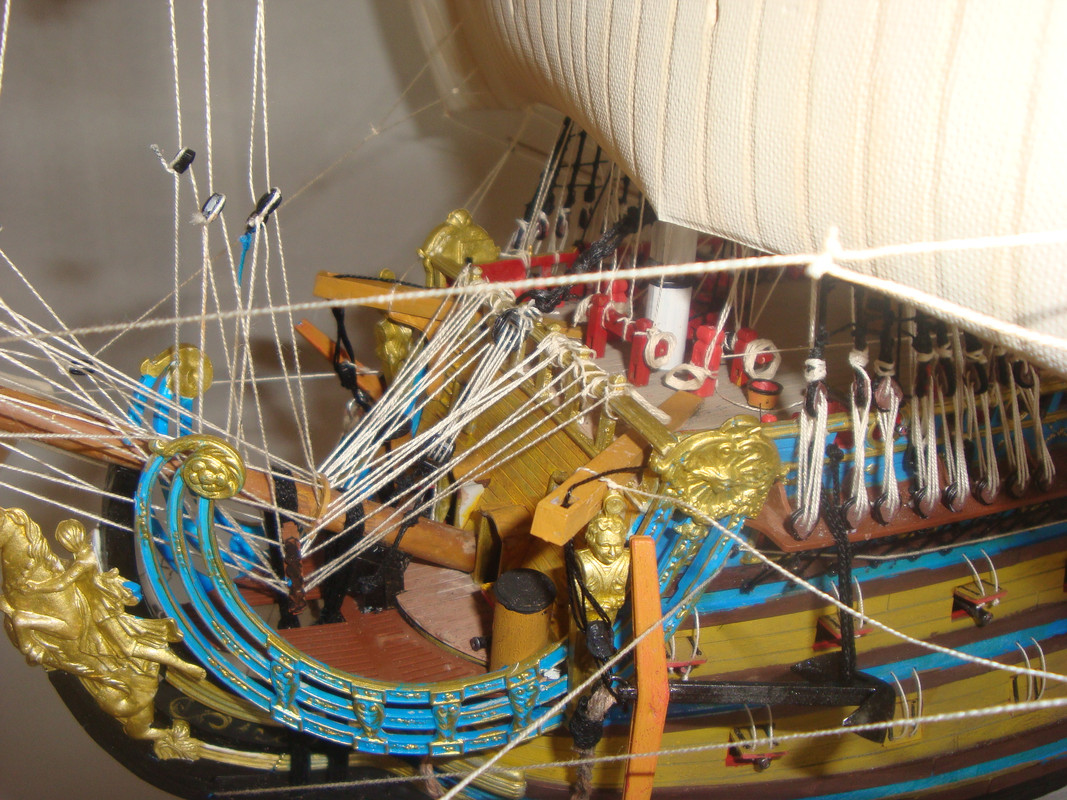
In this photo you can see that I have attached the anchors and I also made a part with Styrofoam to put in the area just below the figurehead, I painted the part black and hand painted some fancy lines in gold.
In here you can see the gun ports ropes.
Showing the bright work.
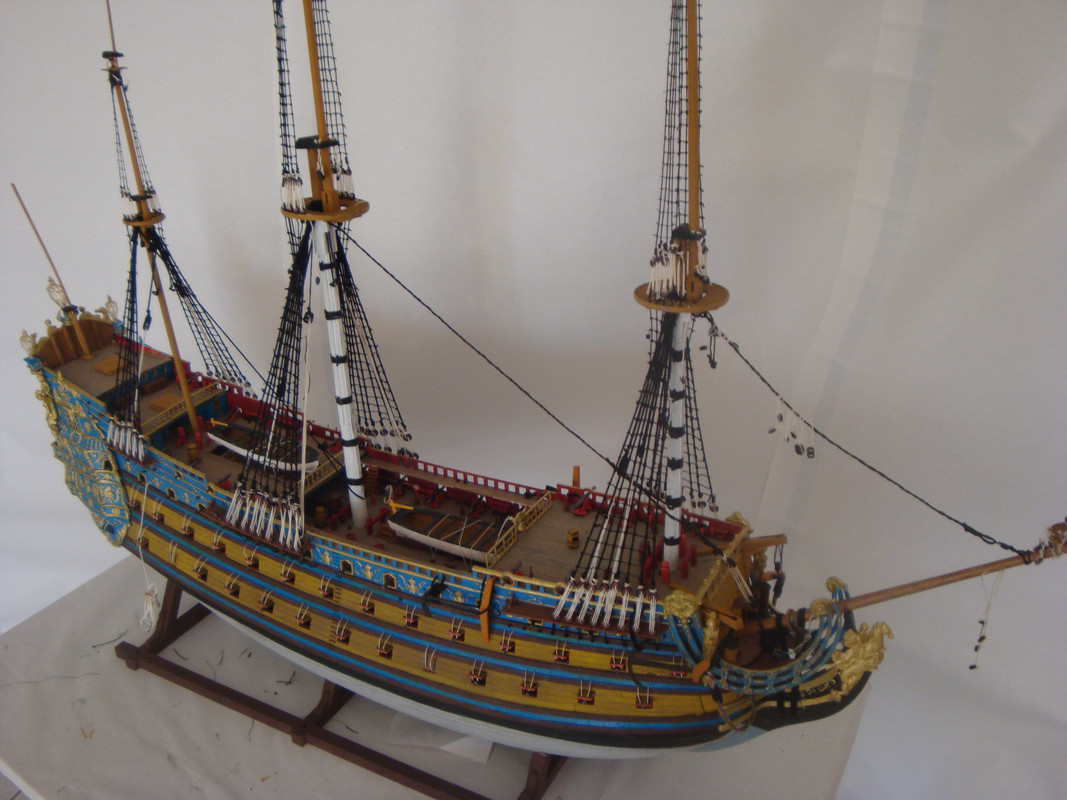
Well, here is were I stand, next will be the schrouds for the second set of masts.
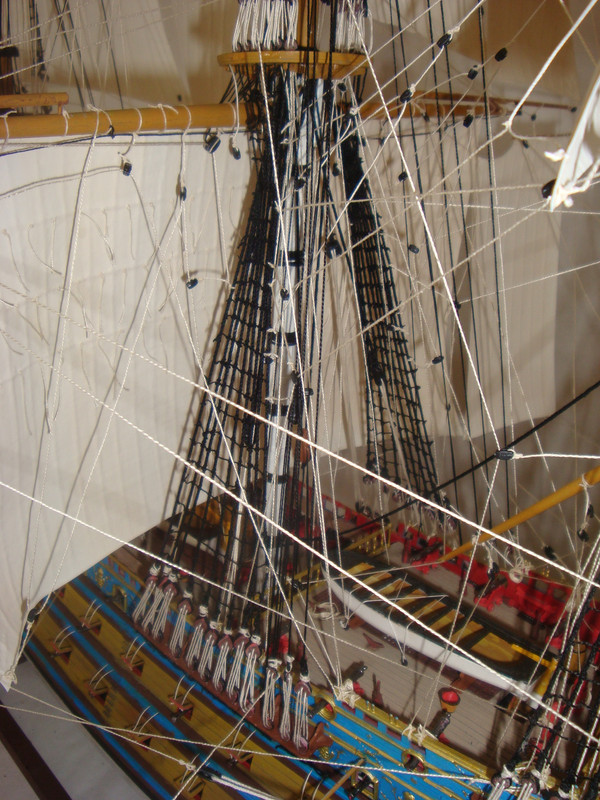
I have completed the shrouds and rat lines, as you know this part of the build is very tedious, at one time I was almost ready to put away the model and forget about it. But, with a little push from the Admiral, I went ahead and completed this part.
Attached there are 3 photos on how the ship looks like, I know my shrouds and rat lines are not as good as some of you guys, but, remember this is the first time I do them.
Well, there they are. My next step is to start getting ready the cross members and then installing then on the ship.
Looking good, Joe. Remember, Joe- your camera can focus much closer than the human eye, so the ratlines will look better than the photos. Still, for a first attempt they look fine- I complement you for taclkling the effort. The SR deserves the effort.
Whattya moanin about? Them there ratlines and stuff look okay ta me. That view from the stern makes it look like an overdecorated old apartment building.
Thank you guys for your comments, I am fully aware that there are a lot of errors in the shrouds and rat lines, but, I did not realized that doing them was so tedious and so prom to errors. If it was not for the Admiral to threatened me to lock the bedroom door if I did not continue, the model would now be sitting somewhere in the garage.
She know I tend to get discourage easily, so from time to time, she has to push me. I did learn a lot doing them, so, on the next project, I hope to do better.
It is nice that your wife follows your build. My wife has no interest in my models, neither knows nor cares what I am working on, and constantly criticises the size of my stash.
Have you checked out a build log of this ship by David_K? He did a wonderful job of this kit! It might give you some great ideas.
You are doing a nice job on this difficult model. I can send you a copy of the Imai version of their instructions, which are much better than those by Heller. Please let me know. There are also several references about rigging that can help you. If you like, I will send you a list of them.
I have the Heller instructions in French and Steve5 was kind enough to send me the Japanese instructions which have helped me a lot. However I do not speak French or Japanese. Yes, I would be interested in the Imai instructions, could you please tell me what I need to do to get them?
Yes, I am lucky, she actually helps me selects the next project and helps me determined the proper colors to use on the model. In this build, she worked with me in searching for the proper paper to use on the sails. Her only complain is about the mess I create while building it.
I have received your 3 e-mails. After looking at the instructions I can only think how much frustrations I would have saved and how easier the building of the ship would have been if I had these instructions sooner. At first impression, it appears that these instructions are very clear and well designed, I most definable will use them to correctly finish the kit.
I want to thanks you for taking the time to send these instructions to me, it will surely make the completion of the kit a fun project instead of a punishment.
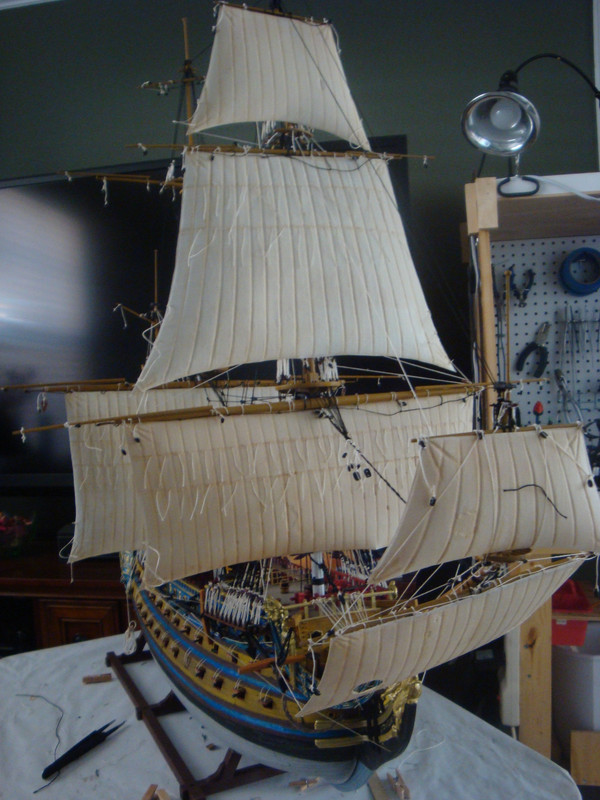
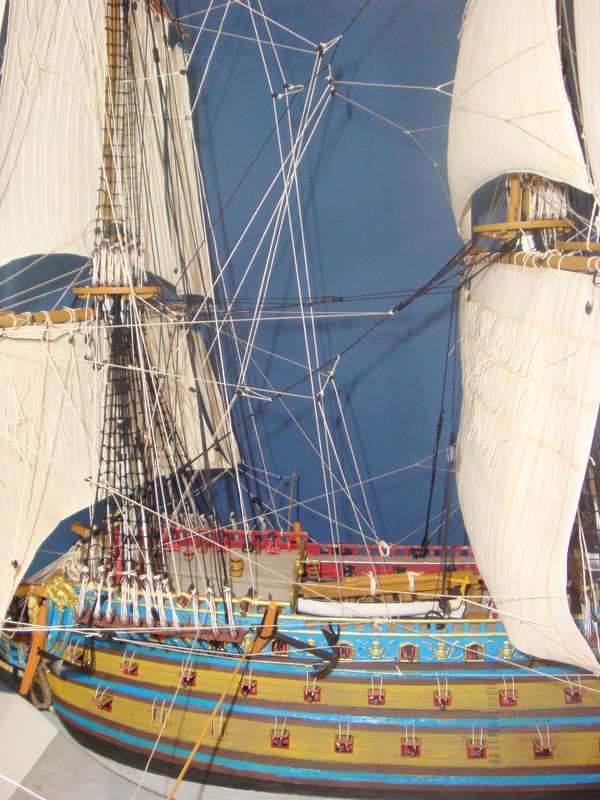
Well, here I am again. I have completed the preliminary rigging of the ship and getting ready to add the sails. I will be using parchment paper (The admiral uses it in the kitchen) for the sails, I cut the paper in strips about 3/4 of a inch wide then I glue them together to obtain the looks of a sails, see the sample sail in this tread.
I still have not decided of what color I going to use, but, after looking closely at the paper, I am playing with the idea of leaving the sails with the color of the paper since it is like an off white. Will see. Attached is a photo of the ship as it stands now.
Please feel free to criticize, talk, converse, and even object to what I am doing, I am not easily offended so be honest. I promise that if I do not like a comment, I will not call the PC police on you.
Well, here I am again. I have started to install the sails, I had originally stated that I was going to make my own sails, but, after I painting my sails, I did not like the results, they did not looked like sails and the overall looks and texture did not resemble real sails.
I had a pow wow with the Admiral and, after checking the plastic sails that came with the ship, we realized that they were sufficiently decent after properly painting them. I used deck paint from Tamiya heavily mixed with white at the ration of about 7 to 1 then retouch the rest with a wash of the same undiluted paint.
See the results in the following photo. Maybe in my next ships I would dedicate more time to find a better substitute for the plastic sails.
The ship is coming along, I am hoping to finish it by the end of March.
As you may be aware, the instructions for this kit are not very clear, thanks Bill, for bringing this to my attention, I will fix them so they are in the rear of the sails.
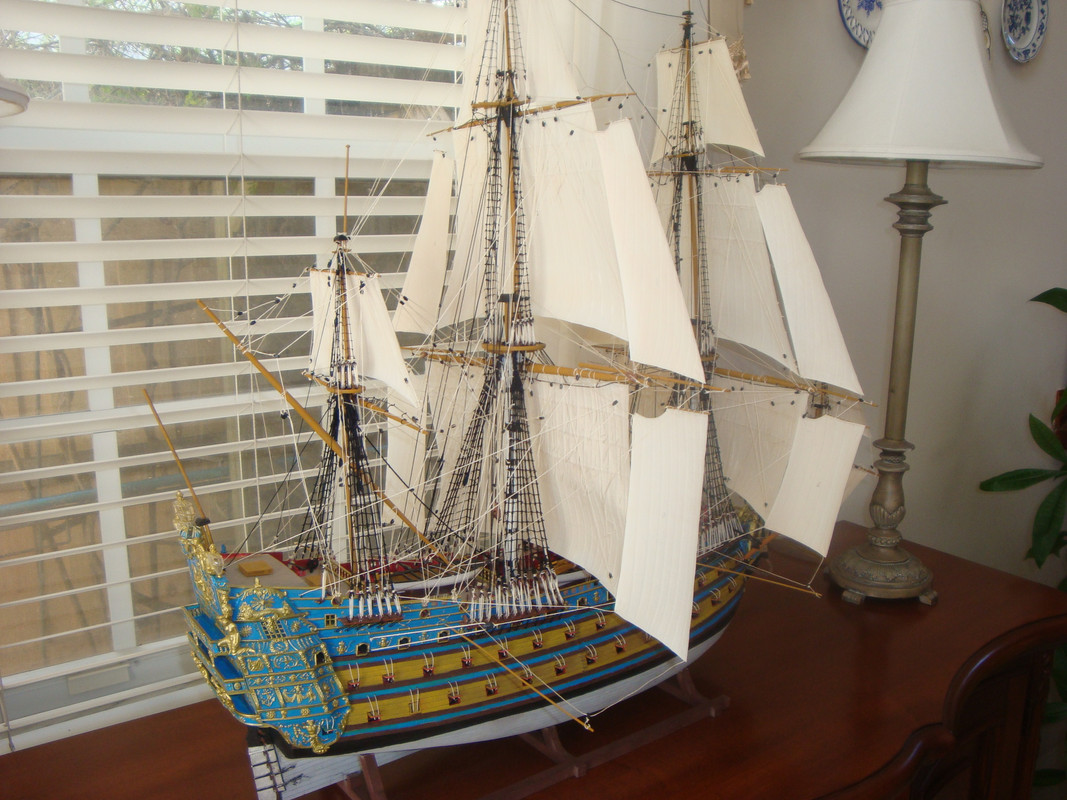
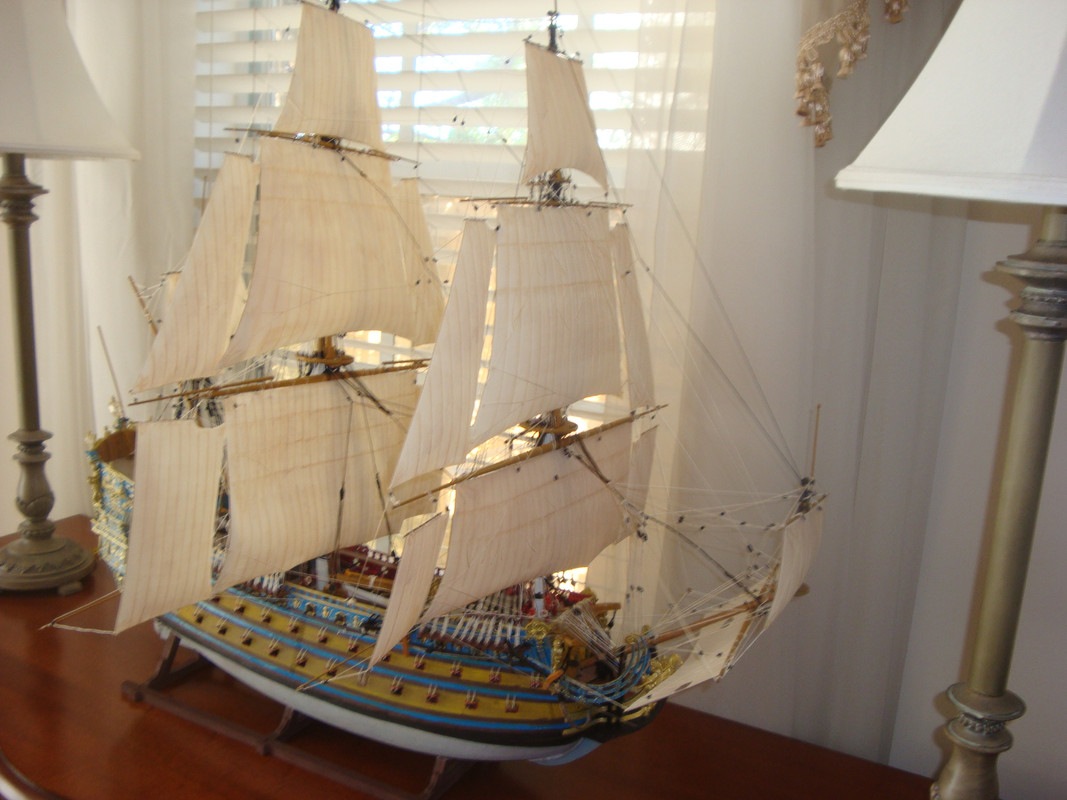
It is finished !!! I just finished the build, the only thing left are the flags. Attached are several photos of the completed model (sans the flags ).
I would like to thanks everyone in this blog for the help I received while building it, specially to steve5, who provided me with the Japanese instructions and jeffpez who provided the English instructions, without these additional documentation, I believe I would not have been able to complete the model.
I know this model is not to the high standards of some of the experienced modelers in this blog, but, while building it, I learned a lot of new techniques and obtained an inside of how the rigging on these vessels is to be done.
My son-in-law want me to build a Black Pearl pirate ship, the one he wants is one that has lights and it is a wood model, I have warned him that I have never build a wood ship, but he is willing to risk it (He is buying it )
One thing for sure, I will think twice before purchasing another Heller model.
Here are the photos:
Bow
Front life boat
Rear life boat
Midle sails
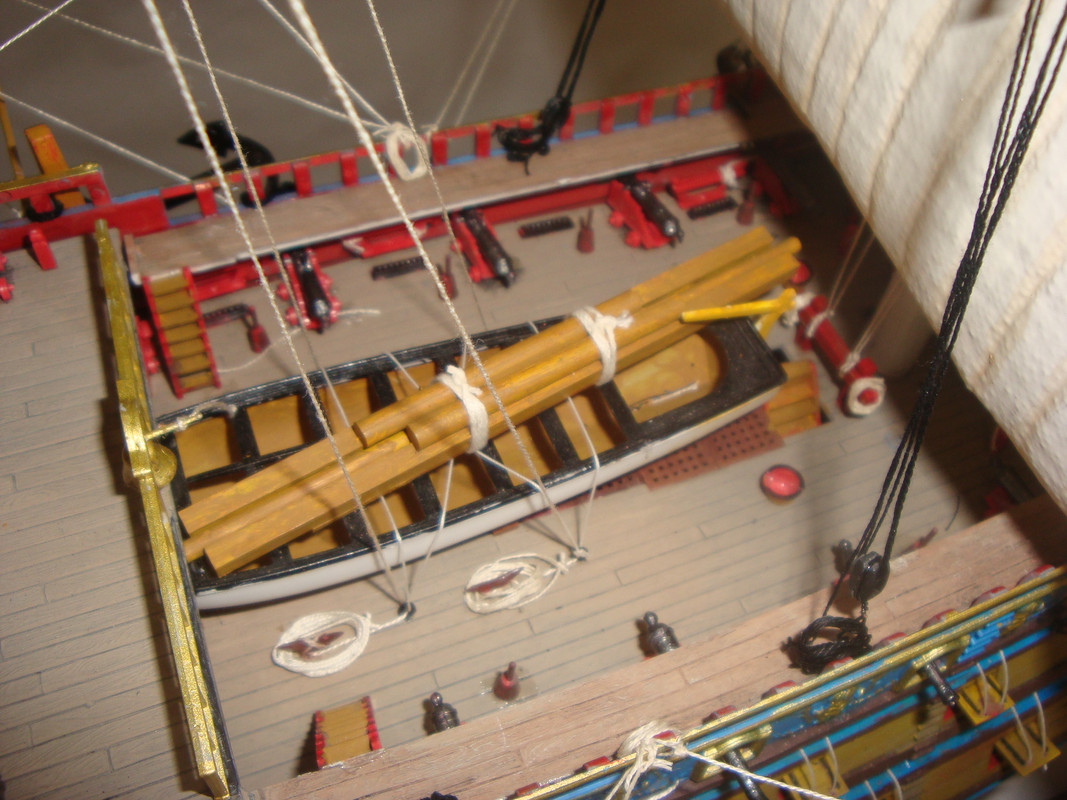
In here I changed the background to allow the ringing to be more noticeable. This in the midle of the ship.