Looks like an awesome build. Scratch built parts turned out great as well. I’ll definitely be following the rest of the build and looking forward to the finished piece!
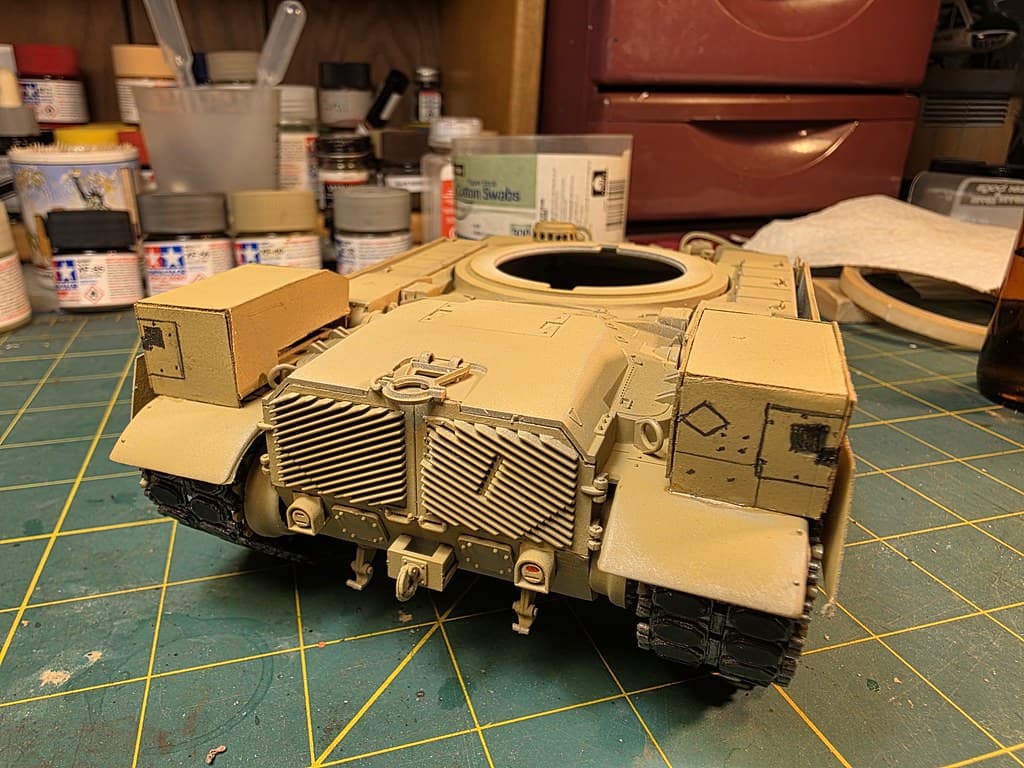
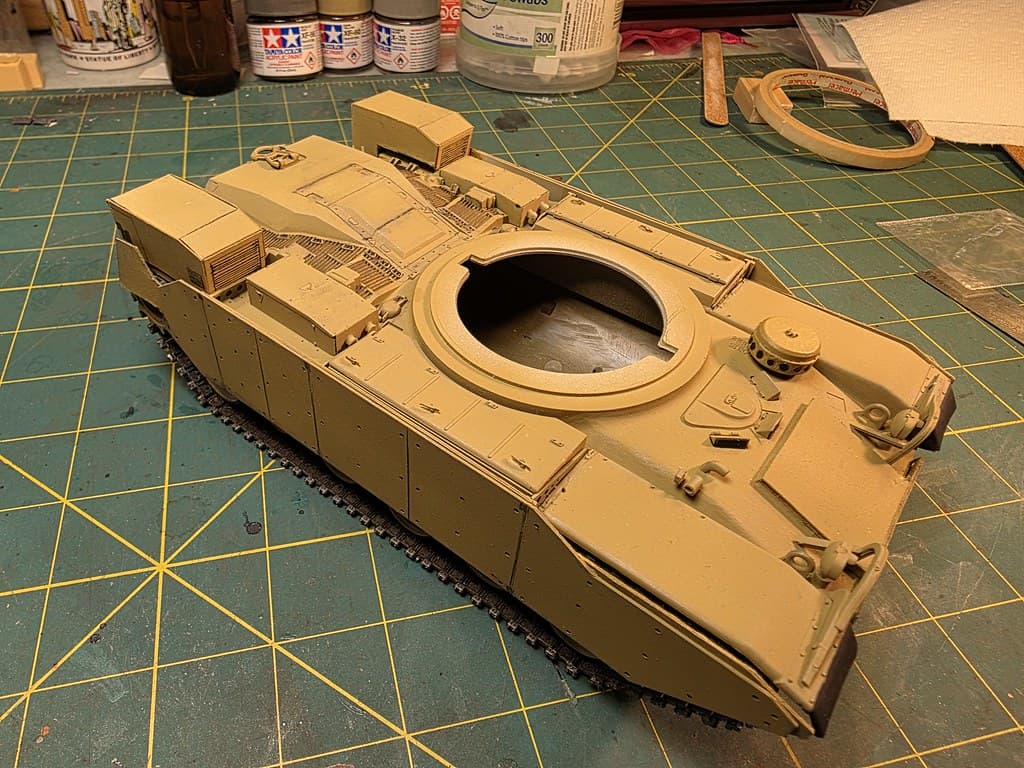
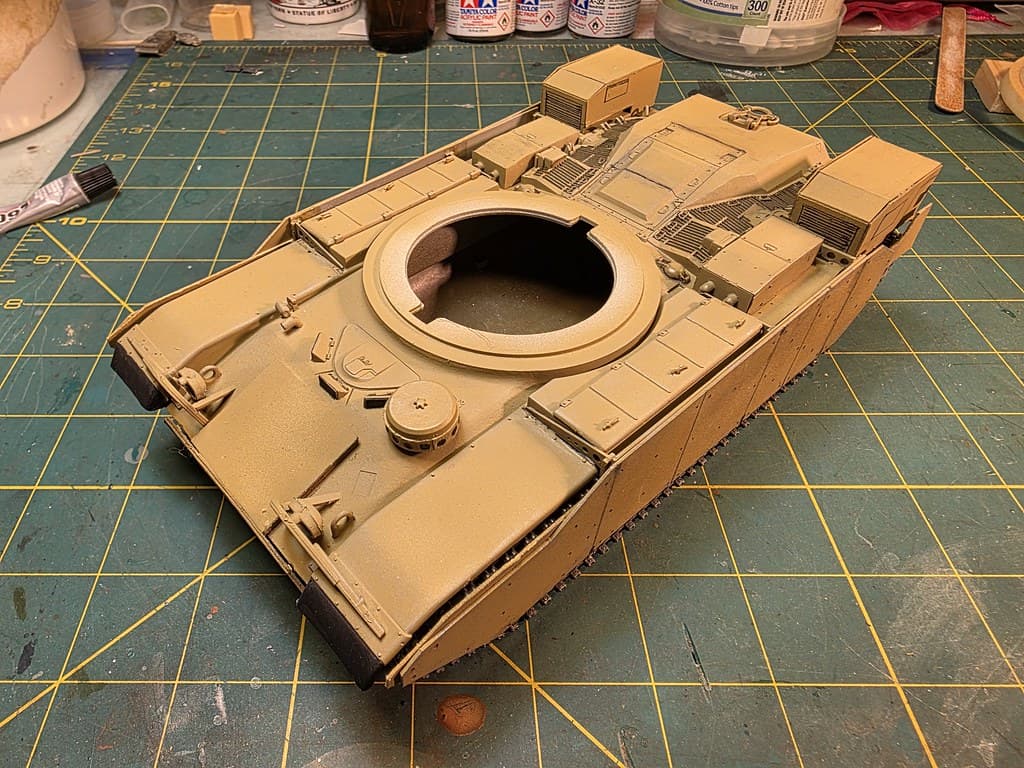
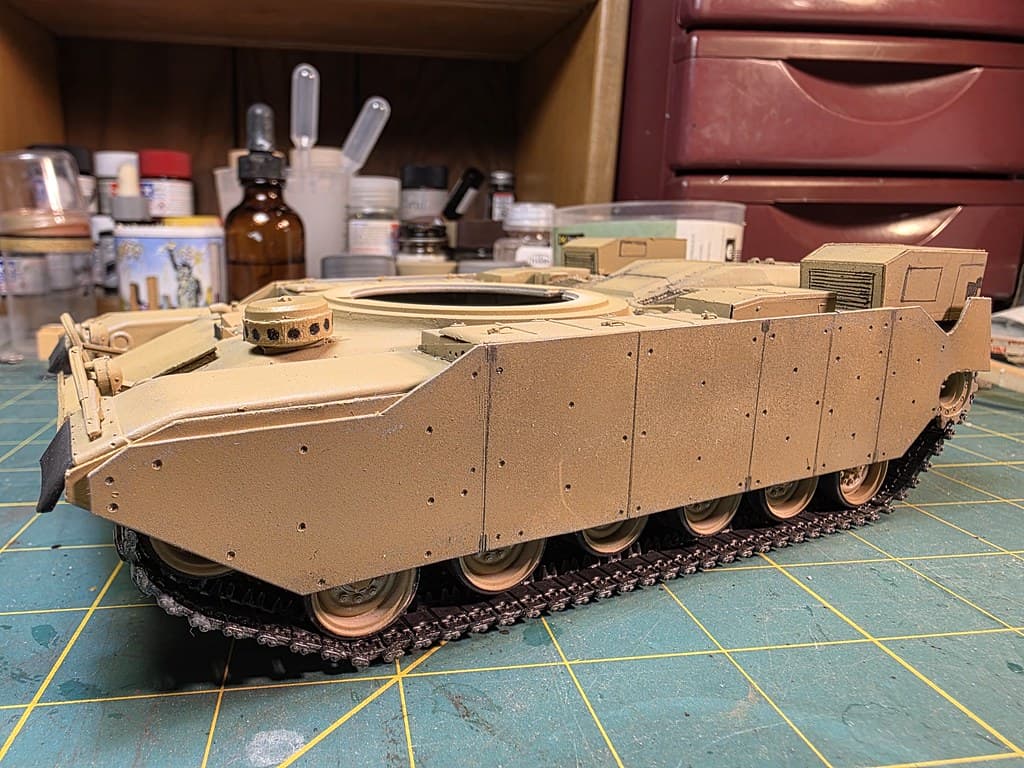
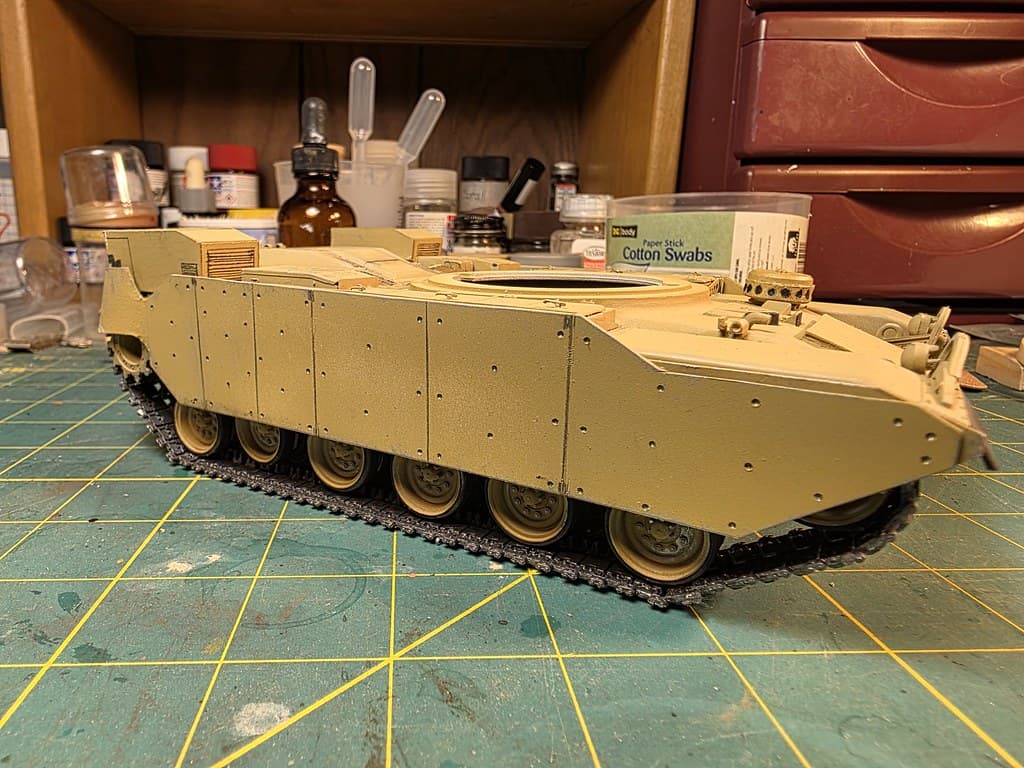
Hello all. I’ve been somewhat busy, although there were some other, non-hobby, projects that I had to deal with. Well, I added the side armor skirts, added the panel lines and bolt holes and the Laser Warning Detector Receiver next to the driver’s hatch, and I metalized and lightly weathered the hull and road wheels. The exhaust blades will get their painting of soot and smoke later. Enjoy the WIP pics. I believe it’s time to start on the turret. ![]()
8 Likes
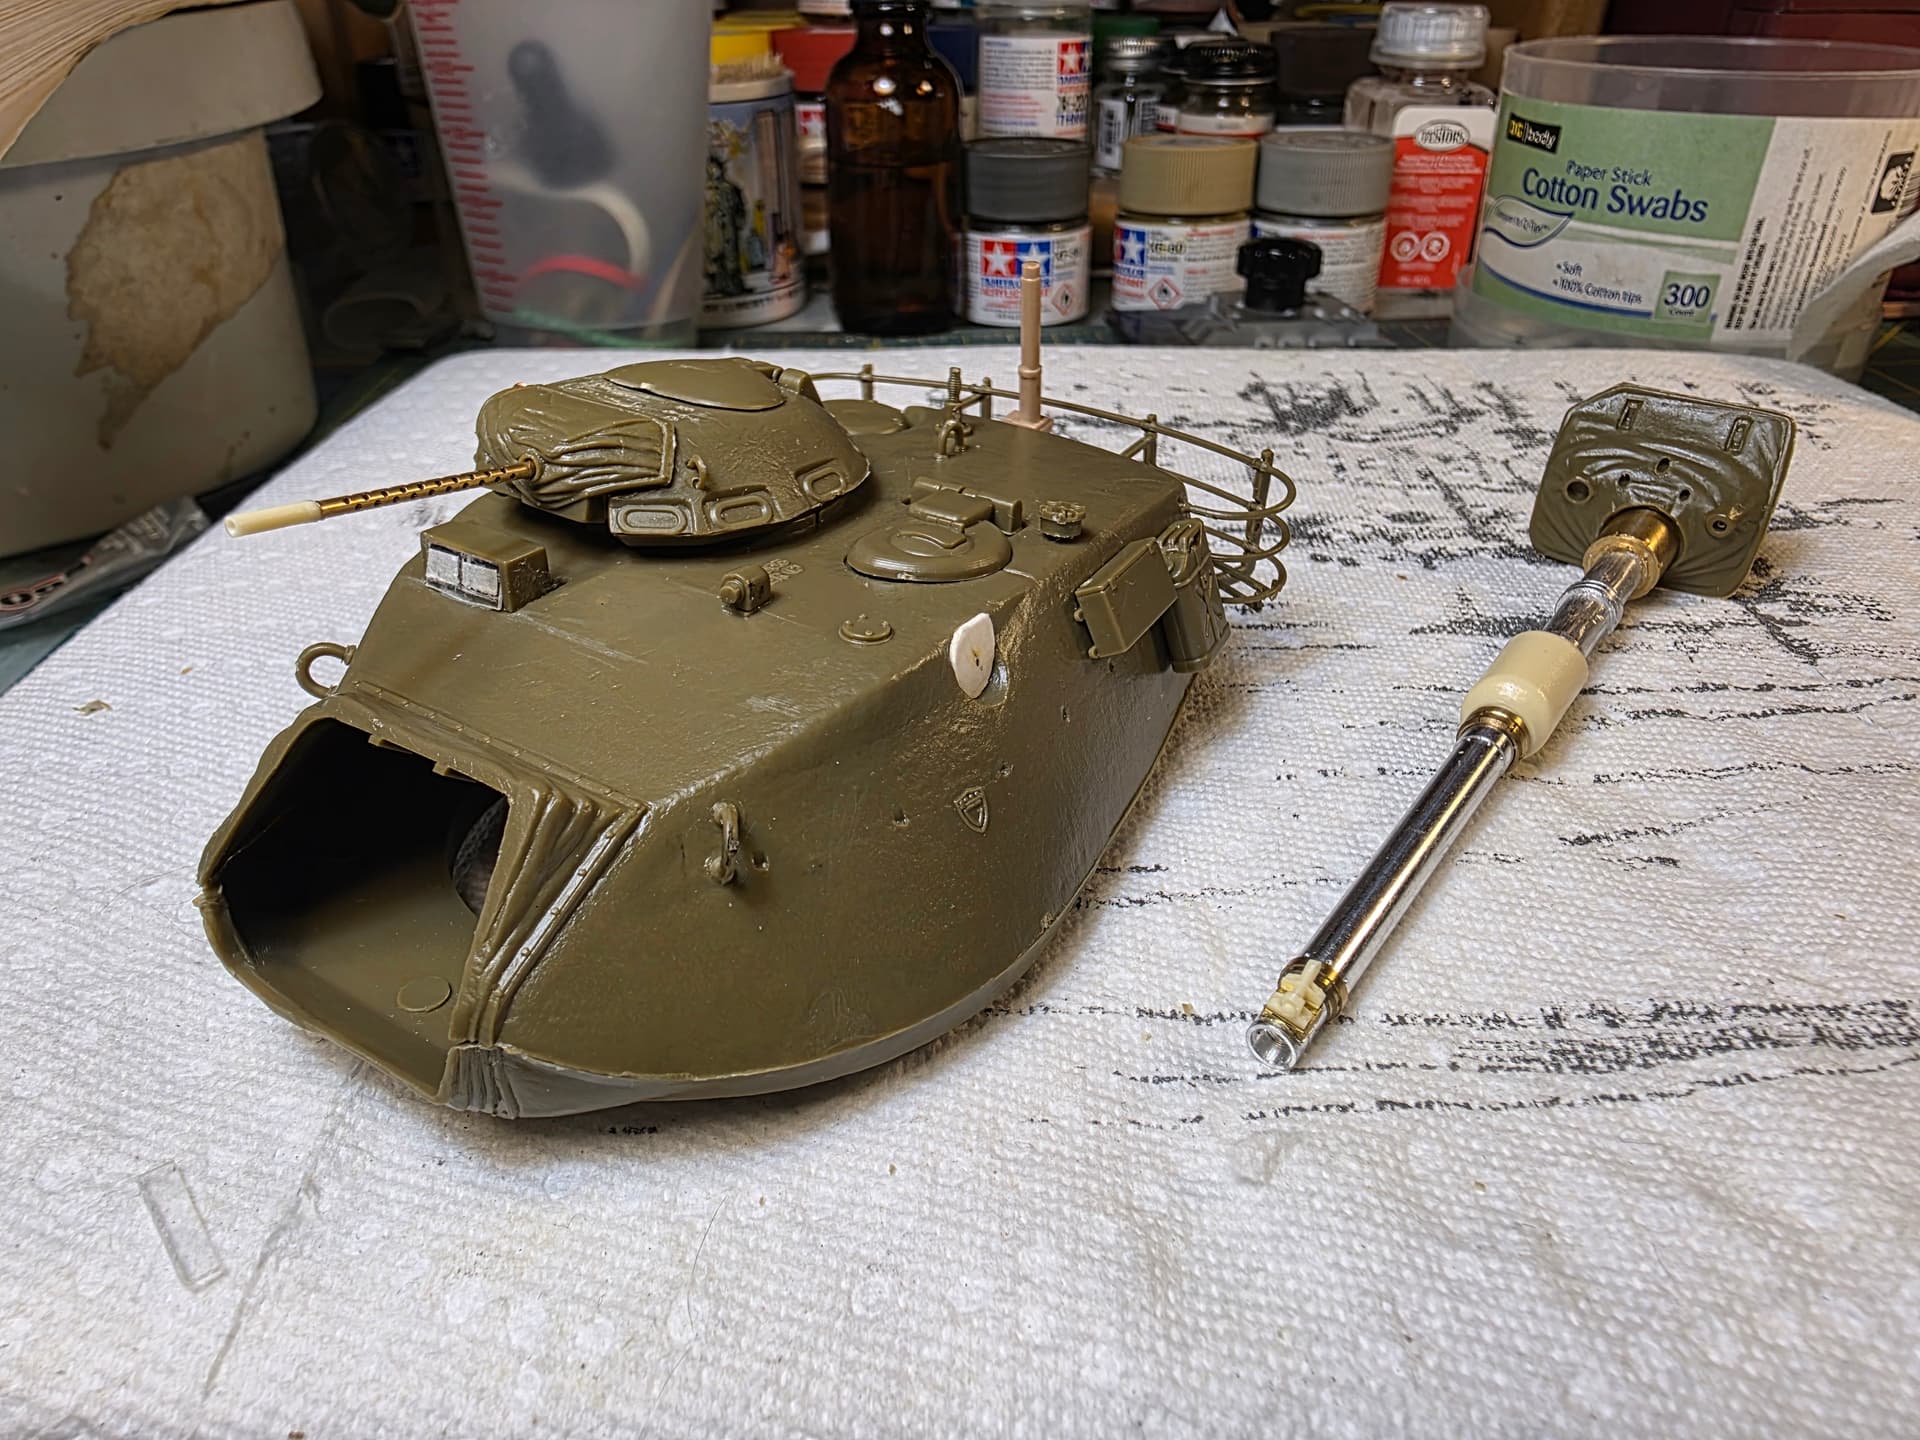
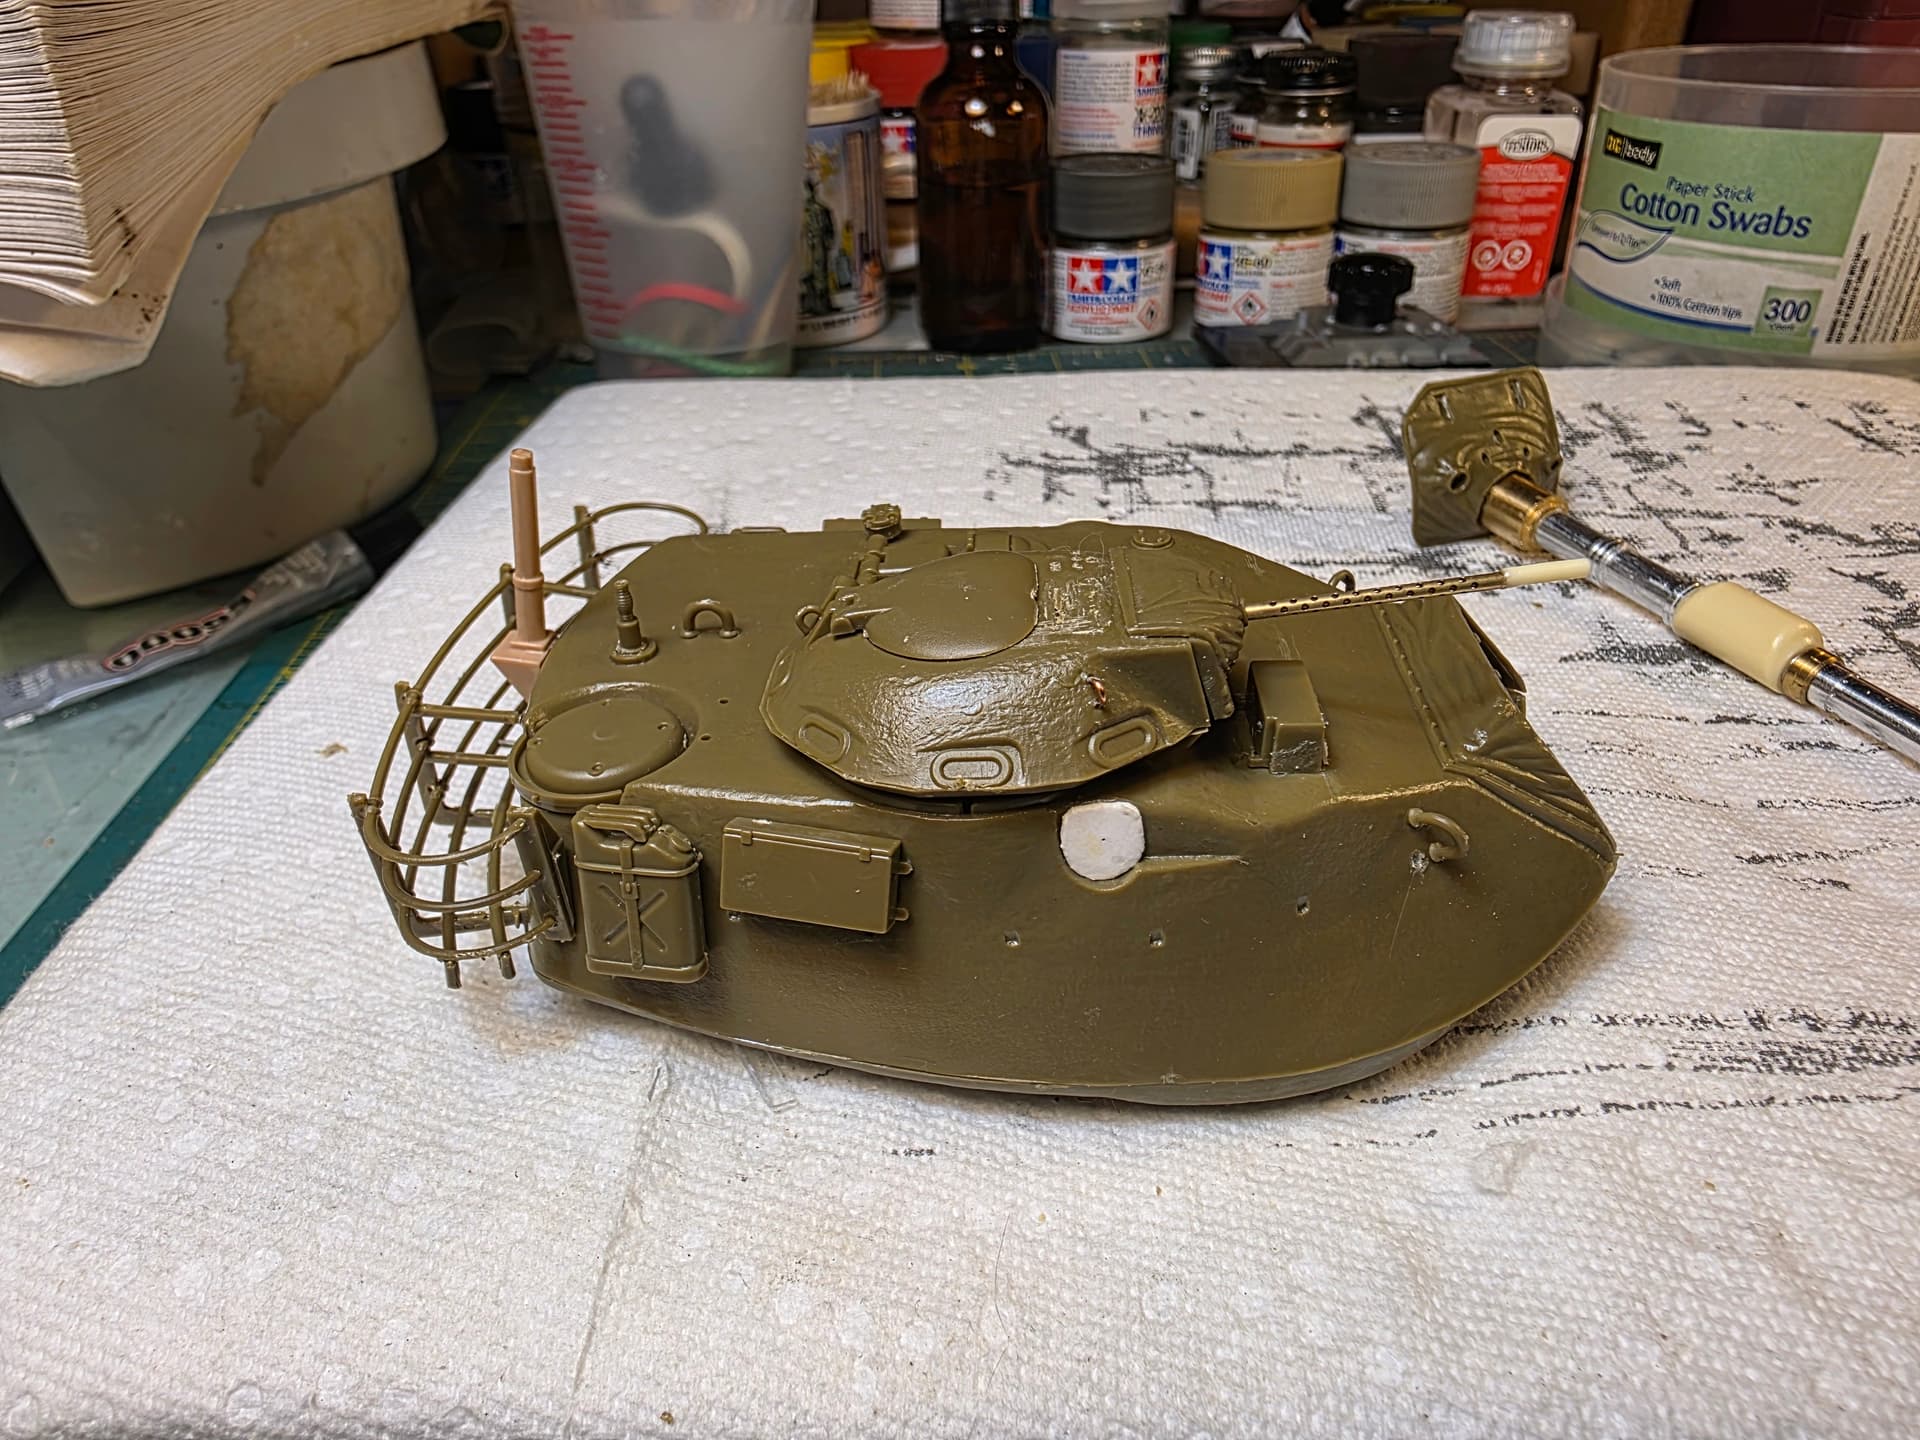
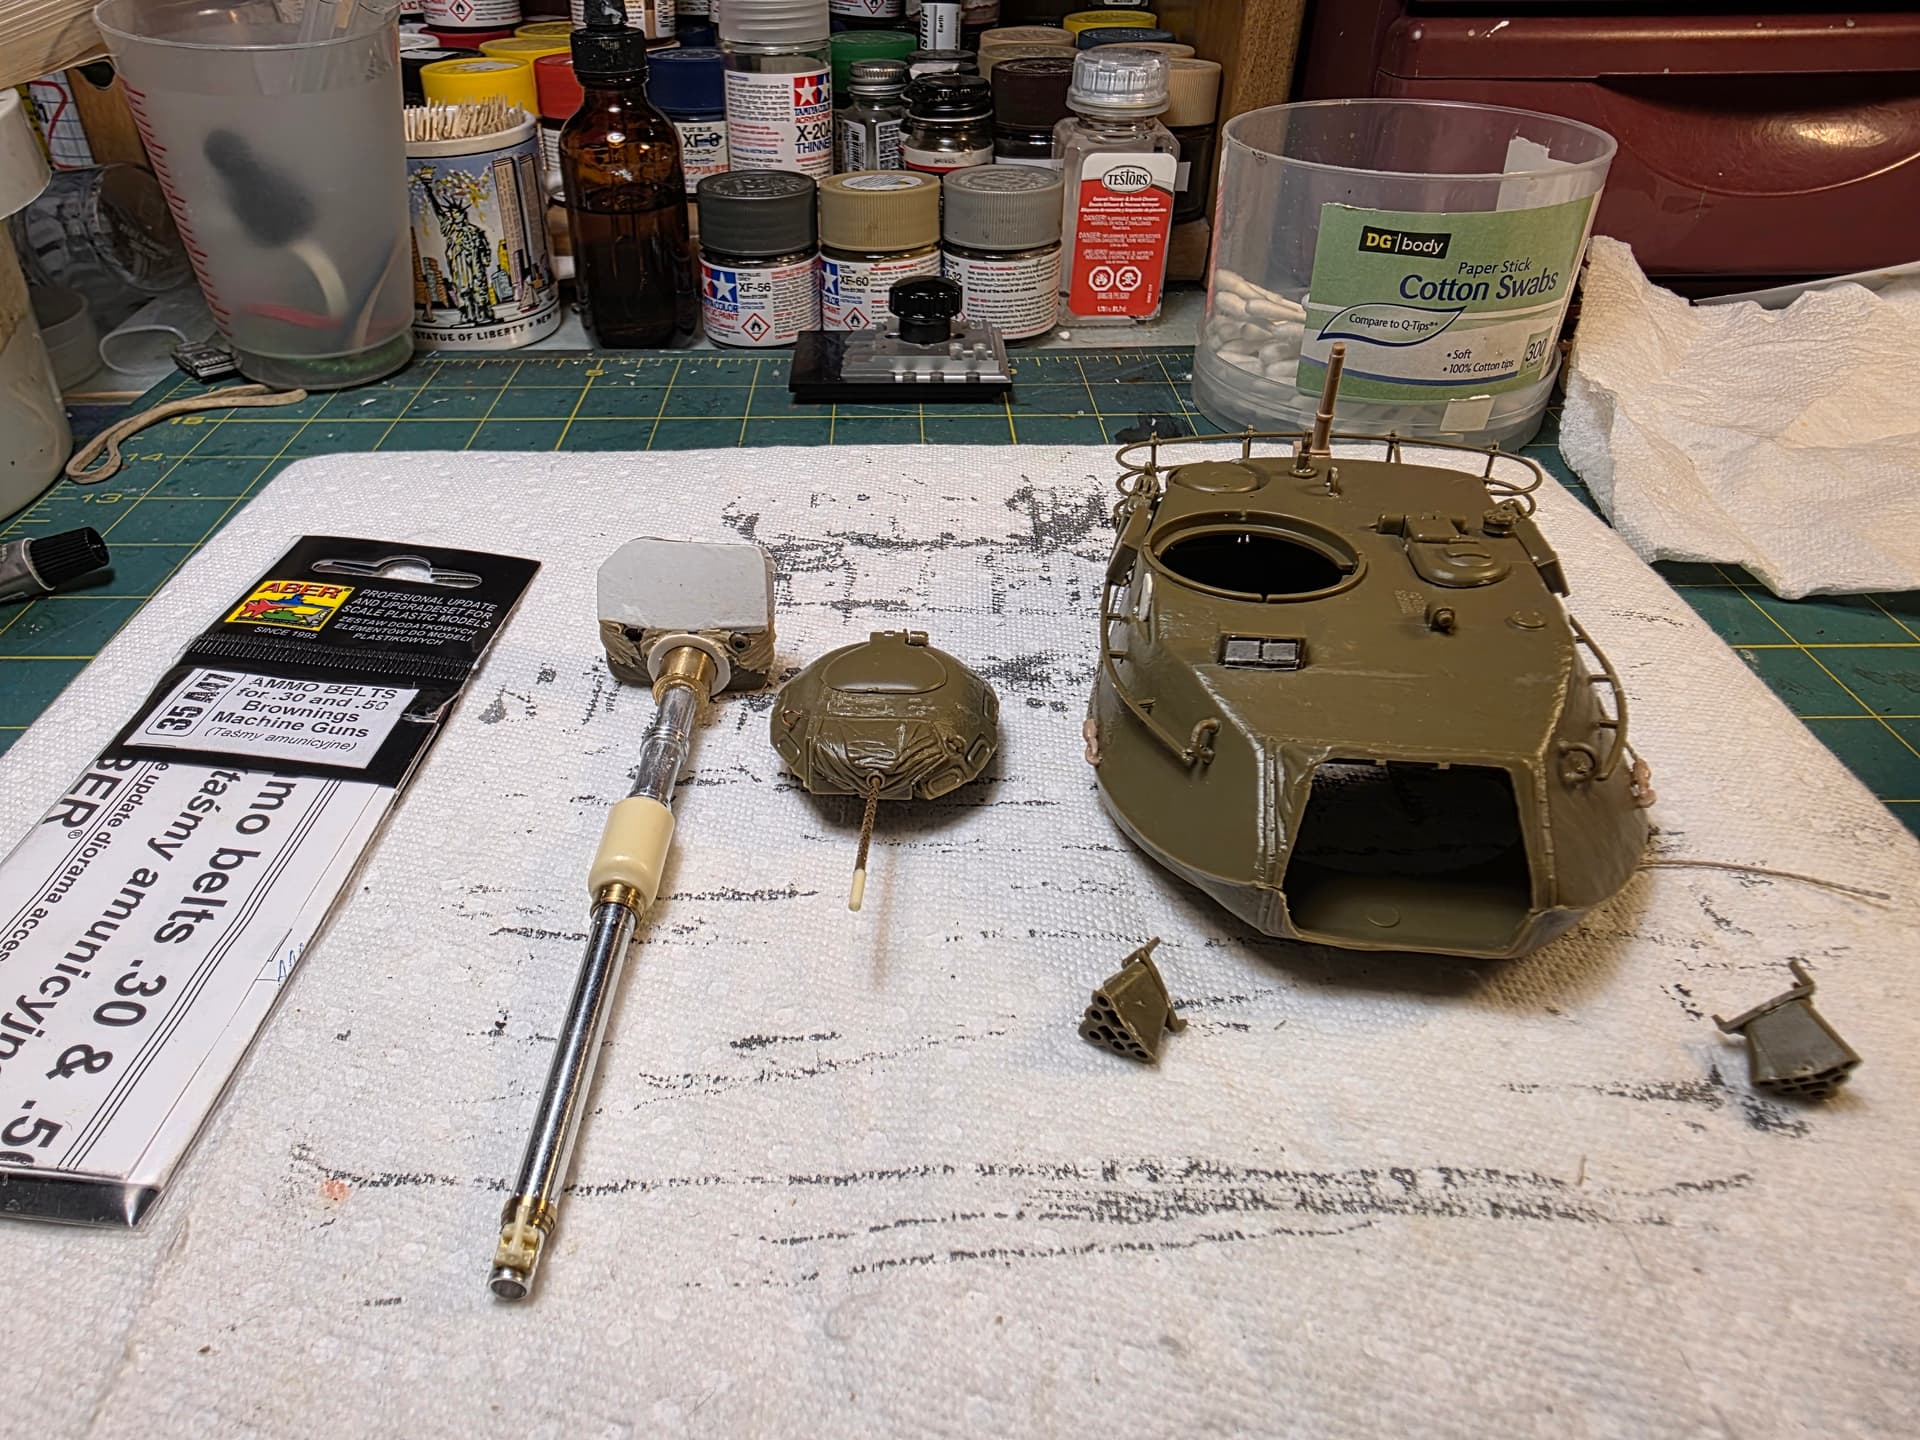
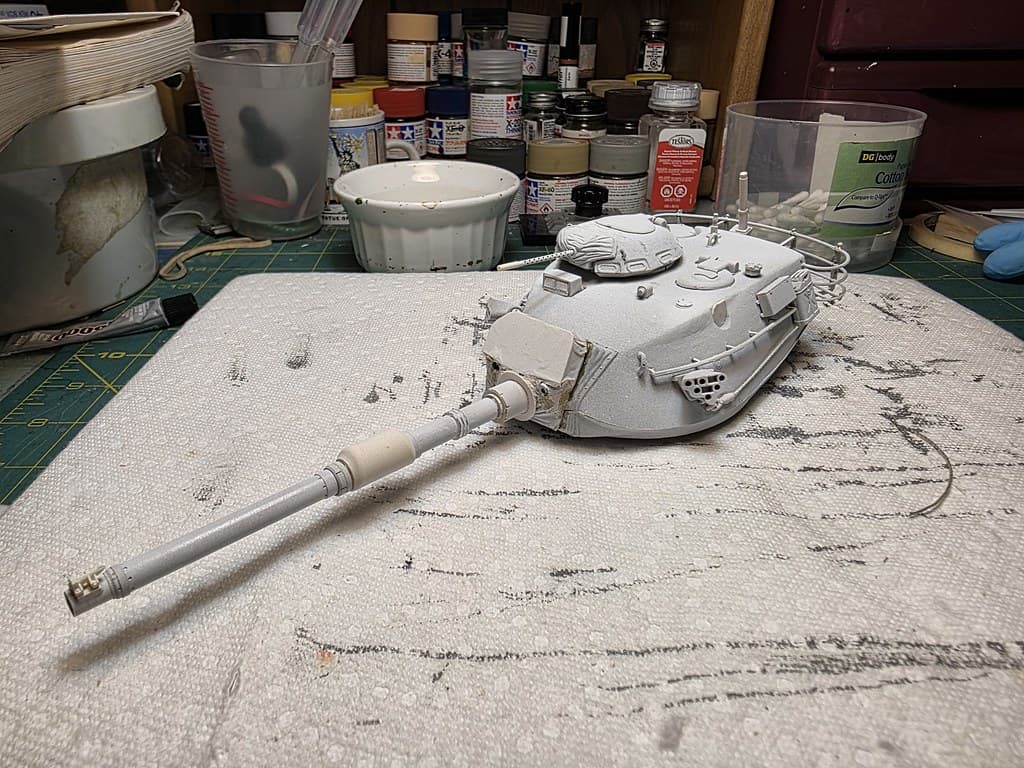
Well, everyone. I have started some work on the turret. I used some AM and PE parts for the new 120mm main gun, from Voyager and the .50 cal M2 mg is from Master Model. I wanted to use the FN A3M .50 cal mg, but there were none to be had. I still have a ways to go, so enjoy the WIP pics.
4 Likes
Looking good. The guns are fabulous!
1 Like
Sorry, I haven’t posted new WIP pics. Last Wednesday I had my 2nd cataract surgery. I’ll be getting back in the swing of things soon.
Take your time! Hobbies aren’t to be done on a schedule. Hope your recovery is swift!
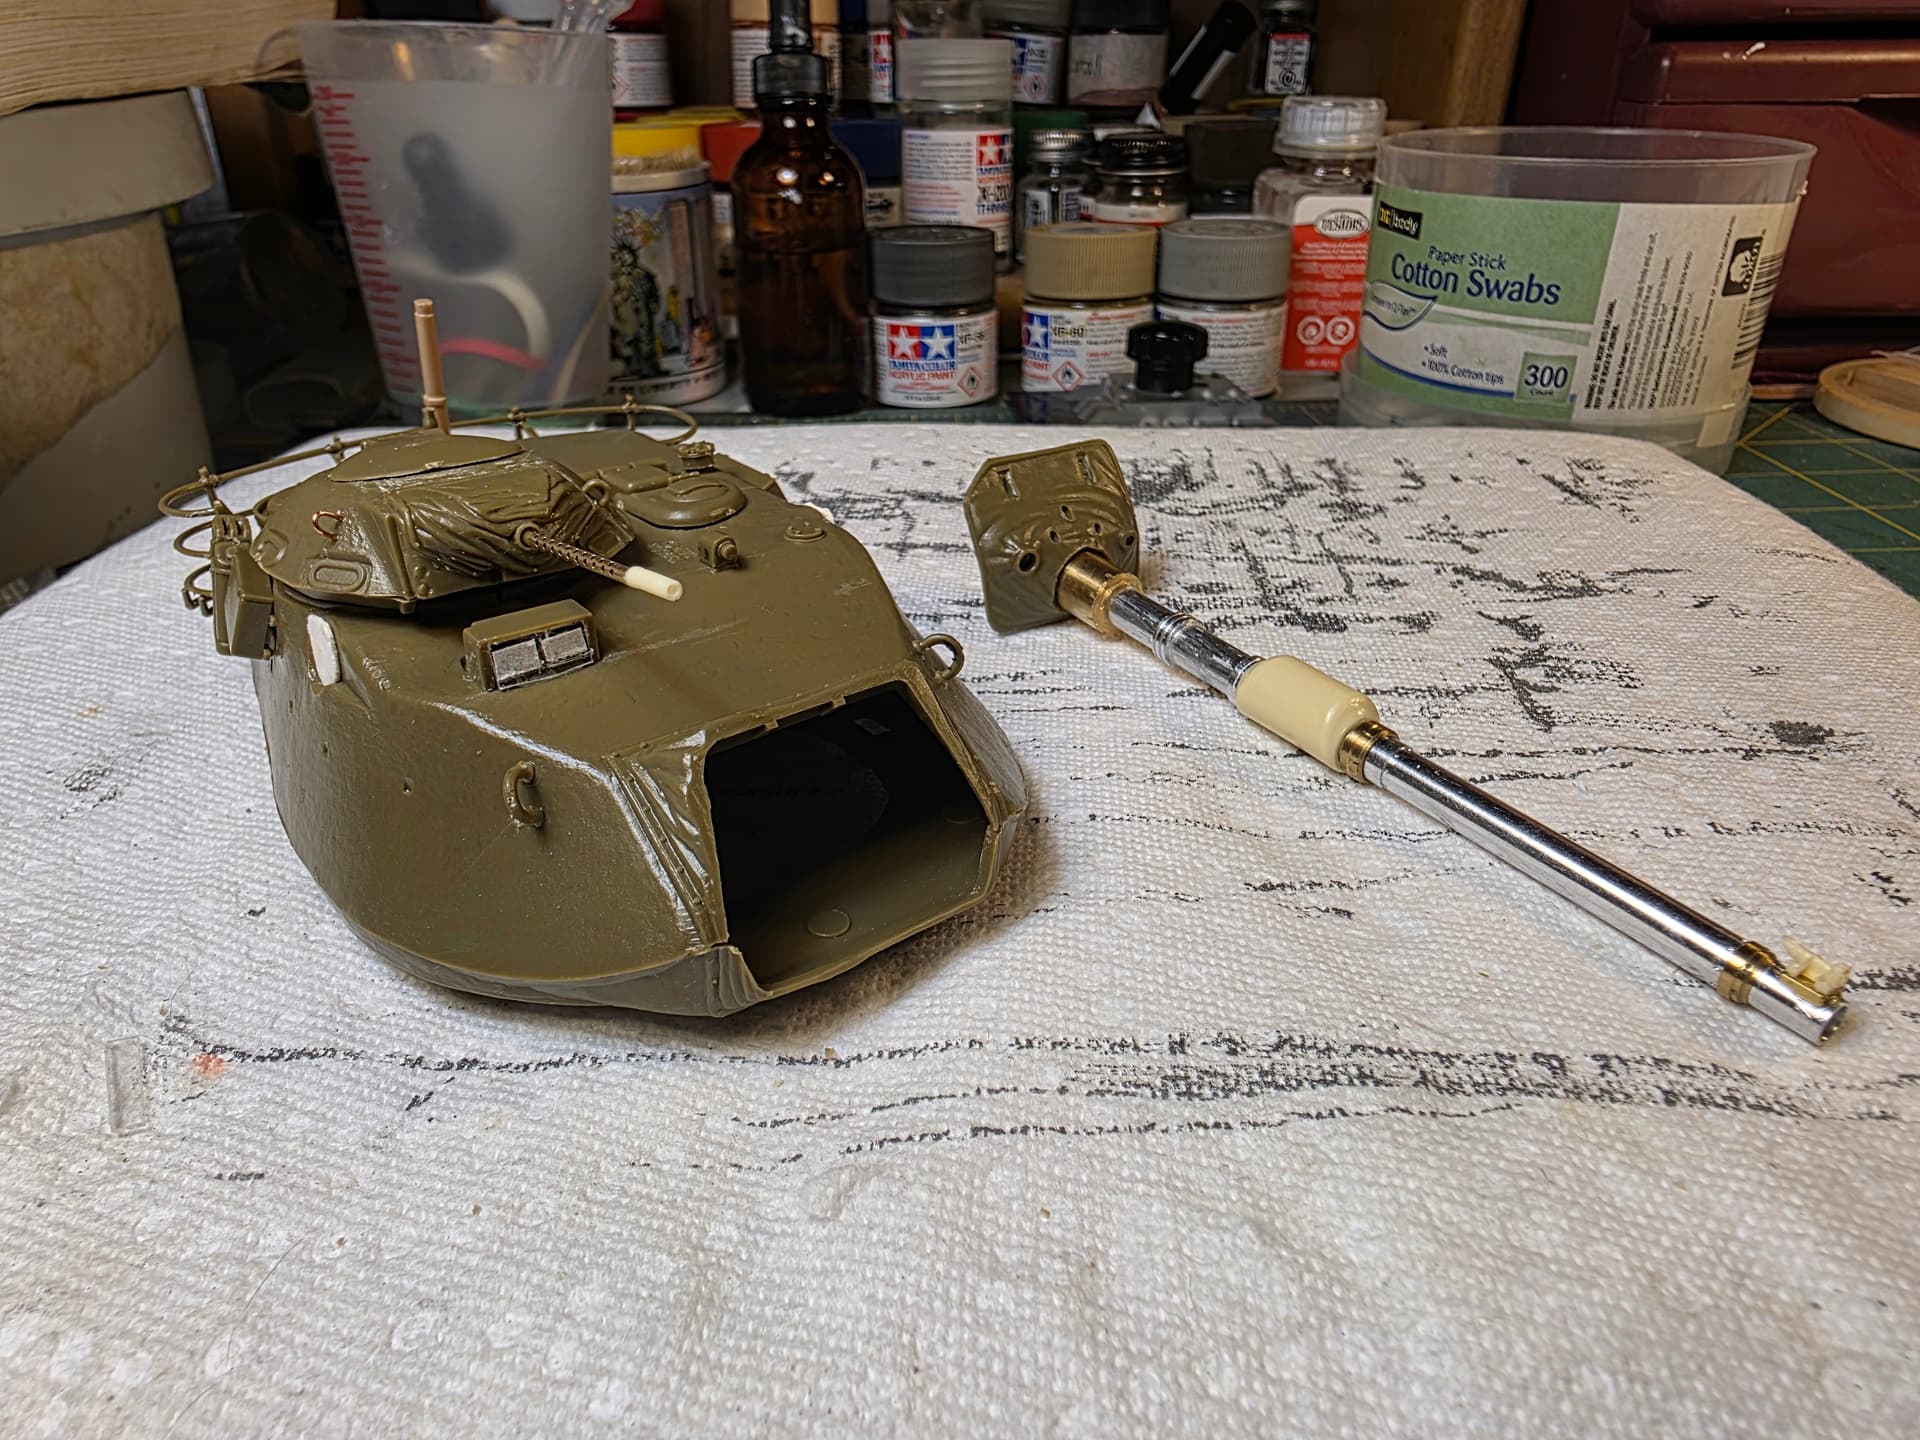
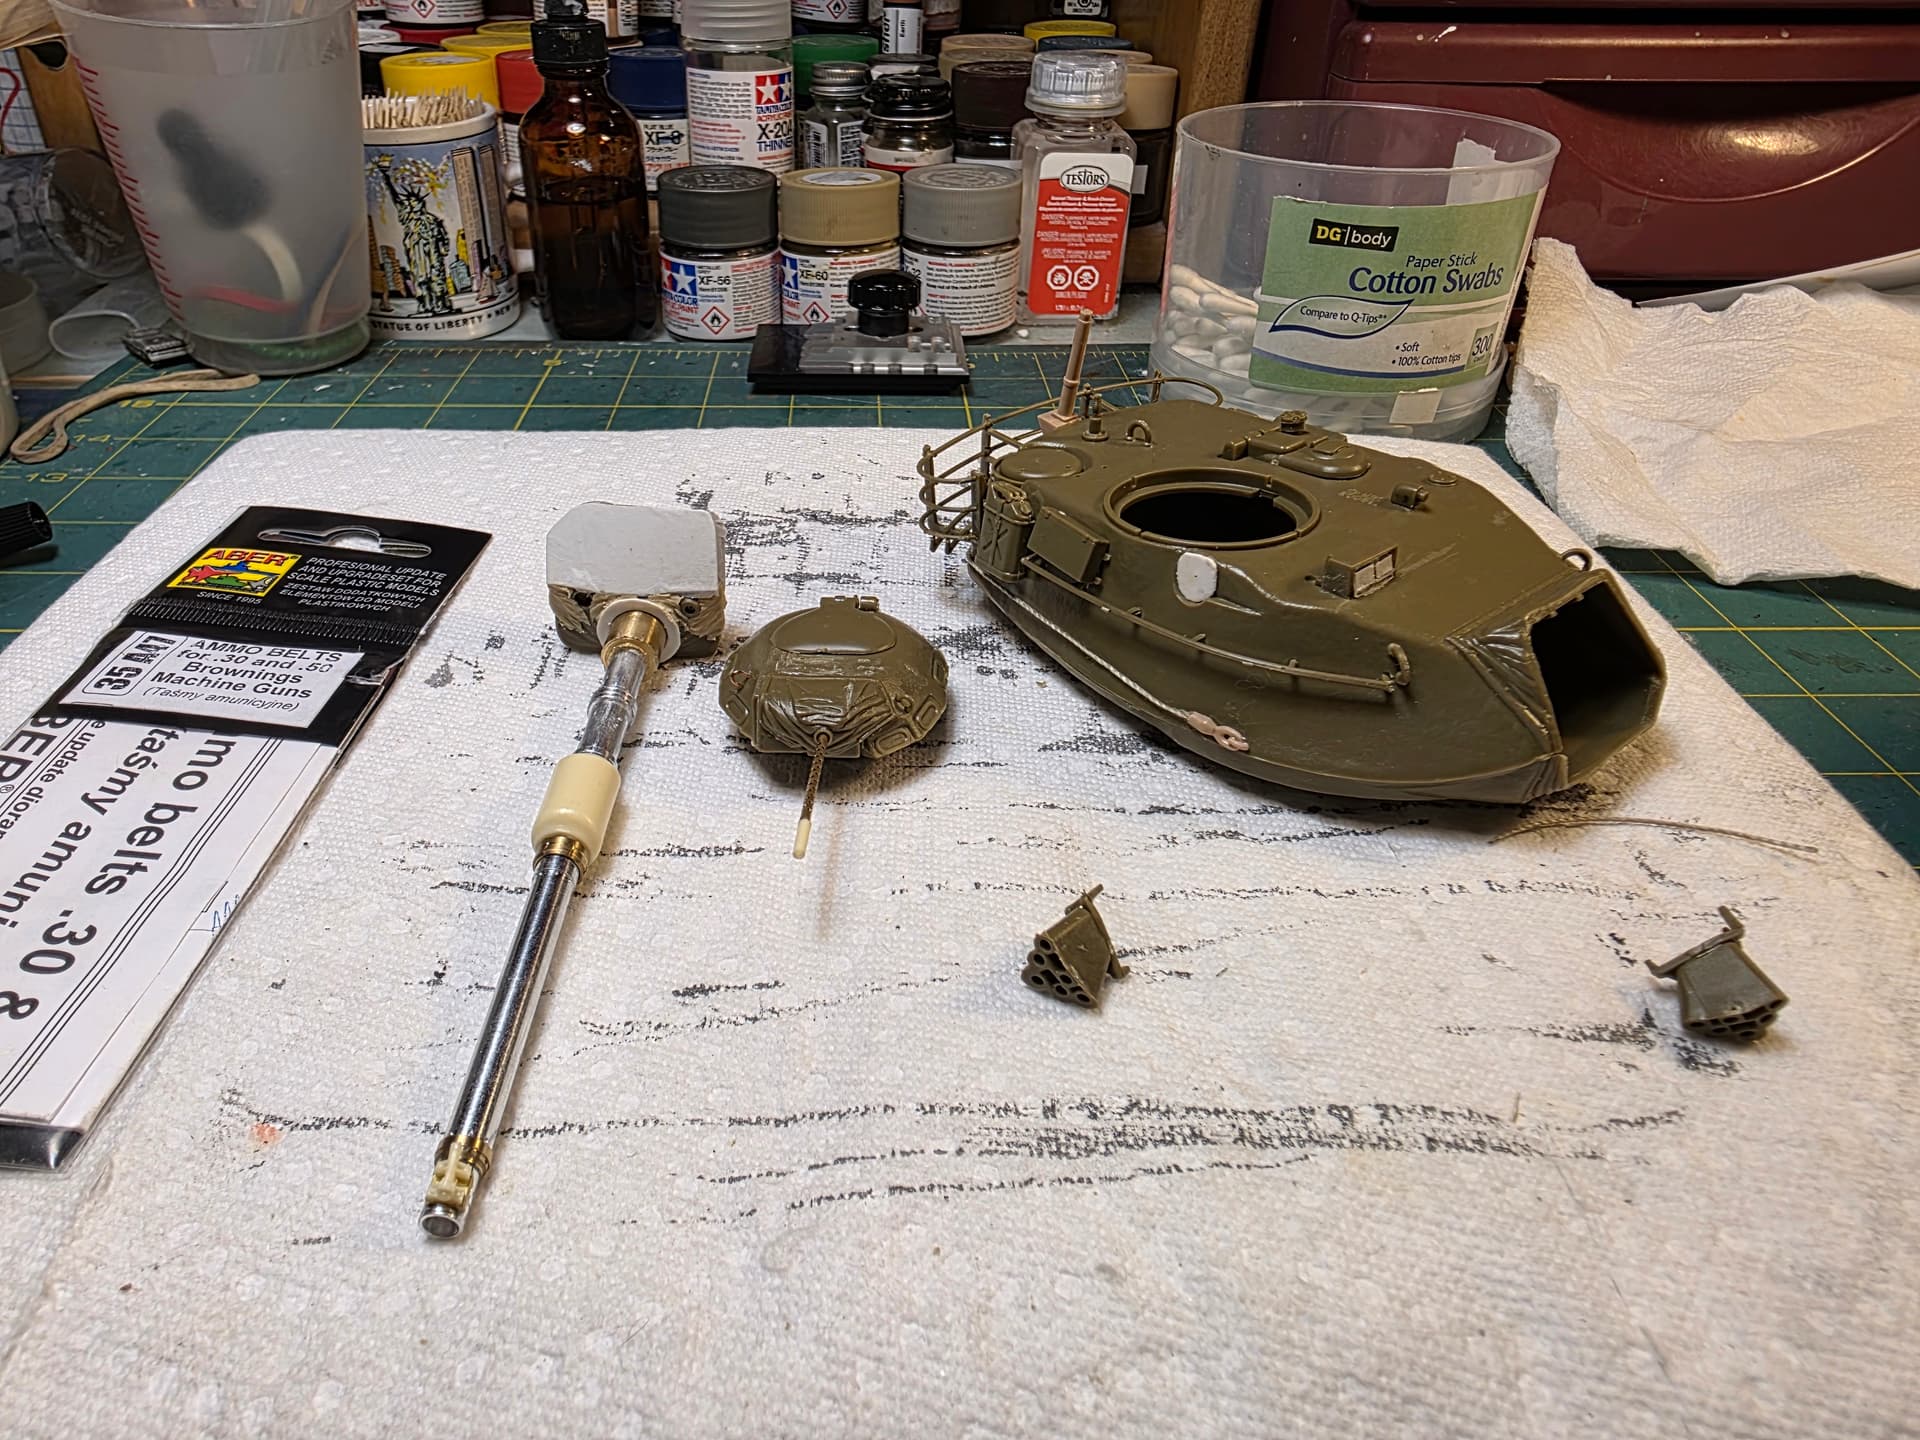
I got back to doing some work on the make or break turret. Just need to attach the smoke dischargers and it’s ready for priming.
6 Likes
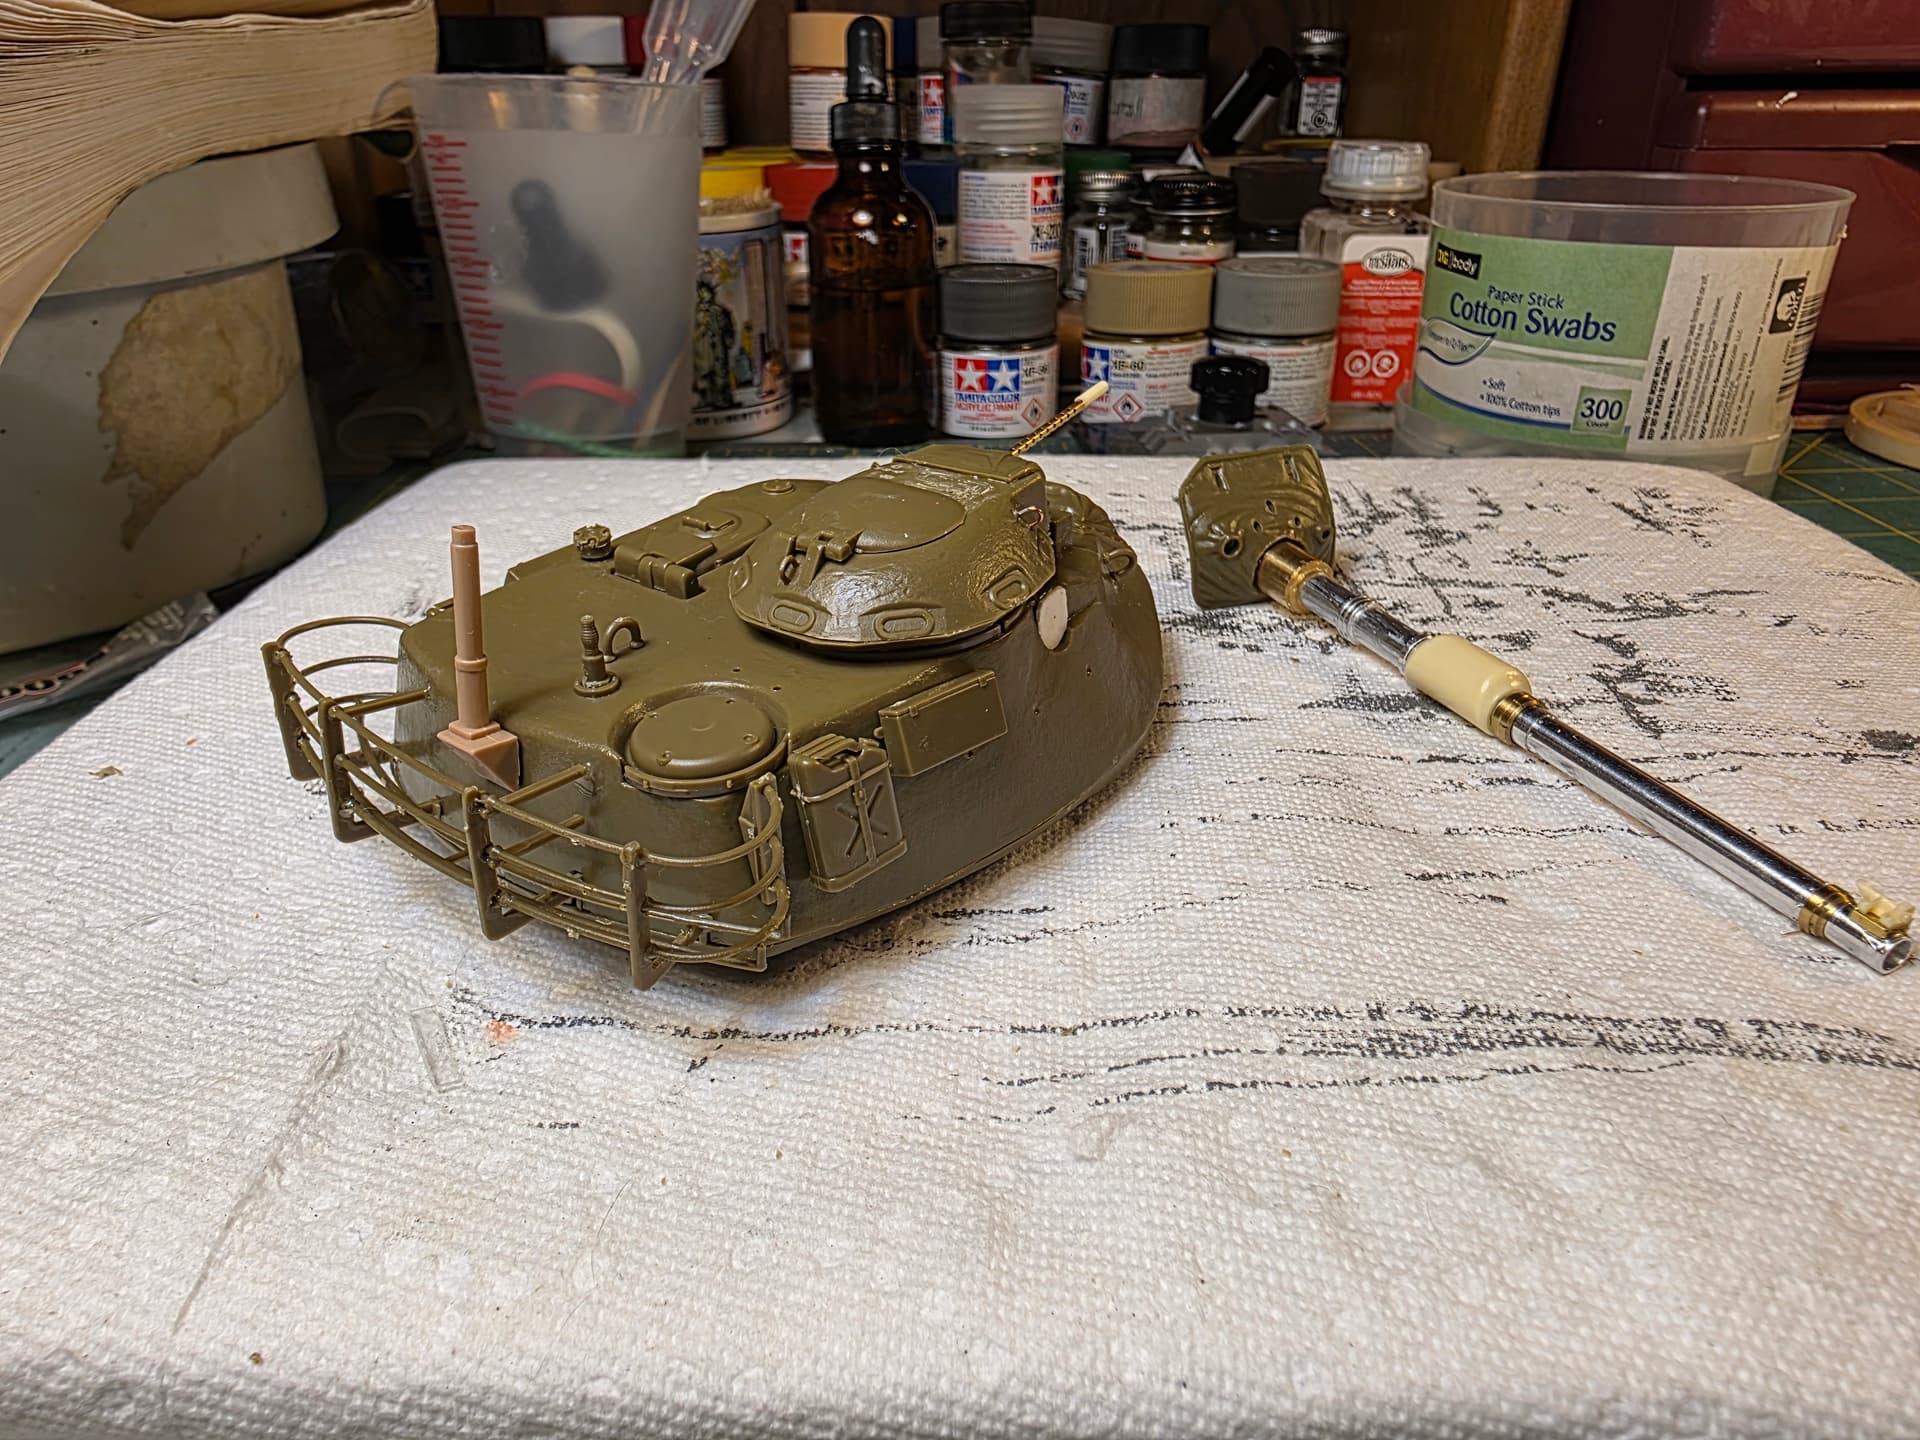
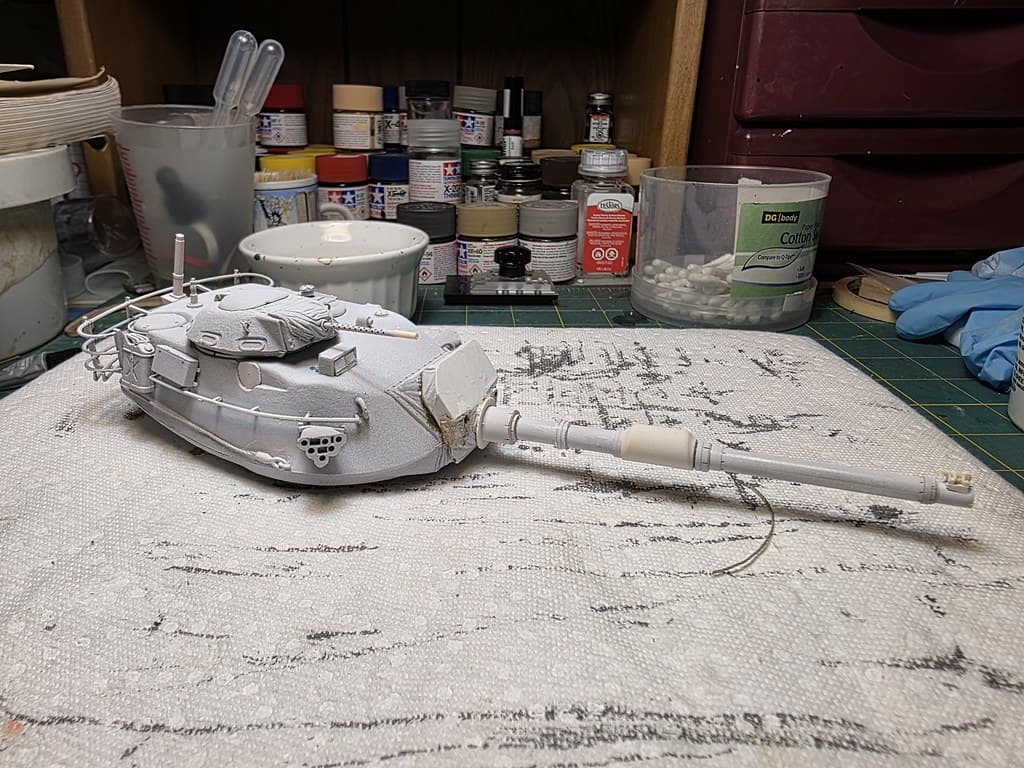
Hello everyone. I’m 85% recovered so I’m back at it. I attached the smoke dischargers and the main gun to the turret. The turret is primed and ready for its field color. I intend to add some extra putty to the mantlet cover to help blend it in with the rest of the cover. Now comes the PE build and attachment of the anti-tank armor slats. Wish me luck, for I feel this is what’s going to make or break this build.
8 Likes
Looking great and I’m not even a tank guy!
I was thinking of this project while I was watching this video from the Tank Museum, Bovington. It charts US Tank development from M26 Pershing through to Abrams, with a particular focus on the way Patton from M47 to M60A3 were a series of stop-gaps until the next big thing could be fielded…
Unfortunately the video doesn’t cover M60A3 SLEP, but I guess Raytheon didn’t publically announce the programme until nearly 39 years after M1 Abrams entered US service. Given the persistent challenges to replace M47/M48/M60, it’s not inconcievable that a failure to launch Abrams could have seen heavily modernised M60A3’s in US service well after their combat retirement in 1991
Anyway, keep up the great work! This is a fascinating project and looking fantastic so far!
2 Likes
Hey pr154, thanks for the comments. To tell you the truth, I never heard of this development by Raytheon. Their reasoning is that the M60A3 tank was still a viable force in combat and with upgrades it could still hold its own against newer tanks. This was especially for allied countries who had purchased the M60A3 for their armored forces and didn’t want to spend an exorbitant amount of money for a new tank model that would be a completely new system. The cost would definitely be a lot less with a more powerfully enhanced engine, an upgraded main gun system, turret control, laser optics etc. Anyway, I’m doing the PE part of the turret and it’s a slow go so far. I don’t want to screw it up. lol.
2 Likes
Best of luck with the PE and I look forward to your next update! I haven’t played with too many aftermarket parts or PE but I watch modellers such as yourself with cautious inspiration.
Here’s Raytheon’s annoucement from 2016 anyway!
2 Likes
Thanks for the video. I have it now. This was the inspiration for the project I’m doing now.
1 Like
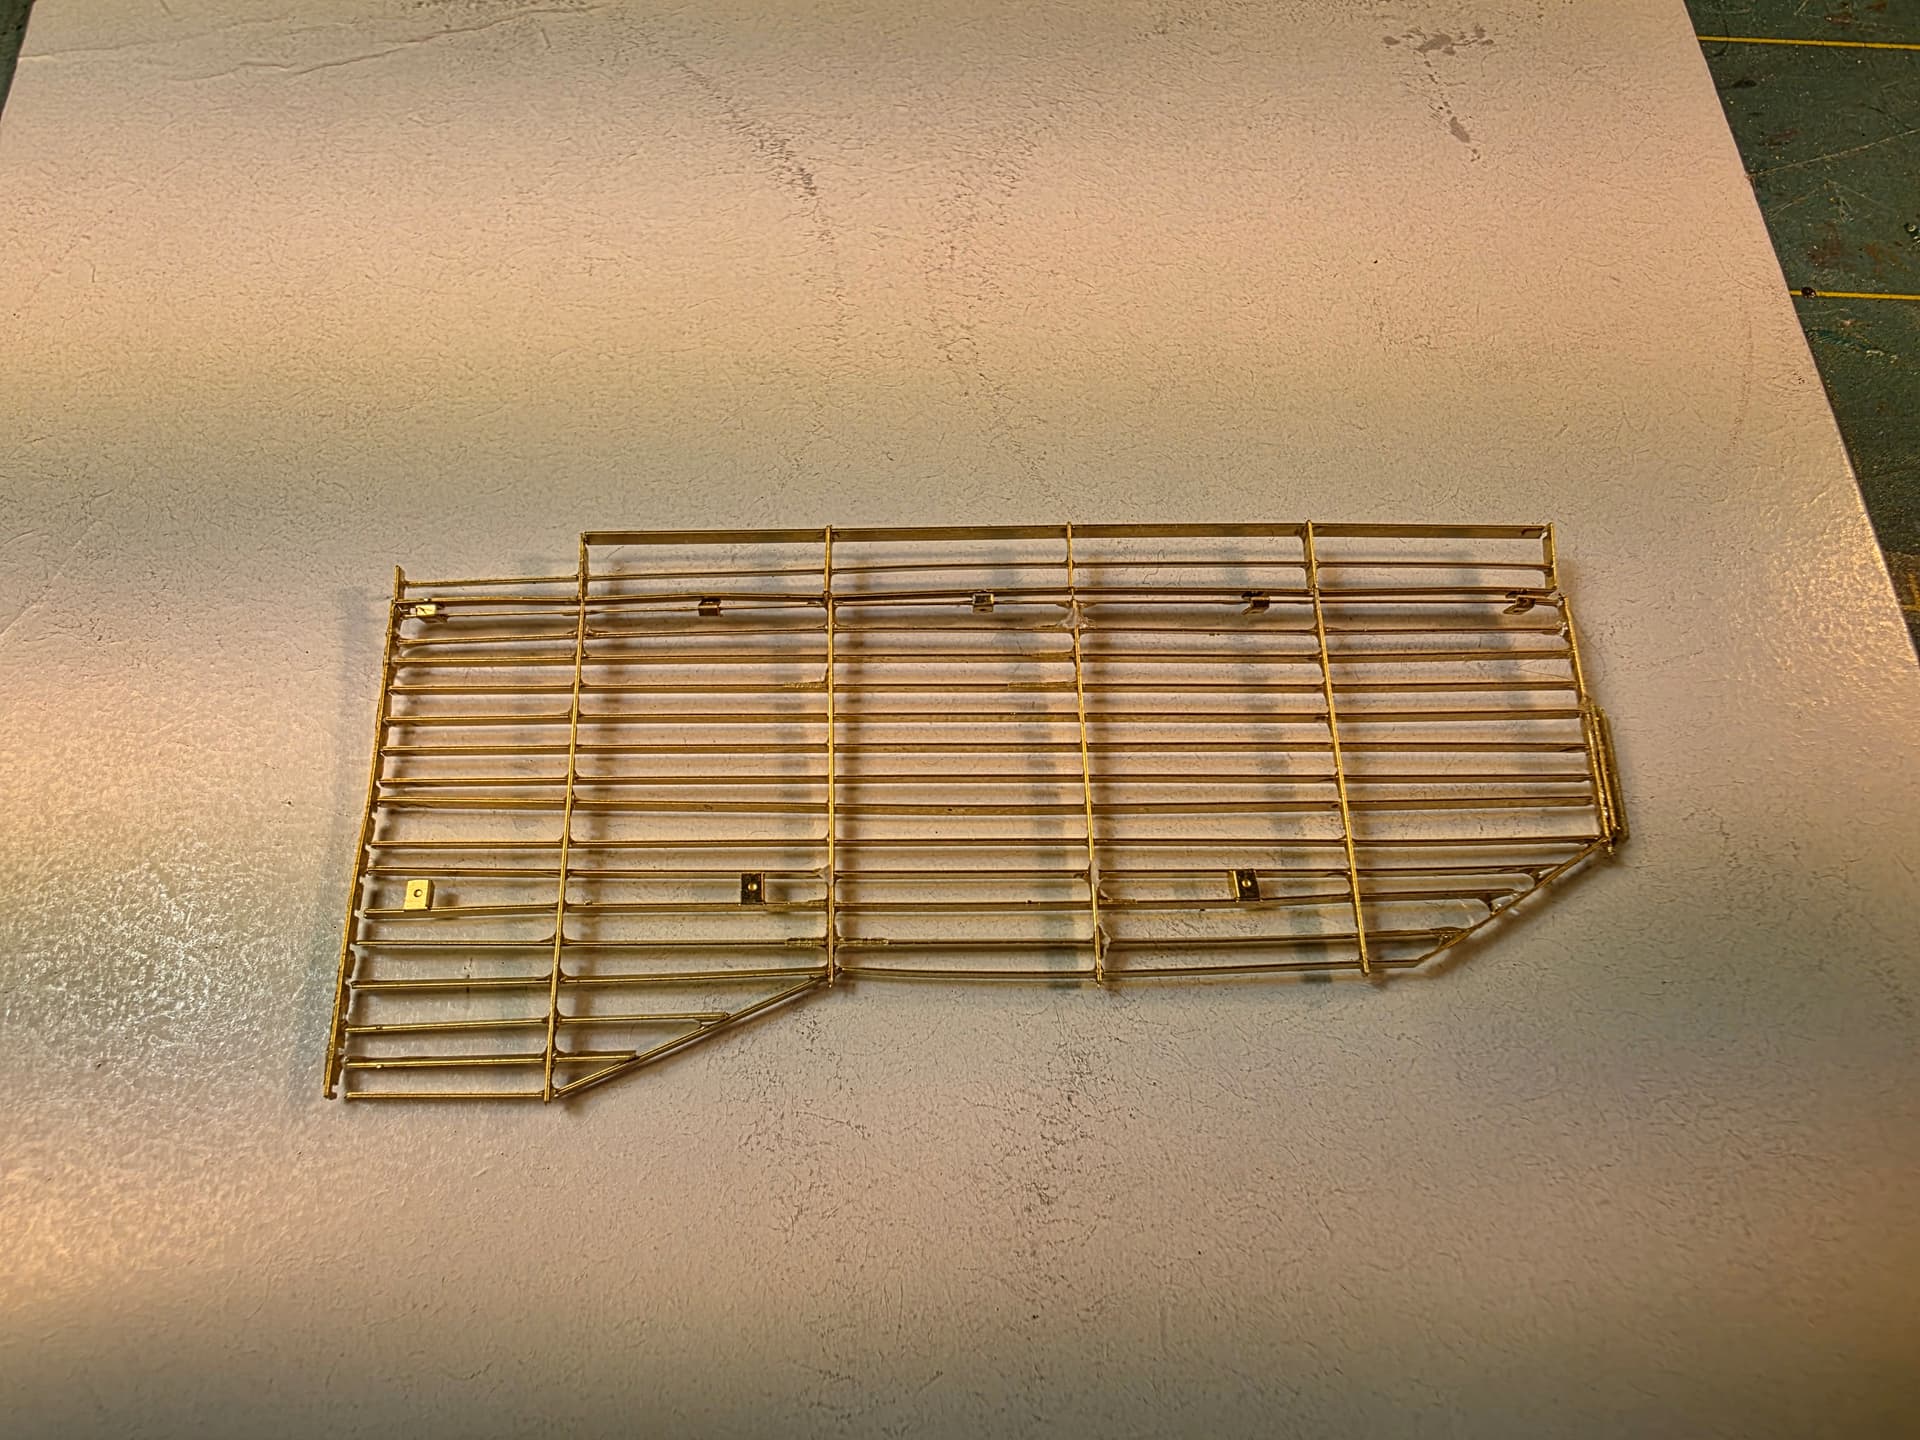
Well, I finally finished 1 panel of the large slat armor. 2 more to go; plus 2 smaller ones. I’m not proficient with PE, so I’m doing the best I can.
8 Likes
Great work. Take your time and keep it up.
1 Like
Just did my first PE, and I find it daunting. It seems like a good idea until I’m trying to glue a sub-microscopic part that is smaller than the drop of glue I’m using to attach it.
1 Like
I hear your pain, as I just finished my second panel.
1 Like
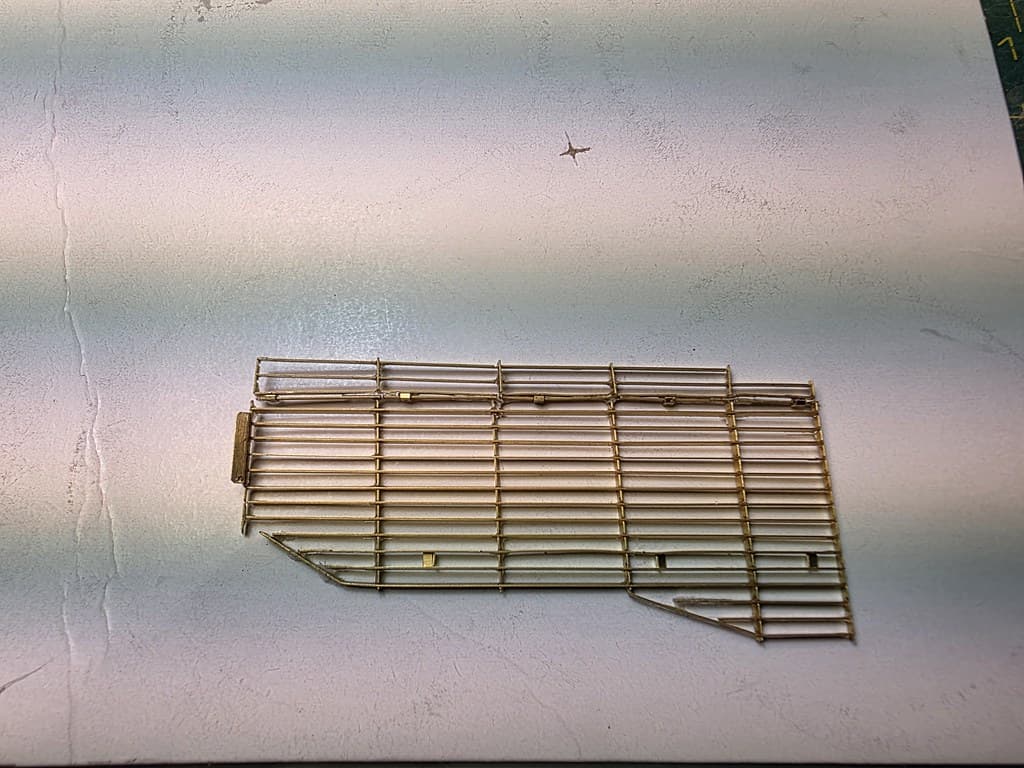
Here is my second slat armor panel. It seemed like a breeze until I screwed up and had to improvise stuff. But I like how it came out. BTW Samphoto is right when it comes to gluing PE parts. I squeeze a dollop of glue and use a toothpick to drip into the area that is about to be glued. So far, so good. Now onto the 3rd panel.
4 Likes
How long did that take and how many parts are in that?
If I’m not mistaken, there are 26 parts in just this section.
1 Like