Making your own decals isn’t hard. I don’t use the Archer paper; I used Testors clear film paper this time’ but have used others as well. It is pretty much the same though. As I said, I design the decals in PowerPoint. Then I print a test page on regular paper to confirm size, font, etc. I then cut a piece of decal paper slightly larger than the area of decals I want to print. I use scotch clear tape to tape the piece of decal paper over the area I want to print on the test paper; seal all edges so the print head doesn’t catch the decal paper edge. I then run the piece of paper through my inkjet printer (make sure the paper is compatible for your printer - they make inkjet and laserjet paper). Once the decal paper is printed, let the ink fully dry for about an hour. Once dry, spray the decal paper with clear topcoat (gloss or flat) to seal them; let this fully dry for an hour or two. Once dry, carfully cut the scotch tape to release the decal paper from the larger sheet. Then cut out each decal and apply like any other water-transfer decal. Good luck.
The font varies, depending on the size of the stencil. I think the smallest is 2 or 3 font. The “3ID 10E” is about 8 font. White is a problem. Unless you have a special printer, you can’t do white easily. Since home printers assume you are using white paper, they just leave white font as a blank area. You can get white decal paper and print the surrounding area the color of your model to get white lettering, but it is hard to get the color to match perfectly. For white stenciling, it is best to get AM decals for what you want.
Thanks Gino, I’ll check into AM decals. I have some Archer Fine Transfer decals that I understand can be used to make white water slide decals, but I’ve never tried that process. I like the Archer decal image quality, but there are places on my models that transfer decals just don’t work very well because there is no way to hold the backing sheet still, or tape it down while making the transfer. I think a classic water slide decal would work better and allow me to move it into position before the decal dries.
It might be worth it here to draw up your own decal pattern on the computer and then try to find a company to print decals for you - I have done it severeal times now and I’m very happy with the results. Unfortunately I only know such companies in Poland and Germany - maybe with the exception of DRAW! decals (USA or Canada - I’m not sure) - but I don’t know if he takes every custom order, but hedefinitely has a machine for printing decals and printing white letters is no problem for him.
Yes, you can take a sheet of clear decal film and rub the Archer dry-transfers onto it. It can then be applied as a water-slide decal. It works just fine. Archer actually includes a small sheet of wet-transfer paper in some of their newer sets with instructions on how to do it.
Thank Rob. I hope to have some updated pics soon. It is almost done. I had thought about an AVLM too, but didn’t want to spend the extra for either Hobby Fan MICLICs or those out of the Rye Field ABV kit.
Gino, I tried out the method using Bare Metal Foil‘s decal film and Archer Fine Transfer decals; it worked perfectly as you indicated it would, thank you. Your custom decals really make your model look realistic.
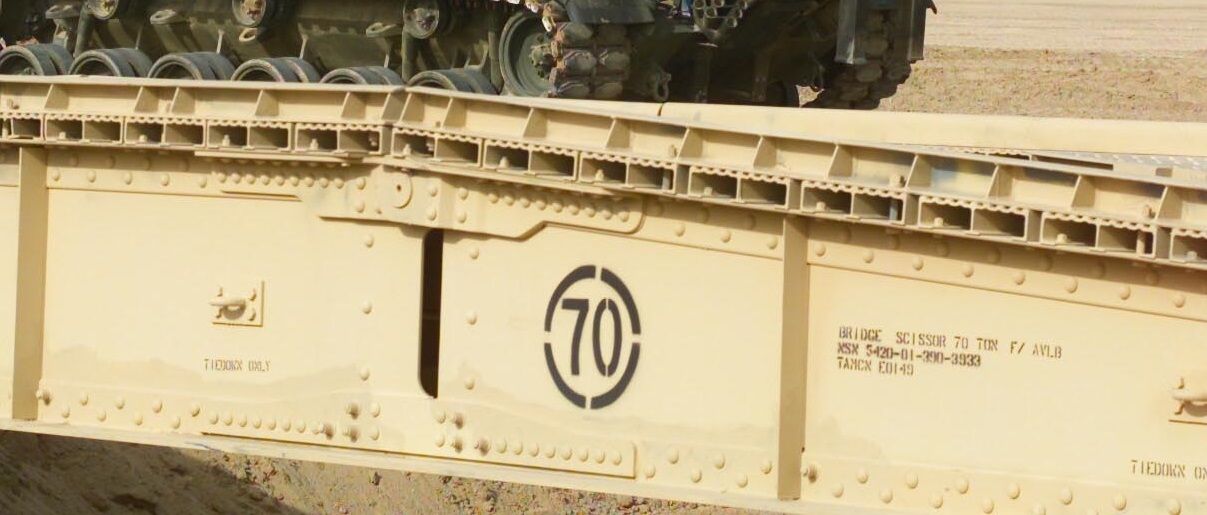
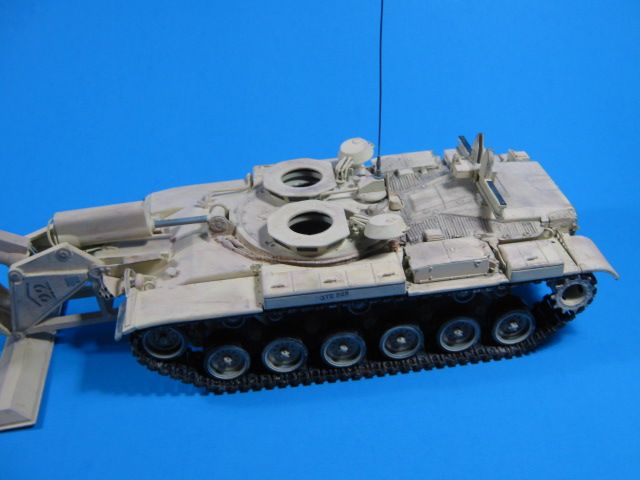
Firstly, I fixed the bridge where the angled section meets the flat section. It was pointed out that the 70-ton bridge has a fixed pin at the top and a bolted plate at the bottom. The 60-ton bridge in the kit has removable pins at both locations.
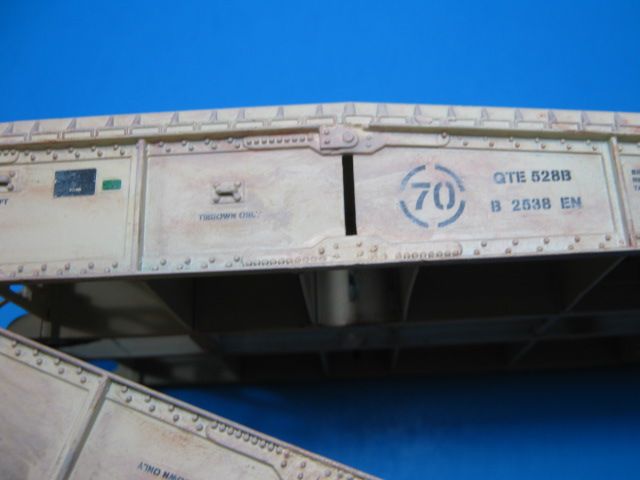
I cut off the removable pins and modified both locations to match the above pic.
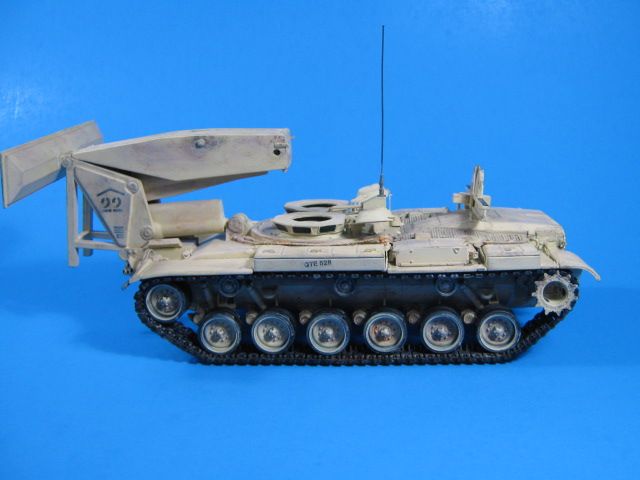
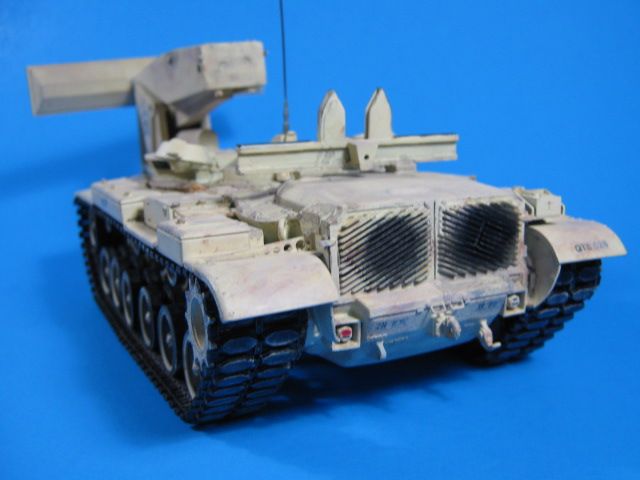
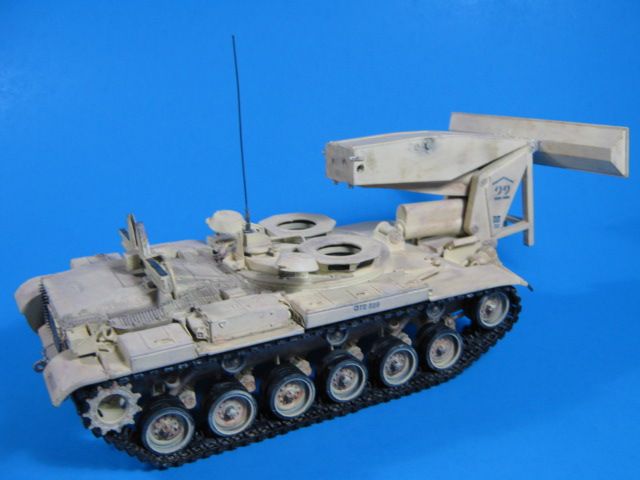
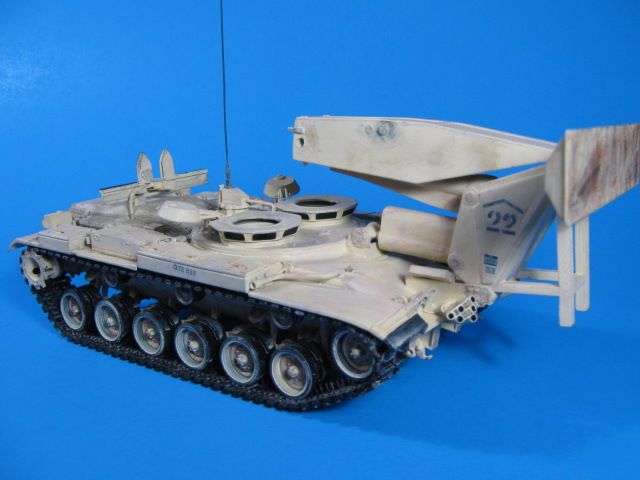
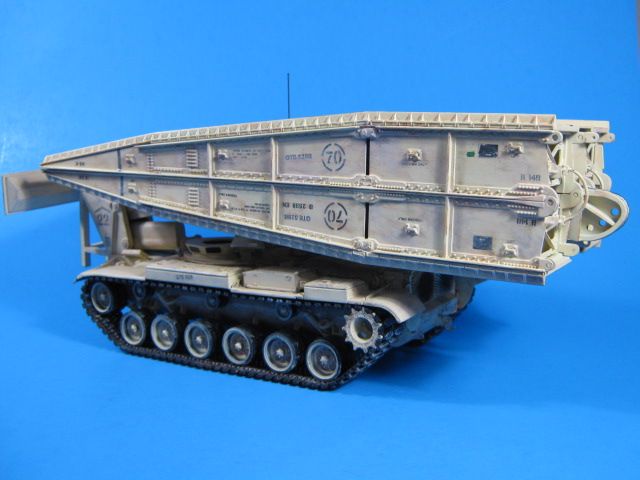
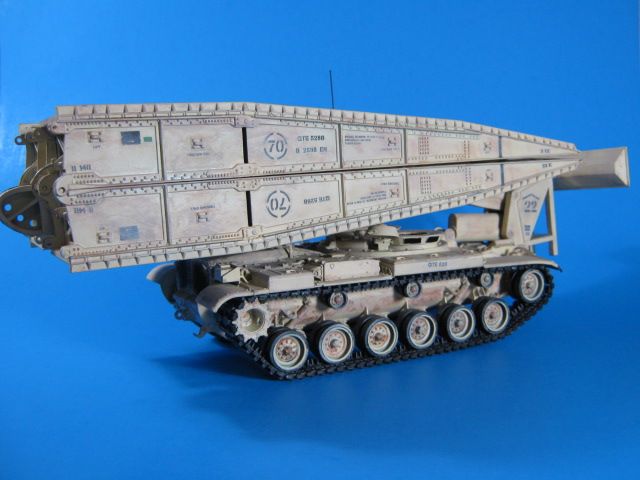
Now on to the completed build. I weathered it with acrylic paint washes and some drybrushing of a sandy color.
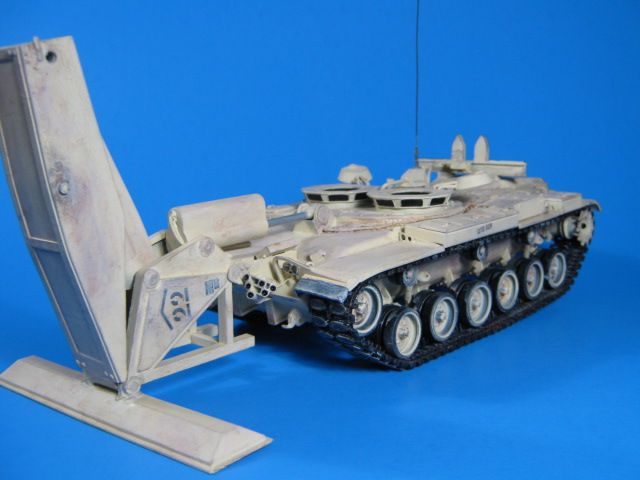
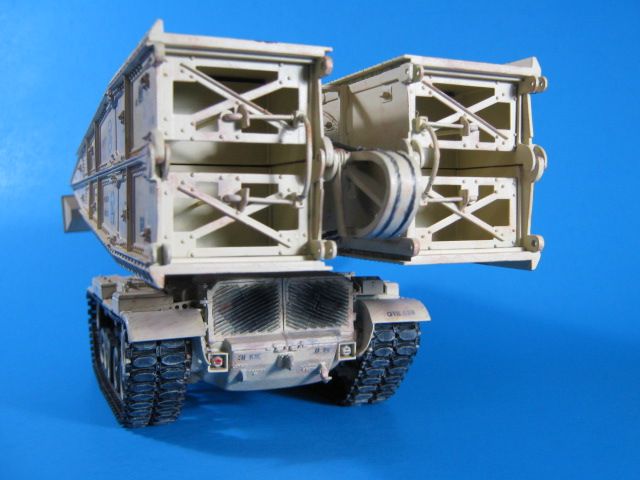
I added a bit of rust and bare metal to the foot that supports the bridge as well.
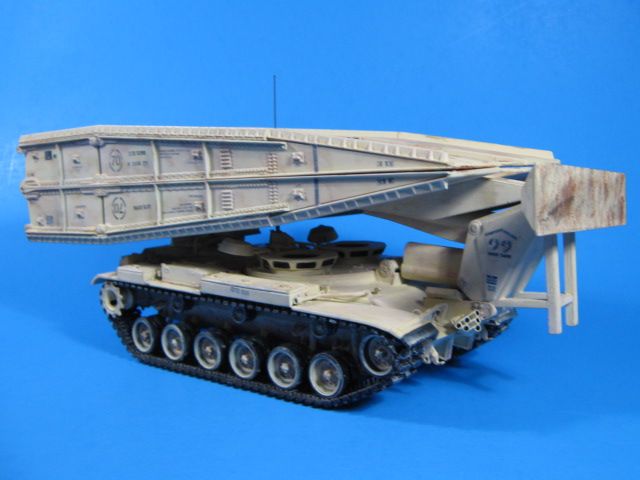
With the erector arm deployed.
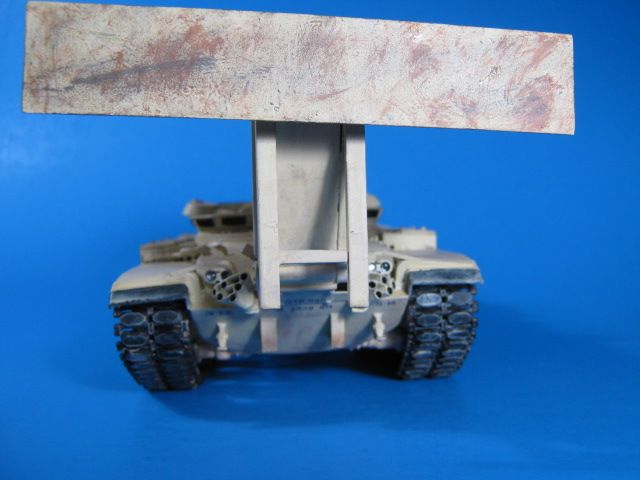
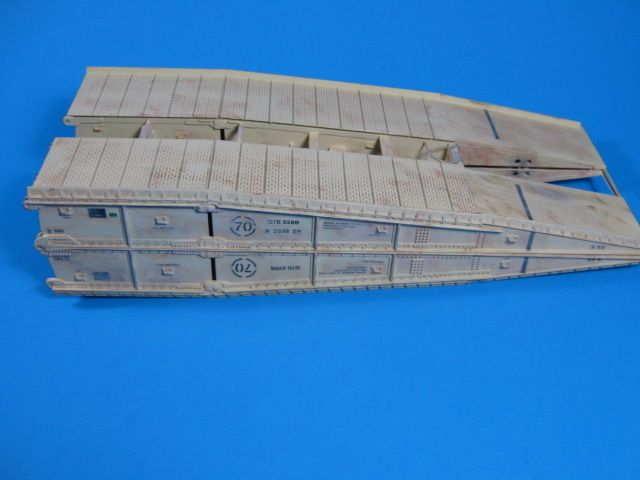
The weathered bridge.
The whole enchilada…bridge mounted on the carrier. This is one big model.
That is it, fine’. I really enjoyed building this conversion and am very satisfied with the way it turned out. It looks impressive sitting on my shelf as it dwarfs an Abrams.