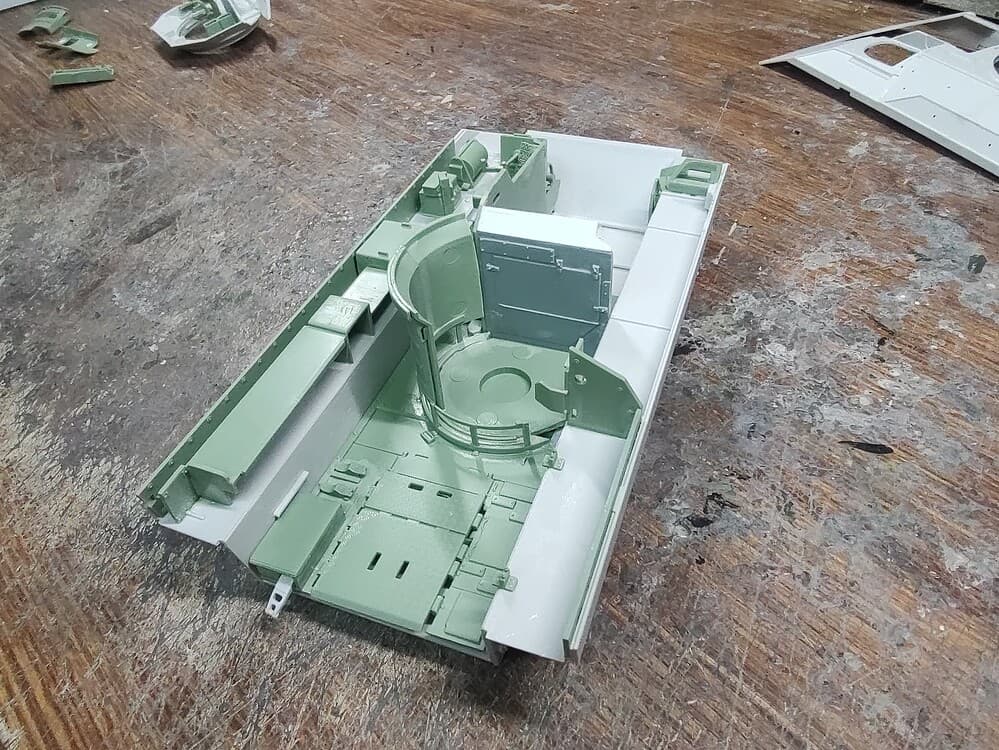
My latest project is an M3A3 CFV undergoing depot-level maintenance. I am starting with the Meng M3A3 CFV kit and the interior set for it. I will be showing it with the turret removed and on a stand, and the engine compartment opened up and fully detailed.
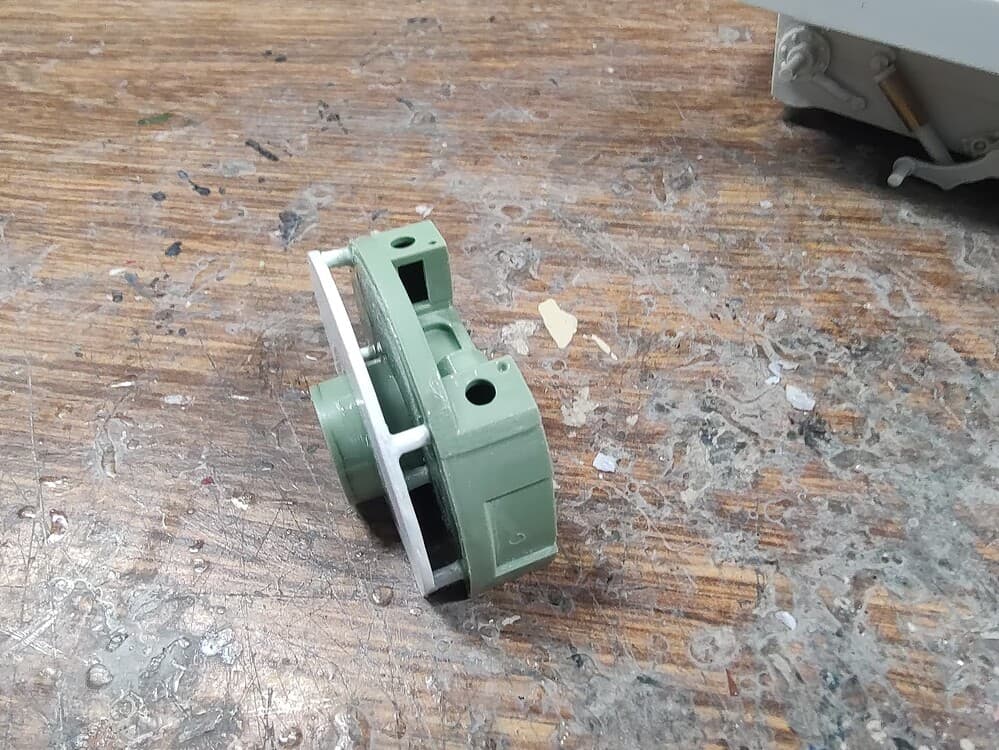
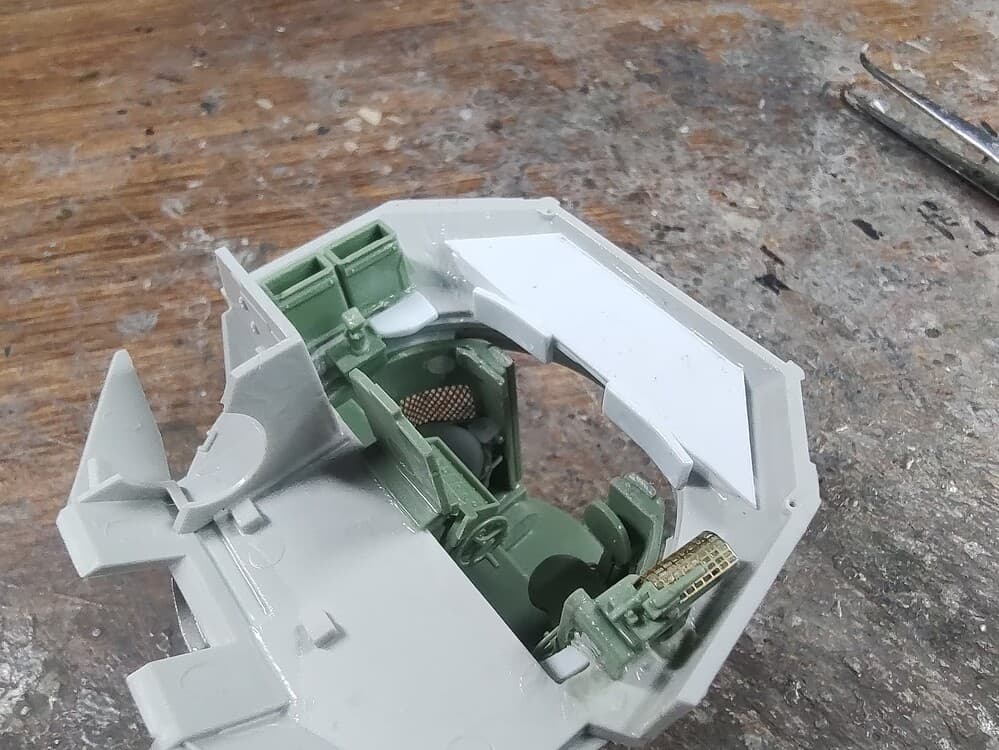
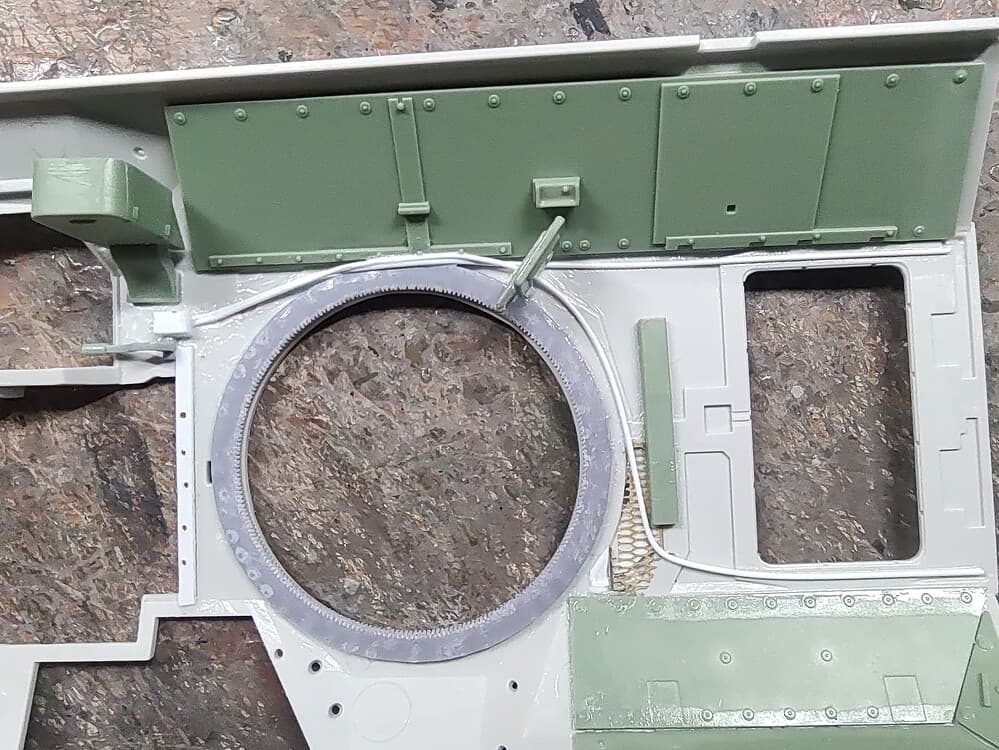
I have started by cutting down the circular turret guard, which Meng has go completely around the turret. It should only go on the driver’s side and rear. At the front of the turret is a flat firewall. I used a modified M113 front wall to replicate it.
Sounds like an interesting project and with your skills I’m looking forward to this.
The last pic of your bench top looks like my garage floor any time I worked on the car
Depot-level! Wow, that ambitious and very unusal for a display. Your work so far indicates depot level work is not a foreign consept to you. Will be looking forward to your next installments.
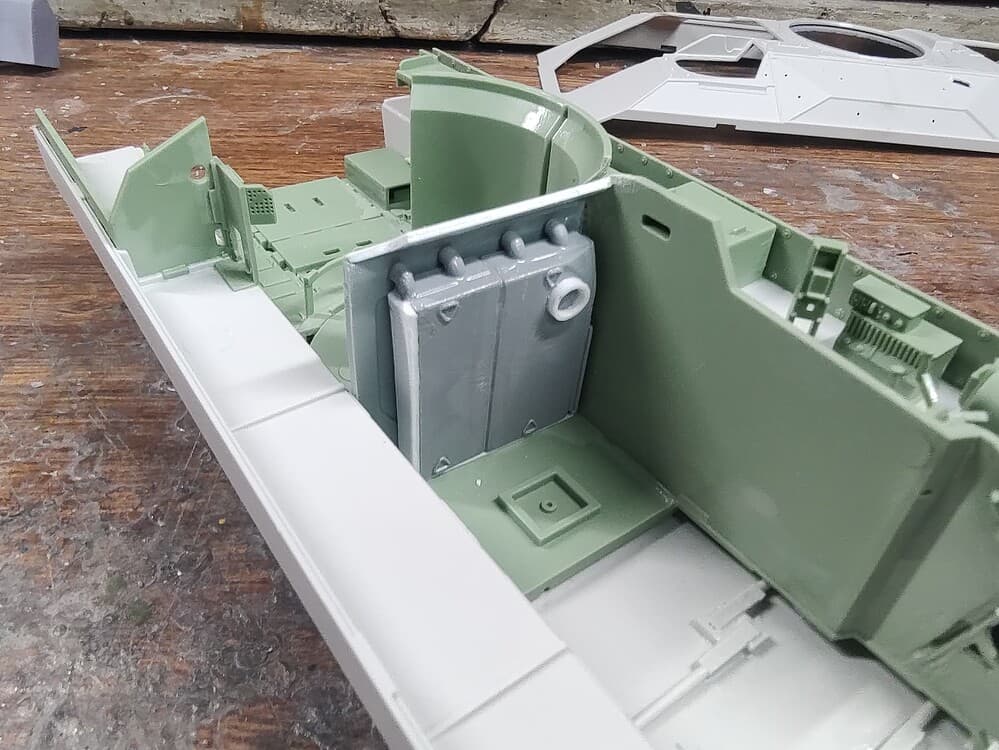
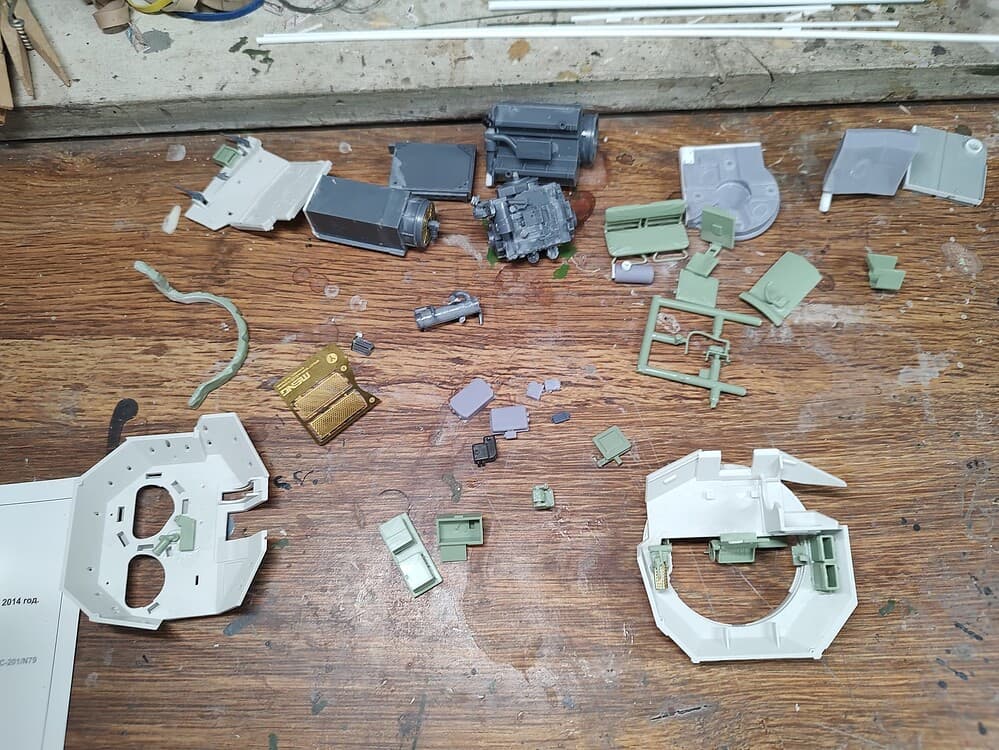
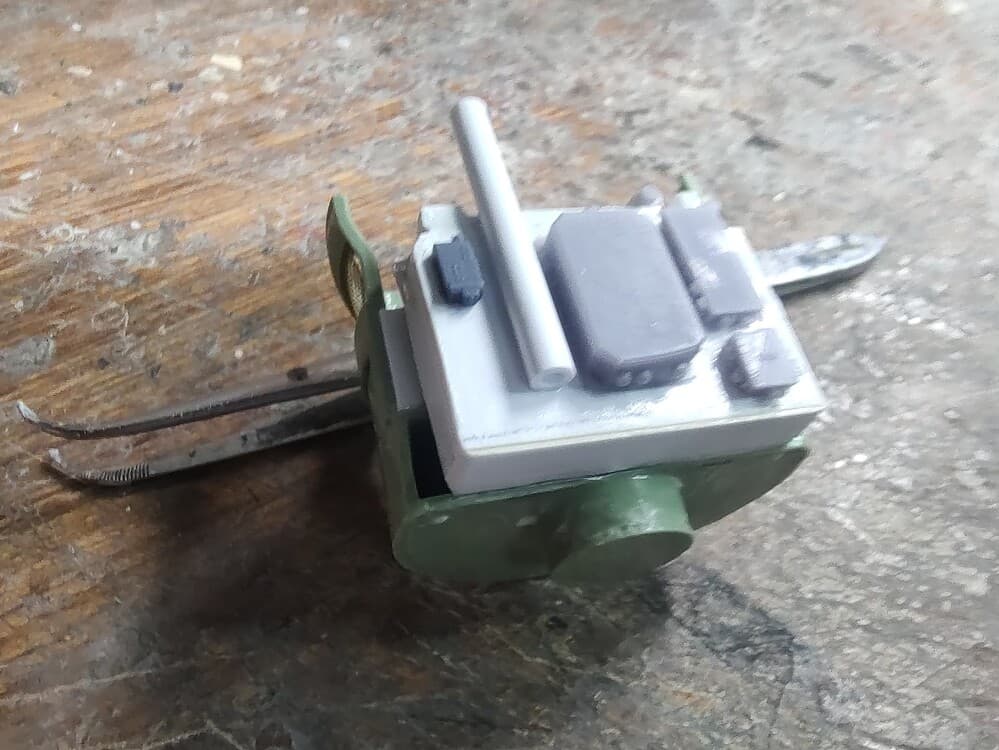
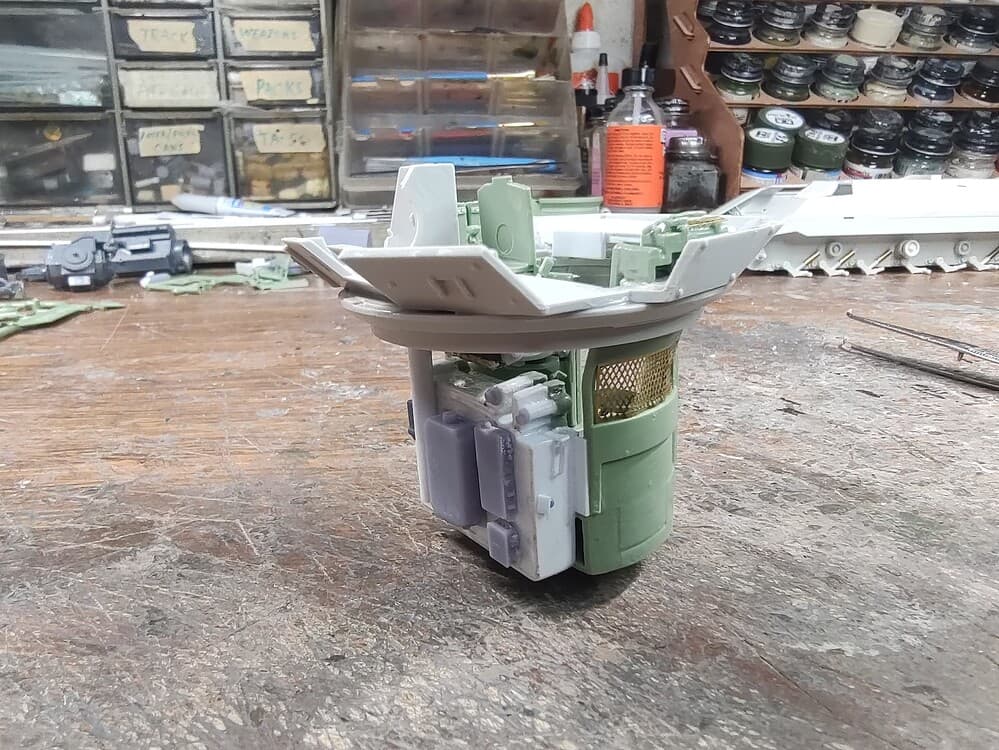
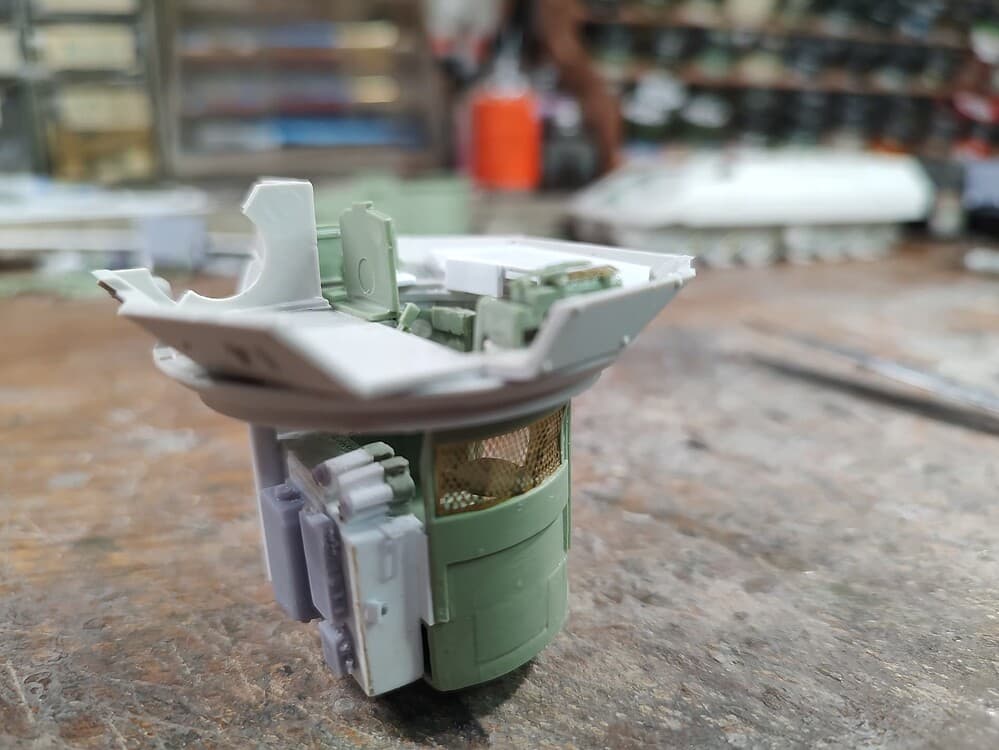
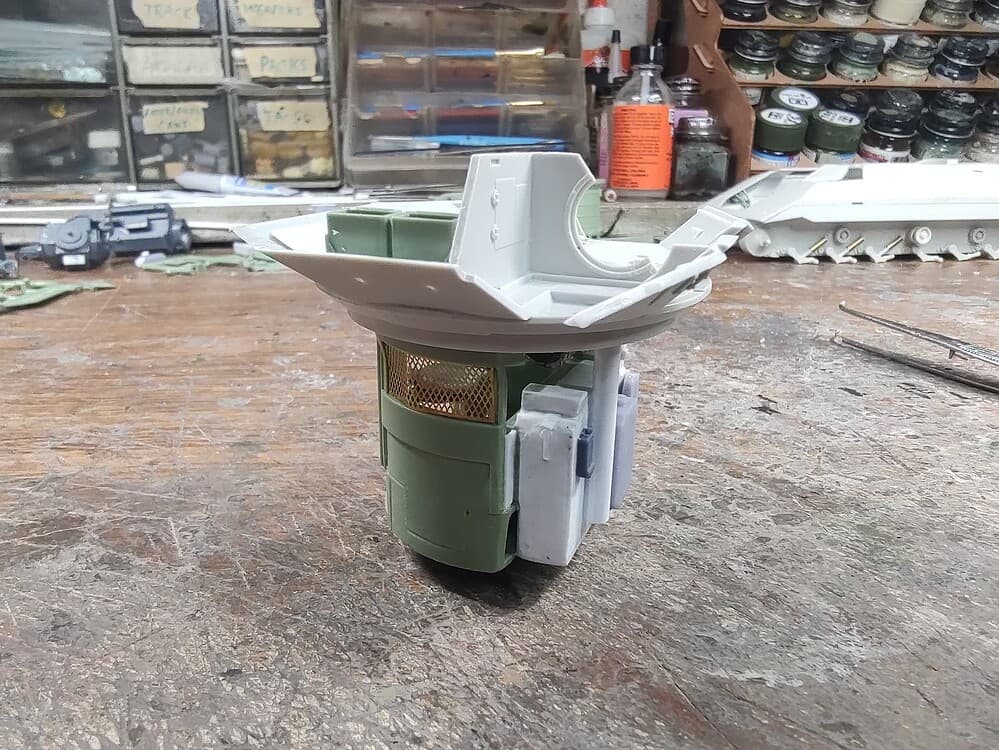
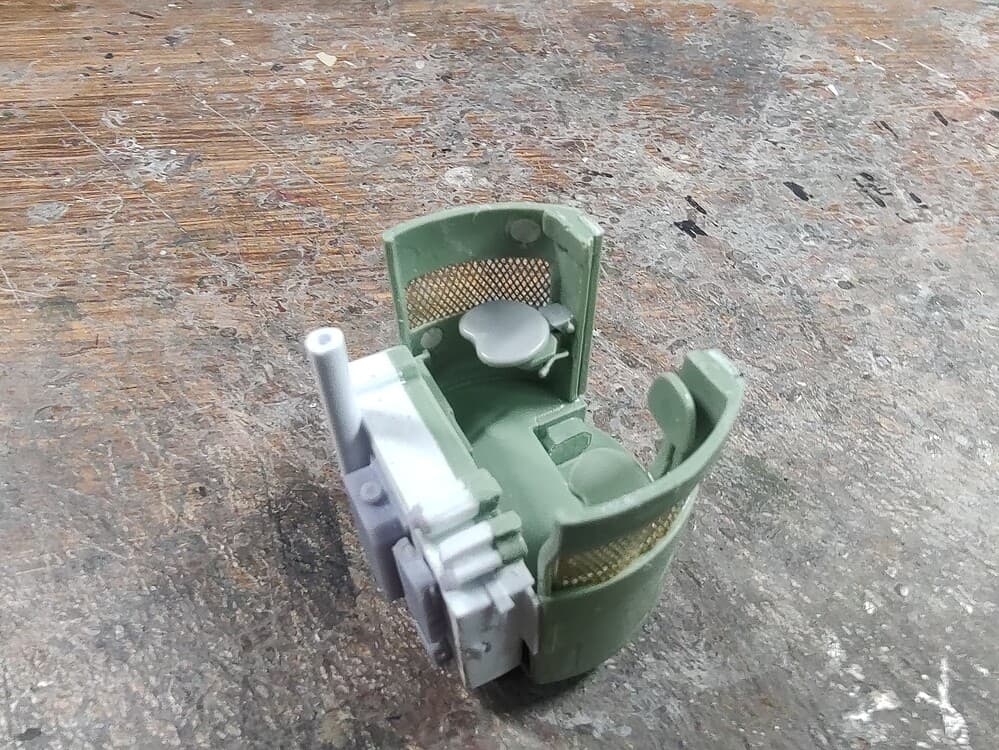
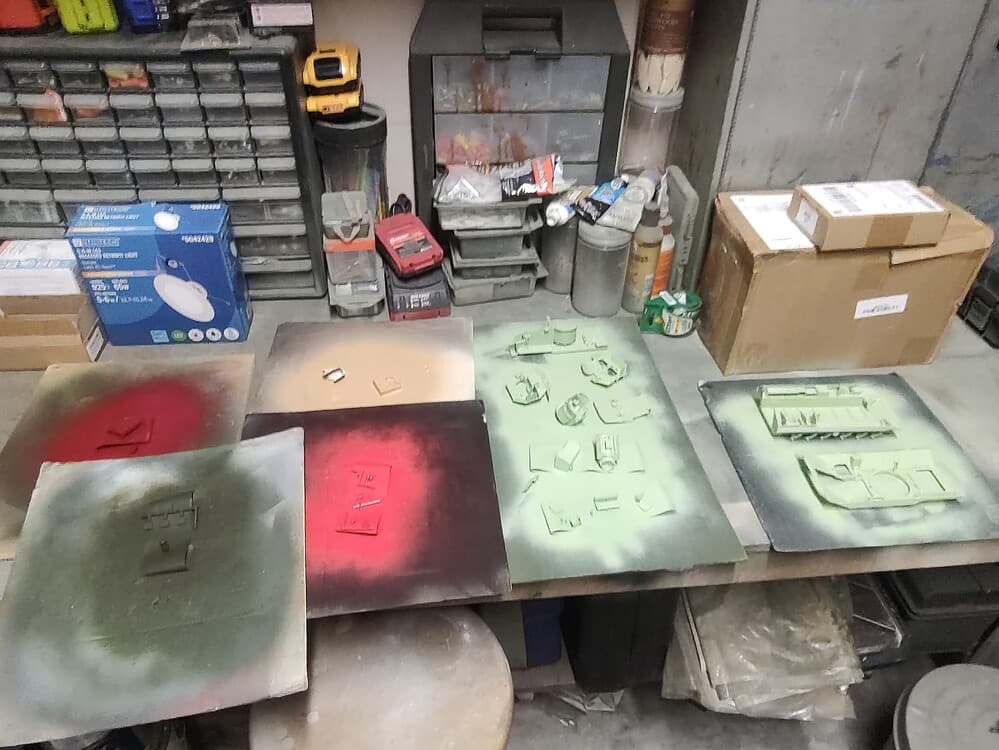
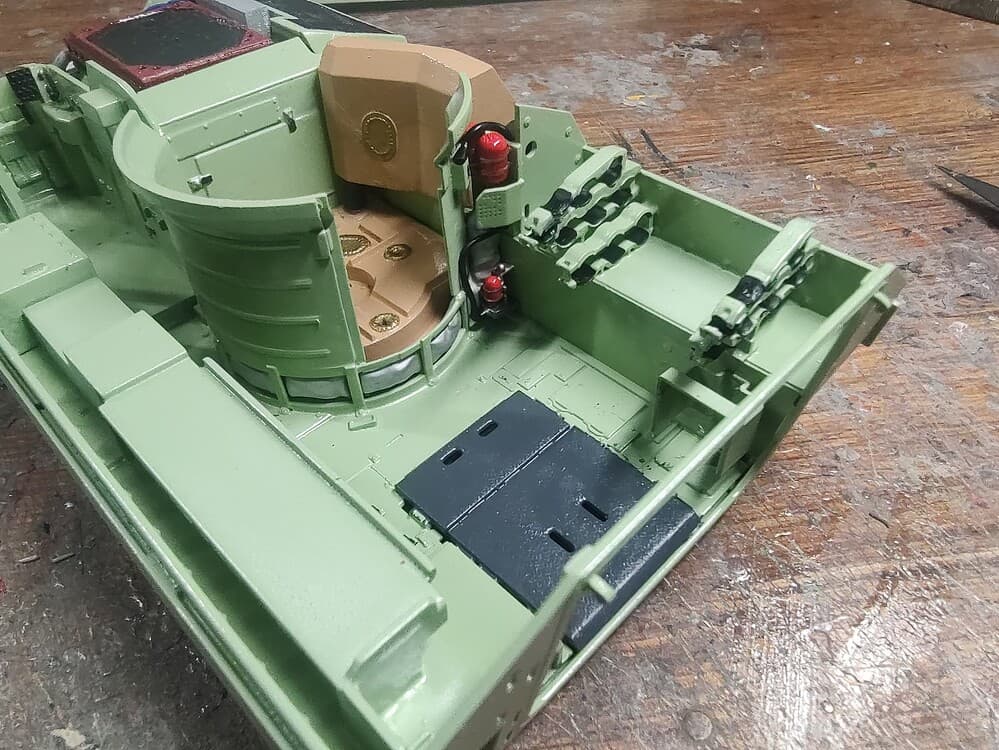
I’m continuing to work on the M3A3. I have completed the turret details by building the ammo box and electronic boxes at the front of the turret. I also added handles and a few other details to the box. The electronics boxes are 3D printed, along with the handles. I still need to add wiring once it is painted.
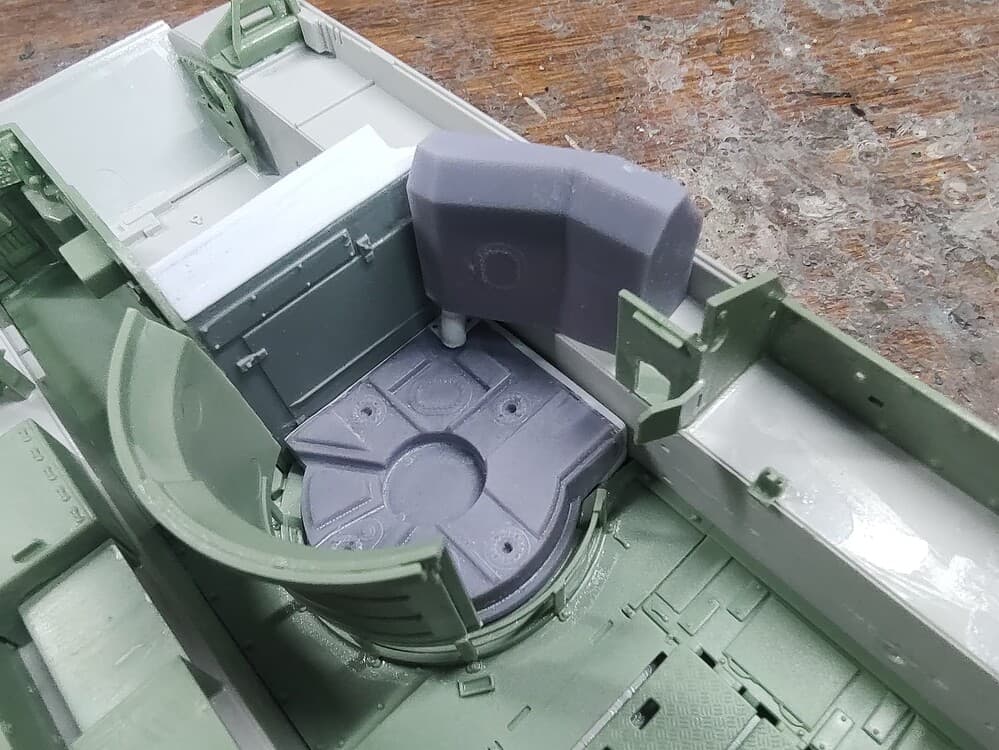
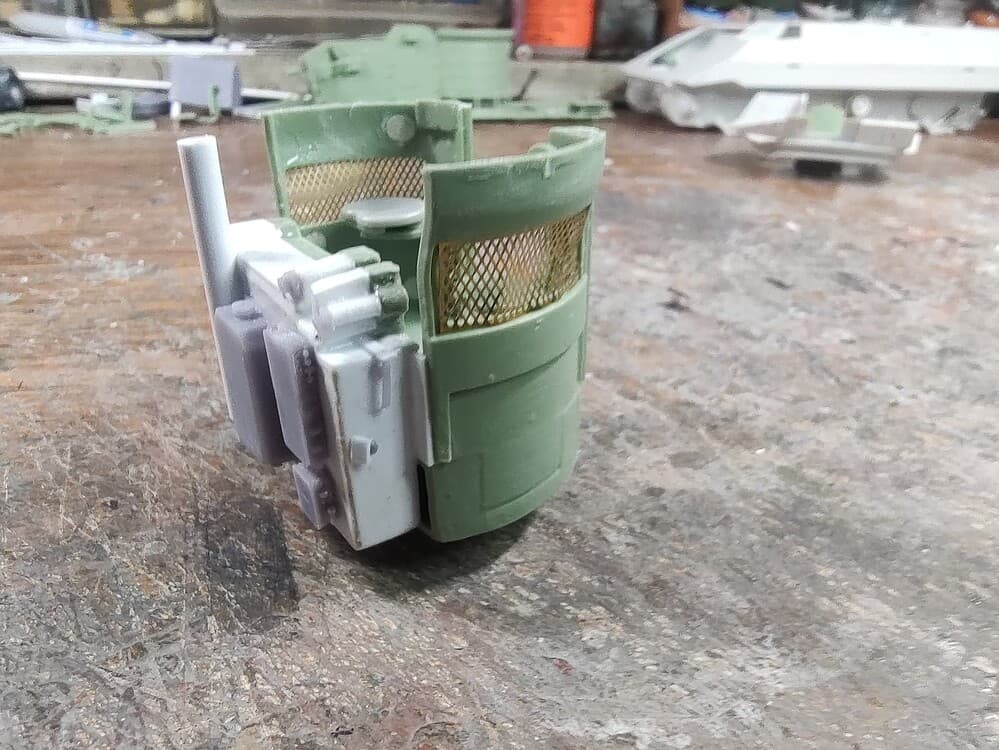
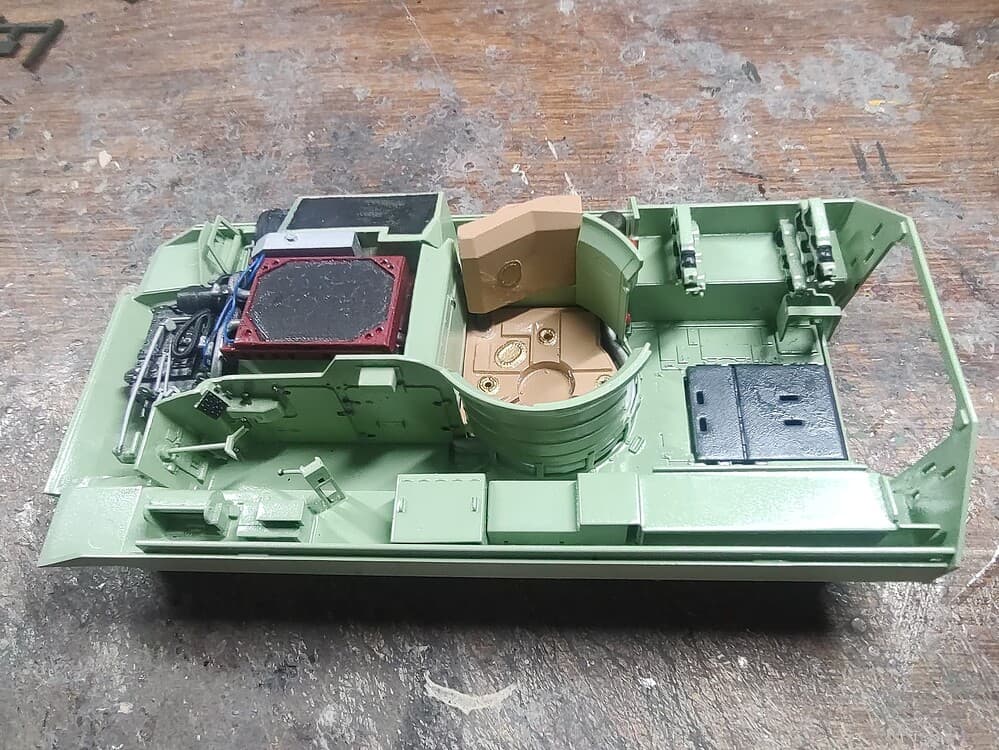
I also added details on the inside with a radio rack, kidney pads, an arm pad for the control stick, and a seat for the BC. Meng includes the platform for him to stand on, but there is a fold up/down seat there as well to sit on. I added one from an M113. I will add a SINCGARS ASIP radio rack, intercom control box, and J boxes once it is painted.
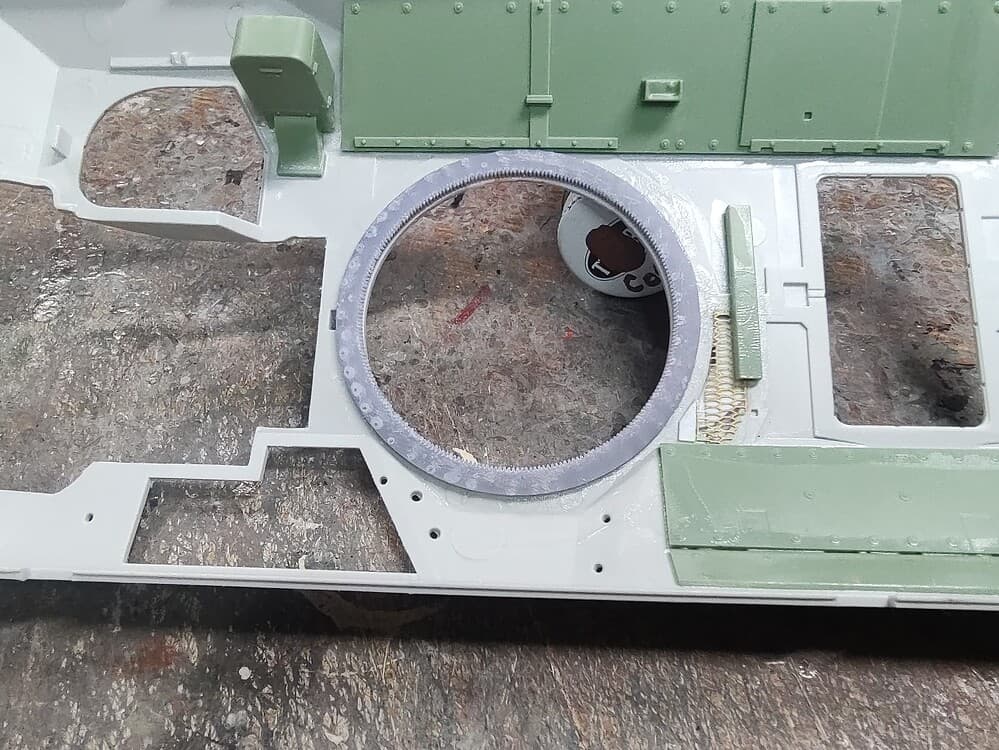
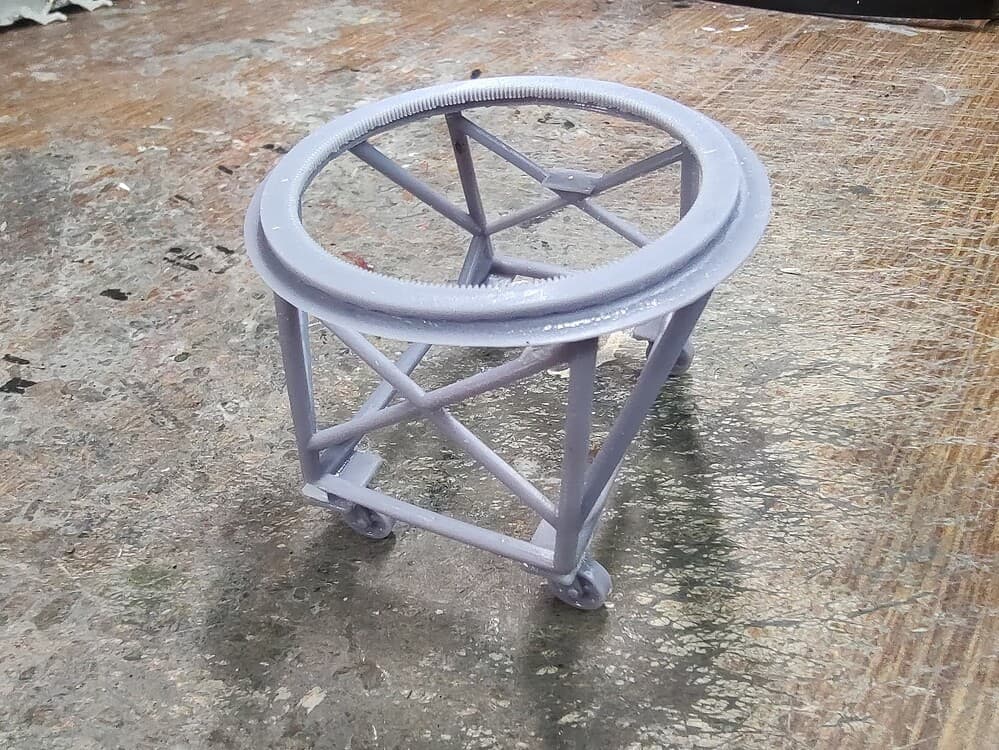
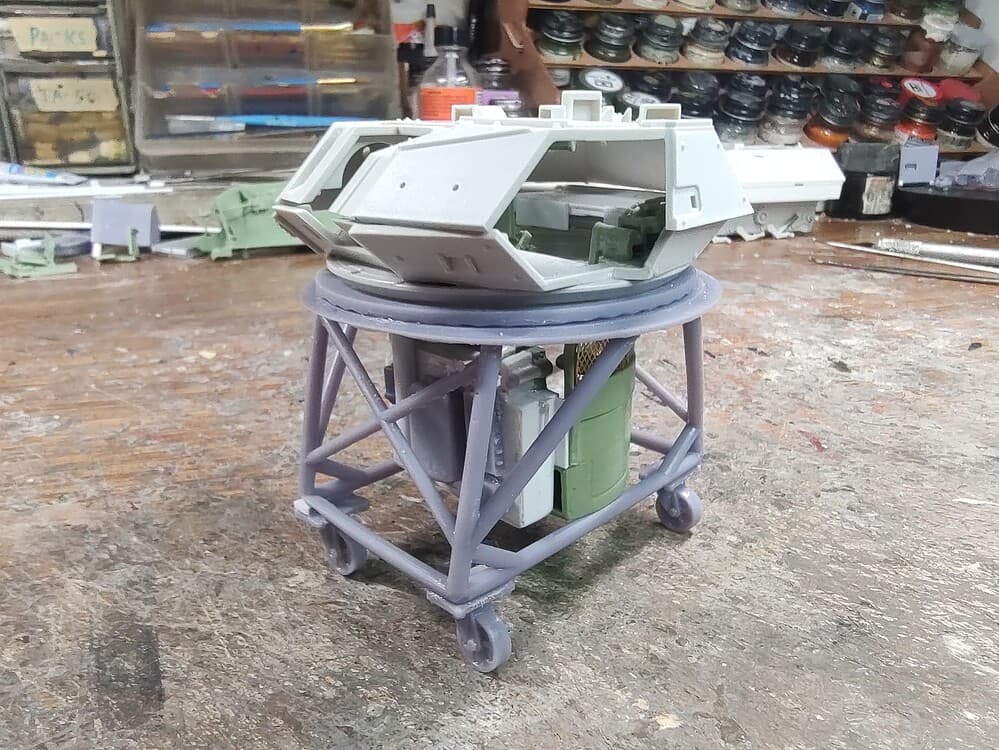
Lastly, I have printed a stand for the turret. It was supposed to be used w/a Tiger tank, so I sized it down for the Brad turret and changed the wheels to more modern casters. I also added the toothed turret ring on top like I did in the hull. It looks good to me.
Absolutely love all the detail that you’re putting into this. I especially like the turret carrier, very realistic as I’ve seen one of these in person. Looking forward to your next update.
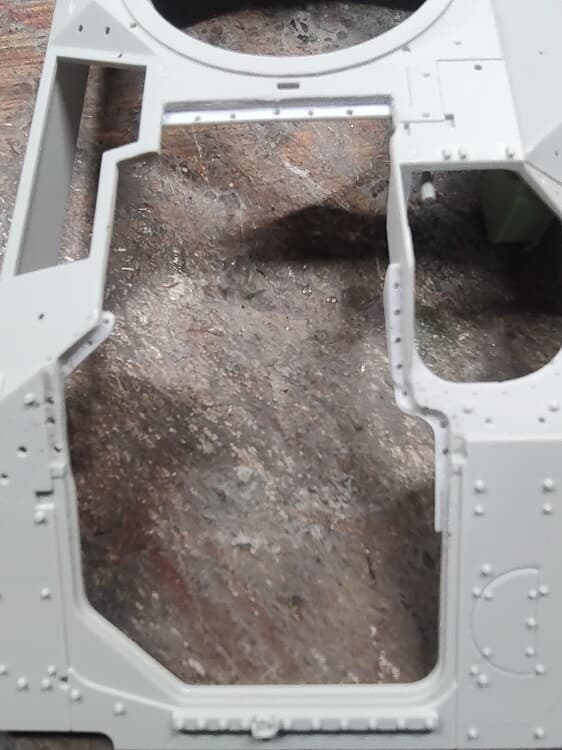
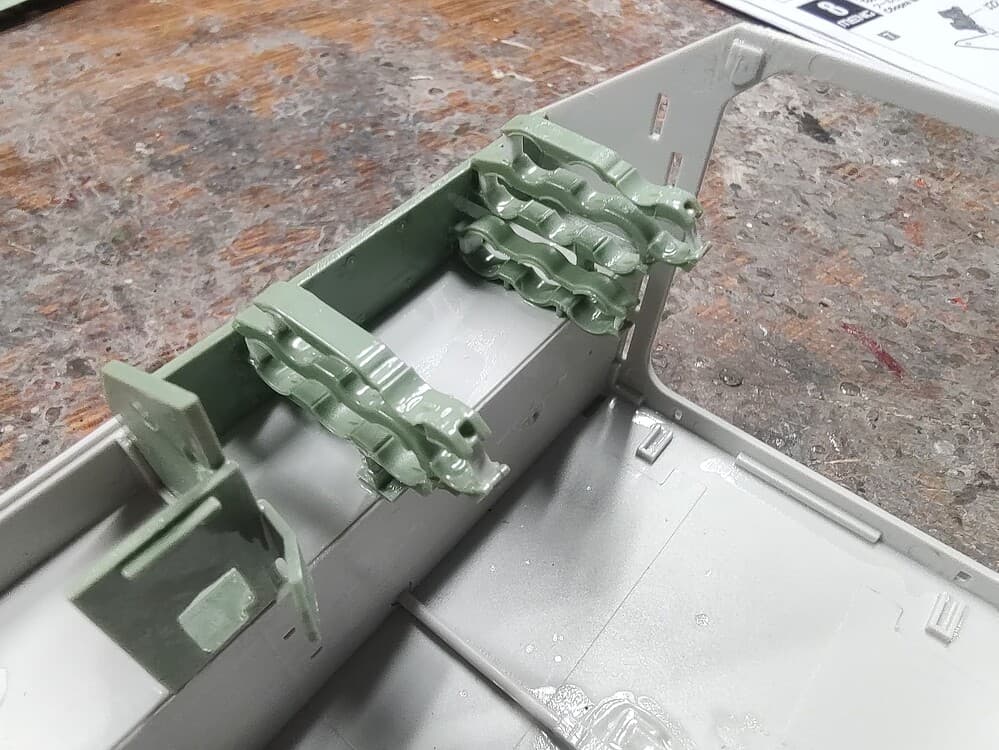
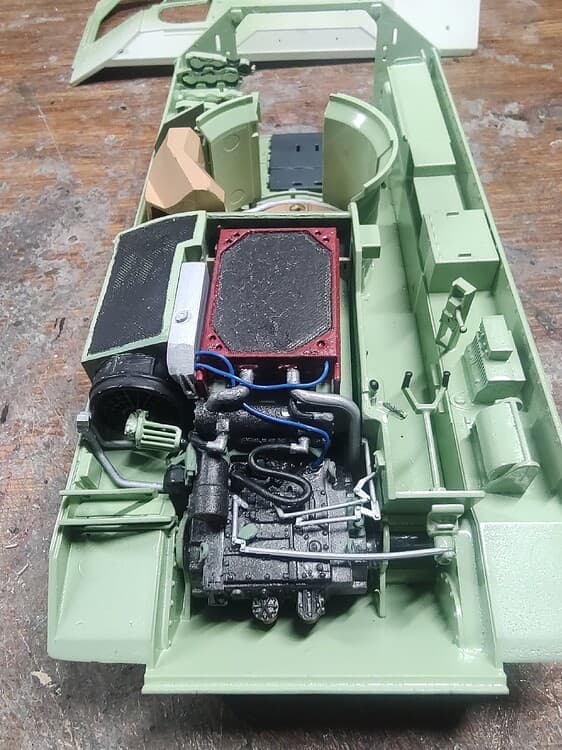
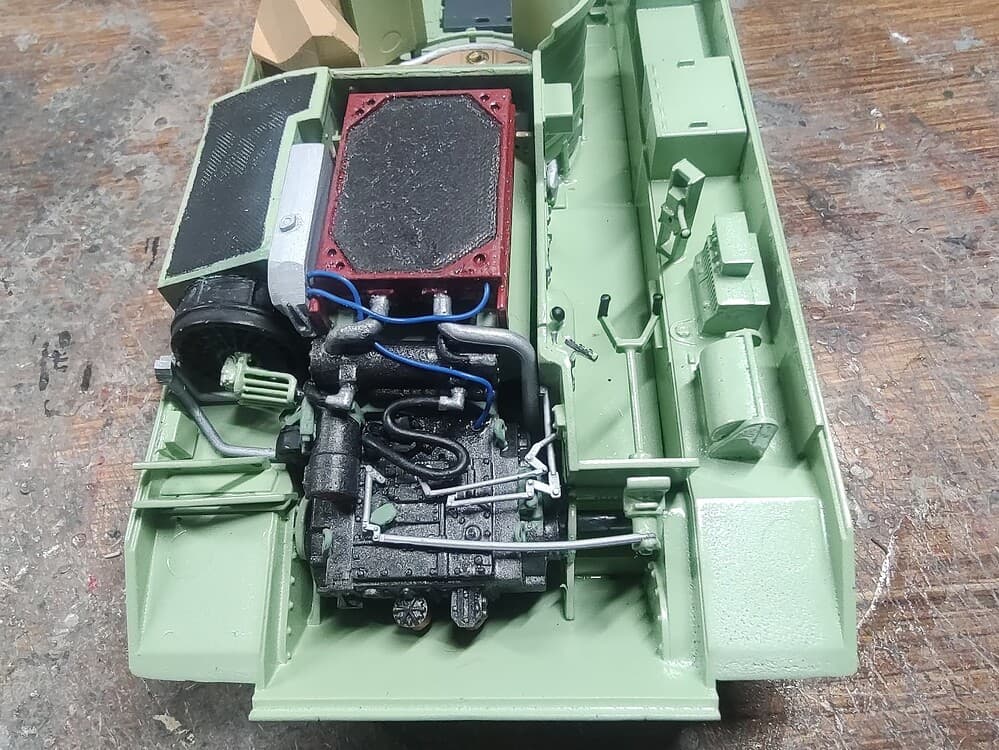
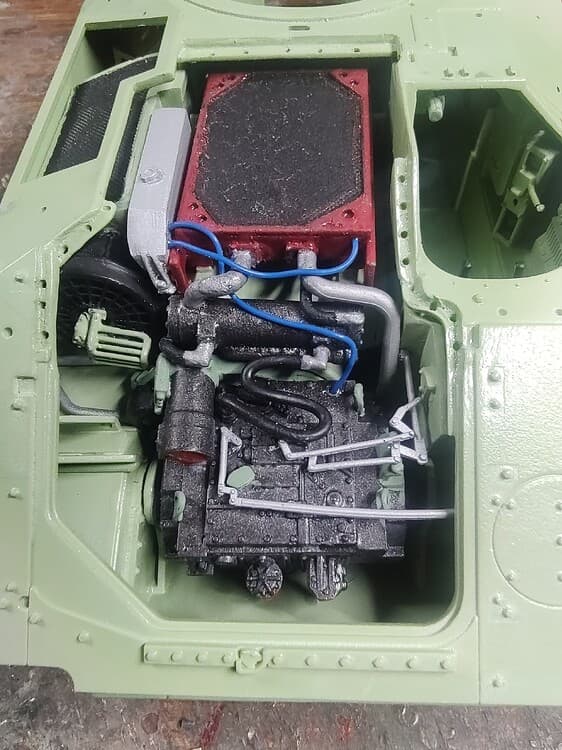
Finally, an update. I had a work trip and my grandkids here for a couple weeks, so not a lot of time at the bench. I finally got back at it this weekend. I added the bolt plates and drilled the bolt holes out on the engine deck.
Here it is with the hull top in place. You can see the mounting holes drilled for the removed engine cover well. I also scratched the coolant reservoir tank to the left of the radiator from a resin pour stub, added the mount and bolt on the end from styrene, and a 3D-printed radiator cap.
Lots more work to go on the details in the back and the turret still. Planning on starting on all the interior decals and stencils next. More to come later.