Thanks Skull. The interior is painted using Krylon Pistachio spray. It is an exact match for interior Seafoam Green as used on US AFVs.
You’re doing an excellant job on the interior. Nice going!
Gary
Thanks Gary. It is coming along. Lots more to do on the interior.
Great job of creating the missing details.
I wasn’t aware of that color being used. But I’m not too aware of too many Armor type things in todays modern Armor. Come to think on it that includes yeaterdays Armor ![]()
Thanks Steve. Seafoam green interiors have been around since the mid-'60s, so yesterdays armor as well.
1 Like
Life and work have slowed me down on this one. I have also been busy w/CAD and 3D printing some parts for future projects. More on those later. I have made some time to work on this one though.
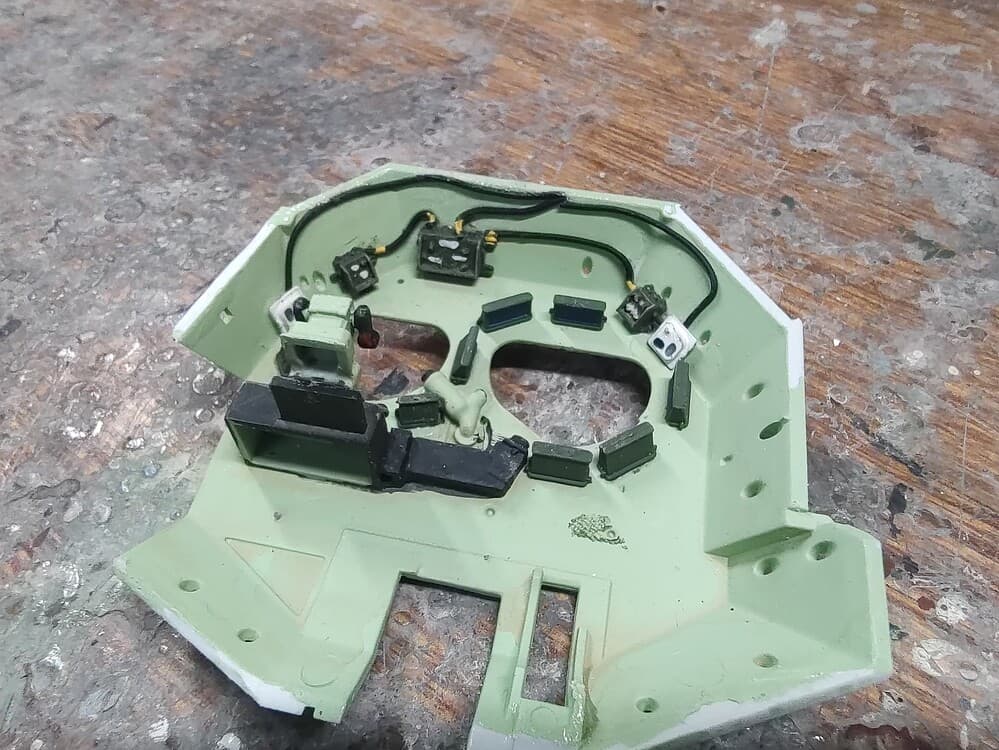
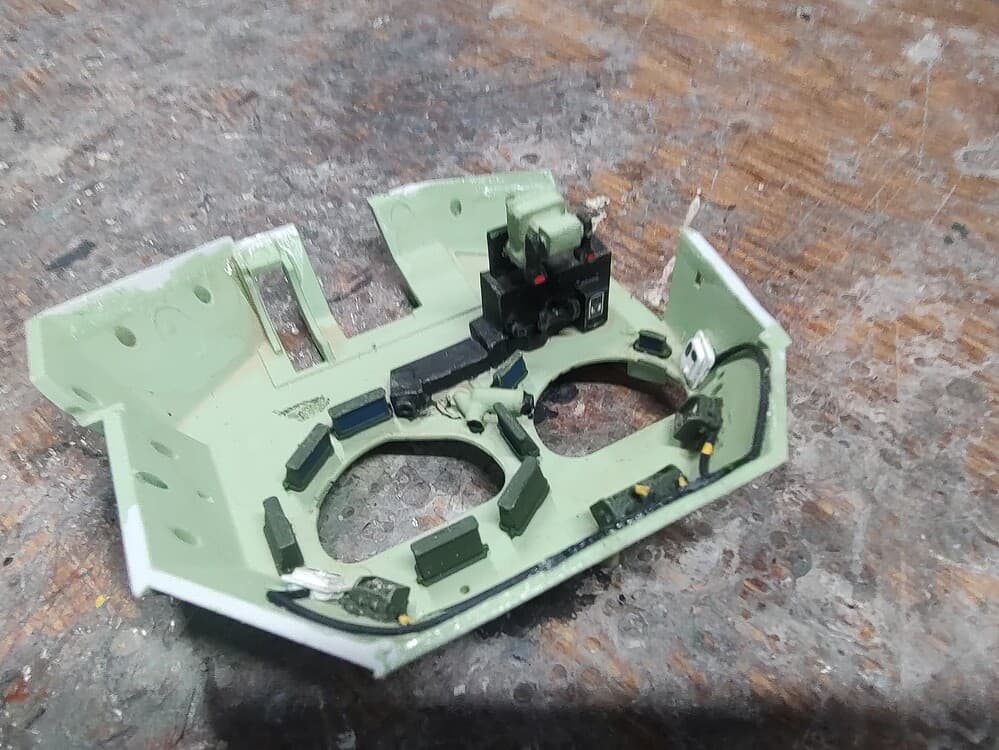
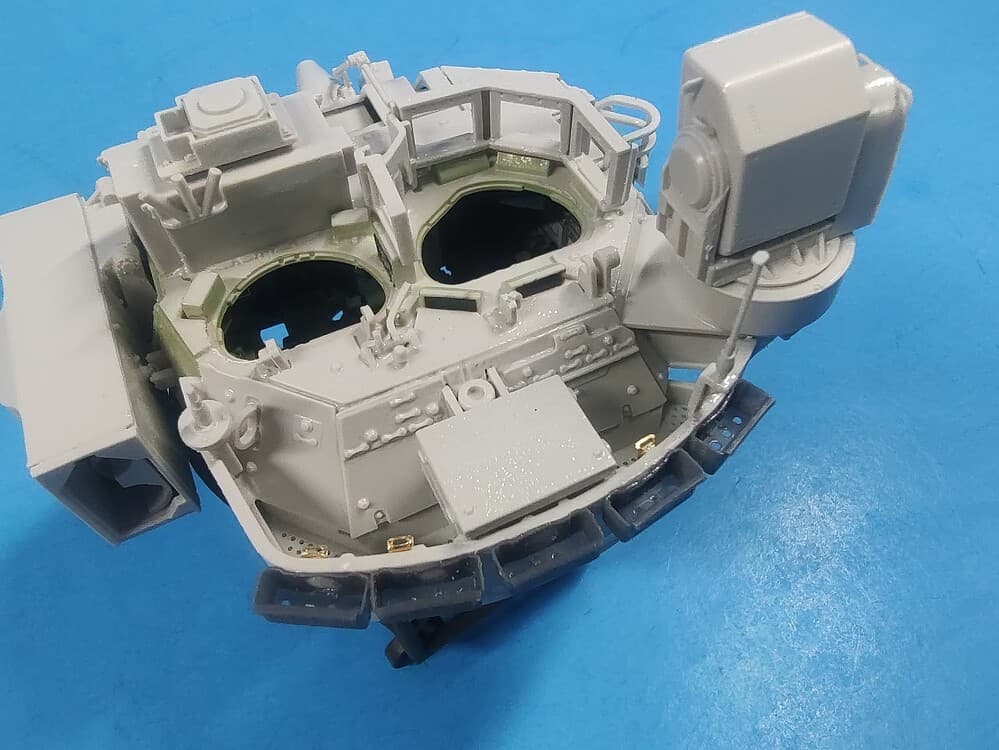
I have weathered and detailed the turret interior. I added SINCGARS ASIP radios, an intercom system, interior lights, etc., etc., etc… Most won’t be seen, but I know it is all there.
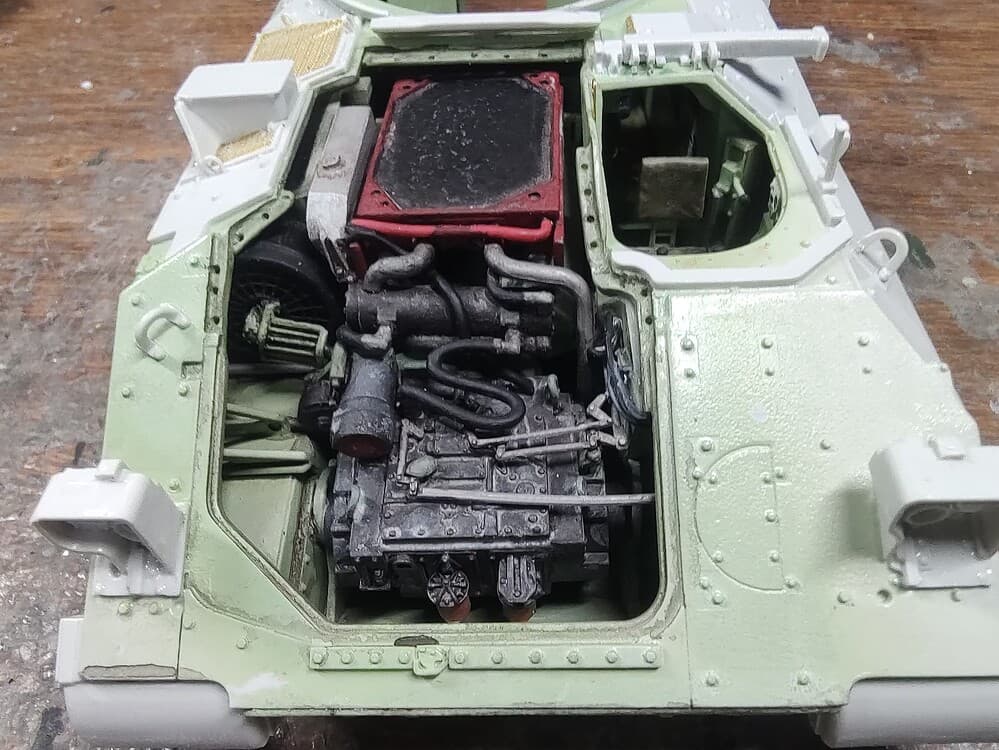
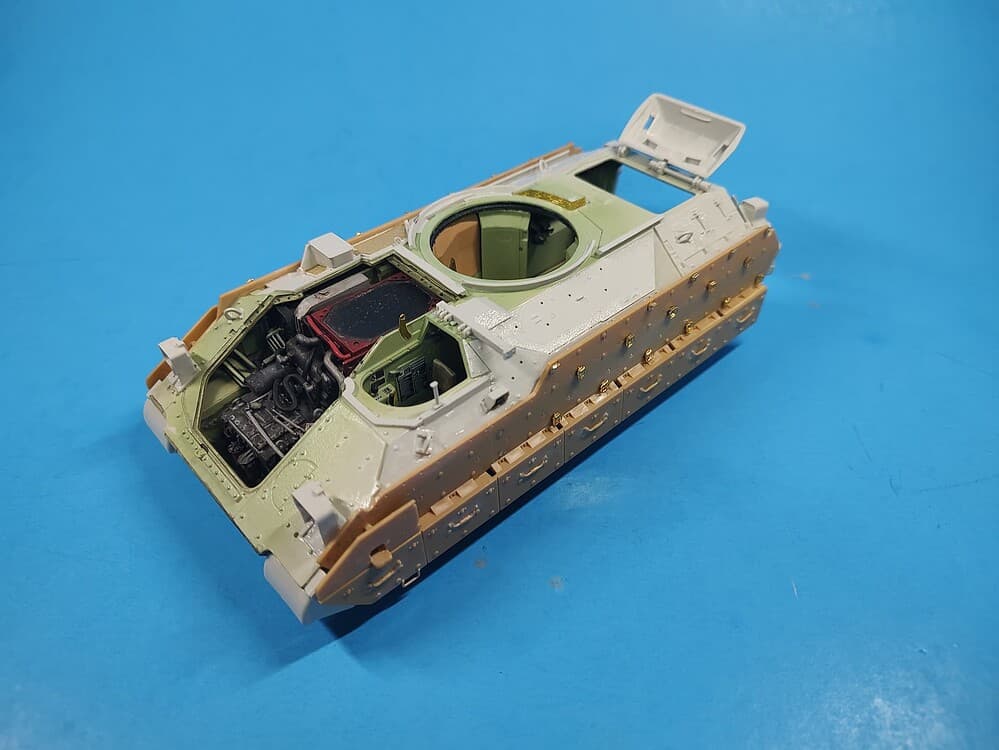
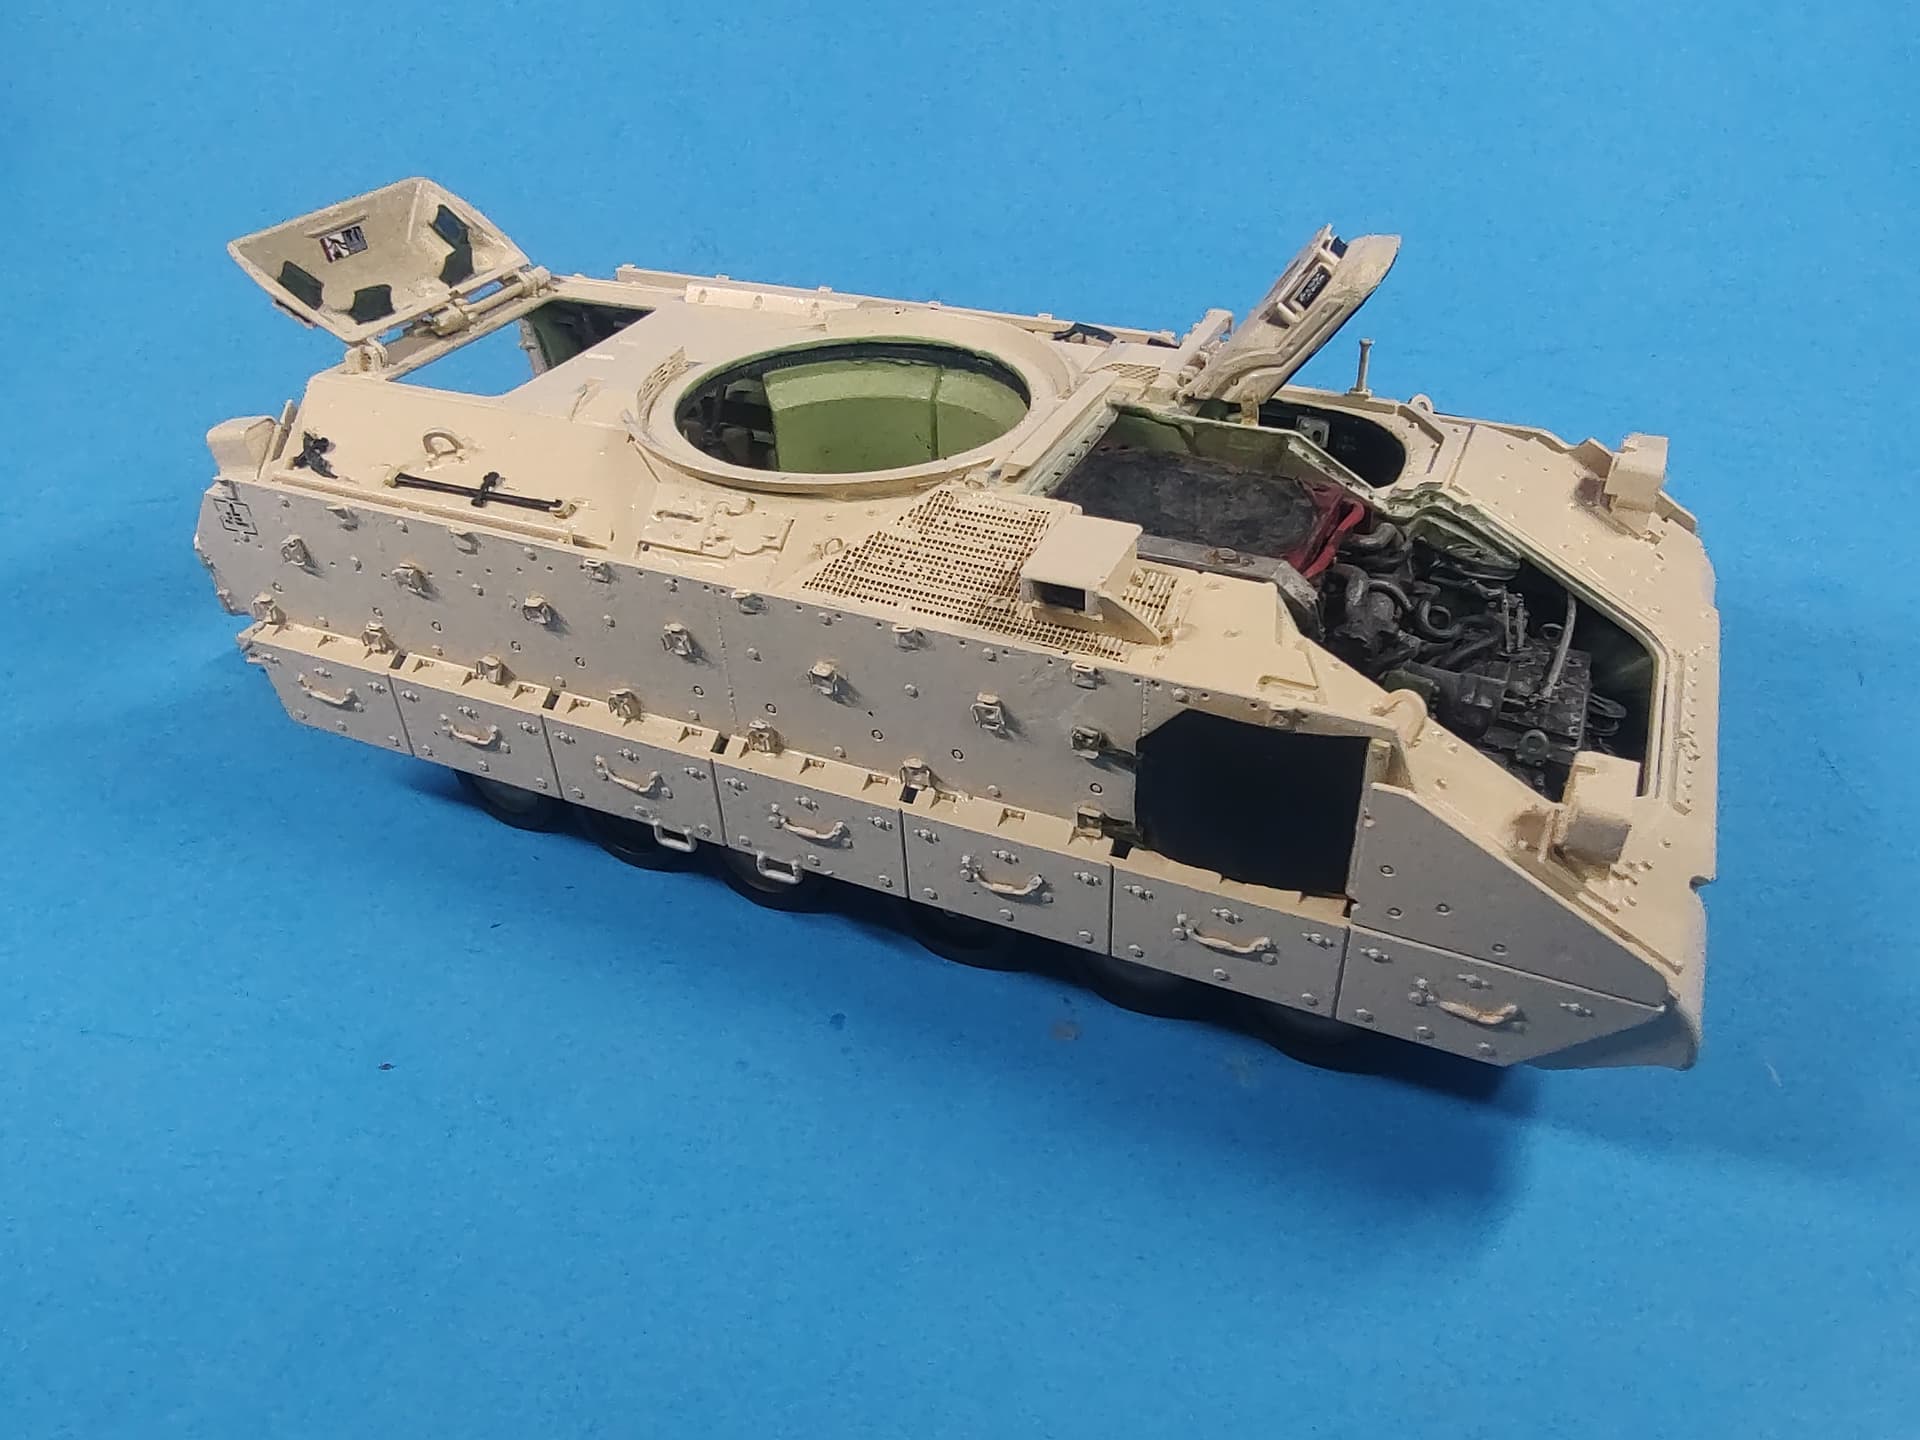
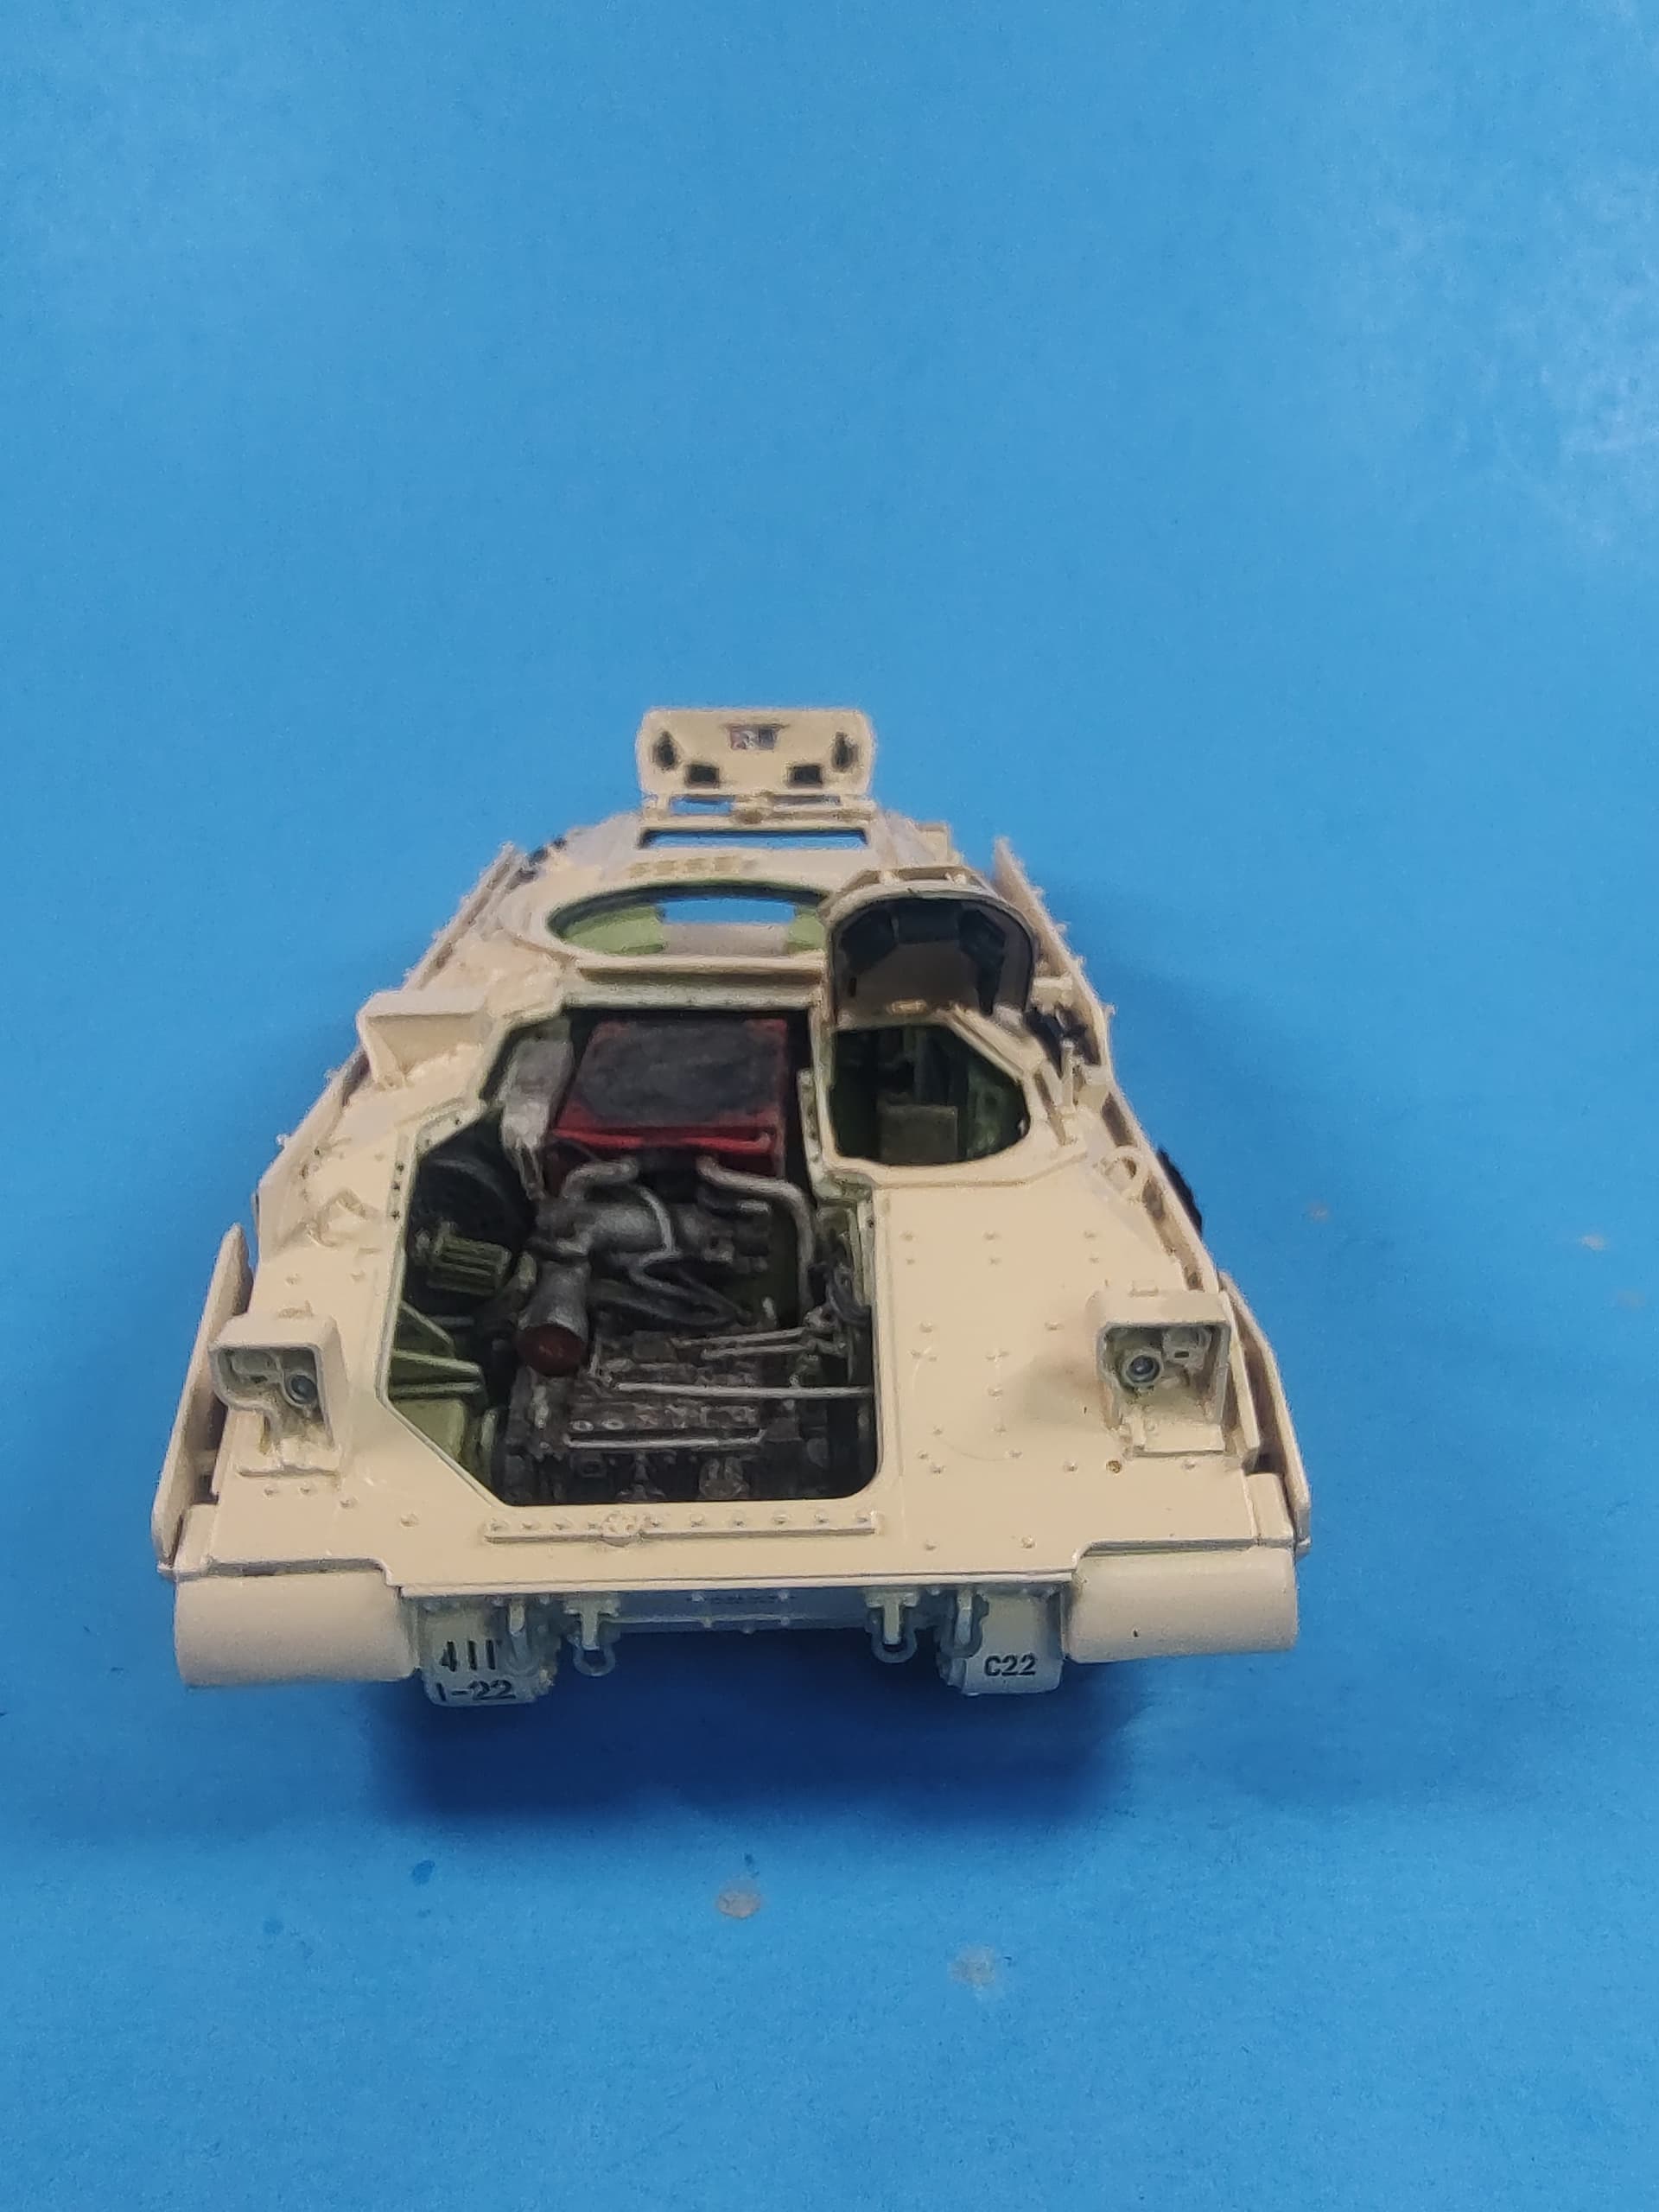
I have closed it up and completed most of the hull. I failed to take pics before closing it up though. Here is the engine and transmission area after weathering and installing them in the hull.
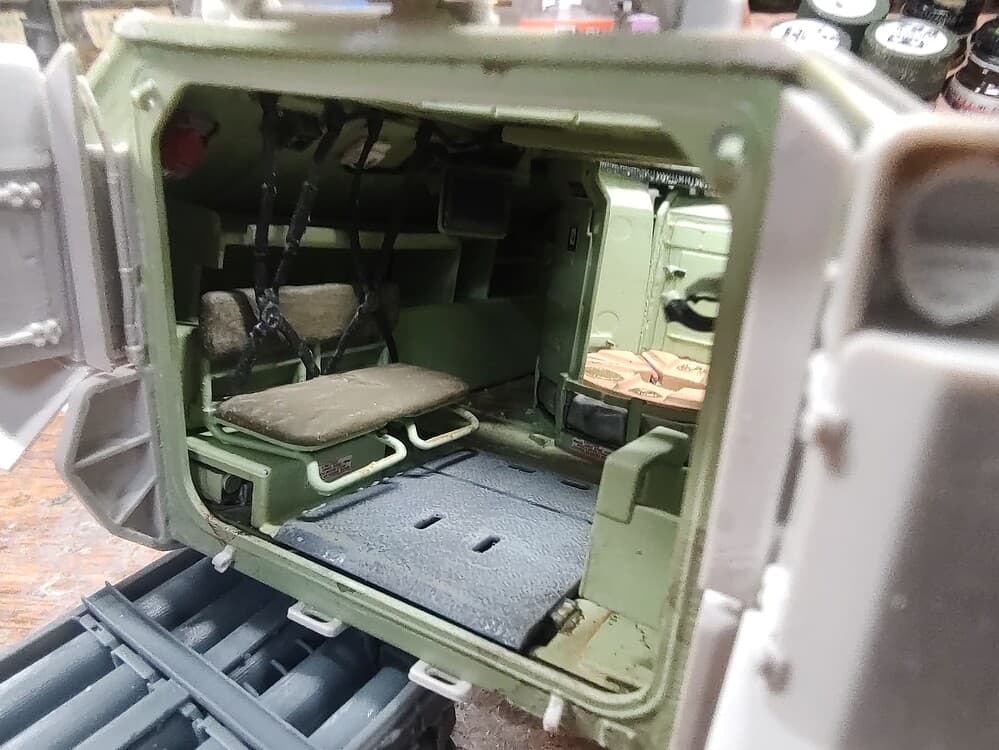
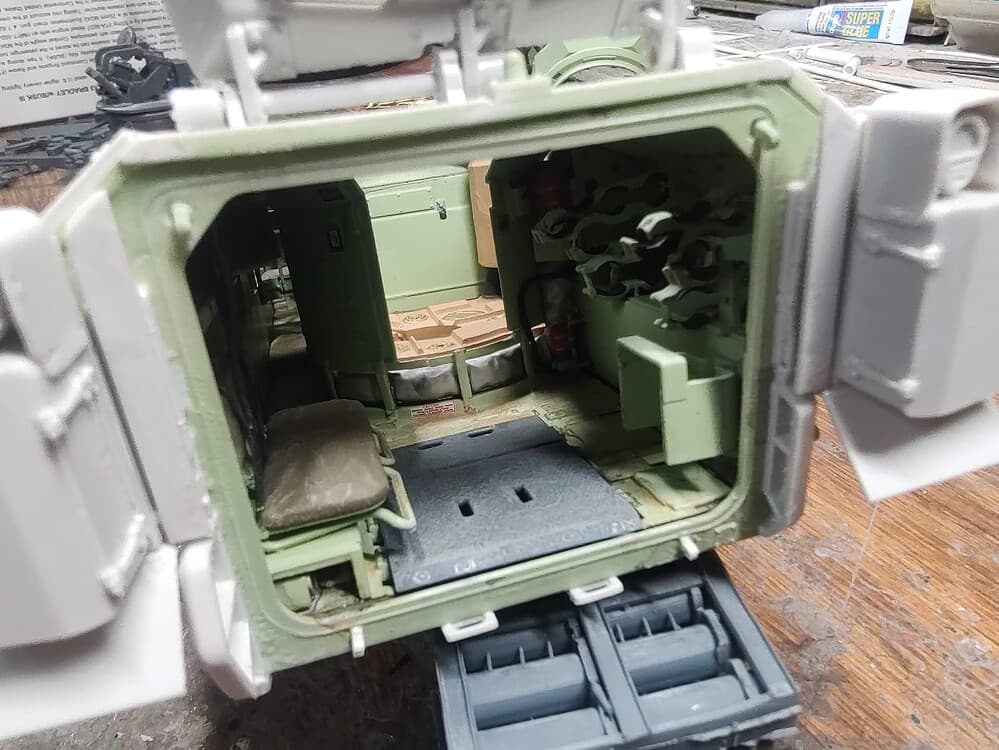
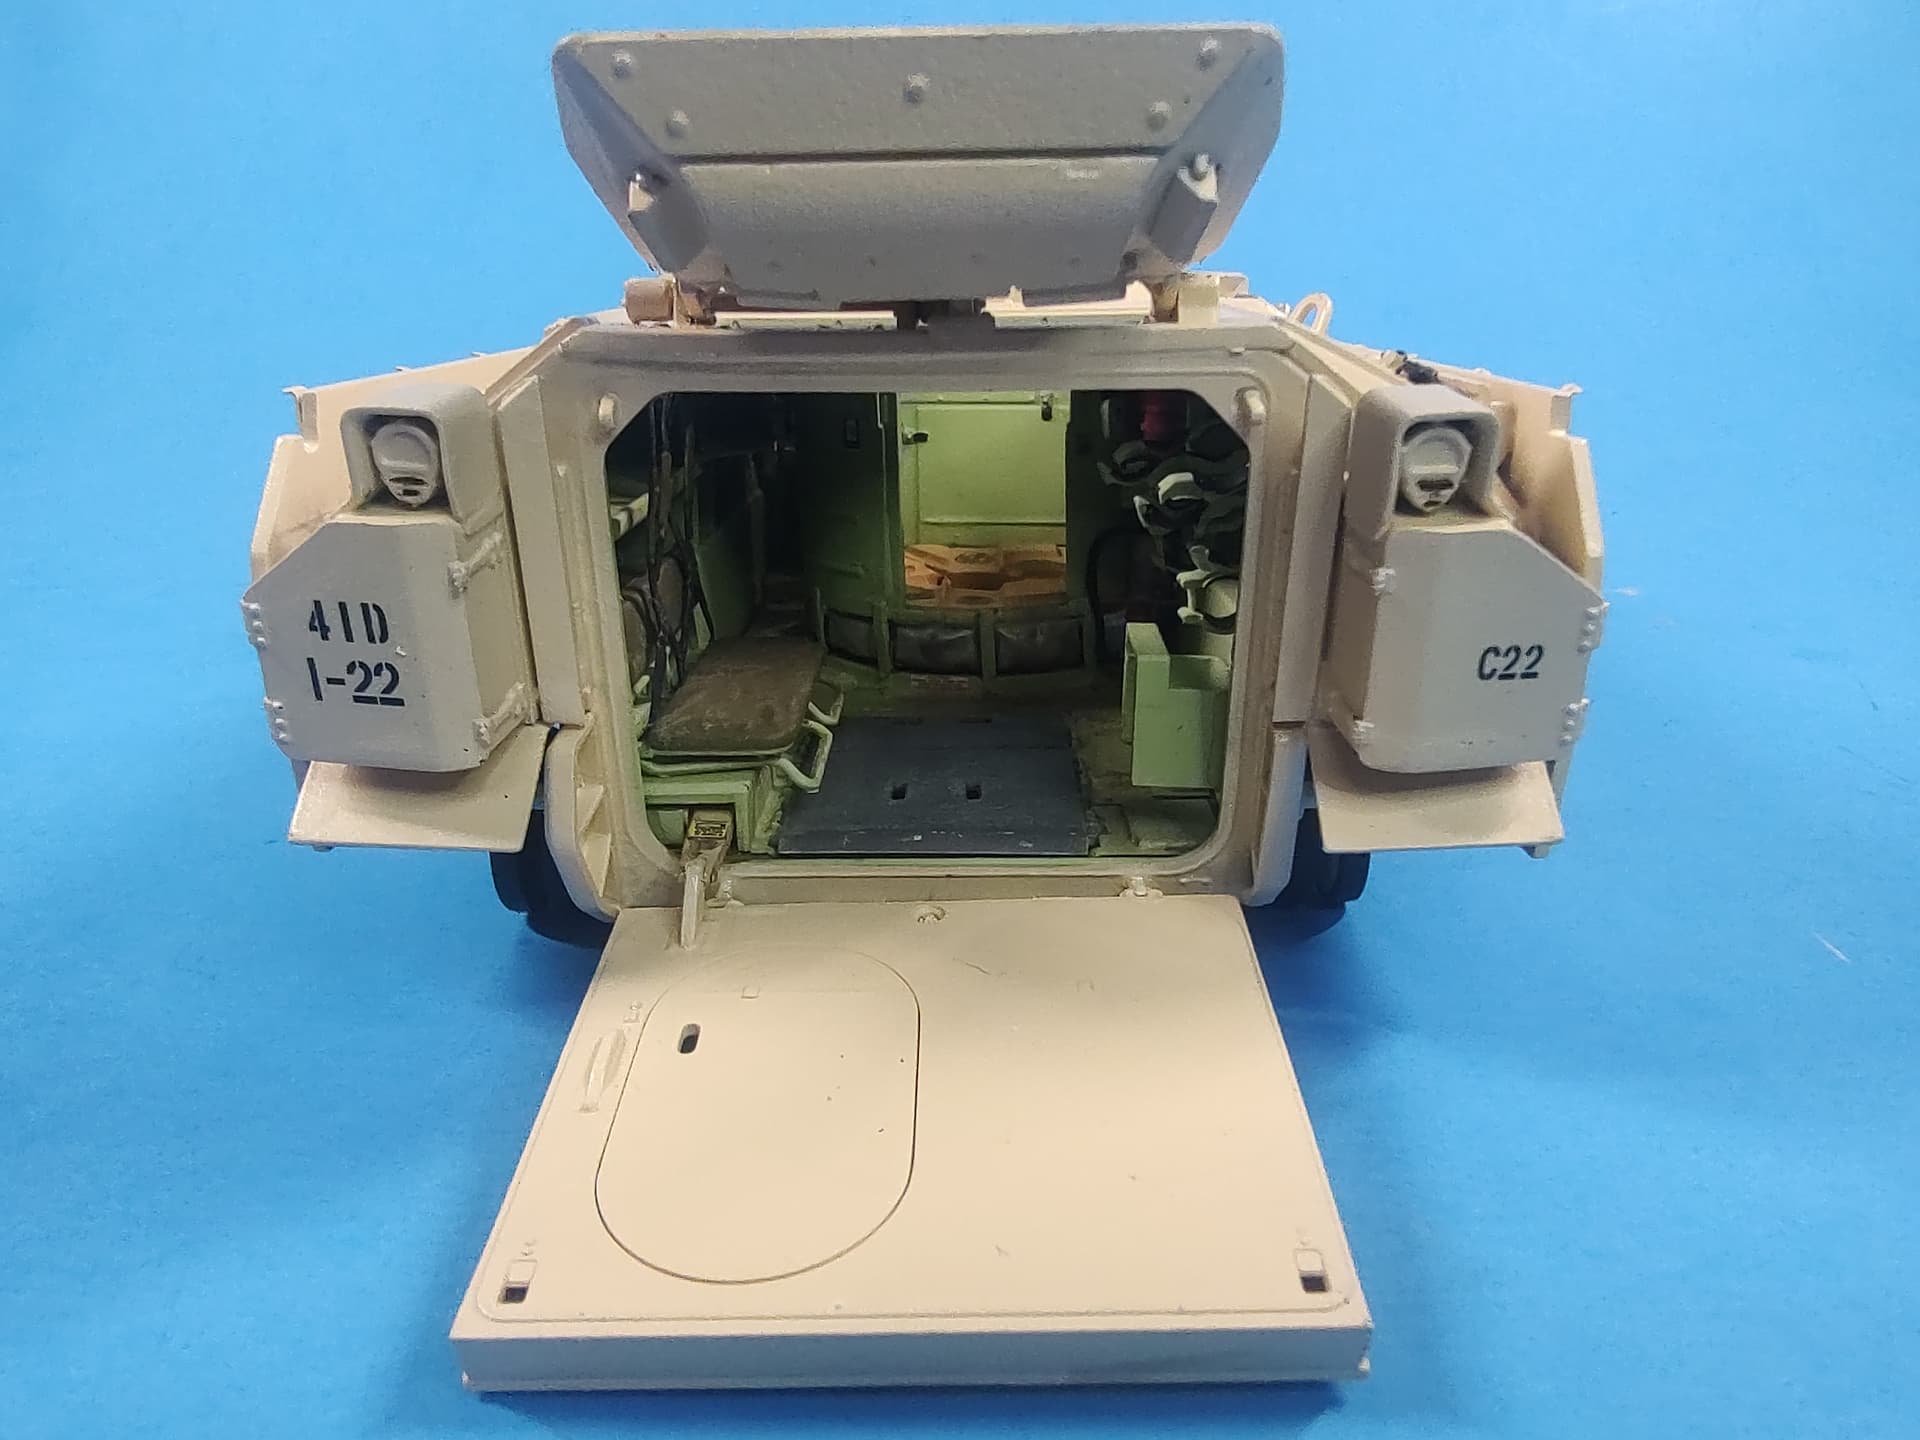
The inside of the cabin as well. Similar pieces added. The interior doesn’t have any extra gear since it is a maintenance dio. I may add a toolbox and some tools in the back later though.
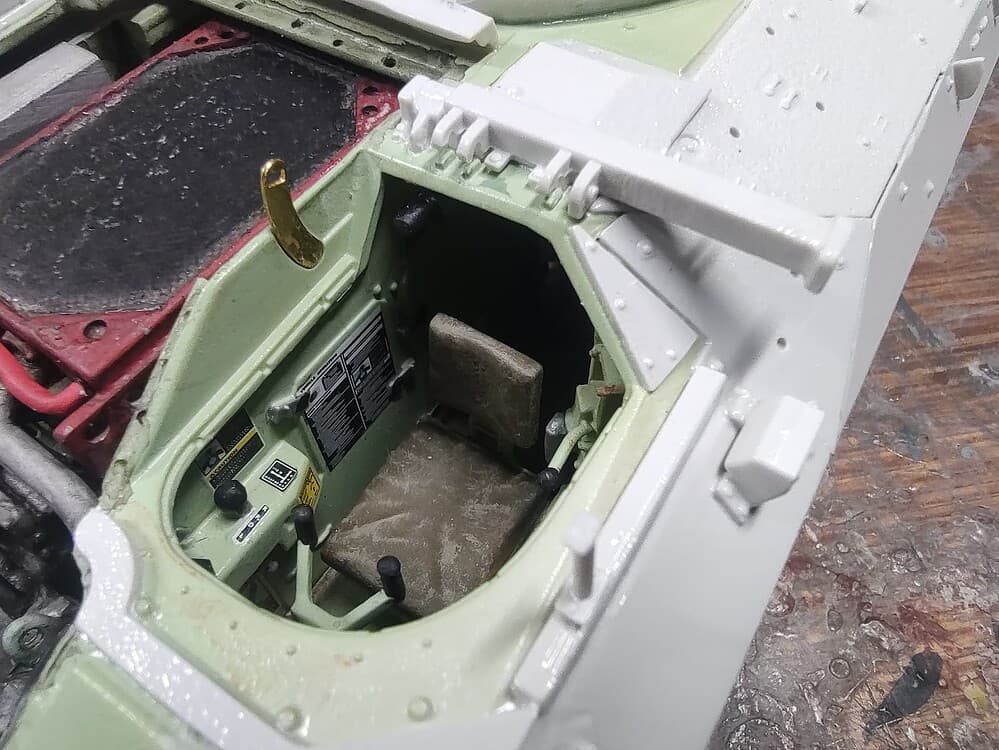
Driver’s position.
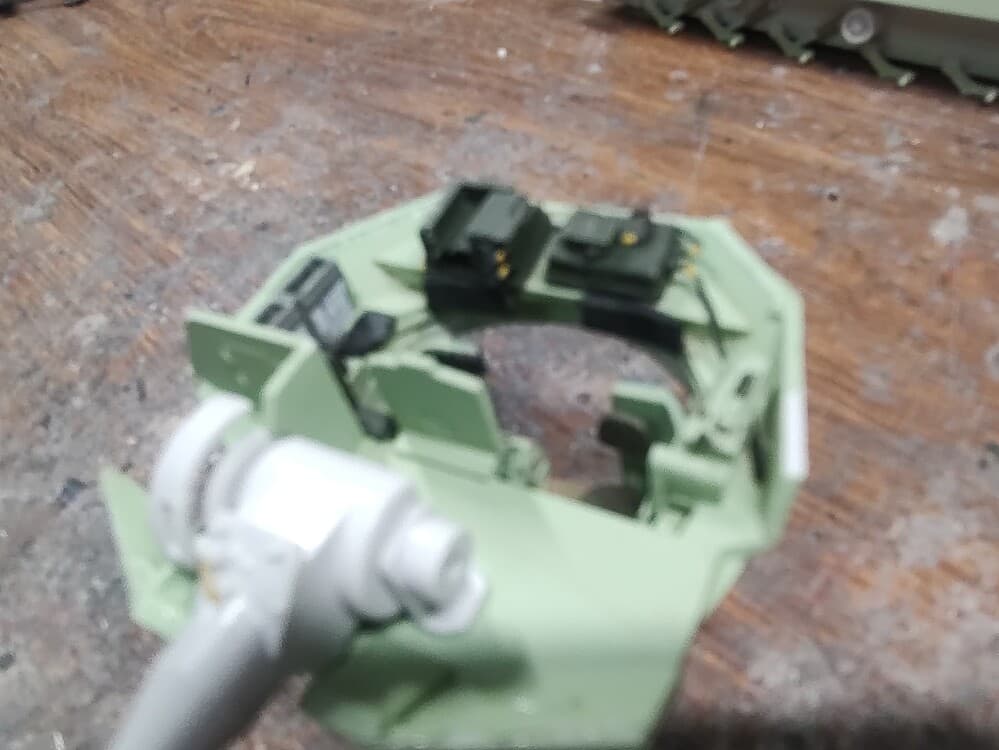
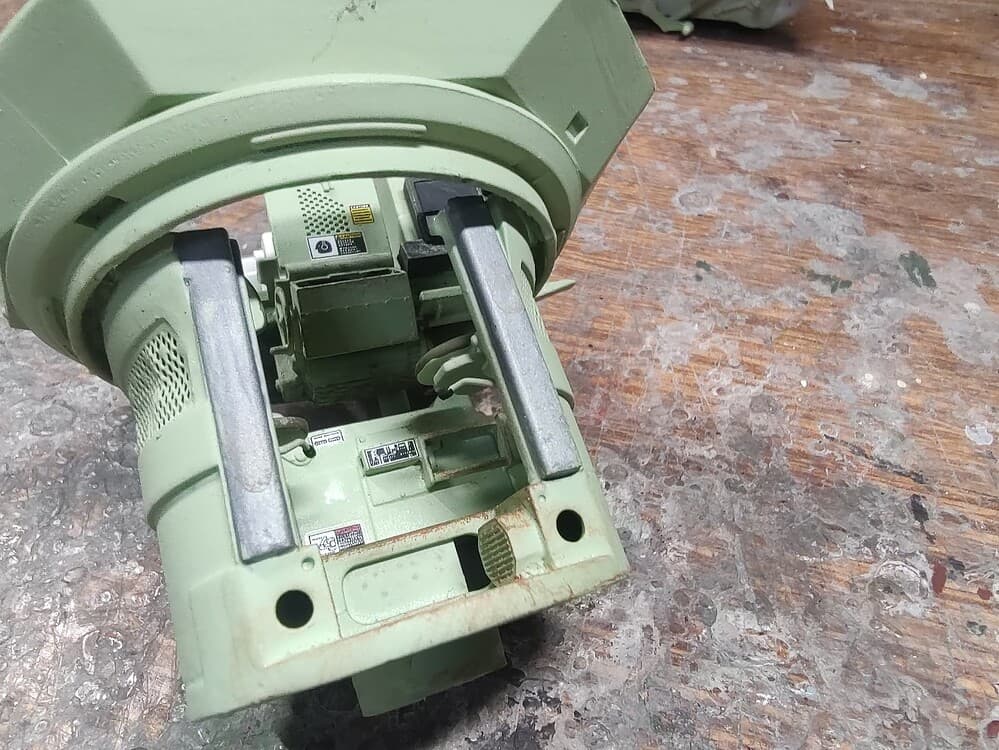
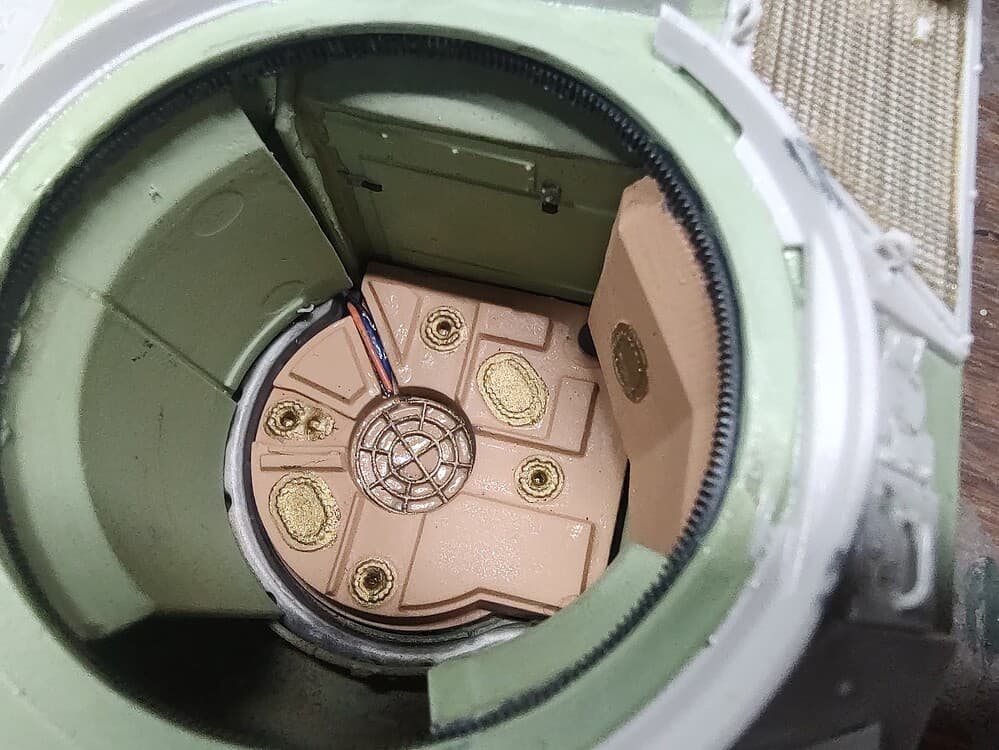
The area under and around the turret. I added the ring that transfers power and such to the turret base and wires going to it.
I have completed most of the hull and turret and will give another update soon. Work continues.
5 Likes
This is shaping up to be an incredible build! I’m following with great interest.
Thanks, mrb865. It is coming along.
1 Like
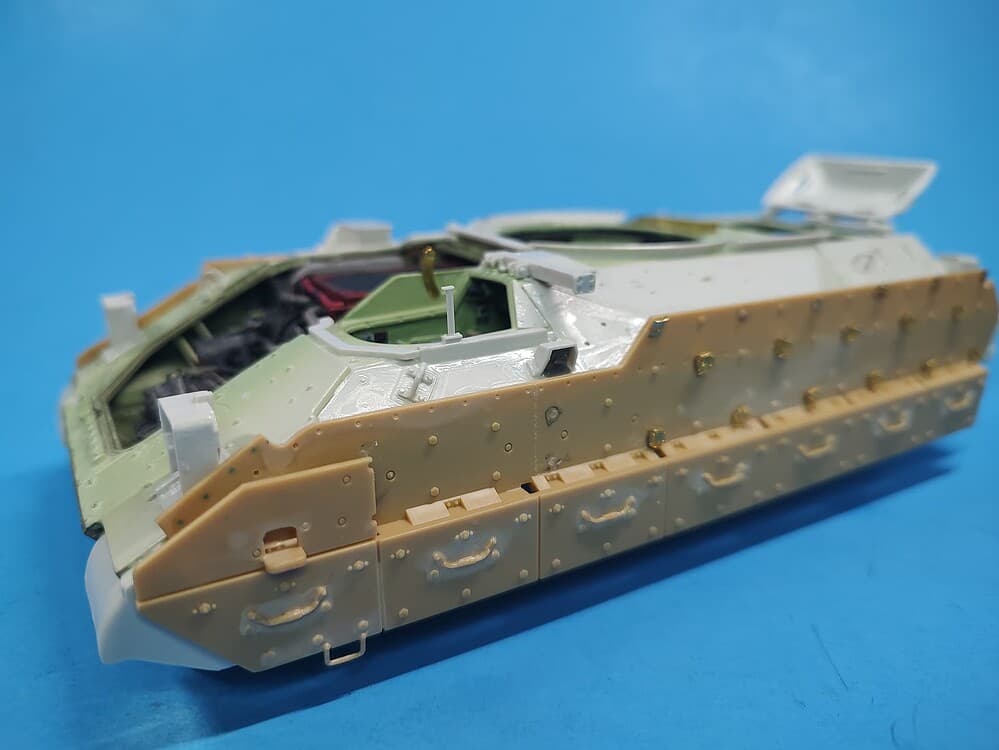
I have completed the build of the Bradley so far. I didn’t want to use the ERA on it, so I swapped out the Meng side skirts that have the mounting bars molded onto them with flat ones from an Academy kit. I also added the tie-down blocks from a Magic Factory M2A2 ODS-SA kit that I will use the ERA on. The PE tie-down blocks are nice as they are made without connection points, so no sanding, but you still have to fold each piece. Each block is made up of two flat pieces with opposing ends folded, stacked on top of each other. They were still a pain to do.
Here it is so far.
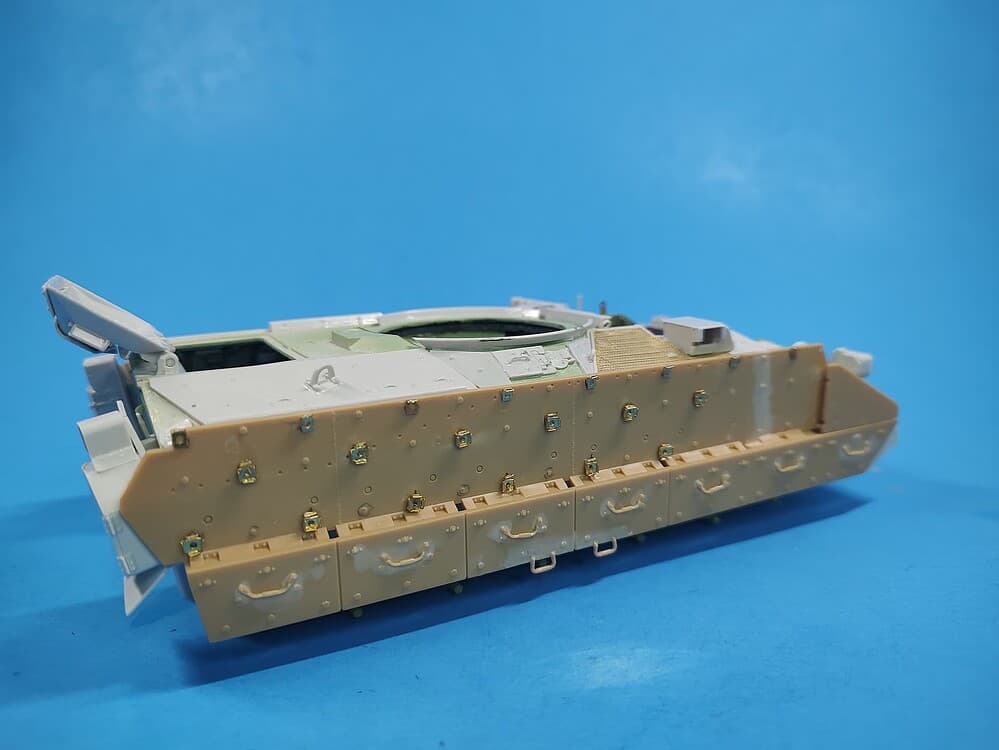
I also found/separated from a larger model 3D pieces for the rubber cargo holders on the front of each side. They came out really well and I am very impressed with them.
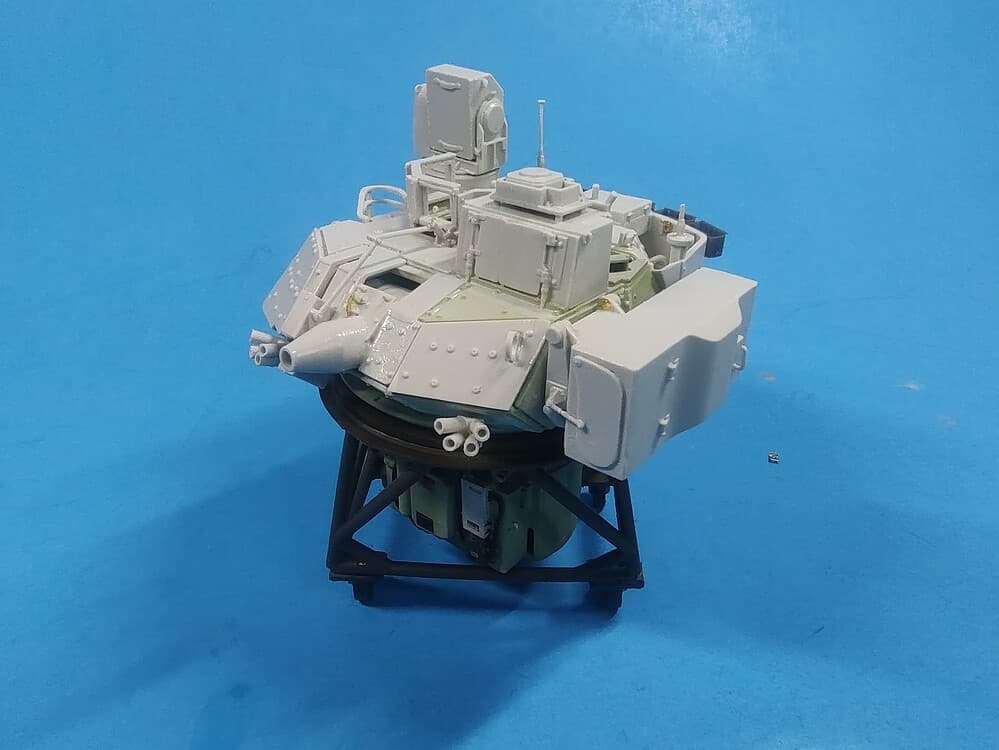
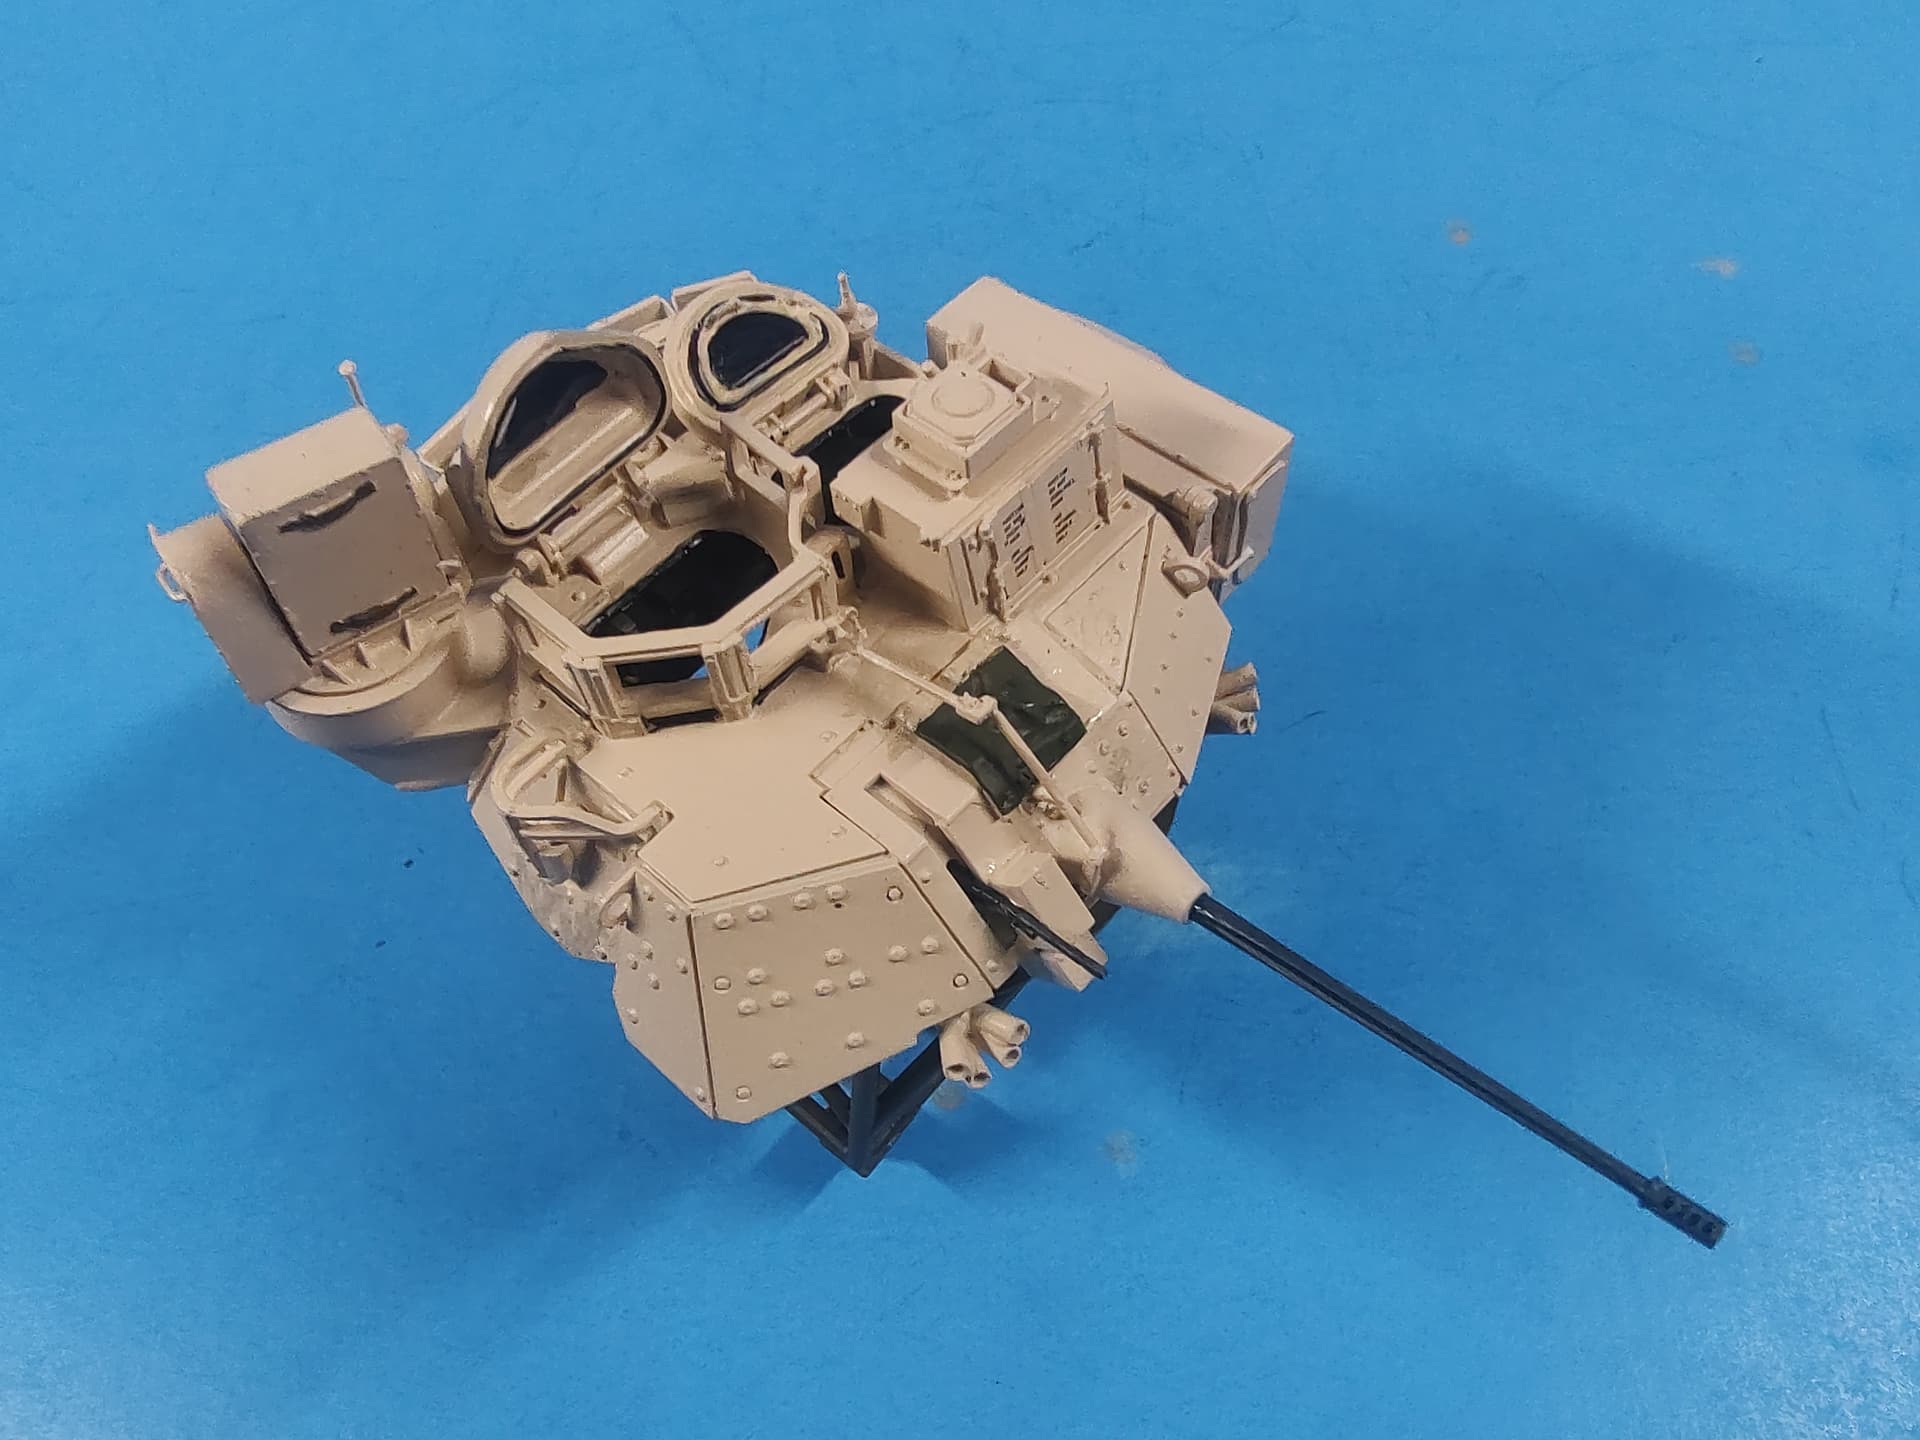
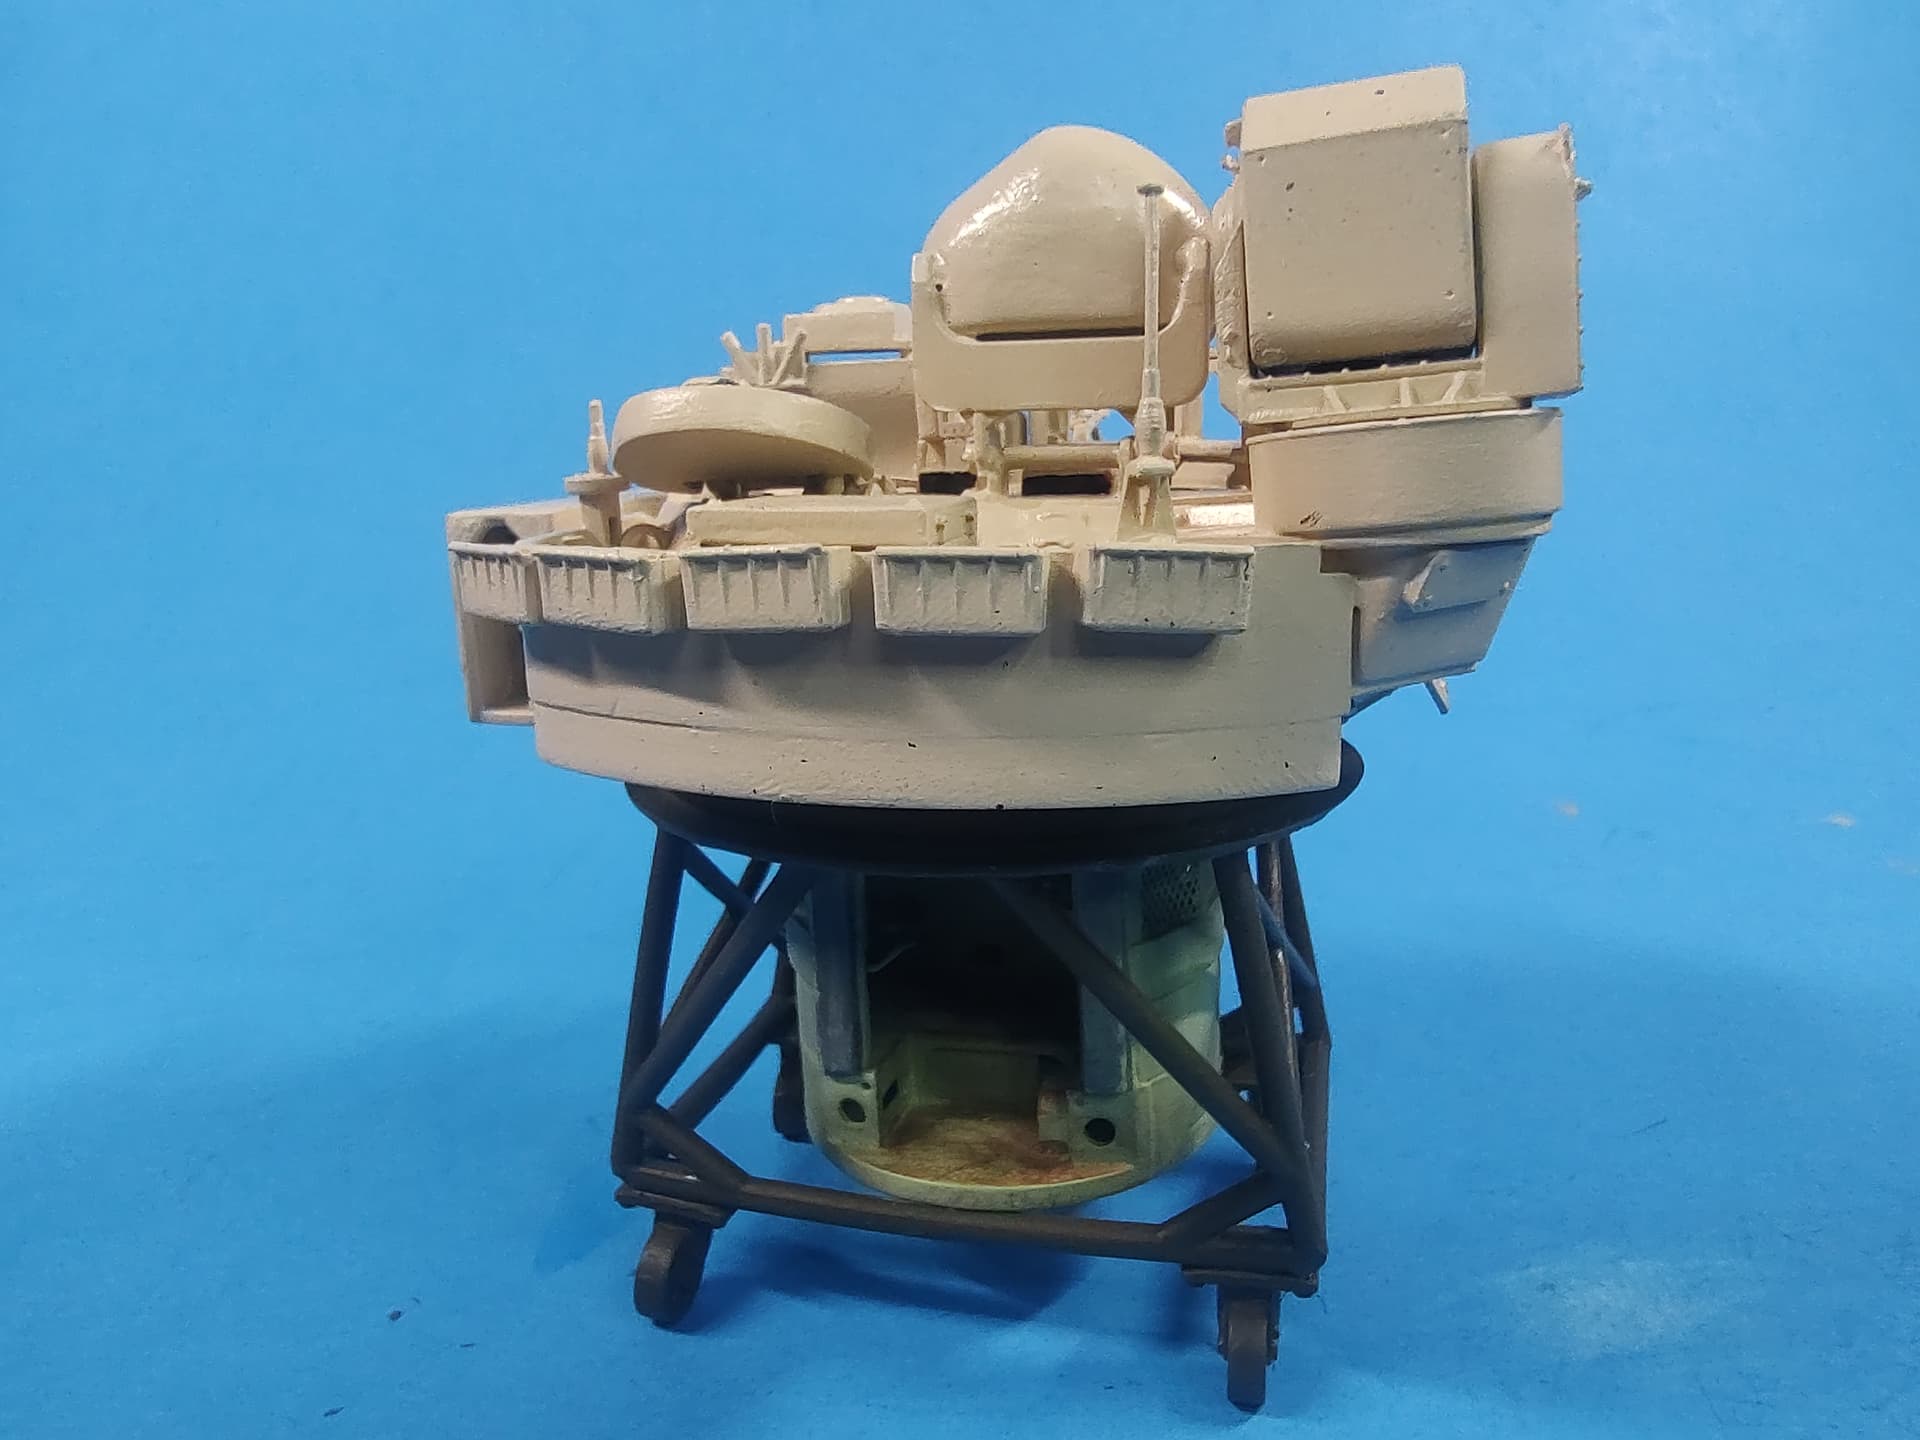
To the turret, I added 3D printed empty ammo can holders and the PE tie-downs as well.
The turret overall.
Next up is painting and final assembly, then onto the base and figures.
5 Likes
That is some exemplary work.
Thanks. Glad you like it.
Excellent rendition! Almost look like you can crawl into the back!
Gary
Thanks Gary. I too like how it is coming along.
Everything looks fantastic. You nailed the interior paint color. The engine looks spot on. Can’t wait to see the finished model.
Thanks Skull. Work continues.
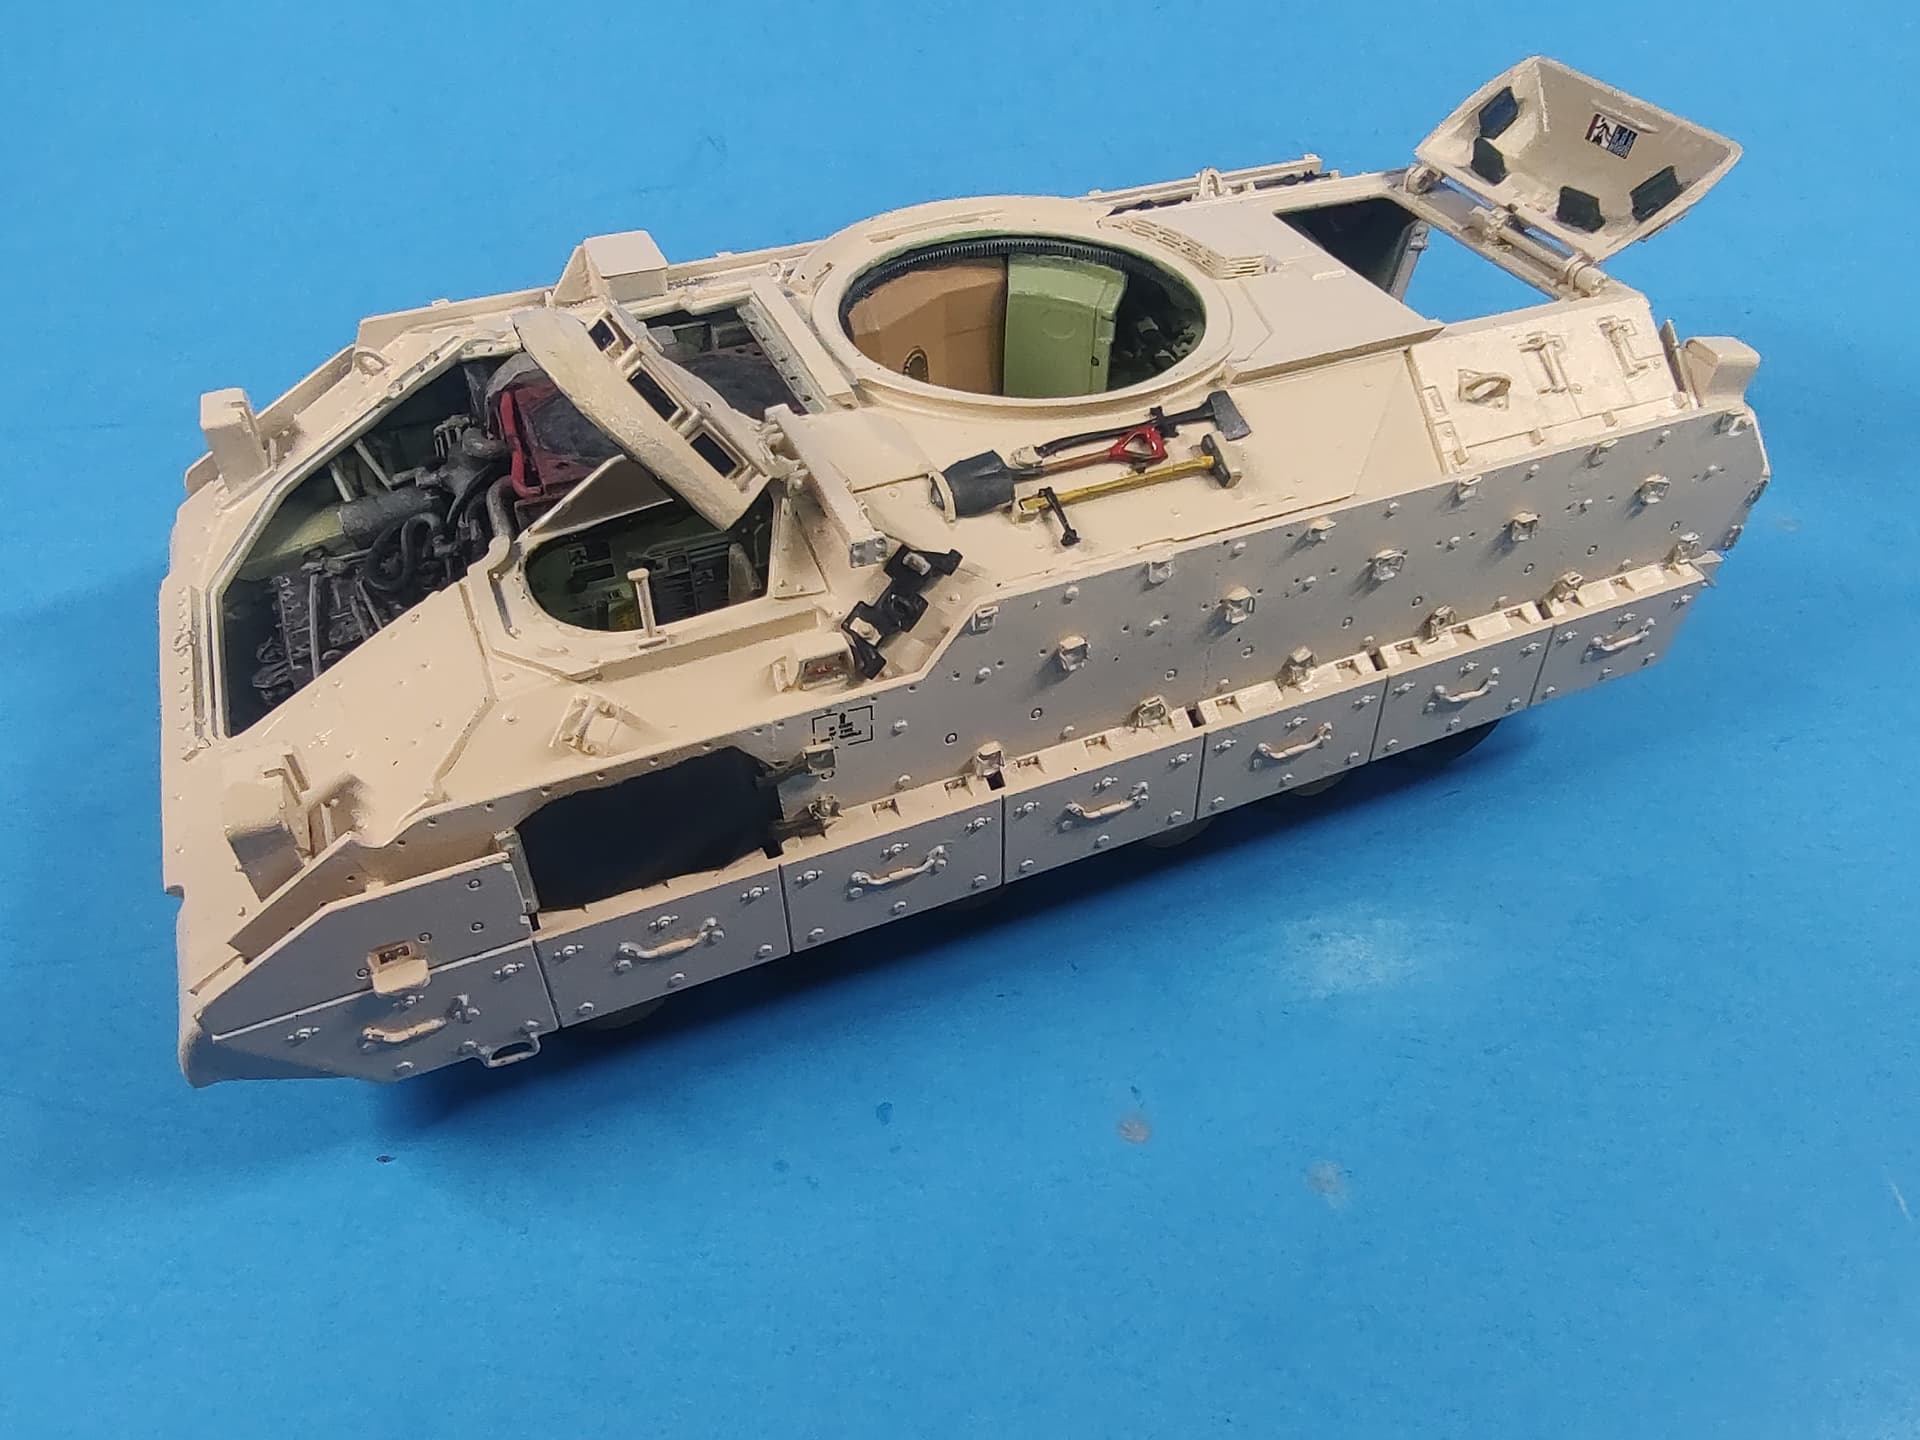
I have been able to get to some bench time lately and have gotten along on the M3A3 CFV dio. So far, I have the Brad built, painted, and decaled. It still needs weathering, lights, the tracks, and a few other small details to be added.
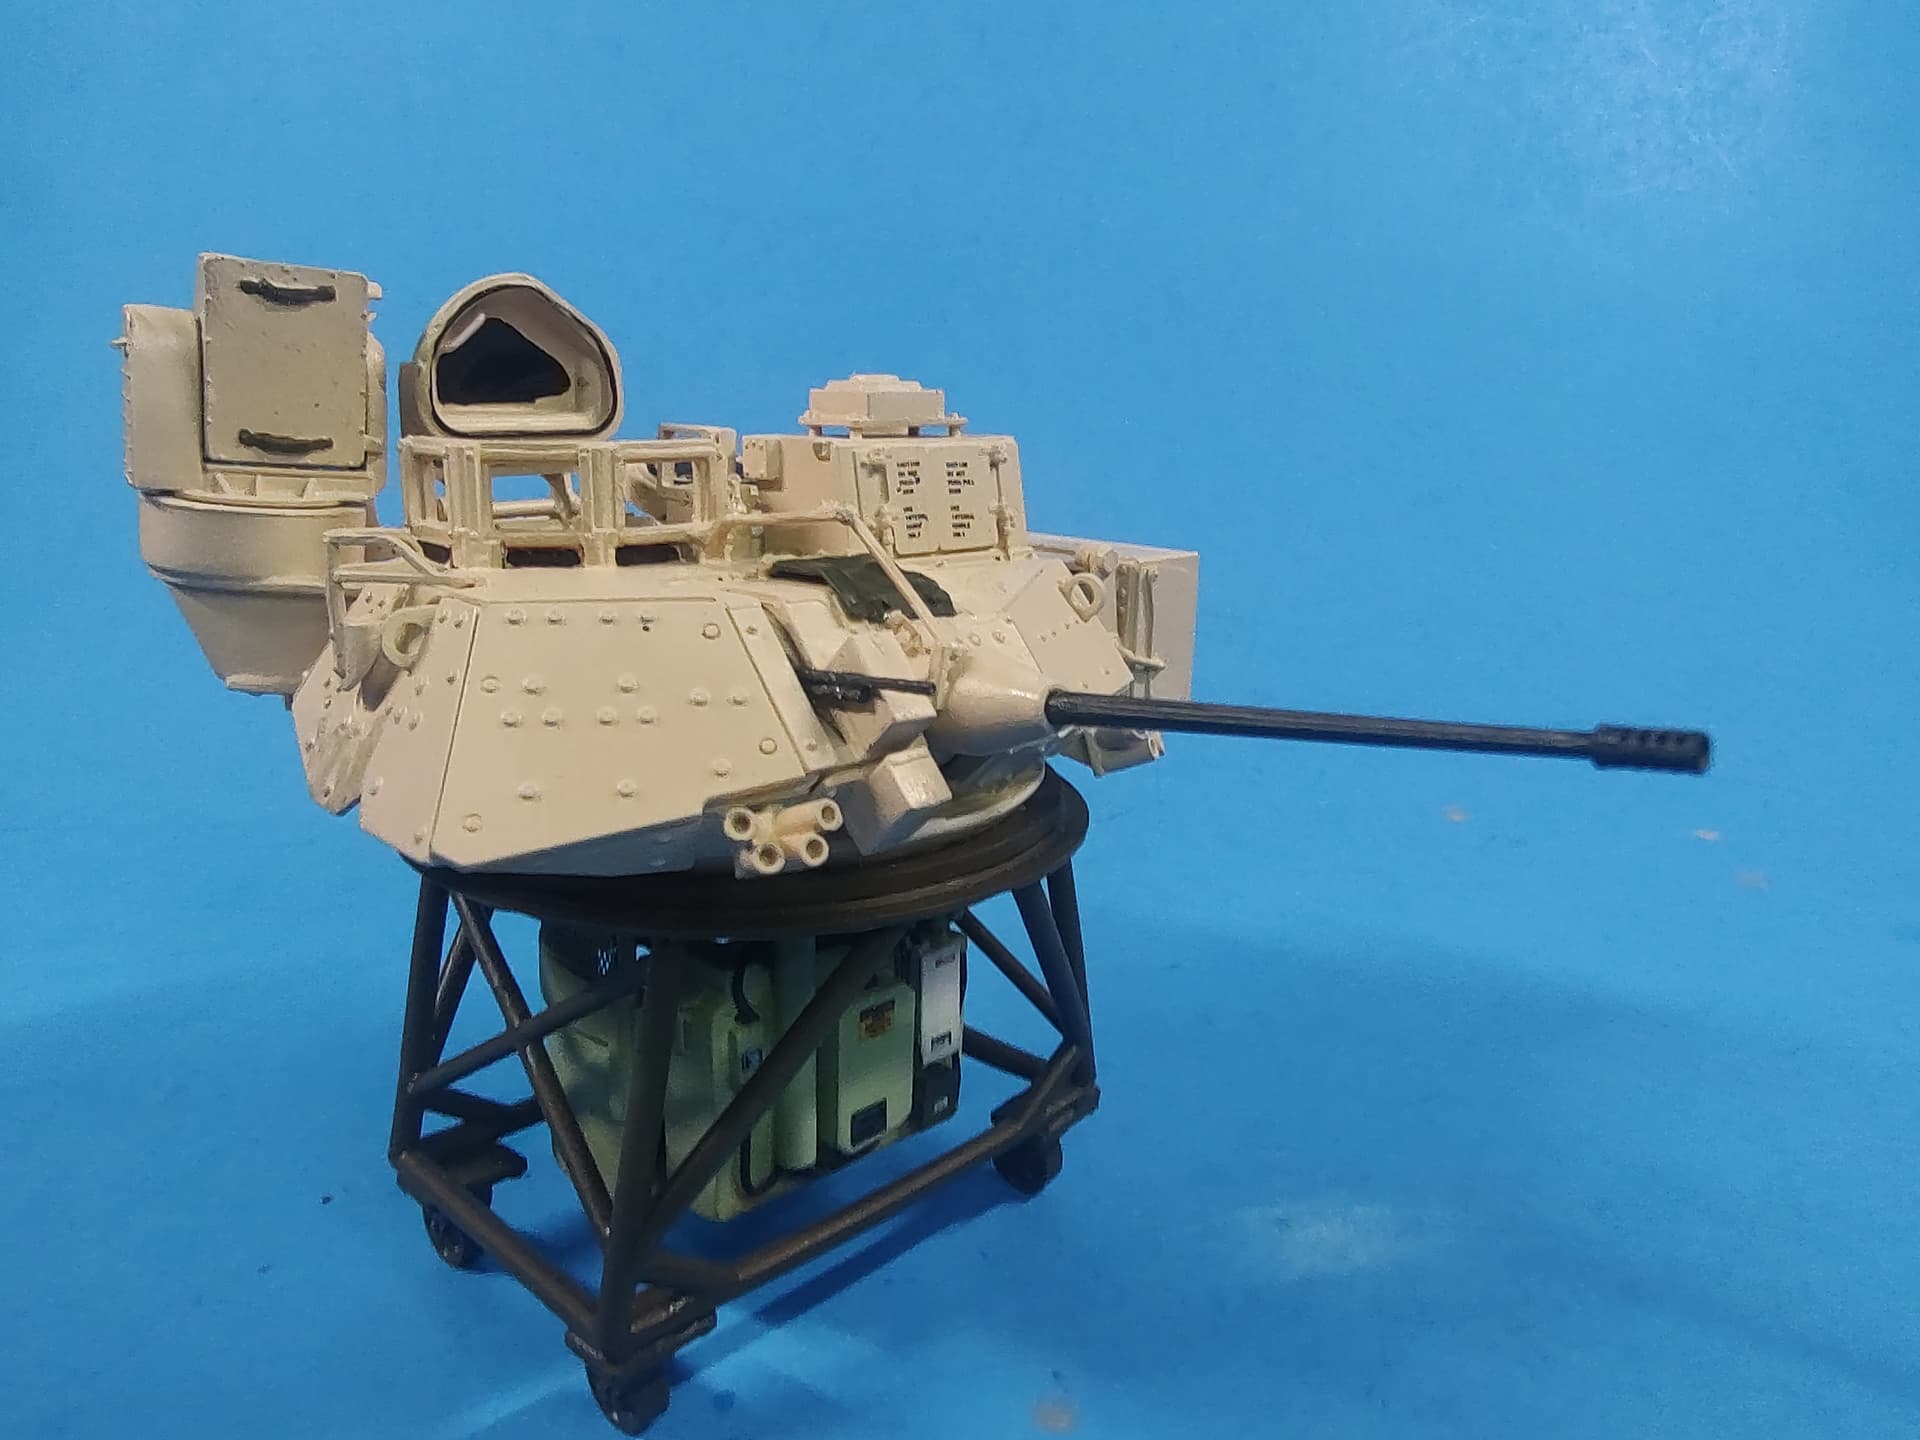
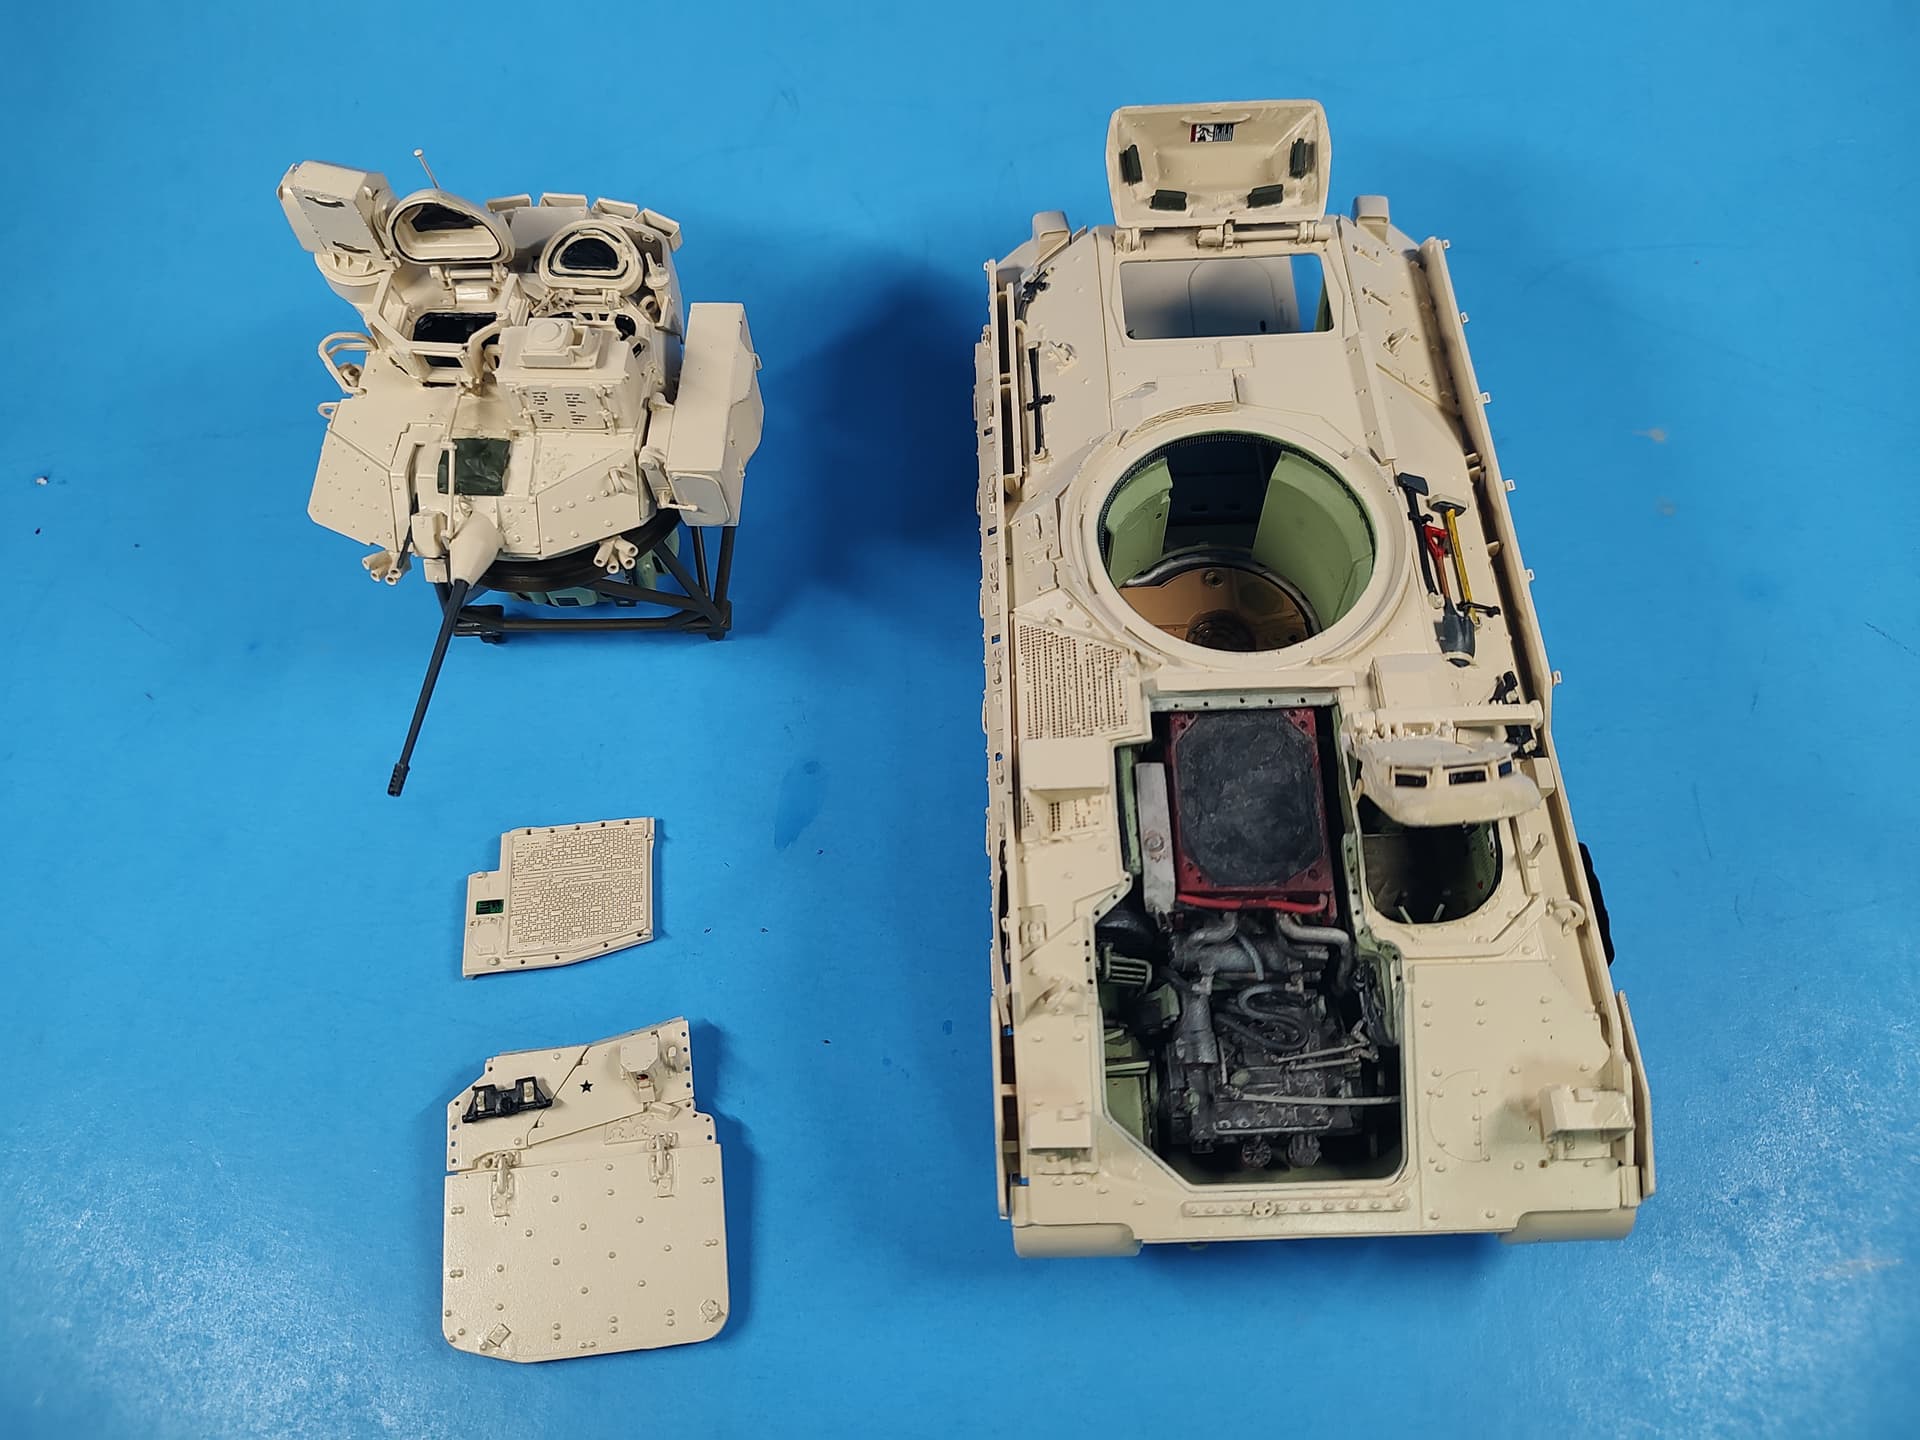
I painted it overall with Rust-oleum Ivory Satin spray. It went down well and is a good base for modern CARC sand. I also used the kit’s 4ID decals on it.
The hull.
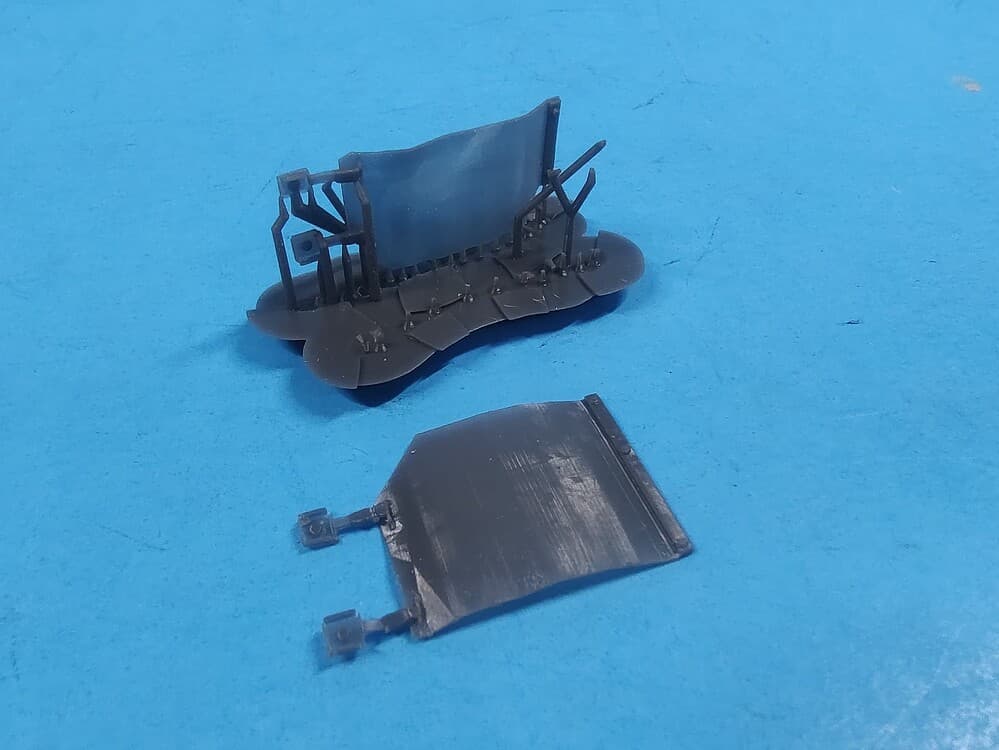
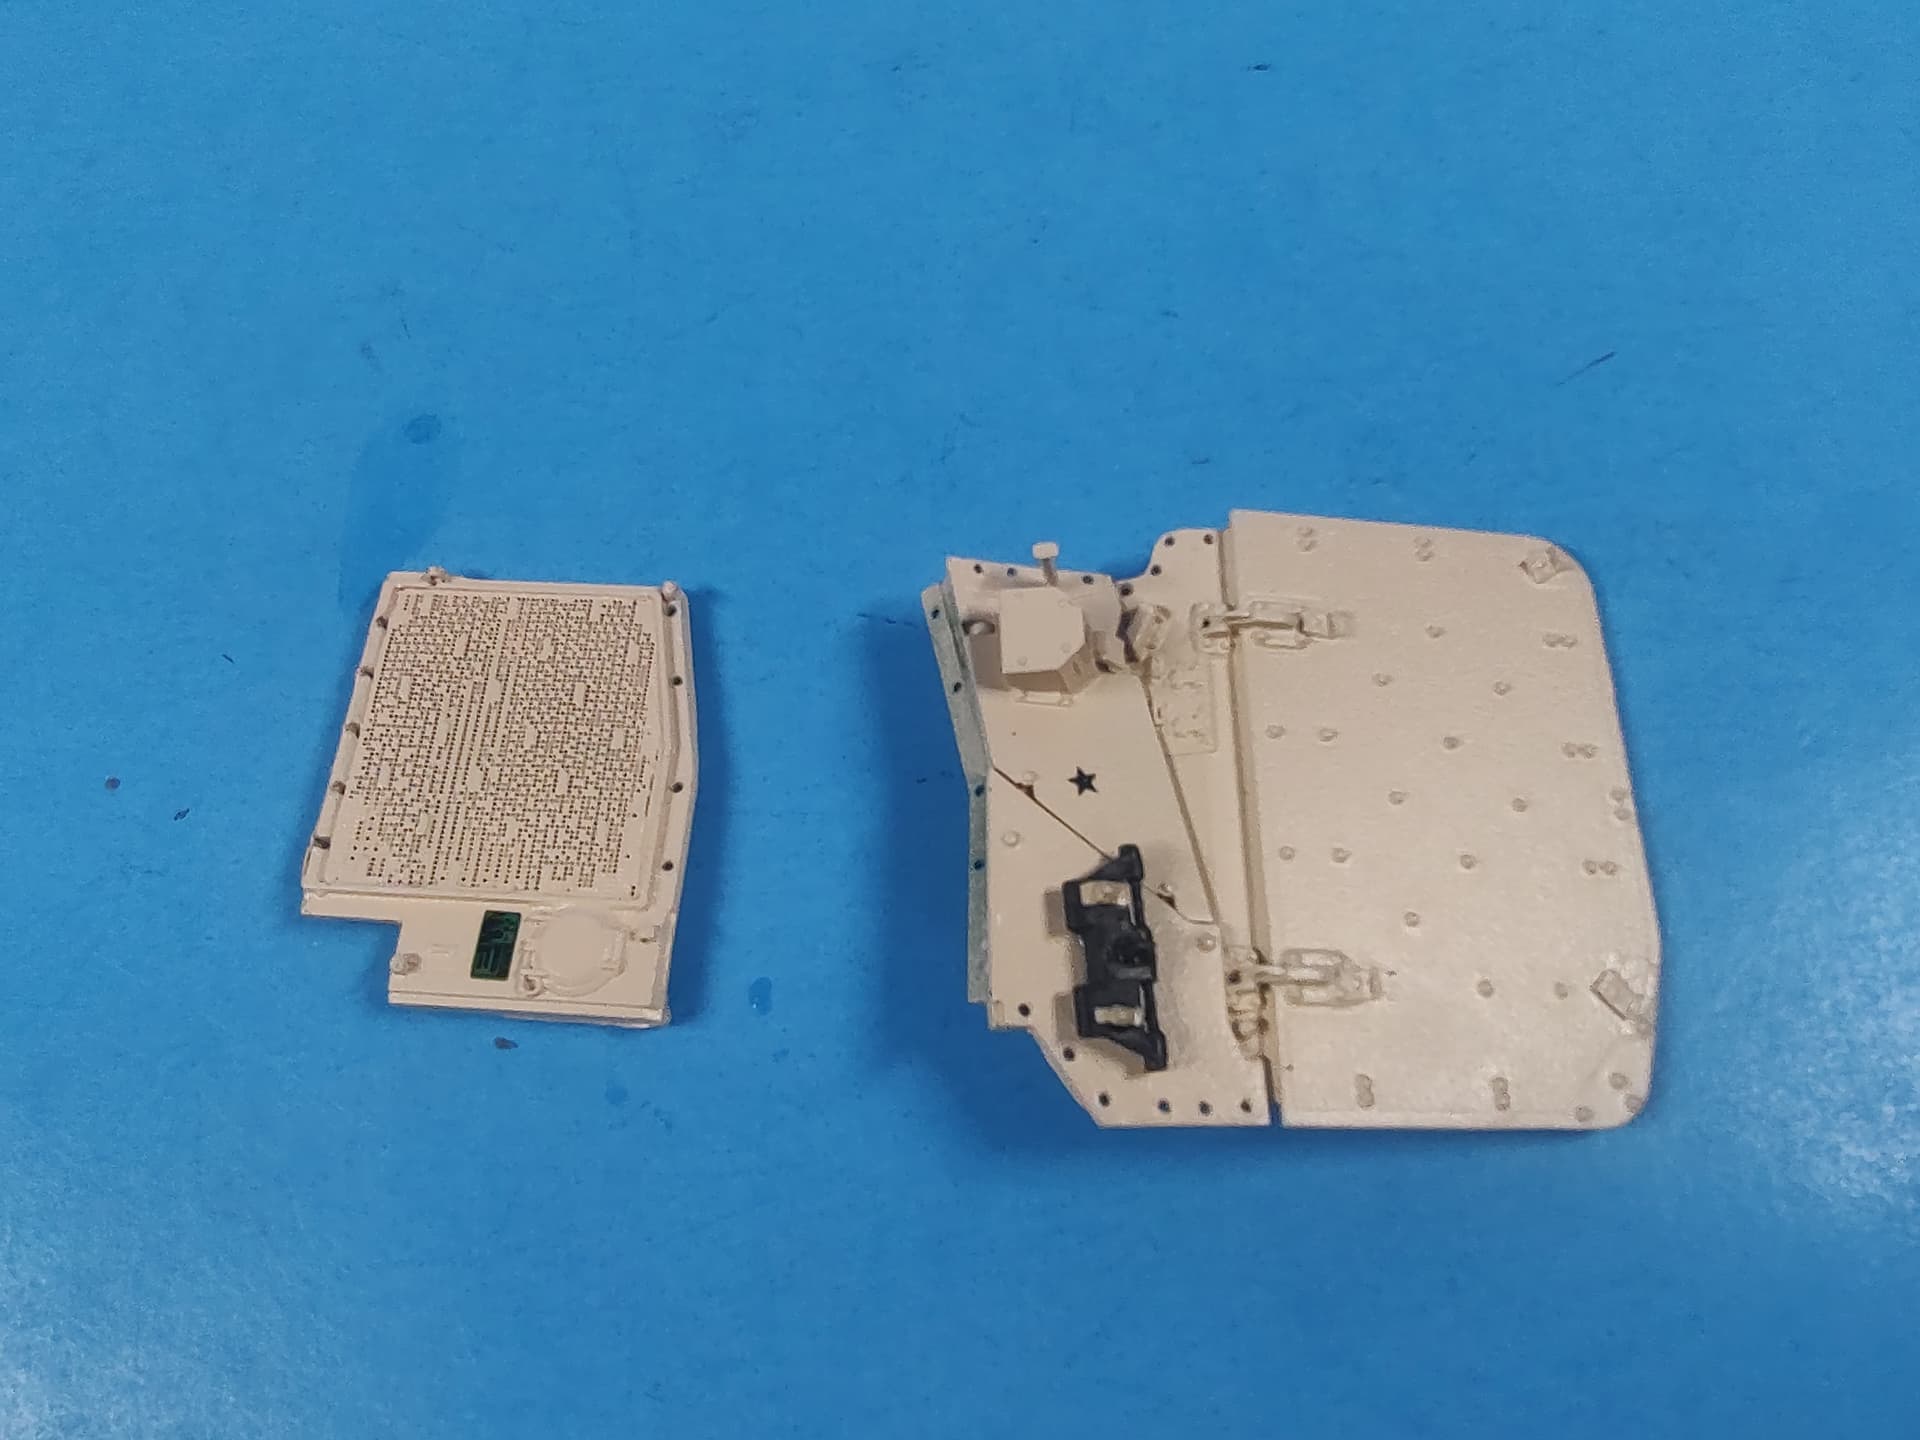
The engine cover parts.
Turret.

This is generally how the dio will look, with a couple mechanic figures having a coffee break and a bunch of tools and accessories around it. It will also be inside a small slice of maintenance bay in a motorpool.
Still more work to do, so more later.
7 Likes
Excellent work! It’s too bad Anniston Army Depot doesn’t handle Bradley’s or I would take a few photos for reference.
Gary
Thanks Gary. Glad you like it. It is too bad there are no Brads at Anniston. More maintenance pics are always welcomed.
Excellent job so far.
Thanks Regular. It’s coming along.