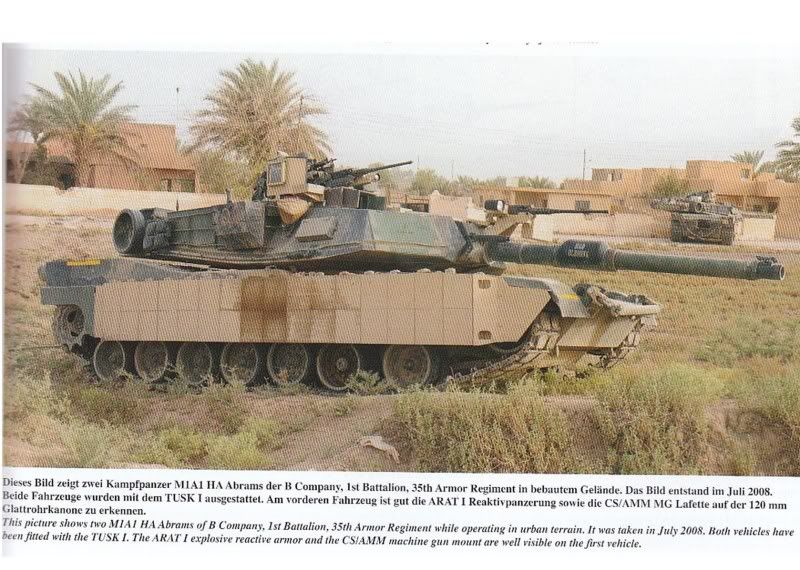
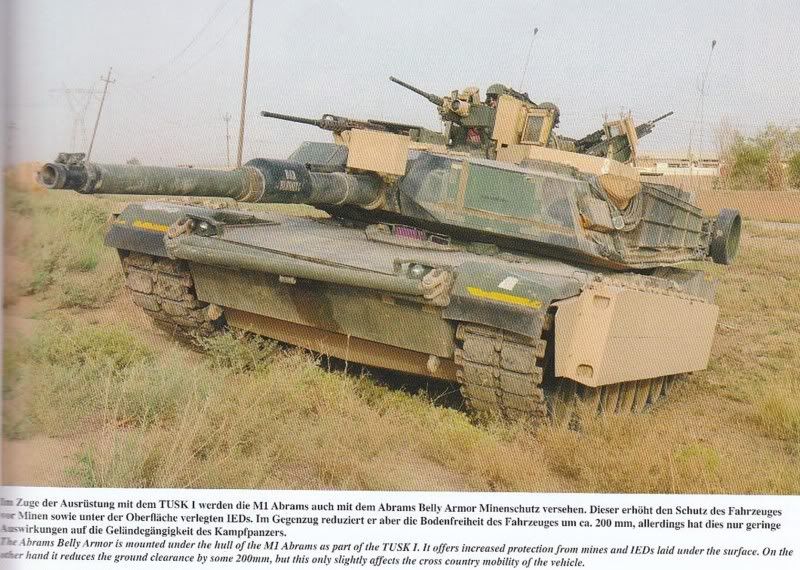
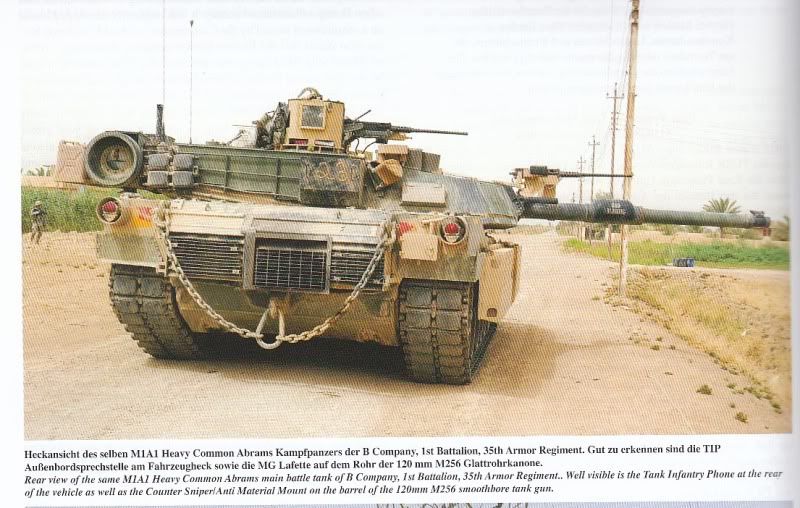
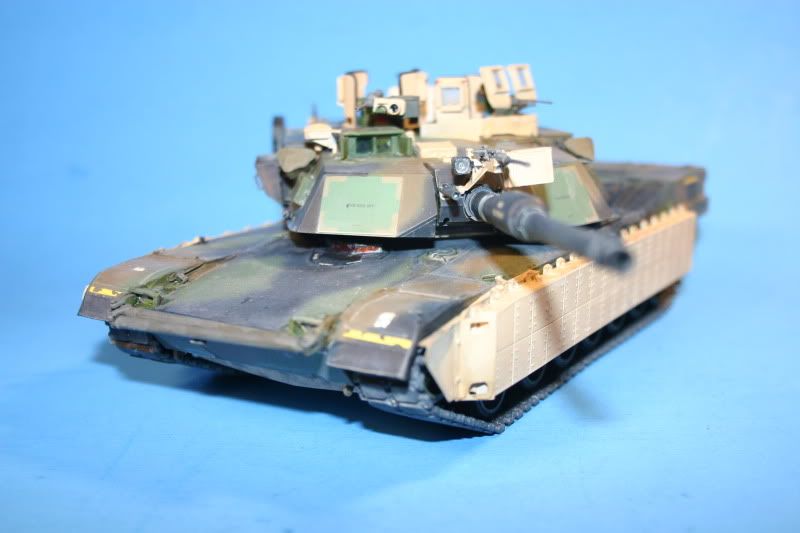
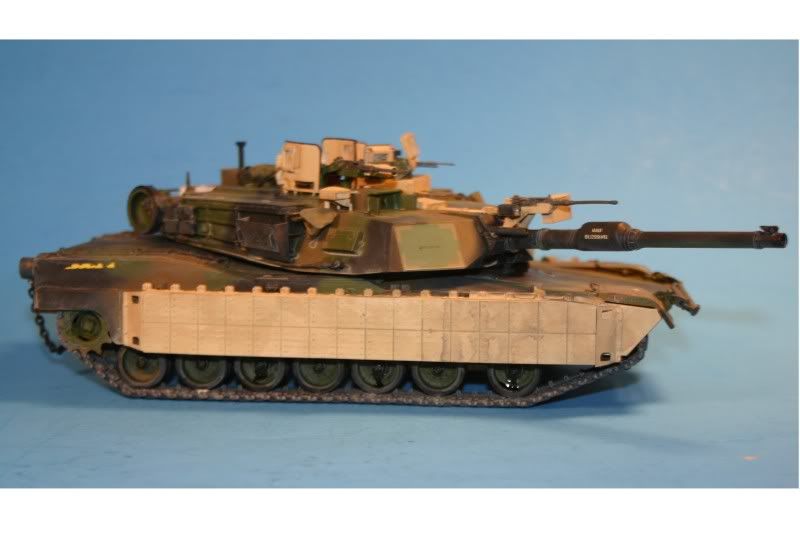
I have been working on this project for a while, but just haven’t had time to post about it. I am building an M1A1 named “Bad Blessing” from B Co, 1-35 AR, 1 AD seen in Iraq in July of '08. I am using the below pics (among others), from the Tankograd TUSK book (I think thats where they were from) as references.
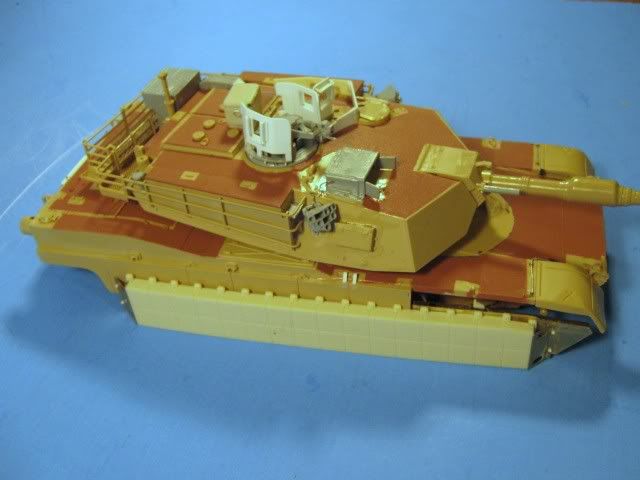
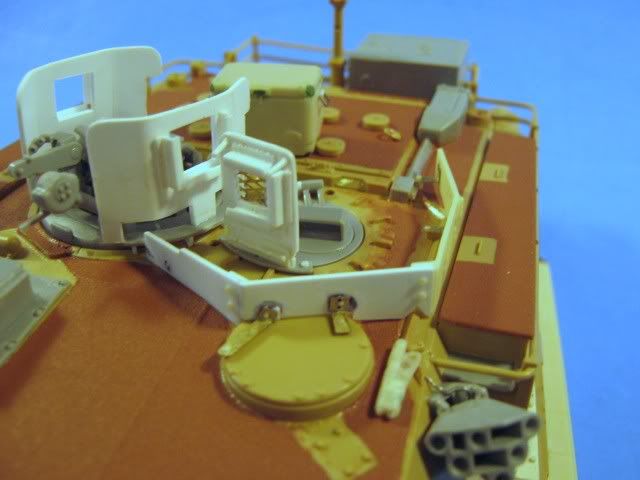
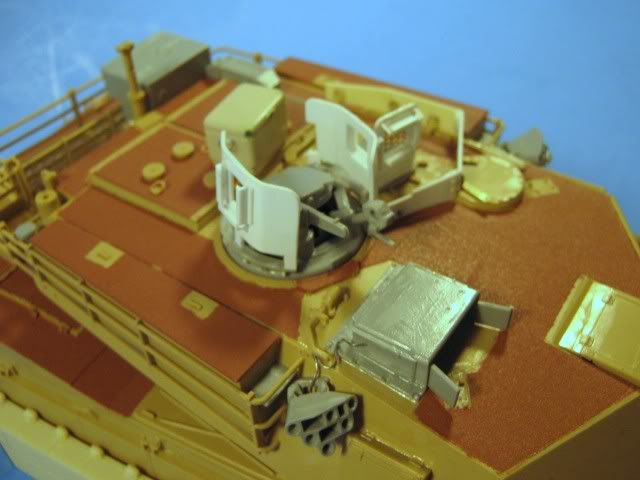
I also used as many left-over parts from my last Dragon M1A2 SEP project (grey parts) as possible to raise the level of detail a bit. I added wire springs for the front fenders too. I also scratched the shields around the TC and the loader with 0.30 sheet styrene. I found some “Z”-shaped rod from Plastruct that worked perfectly for the frames around the armored windows. A bit of expanded PE mesh for the one shield between the TC and loader finished them off.
For the rest of the TUSK parts, I used the excellent Legend TUSK I set.
Here it is with the TUSK parts propped in place prior to painting.
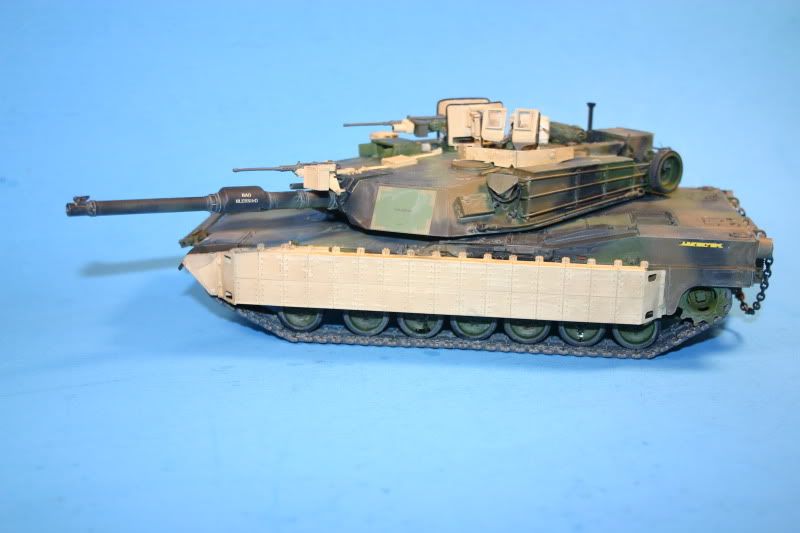
Next I applied the camo paint to the tank and the sand paint to the TUSK parts separately, then joined them after painting. I detail painted the TUSK parts and hull before combining them and adding weathering. I used Testors Model Master enamels for the base coats and acrylics for the weathering.
Thanks SprueOne. It was a fun project. The armored glass is thick, clear styrene (about 0.060 I think) that comes in the Legend TUSK II set. It is included for that purpose.
Yes agreed the model is a miniature of the reference photographs.
Not shown is the right side, did you replicate the rather large stain on the skirt armor?
I really like the chains on the back, with a suitable background a ‘eye level’ photograph could capture the tank to look exactly like your reference pictures.
The reference picture looks like a oil can was shot right beside the tank and the stain has picked up dust / dirt.
With the picture to support this theory it would fly on a contest table, to just have that large odd stain would create negative points at a contest. I see your restrained version will ‘keep it real’ without creating a 'WTF is that on the side?’ comment at said contest.
OH man you have been holding out!!!..Very nice, great to see a camo and sand mix modeled. Love the cooler on the turret roof. Stunning, As usual, right on target!
SuppressionFire - the actual stain is most likely a fuel overflow. The filler for one of the forward fuel tanks is right above it on the hull top. I did tone it down a bit though. Glad you like it.
Mike - thanks buddy, I’m glad you lik eit. Yup, I’ve been busy and didn’t have time to post about it. I too like the sand on camo look. This one is actually on commission, so I think I will have to do a sand/camo version for me too. The cooler is from a Legend Abrams accessory set. It is probably the best cooler I have seen in 1/35. It is really nice.
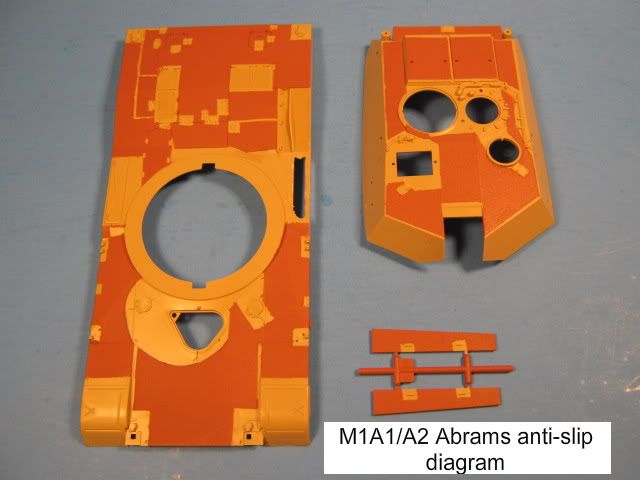
Nate- Thanks. The spray on technique for the non-slip coating makes it pretty easy really. You should give it a shot.
NICE JOB, Heavy!!! Really nice. I like the scratch-work you put into it a lot.
Just FYI … in the future, if you have a kit that needs armored glass but doesn’t come with it, you can get small acrylic sheets at places like Home Depot. Then just cut out small squares for the windows using a cutting wheel/ disc on a dremel. POOF! Instant armored glass … (I think you can even buy it in green tint…)
Nice job again, Gino … hadn’t heard of that anti-slip technique before … thanks for the link!
That’s cool. Very different rendition of the M1. Refreshing to see it in the tri-color cam as well. I like the subtle weathering on it and say you did a fine job replicating your reference.
Very nice work Gino, as the others have mentioned the different camo schemes really makes this one an eye-catcher and the replication work vs. the photo is top-notch as well. [B]
Awesome as always Gino although, this one has got to be one of my favorites. Don’t know how you do it but I’d have a hard time giving these up after putting my heart and sole into them like you do. I’m not so sure that I could put a price tag on those.