Lindberg Douglass X3 Stiletto Review

Modelers

Opened up this new kit yesterday.

The plastic pieces look perfectly good.

If these were made from 60 year old tooling molds

the molds have been gone over.

It is a low parts count model.

The hull pieces look totally accurate.

Looks suspiciously like an old Aerospace desk model but

this does not come with stand and those were solid.

Molded in white is kind of a dud, would have liked silver or grey better.

Thanks!

So what is the question?

When I built as a kid, it was in a Drug Store bubble-pack, and it was molded in white, obviously the correct color for this prototype of the F-104.

You need to know what glue to use or what?

Tom T[cwby]

Tom

Thank you for pointing that out.

Added Review to heading.

Thanks!

I’ll send you the bill! LOL

Glad to help.

Now, the biggest problem with this boy, when he as finised, he is not “rugged”.

Accurate, but not the all-metal Hubley toy, which I also enjoyed wearing a few out as a kid as lot more rugged! I mean those guys had working, spring-loaded landing gear, folding wings plus a rugged sliding canopy!

After awhile, I began to “figure out the difference”.LOL!

I do like X-Planes, but to build them and watch them fall apart over time makes me only want to buy them, but not build them.

So far my XR-71 is yet intact! And, no, you cannot have the “pumpkin-seed” drone that came with it!

Tom T[cwby]

I think all of us old guys built the X-3 in the day. It sat by my bed as a kid. A couple of years ago I did my mecca trip to Dayton USAF Museum and the X-planes were all being stored on the base waiting on a new display building to be built. I had to see the XB-70 and I had to sign up and be approved to go on the base. After all this we arrived in a bus at a huge hanger. Everything was there! Stuff I had only read about was everywhere. XB-70, X-15, A-12 and on and on. Nothing was restricted but we could not touch anything. We could get within inches. Finally to my surprise, there it was, the forgotten X-3, never sucessful but one of the icons of the X planes, there for real after over six decades ago building the model. Quite the experience for sure. Wow.

Max

Modelers

Lots of food for thought there. Hubley die cast airplanes and

aerospace museums. Not to mention Hodaka’s, Baton Rouge and Kansas.

I’ll just be a drudge and talk about building my little Douglas

X3 Stilleto Lindberg kit.:slight_smile:

Plan is to paint it white even though it is molded in white.

Plastic looks a little see throughy and pearly.

That’s about it for now.

Thanks!

Right-Just google "images.(your choice, yahoo or google).com,

enter “douglas x-3 stiletto” and you will get an awesome array of both in-flight as well as cockpit detail shots!

I agree that the current white plastic is a bit translucent so I would use the Eggshell White Color Lacquer by Testors Model Master.

It dries fast and hard with a thin coat, and the Wal-Mart paint dept. sells lacquer thinner by the quart.

As for detailing the driver’s seat, do the google search and you should get a good photo of the real thing, like this one, only more!

You really picked a good one!

Show her off to us when your done[t$t]

Tom T[cwby]

Post edit,

Don’t forget,take the “sheen” off the model’s surface with some fine grit sandpaper, like the kind Testors sells in a nice little pack. that helps prevent running and sagging.

Tom

I’m getting back into model building after a long absence.

Lindberg kits are pretty good for that.

I will be hand brushing the body with Testor’s Acrylic White which

should look okay.

There is no instrument panel in this kit. You do get a pilot seat and a pilot.

Does have feature for gear up or gear down.

I just might hang it from ceiling.

Thanks!

Regular Guy

I prefer hand-brushig as well, and what I posted works best/first in hand-brushing, but we will keep that our “little secret”.[;)]

Here is what I would do:

  1. Check the fuselage halves for fit for irregular seam-fitting.
  2. If only minor issues, paint them seperately since your cockpit glass has to be installed from the inside.
  3. Paint the interior according to what color you see in the pictures on the 'net in a flat water color.
  4. Make any details on the seat’s armreasts contrast with the general color of the seat. For this I prefer the water-base stuff. For instance, if the, the seat is dark green, lay it on using a flat color, then with a soft tissue wipe off any pertruding details, leaving them white. Now if you want them toshine, touch them up with a “Chrome Silver” (Enamel usually works best here), but water or oil base is your choice. If they’re depressed, paint them first, etc.
  5. Look at the pictures on the same web-page, pick one like this, research the colors, and “Do your Worst!”

Well, you should be able to do the rest.

Paint the wings top and bottom after attachment (this is where hand-brushing comes out on top), touch up any “imperfections” along the fuselage seam. You know, sand lightly, brush lightly.

Next, decal, decal solvent-set if needed, let dry, clear-coat.

Take photos, show off!

Tom T[cwby]

For the record, the Douglas X-3 Stiletto was not a failure, it was a 1950s United States experimental jet aircraft with a slender fuselage and a long tapered nose, manufactured by the Douglas Aircraft Company.

Its primary mission was to investigate the design features of an aircraft suitable for sustained supersonic speeds, which included the first use of titanium in major airframe components.

Douglas designed the X-3 with the goal of a maximum speed of approximately 2,000 m.p.h, but it was, however, seriously underpowered for this purpose and could not even exceed Mach 1 in level flight.

Although the research aircraft was a disappointment, Lockheed designers used data from the X-3 tests for the Lockheed F-104 Starfighter which used a similar wing design in a successful Mach 2 fighter!

That means you should think about an F-104 next[;)]

Tom T[cwby]

Here’s a look at how a few modelers handled the Lindberg X-3:

http://www.swannysmodels.com/X3.html

http://hyperscale.com/2009/galleries/x348aj_1.htm

http://modelingmadness.com/review/korean/cazx3.htm

And a “walkaround”

http://www.ipmssantarosa.org/uploads/Douglas_X3_Stilleto_Walkaround.pdf

Please let us see how she turns out for you. I have this kit in my stash as well and would love to see one built up. Good luck to you![:D]

Gary

Modelers

How about some gluing hints?

Getting ready to glue together current model kit.

Using Testor’s model cement. The old standby.

Do not have gluing tips this time around.

Using a toothpick does sound better than just putting it on from tube.

Thanks!

Here it is, the only one, best I could do. The X-3 was in temporary storage and packed in with all kinds of wonderful things. Nothing like the real thing to compare to while building!

Max

Stop!

Do not glue the fuselage halves yet, please.

Now, tell us did you do the interior stuff yet?

Tom T[cwby]

Tom

Have to glue Lindberg 1/32 1930 Ford Pickup together soon.

Then will work on X3 Stilleto or Monogram Kurtis Kraft Racer.

Model Maker

Wow!

Hey Max,we “Old-Gummers” think alike!

As I am trying to recommend to the “New-Guy”, take time.

I love the “off-white” eggshell-white color your photographs reveal!

Tom T[cwby]

As for gluing, generally I use a combination of Loctite Ultra Gel Control CNA glue, which I get at the local grocery store’s hardware section, and Testors Non-Toxic cement which I get from Hobby Lobby. Both of these products are slower-setting and more forgiving then the typical surface-damaging solvent cement and runny liquid Super Glues.

The nice thing aboout the non-toxic cement is that since it’s solvent is slow-acting, so any excess does not marr the model’s surface when you wipe it off right away.

What I do is run a bead of Testors along one of the surfaces to be joined, skipping the locator-pin areas by gapping about 1/4" for each one. Here again this stuff is slow-setting, so you got time. [;)]

Then I apply a dot of Loctite on each locator-pin hole.

Next, I quickly join the halves together, using rubber bands, if needed, to keep the seam closed.

Then I wipe off any excess Testors that skooshed out with a soft facial tissue, as the bath-tissue can leave crumbs, or bits of tissue to be permantly preserved in the seam when the Testors finally sets.

The beauty of this combination is that the Loc-Tite sets up in a few seconds and will keep the halves together for the slower-setting Testors, so unless you have a potential serious gapping problem, you can remove the rubber bands, etc., in a minute or two if you want to, to finish-up the seam as necessary.

Now for any wierd fine gaps that can only be seen by holding the cab, fuselage, etc., up to a light, and looking from the inside and/or to quick-fix something that turns up inside the model after you have glued the haves together Testors makes the Model Master liquid cement, also sold at Hobby Lobby, which has a nice needle-like nozzel for reaching inside cabs, fuselage interiors, etc.

Tom T[cwby]

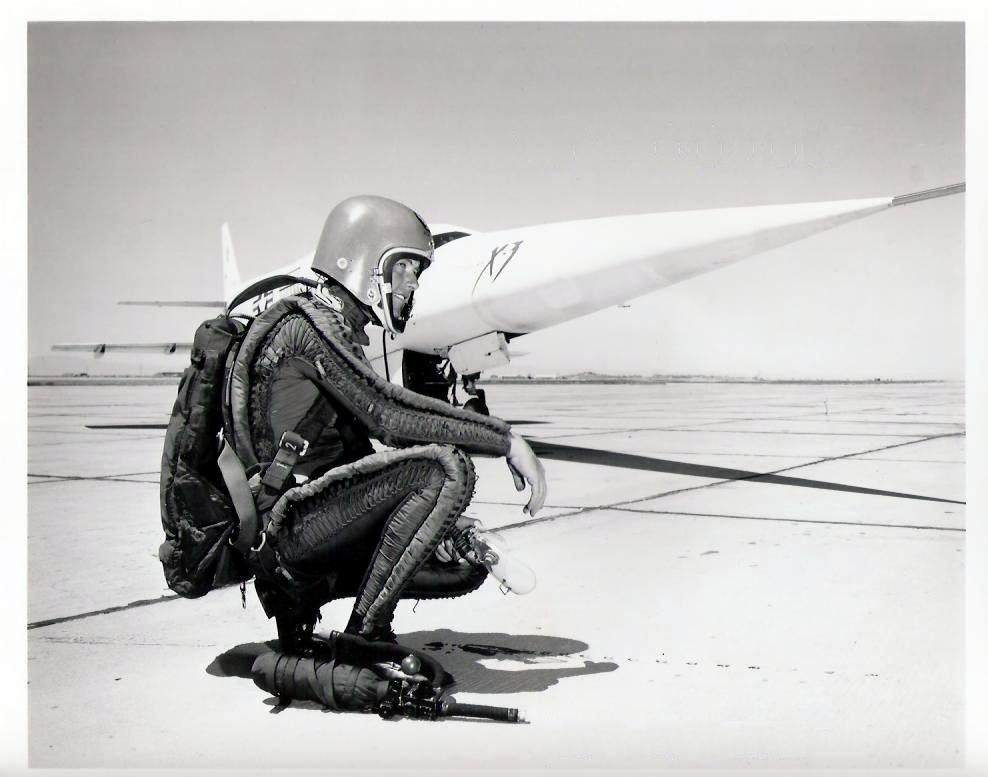
Oh My !

I am forced to ask . Is yours the one with the retractable landing gear and opening engine inspection panels ? T.B.

Yup.

I did a Lindberg Heinkel 111 with those features. I got it hanging from my ceiling.

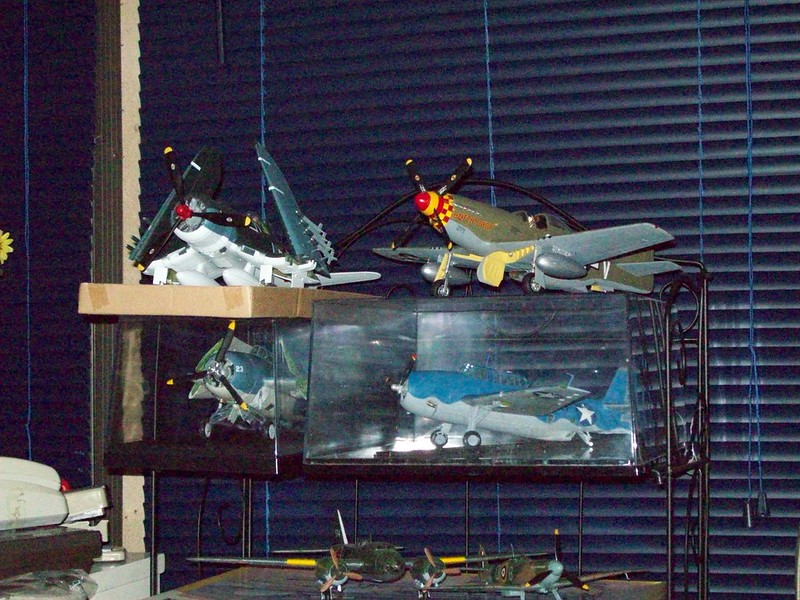
Later I did a Hobby Craft/Trumpeter 1/32 scale Grumman F4F that also has hinged folding wings.

I keep it under glass in a nice display case I got from Hobby Lobby, along with an Accurate Minitures TBF in a display case next to him on the same shelf:

All thanks to the more forgiving non-toxic cement which can be cleaned out of a sensative pivot/hinge recess before any damage is done, that is, softening and/distortion of sensative areas.

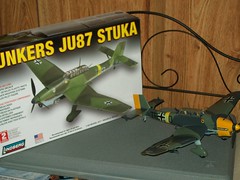
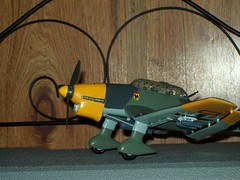
All were hand-bristle-brushed by the way, like my Stuka, that hangs from the ceiling, gear-down. [whstl]

The only paint I like to spray is the oil-based enamel gloss colors, orange being my favorite, for which I did a Testors Bearcat/Gulf-Hawk conversion.

If you need me to, I can find the pictures, or take new ones if you want 'cause I still got her!

Tom T[cwby]

Tom

Thanks for the reply!

It’s going to be Testor’s Model Cement in the red tube this time.

Tossed out the safe Testors in the light blue tube when it got old.

Do have some Testors liquid cement in a black square bottle with

thin nozzle. I will see if it’s still good and use it too.

Have a green tube of Testors wood and metal cement.

I will see if it’s still good and if so use that too.

Thanks!