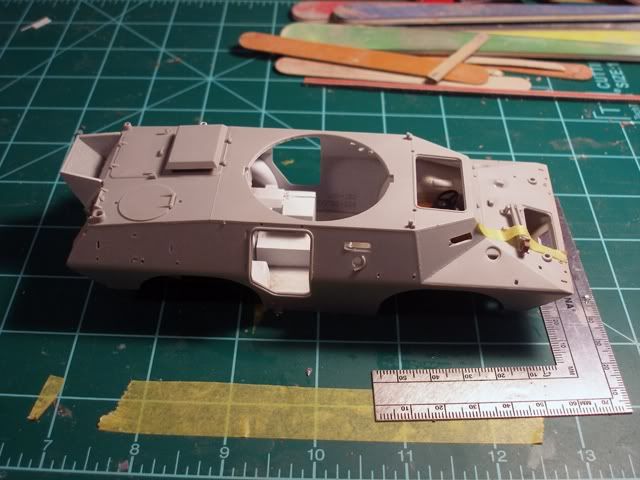
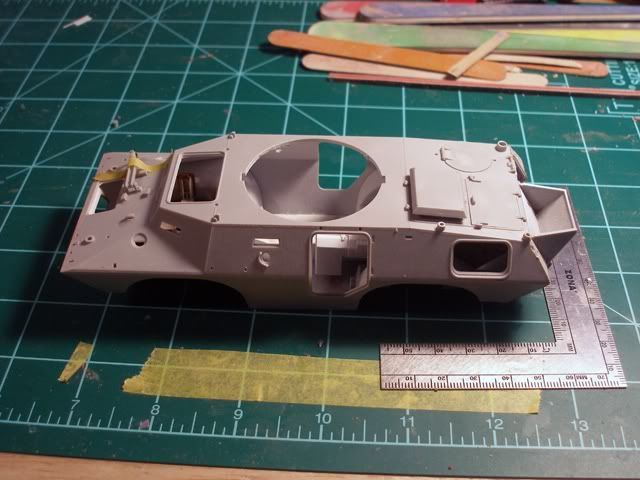
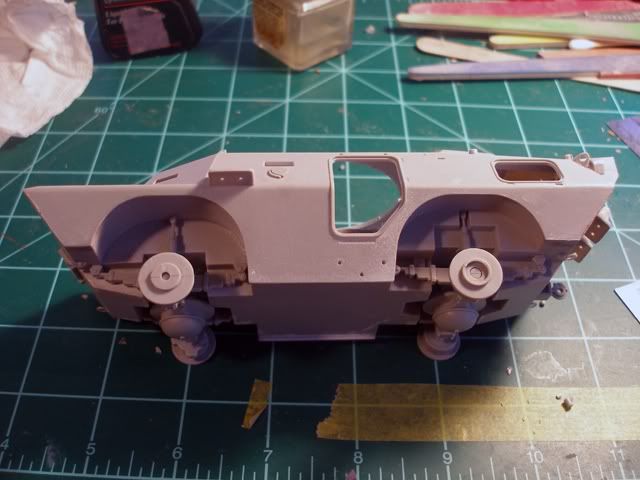
needed a change from the MAS boat. i picked this up at a local club auction becuase it looked like fun. to bad the interior isn’t complete because there are plenty of hatches that could be shown in the open position. of course the inside of the hatches would have to be done too.
I picked up the same kit from squadron last year for ten bucks. Can’t wait to build it so ill be watching this closely. I can’t find any reference on it at all though. You have any luck? I don’t want to do just a plain od on mine. I too see the interior short fall.
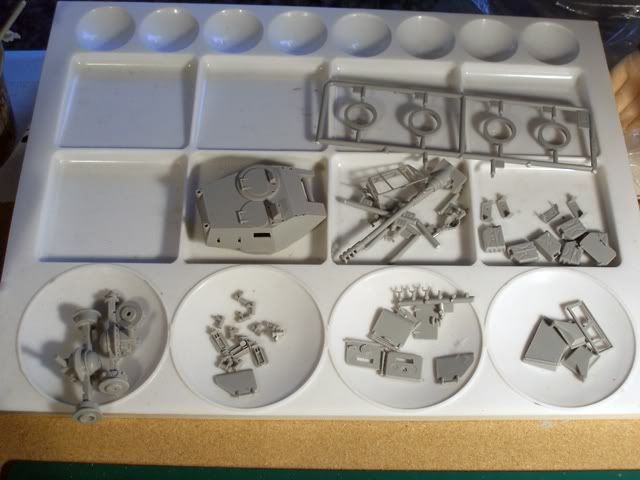
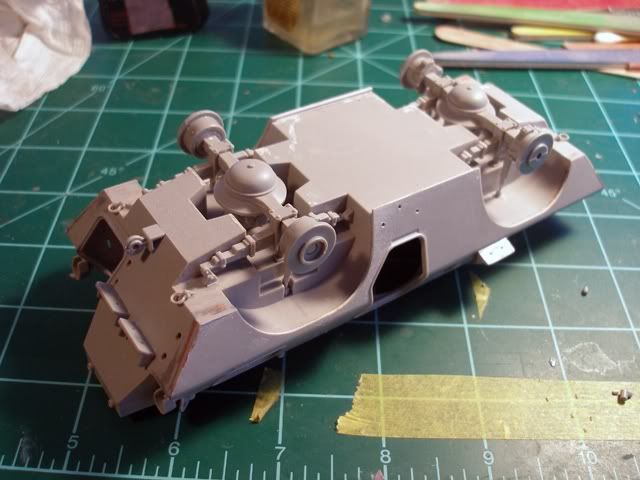
i think i paid $12 at the auction. just goofed and forgot to put the shock absorbers on before gluing the differentials REALLY WELL. easy enough fix but annoying.
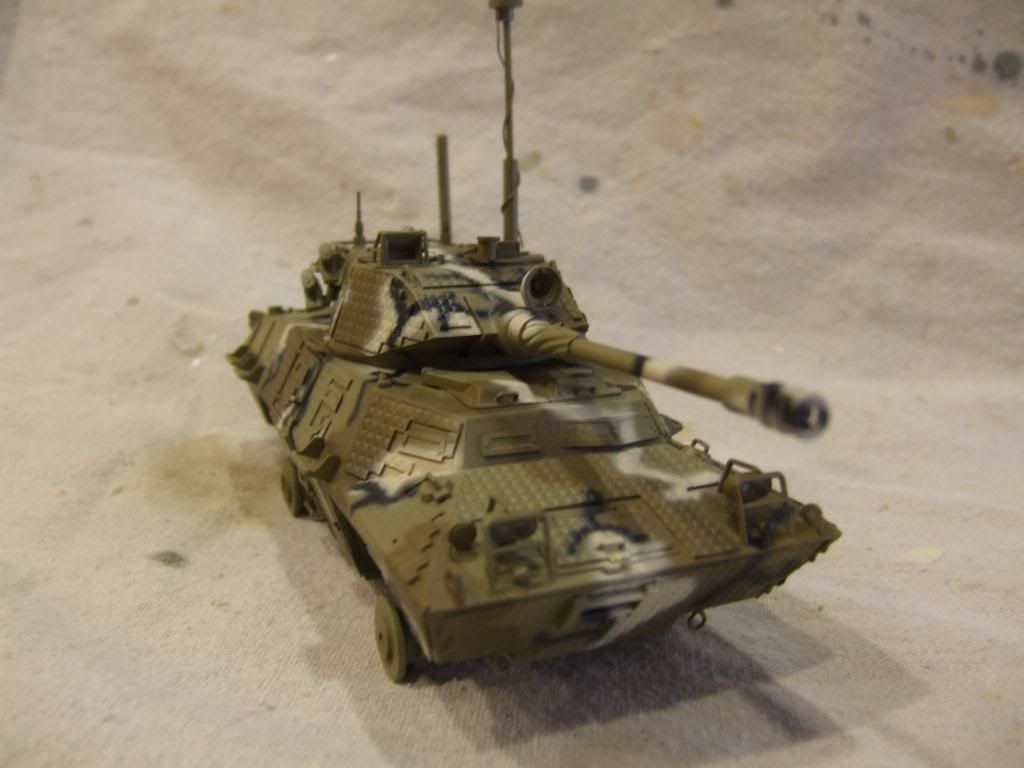
i haven’t found much of anything either and i don’t want to do an OD either. white for the UN won’t cut it either. thinking maybe a desert sand, maybe a mid east country camo patern. here are a couple of websites with some pics. if this one turns out well, i may build a whols series since i am seriously considering focusing my armor modeling on wheeled vehicles instead of tracks (which will eliminate pretty much an entire storage shelf of models in my stash).
Verlinden came out with something like this many years ago which I have. The hull weighs a ton because it is of solid resin. The suspension is very simple and it the axles bend with the weight of the hull. I think this is a very good improvement.
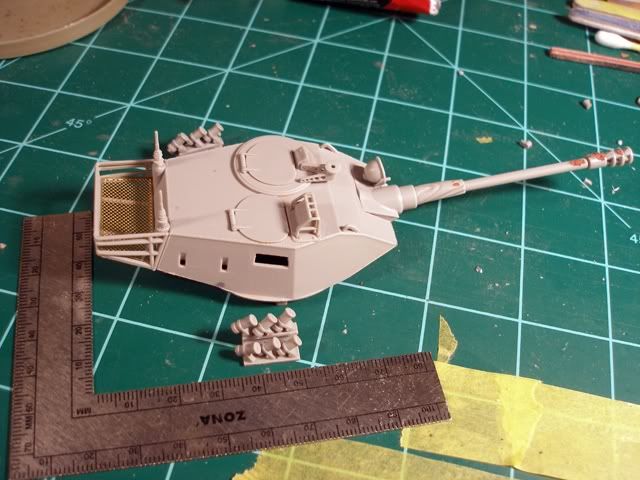
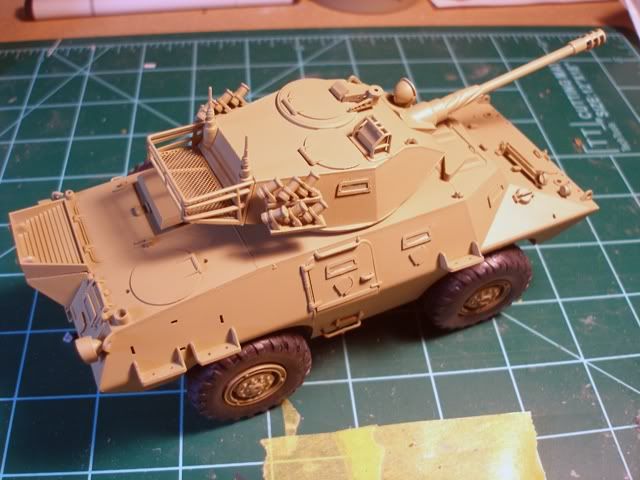
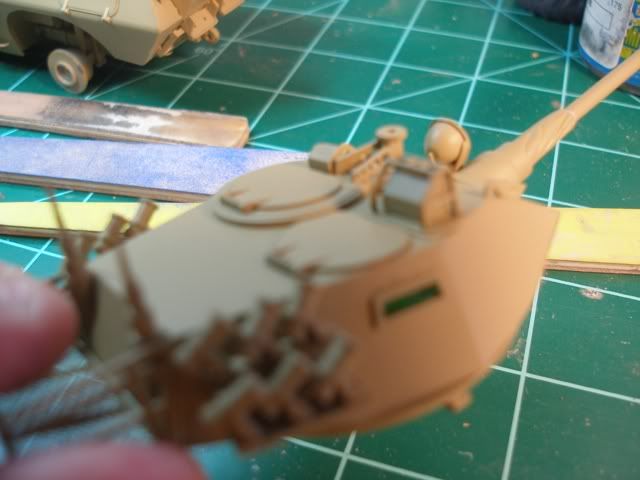
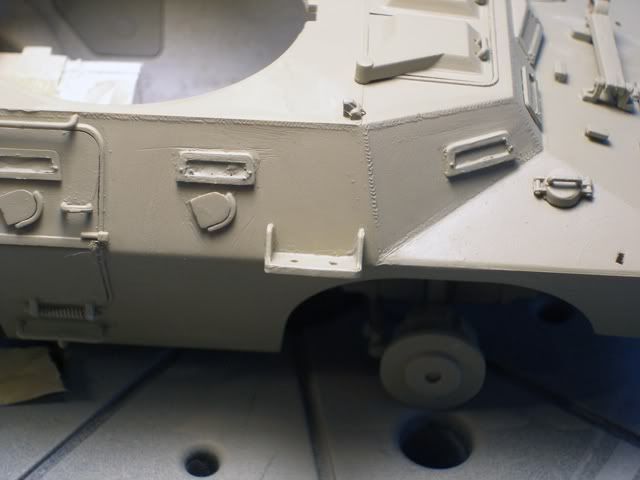
well the grenade launchers were a pain. hard to get the seams off and this model seems to have a bit softer plastic. almost broke two pieces on it. on the grenade launchers, the top shelves (C29 and C25) go on ONE way. the front and back mounting nubs on the bottom shelves (C27 and C10) are different sizes so i woul mount the 3 lower grenades and then attach the shelf before adding the 3 grenades to it. this is because all the grenades are at slightly different angles. should have the turret finished this evening. wed is serious MAS bioat deck paint touch up and mucho deck furniture painting and installation.
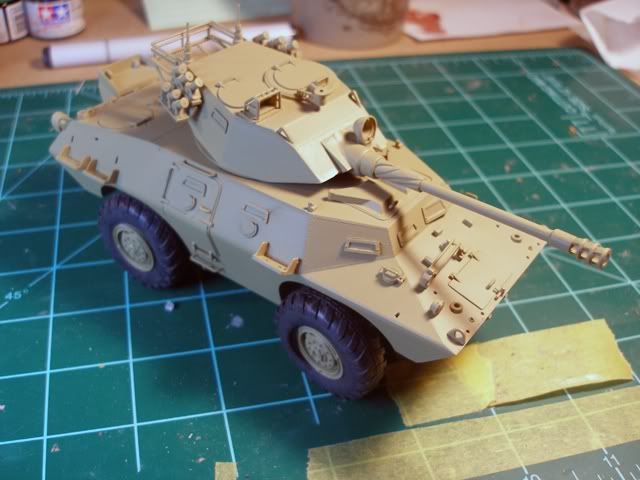
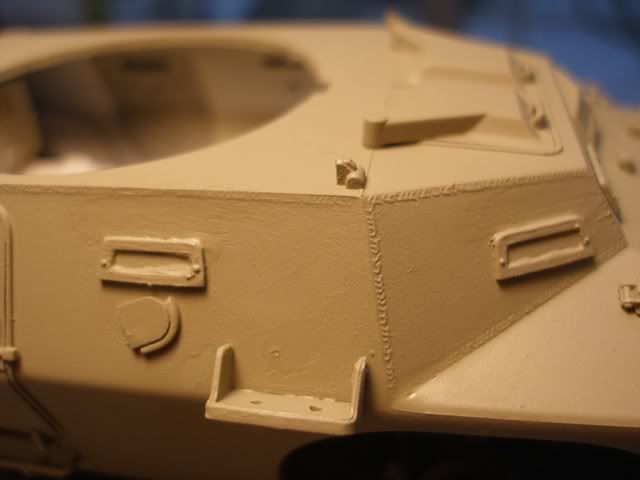
here is most of the turret. obviously i found some boggers on the gun barrel so i’m waiting for the putty to drt and fix them before adding the grenade launchers since i’m sure i would break one otherwise. haven’t figured out how to do the vision blocks since the frame and lens are molded one piece clear. thinking of taping the lens up, glue it on and paint, remove the tape and paint the lens w/ tamiya clear smoke, green (if it isn’t too bright, or blue. will also paint the inside of the searchlight, headlights and tc sight silver before adding the lens.
so you painted all the clear parts w/clear green, masked off the lens and painted the rest the vehicle body color? that makes sense. i can paint them on the sprue and probably brush paint the frames prior to gluing the frames to the vehicle. finishing up the jerry cans and it’s decide on the colr time.
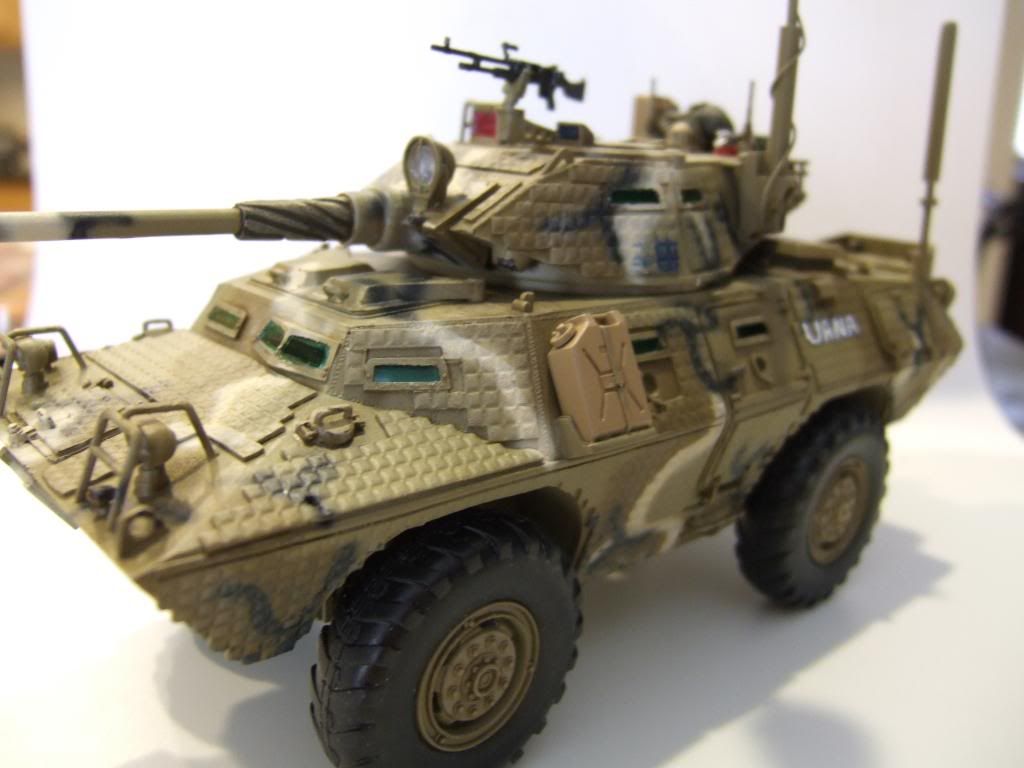
Yessir, that’s what I did. I painted the inside and outside clear green, mounted the vision blocks and windscreen, the used liquid mask. I also painted the back side of the headlights silver, used liquid mask on the front then mounted them. They were sprayed in place and the mask removed.
back after work and some MAS boat work. got the back (inside) of the vision blocks clear clean. will pick up some beige sandish color, if i can find acrylic and then decide if i am going to paint the vision block framr separately and glue to body or glue and mask. thanks to the forum all 6 jerry cans are water cans so i will paint them black. had a copic pen demonstration today. they are alcohol based pens that can also be attached to an air supply and sprayed. i picked up a walnut one to try to simulate wood on plastic. look good. will post some results after i play around a bit more.
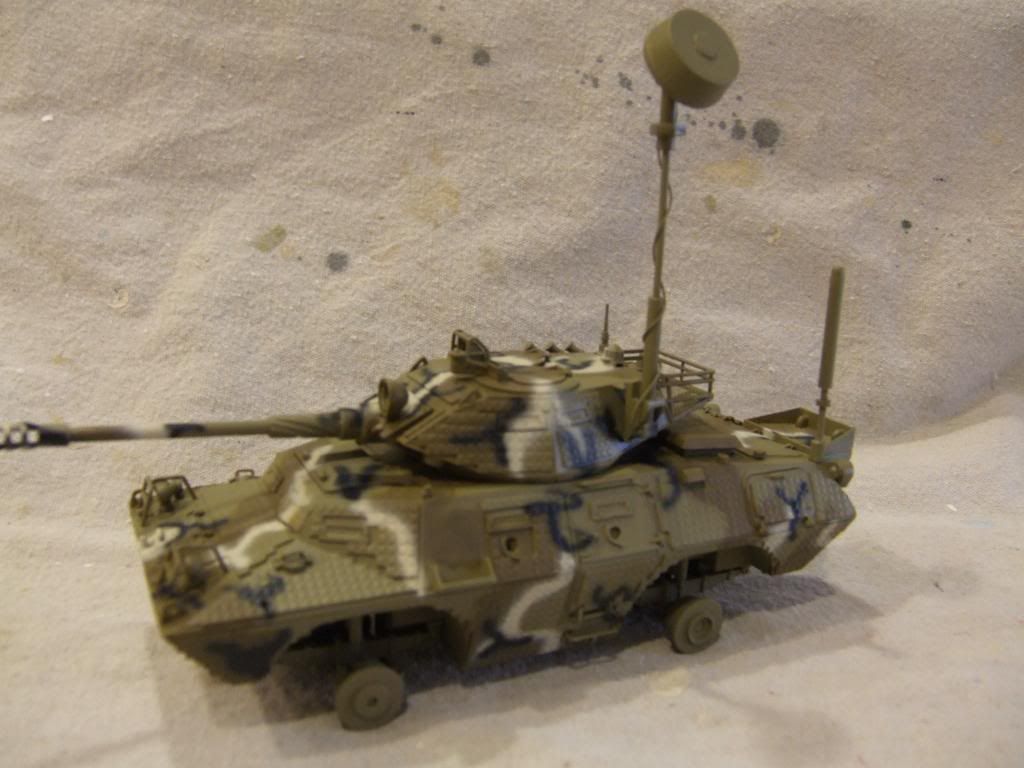
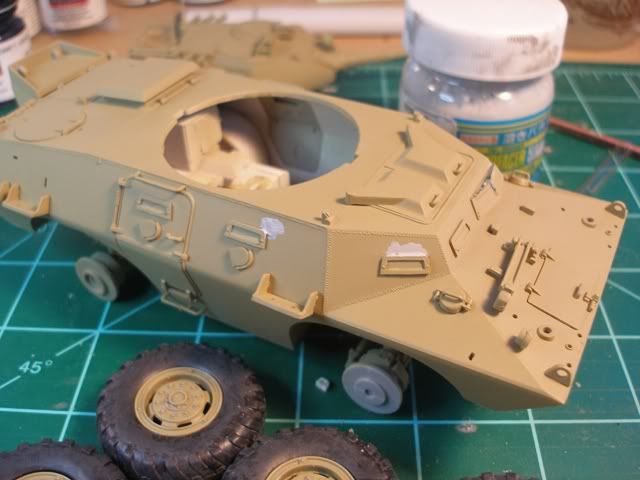
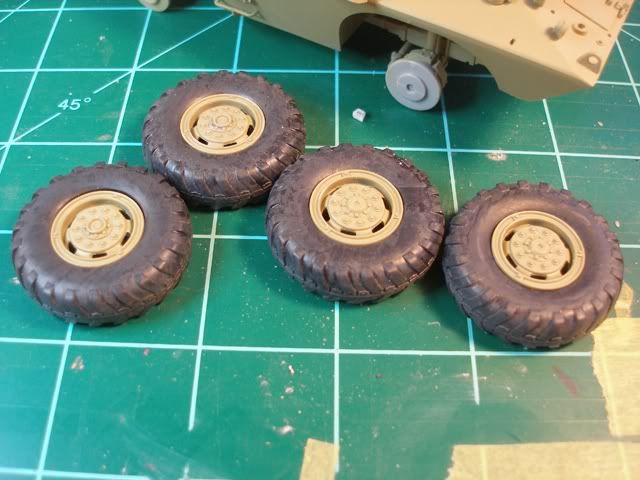
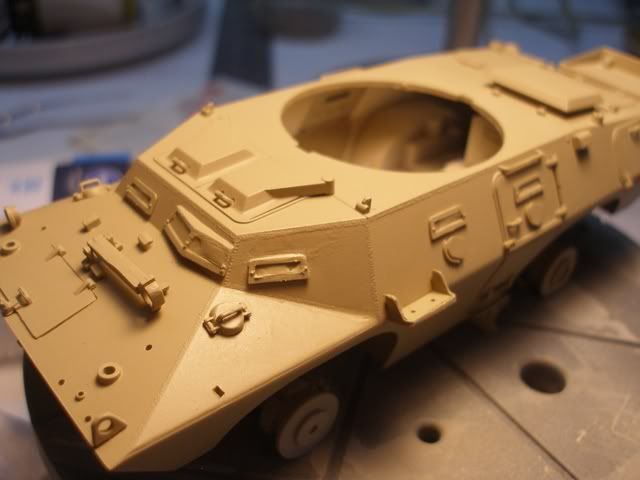
got the base coat on yesterday. today was model ship building monthly workshop. anyway, the vision blocks are still masked and the wheels and turret are just sitting on there right now. next step is weathrting the syspension and attaching the tires. the tires arte rubber washe with scale black. base coat is MM acrylic armour sand. had to clean my aztec 3x to finish applying the base coat. sure looks better dry than wet. will add all the mirrors, etc after getting the wheels on.
should get more done this weekend but i have to get waterline marked and painted and splinter camo on MAS boat hull touched up too. have an afrika korps 4x4 sdkfx-222 up next in the armor catagory.
Nice clean build there. The paint looks smooth from where I sit.
What did you thin the MM Acryl with? I used Windex and was able to achieve a relatively stress free base coat. The other colors though, were a B!
I sprayed the base of Israeli Armor Sand Gray with my old Badger 155. I used a new Renegade Velocity for the detail work, and I swear the paint dried in the cup. I had to constantly swab at the tip with a Qtip soaked in alcohol.
Not to hijack, here’s how it turned out. This was a fantasy “What If?” build.
i was until i JUST HAD TO fix s couple of small scratches and managed to make things worse. very discouraging, especially since this isn’t a ww2 panzer that i could just battle damage the crap out of or hide withspare junk. does make me consider throwing a dark brown camo pattern on it.
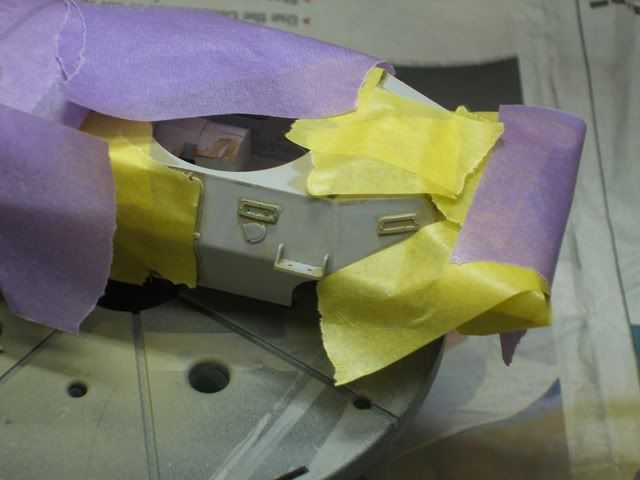
OTOH i can clean my aztec in less than a minute. the tape to protect the sanding didn’t work so i smooted it but now am having trouble leveling the paint. after third coat of aitbrush, i filled in the area using a brush. the big area on the side forward of the hatch will be covered by a water can.
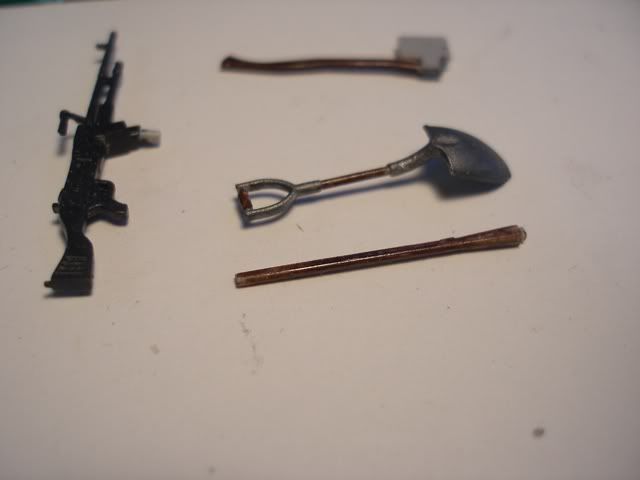
on some positive notes, i am getting better at mixing paint. am using MM acrylic thinner for the MM in the airbrush. i already know how i’m to attack the sdkfz-222 4x4. i will paint part of the suspension before conmpleting it so all the nooks and crannies are painted w/o over airbrushing and getting runs. also going to weather it up nicely. the masking brush on stuff for the vision blocks worked great. i see using this a lot. the tires are rubber so i washed them in scale black to wear them a bit. the handles on the tools are hard to see but they were painted over the plastic using a COPTIC alcohol pen. i will be experimenting with these pens as you can buy a “trigger assy”, attach an air supply, insert the pen and you have an airbrush. have a black one for road wheel tires.
pics show the patch before. will post an after later in case plan H is unsuccessful. don’t know if harrison dies in H; he does in plan M (leverage fans will get this)
on a side note, at this time i enjoy building more than painting but i have a few models with very nice suspension systems that take time to build but no one sees. makes me want to roll a half-track so peoplecan see all the work.
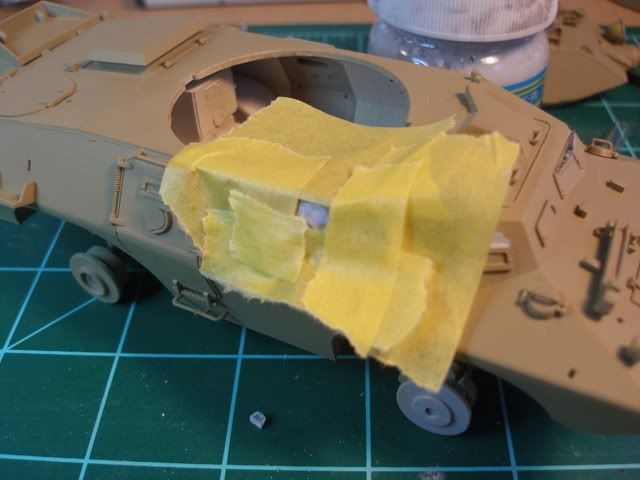
here are 2 pics. probably not very obvious in the photos. i could strip the whole thing down and repaint it or, at least those particular panels. i shall ponder that while the paint dries. actuall i jusrt need to strip those 3 "panels and repaint.
the damage is above the vision blocks. the vision blocks look funky because they are clear, painted transparent green on the inside, per another suggestion, and masked with liquid mask so the paint is on the liquid mask.
decided to strip the 3 panels last night. figured i might as well try all sorts of techniques since it is no longer a “competition” piece. turned out ok. by the time i dull it and weather it up a bit it will be fine. the camera really picks out flaws. colors are different because the “finished” pic is in my workshop under a 100W incandescant “space heater” which works nice for drying paint fast. going to do the suspension before i attach the headlights and mirrors and all those little things i can break easily.
started on a sdkfz 222 which i will post as another WIP when i finish this one.