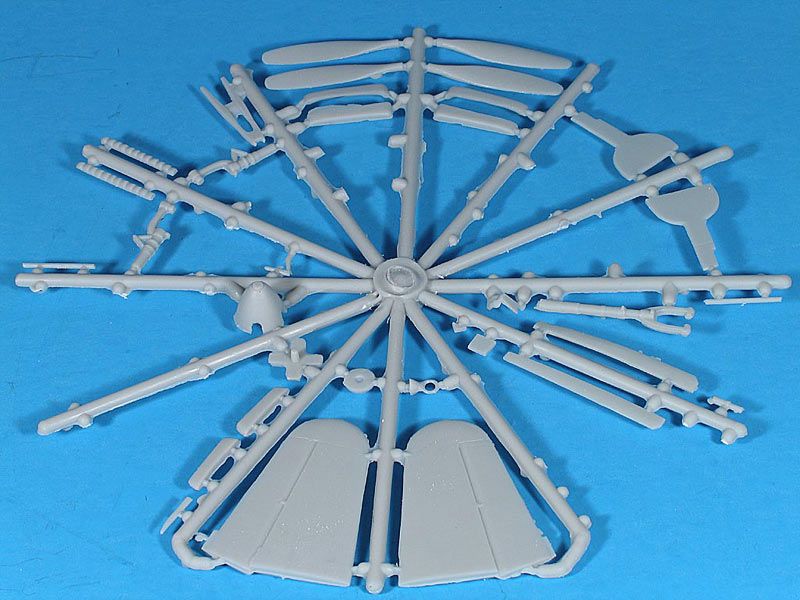
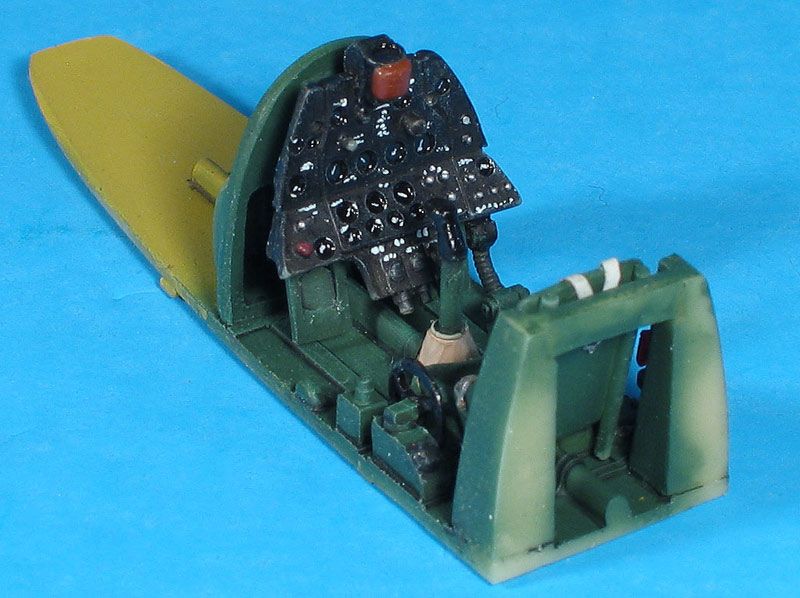
I finished the 1/48 MPM P-63 Kingcobra today. This is a typical limited run kit, with lots of flash, thick parts, and no alignment pins. The cockpit is resin, and I added a pair of belts from an Eduard USAAF belts set. I also added a couple instrument panel lights to the cockpit.
I used the kit decals, which went on well. They’re thin, and can flod over on themselves easily. The whites are opaque, but the yellows are translucent.
Trimming, fitting, and filling the vac canopy was the most difficult part of the build for me. The landing gear is also tricky. There are only tiny pins that fit into tiny holes in the wheel wells. Getting them aligned tried my patience, but I won in the long run.
This was just a relaxing build between my more ambitious Fw 190 and nightfighter builds. I felt the need to clean flash, trim parts, and fill seams. This kit fit the bill perfectly.
The wheel wells and gear covers are not very accurate, and the underside is pretty bland.
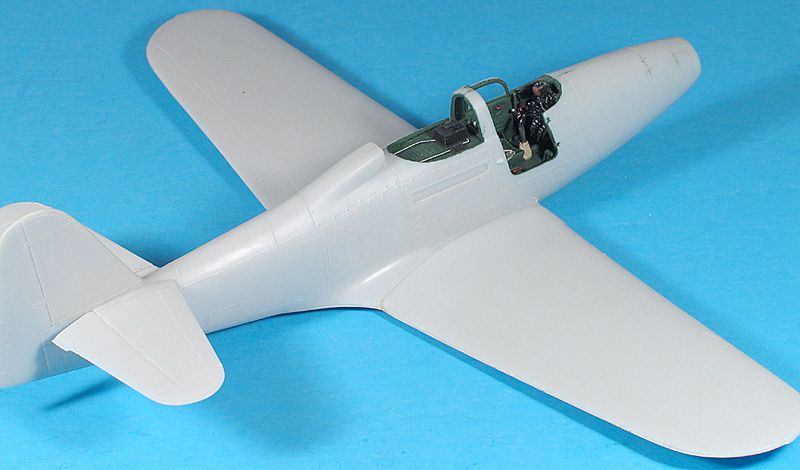
I kept the left door closed, as pilots entered this aircraft from the right.
Although there’s a strong resemblance to Bell’s earlier P-39 Airacobra, there are more differances than just the tail and prop. The P-63 is a larger aircraft.
I wassss thinking of ressssorting to aliterative ssssuperlativessssss. But then I figured I’d just sound like the Gopher from Winnie the Pooh so I’ll just stop there.
You did a great cleanup job on all the flash. The detail in the pit is really excellent. And ya just gotta love a plane with car doors.
Very nice build. I find it very interesting that you consider this project just something to relax and get ready for something serious. Most modelers would be ecstatic to produce something of that quality.
Thanks Rick, Bossman, Dave, yardbird, 9x19mm, falcon, and Thad !
Rick - the vac canopy is designed to be one piece, but I felt that the part over the rollover structure would leave an ugly, unrealistic seam that would be difficult to clean. I cut it into fore & aft sections. You get a spare, but I didn’t need to use it.
Bossssssman - at first, I thought your “S” key was stuck ! Exercises like removing the flash make the more cleanly molded kits go smoother.
yardbird - it’s a pretty basic kit, and it’s mostly OOB. I only added belts and cockpit lights. For me, it’s a relaxing break from my more involved detailing projects.
If you have this kit to build, this may help you. I found that the wing fit poorly. To get it to align, I sawed off about 1/8" of the forward fuselage portion of the lower wing. I needed to add wedges of plastic at the inboard scoops on the wing.
The triangular gap at the rear of the wing fillet was filled with Zap-A-Gap.
The top of the fuselage scoop also needed filler, and the area around the opening had flash which needed to be removed.
CState - if you’re looking for a 1/48 P-39 Airacobra, the Eduard kit is VERY nice. I built the P-39Q ProfiPack kit (incluses photoetch), and it’s pictured above in the comparison shot with the P-63. It has some of the smallest, cleanly molded parts I’ve ever seen.