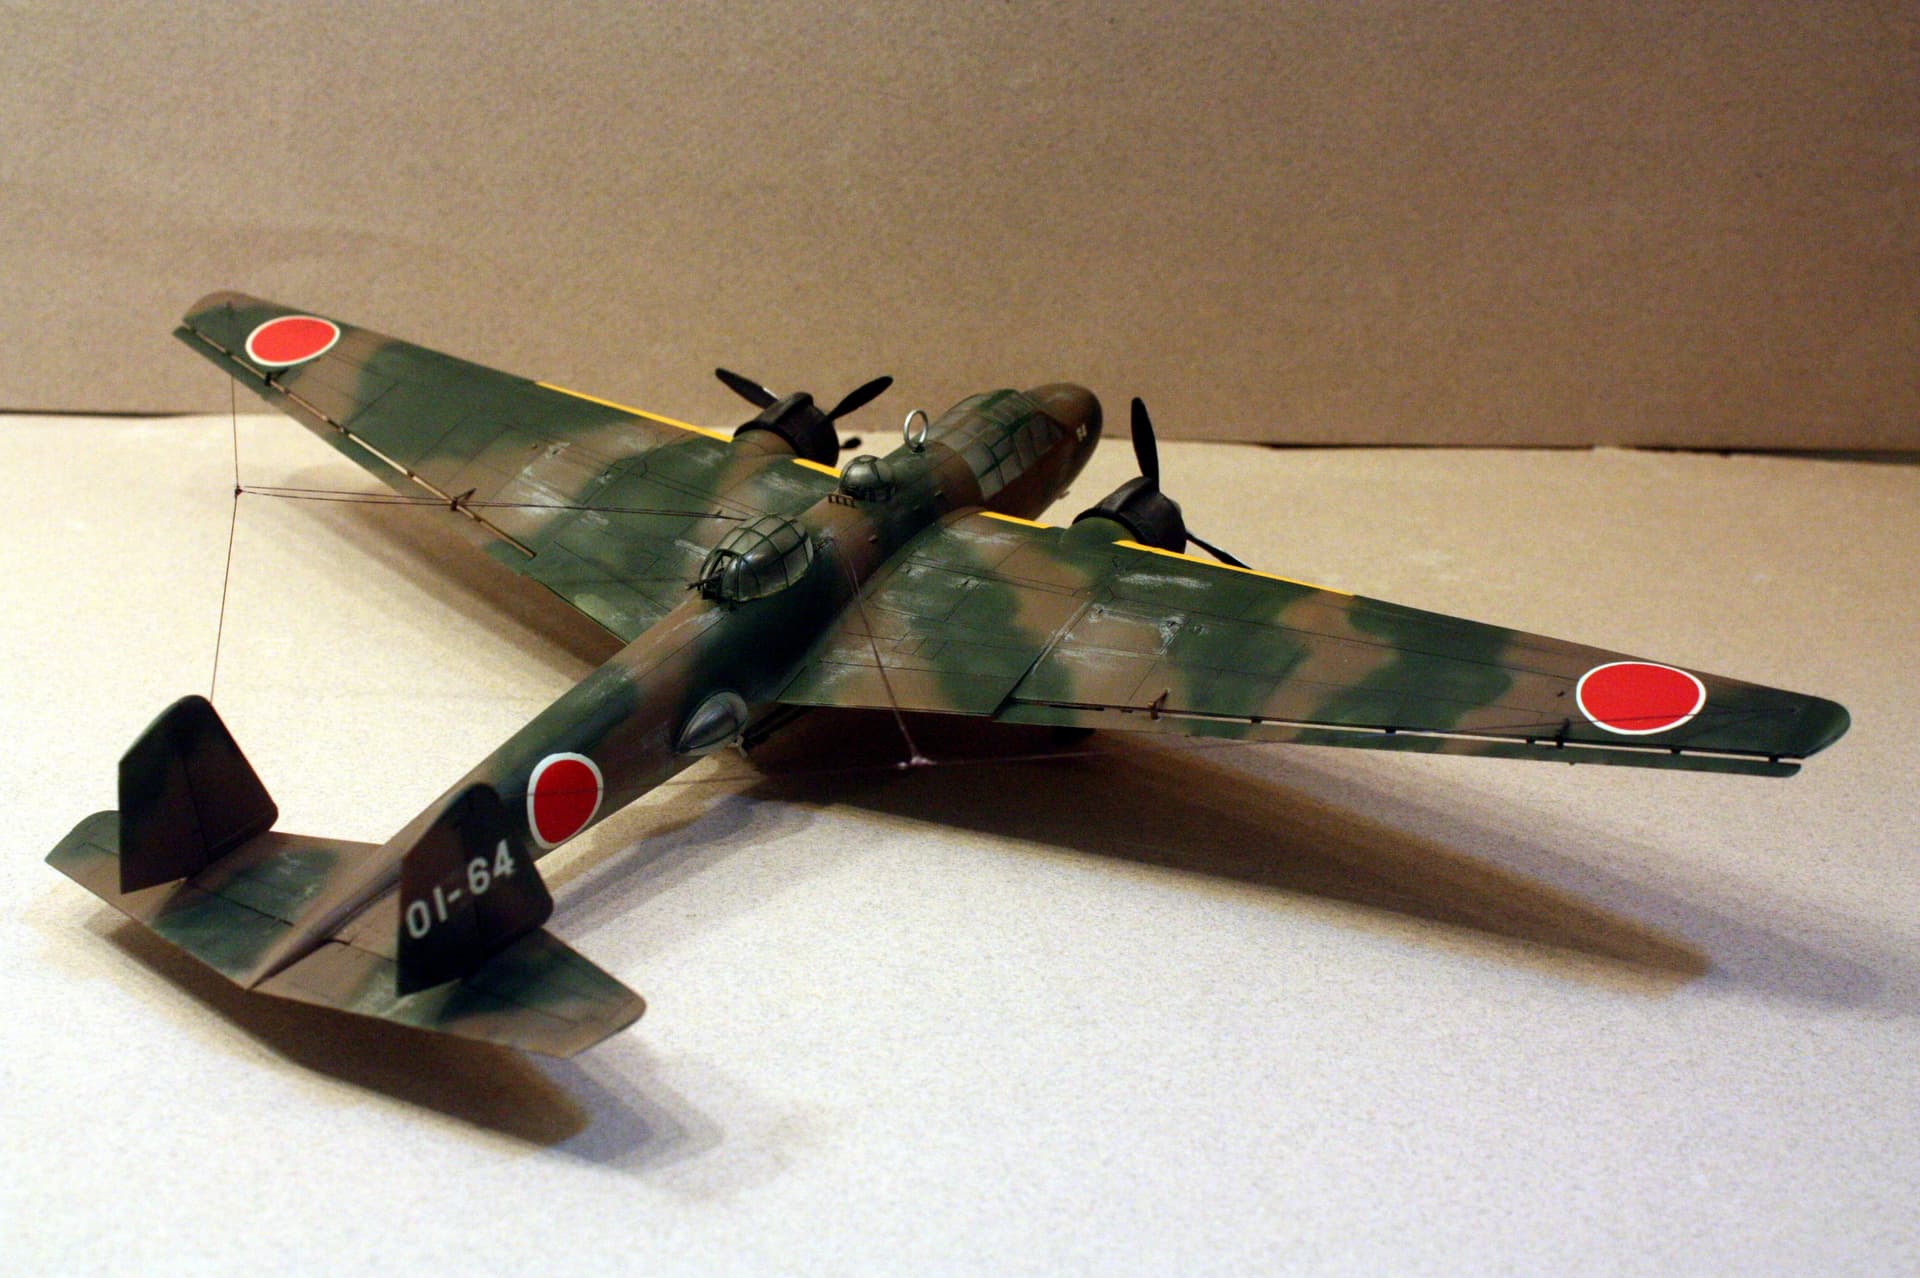
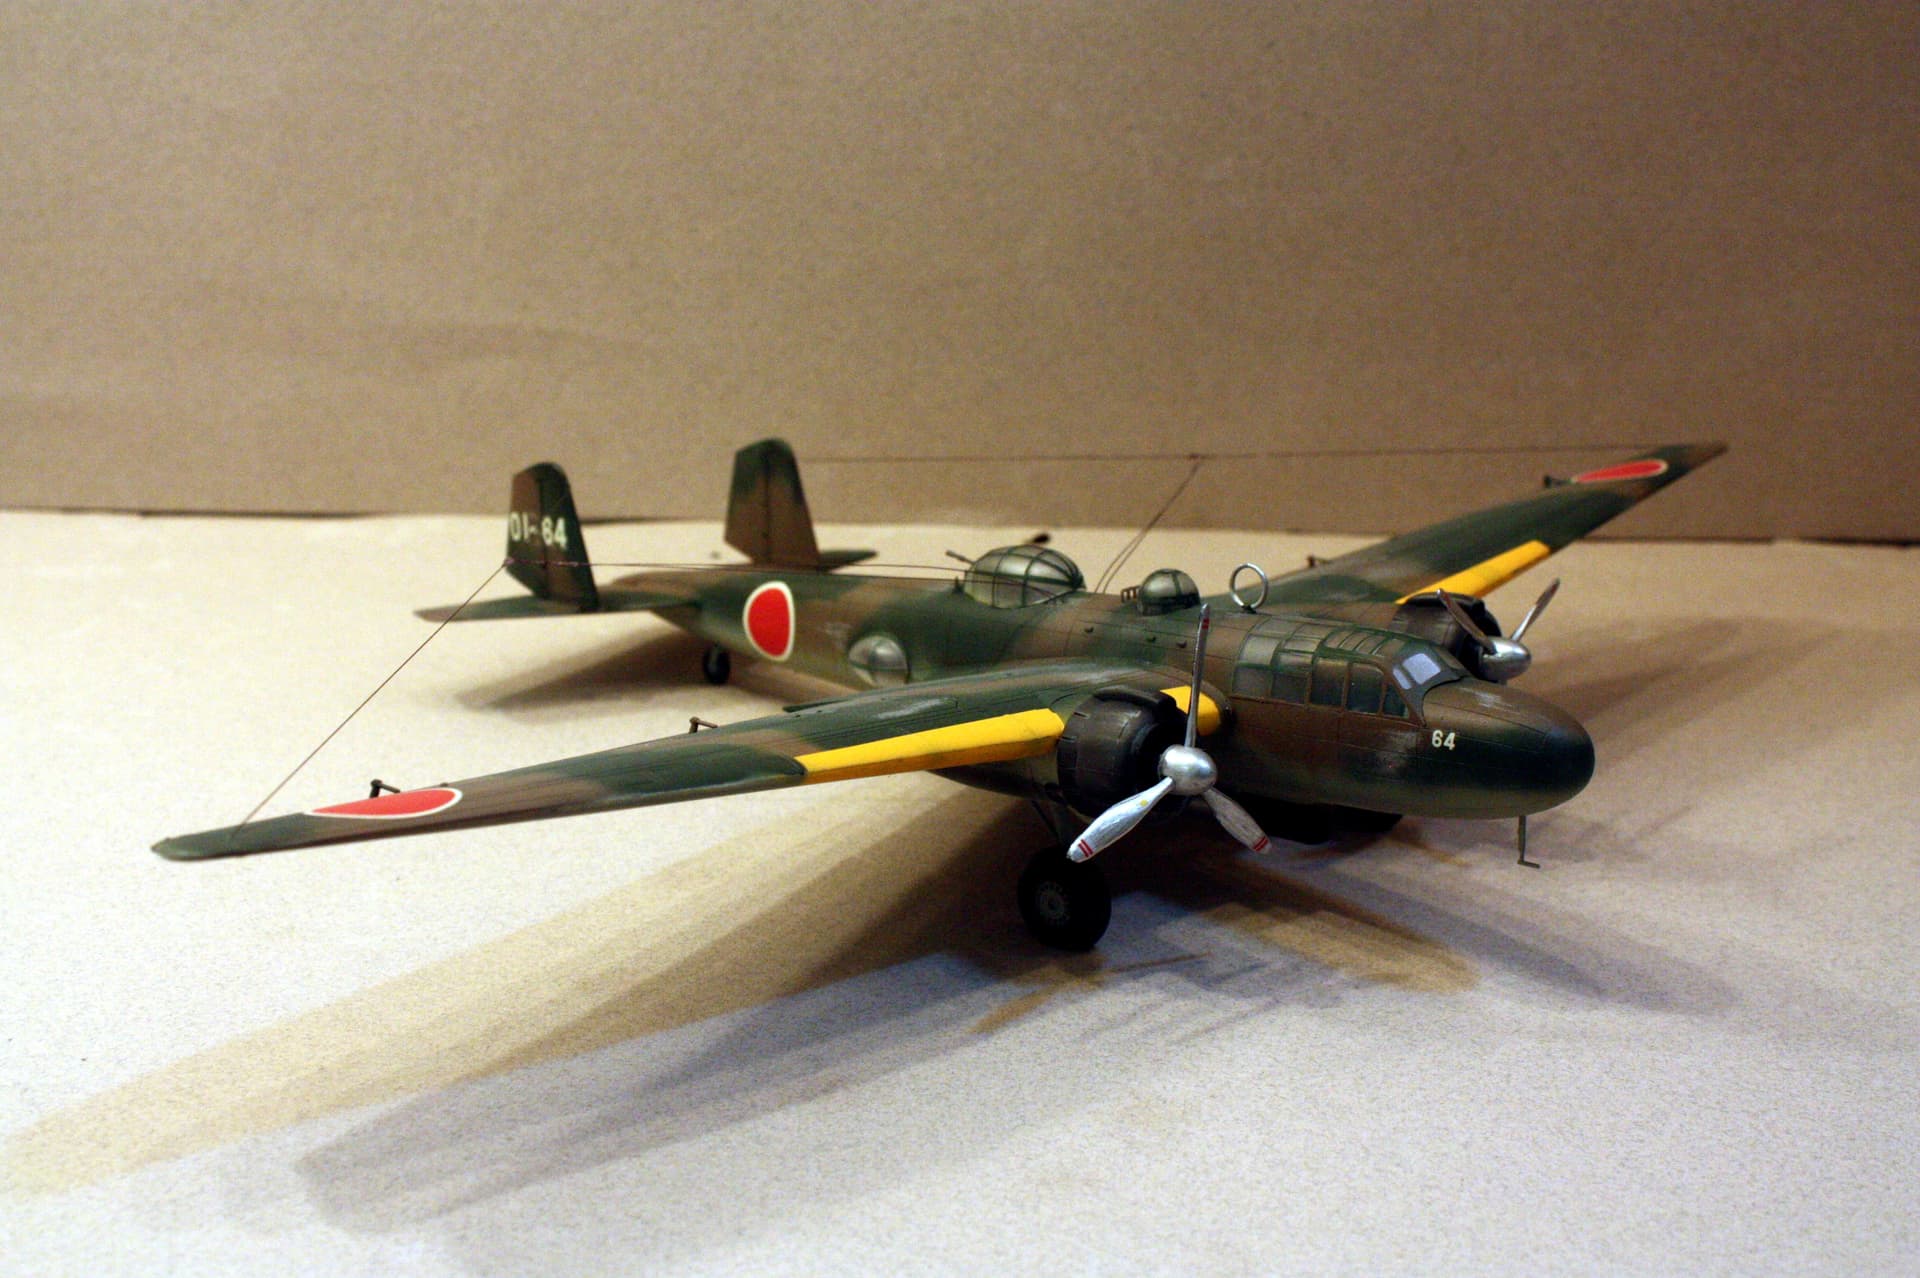
Thank you FlankMe and Toimi_Tom! I did have the assistance of a pre-cut mask for most of those windows, but put in several hours applying them. One sticking point…the fore and aft canopies are two pieces. They have a snap in dome. The mask kit oddly chose to mask off the frames to be painted, not the part to be covered up. I triple checked to make sure I didn’t miss something but was admittedly baffled. So plan B was implemented. I used Parafilm M to completely cover the domes and trimmed that up, which seemed to work well. It was the canopies which led me to choose this kit for the build, I wanted and received a challenge!
Agree with what everyone else said Mr. B! I think this is the most attractive twin engine bomber Japan fielded during WW2 and you have done a great job representing it. Nice work. 
1 Like
I’m an idiot. I was just looking at my “finished” photos and realized that I didn’t pull the masking tape from the teardrop 1/2 canopies. I can’t believe I missed it. Oh well.
@mrb865 Now that you point that out, I can see that too, but I didn’t even notice when I first looked at your build.
But at least this is something you can fix. Several years ago, I built a Japanese Nell bomber, with masking for all the clear parts. I removed the masking before applying a flat coat. And I didn’t even notice that I no longer had crystal clear canopies until someone here pointed it out.
5 Likes
I almost did that too! Nice job on your bomber. Love what you did with the camo and weathering.
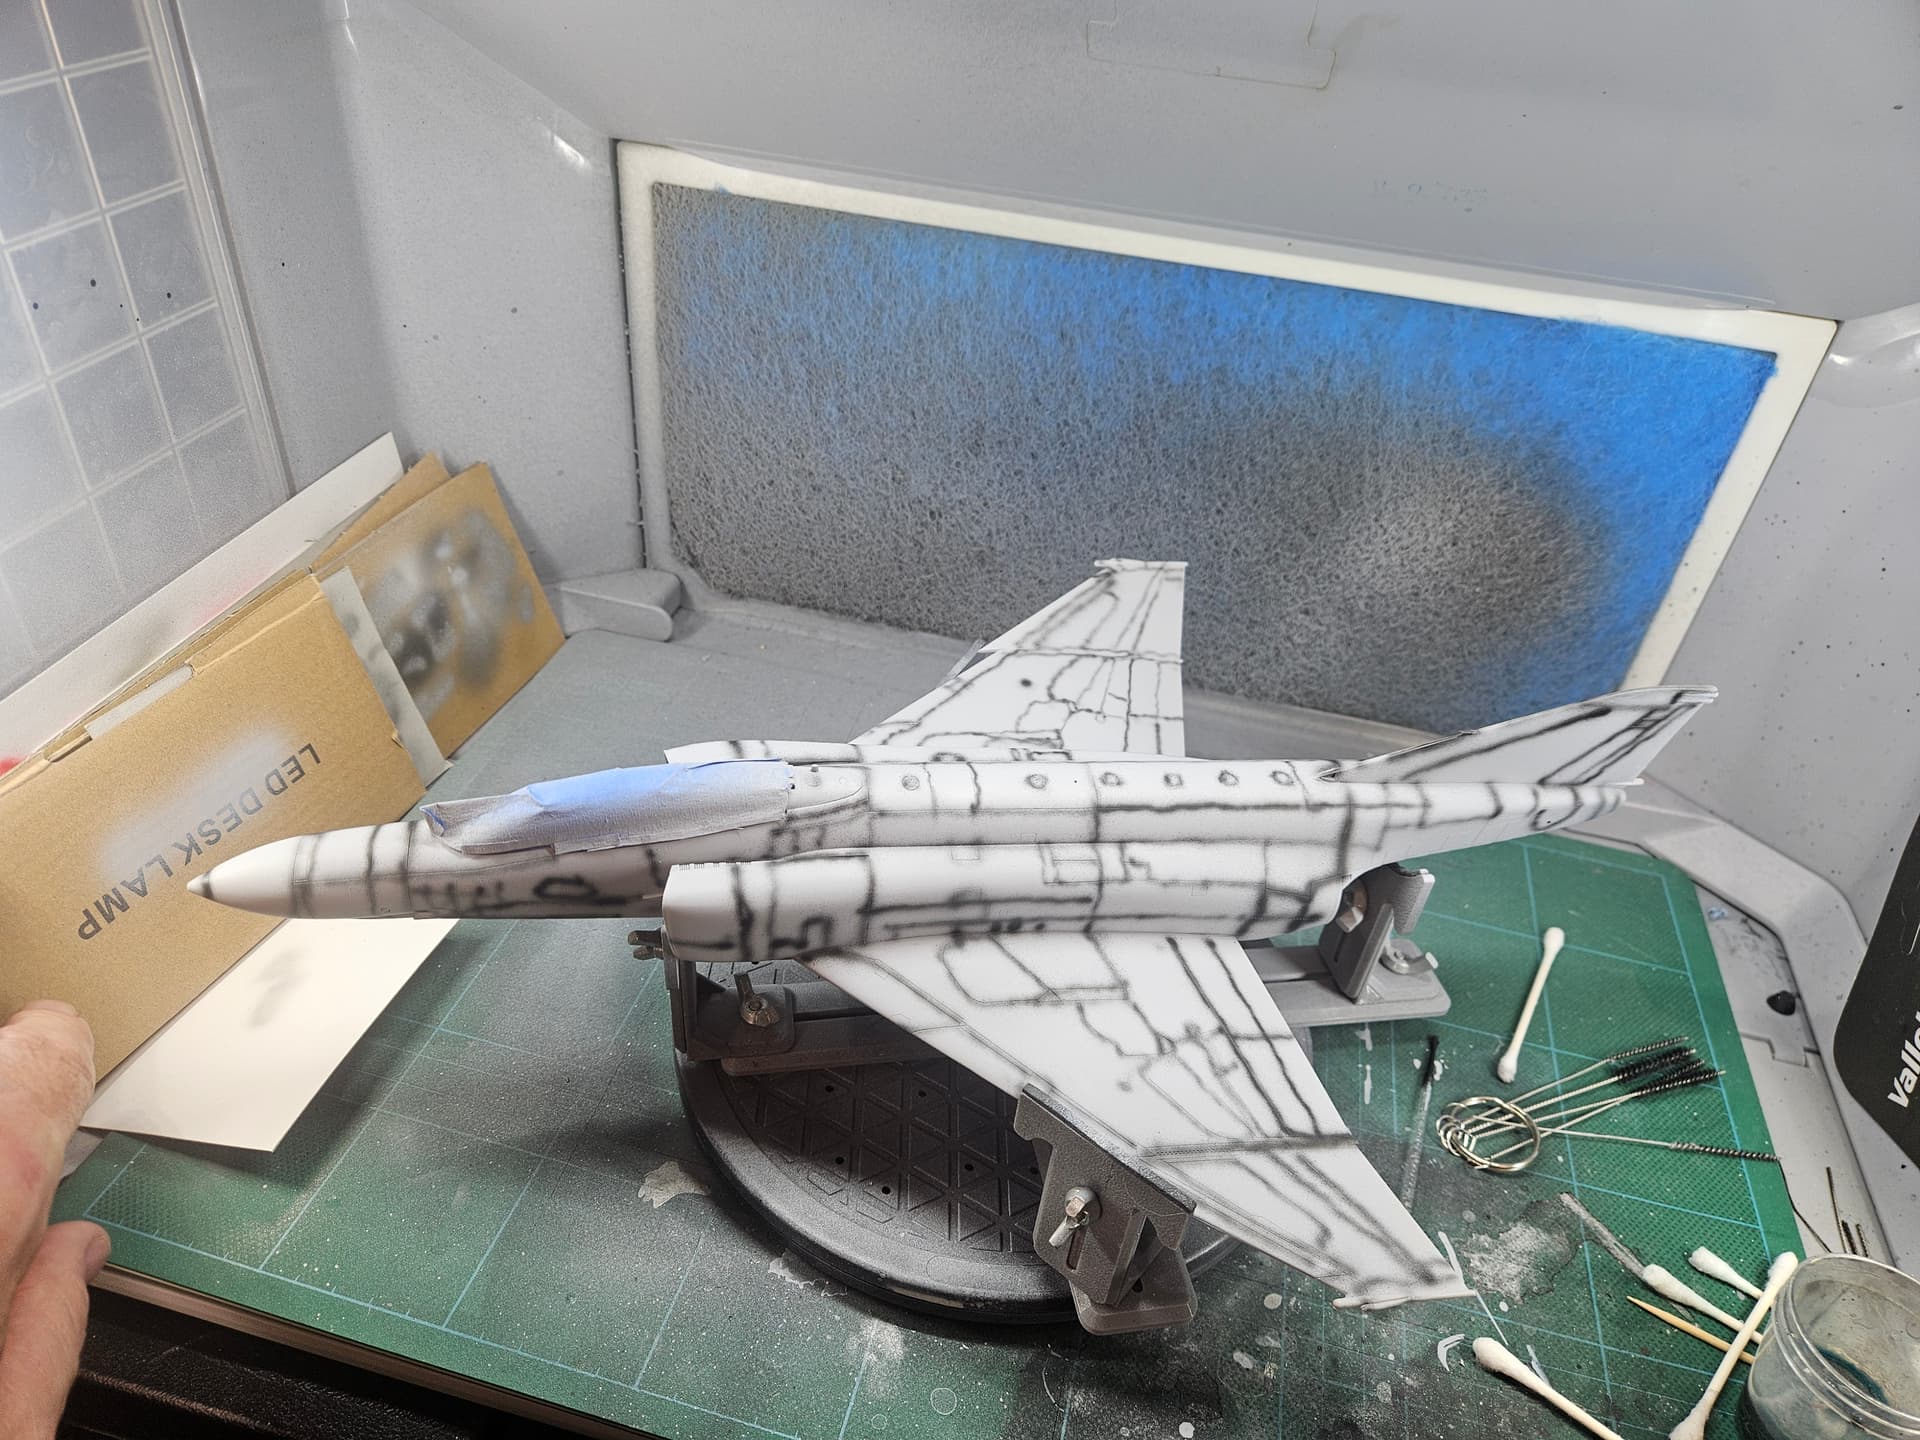
Finally progressed on my F-4j. I had to pause on it for both time reasons and frankly frustration with the engineering on this kit.
Still, I’m feeling momentum now and the fun part, painting, is on the horizon!
4 Likes
Looking good Scott! I have never built and ‘easy’ phantom, but they sure look cool when finished! Hang in there!
1 Like
Thank you, this is my first and yes, it is a beautiful aircraft. I have the eduard version in my stash, looks to me notably better engineered so I look forward to that one one of these days.
Roger that. I have been collecting the recent Fine Molds 1/72 Phantoms. Amazing looking little kits. Heard great things about them. Can’t wait to build one. Eventually will also pick up a 1/48 Tamiya F-4B as well.
1 Like
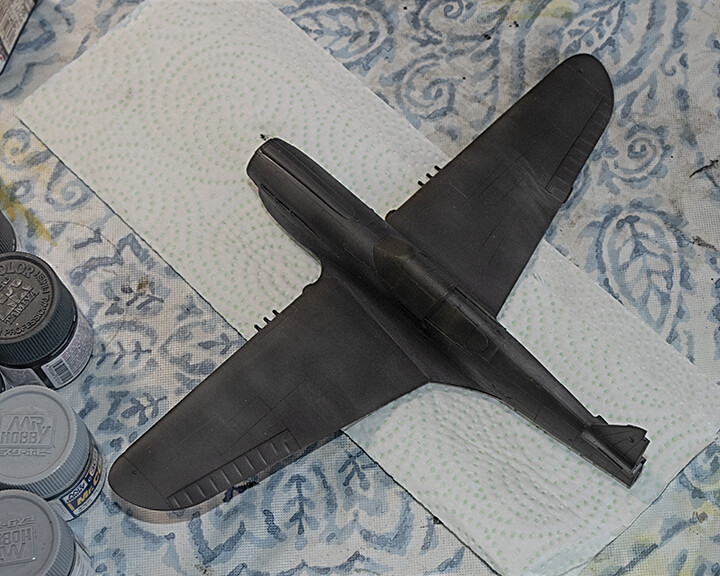
OK, the captured P-40 is finally black based with Mr Surfacer 1500. I’ll let the primer cure overnight then begin the pre-shading tomorrow. Yeah, I know progress is kinda slow on this build. I just have too many projects on the bench . . . all of the time!
2 Likes
I have a feeling you are not alone in that boat Frank. Your build is coming along much faster than mine! looking good!
Well, I’ll just keep on keepin’ on. Gotta get some painting done before the rains come . . .
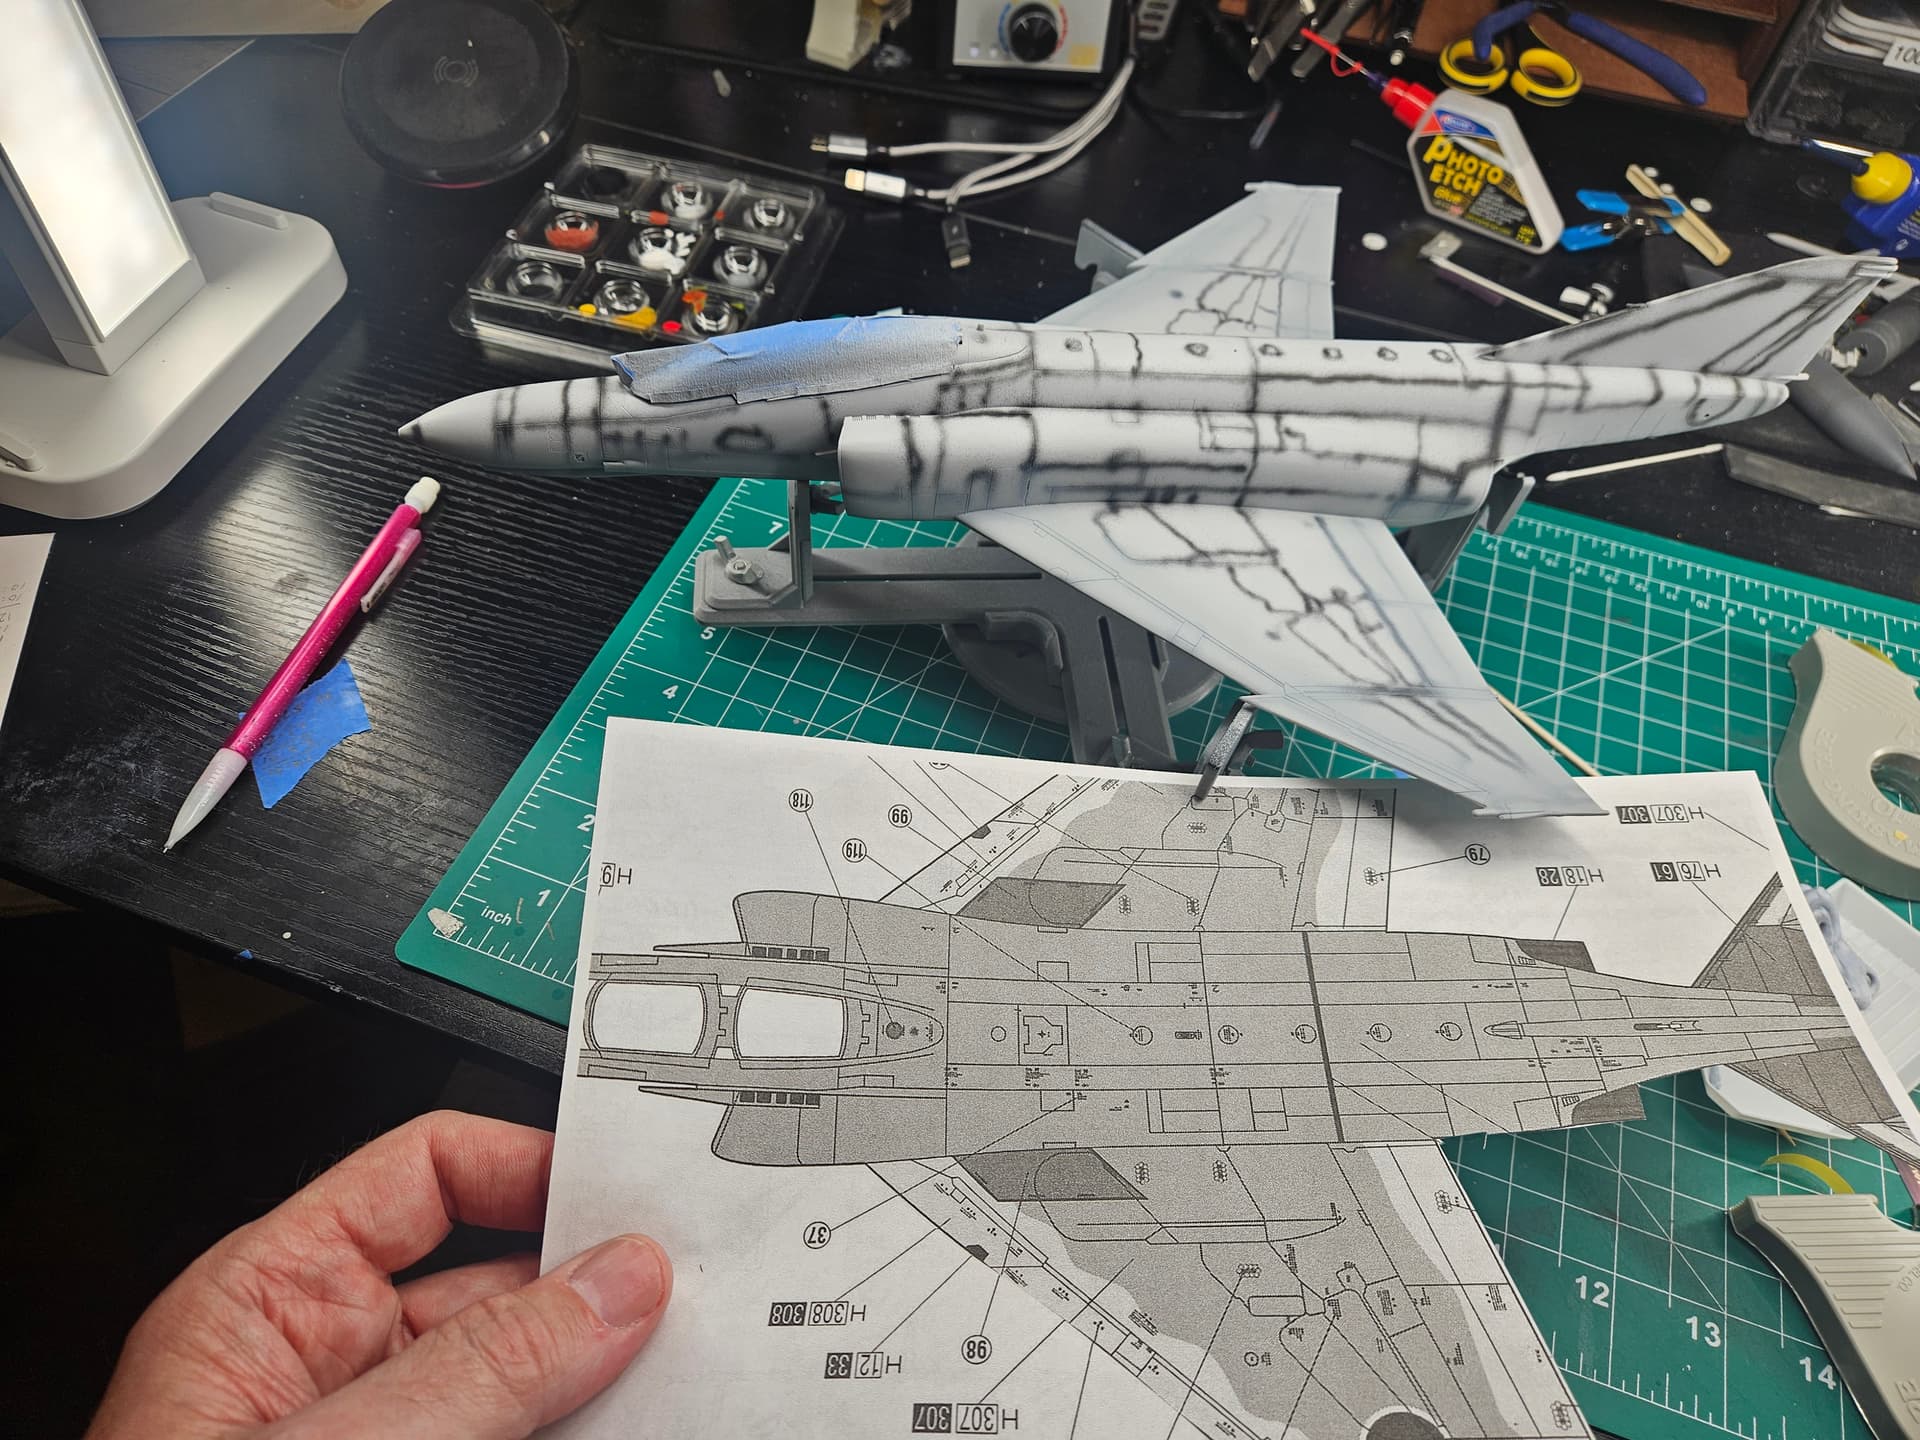
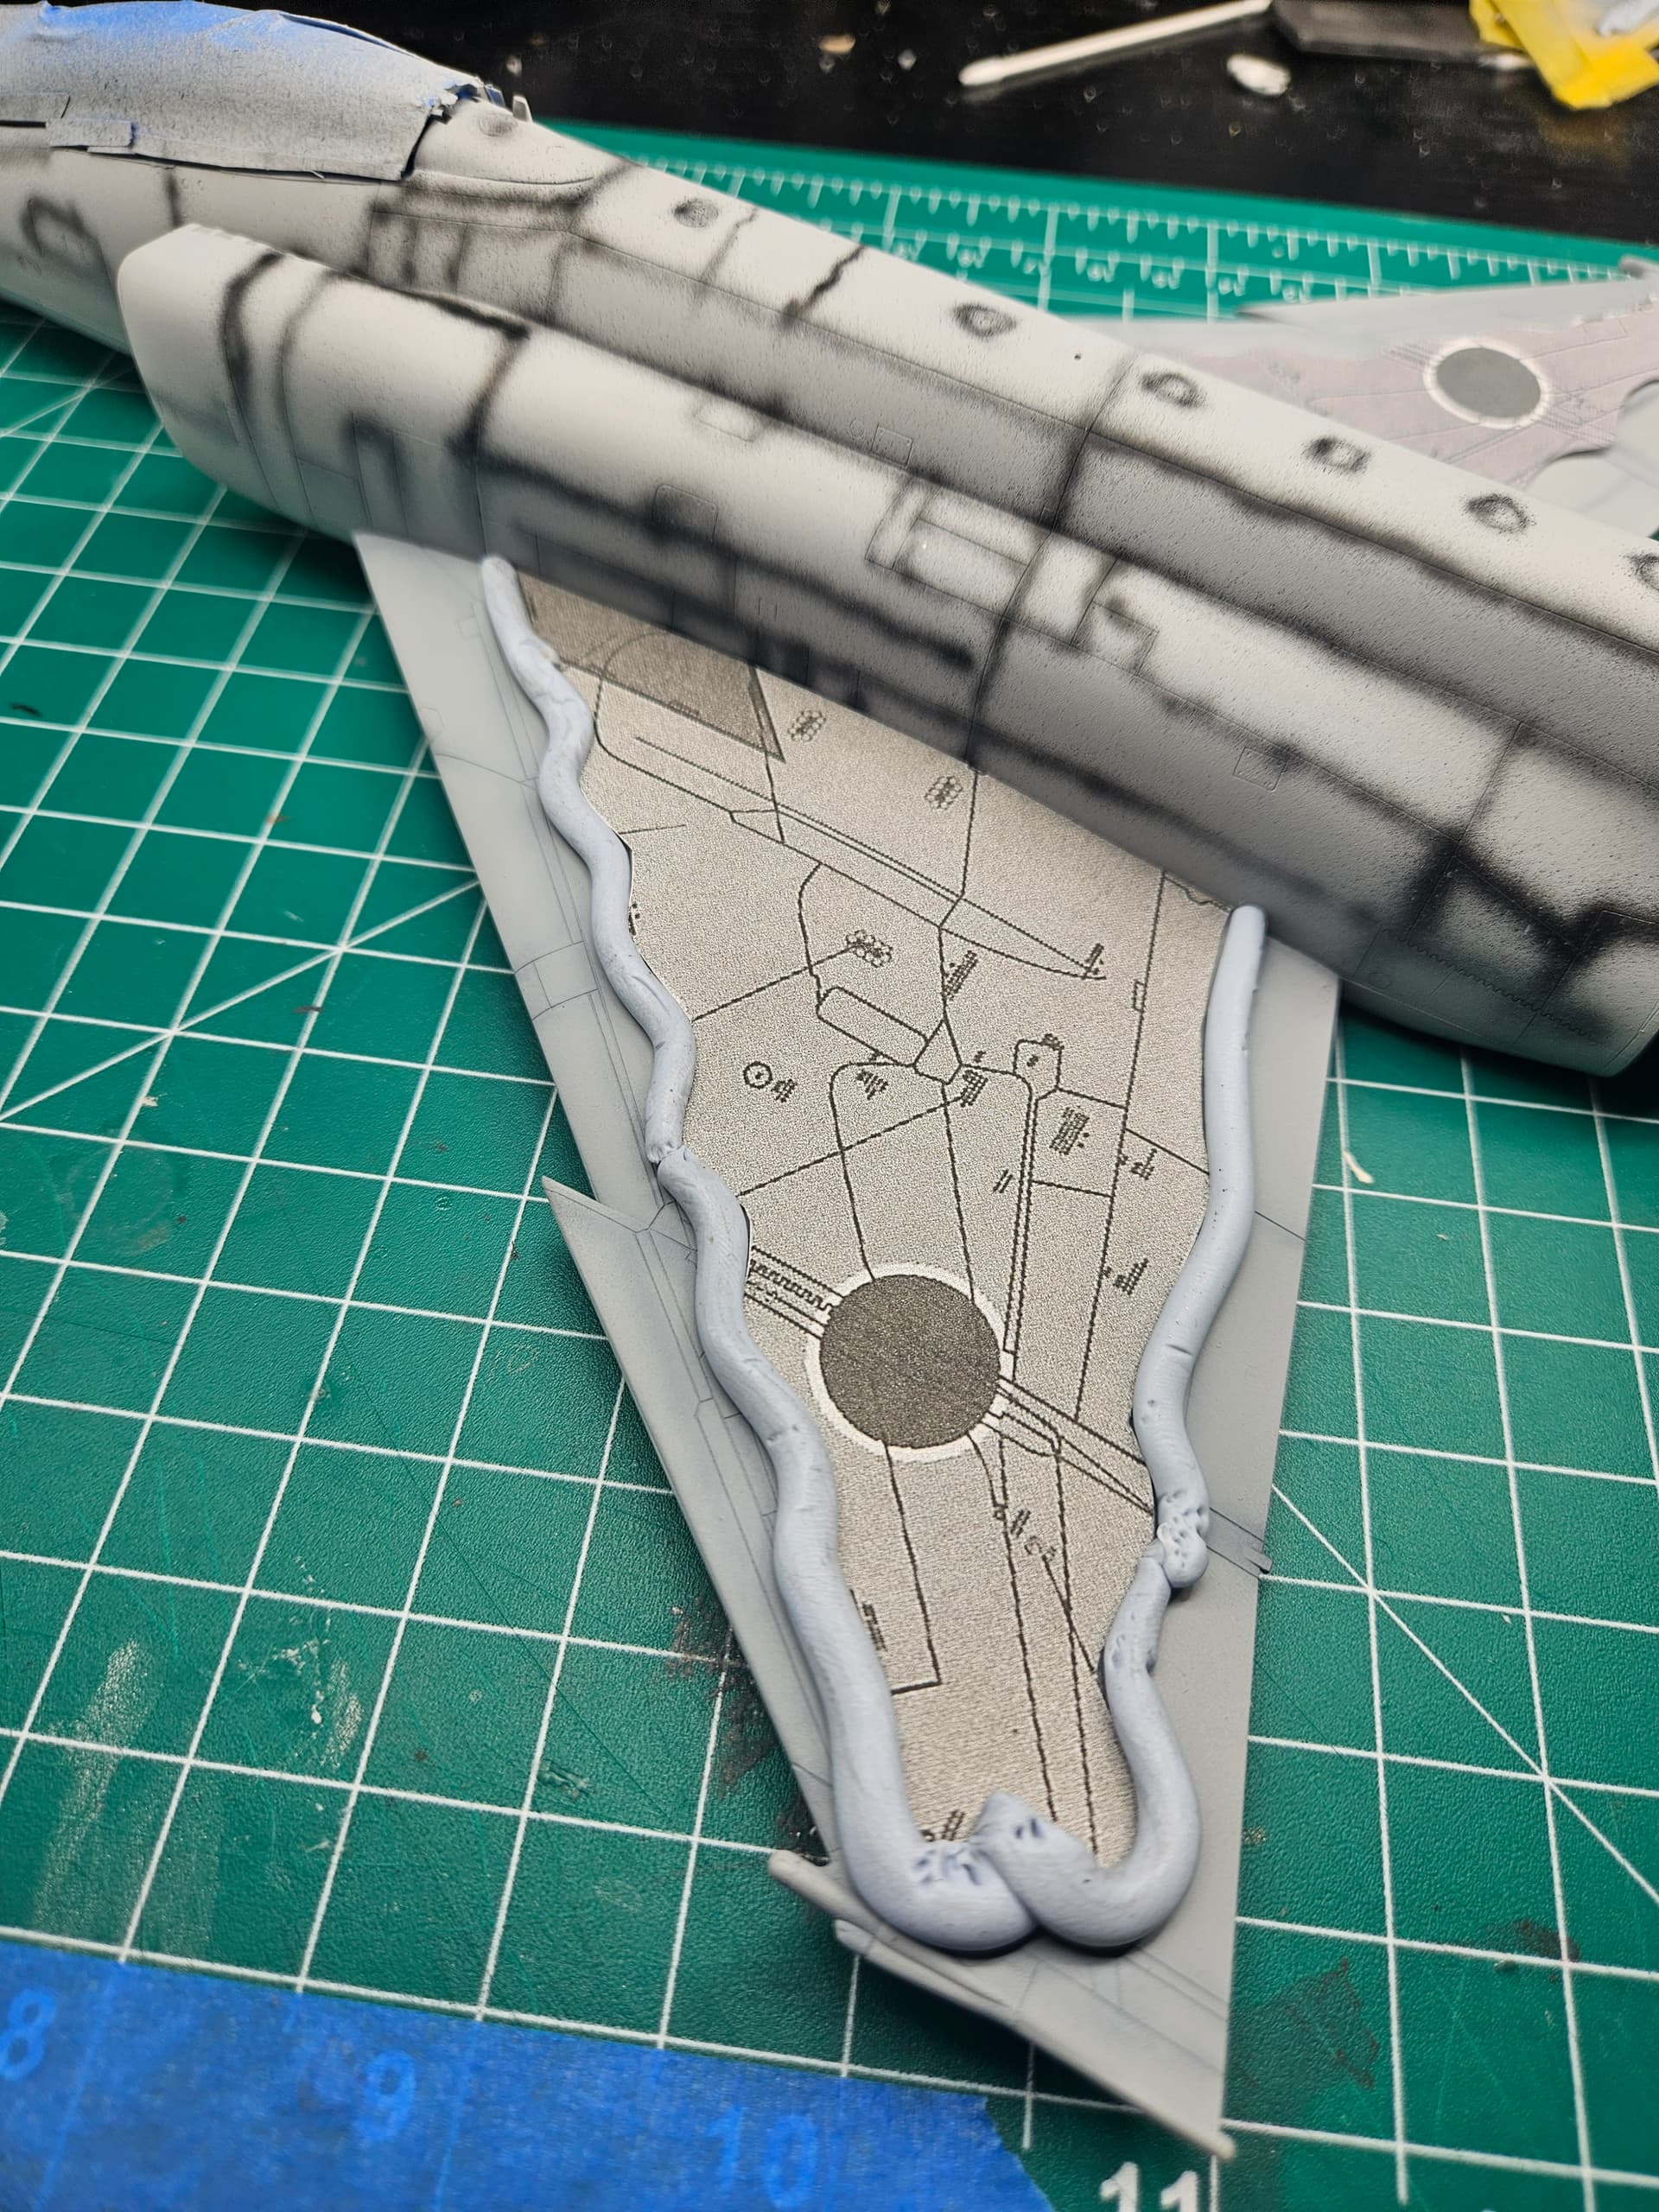
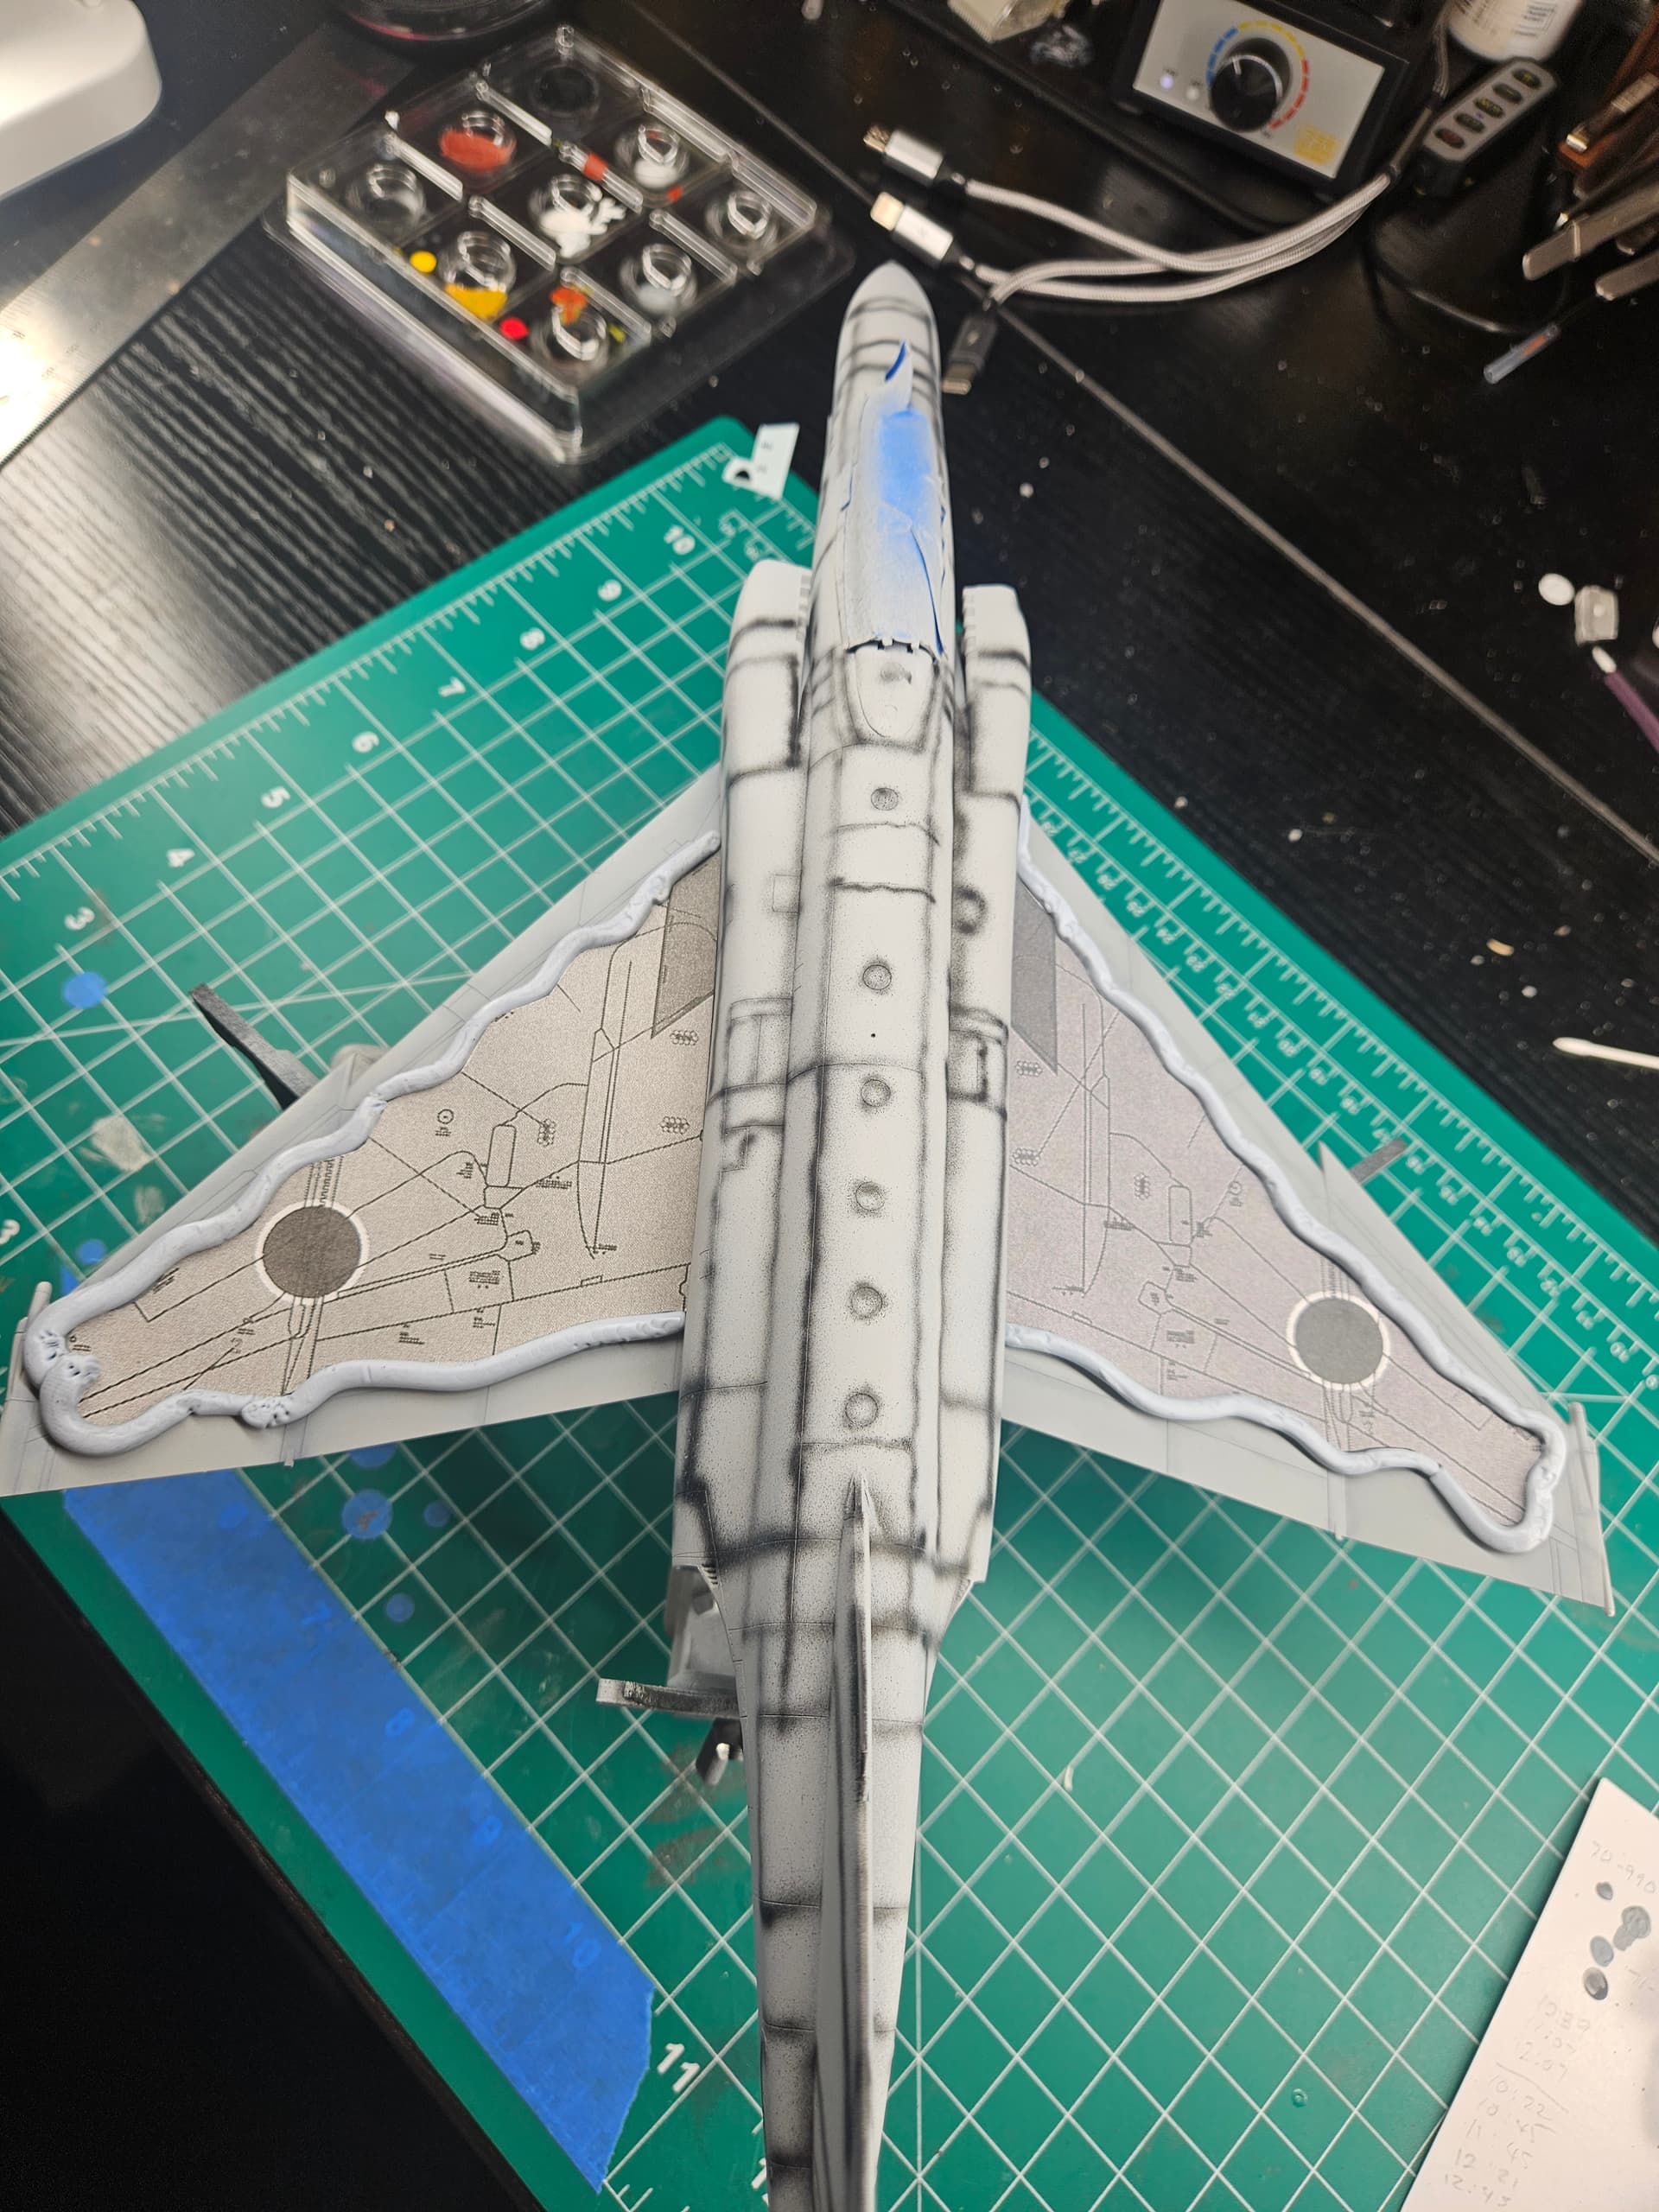
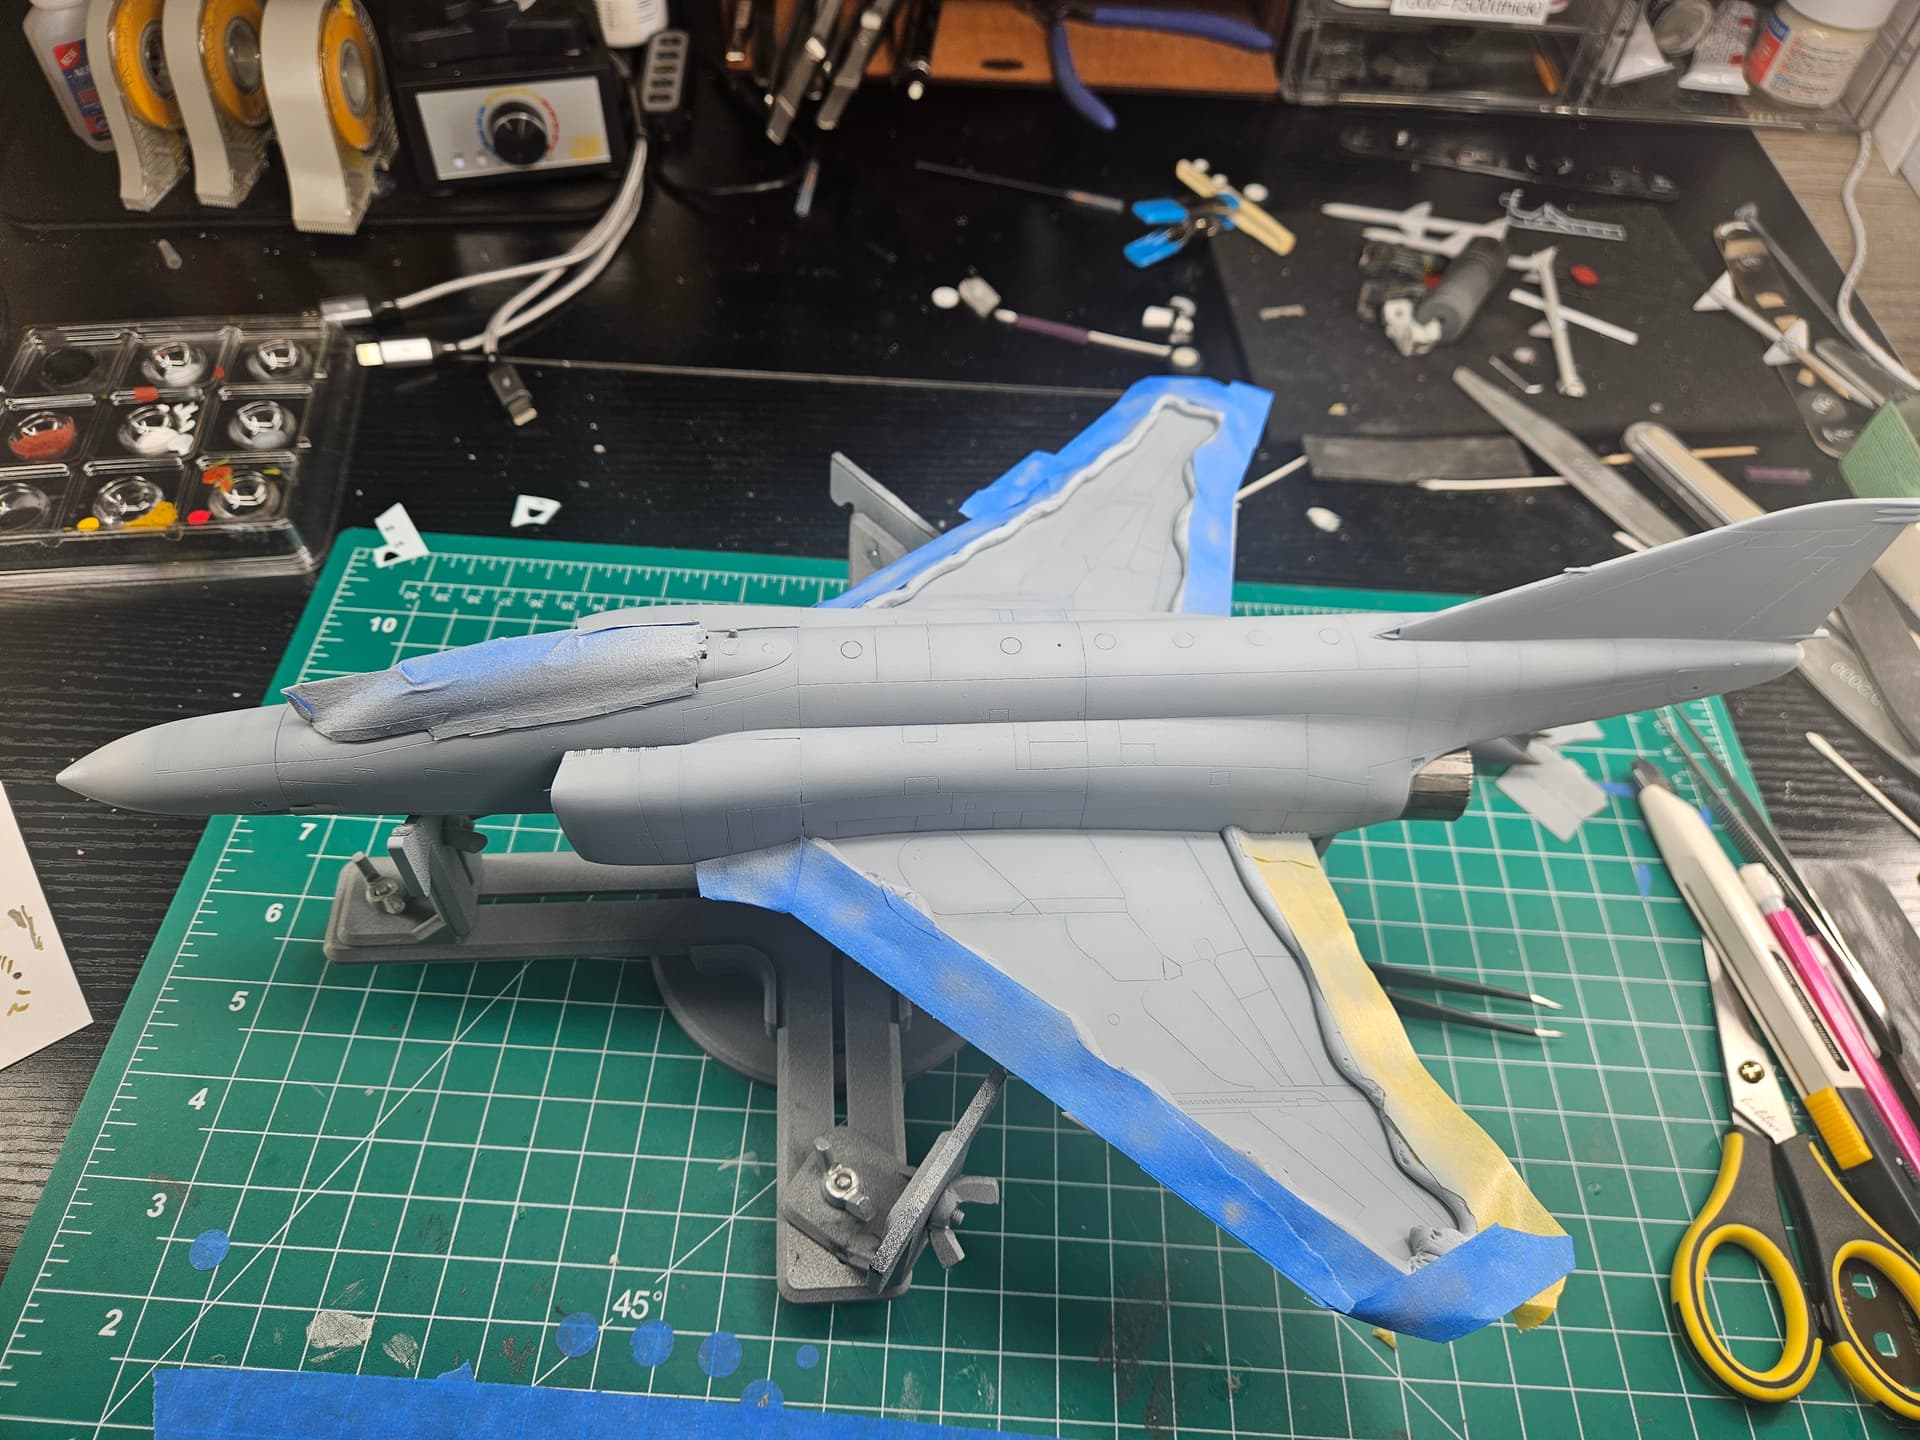
Looking good Scott. I like you painting technique. What brand of ‘putty’ are you using?
1 Like
I have tried several. Tamya is terrible, it flattens out and leaves a residue behind. I have several generic types I’ve tried also but, in the end, Bluetack is the best I’ve used for shapeability, no residue and most of all, easy to remove.
It’s more expensive then the generic “poster” type but in my opinion, it is worth it.
1 Like
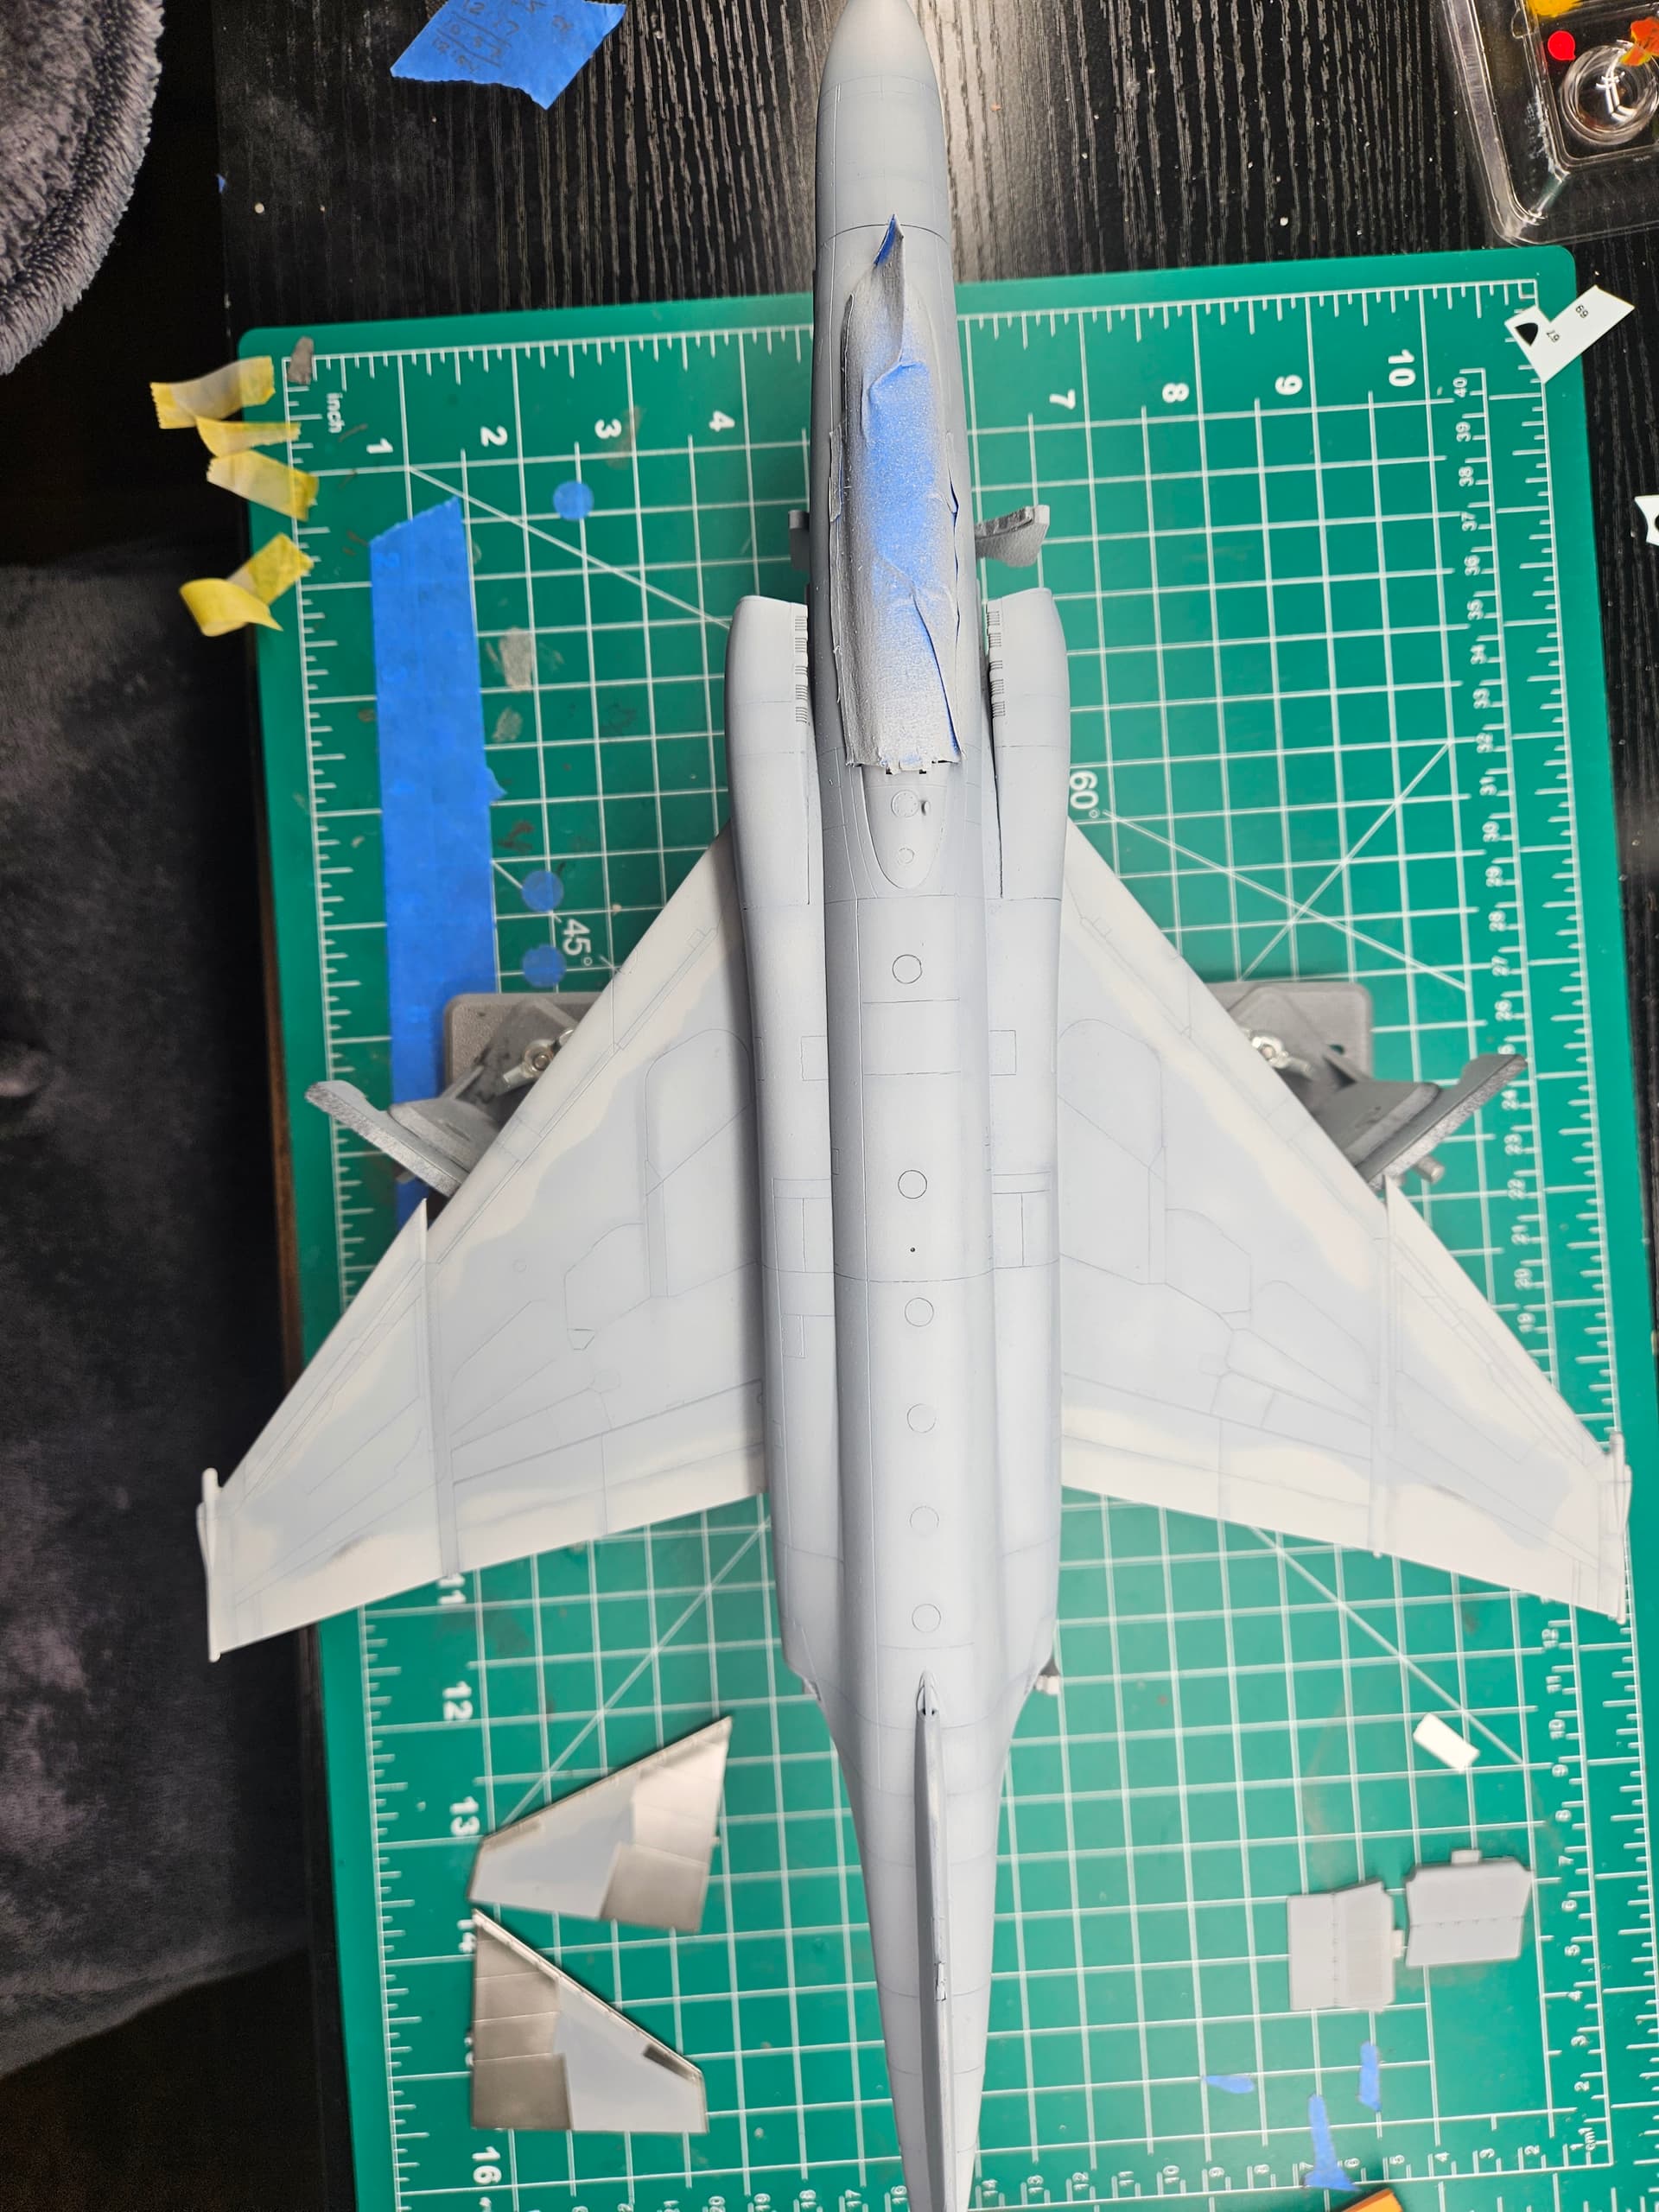
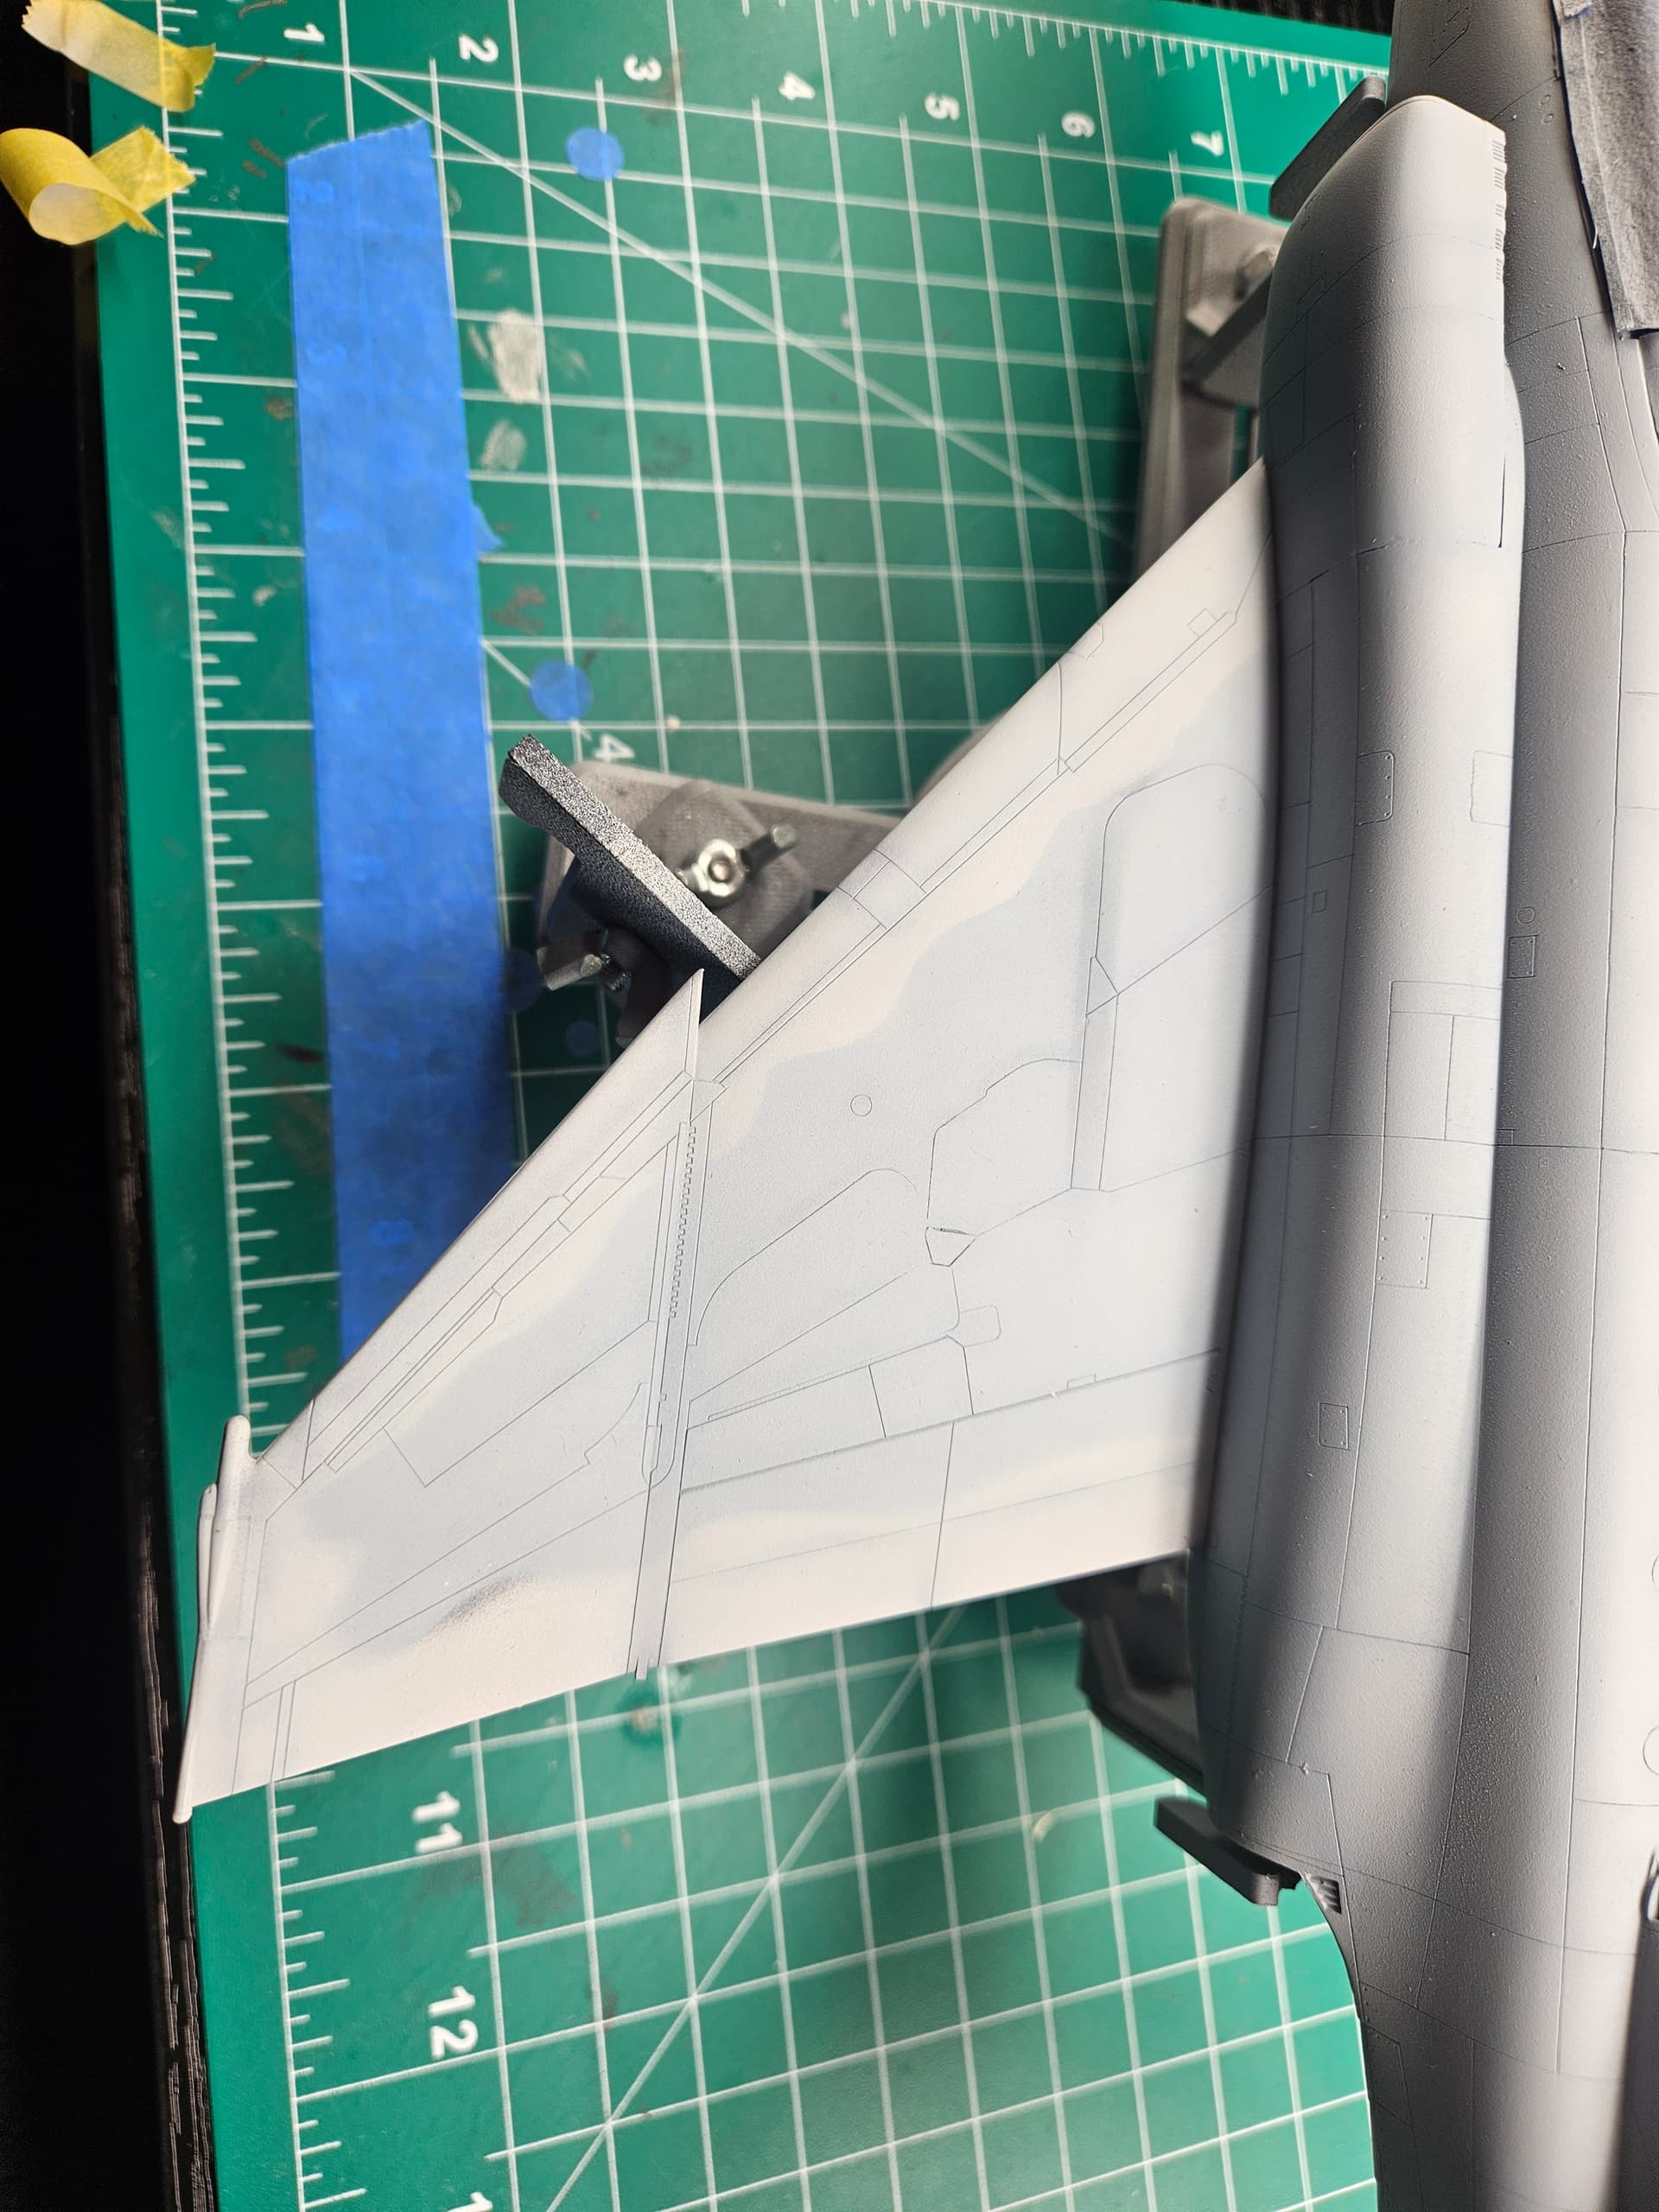
With great trepidation I pulled the masking off after a day of curing. Overall it looks pretty good except for a couple spots I’ll need to touch up.
The color difference is more subtle than I expected and I messed up the horizontal stabilizer a little, but nothing that can’t be fixed.
Also some of the black bacing got covered up and I learned a lesson about layering with those sort of techniques. I’m learning…
3 Likes
Subtle indeed – but it still looks goods!
1 Like
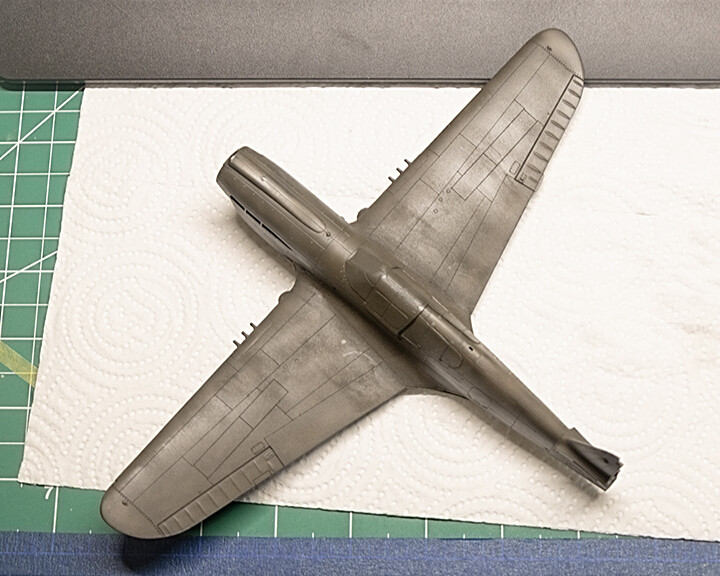
Black basing is done and the color applied on the captured P-40. The underside is Tamiya Neutral Grey and the topside is Tamiya Khaki Drab. I felt that regular Olive Drab would be too dark for a P-40 that had been in the field for some time. I shot maybe three coats of Tamiya X-22 to seal the paint. Looks like the wings could use some light wet sanding to smooth out the paint some. Next up - Paint the red and white of the hinomaru on the wings and fuselage.
4 Likes
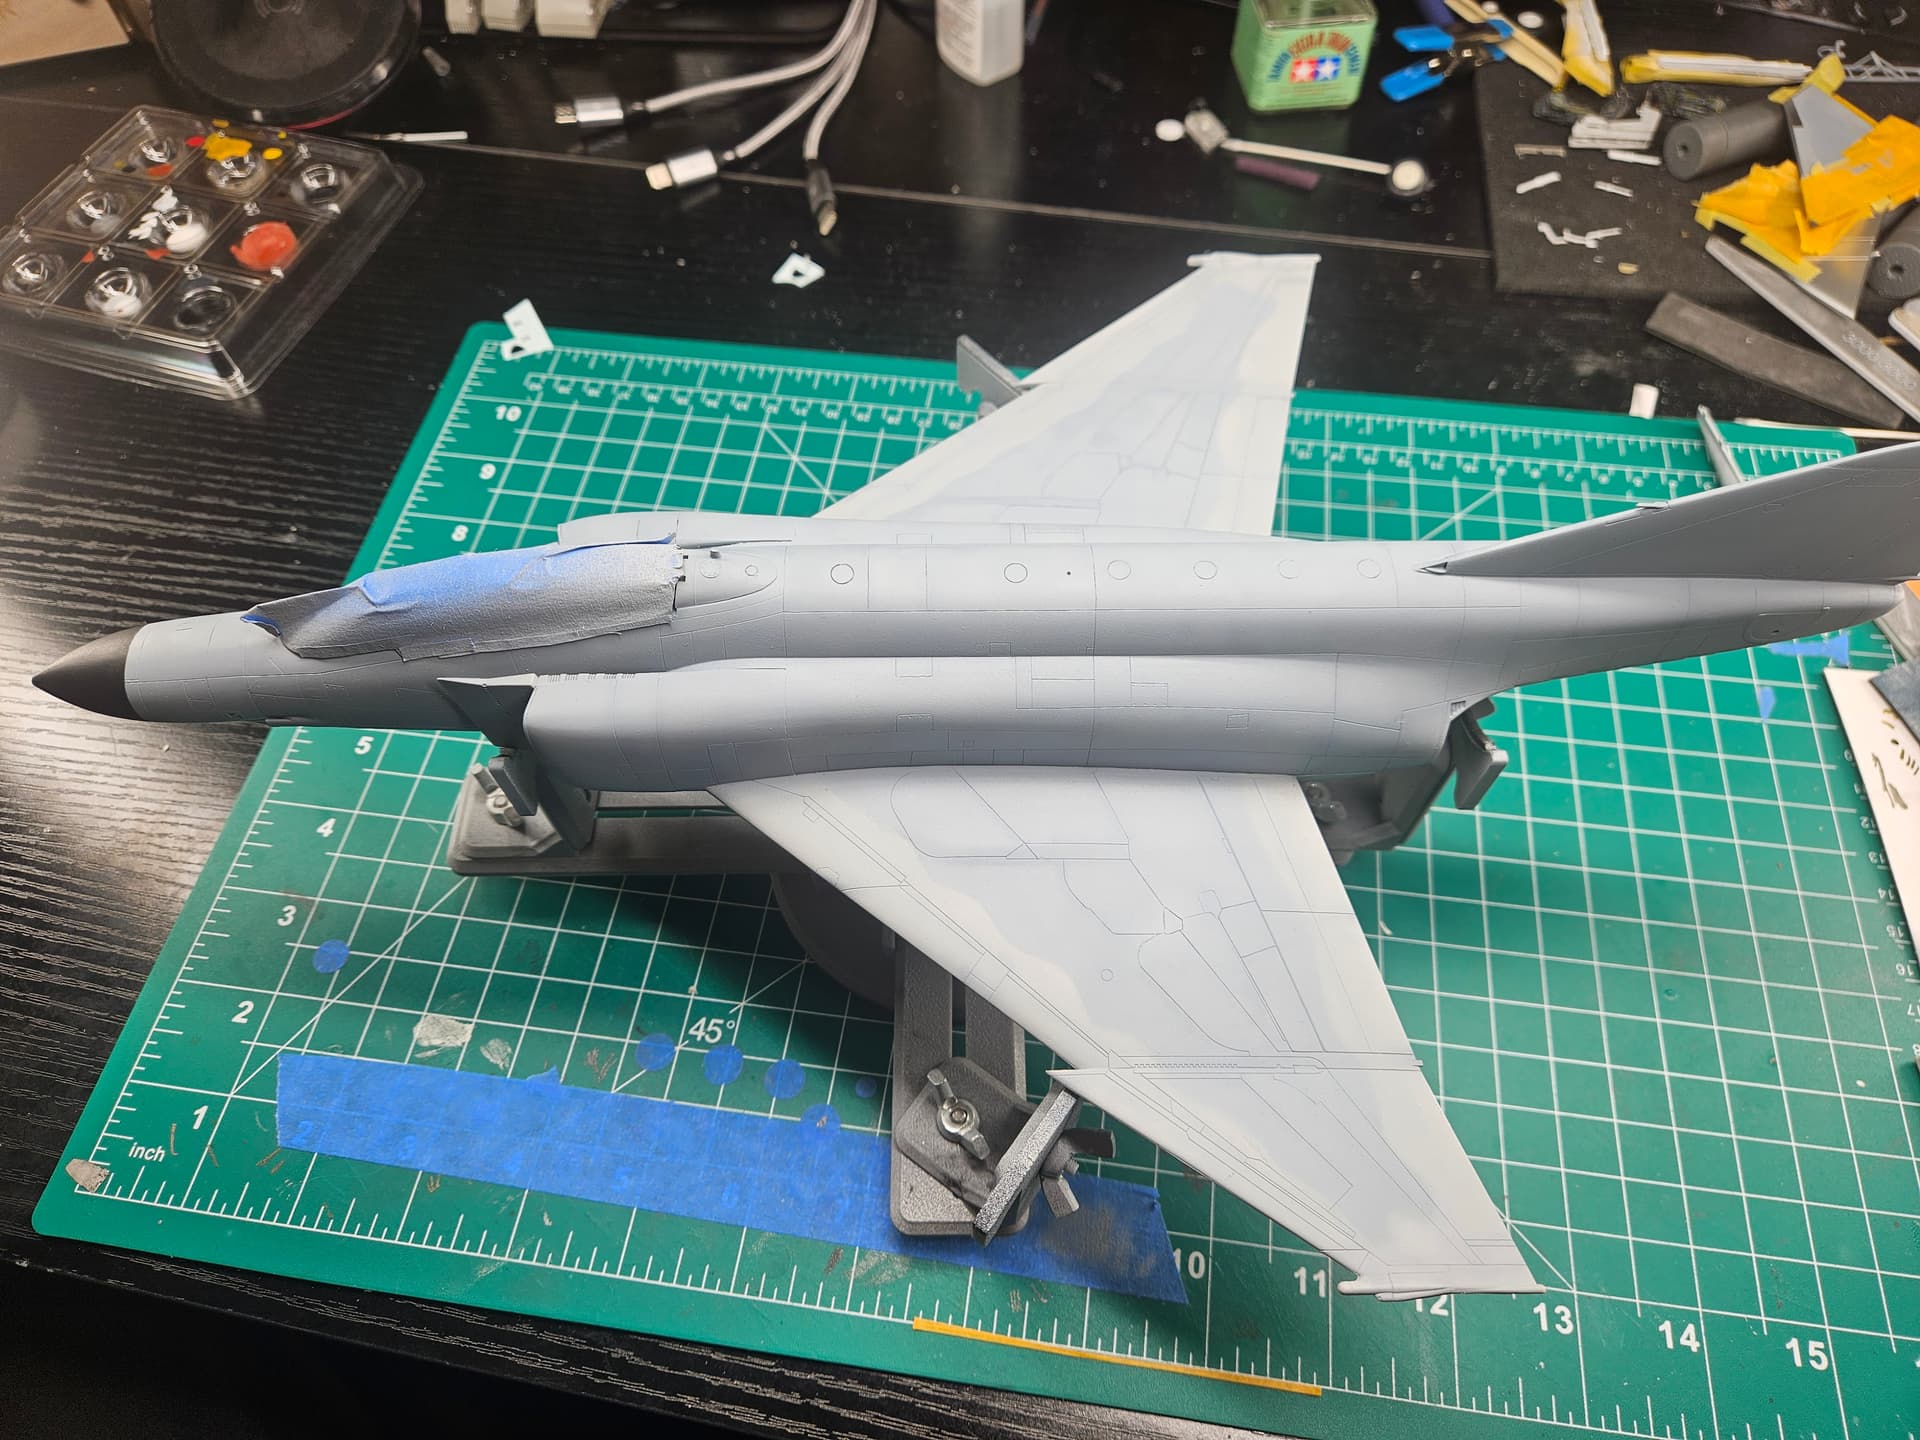
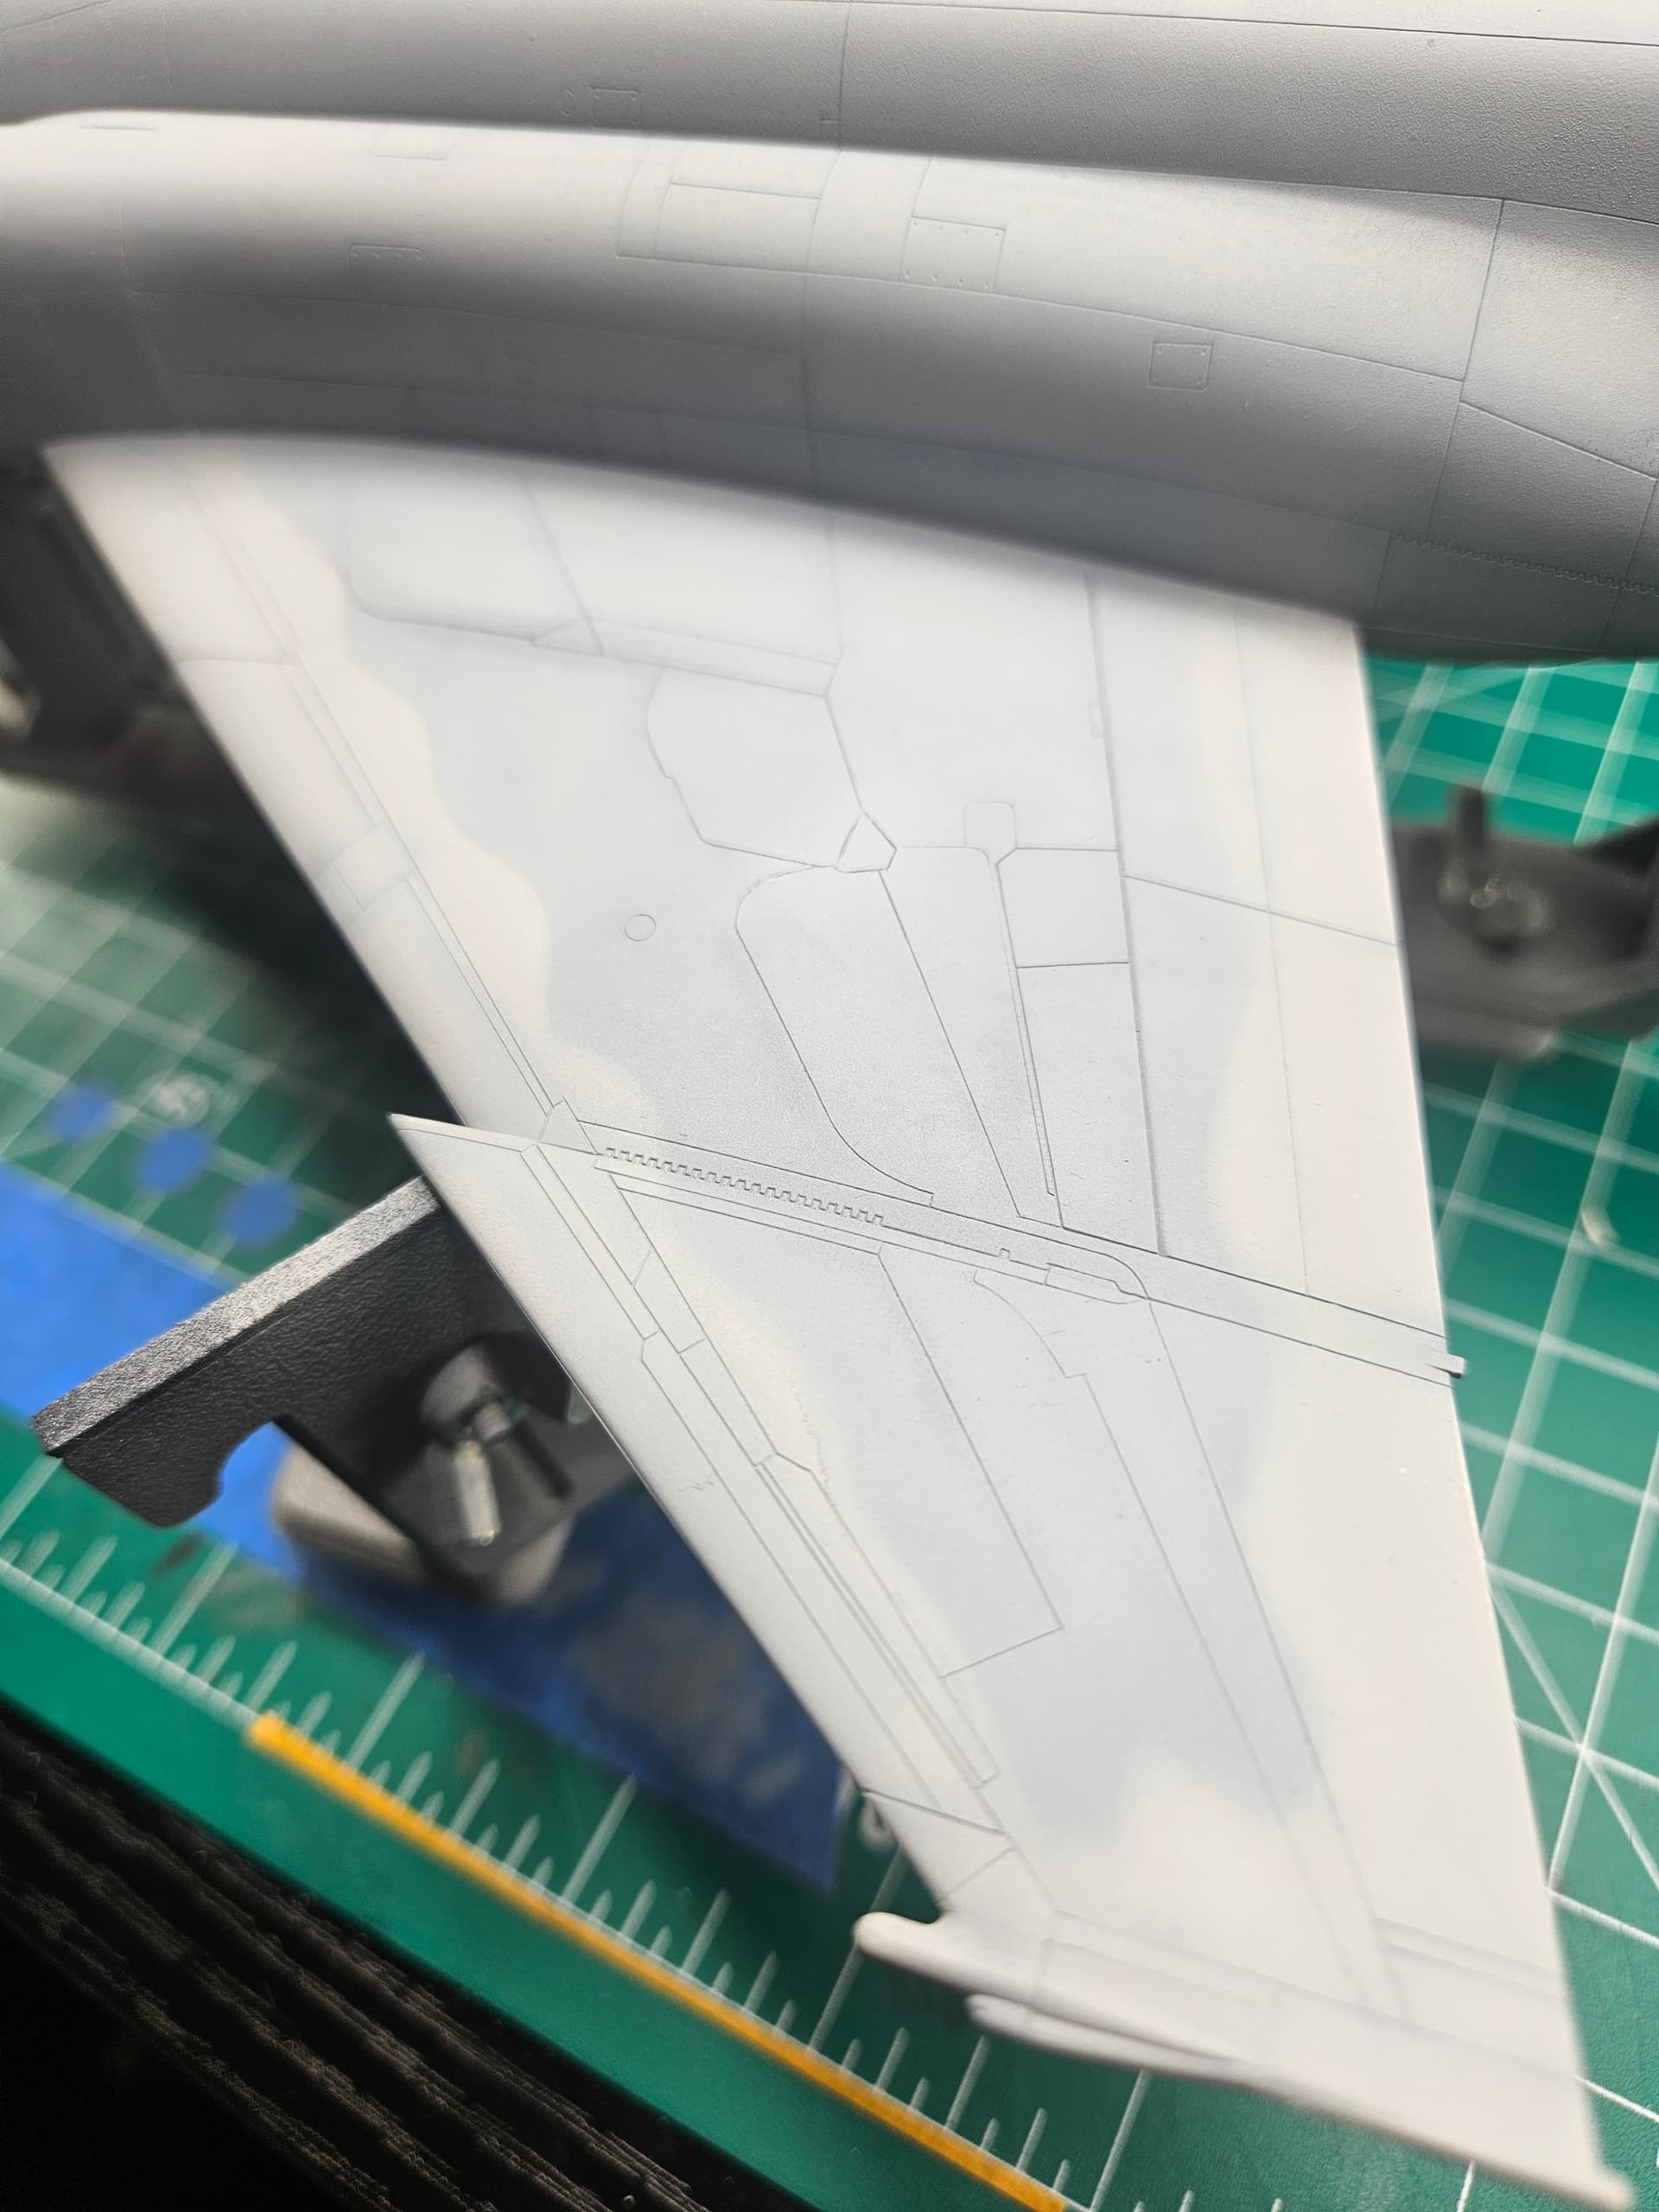
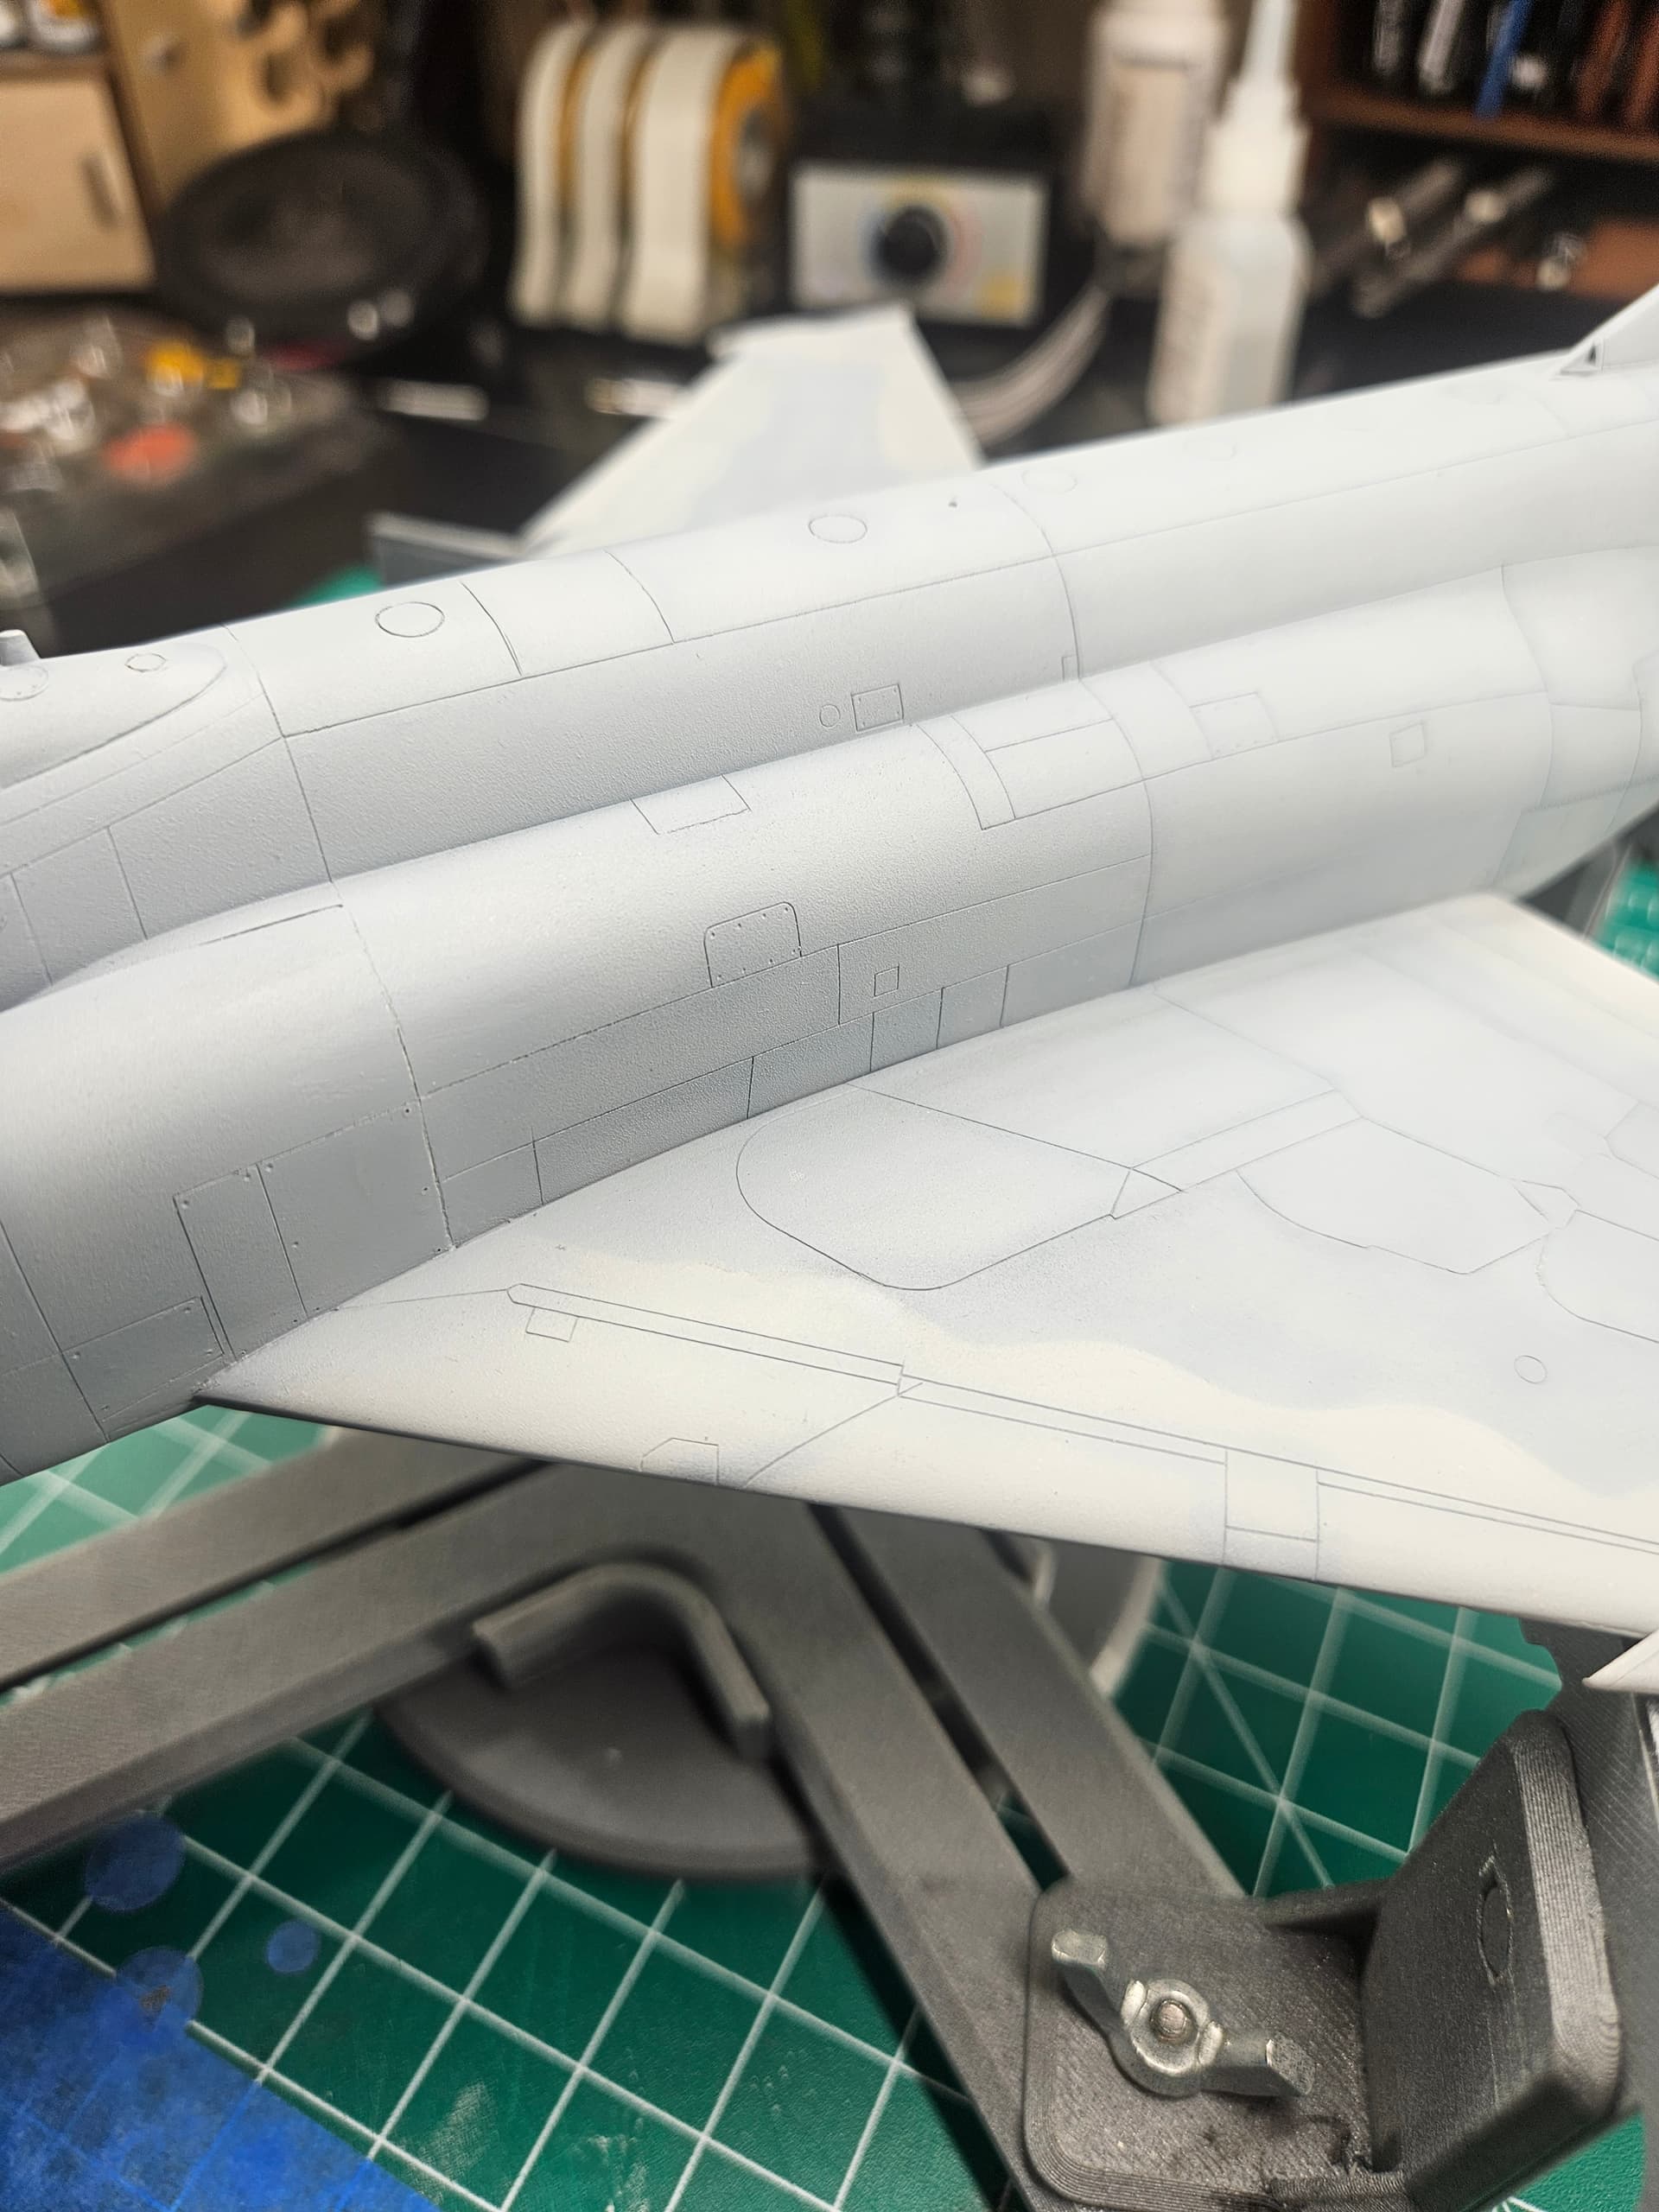
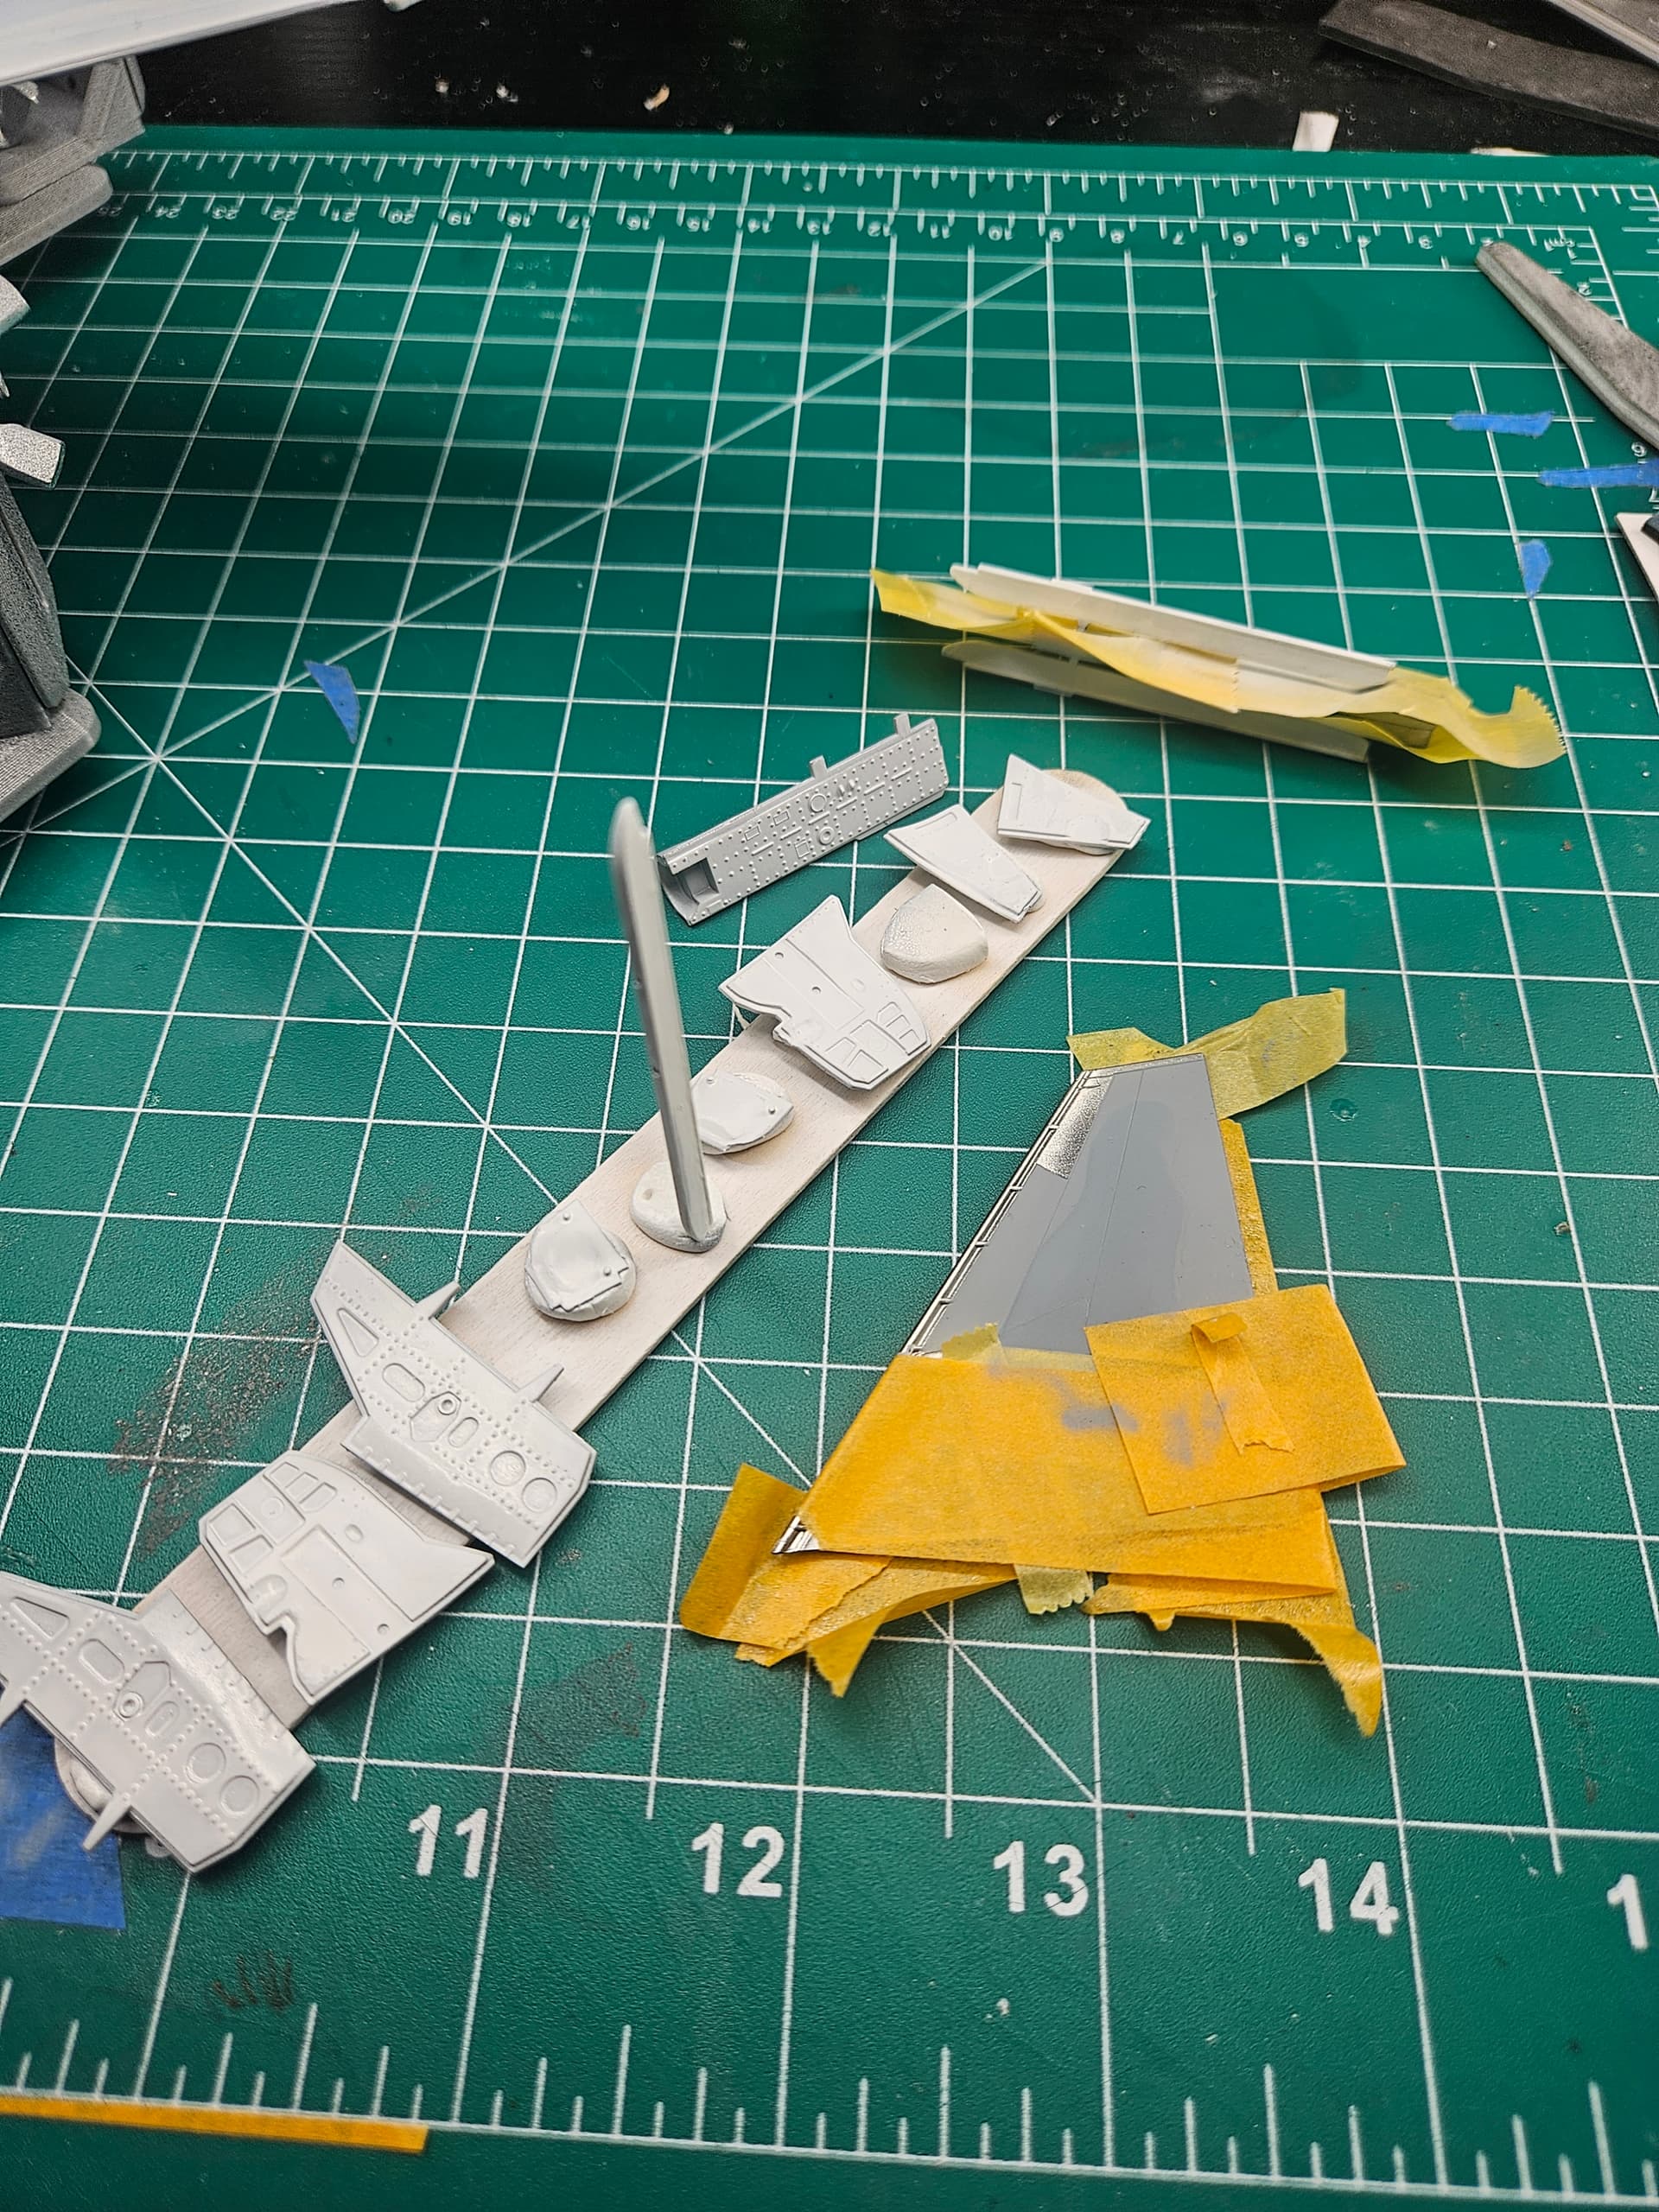
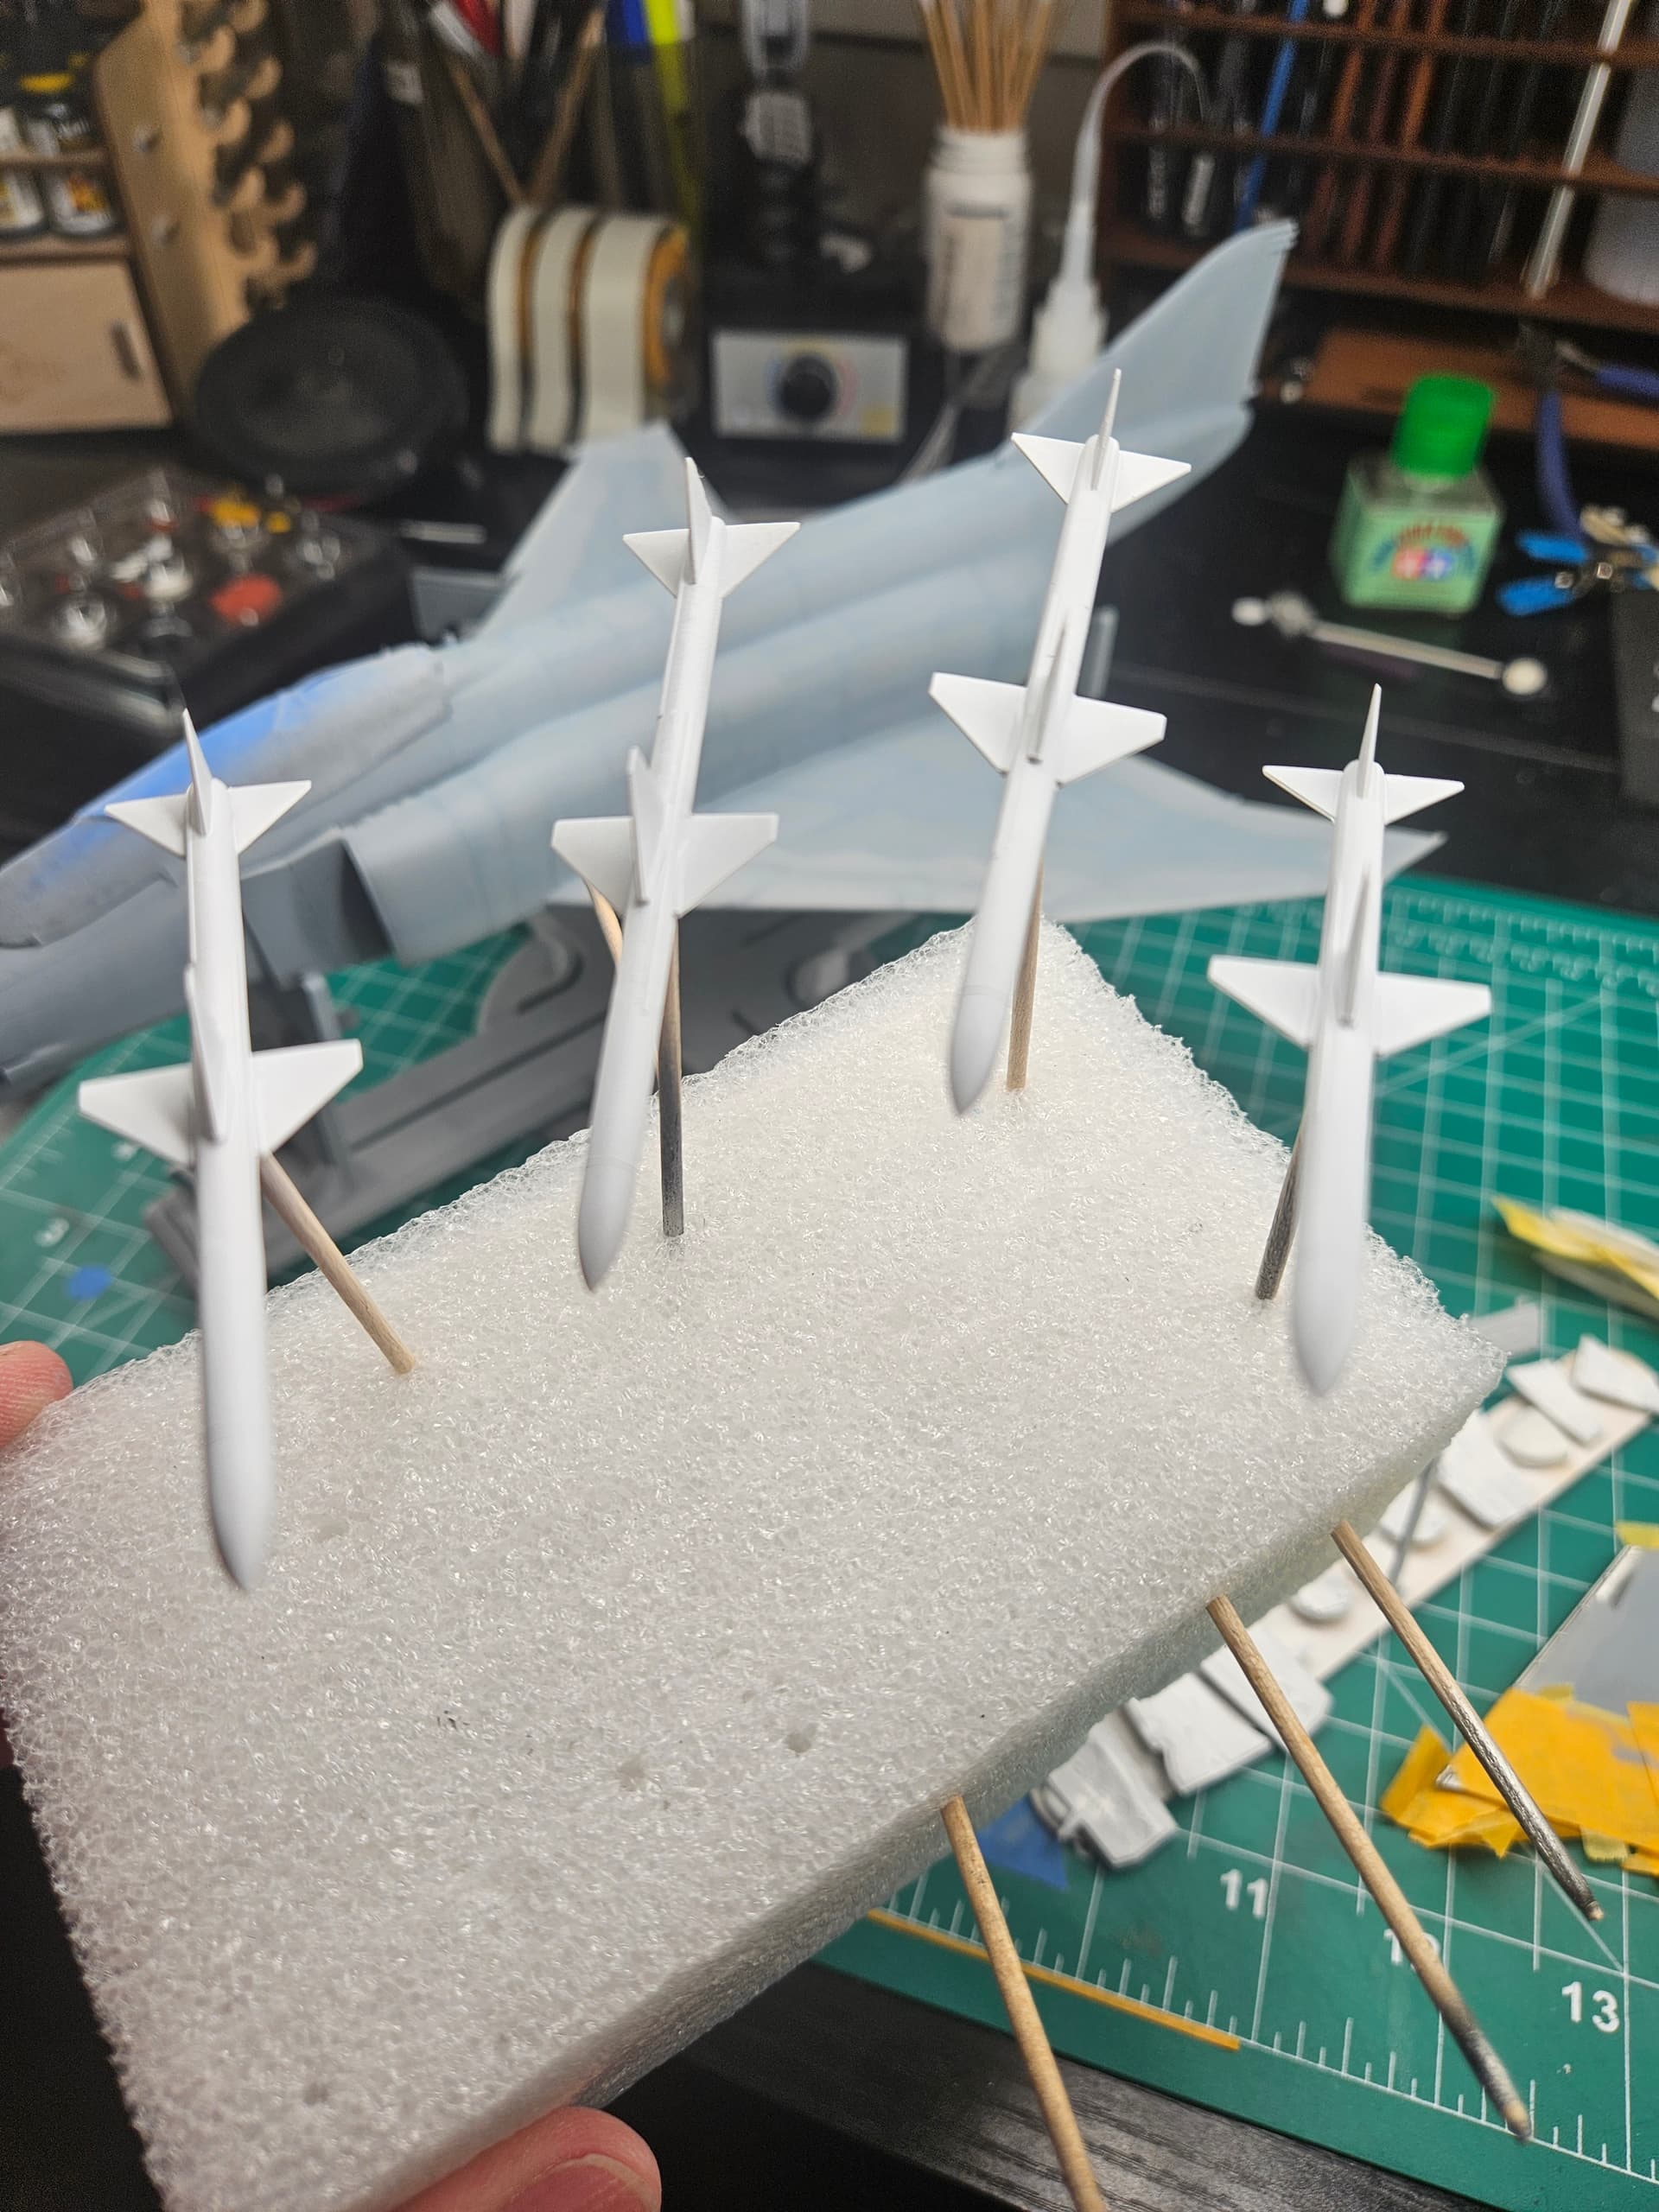
It’s amazing to me to see my post of a couple of weeks ago, and comparing it with my latest build photos that look like I haven’t done a thing. Yet, I probably have 10 hours in on the Phantom since then.
I’ve been preparing for metal exhaust, clear coat then decals so I didn’t want to leave any seams or blemishes in the paint.
Filling, sanding, scribing, repeat have been the order of the day for weeks. These injection pin marks in the gear doors are a real drag. Come on Hasegawa!
All that said, I think she is looking really clean, maybe my best paint job ever but, from your perspective, it will look about the same.
Still, I wanted to check in and share, even if it is difficult to see any progress.
2 Likes
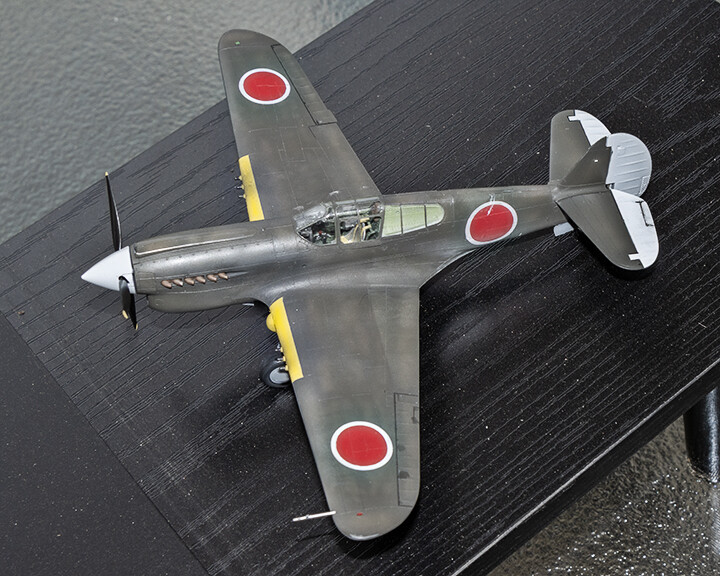
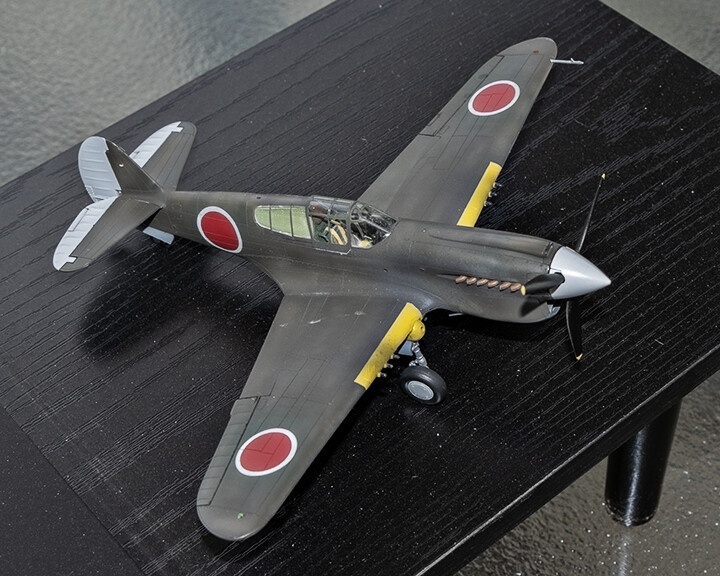
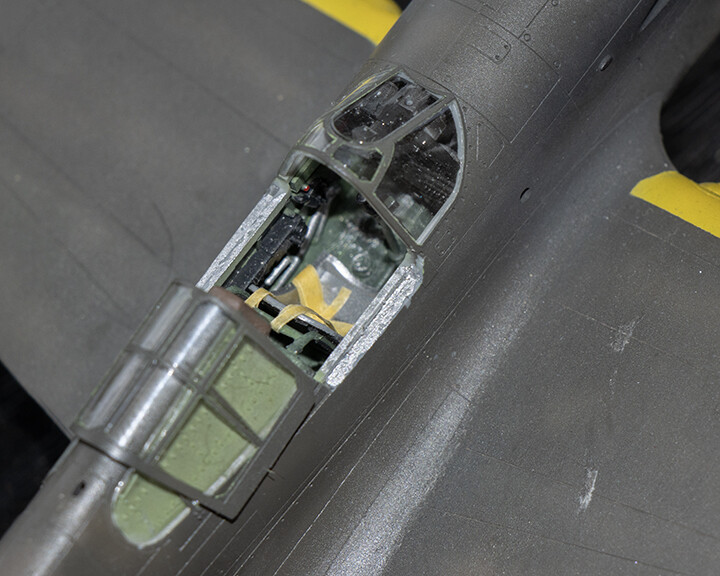
I’m calling it done. Another Hasegawa P-40E, this time a Japanese captured P-40. Apparently, the Japanese had captured many P-40’s early in the war. These aircraft were studied and flown by Japanese pilots, sometimes against Allied forces. This build represents a P-40 of the 25th Flight Regiment in China during 1943.
Most paint is Tamiya acrylic. Upper surface is Khaki Drab and the underside is Neutral Grey. The yellow leading edges are Mr Color Insignia Yellow. The tail surfaces are Tamiya Flat White.
It ain’t perfect, but it’ll look good on the shelf.

5 Likes