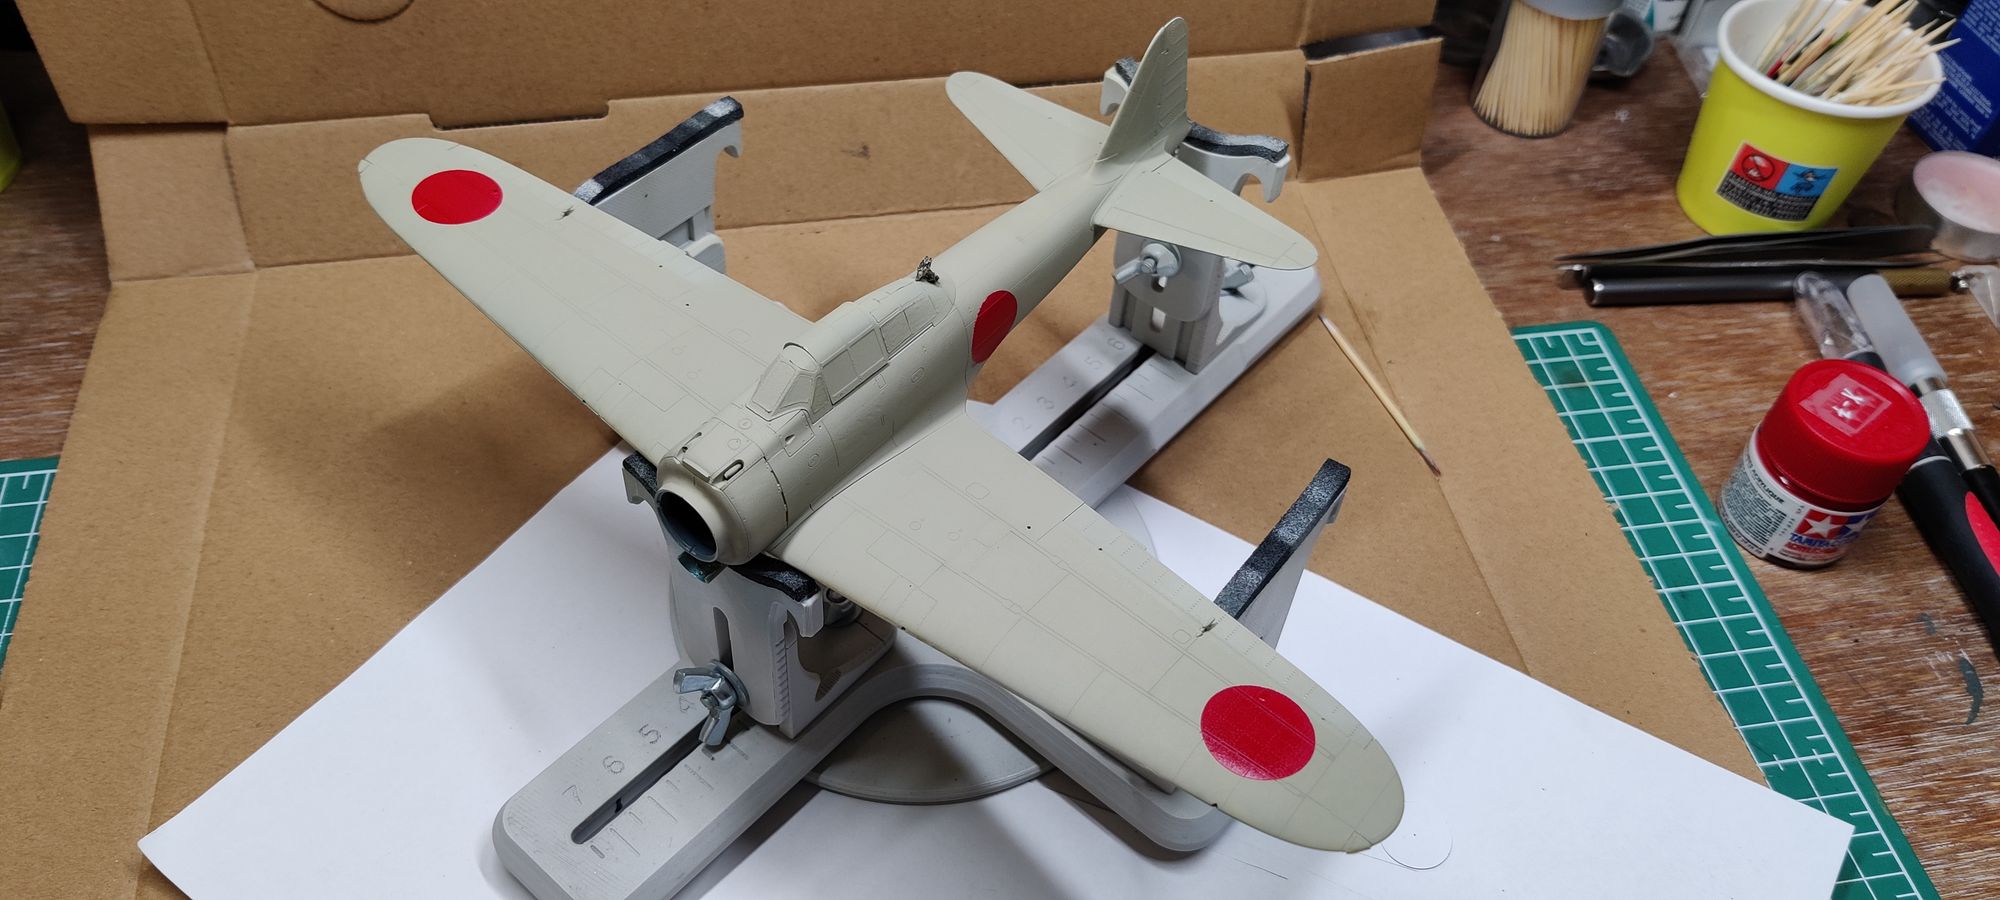
A first for me, I decided to try my hand at painting them. A simple rounded, there are no white outlines with this livery, so it was the purfect occasion to test the whole cutter compass / masking sheet process !
I started with a quick camo spray to try and seal the edges of the masks, then I went XF2 white to provide a clear base, then I had the bad idea of wanting to marble just a little bit which just added arguably unnecessary thickness, and finally X7 gloss red for the final color ( x7 is a little richer than xf7 imho )
The mask failed just a tiiiiiny bit, especially at the bottom of the fuselage hinomarus, but I think I should be able to sand the excedent away when it’s dry enough. As mentionned the hinomaru ended up a bit too thick but they didn’t kill the rivets details too much as far as I can tell.
Fun little experience, but from where I stand I can only look in amazement at people painting their own multi-colored roundels ;D
Next up a few blue bands, and then I’ll be ready for the engine cowl I suppose.
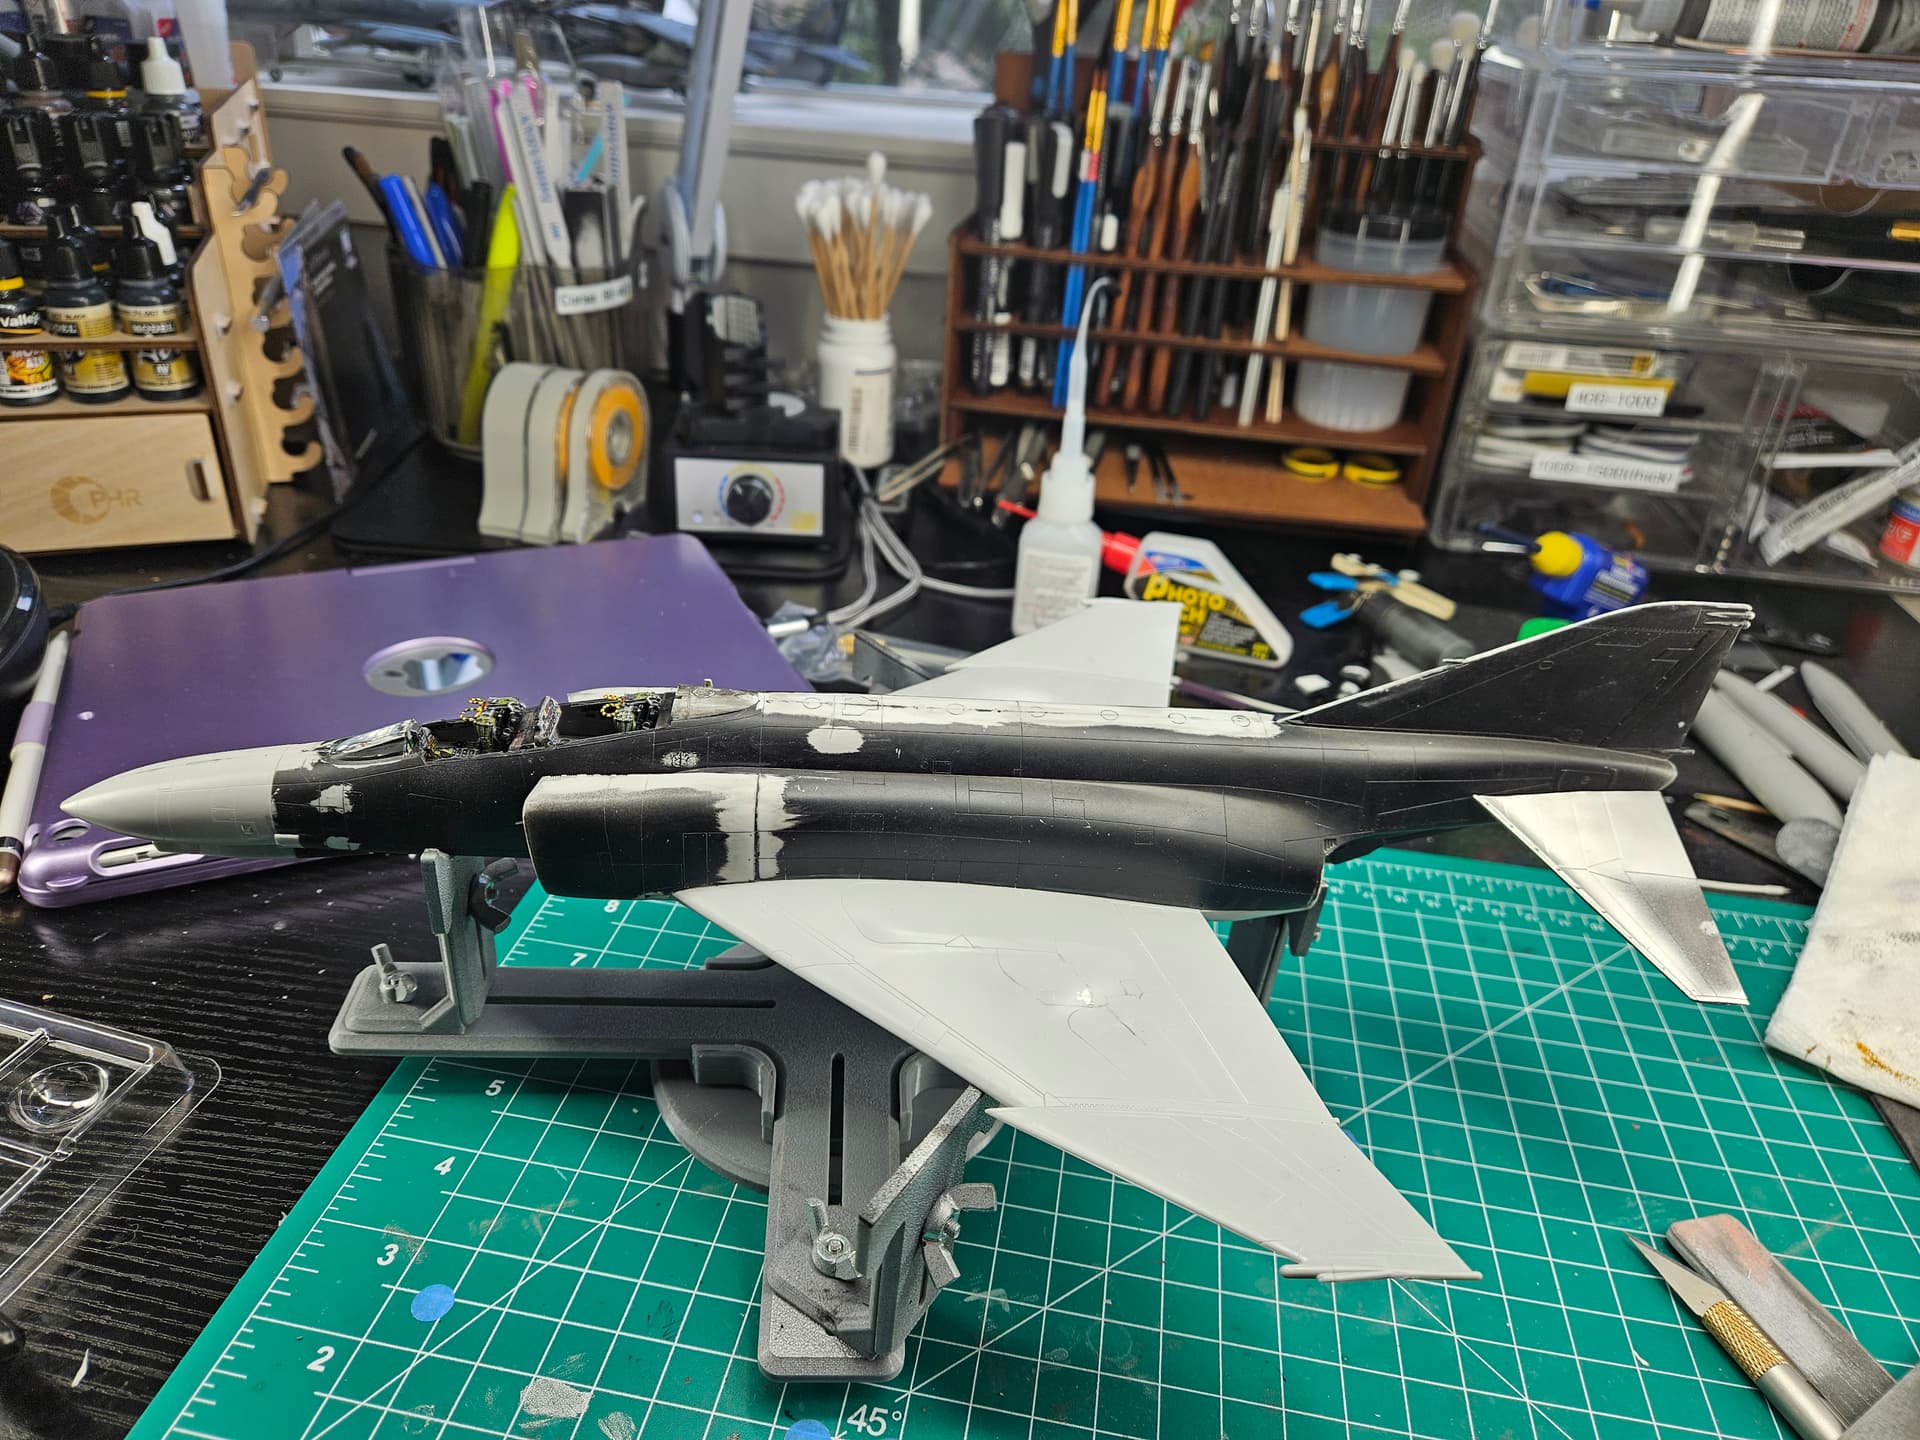
The sanding/filling has been epic (not in a good way) but I’m finally ready to reprine everything to see how I did. If that goes well, I’ll lay down the colors and move to final assembly.
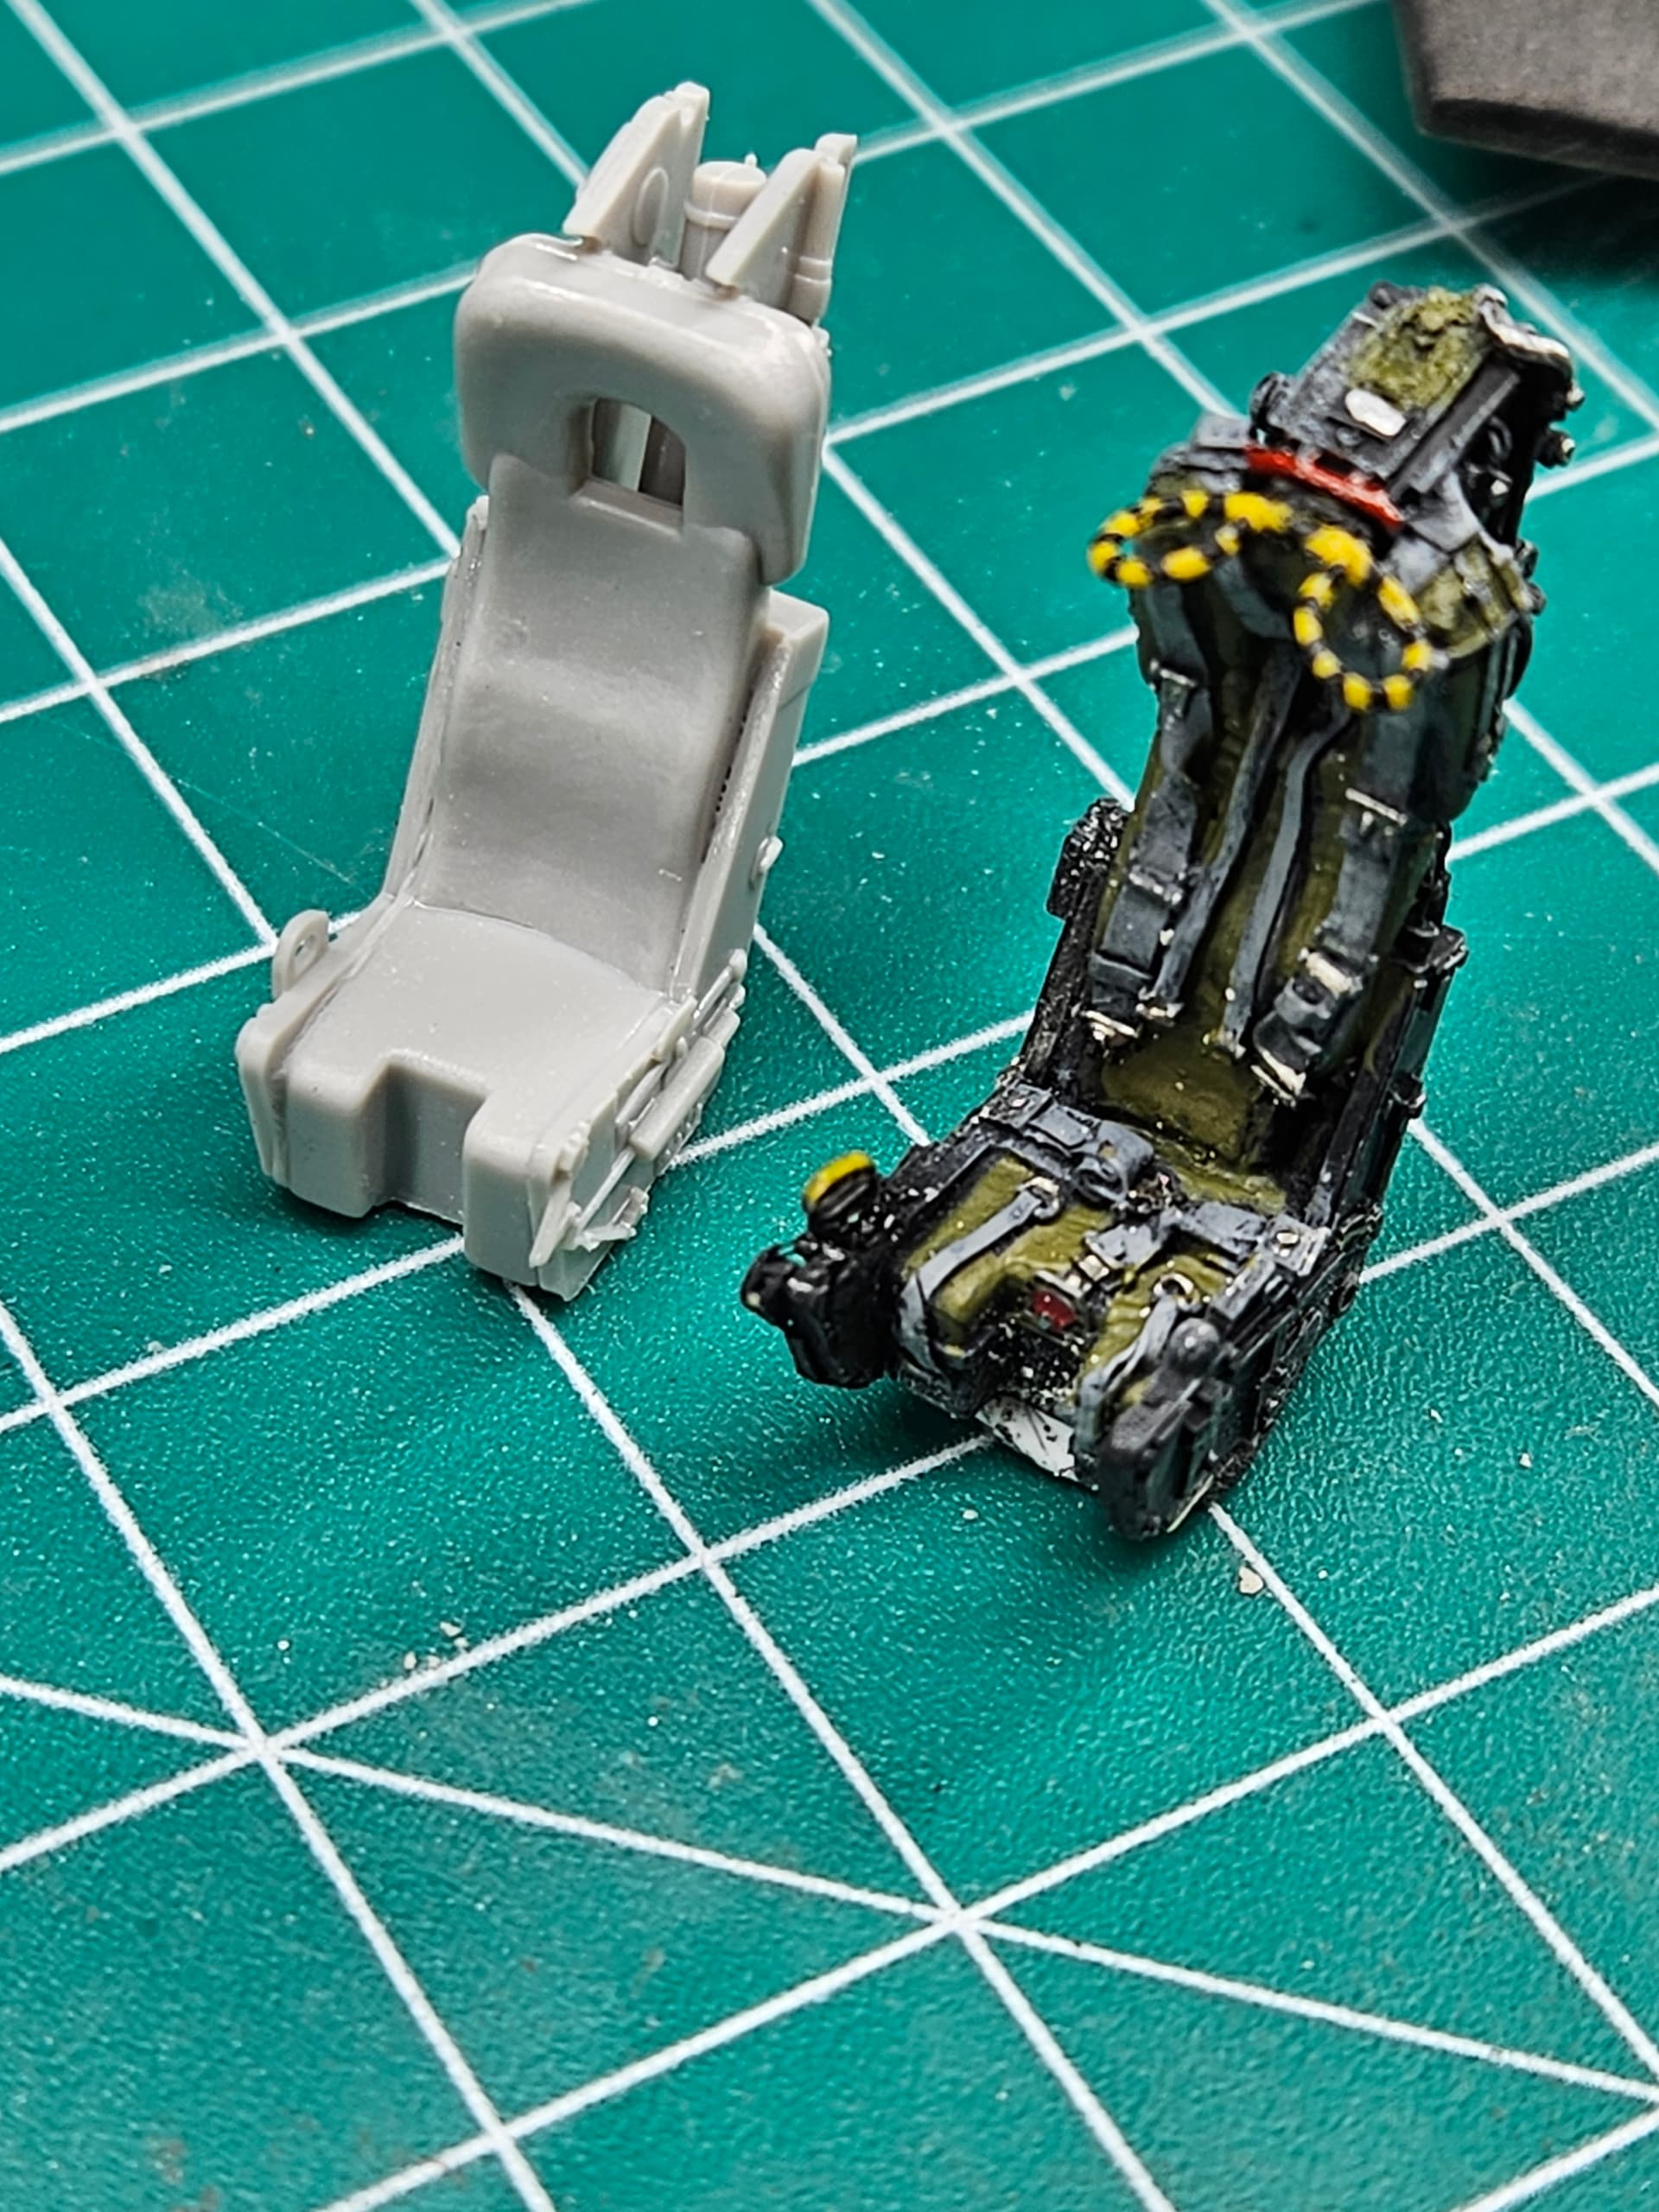
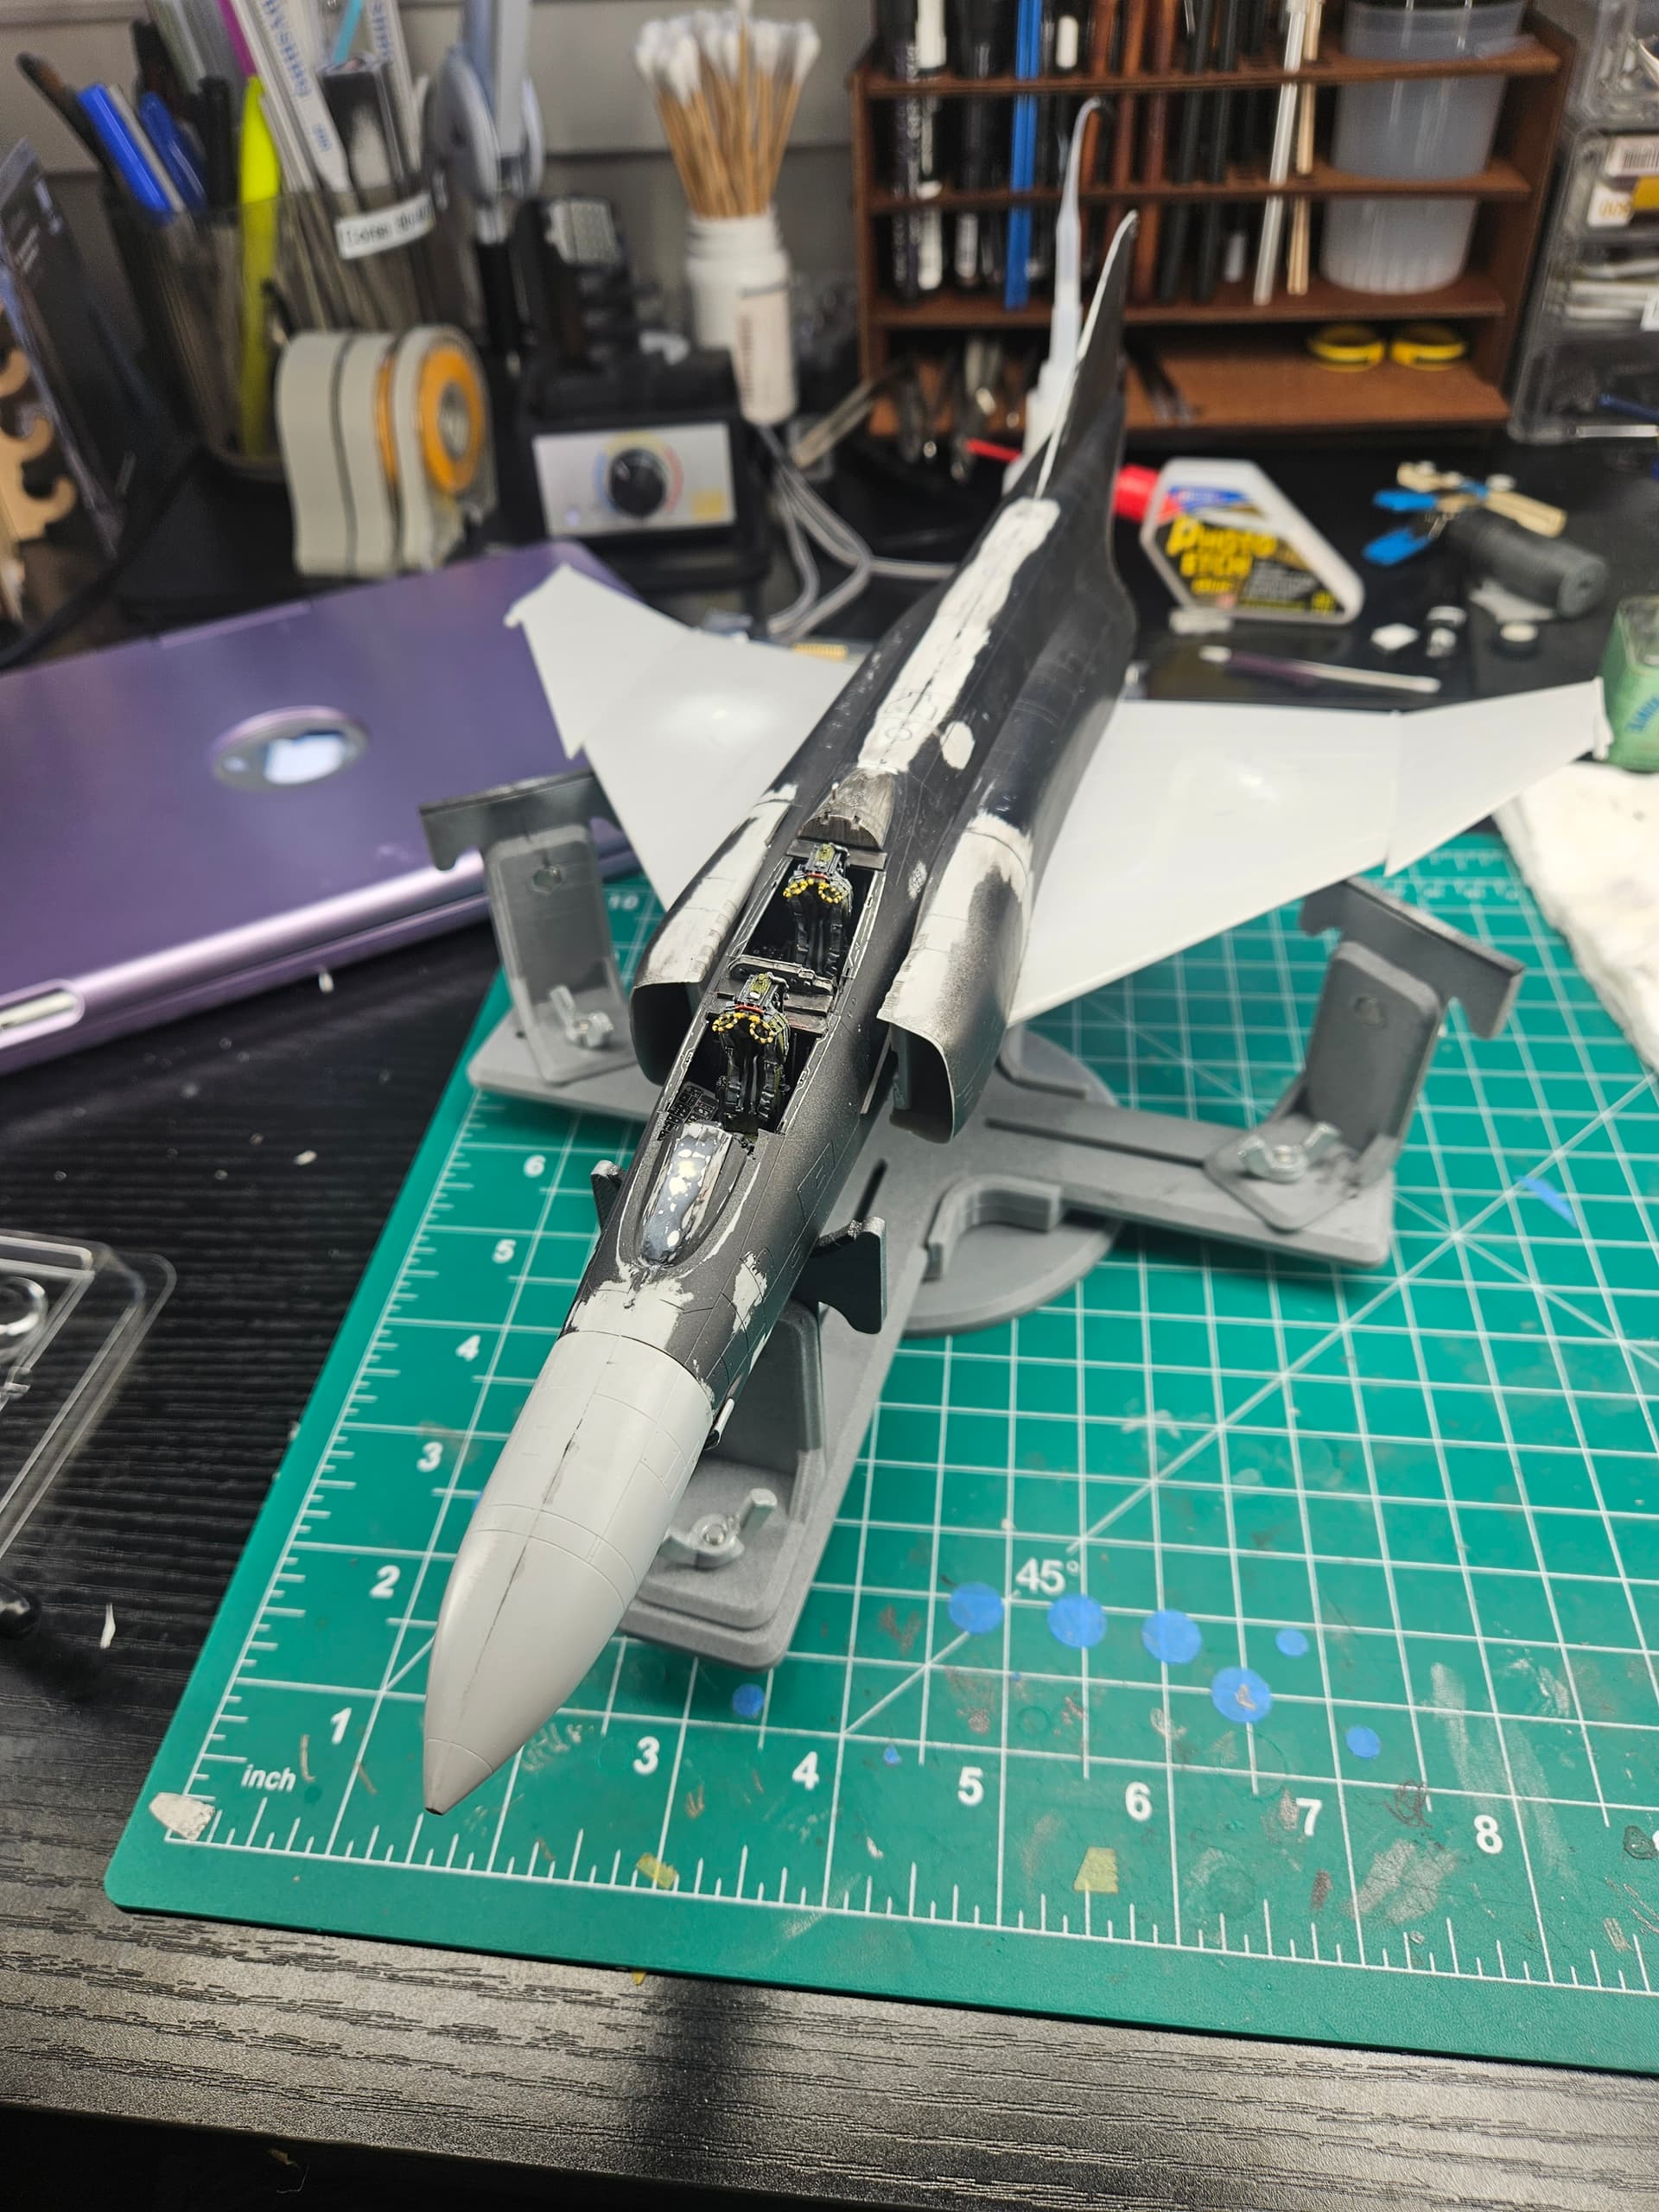
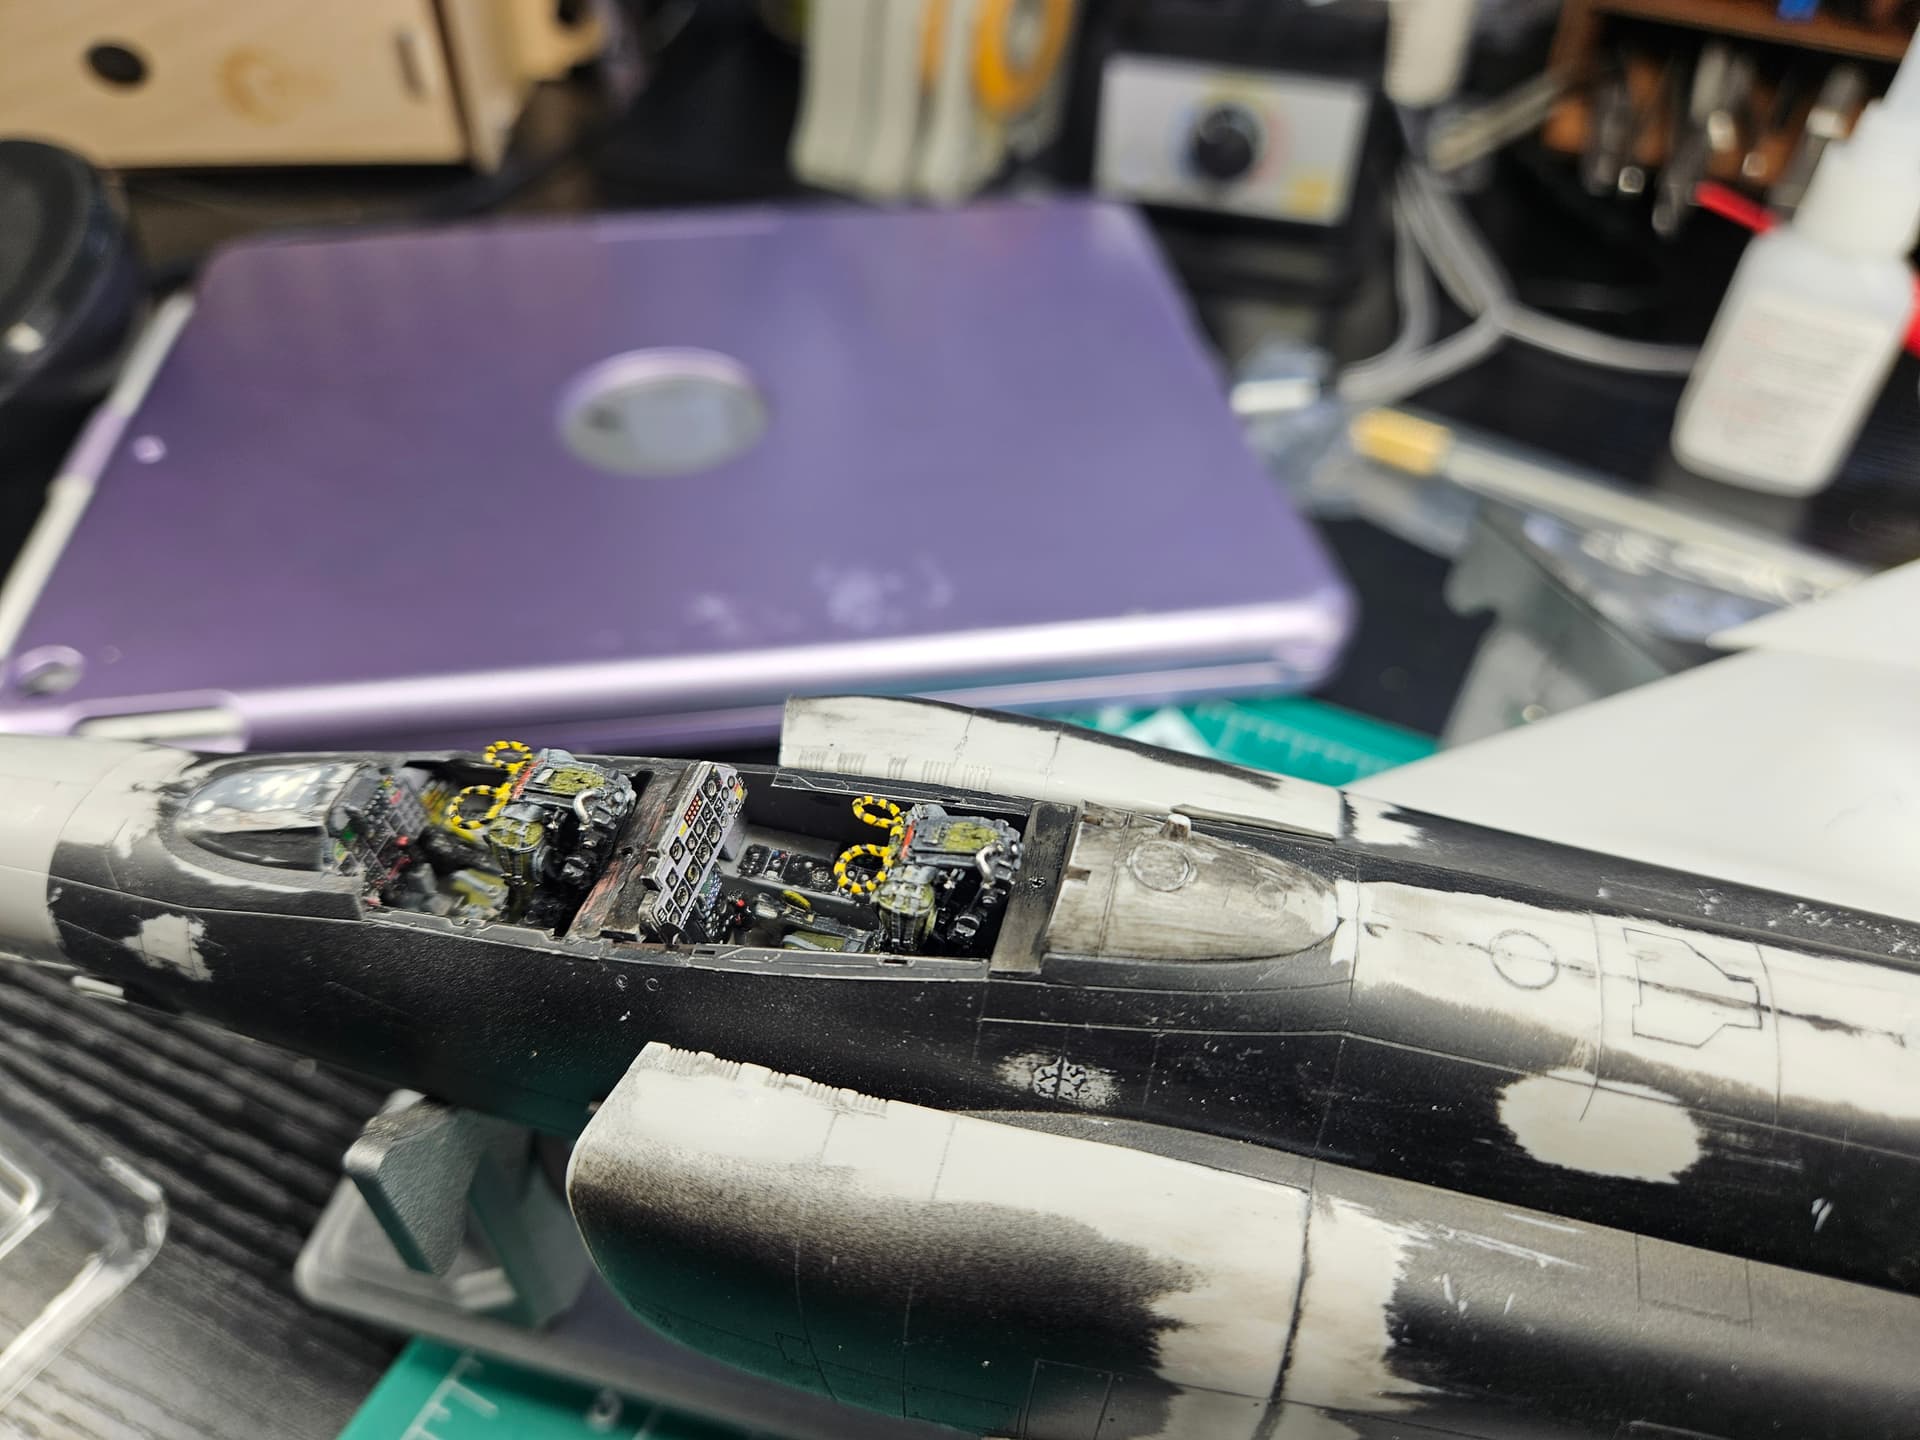
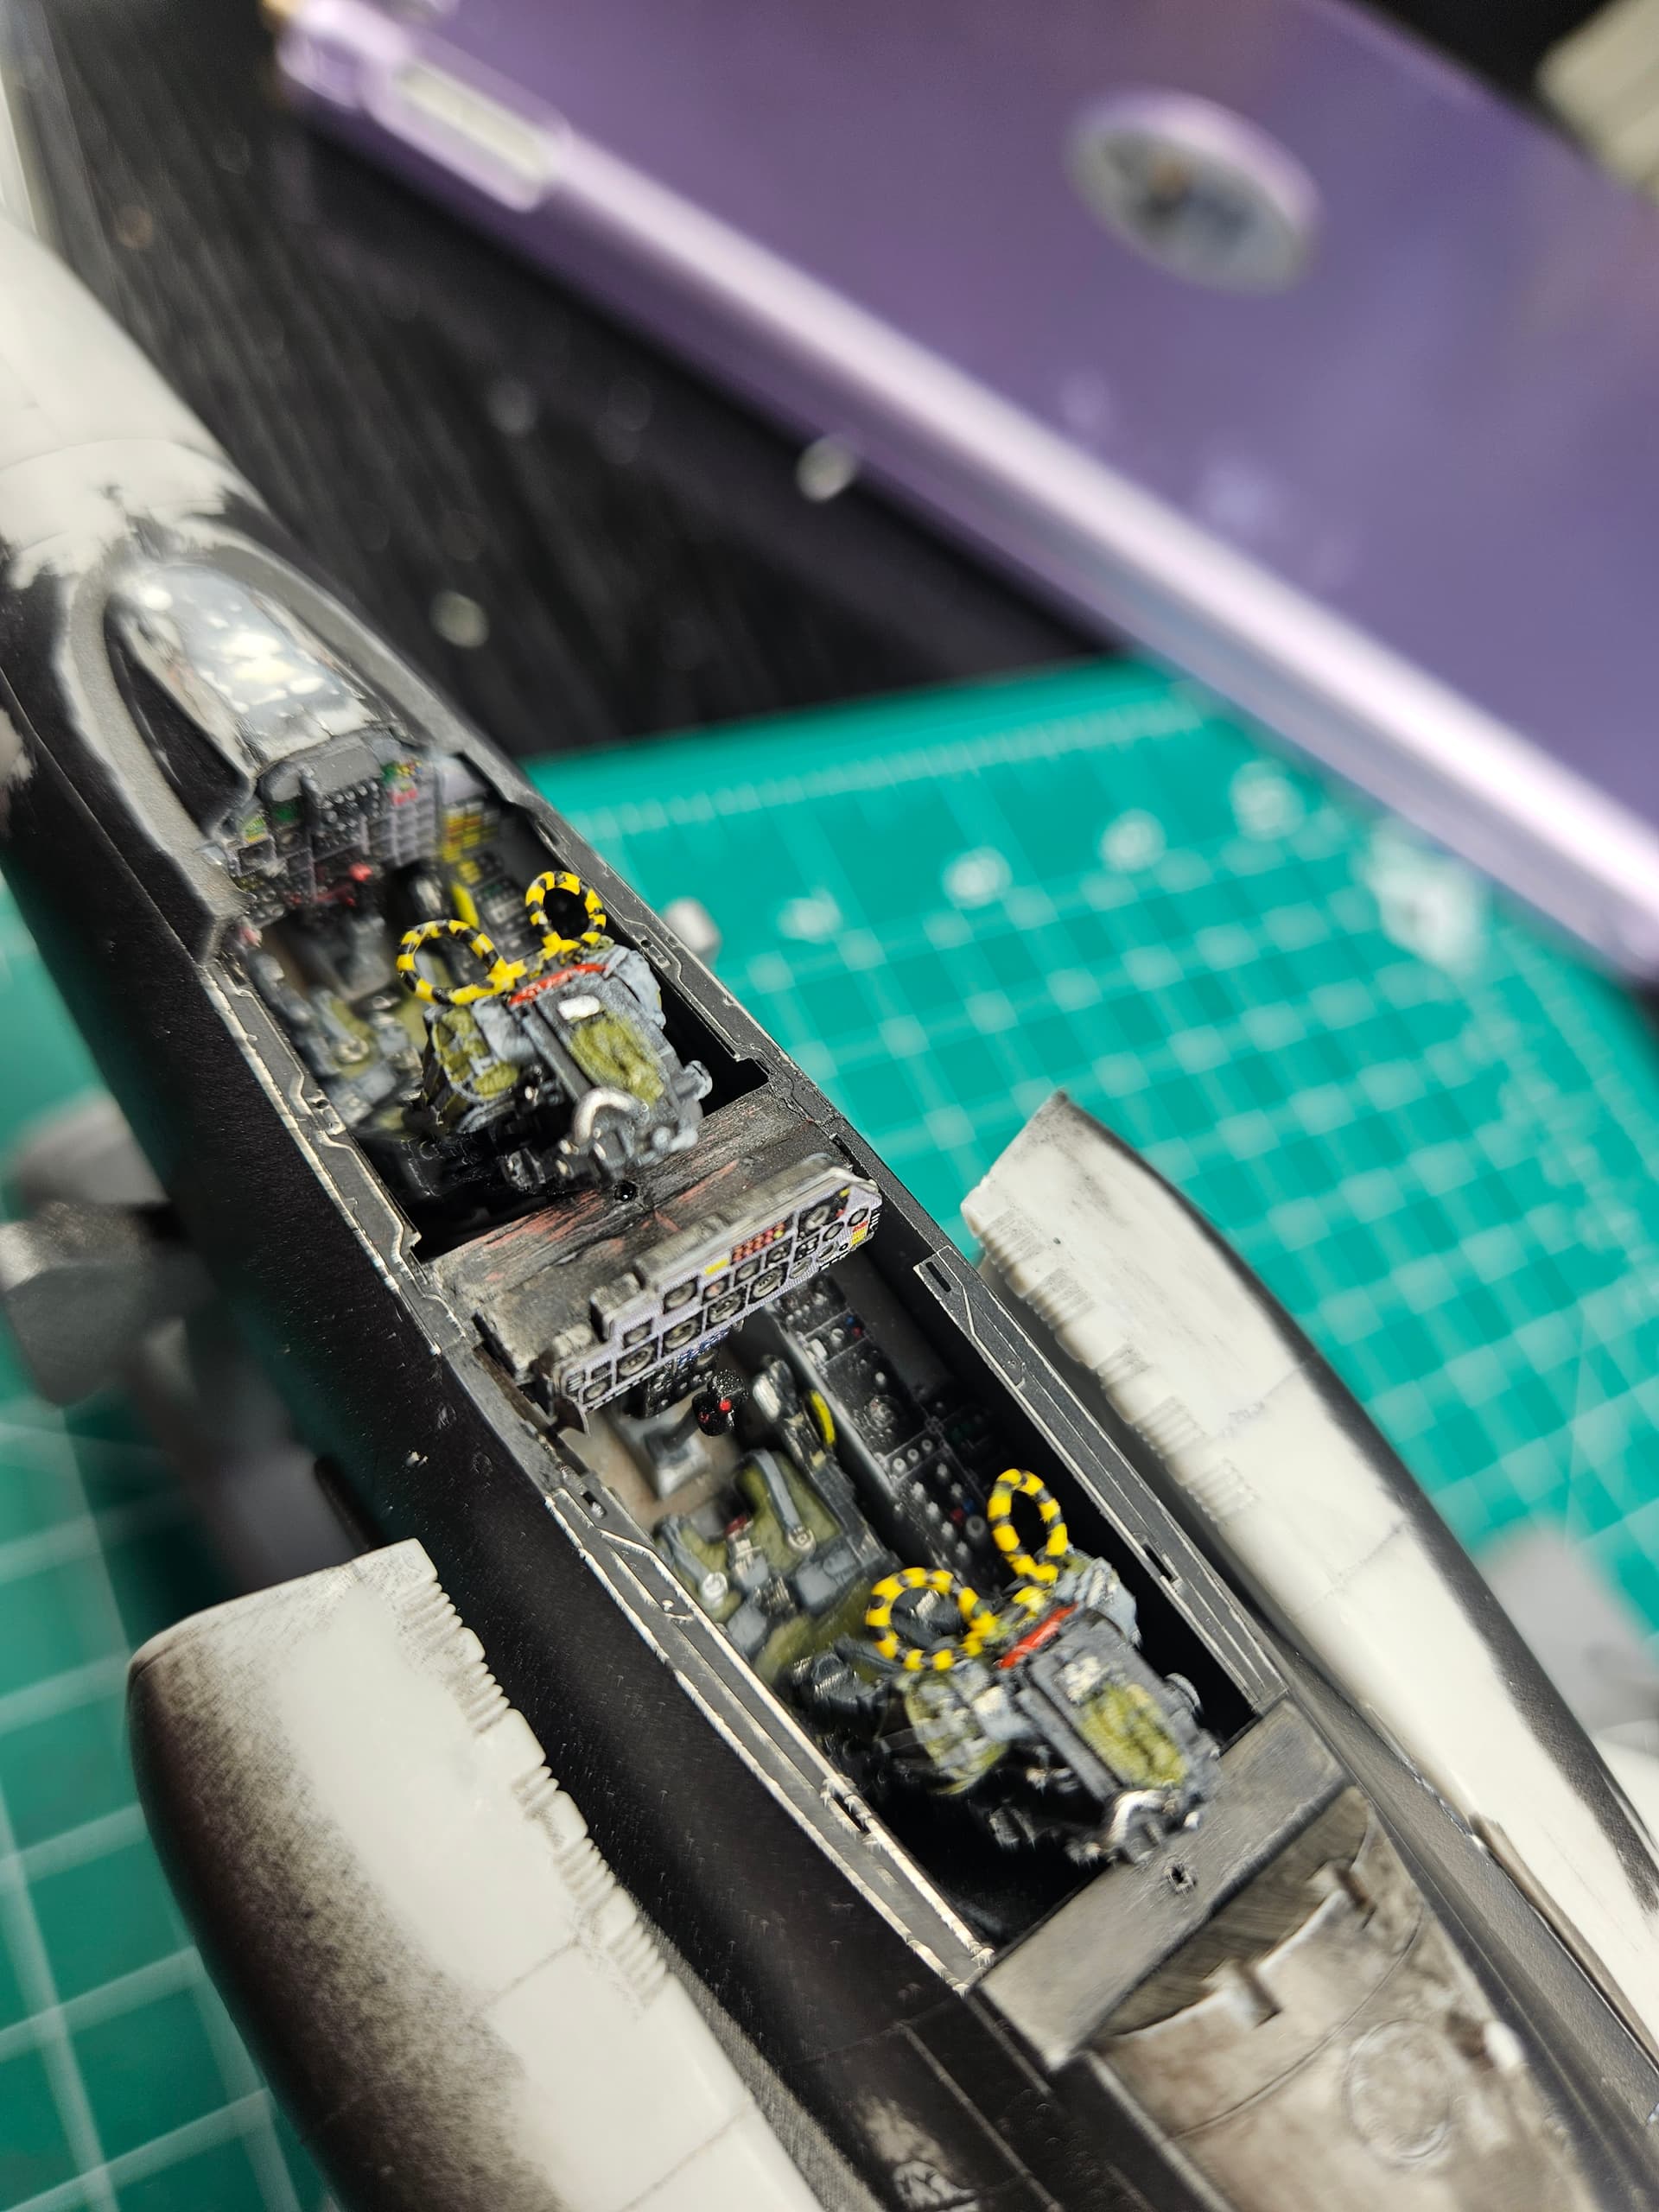
The cockpit is 100% complete with nice verlinden seats I picked up at a show last year, it’s amazing how much more details they have than the stock seats. .
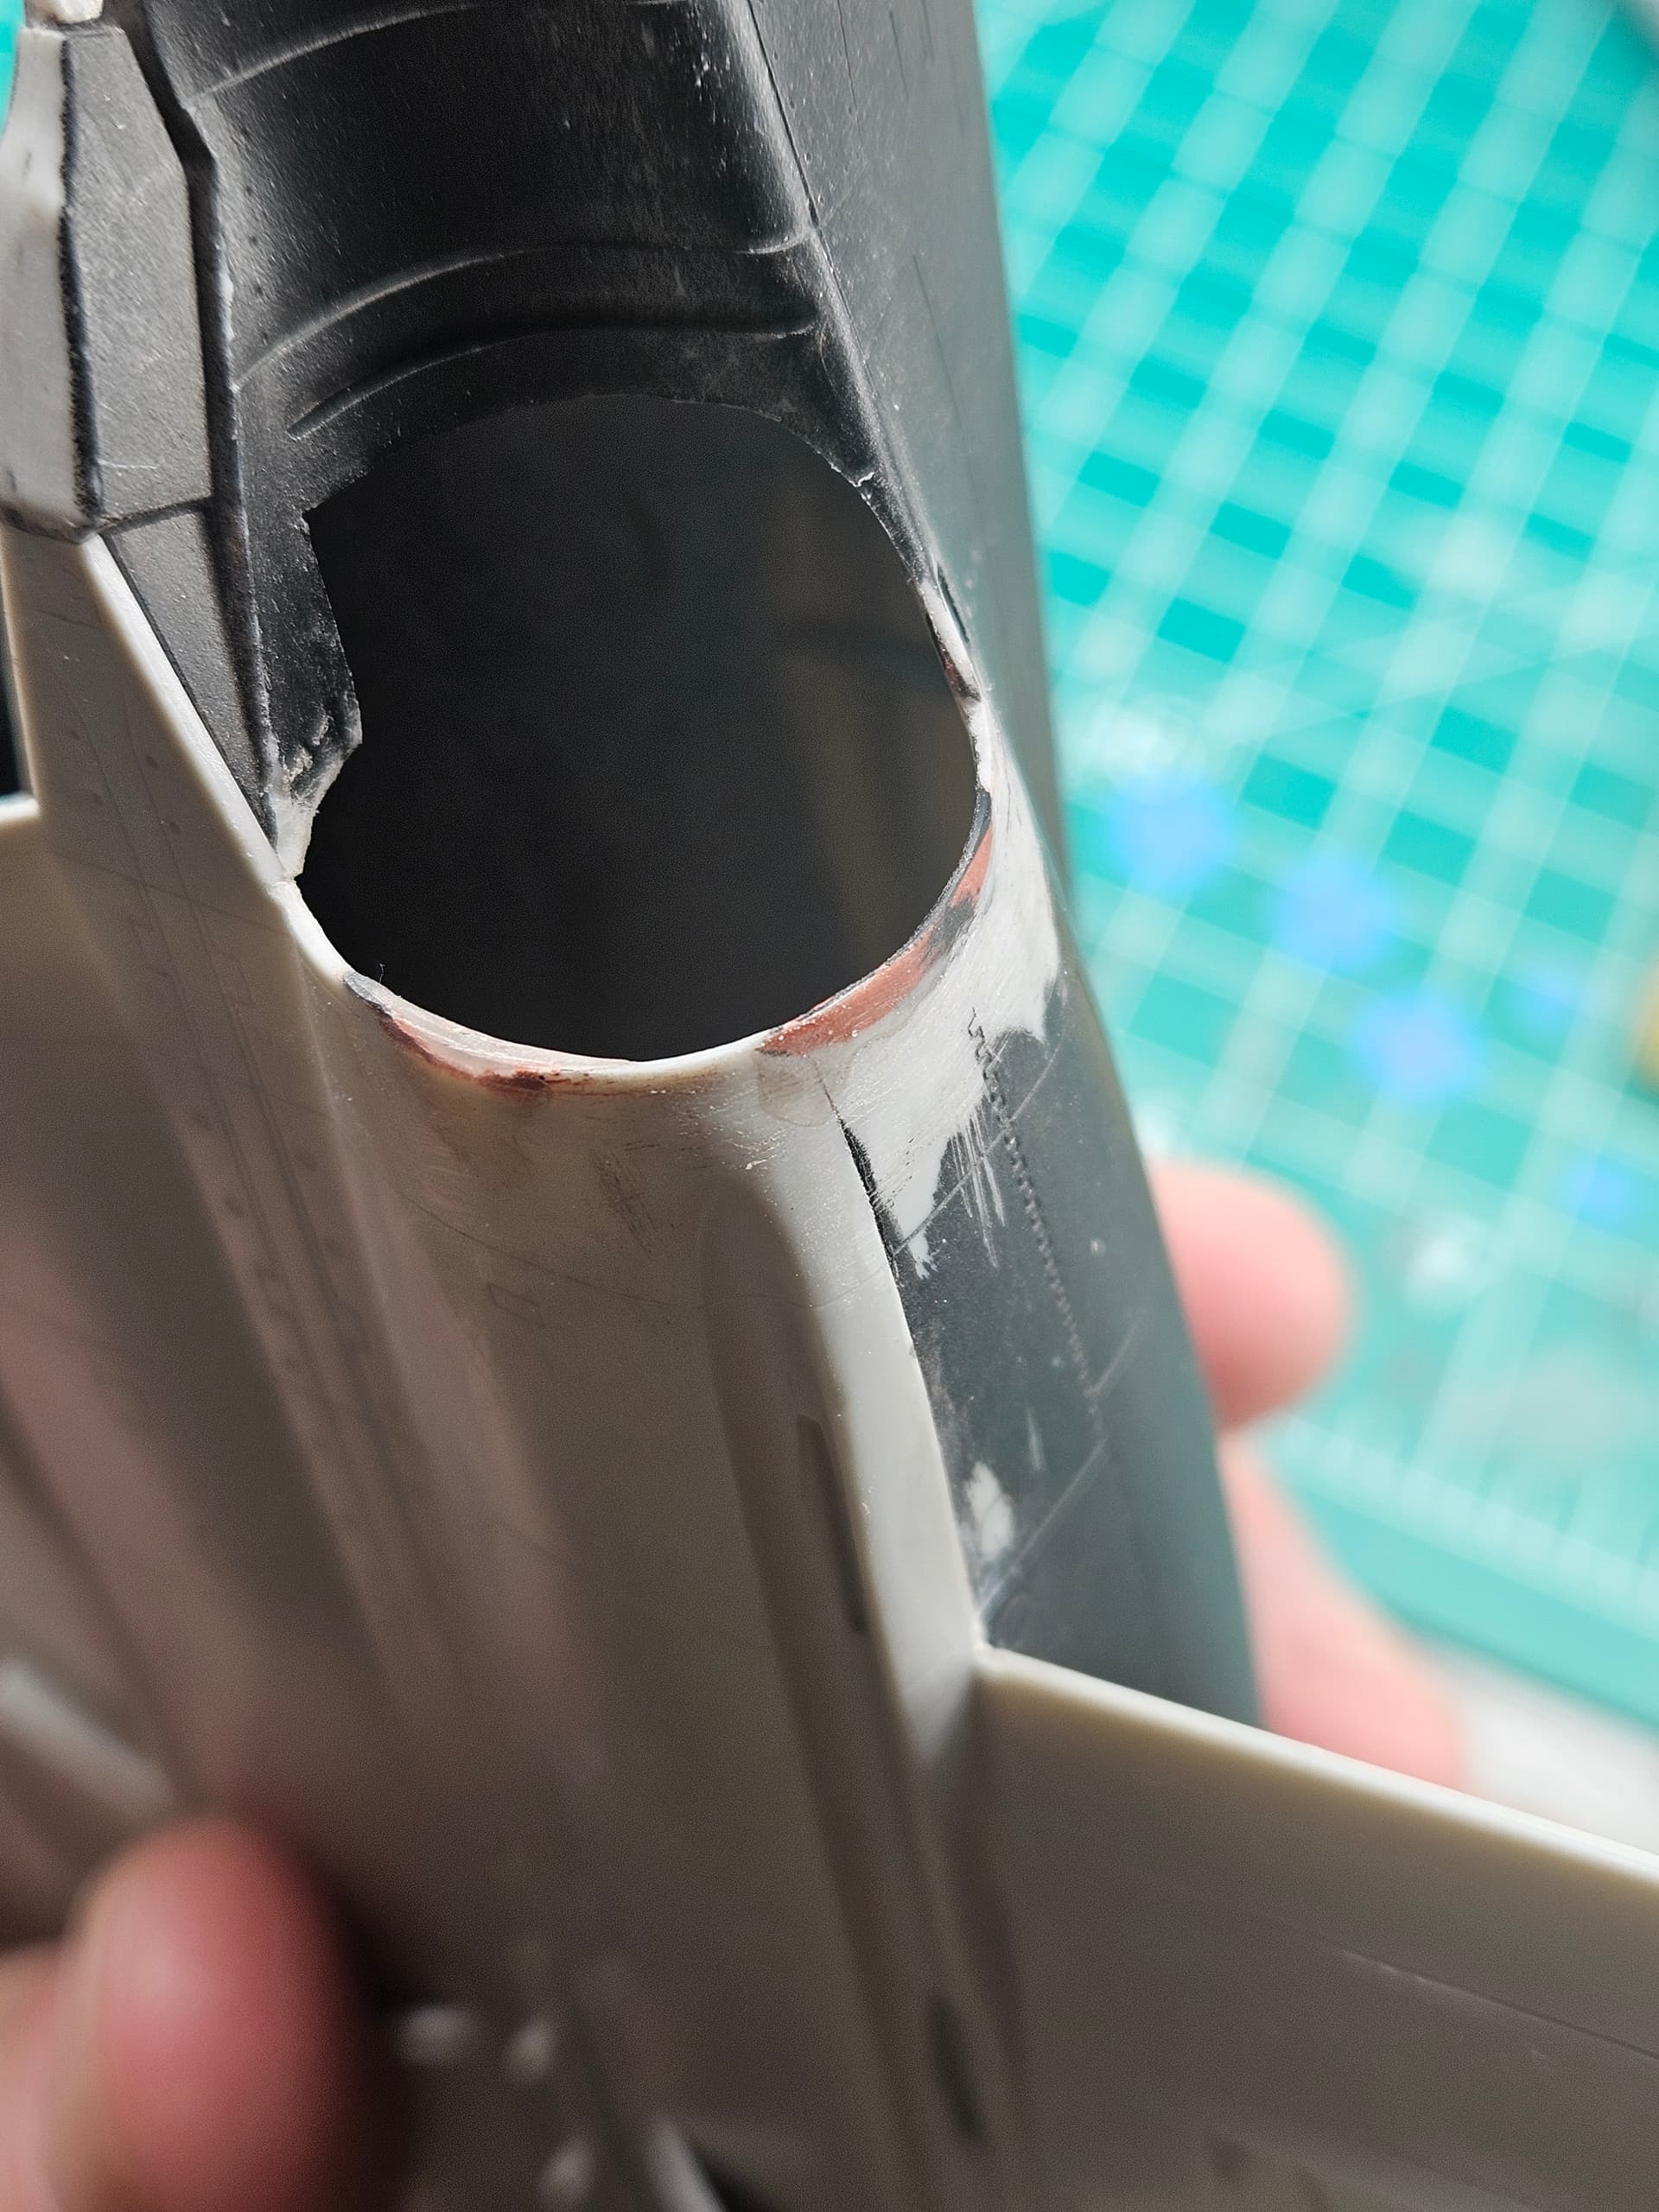
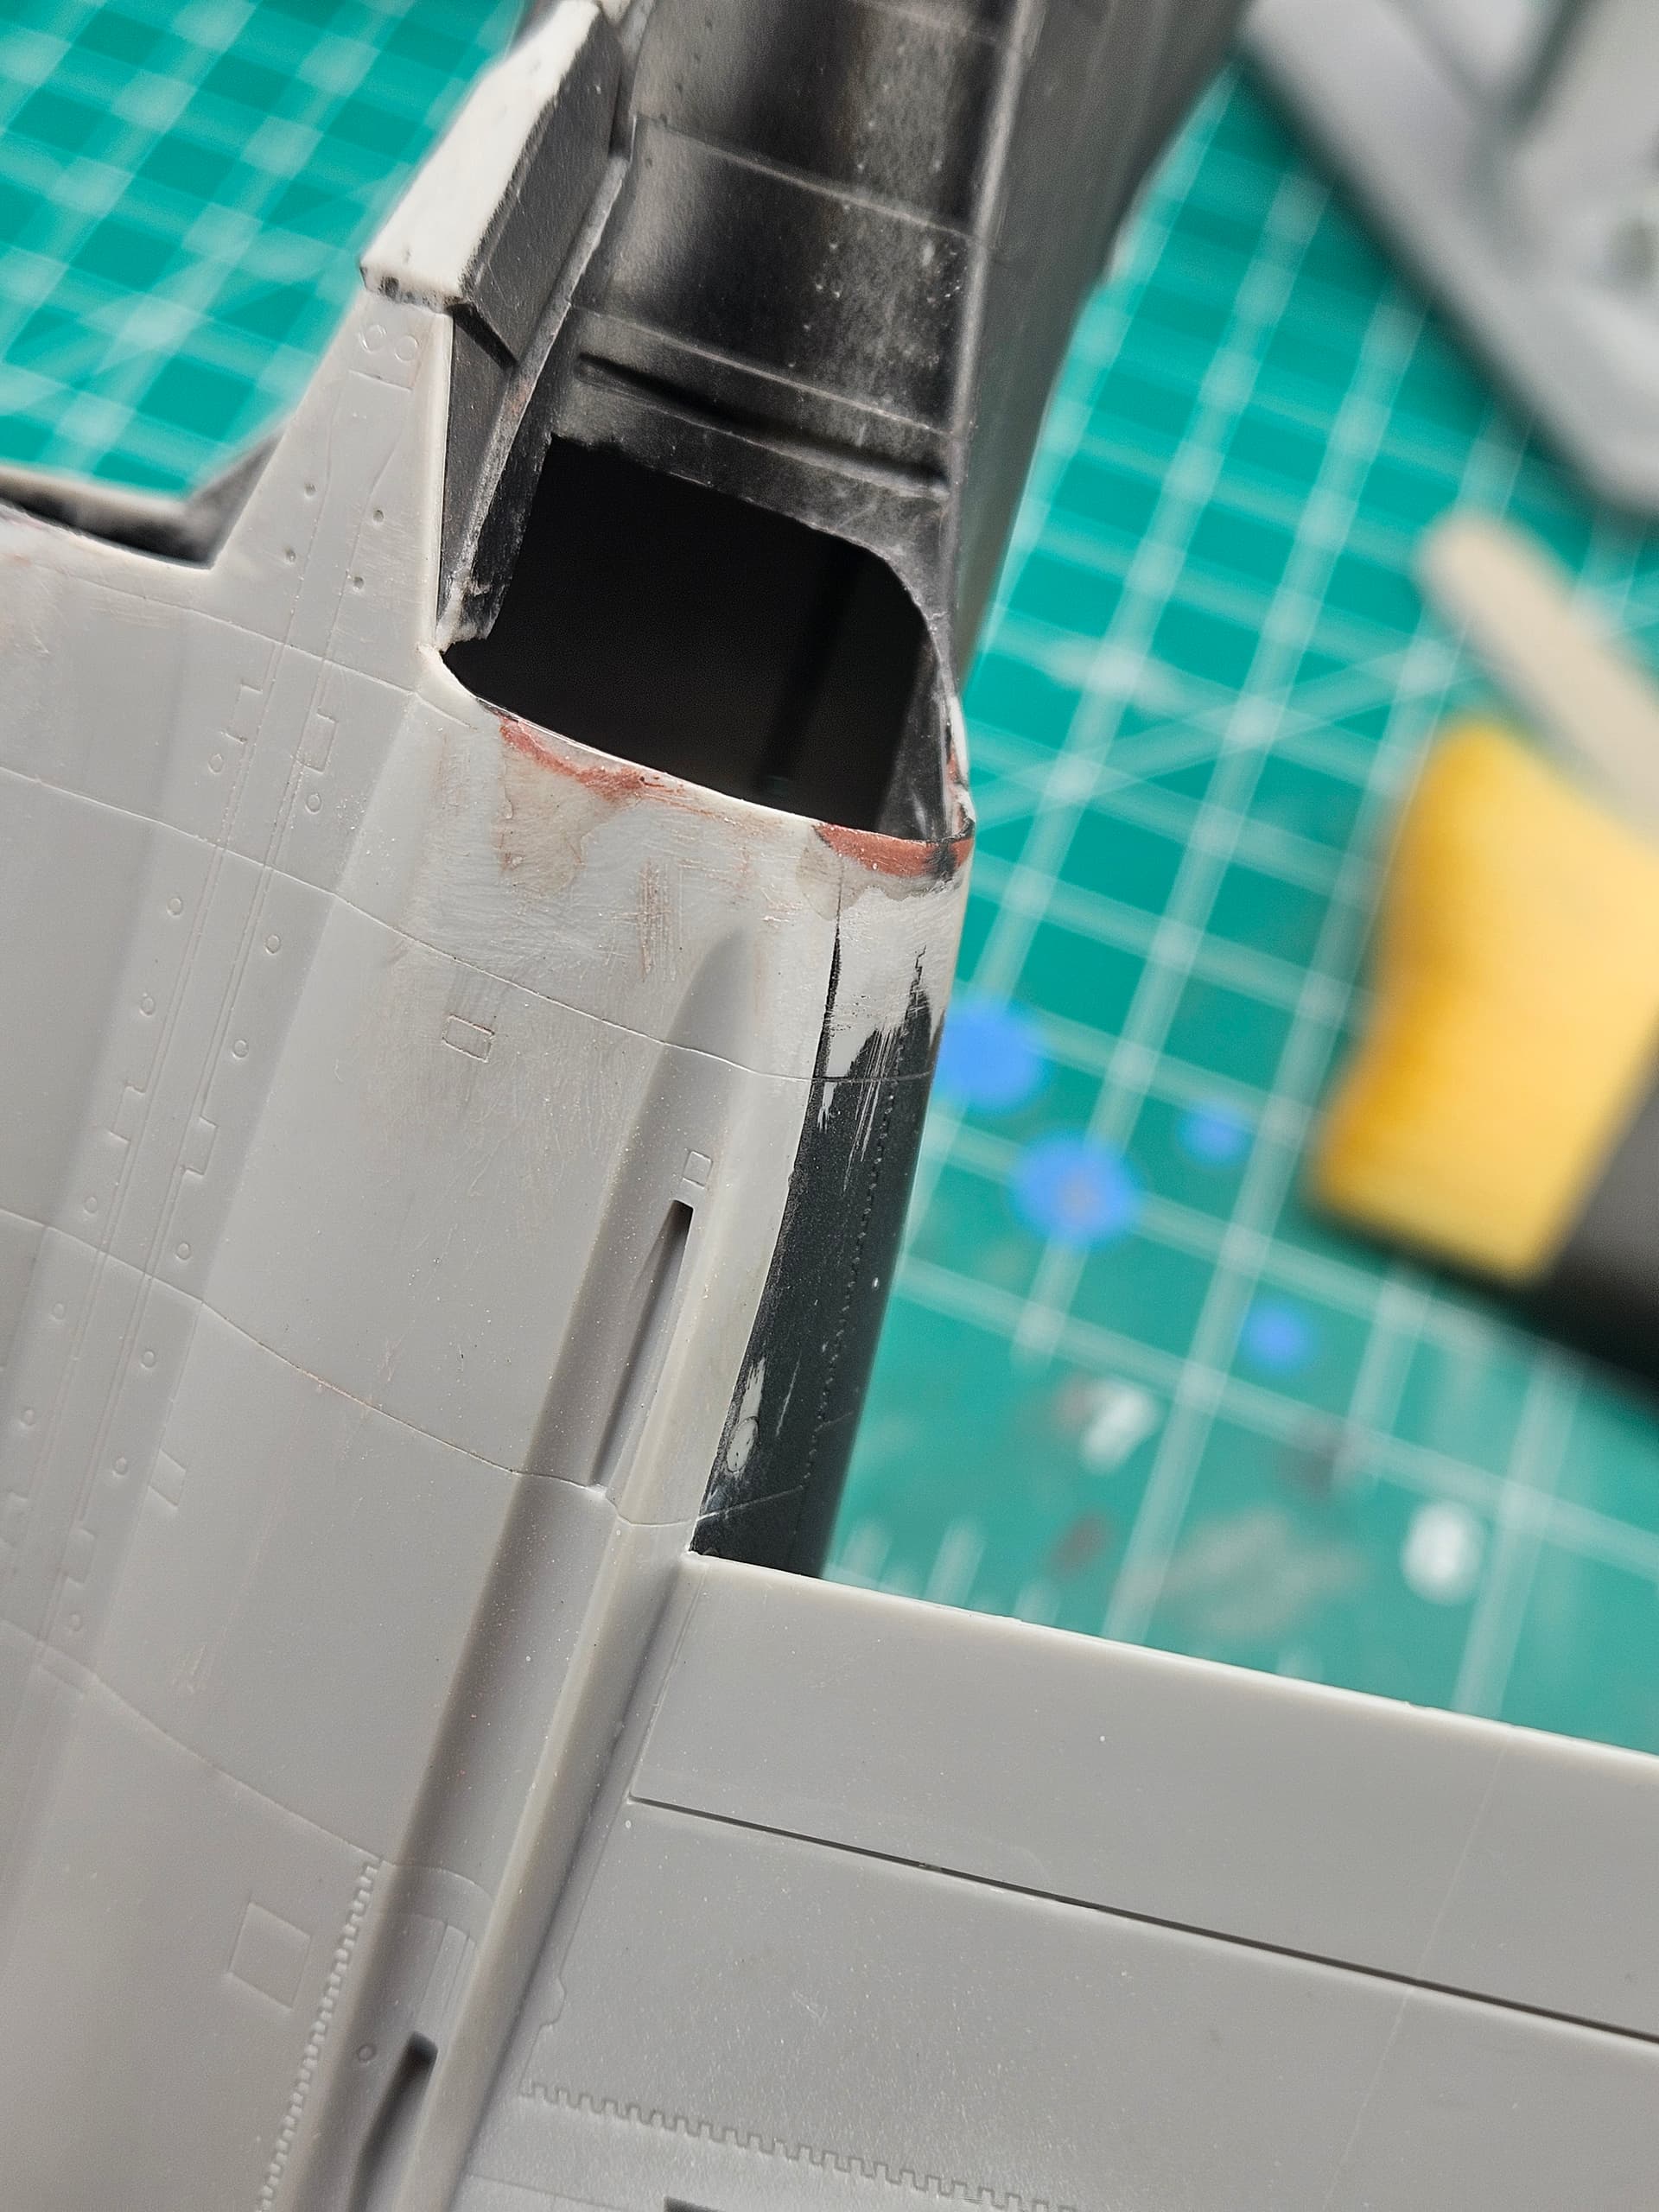
The aftermarket exhaust didn’t fit initially because it was much longer then stock so I had to modify the interior of the model after it was assembled, which was not only a pain, it seriously damaged the exhaust area. It wound have been really easy if the AM instructions had warned me to do it before I glued everything together.
I had to get creative with Bondo, super glue and UV resin to fix the bites out of the plastic my tools took when trying to remove the structure that was deep inside the fuselage. It doesn’t look like much, but it was a pill to get right as there was nothing to support the patch so it kept crumbling/cracking.
Got the Type 97 late finished!
Base color/primer
Green on. Ended up using a brush. Airbrush was being contrary.
Camo done. Colors are not as bright as they look.
Decals on! Chose this because the Aurora kit I built back in the '70s had the flag on the turret
Final pics below. Gave it a dirty wash and a flat coat.
And the two Type 97 versions below
Fun builds!! Maybe 12 hours between the two, and it was the boost I needed to get my
model mojo back! Might have to find another Japanese subject and reenter!
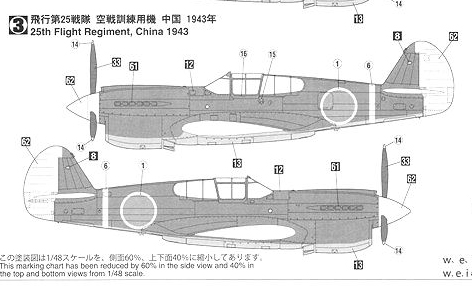
I might be late to the party, but I think I’ll give it a try. I don’t have any Japanese aircraft in my stash so I had to do some research before I decided I could enter. I have an extra Hasegawa P-40E up in the closet that I’ll be building as a captured P-40E in China, 1943. I don’t have any decals so all marking will be painted. I don’t build real fast. This group build runs through the end of the year, right? If so, here we go . . .
Great work on your Type 97 Tank @freem, I like how your camo came out.
What I like about these Japanese GB’s is you see subjects built you would never have thought of building your self and then you think, hey, that looks pretty cool, I may have to pick up one of those my self and give it a go!
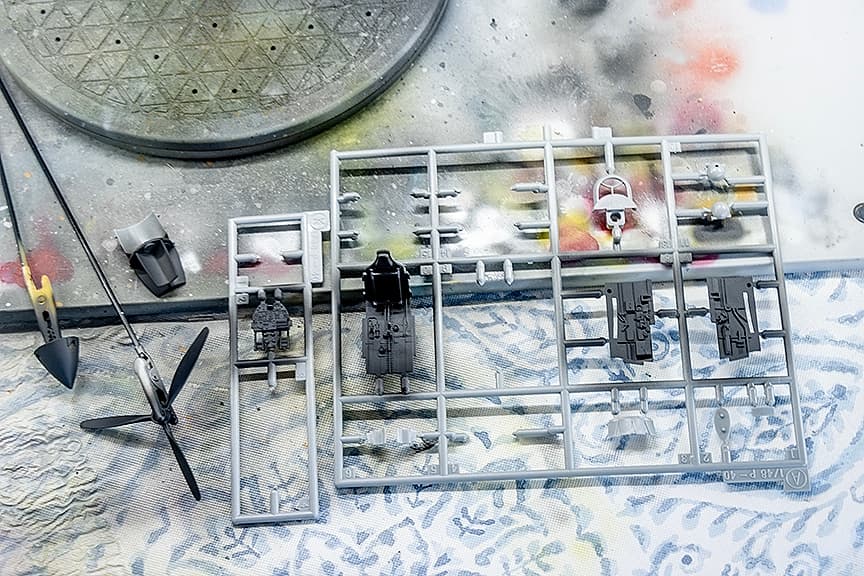
Got a little bench time today, to work on the captured P-40E. Black based cockpit parts, spinner, prop, and radiator/oil cooler. Next the parts will get some color and then assembly.
Thank you! I was pleased with both of them. The late version is one of what I call my “legacy” kits. I built the Aurora 1/48 version back around '75 or so and shot it up or blew it up. Lately I’ve been trying to reclaim some of them in better quality kits or straight replacements. These have really sparked my mojo–work and home projects have really hampered my bench time.
If your looking for one the early version is available but the late is harder to find.
Thanks, waikong!! Japanese armor definitely doesn’t get the glamor of German, American, Russian or British armor. Fun builds–right out of the box and enough detail to satisfy most anyone
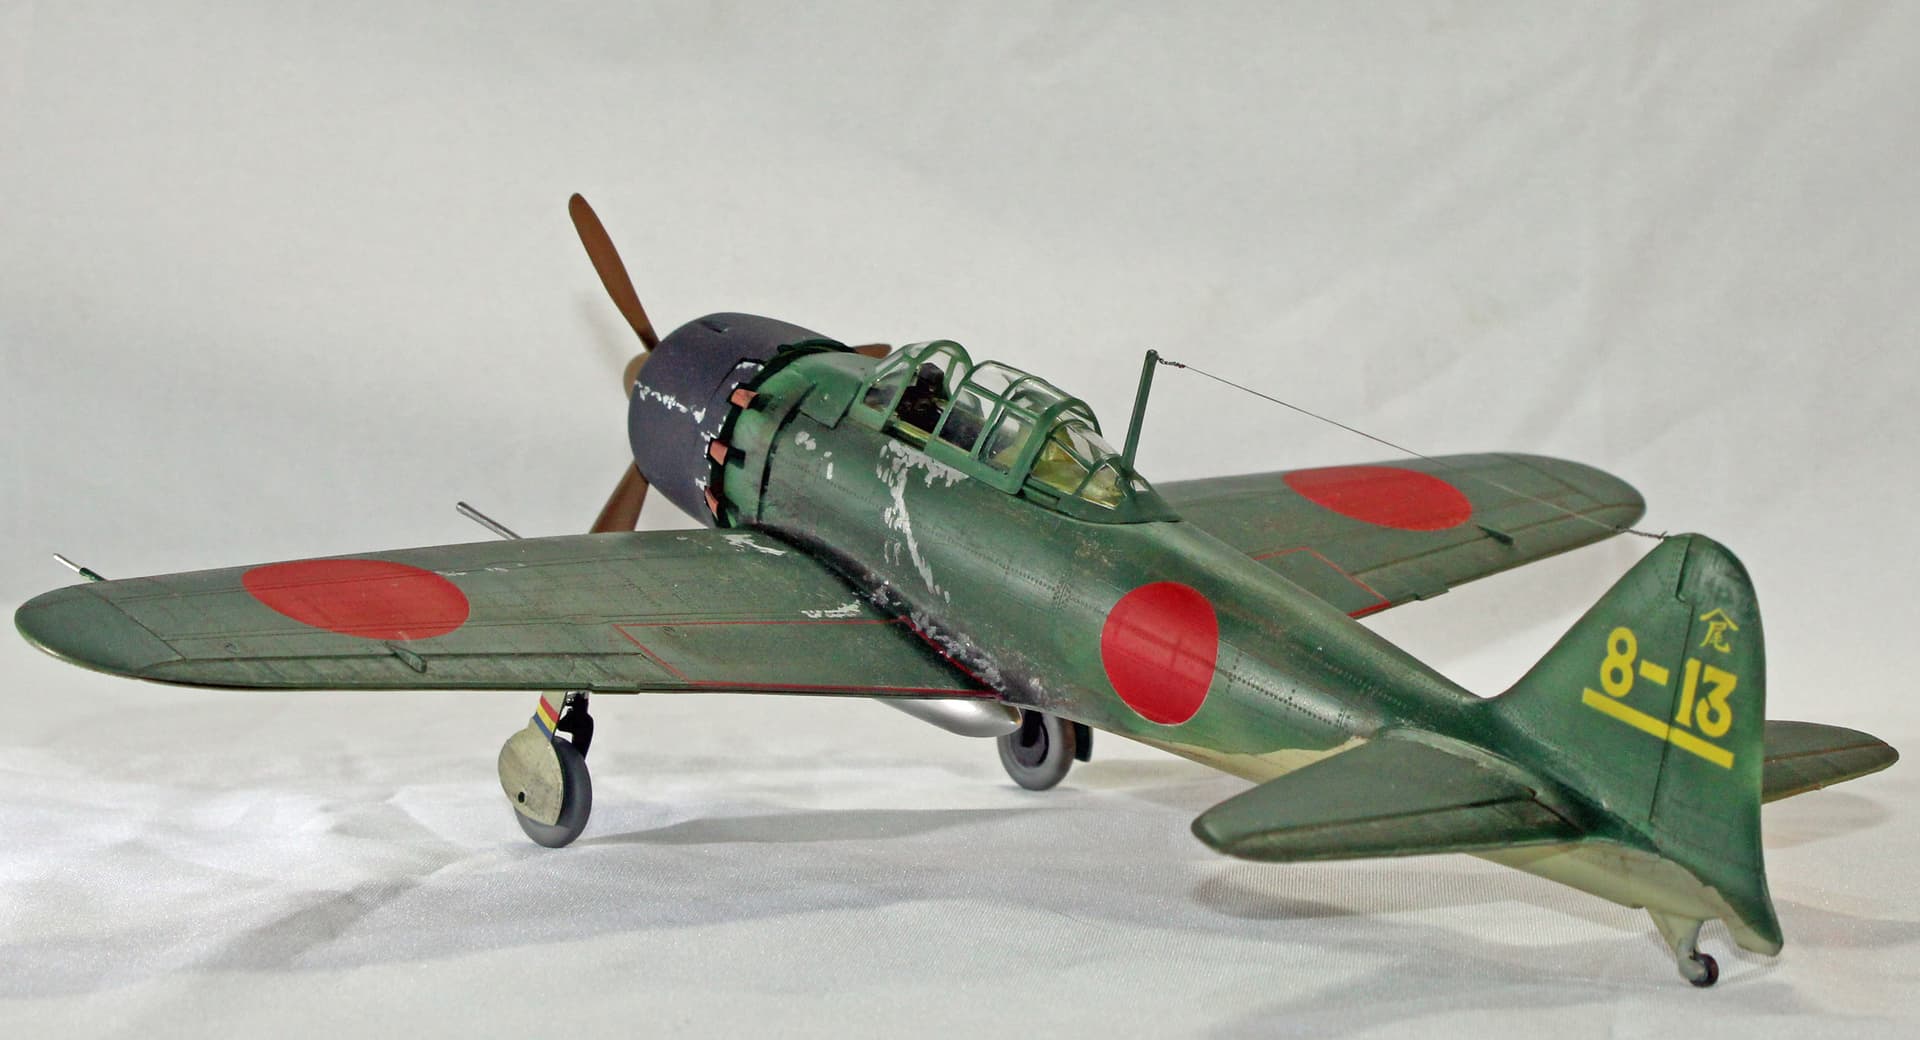
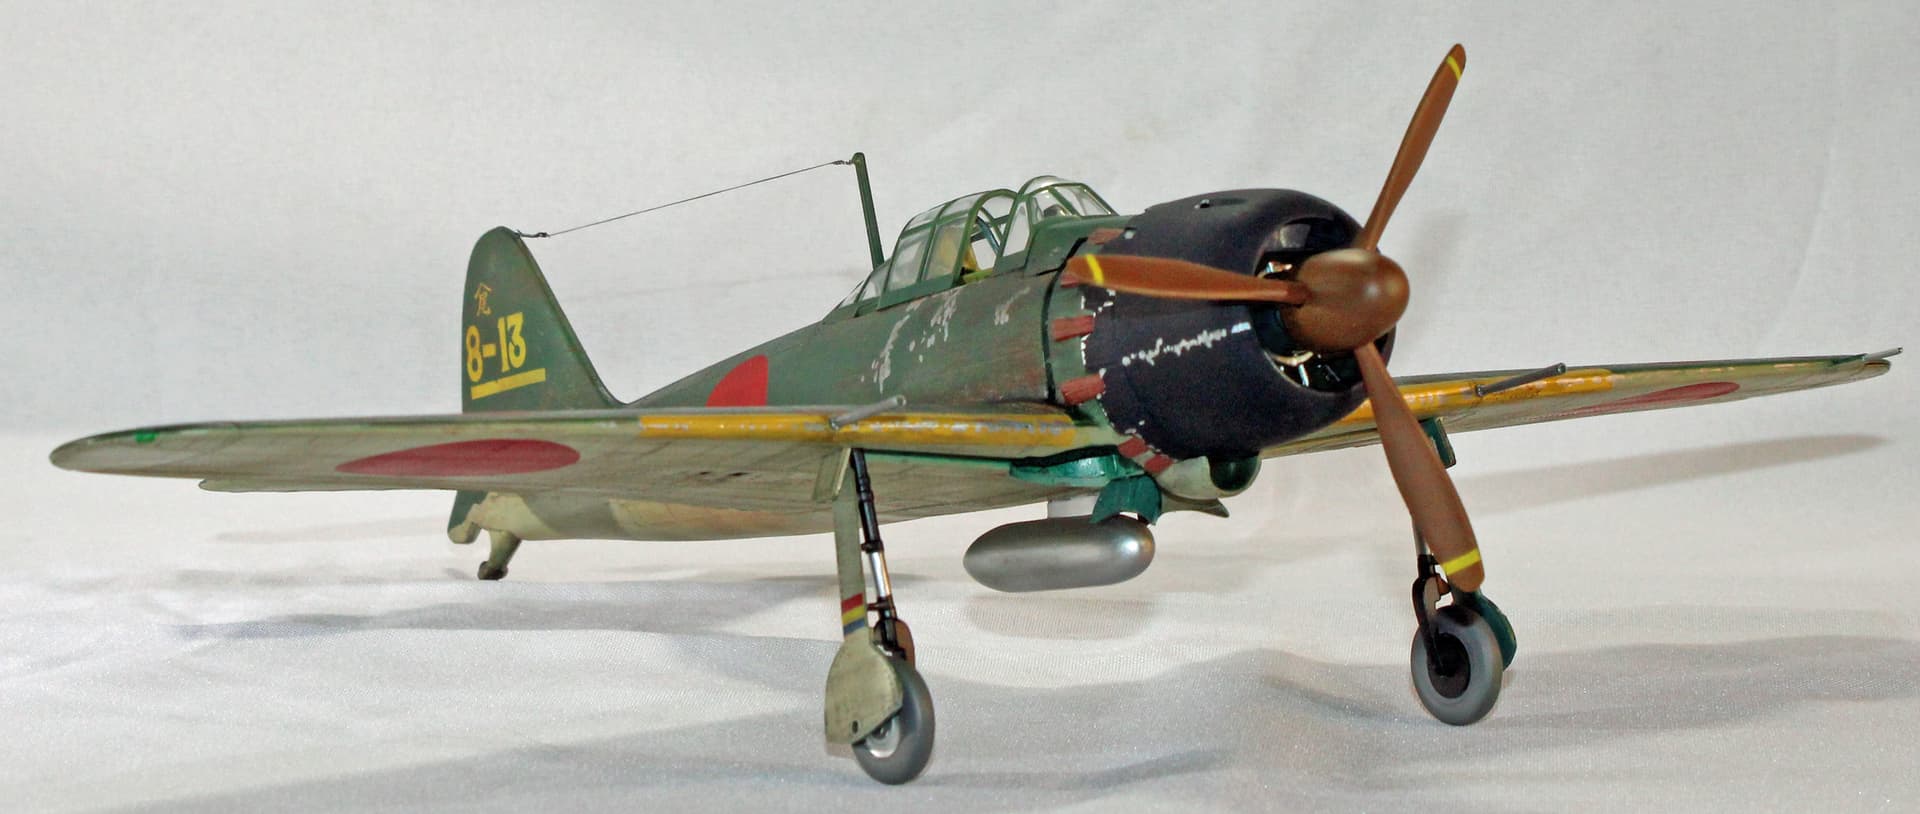
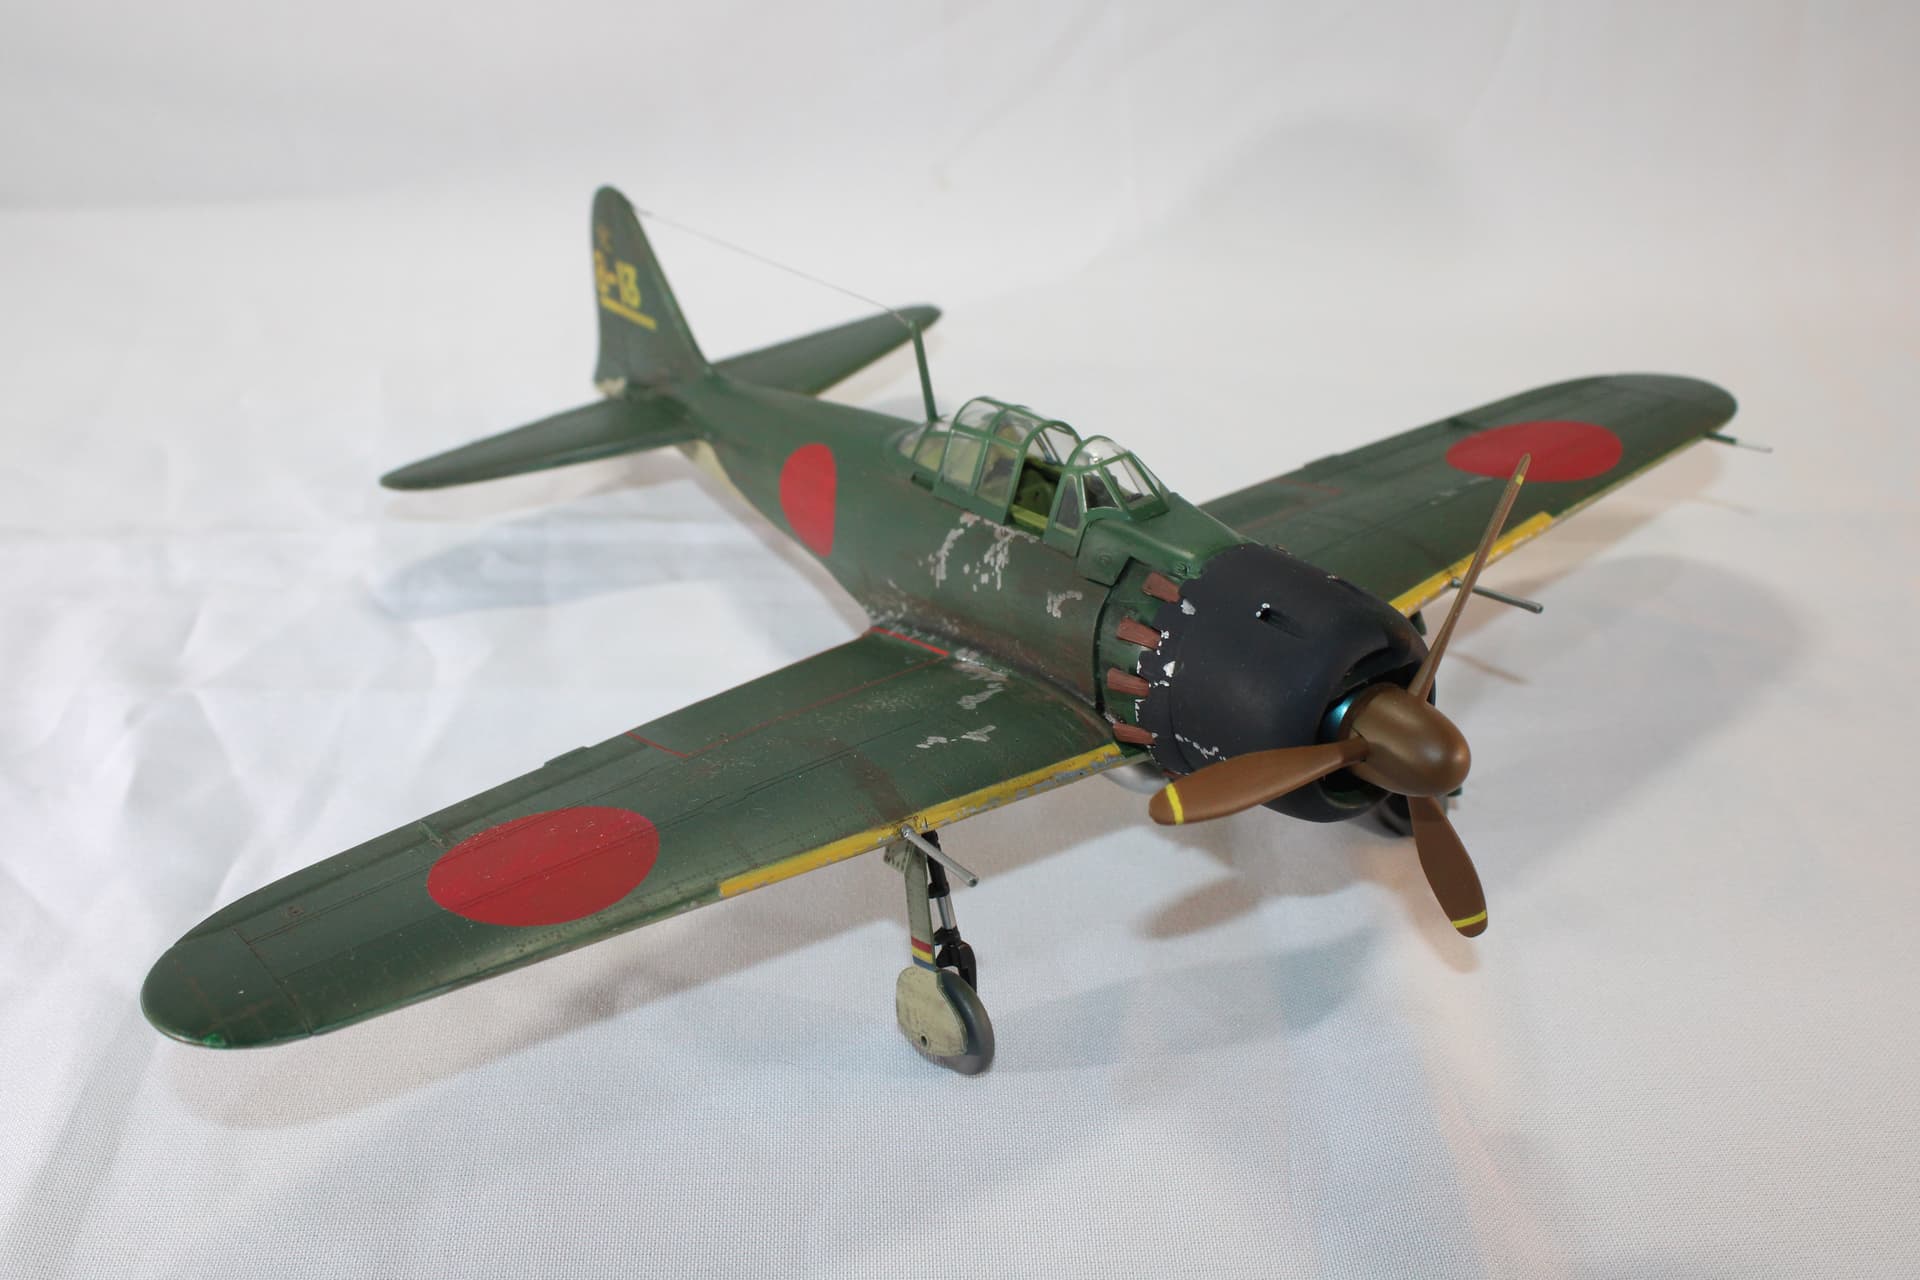
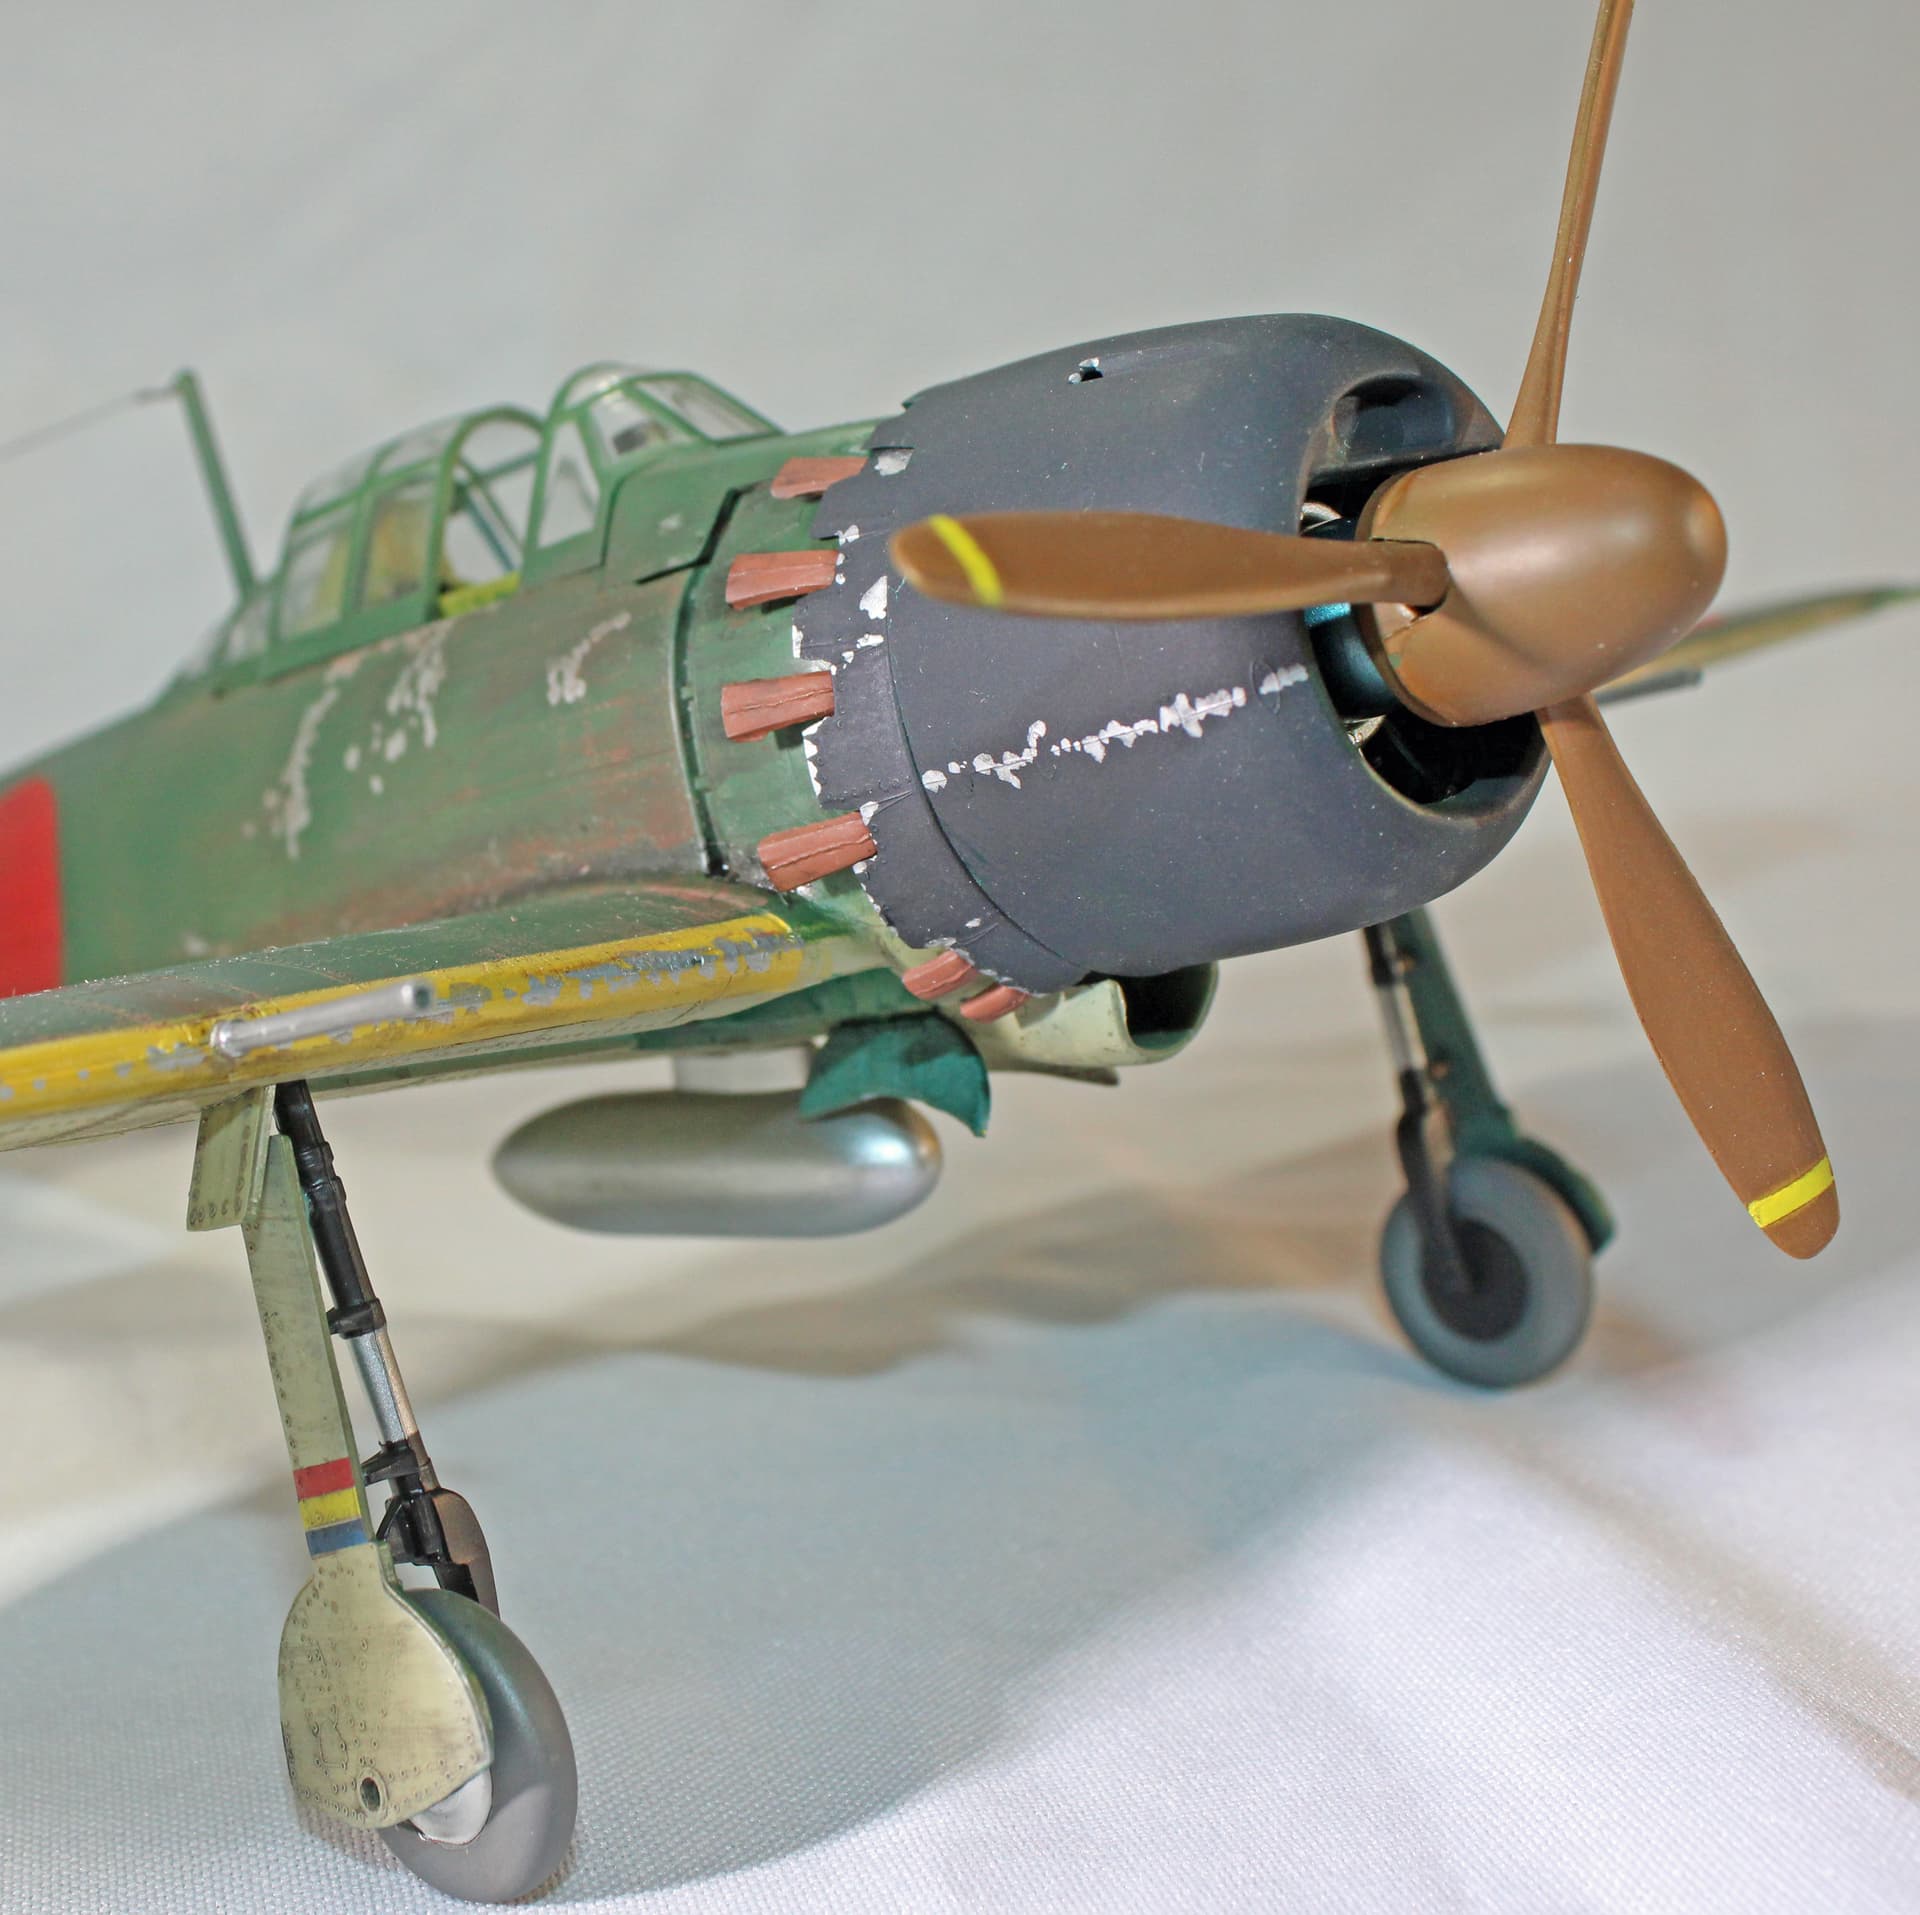
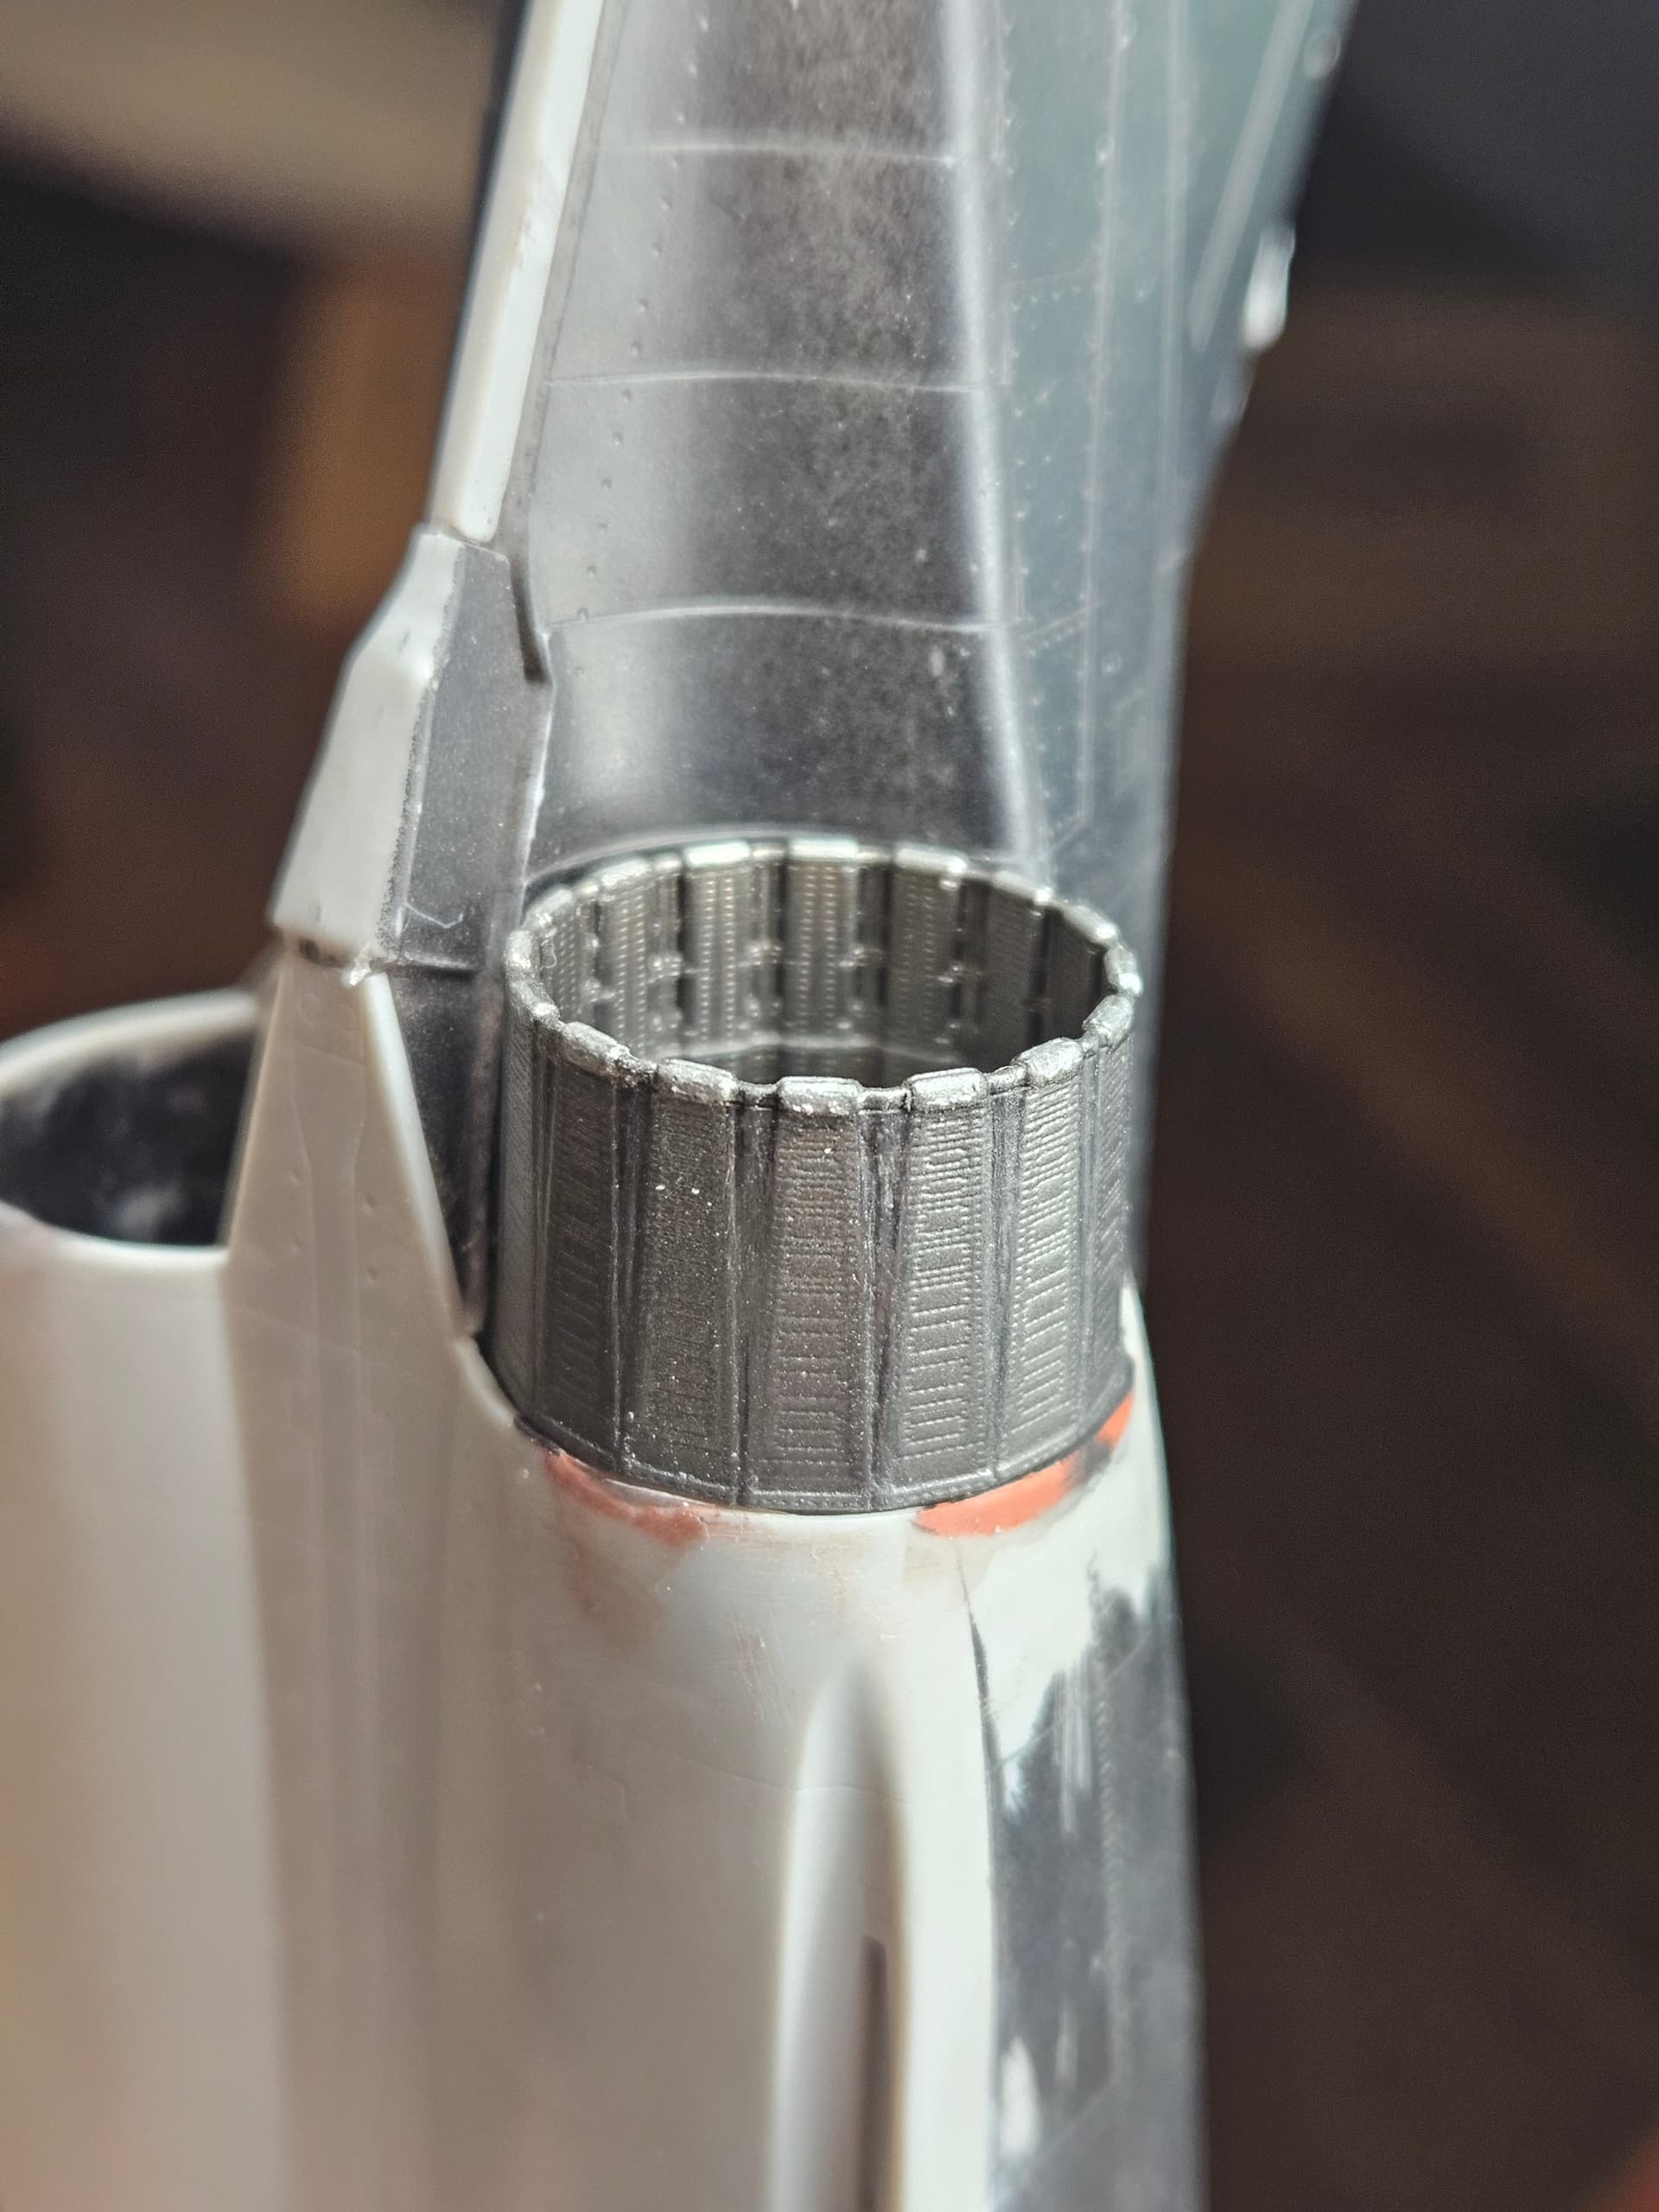
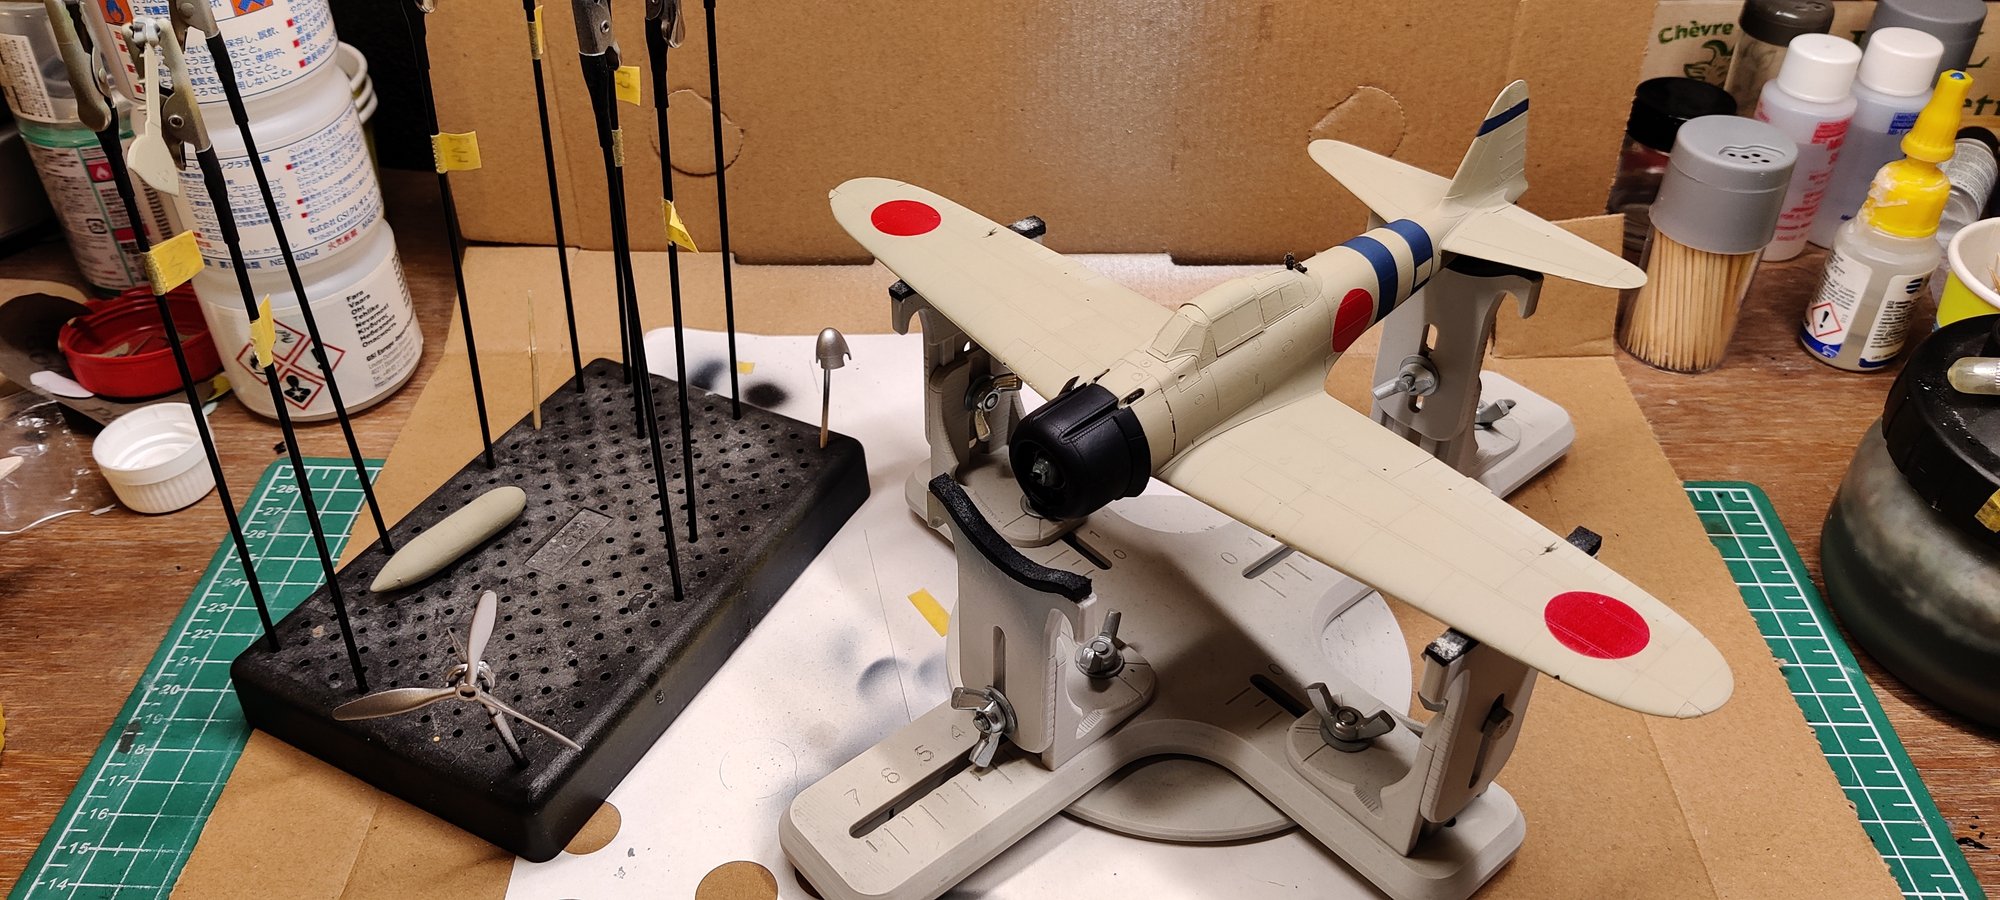
I finally fixed the engine cowl, then glued it and primed/painted. The aftermarket open cowls could only be glued once the engine and cowl were in place, meaning it was best to paint the fuselage in two steps. prime body, camo ; glue engine, glue engine cowl, glue opened cowls, prime cowl, paint. Was a bit nervous the blue-black color would spill over the camo, but for once I didn’t do a mess.
X18:10 SemiGloss Black+XF8:5 Flat Blue looks very black once dried ; but it’s mostly because the paints didn’t mix very well and black sank to the bottom of the cup a bit quicker than blue. First pass ended up the good color, second pass was definitely blacker. Then it sprayed a surprisingly clear blue. Maybe I should have used X8 and not XF8 for more balanced paint densities.
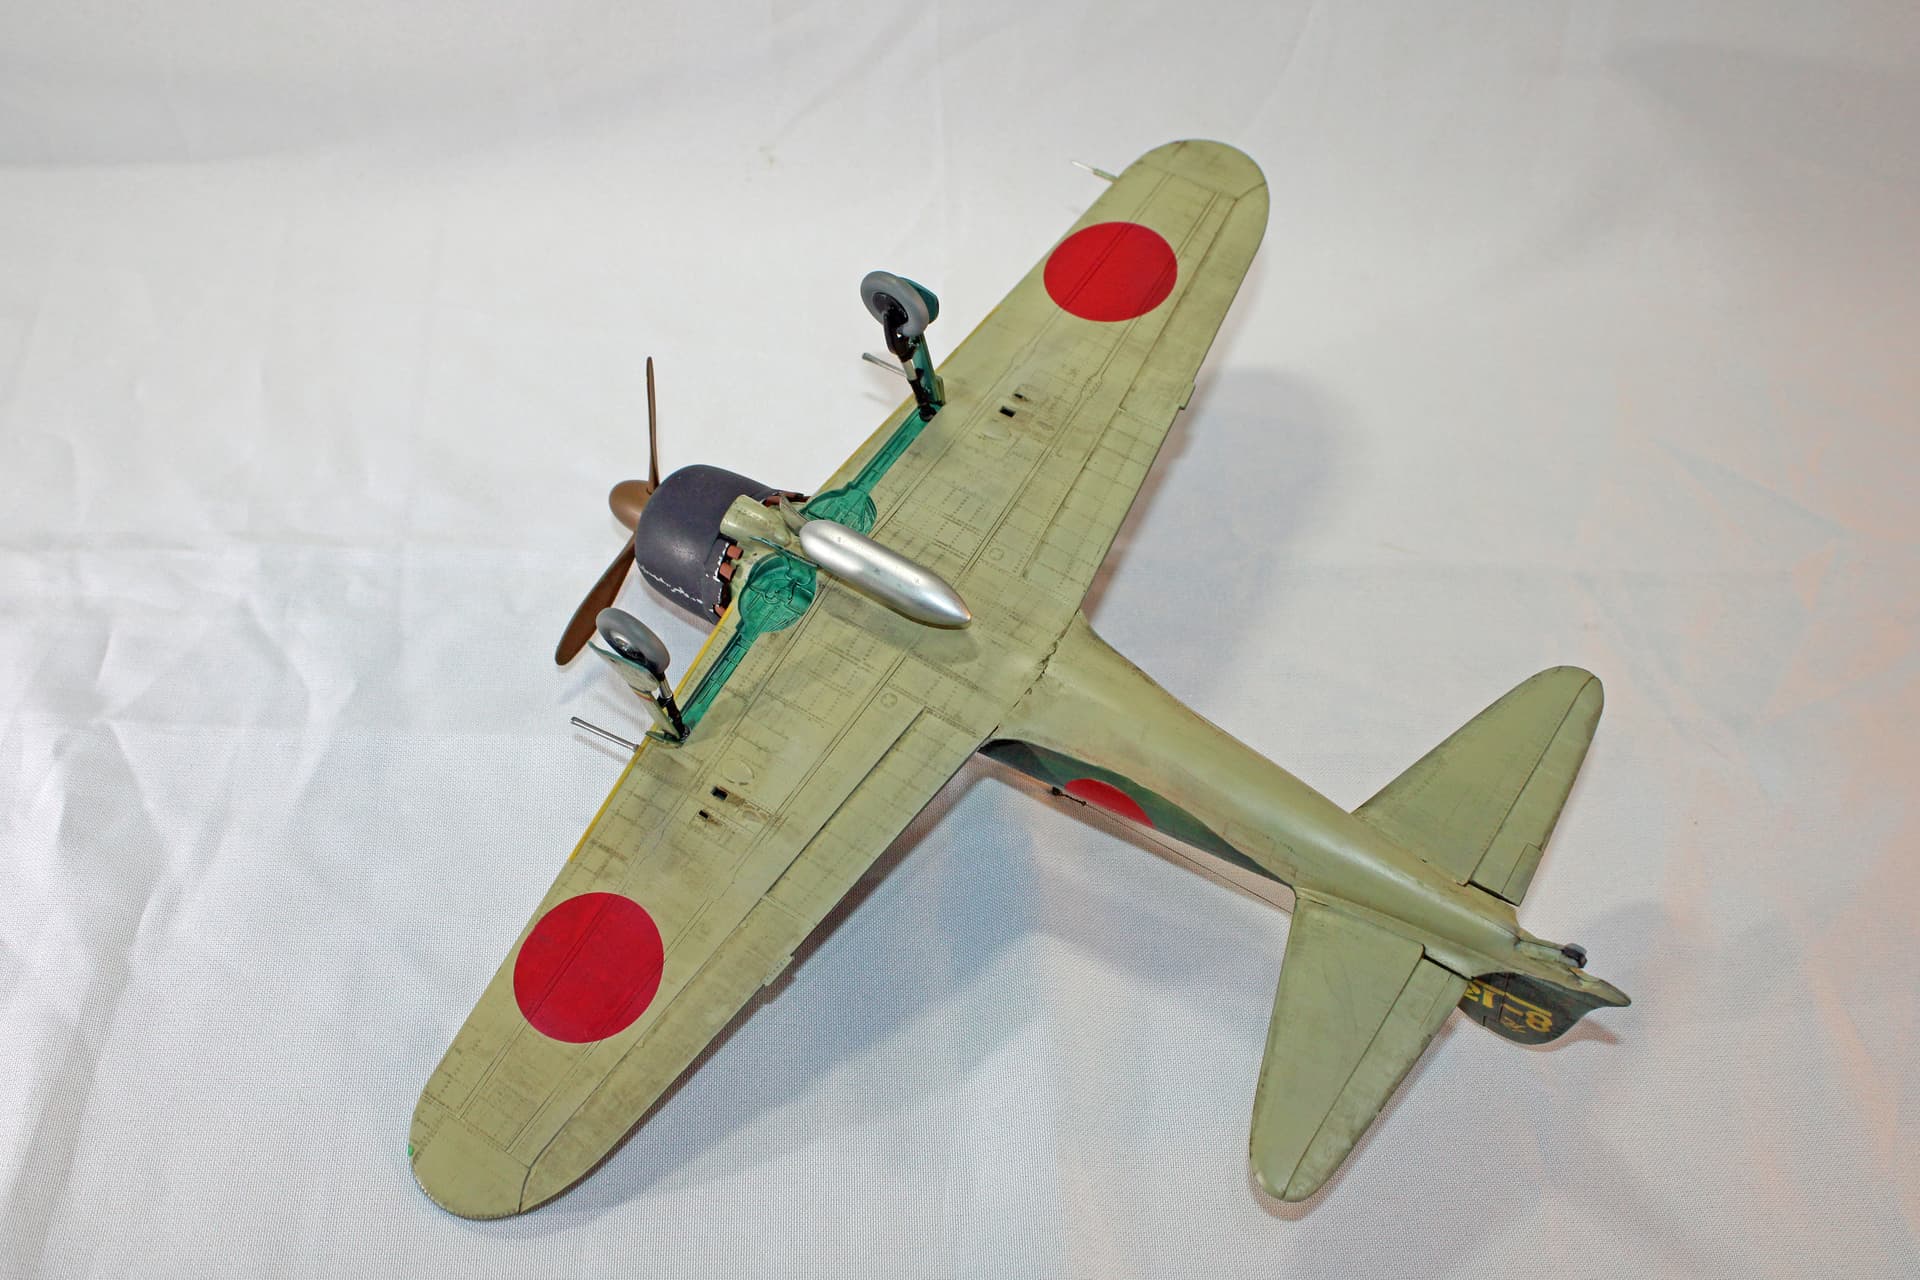
For once, however, I was happy with my spraying of X11 Chrome Silver for the propeller and landing gears. I often end up making a mess, they sprayed pretty evenly.
Next up, probably, the small touches of paint I’m still missing ( brown over the back of the propeller, a few touches of black and aluminum here and there ), and I should be able to seal before decals. At last!
You A6M is looking amazing @DrKoin . Nothing like a clean early war A6m2 IMO
Your description of your cowling painting adventure was interesting. I picked up a bottle of Mr Color ‘Cownling Color’ 15 years ago or so and it will probably last me for another 15 years.