Cool little bird. I have 1 Finemolds kit in the stash. Sure does look like a baby JU-88.
2 Likes
Airfix 1:72 Mitsubishi A6M2b Zero
Another small but meaningful few steps tonight…
- Gearbox housing on the engine painted in Tamiya XF-12 J.N. Grey
- Light Drybrushing of MG’s with Vallejo Game Colour 72.052 Silver
- Gunsight glass picked out in Tamiya XF-23 Light Blue, layering up to XF-2 Flat White
- Gunsight cushion based in Tamiya XF-52 Flat Earth with an XF-78 Wooden Deck Tan edge highlight
MG Cowling was then glued into place - At this level of zoom it looks like there’s a slight fit issue and surface damage from some hungry Tamiya extra-thin - We’ll reassess once everything has cured, but a follow up check just now with the Mk.I Eyeball wasn’t too concerned

@fjs3 … Freddie you’re making excellent progress with your JP-88! I don’t know what it is about the Japanese, but they came up with some of the most aesthetically pleasing aircraft profiles of the war. Mind you, when one’s submarine is getting knocked out they’re hardly going to give their attacker a pass for looking pretty…
3 Likes
That looks great, especially for 1/72 scale. There’s a lot of detail packed into such a small aircraft. The cockpit looks terrific, and so does the engine.
I honestly can’t see the problem you mentioned with the Extra Thin. I’m sure it’ll all look terrific once everything is together and finished.
1 Like
That is really coming together! I have always liked the A6M and this kit is surprise good from everything I’ve read. Other winners from the newer Airfix kits are: The F4F, P-40 B and the B5N ‘Kate’. I am looking forward to seeing this one done…
2 Likes
Airfix 1:72 Mitsubishi A6M2b Zero
I realised I probably needed to advance the build a bit further and in a slightly different order to what Airfix prescribed, mainly so that I could ensure any areas that could be “keyholed” behind the cowling were not showing bare plastic. As with any major assembly, some pressure and hold is required so this avoids a situation where we’re applying pressure to a painted surface
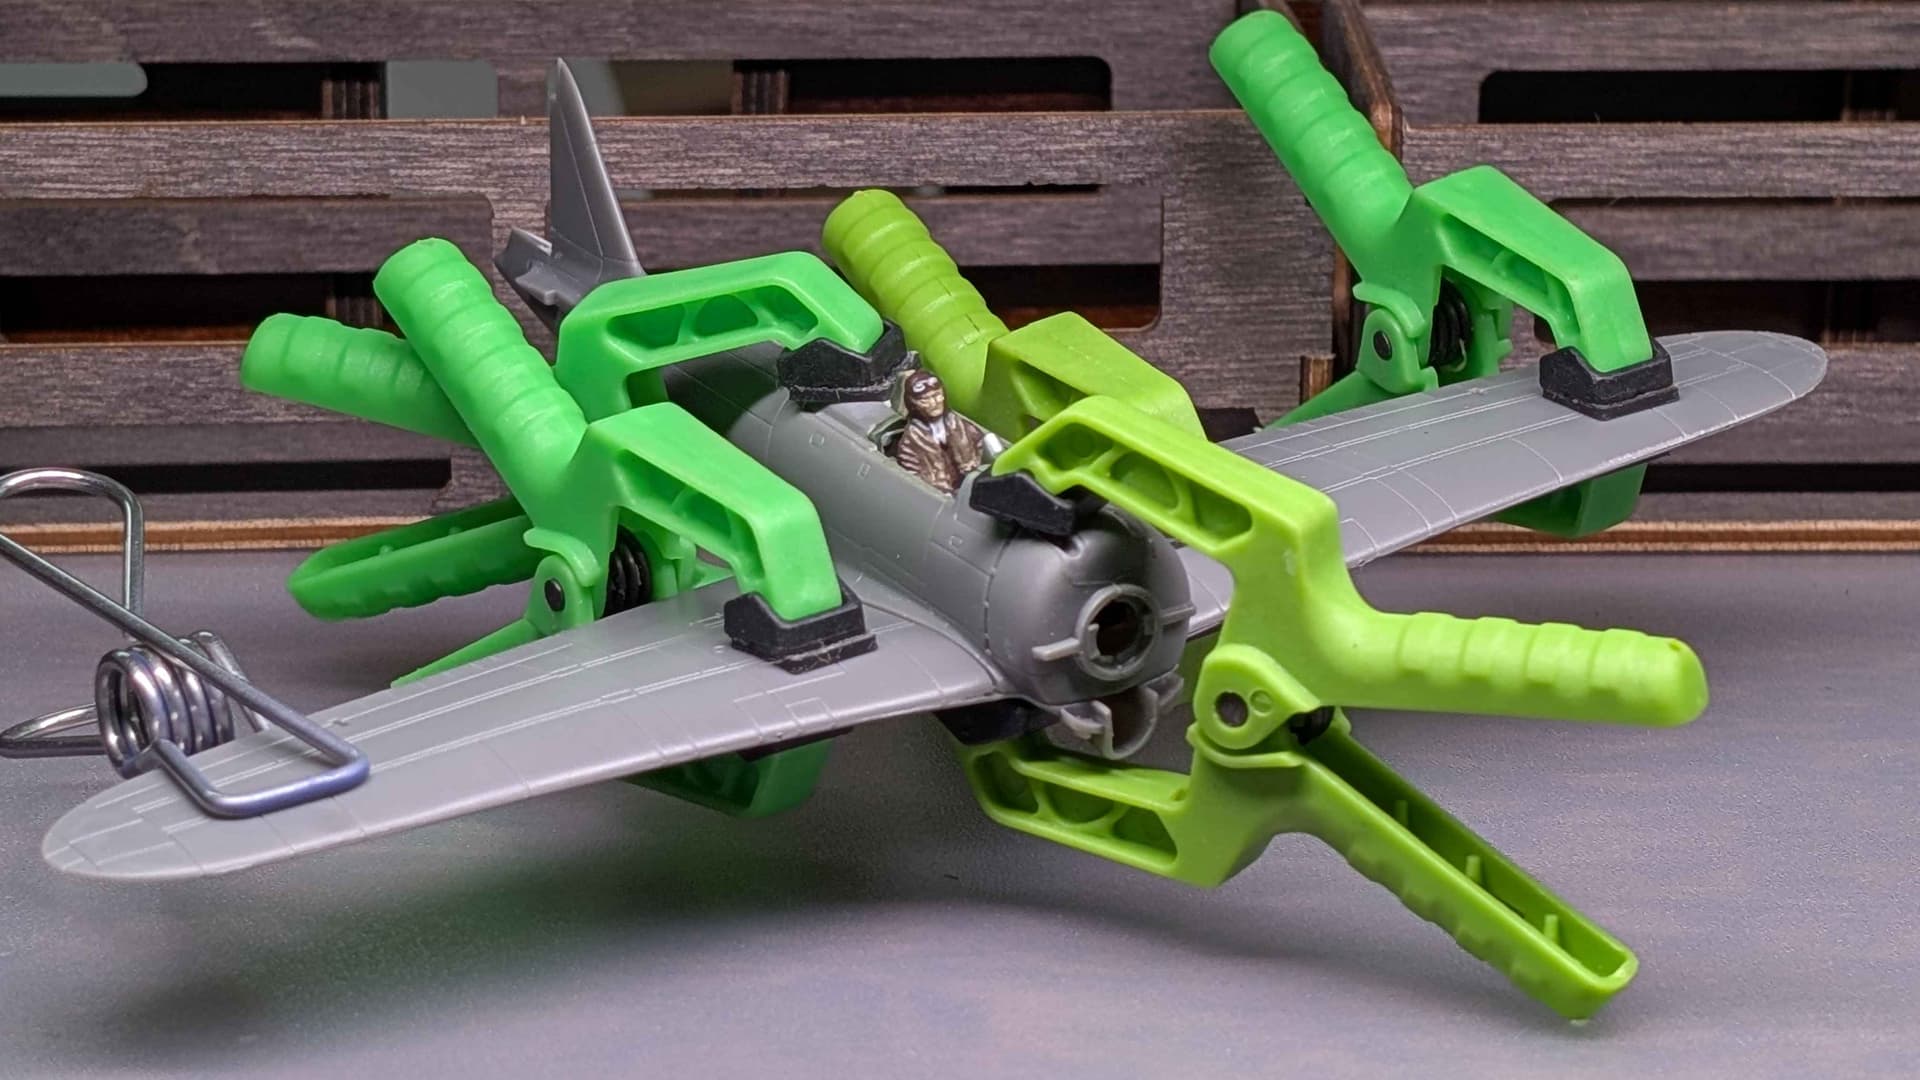
@fjs3 … Thanks Freddie! It’s been pretty trouble-free so far but I have a couple of gripes now that I’ve just done the largest part of the assembly. There is a very large gap between the upper wing root and fuselage, which I assume is to improve the odds of the parts coming together. I also noticed the wing penetrations for the 20mm cannon are barely rendered. I’m tempted to drill these out and slot in some tubing, but getting something that small is problematic.
I saw an older post here from 10 years ago, where folks would heat and stretch Q-Tip handles or Chupa-Chup sticks until they were left with a tiny plastic tube. Unfortunately the global transition away from plastic in these every day products appears to have left modelers behind. Now it looks like my best option is to source a suitable gauge of hypodermic needle…
@Samphoto … Thanks mate! It’s definitely putting me through my paces with researching things. Fortunately once I can work out what the random “cube” is trying to represent, it doesn’t take much to render these details visually legible so the colour then becomes the cue.
3 Likes
Ah, now I understand what you meant about the research. Figuring out what that random little cube is actually supposed to represent sounds like half the battle at that scale.
By the way, I saw what you said about the old plastic Q-tip tips. I actually have some of those. I’ve been hoarding them! If they’d help with the cannon barrels, I’d be happy to mail you a couple. It might take a bit of time to get to you considering your location and mine, but I’m happy to send you a couple.
1 Like
Very kind of you to offer mate  Unfortunately Australia is generally at the arse end of international shipping. I have a funny feeling we have some hypodermics in a box somewhere from some previous medical adventures, it’s just that locating it is less convenient than buying Q-Tips and Candy
  They will probably be a more durable and effective result of I can find them though…
1 Like
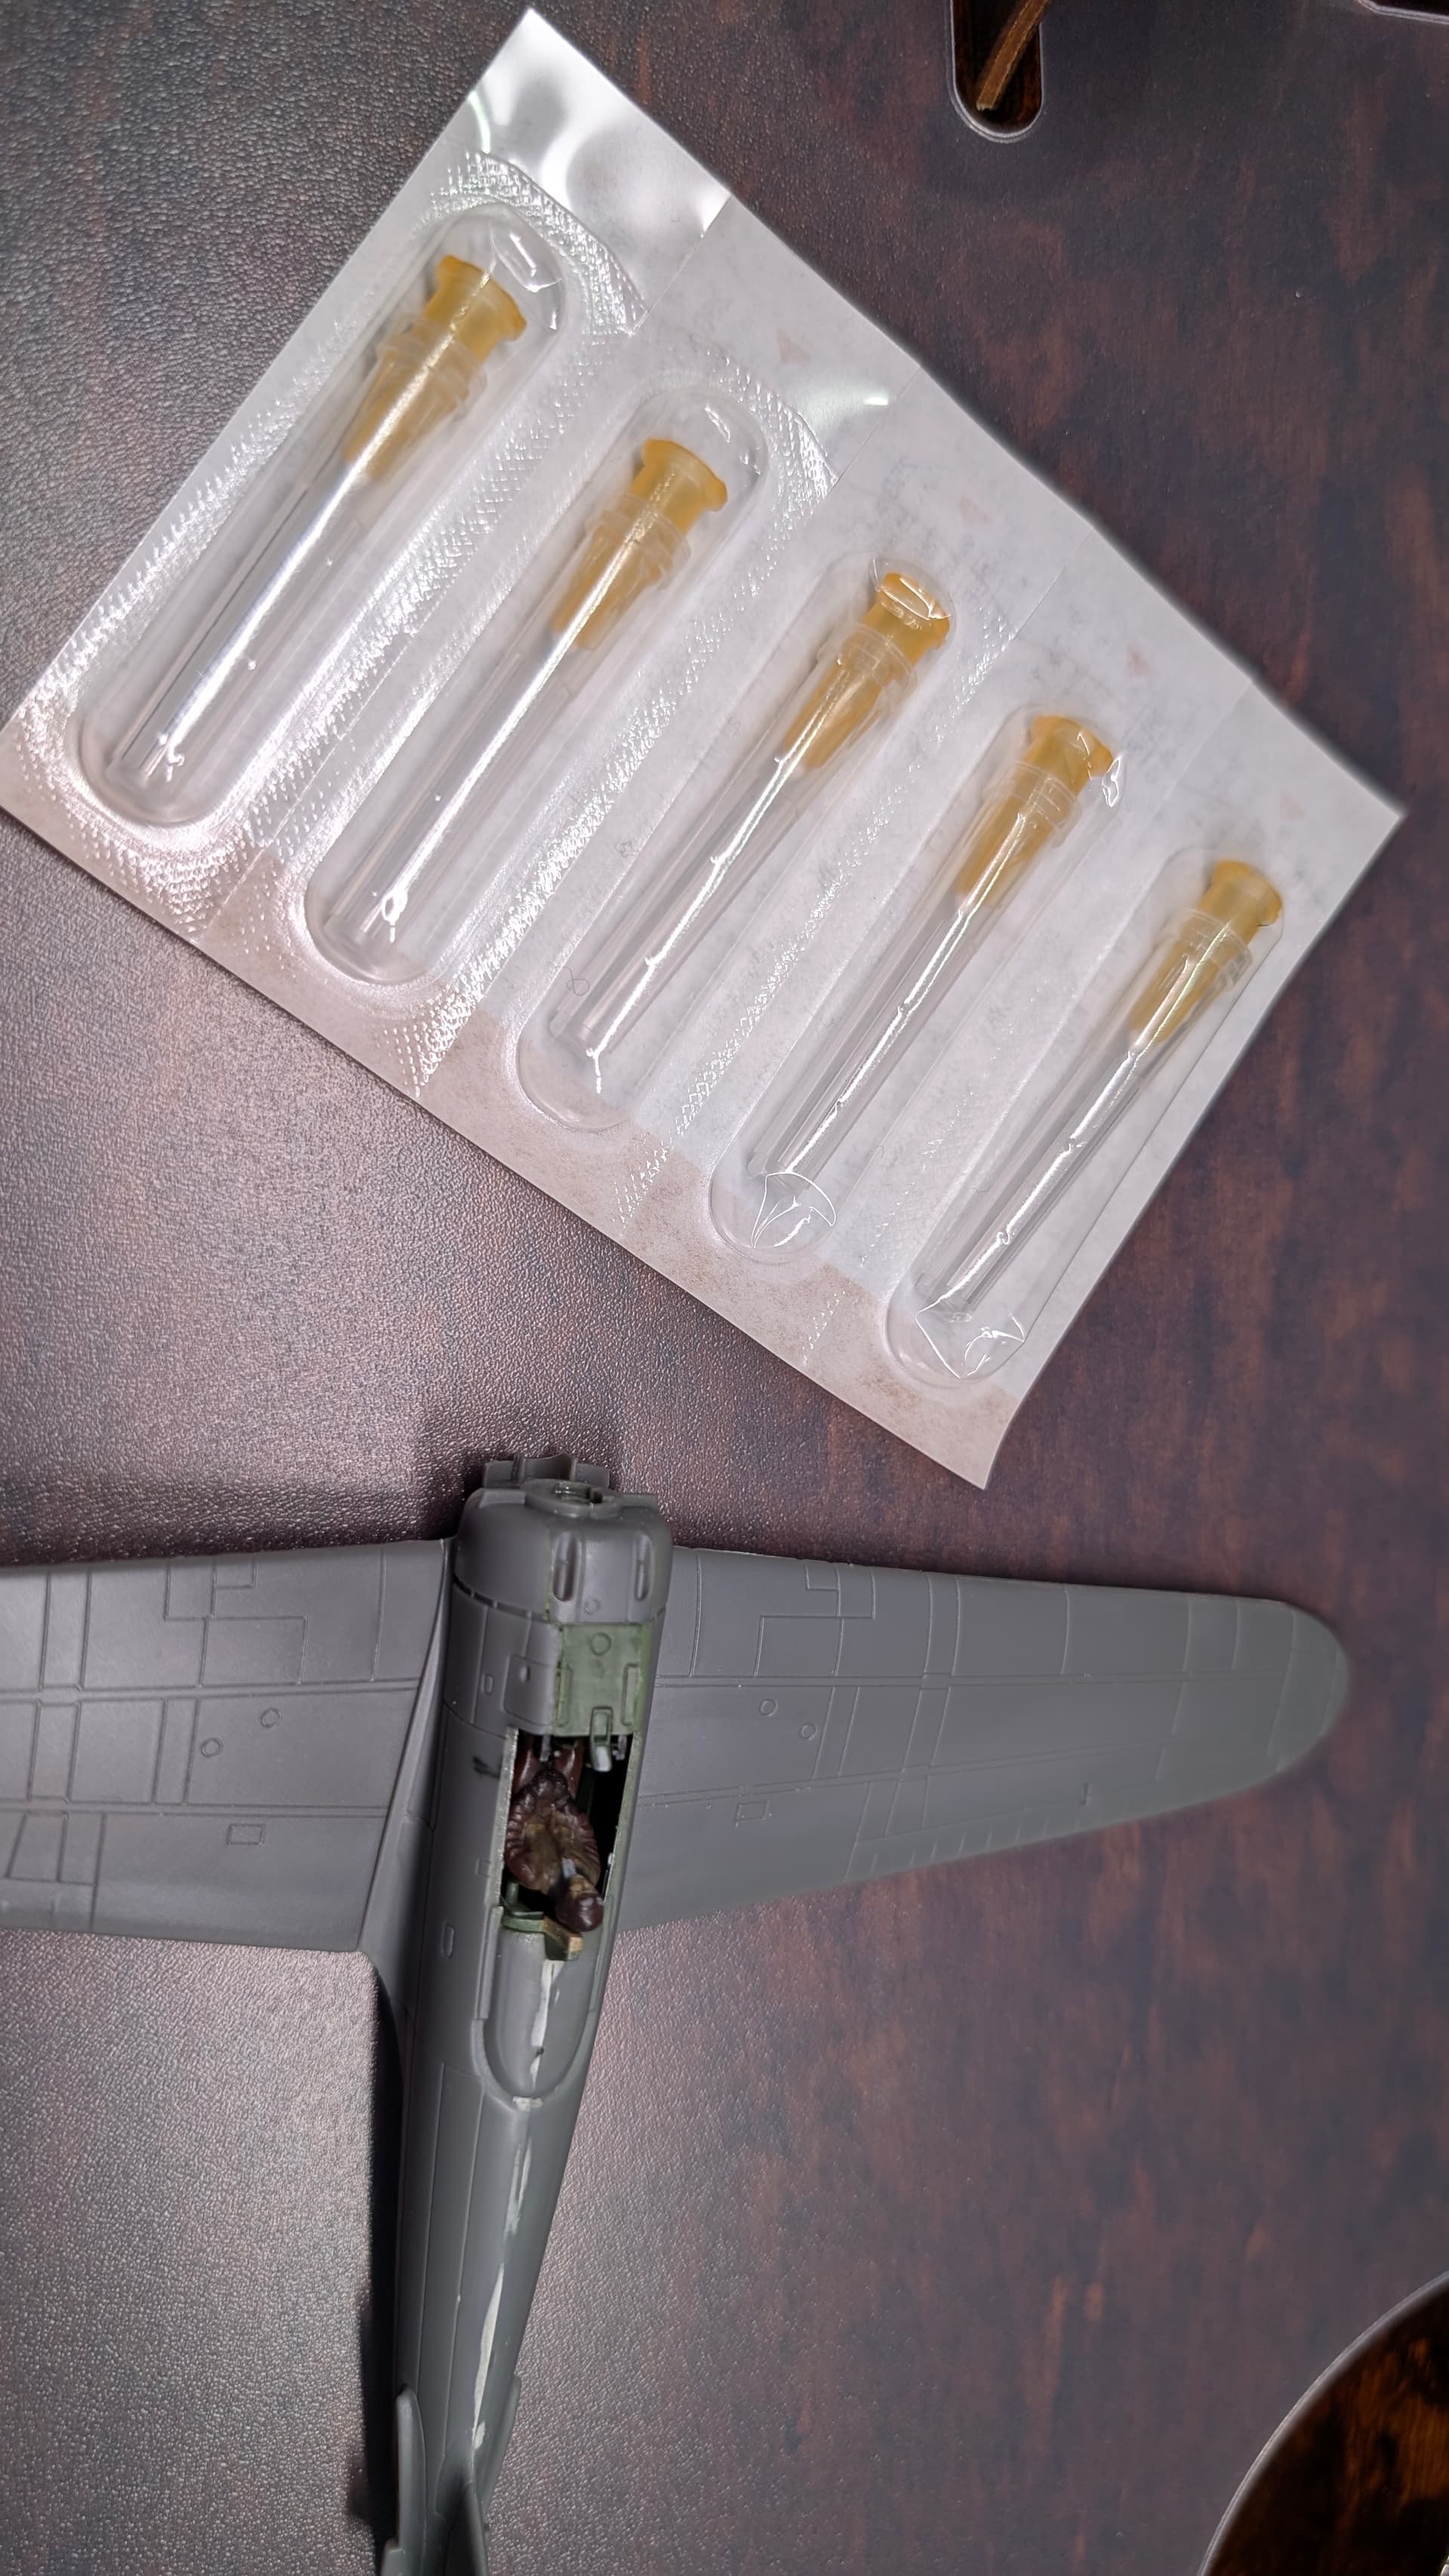
Huh, so apparently the friendly local pharmacy will straight up sell me a string of 25ga Hypodermics for $1 … Awesome!
That’s a 0.5mm external diameter > 36mm @ 1:72
Probably just about right for a 20mm barrel!
2 Likes
I had absolutely no idea you could just walk into a pharmacy and buy hypodermic needles that cheaply. That’s worth knowing!
I also never would have thought about the different needle sizes working out for different scale gun barrels. I’ll have to figure out what sizes might be useful in 1/48 and add that to my bag of tricks.
And considerably cheaper and weeks faster than having me send you my Q-tips from Seattle! 
1 Like
That’s a pretty good price. I’ve been using hypo needles to simulate gun barrels for years. There are so many sizes – it’s no problem finding one that matches what you need. They also make blunt tipped ones.
2 Likes
Very neat and well built.
Good work
2 Likes
Who knew the local pharmacy sold scale-model gun barrels?
And you just know that if they put those exact same needles in a package labeled “precision scale-model gun barrels,” they’d cost 20 times as much, plus shipping.
I’ve apparently been shopping for modeling supplies in all the wrong places.
How do you cut them?
3 Likes
I’m open to a safer solution than hitting them with the side cutters thus causing a piece of metal designed to puncture skin flying off in an uncontrolled direction.
2 Likes
What about a little jeweler’s saw or one of those very fine micro razor saws?
It seems like that would let you cut through the needle slowly and under control instead of launching a tiny sharpened piece of stainless steel across the room.  You’d probably have to clean up the cut end with a file afterward, but that seems considerably safer than side cutters.
I haven’t tried it myself, but now that you’ve got me thinking about using these for gun barrels, I’m going to have to figure this out too.
1 Like
I use the AK Rotary Tool for this!
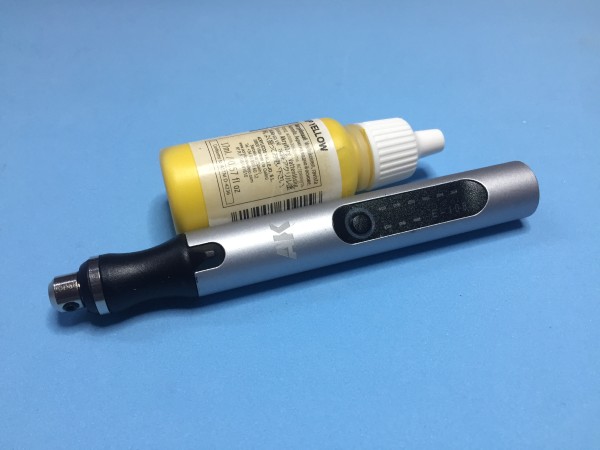
You can get cheaper versions on Amazon or Ebay, often named Minidrill, but the AK tool comes with very handy accessoires especially for modellers.
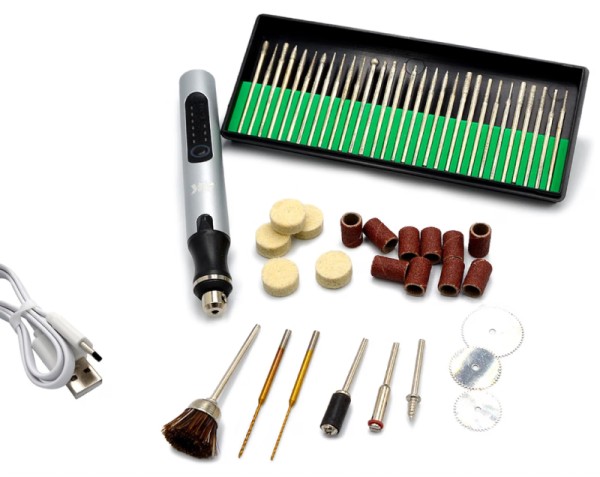
The biggest advantage is the slow speed, a lot more plastic friendly than a Dremel.
For cutting needles I use these discs.
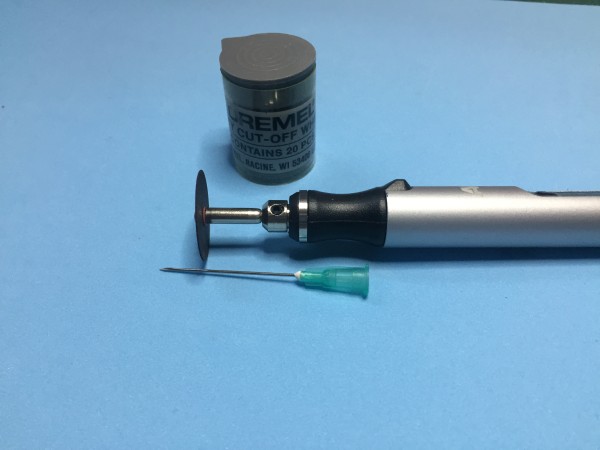
Safe, precise, perfect!
3 Likes
I knew guns, pitots and pins before - here you can see how useful these needles are!
2 Likes
Excellent info, thanks for you input! I have an engraver with every abrasive imaginable, but no cutoff disc. Guess I’m off to HammerBarn 

2 Likes
Wait a minute… I just remembered I already own this thing.
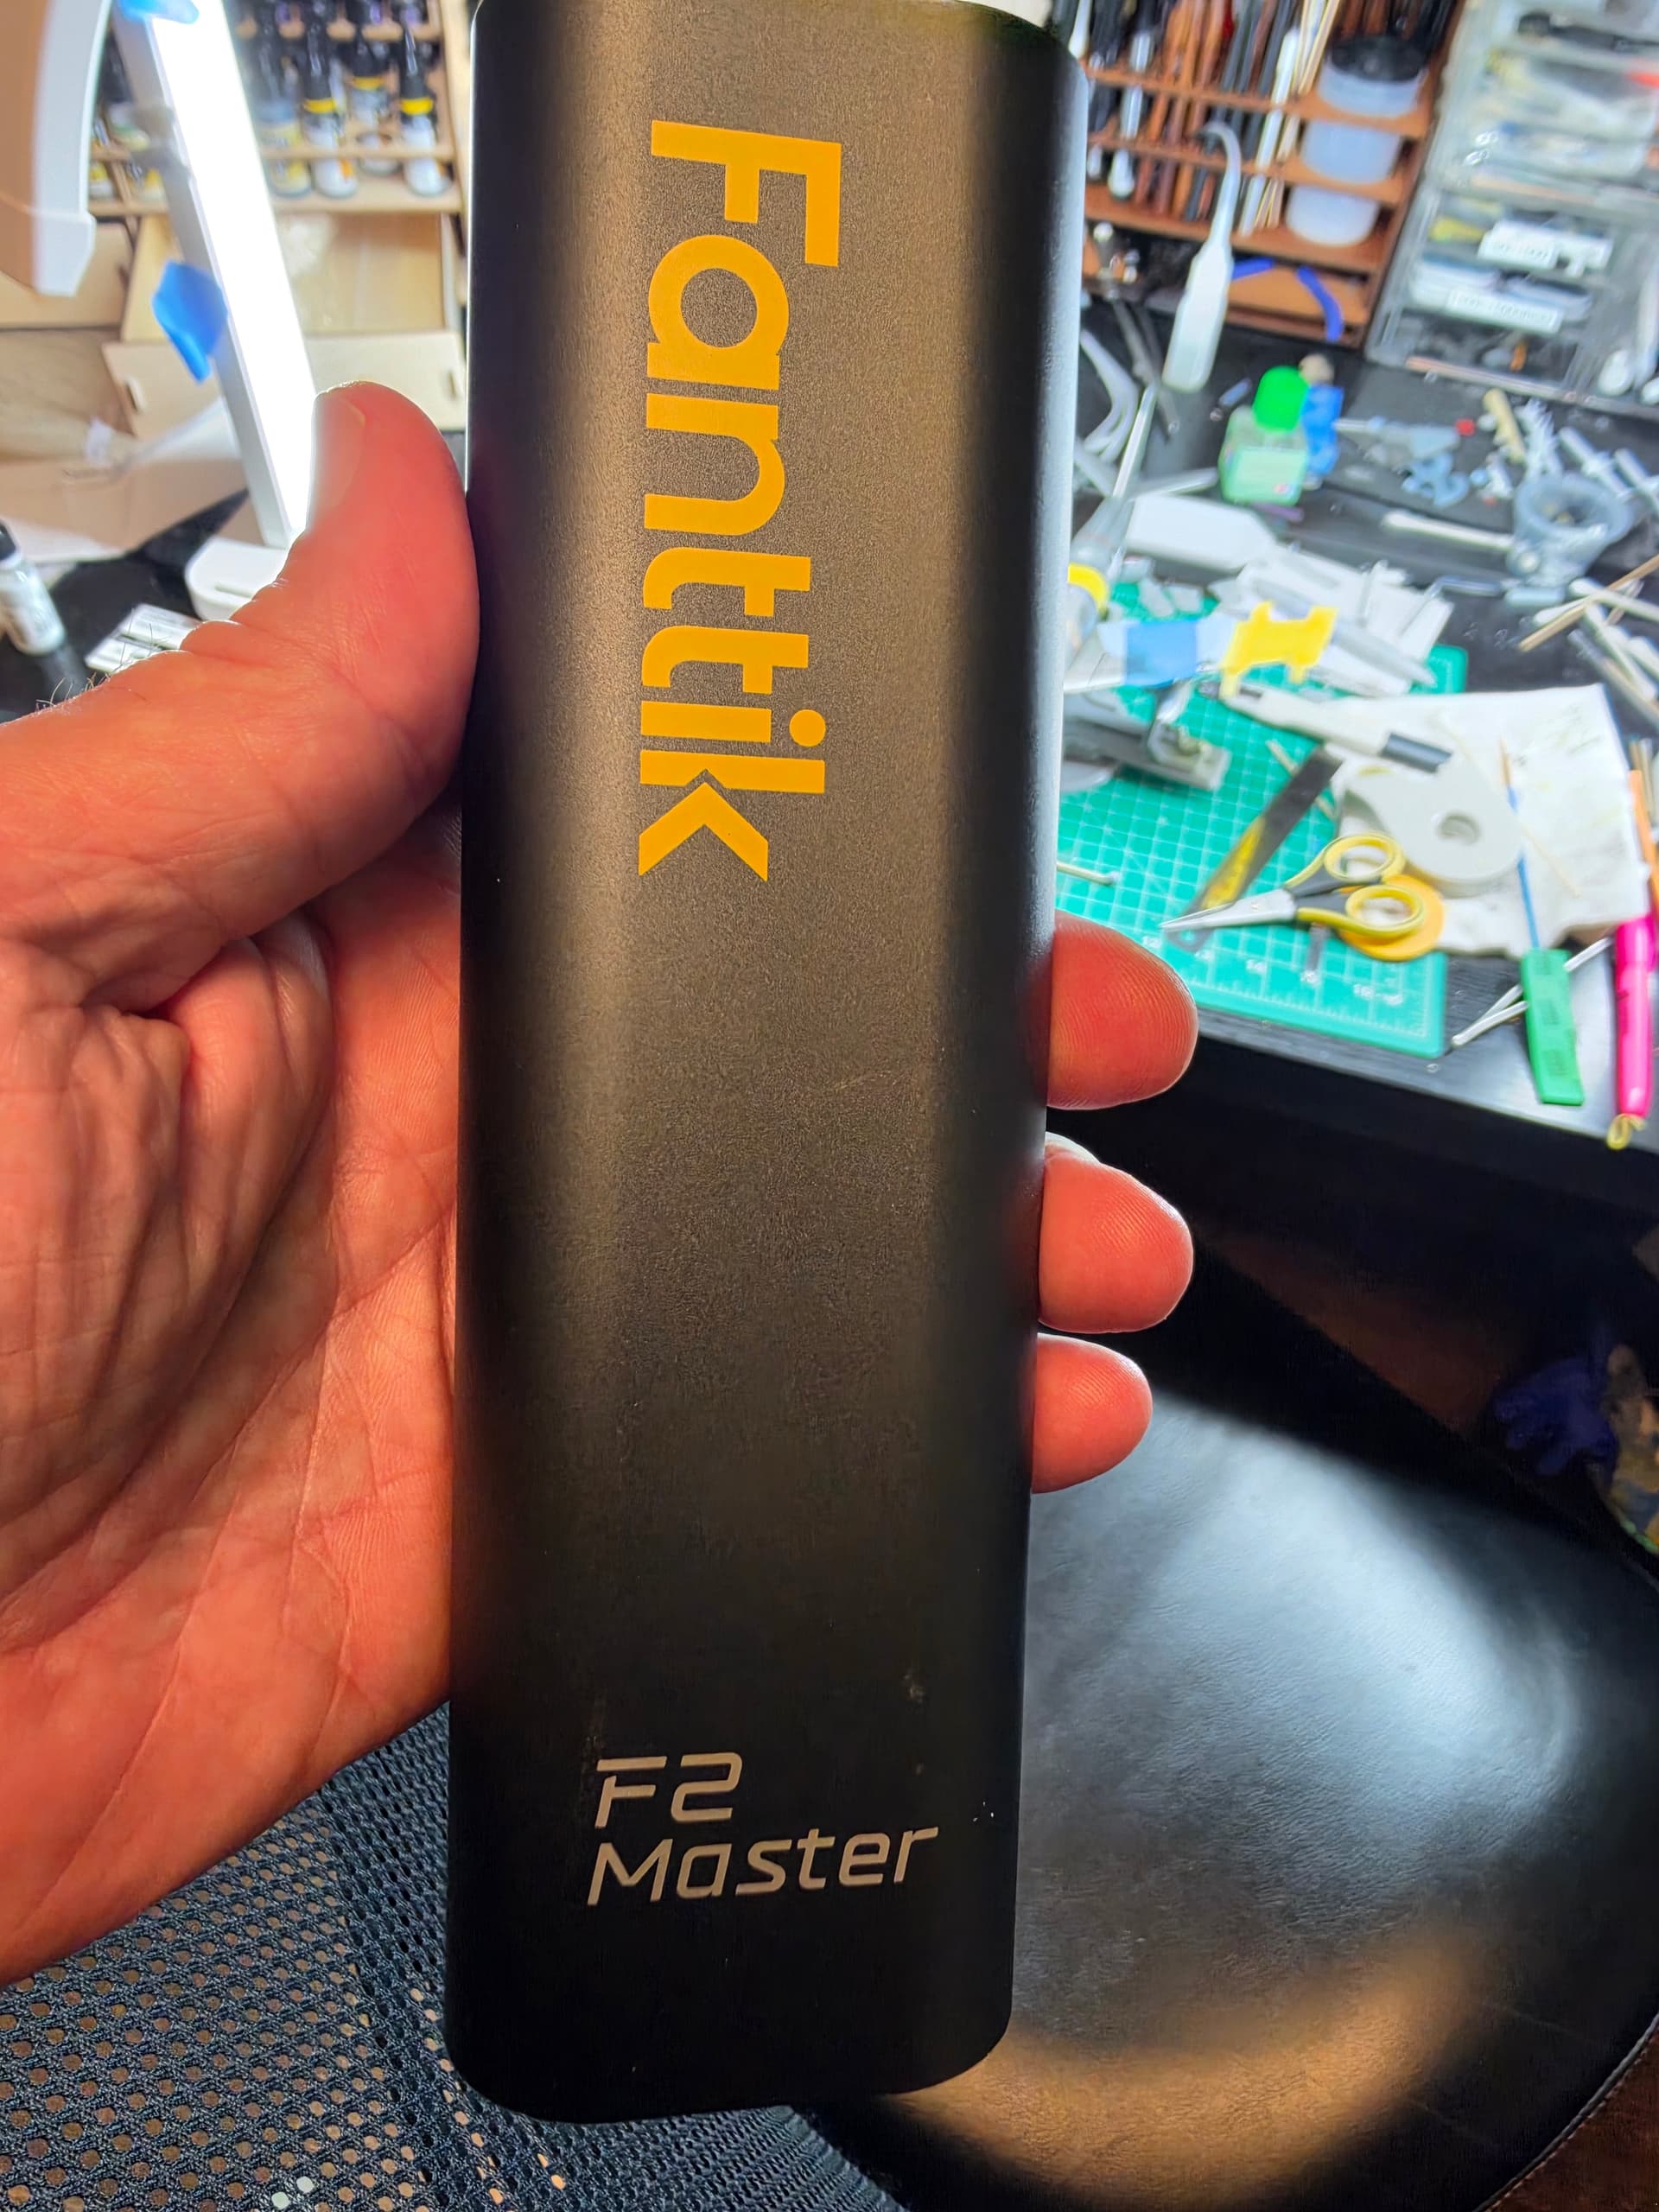
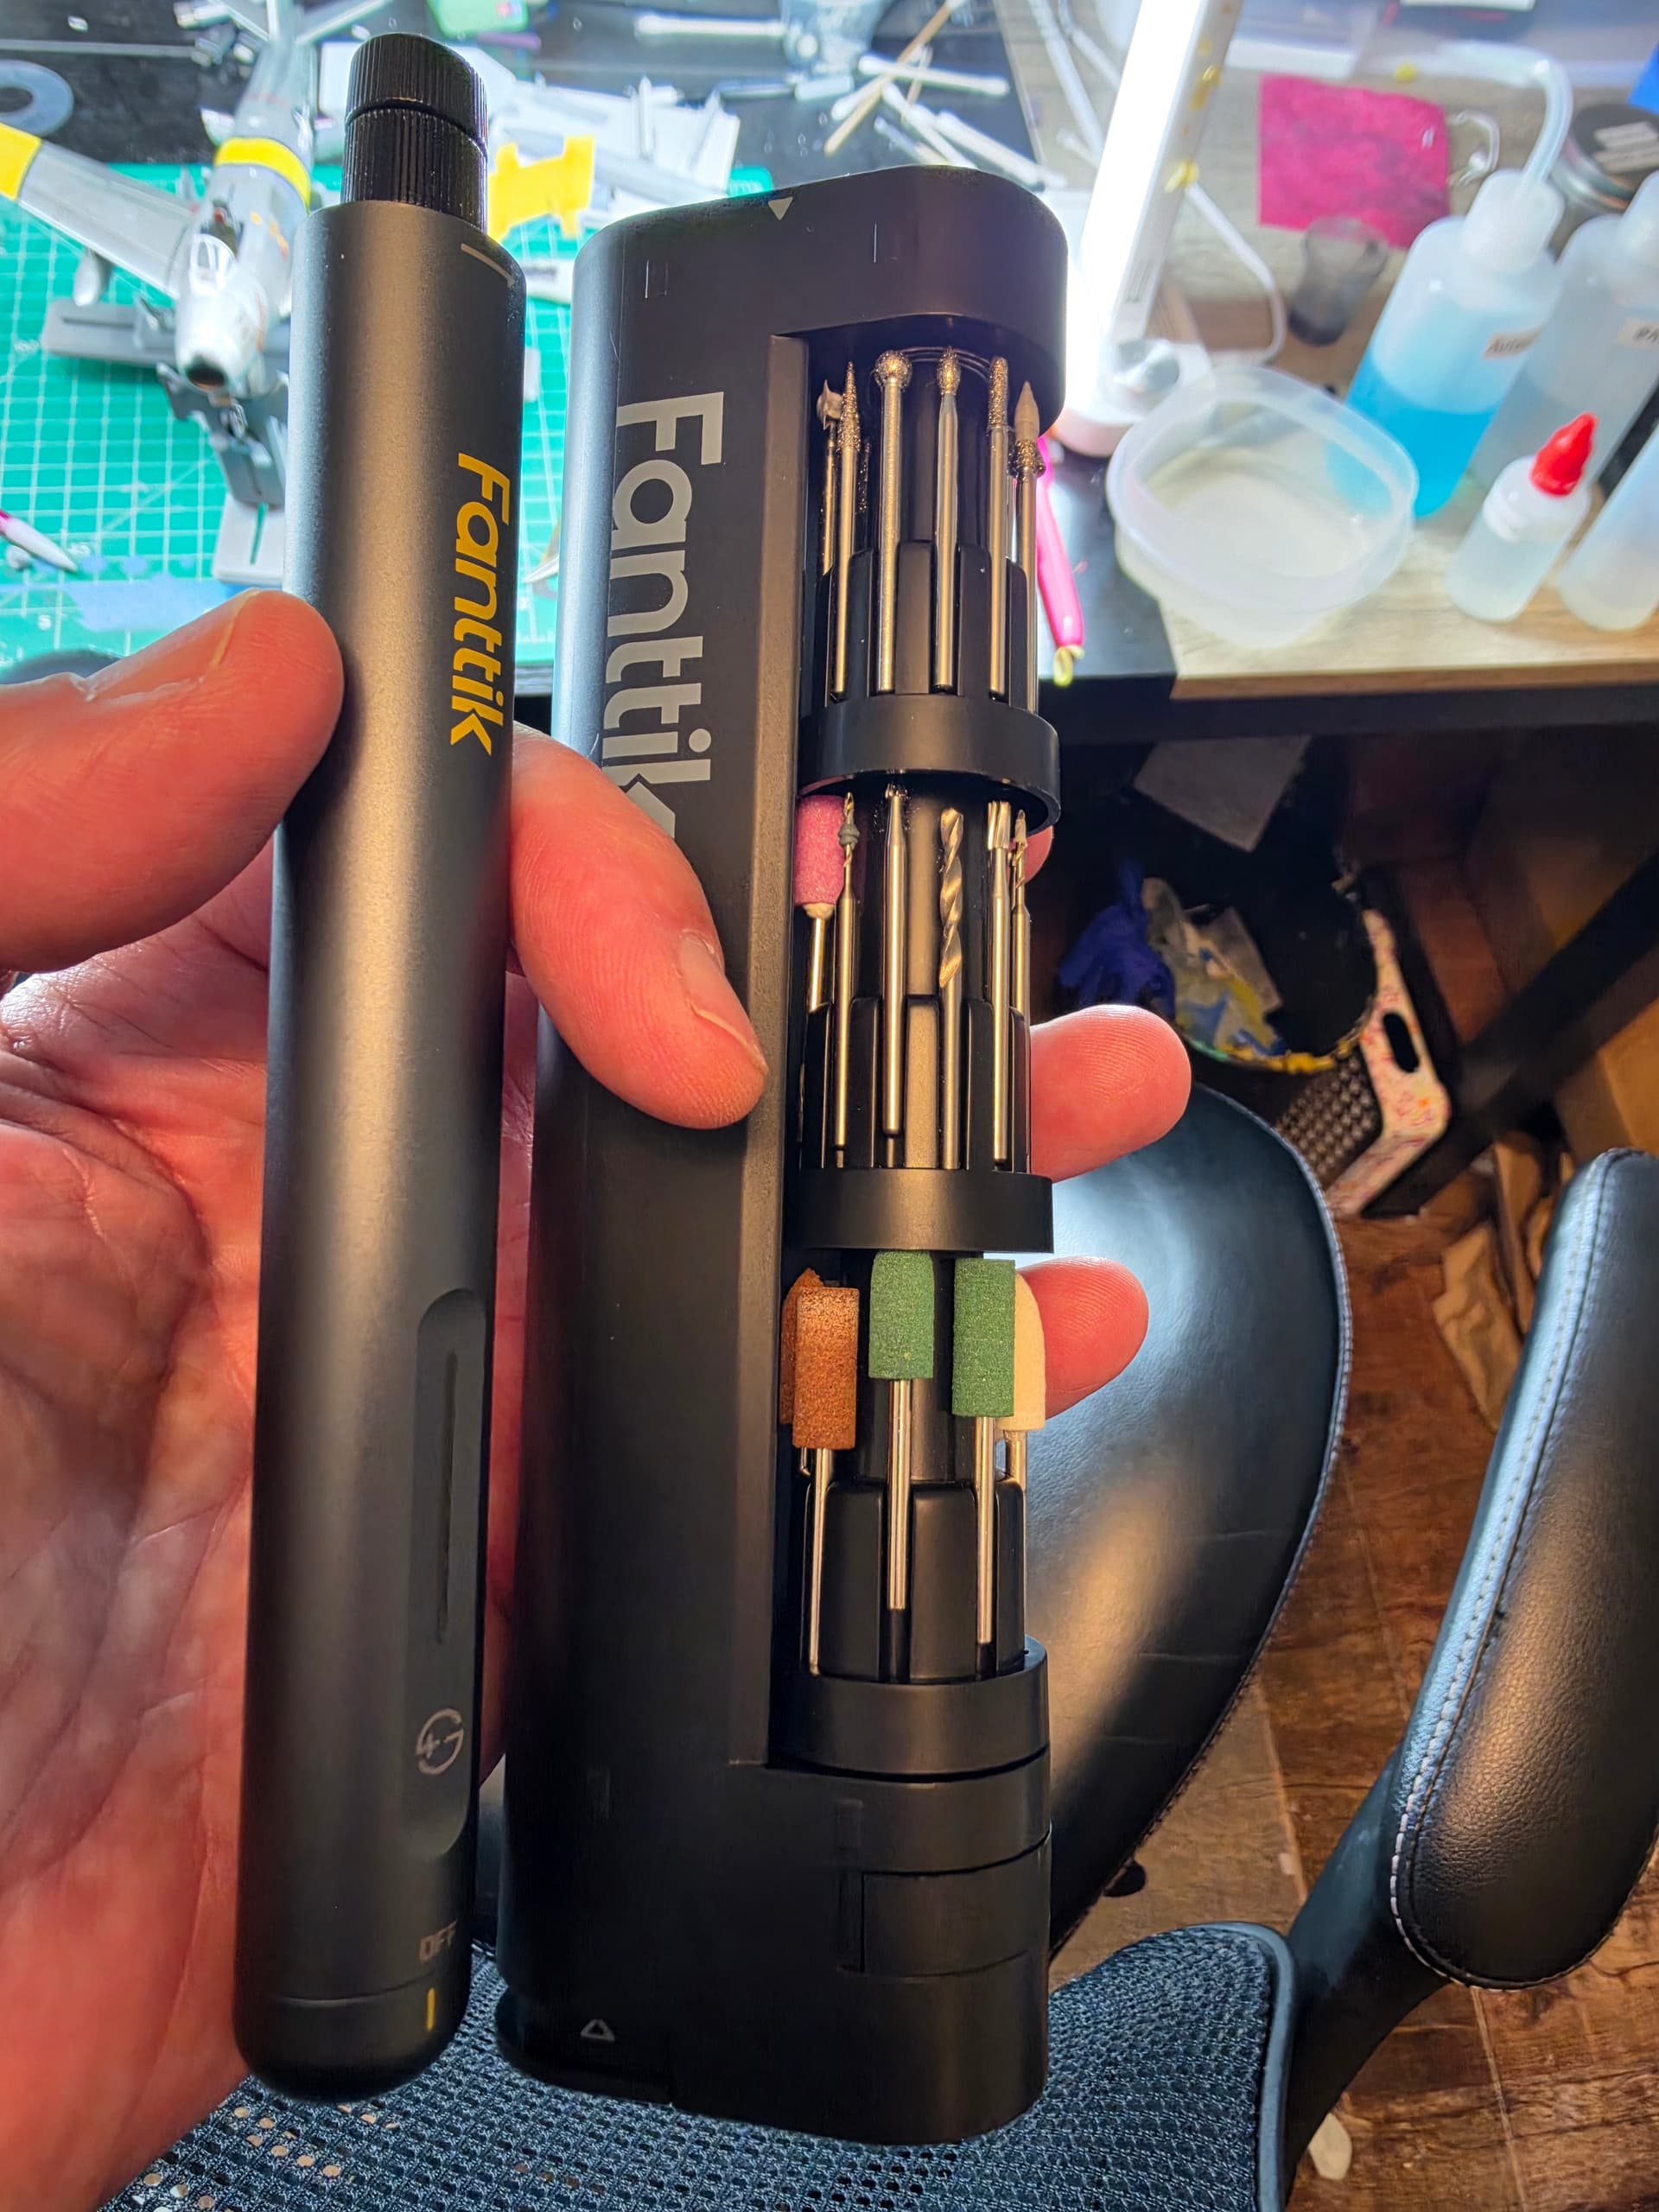
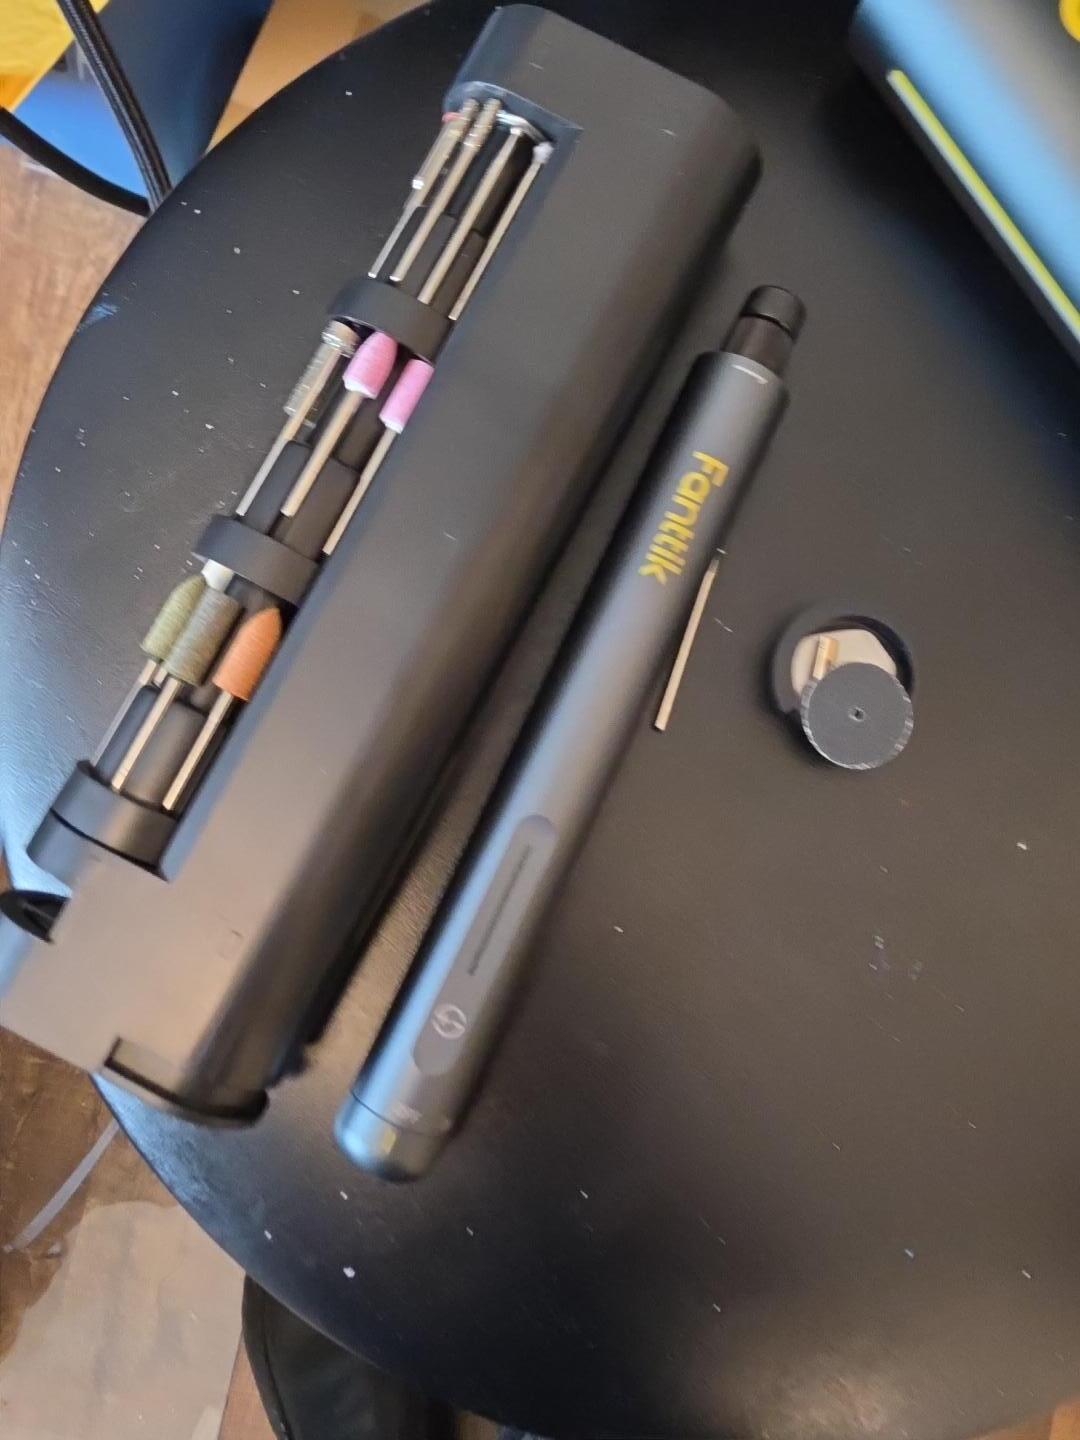
It’s a little Fanttik F2 Master cordless rotary tool, and sure enough, it came with a small cutoff wheel.
I haven’t actually tried cutting a hypodermic needle with it yet, but looking at this thing, it seems like it would be perfect for the job.
Apparently I’ve been sitting here trying to figure out what tool we need while the answer was already sitting at my workbench.
4 Likes
To cut the ones I’ve used, I use a moto tool with one of the fine cutting wheels. I then hold both ends with a double clamped 'Helping Hands", mark the area where I will be cutting with a sharpie or other fine point marker, and tap it slowly with the cutting wheel on high speed. It’ll go through the steel tubing without damaging it, crushing it or distorting the tube.
The end I use for the barrel, I clean up with a pointed metal cutter to clear any burrs. It works well, and does not send shards of pointed and torn metal shooting around the room.
With your zero, the barrels were flush with the leading edge of the wing so all you’ll see it the very end at the beginning of the hole. You’ll probably need any more than 1/4 inch at most. You could wrap marking tape around the area to be cut to further protect the tube.
It’s what I do when faced with that. I am sure there are many other ways to achieve the same result without spending a ton of cash on any special tools.
2 Likes