The k10 is beautiful!
1 Like
Oh, don’t even say that! 
After all of these decals, I can absolutely picture myself getting to the end and finding one tiny stencil still sitting on the sheet with no idea where it was supposed to go.
At that point, I think I’m just going to declare it a spare part and move on. 
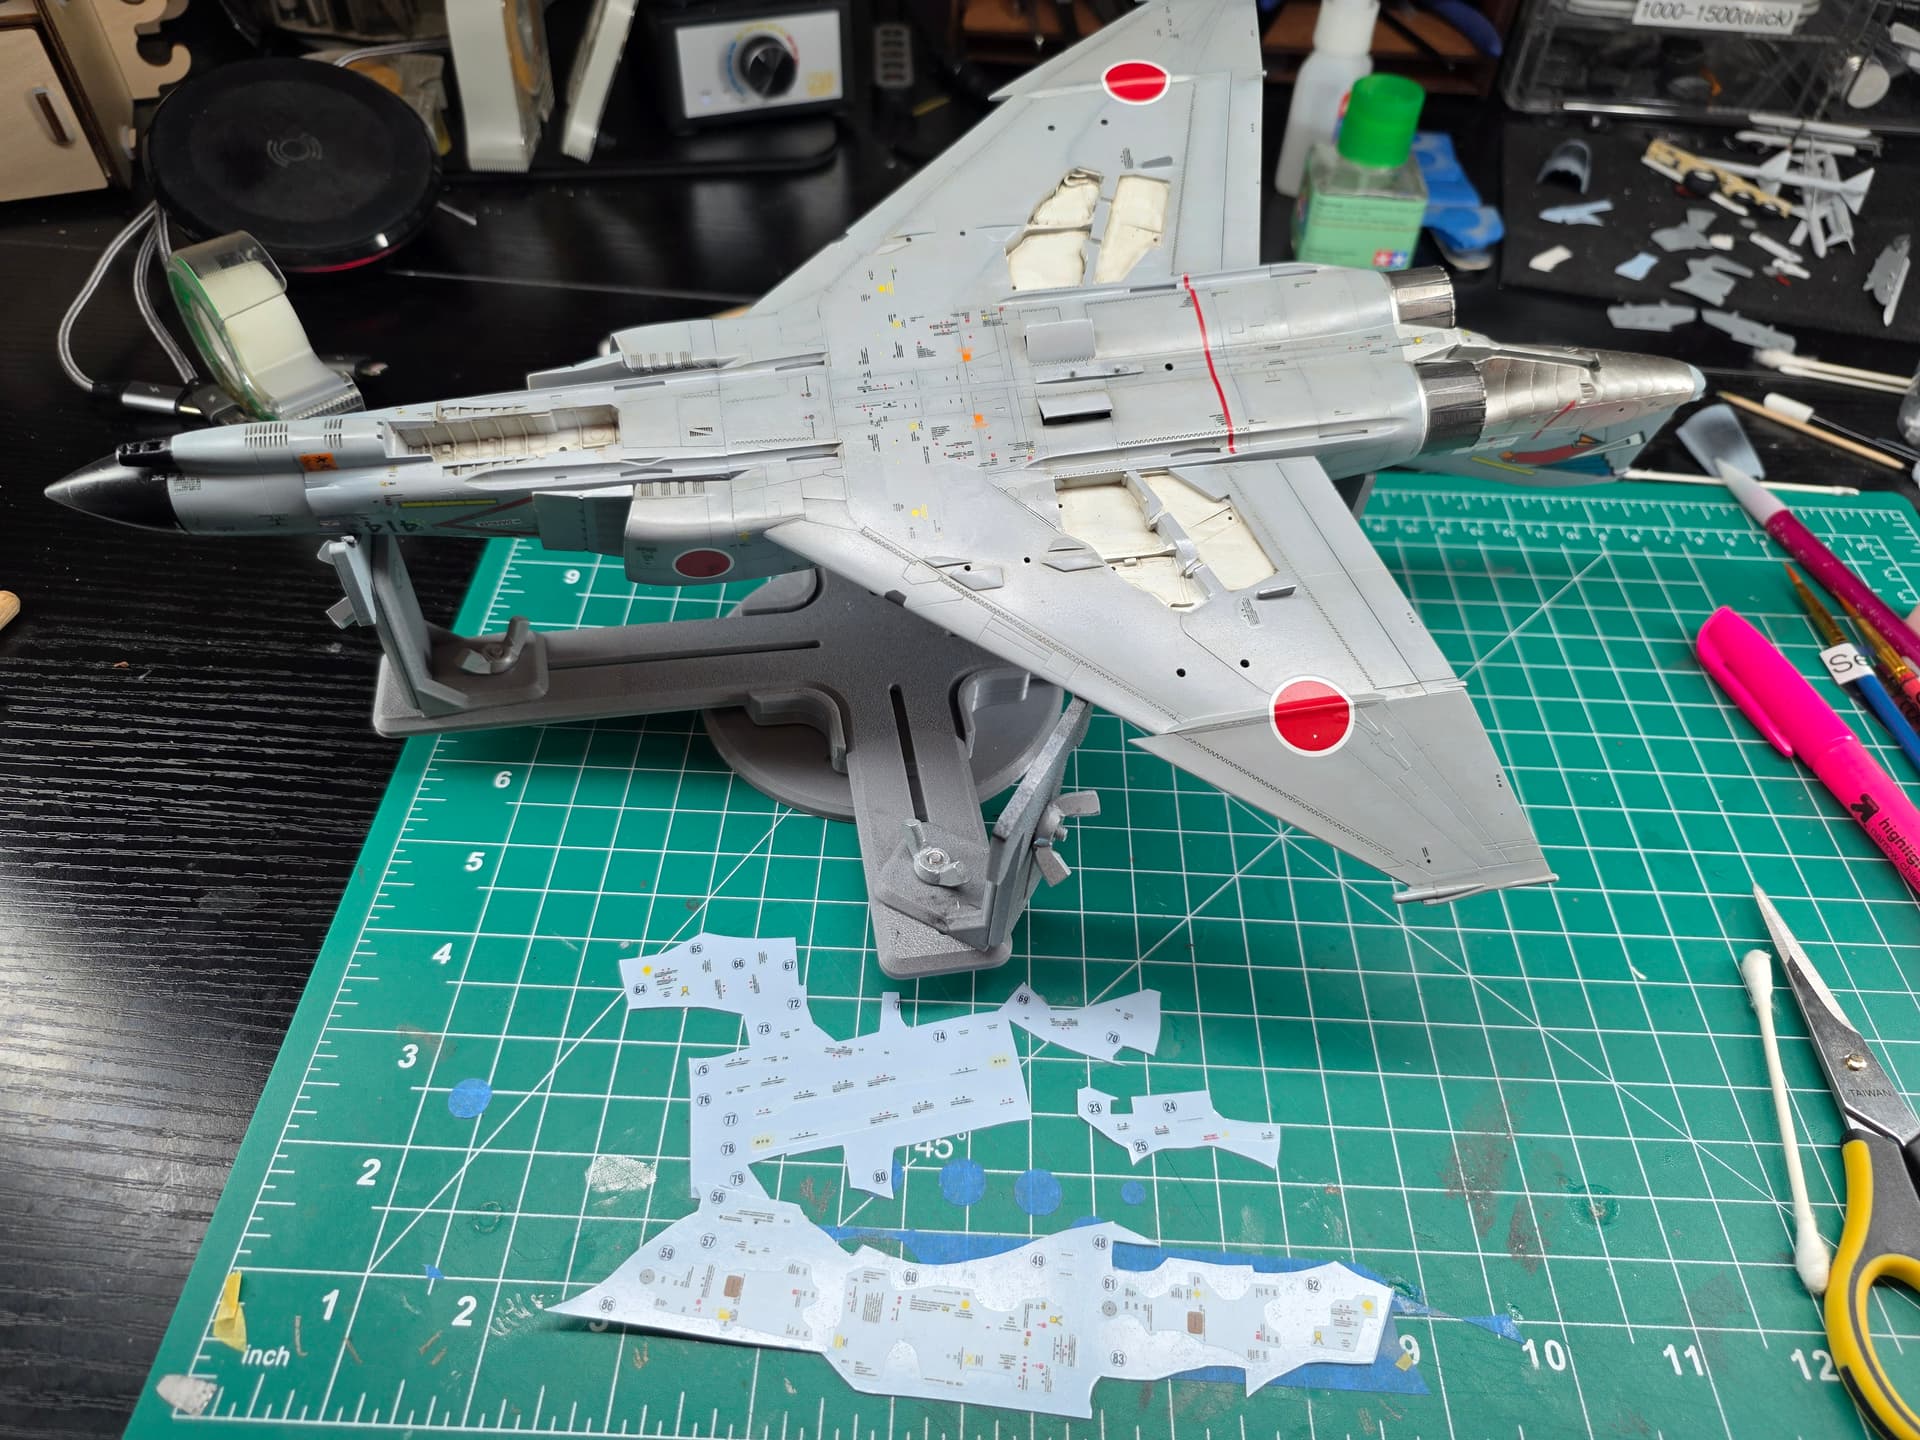
This is all I have left now. After staring at these decal sheets for what seems like forever, it’s pretty satisfying to finally see this much empty space!
4 Likes
Airfix 1:72 Mitsubishi A6M2b Zero
So a bit of a brainsnap forced our hand on the reworking of cockpit details, but I think this is ultimately for the best.
In the interests of disclosure and cautionary tales, I had momentarily forgotten that Mr Colour Levelling Thinner 400 is a hungry beast that eats acrylics for breakfast, so it probably wasn’t the best choice of thinner for applying a matt varnish over colours applied barely 8hrs earlier
Now I won’t die wondering whether leaving it per my previous post was the right choice…
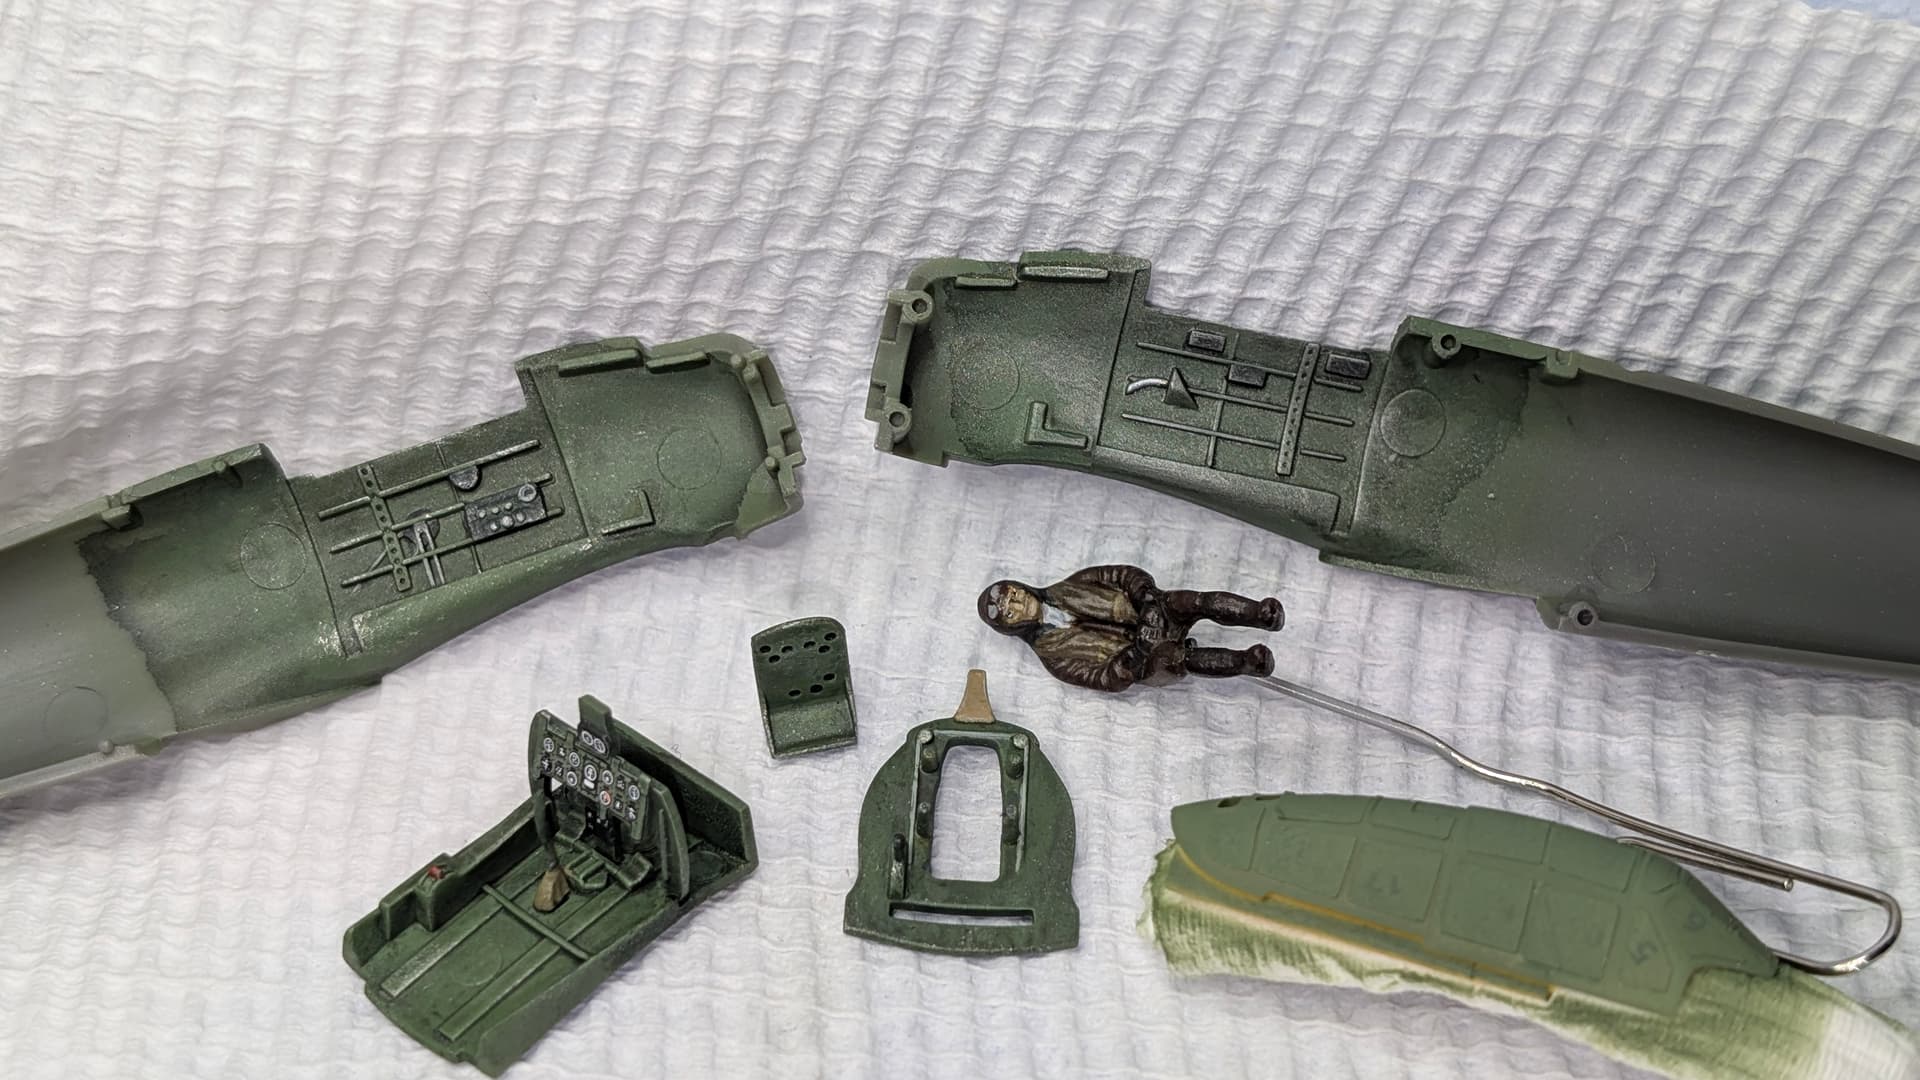
Time to get some cockpit assembled and hull sections mated!
@Samphoto … Your finish line of decallery draws ever closer! I hope you have a nice and relaxing weathering process awaiting you afterwards, and an empty decal sheet!
4 Likes
Ouch. Well, I suppose that’s one way to make the decision about whether to redo the cockpit for you!
That’s a useful cautionary tale, though. At least this happened in the cockpit rather than across the top of a finished paint job.
And yes, the end of the decallery is finally in sight! I’m down to just a handful now. At this point, if there’s anything left on those sheets when I’m finished, I’m declaring it optional.
I’m actually looking forward to weathering. After spending this long putting tiny decals on the thing, it’ll be nice to get back to doing something that feels like modeling again!
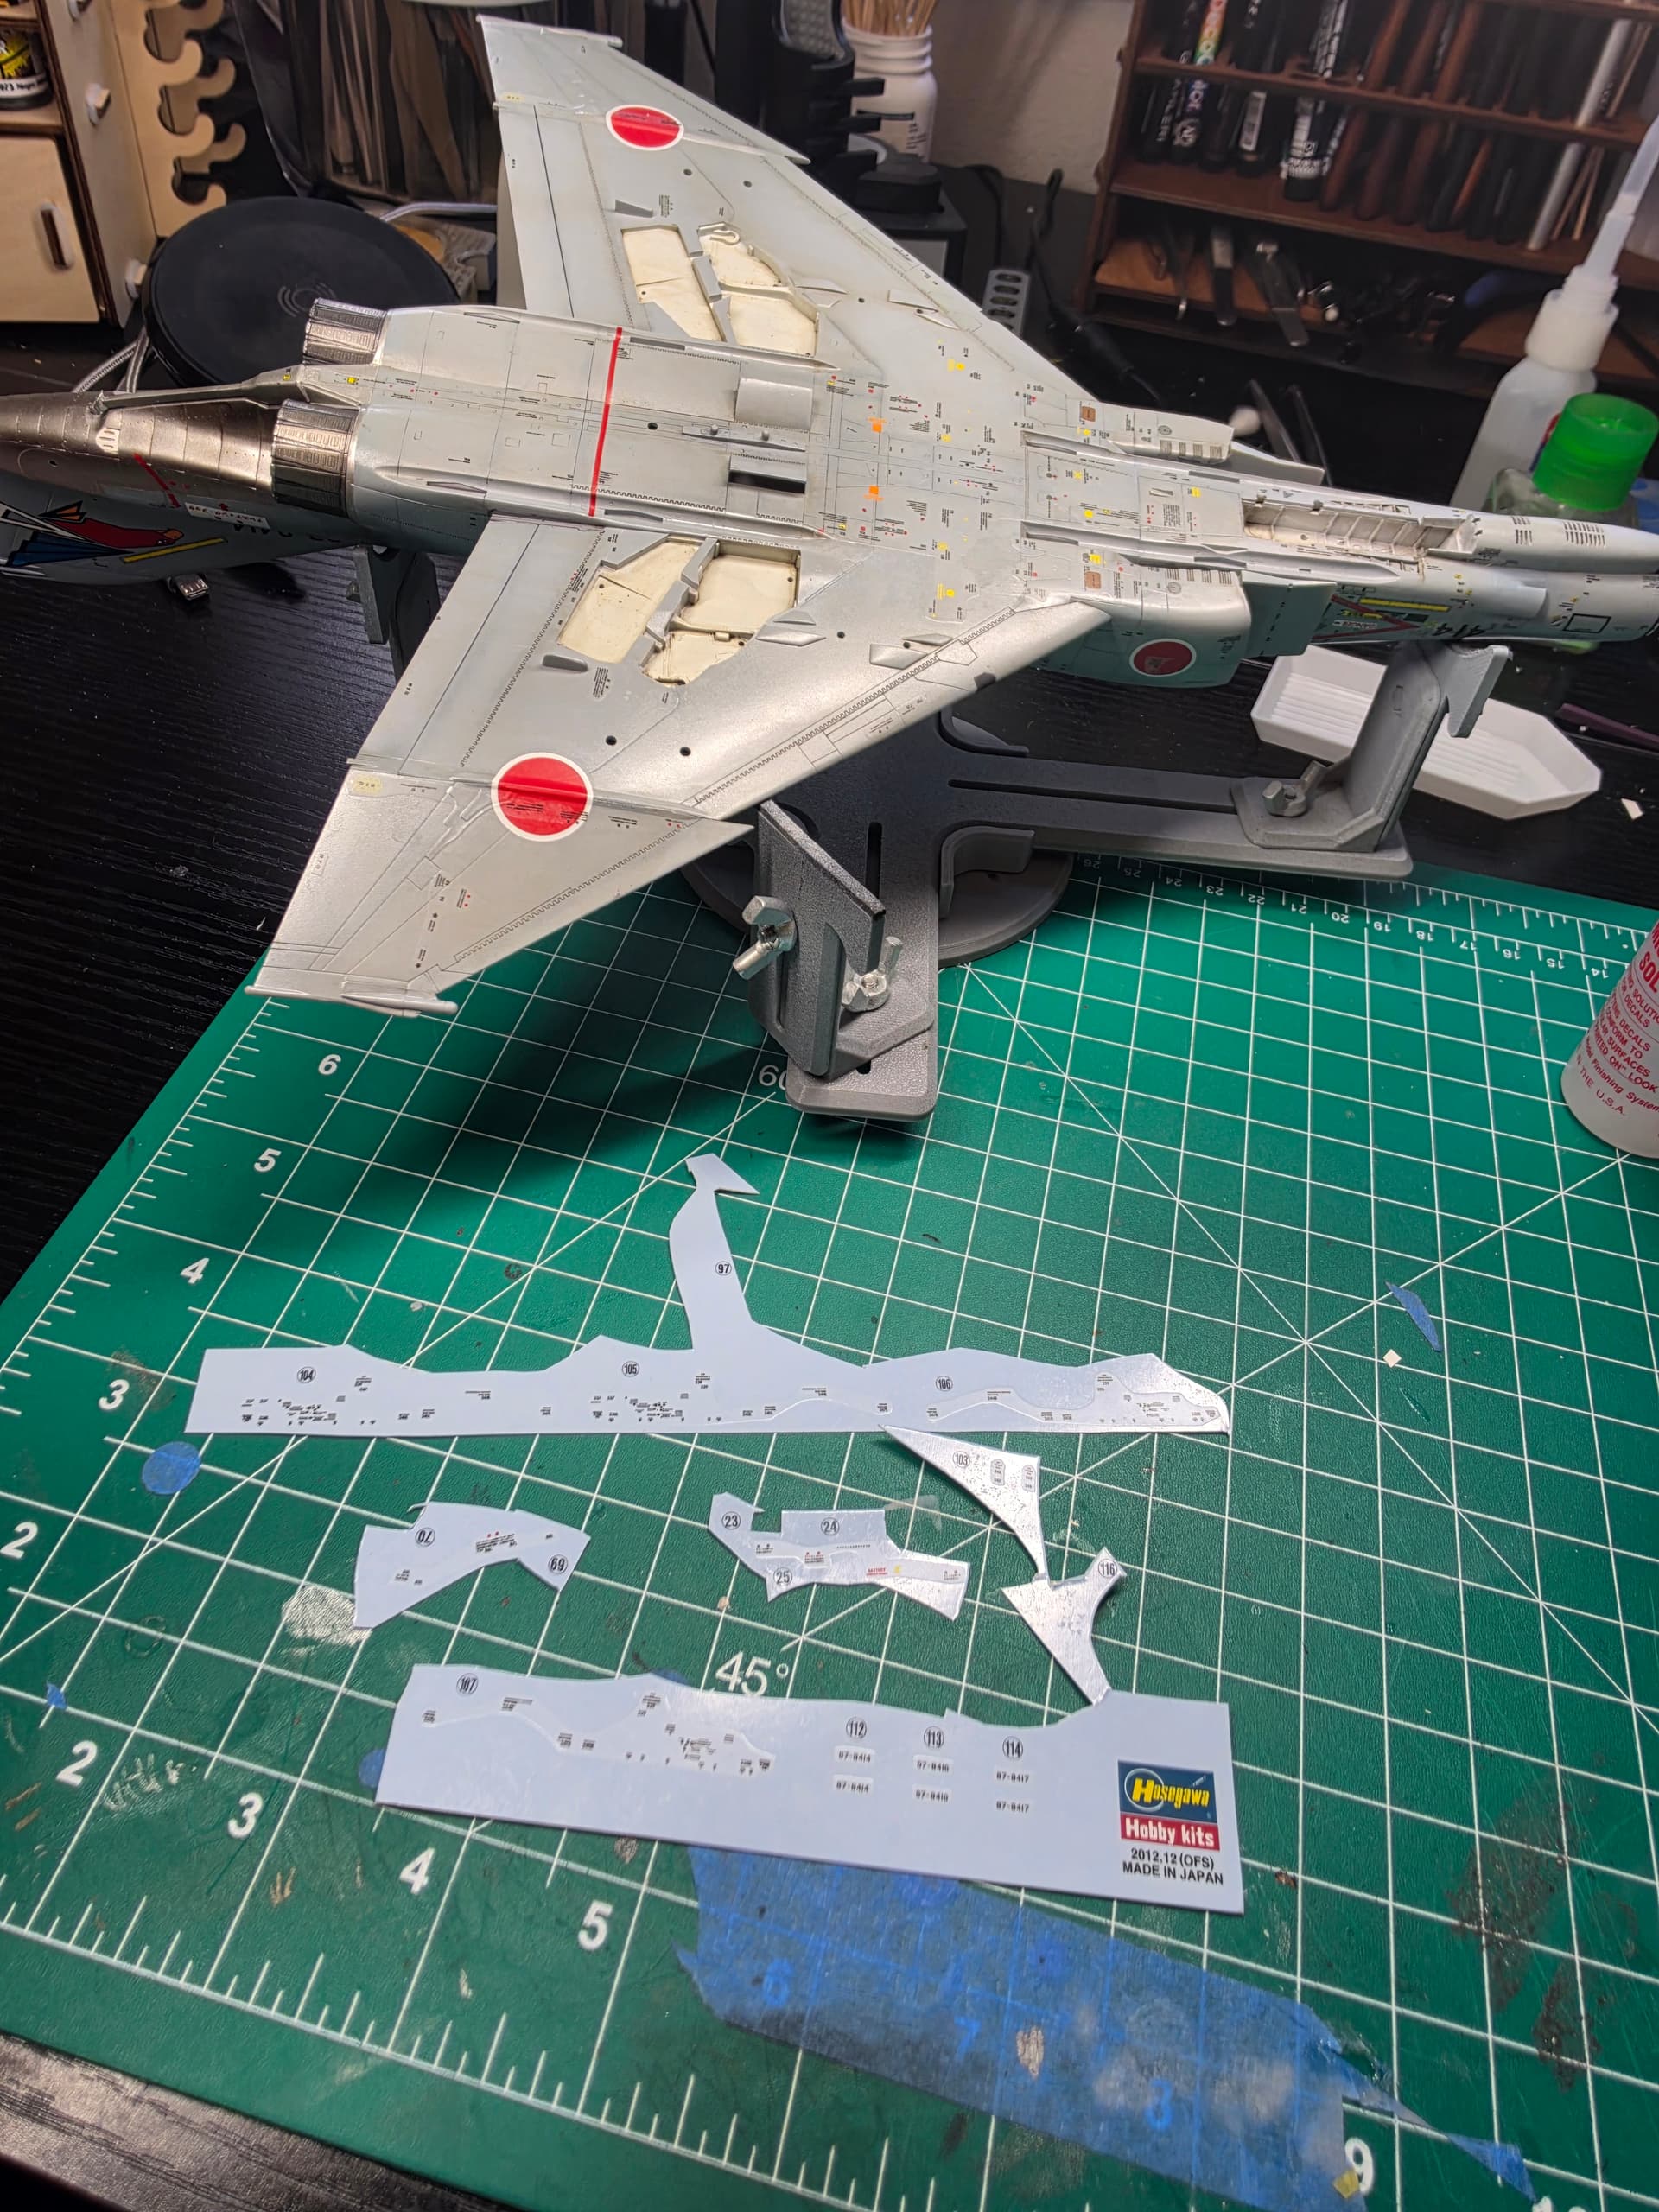
Full report on the status of the decals coming later this weekend. For now, here’s what’s left.
4 Likes
Airfix 1:72 Mitsubishi A6M2b Zero
We’re now “closed” for business! I do have one problem though… Our very polite pilot isn’t “manspreading” enough to get his legs around the central column of the instrument panel. I was reluctant to install him until I was ready to sit the canopy on, but I feel forcing his legs apart while threading our very delicate joystick between his legs may be a recipe for breakage…
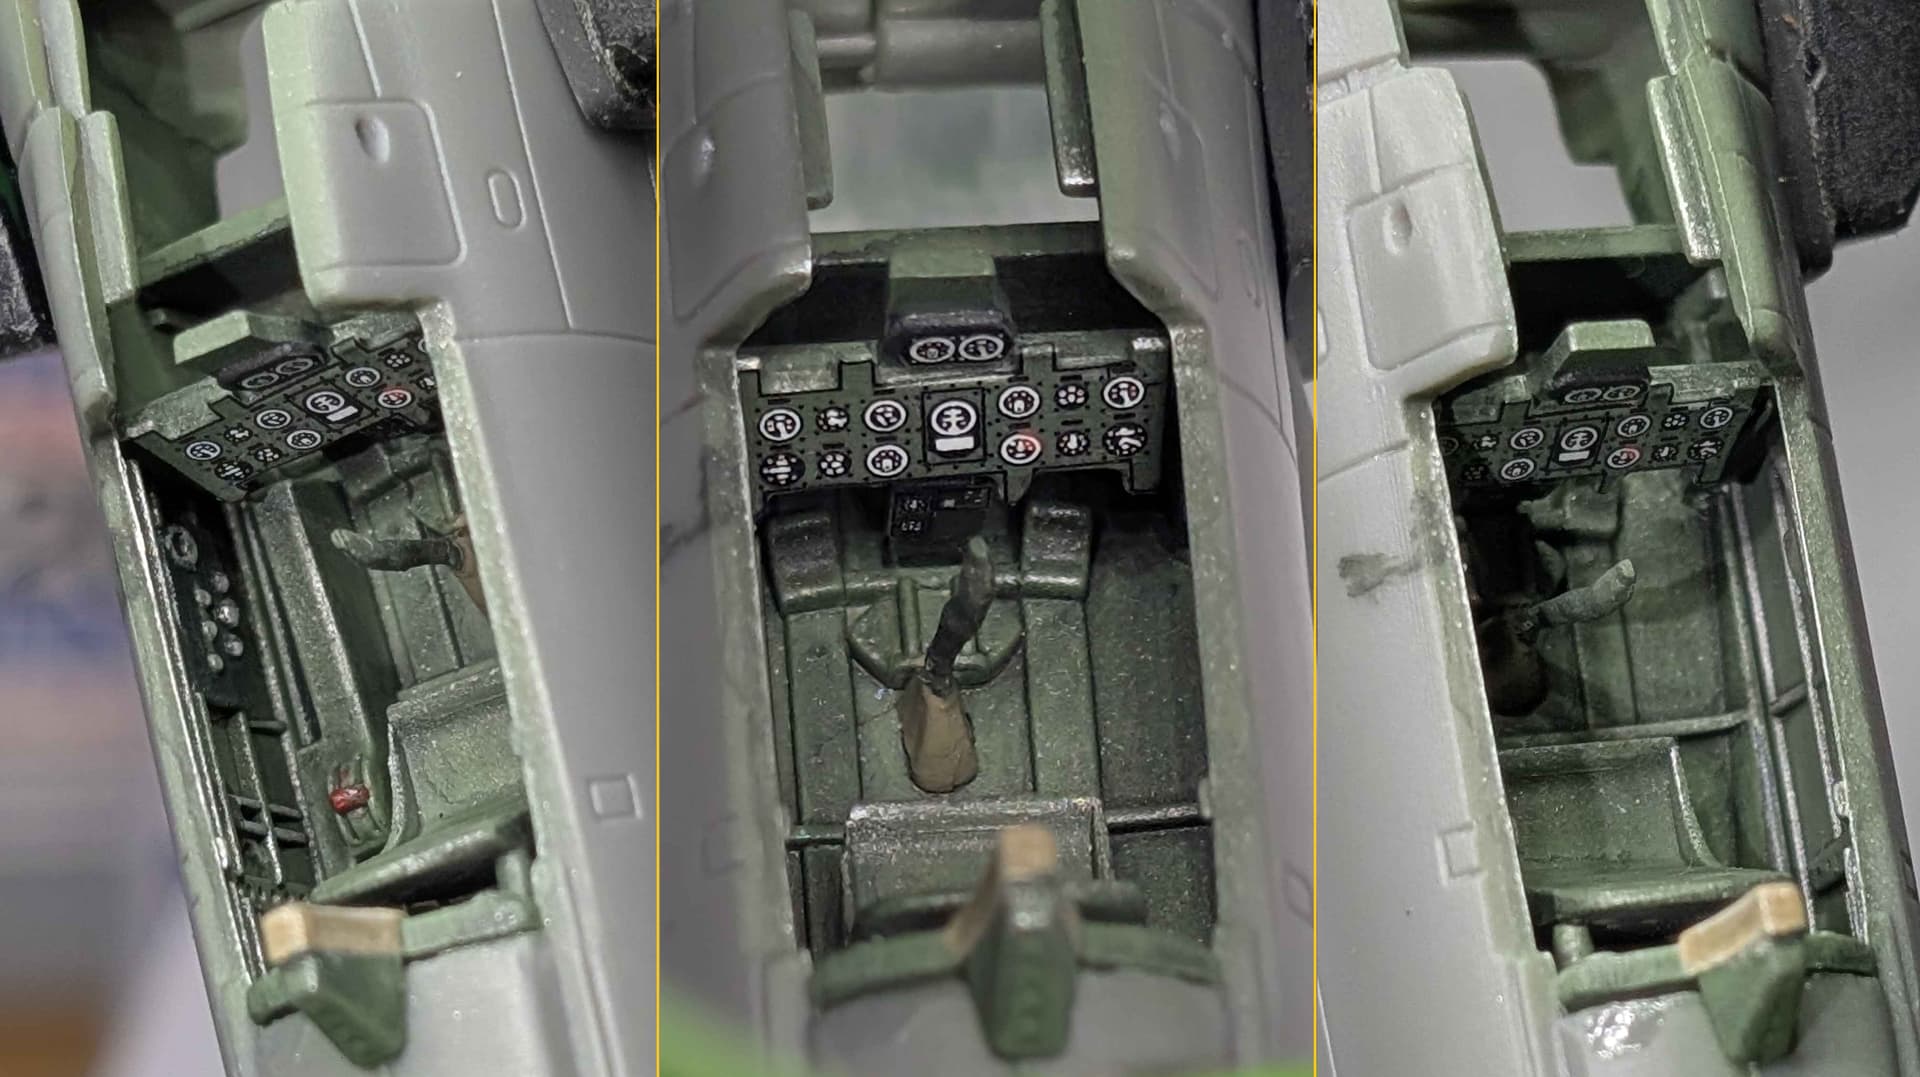
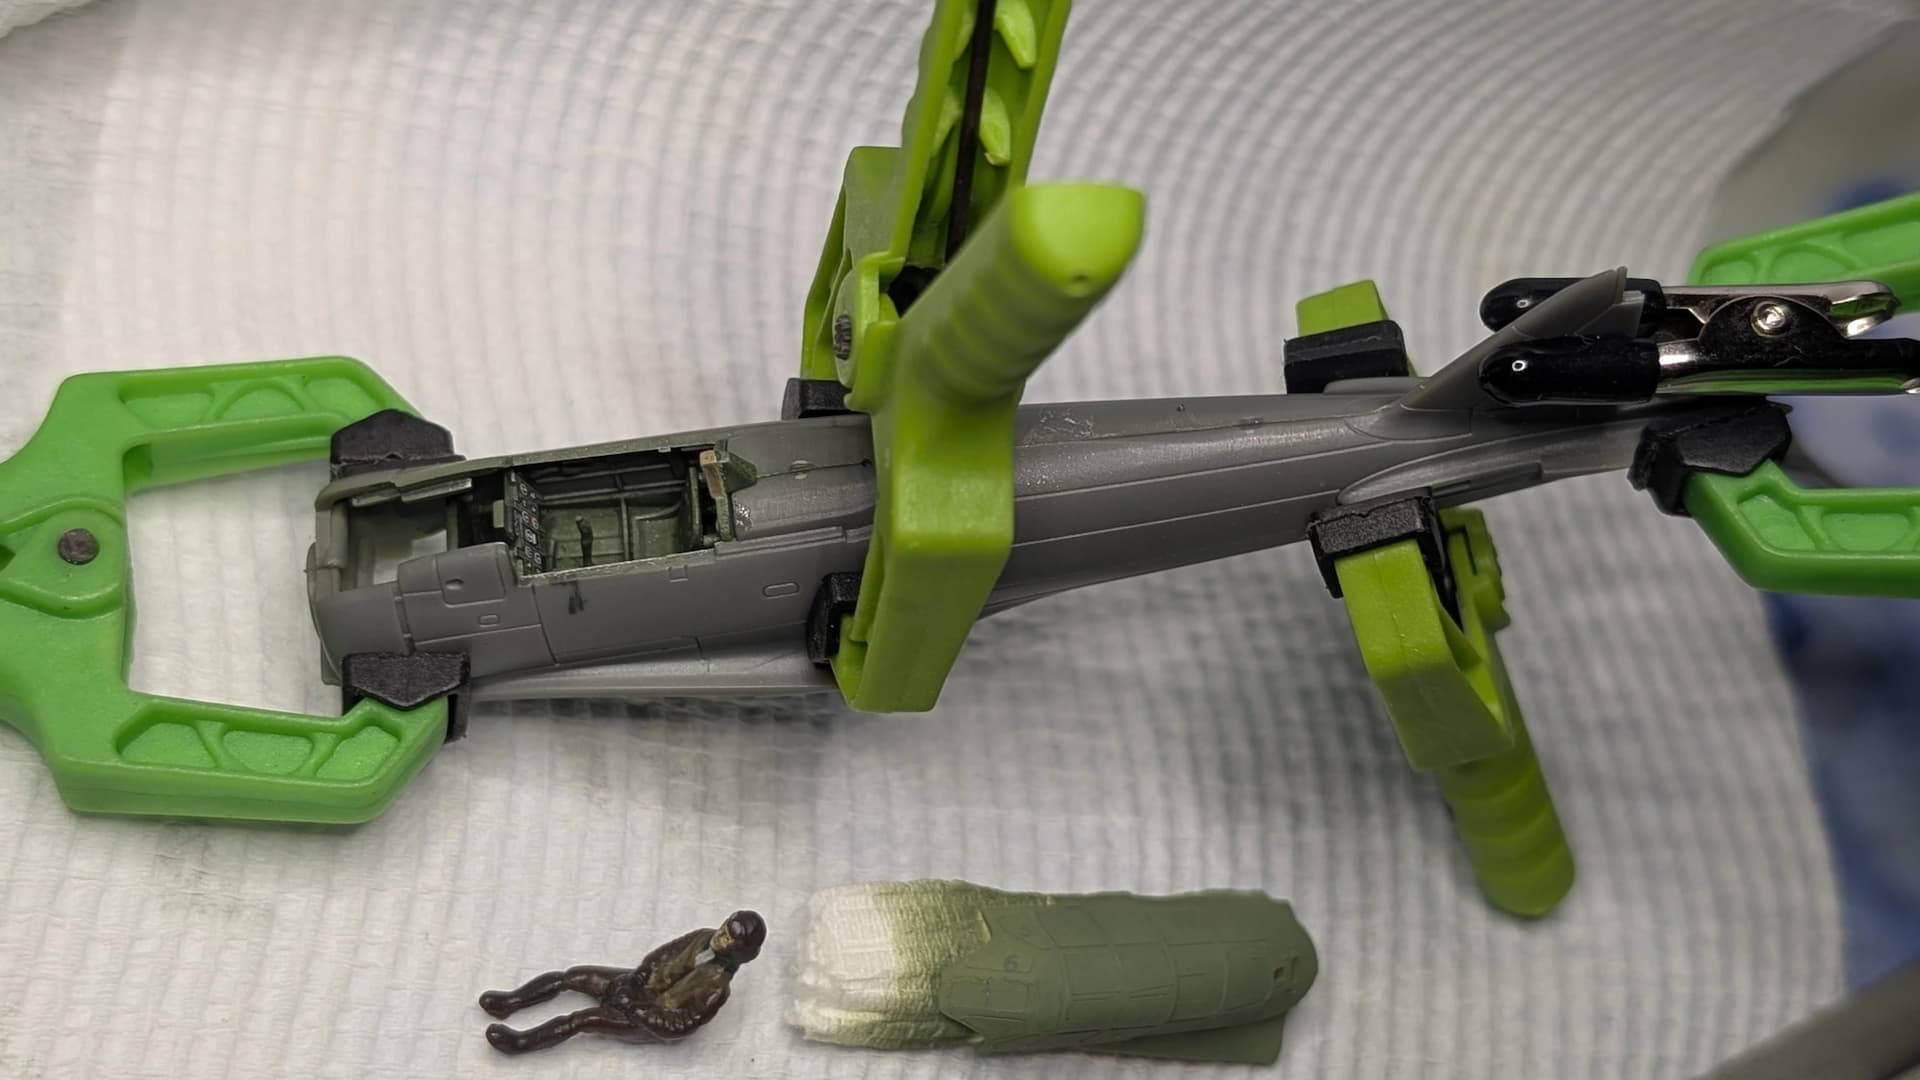
Hopefully we’ll get on with a bit more parts cleaning and assembly this week
4 Likes
I’ve had almost exactly the same problem.
I ran into it with the pilot in my A-4. He absolutely did not want to fit in that cockpit, and I ended up moving things around inside the cockpit to make enough room for him.
In hindsight, I made it much more complicated than it needed to be. What I should have done was simply remove most of his legs. Once he was installed, you couldn’t see them anyway.
Another possibility might be to carefully heat the legs enough to reposition them and give you the clearance you need. I’ve never tried that with a pilot figure, but it seems like it might work if the plastic will soften enough without damaging the figure.
Either way, I’d probably modify the pilot before rearranging anything you’ve already got looking good in that cockpit. If nobody can see his legs once he’s installed, nobody will ever know what terrible things you did to the poor guy to get him in there.
1 Like
A lot of folks seem to be advocating for orthopaedic surgery here…
1 Like
Rite of Passage
I’m told that completing a Hasegawa F-4 is something of a rite of passage for modelers, mostly because of the seemingly endless number of stencils. Well, I just laid down the last one, so I’m hoping those of you who have already survived the experience will welcome me into the club. 
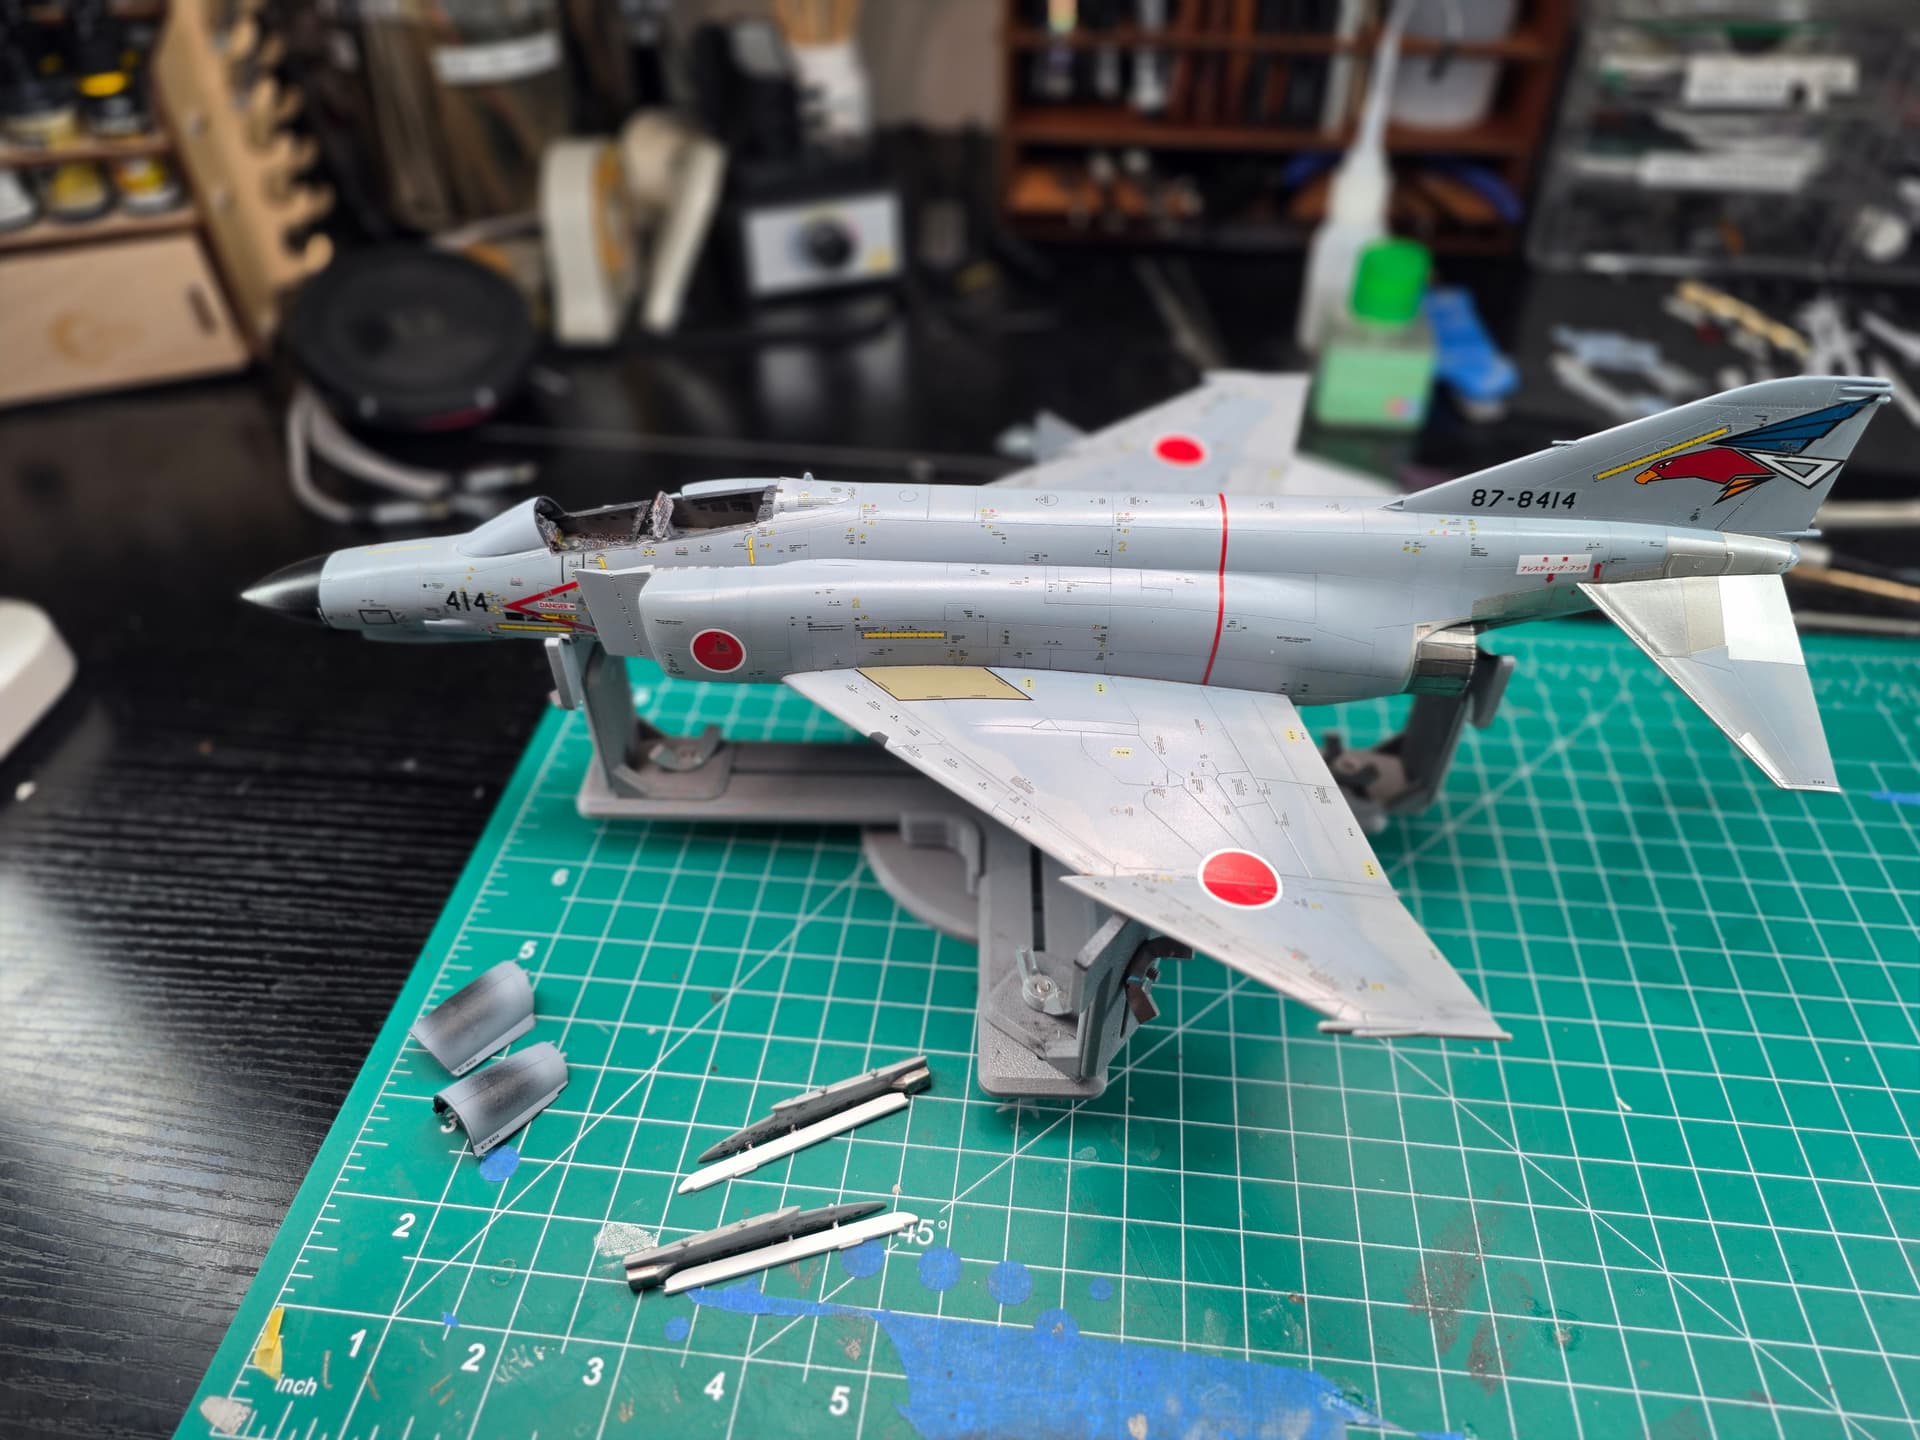
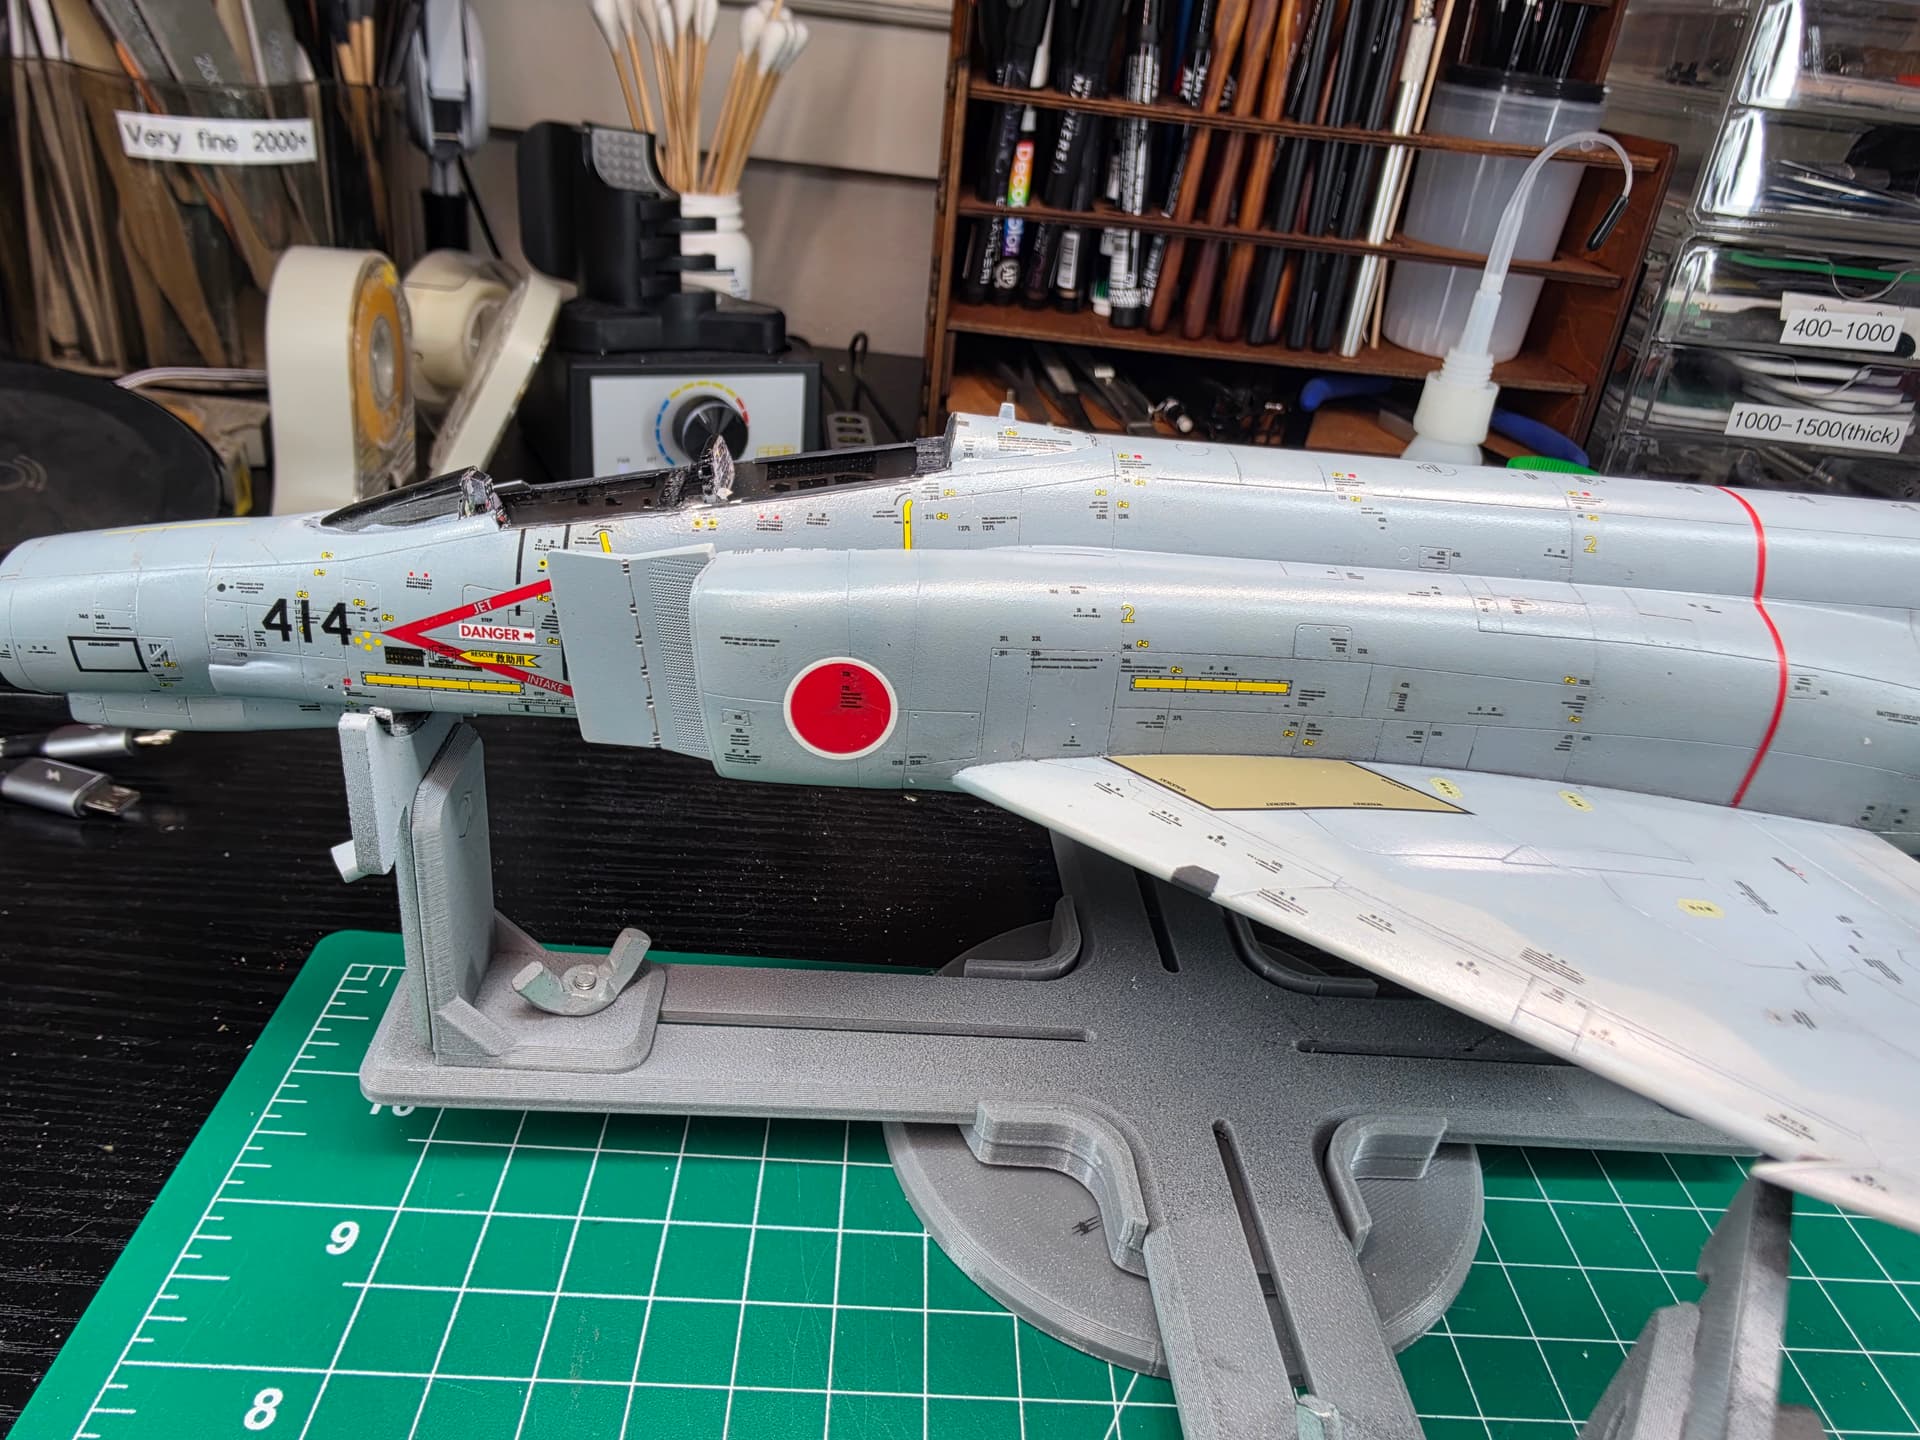
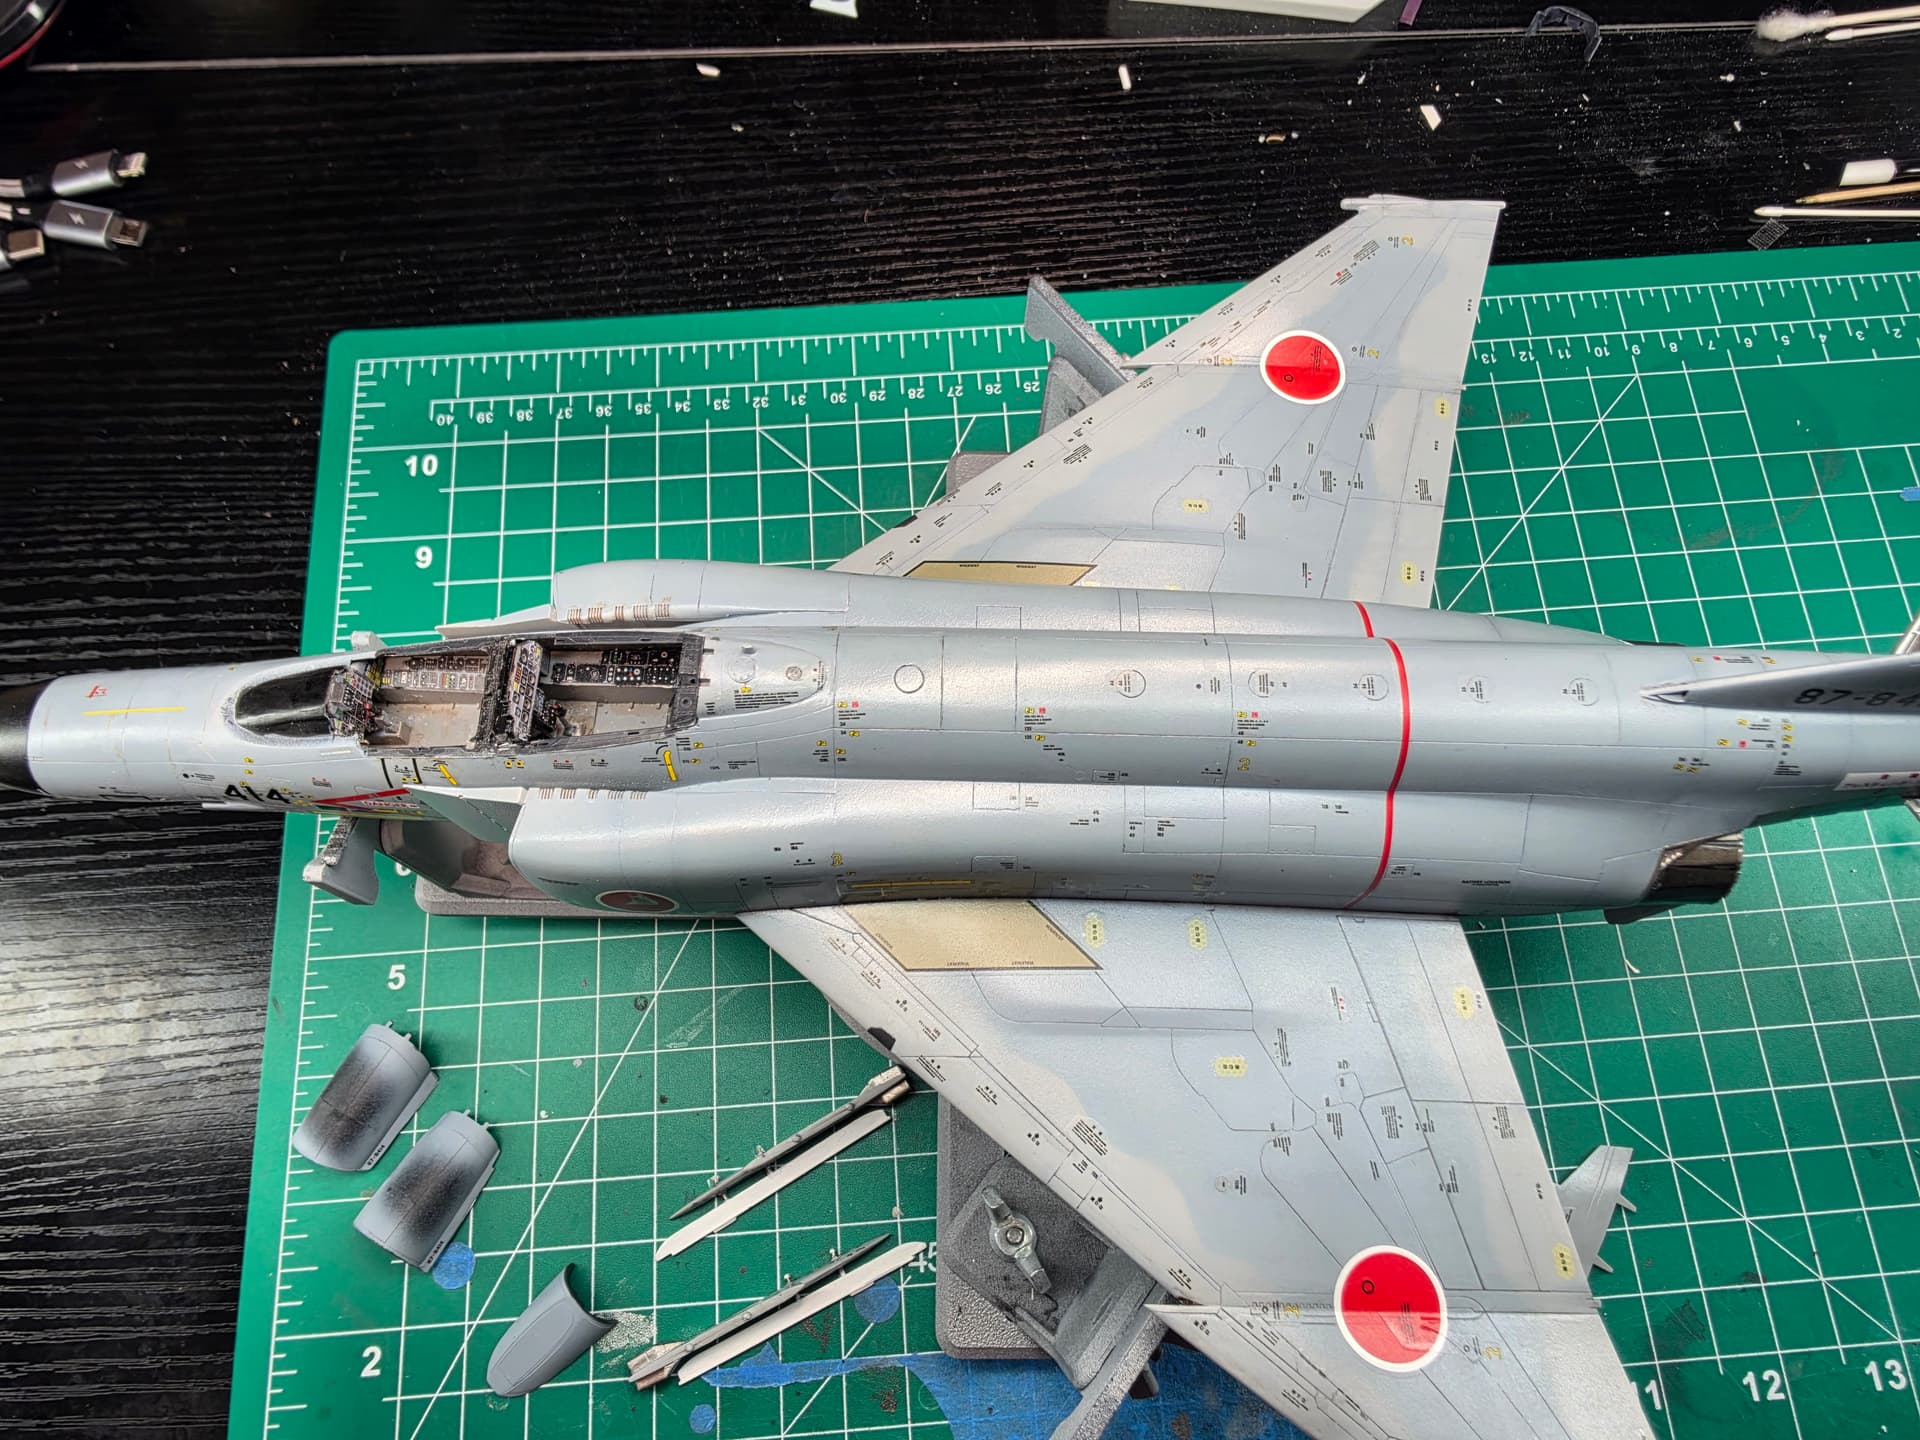
Several… several mistakes were made along the way.
Some were entirely my own doing. In fact, probably the biggest one was simply a decal I put in the wrong place and didn’t discover until a couple of days later, when I tried to fit the surrounding decals and realized they weren’t going to fit.
But one thing I also learned the hard way is that the stencil placement diagrams are ambiguous at best, and in a few cases, just outright incorrect. If you haven’t been through one of these before, do a little research and check references before committing, because once these things are down, sometimes it’s too late to fix.
I eventually started test-fitting decals against a full-size print of the sheet, which saved me from making a few more mistakes.
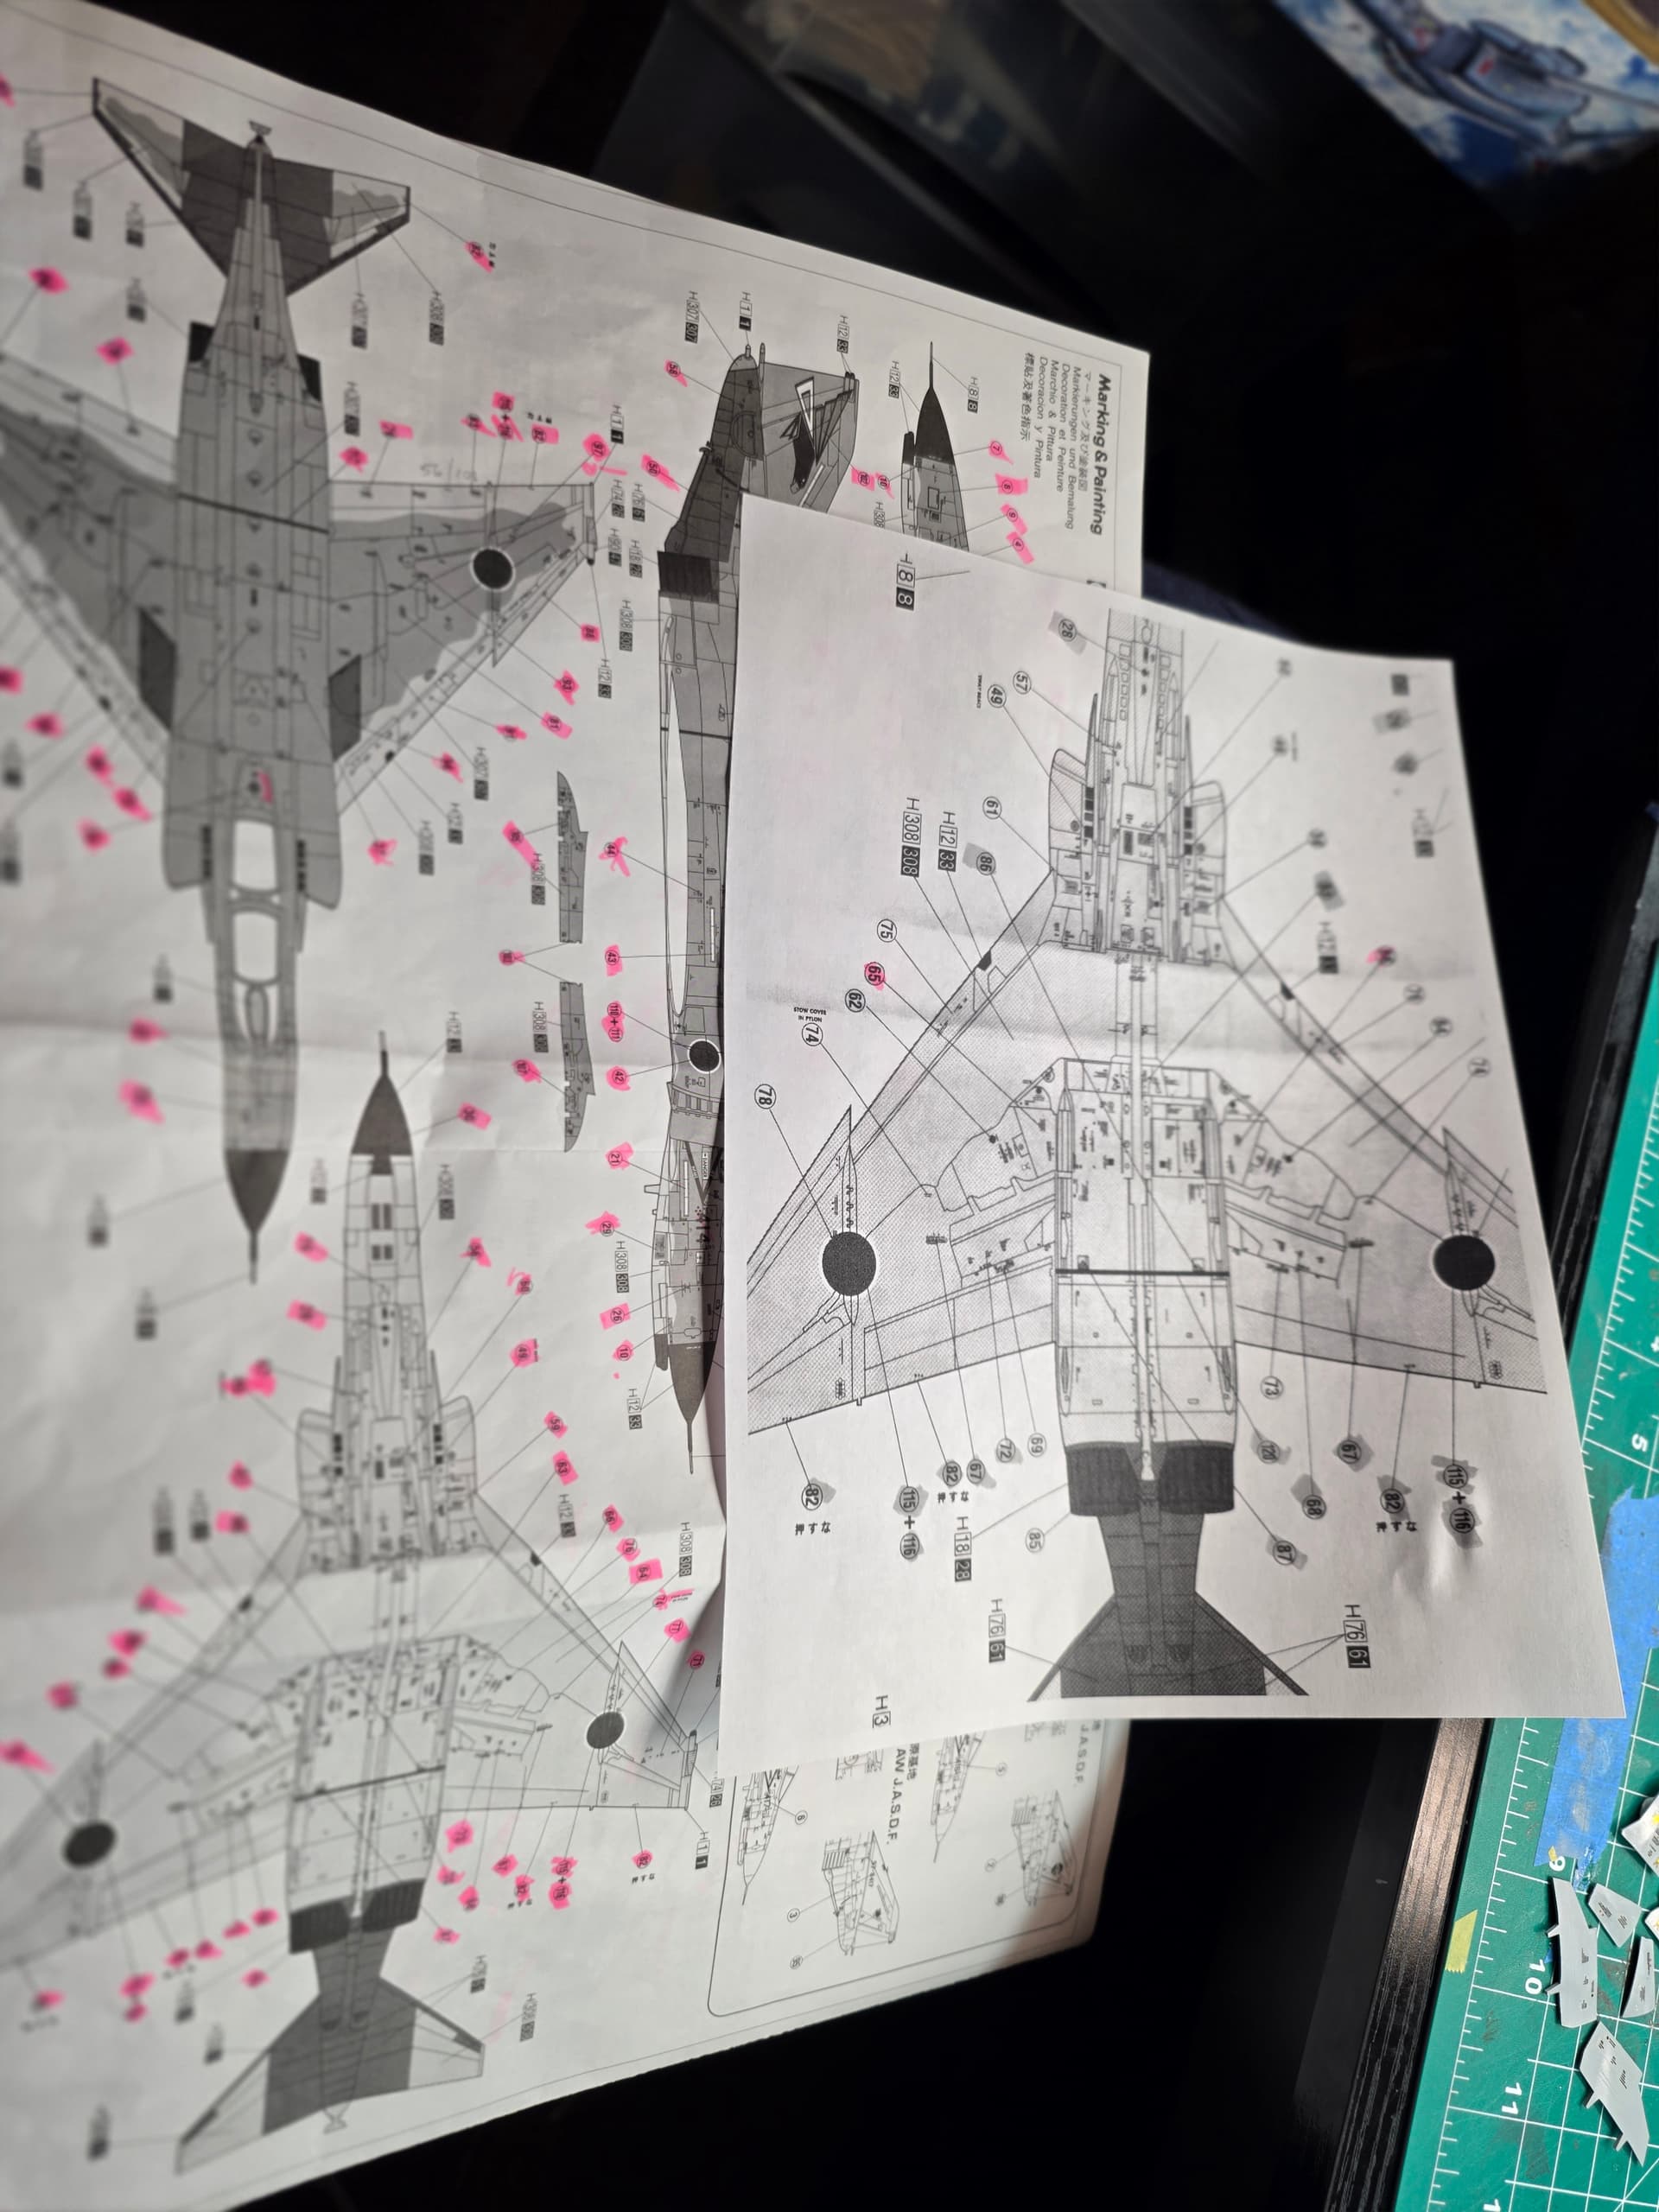
Fortunately, most of my bigger goofs ended up on the underside, where nobody is ever likely to notice them. But I know.
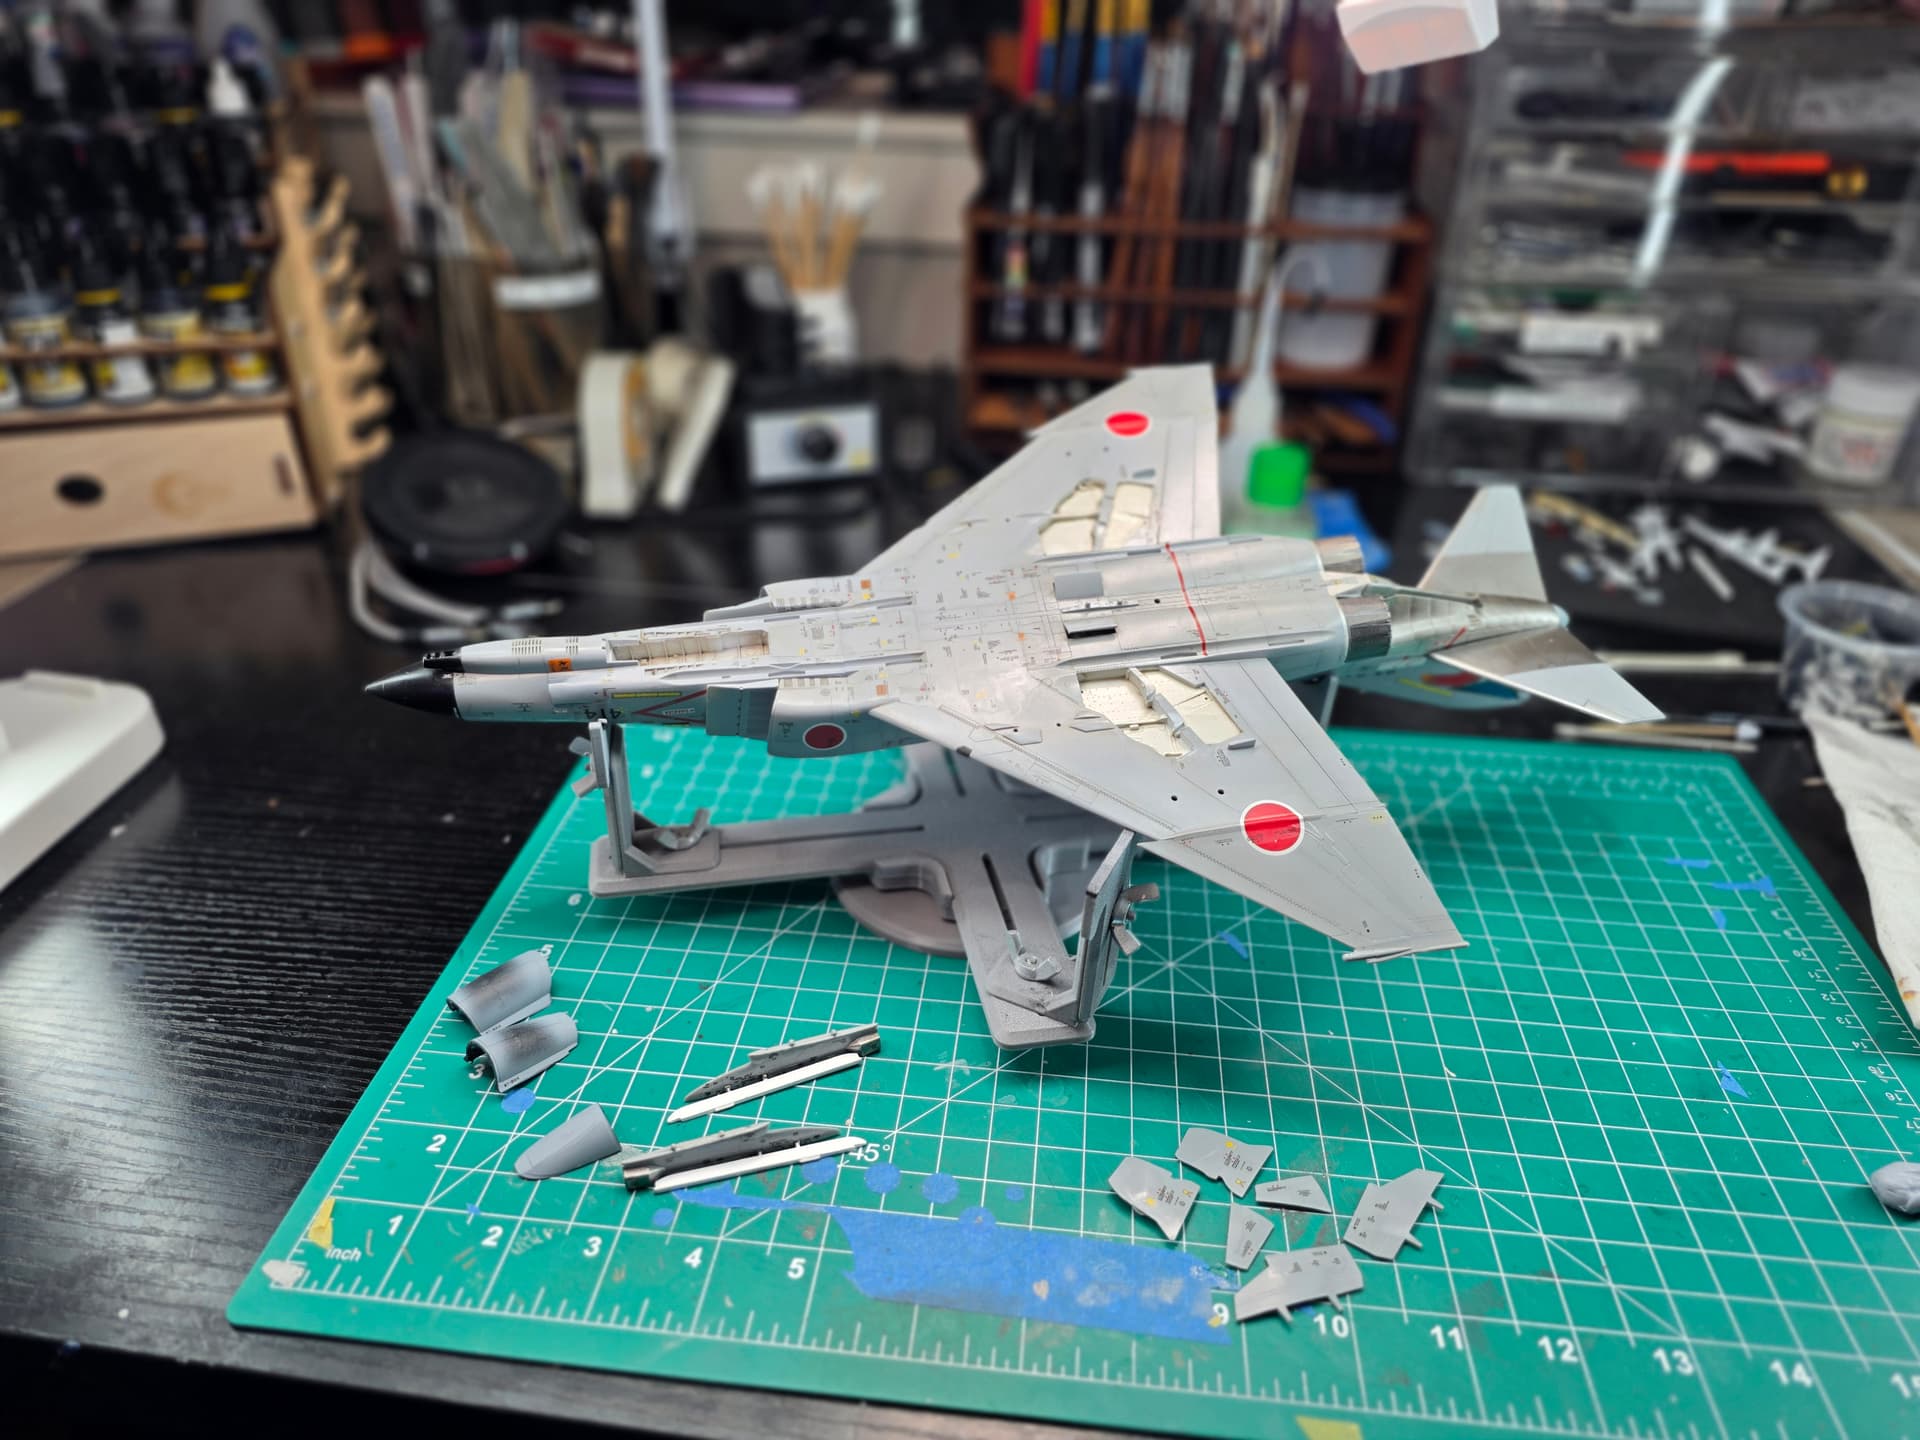

I haven’t kept track of the number of decals, but I have kept track of the time, and by the time I finished I had somewhere around 29 hours just in decal work.
The funny thing is, after what feels like a thousand tiny decals, I do think I’ve gotten pretty good at laying them down. Mr. Miyagi would probably approve. Decals have become my modeling version of wax on, wax off.
Now on to the clear coat, weathering, and final assembly. All of that has to be done before Saturday when I have a show to enter it in. We’ll see how it goes.
Thanks to everyone who answered questions, shared references, and helped me through this. It made a difference.
4 Likes
Airfix 1:72 Mitsubishi A6M2b Zero
Not to distract from @Samphoto’s tremendous accomplishment today, I need to acknowledge the FSM Brains Trust who really dug deep for me today, allowing us to:
- Give our pilot more clearance between the ankles without any amputations
- Seat the pilot
- Prevent further damage to the joystick
It involved a little reverse engineering, a little materials science and the wife’s hair straightener, be we got it done…
Details and images here for anyone curious:
@Samphoto … I hear once one completes that impossible task, they get free Micro-Sol and Micro-Set for life. Not for any promotional reasons, it’s just that following the 29 hour ordeal they’ve probably absorbed so much of the stuff that they start urinating Microscale products…
1 Like
Success! And the pilot gets to keep both of his legs.
I have to admit, when we started talking about hot water and heat guns, I don’t think the wife’s hair straightener was anywhere on my list of possible solutions. But it looks like it gave you exactly the amount of controlled heat you needed. And being able to push the joystick back out through the bottom certainly made the whole operation a lot less terrifying.
Nice bit of problem solving by the Brains Trust.
As for my lifetime supply of Micro Set and Micro Sol, after 29 hours of decals I think I’ve already consumed enough Microscale fumes to qualify for some sort of preferred-customer program.
1 Like