Thank you for the kind words Darren, it’s been a slog for sure.
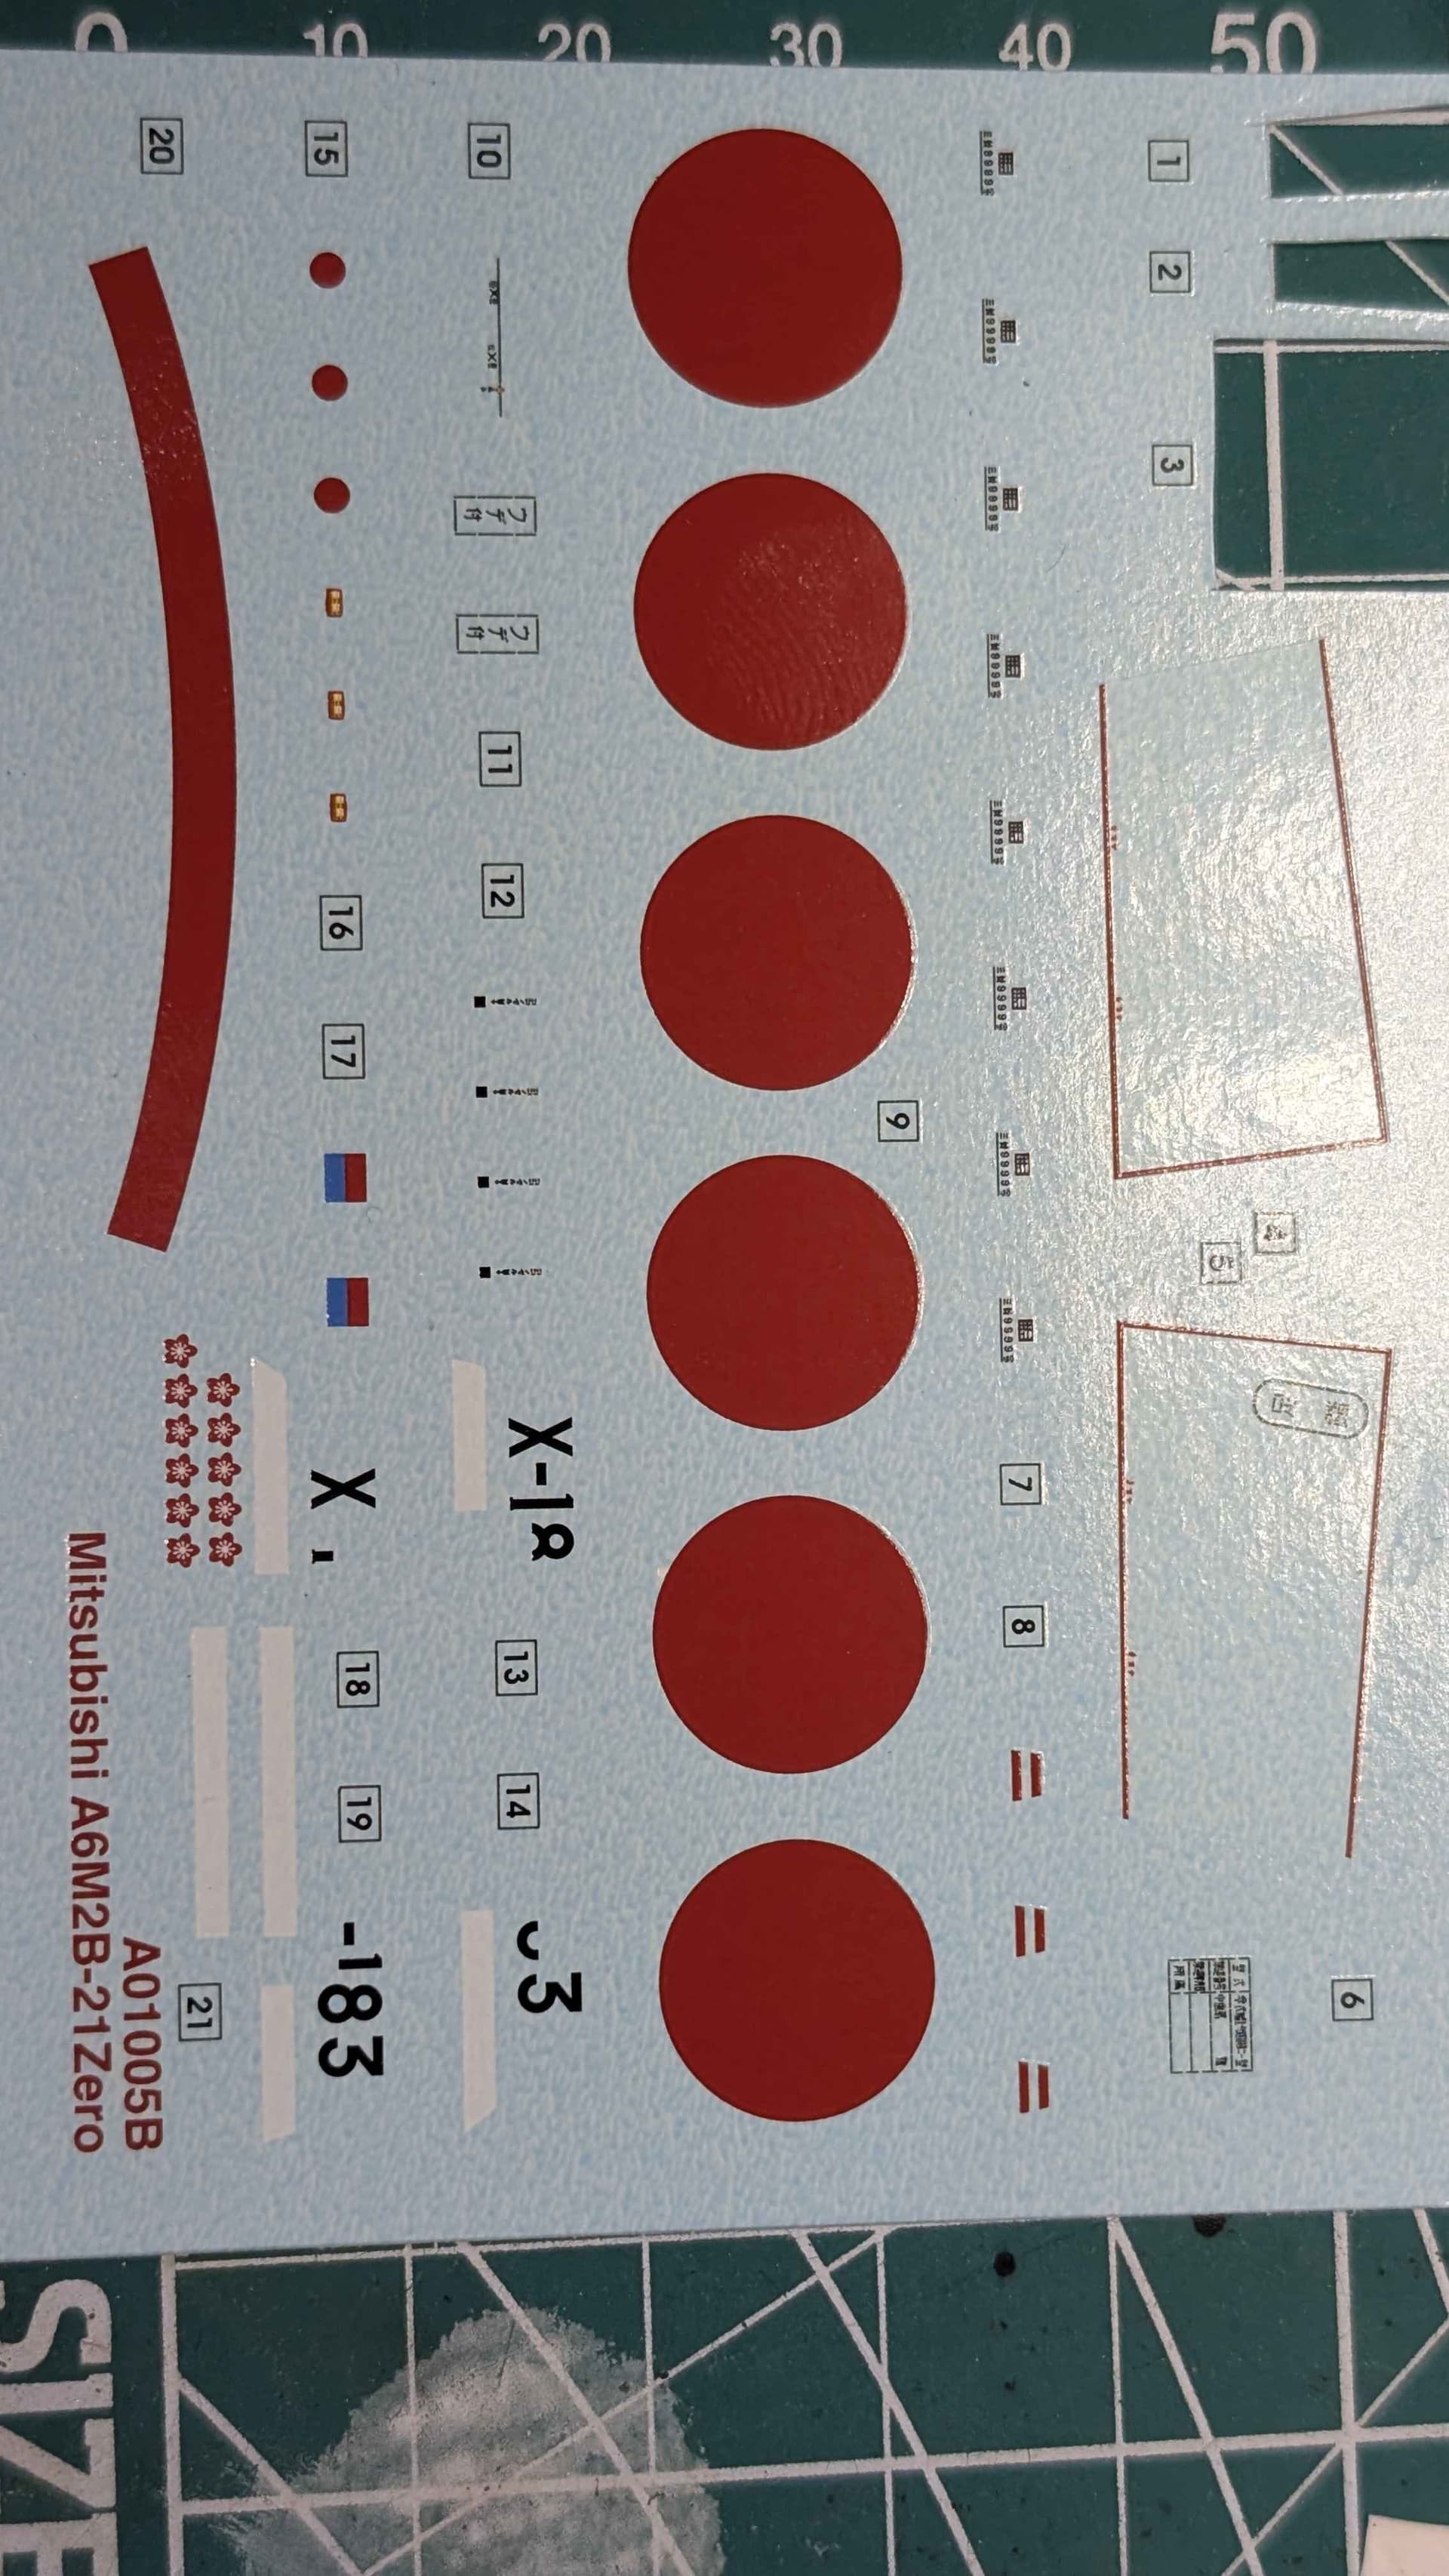
I’d heard the Zero had a lot of decals. I’d love to see a picture of the decal sheet so I can see what you’re dealing with. I’m curious whether Airfix has grouped many of the smaller markings together like Hasegawa did on my F-4EJ Kai, or if you’re going to have to apply all those tiny things individually. The groupings are a good idea but Hasegawa executed them very poorly so I’m having to cut them all apart in most cases anyway because they don’t align with the panel lines correctly.
After working on mine again last night, I still have the bottom left to go, which is about another 100 decals. I had a little devil on my shoulder last night saying, “You don’t need to put these decals on the bottom. No one’s ever going to see them.” But I’m going to do it. I definitely have a whole new appreciation for anybody who decides to put all the stencils on one of these things.
I think cockpit and dry-brushing looks good, And keep in mind that once you get everything buttoned up, you won’t be able to see most of it anyway. At 1/72, I think you’ve got plenty there to make the cockpit look convincing through the opening.
Cheers Sam! Wow, that’s a genuinely intimidating decal sheet… Here’s what I have to work with. At least Airfix had the courtesy to cut the tail number (X-183) at either side of the rudder.
Yeah, I’m planning to get all the decals done, weathering and clearcoat done by Sunday. Then just final canopy assembly and landing gear installation. (I leave all the fragile bits off until everything is done because I will always break them off somehow and since the canopy is going to be open, that will be the most fragile part.
There is a show in Oregon on the 12th that I hope to have this entered in… “hope” is a bold word at this point but I’m going to try.
Those look really clean, I’m jealous! My original sheet is attached. If you look closely you can see how they are all attached together in groups, it’s been a beast!
I’ve done two haswegawa 1/48 F4s. The first I did the right of passage of all the stencils and ya a huge job. The second one I was more of in pick and choose mode. I’ve got one more in the stash - an F-4E in SEA camo and I’ll probably do the same.
That’s a beautiful Phantom, keavdog. Really clean build, and that paint job looks great!
I completely understand the “pick and choose” approach now. I’m going to finish every stencil on this one, but I’m not sure I need to go through this particular rite of passage twice.
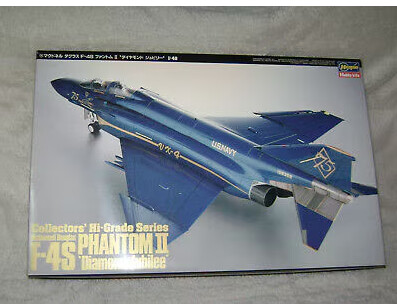
That said, I do have another Hasegawa Phantom in the stash—the F-4S “Diamond Jubilee.” I’ve had this kit for about 30 years, and fortunately it has far fewer stencils, so at least I wouldn’t be signing up for this decal marathon again. I’m just hoping the decals are still usable after all these years.
I’ll post a picture of it below. I really do want to build it someday. I’m just not sure I’m ready to deal with that seam running down the center of the spine ever again.
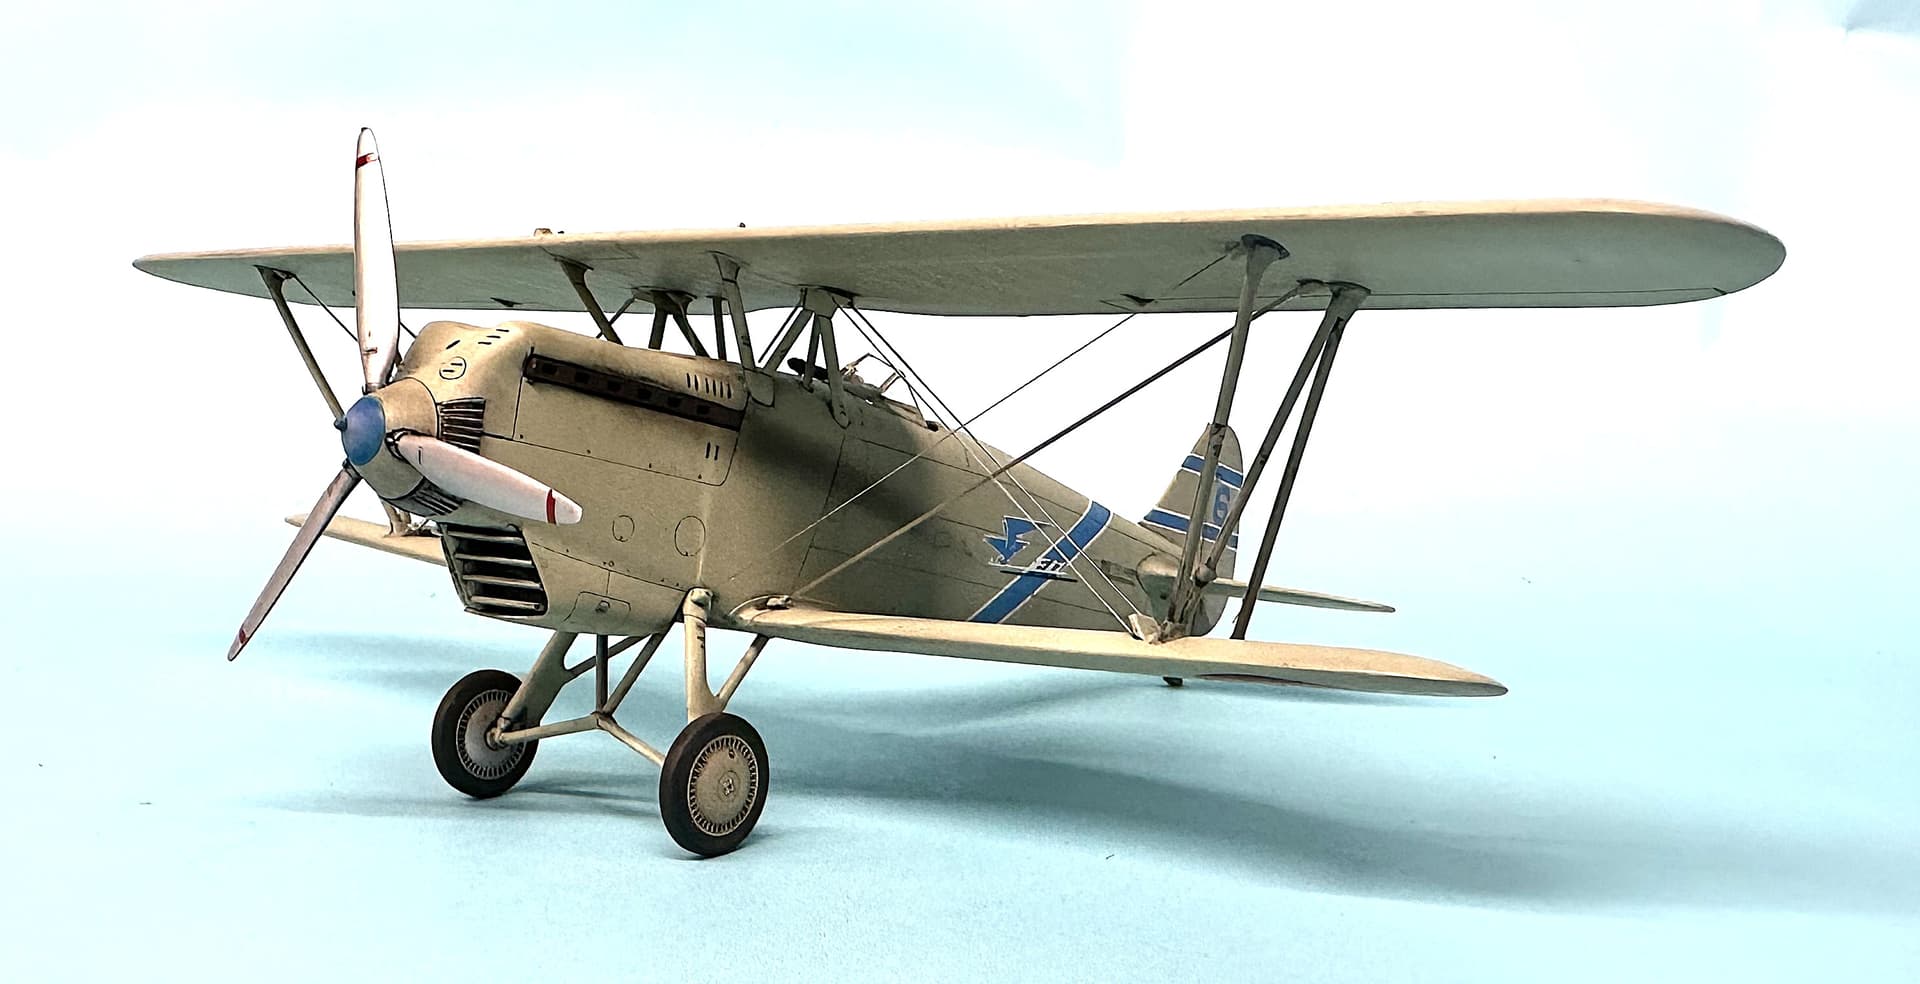
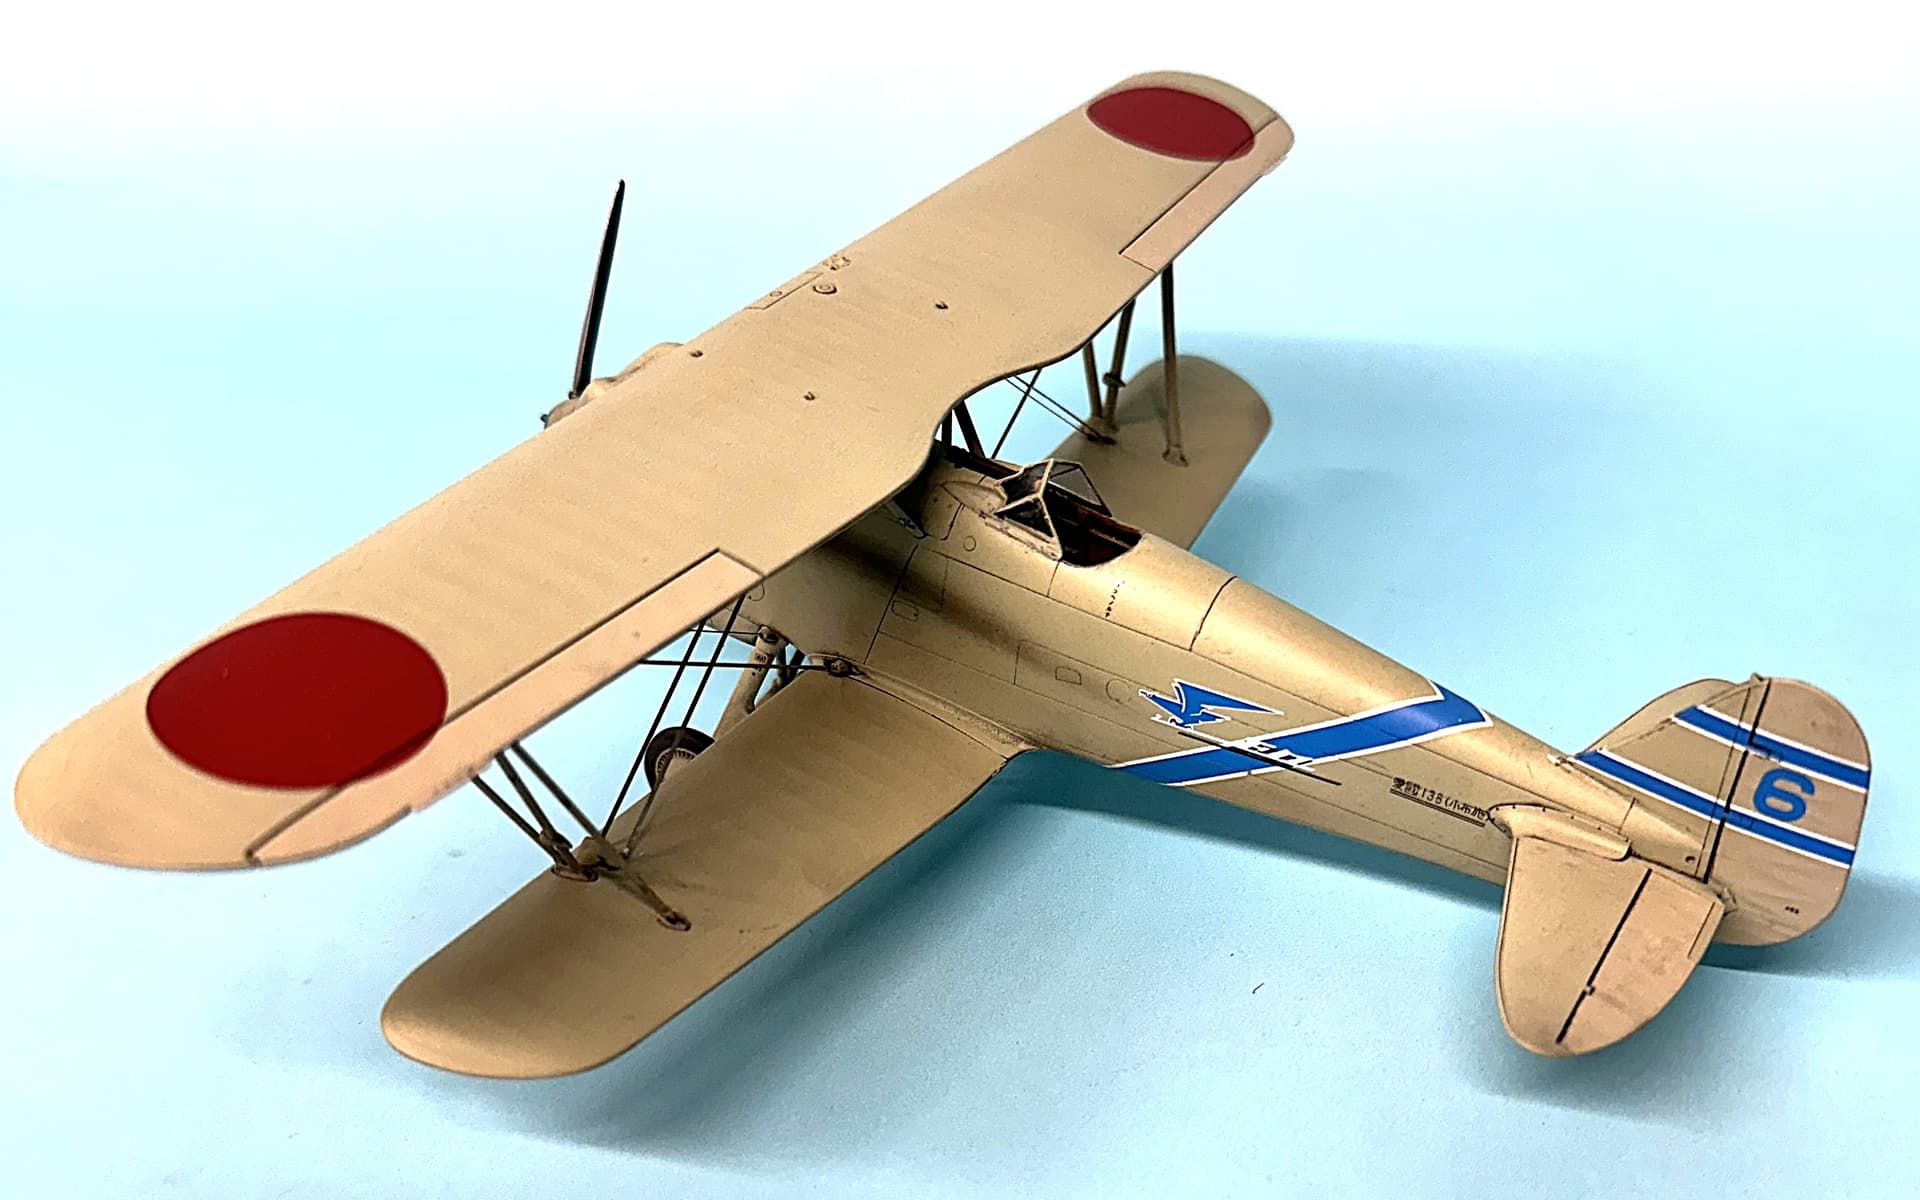
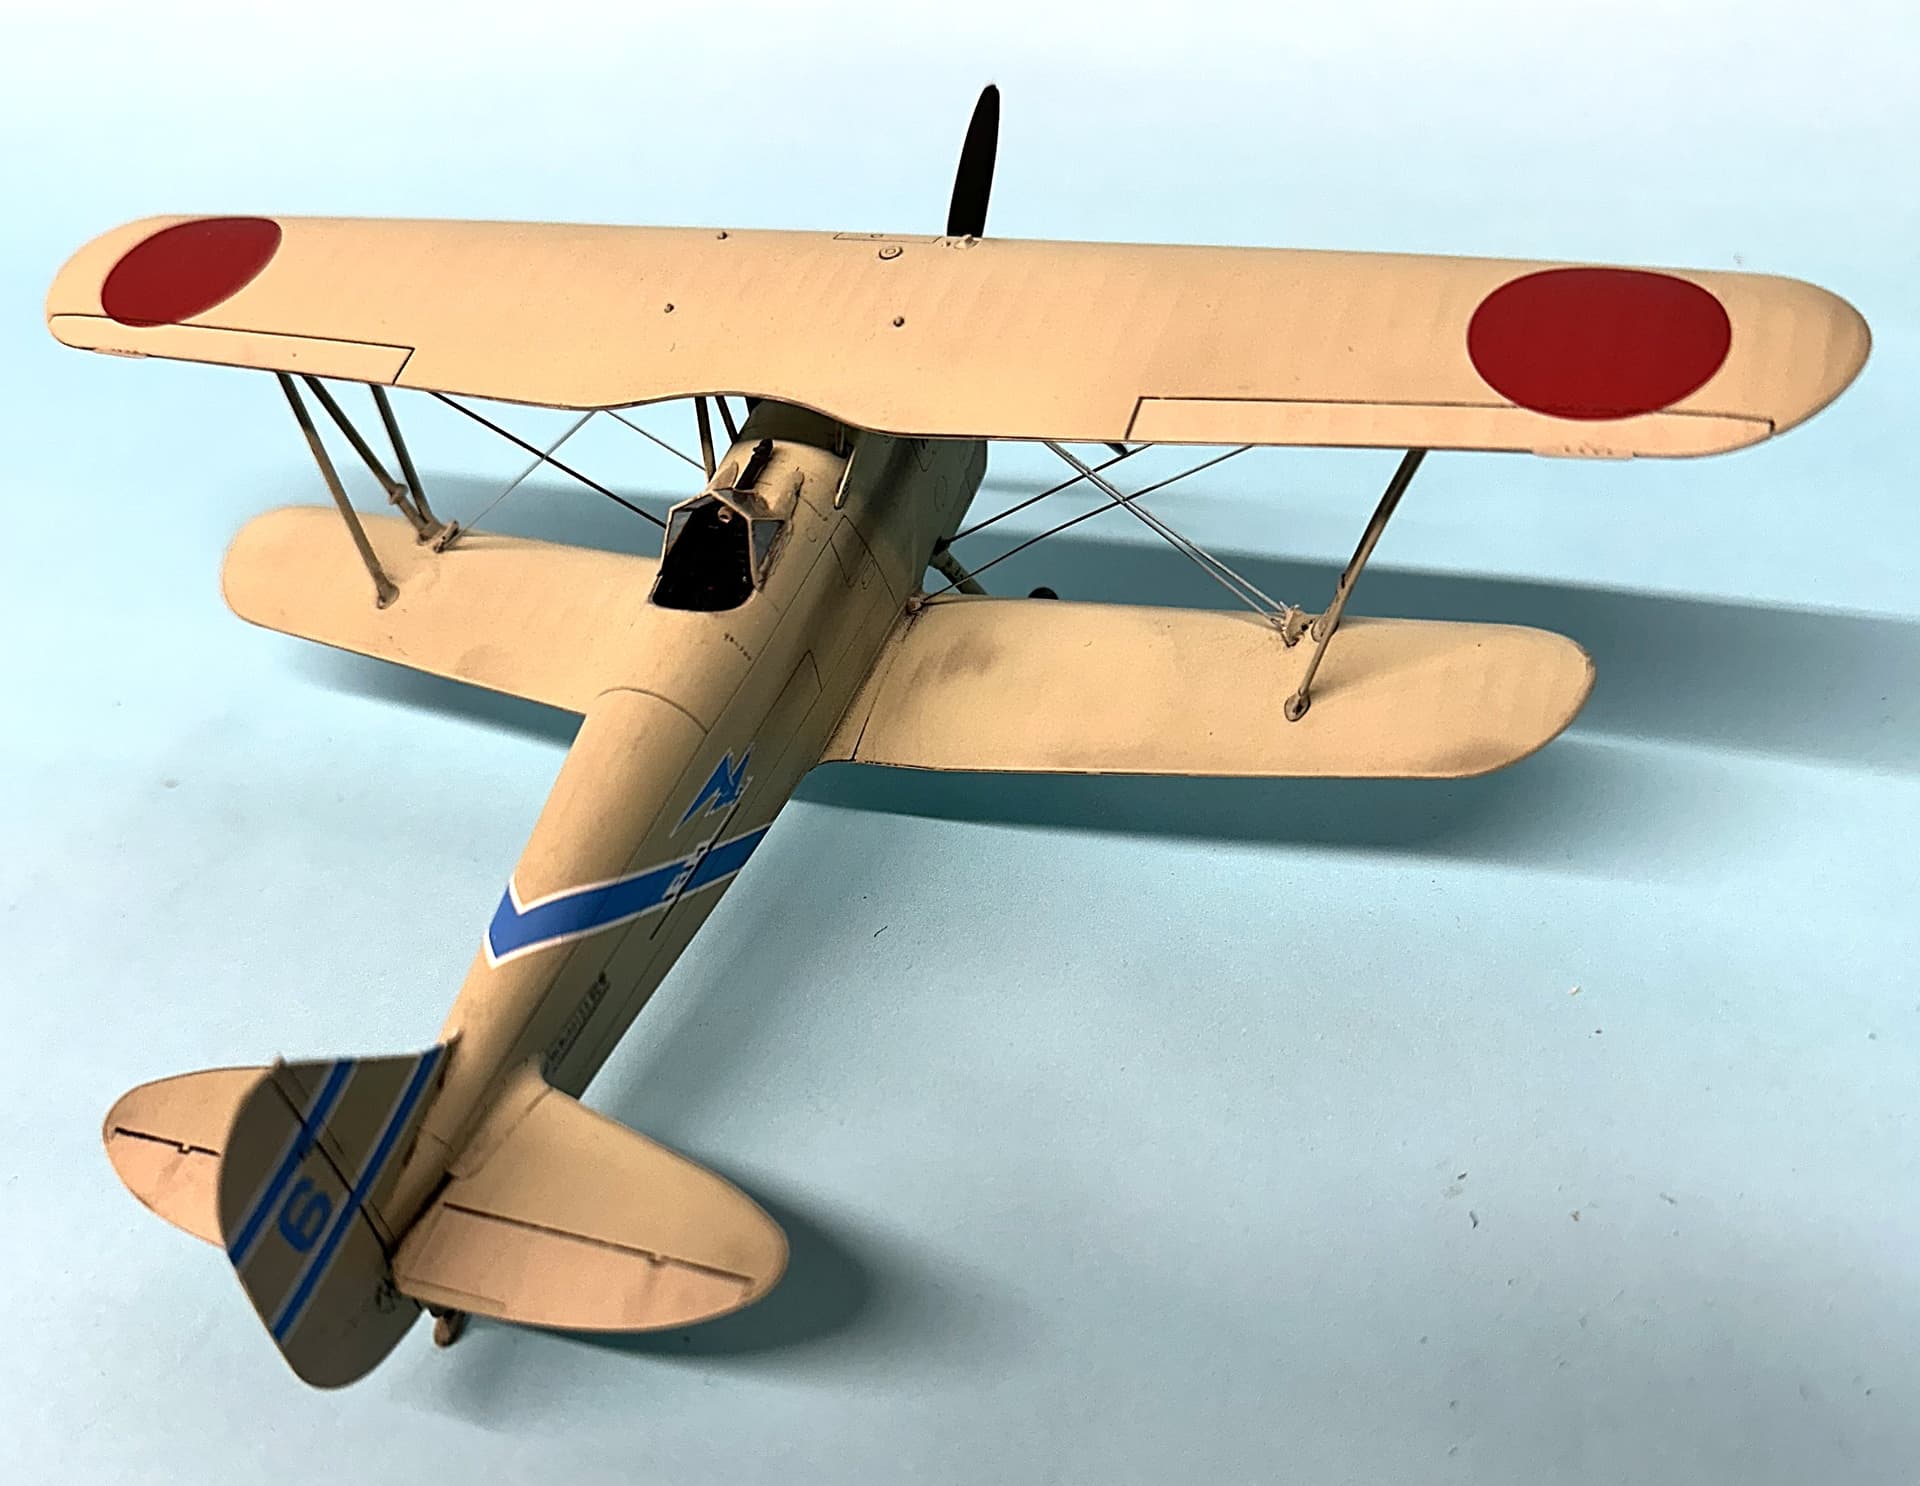
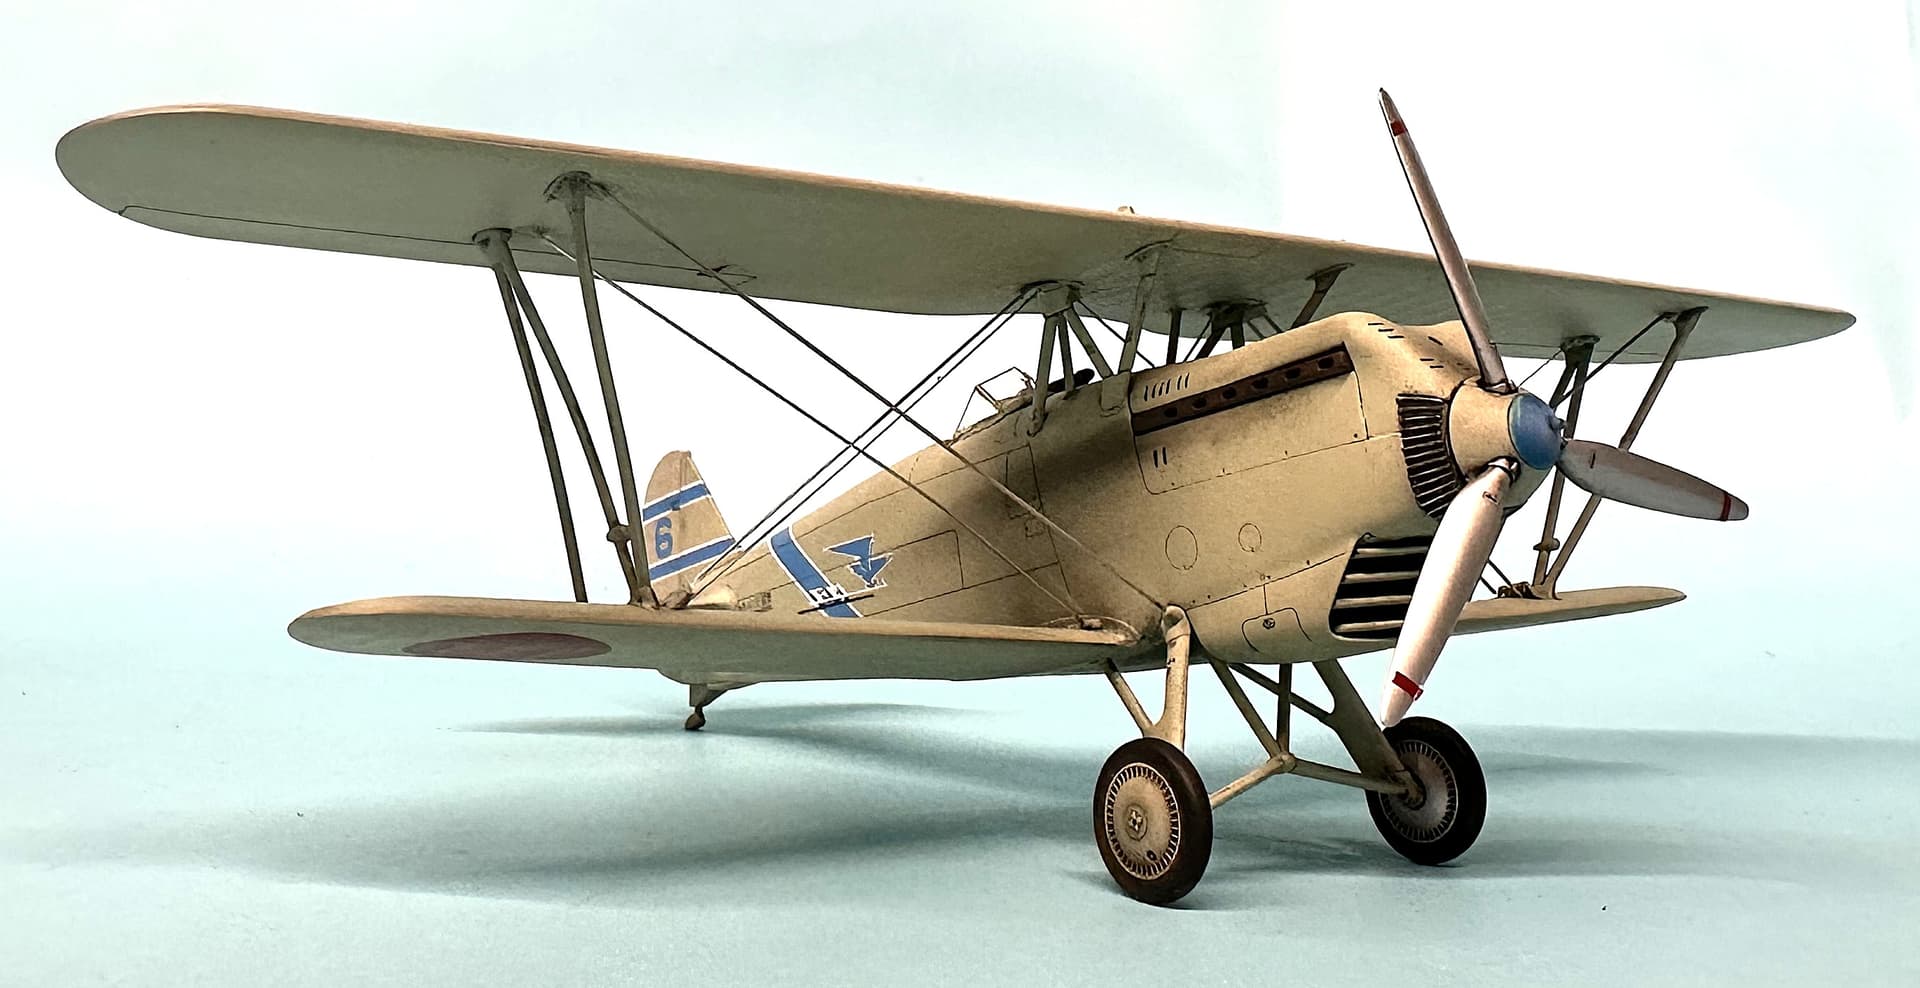
Fine Molds Ki-10II, Type 95 Army Fighter, Allied Reporting Name, ‘Perry’.
2ns Battalion, 2nd Squadron, 1st Lt. Sakai Iwori, China, April 1938.
Thoroughly enjoyed this kit, and built it OOB except for the stainless rigging set which also was a Fine Molds product.
Great model of an interesting subject that does not get seen often. I highly recommend this kit!
Pic number 1617 is the picture for the finished builds page. Now I want to build up a second kit for the build, it that works?
That turned out beautifully, Freddie. The rigging really caught my eye. That’s something I’ve never tackled myself—I’ve never actually built anything that needed rigging. Seeing how much it adds to a model like this makes me want to give it a try sometime.
And absolutely build another one! I’m looking forward to seeing what you choose next.
And I have to add—the last photo with that background is fantastic. It looks incredibly realistic. For a second, it doesn’t look like a model at all.
Wow that is a really well executed, assembled, painted, decaled model. A bird I’ve never seen before as well. Just excellent and I’m a big fan of the AI glamour shot!
Such a tidy build Freddie, well done! Admittedly I was a bit concerned with the process of rigging installation on an already painted and weathered model, but you’ve landed the proverbial plane with a three-point landing! An excellent choice and contribution to this group build!
 I definitely have a whole new appreciation for anybody who decides to put all the stencils on one of these things.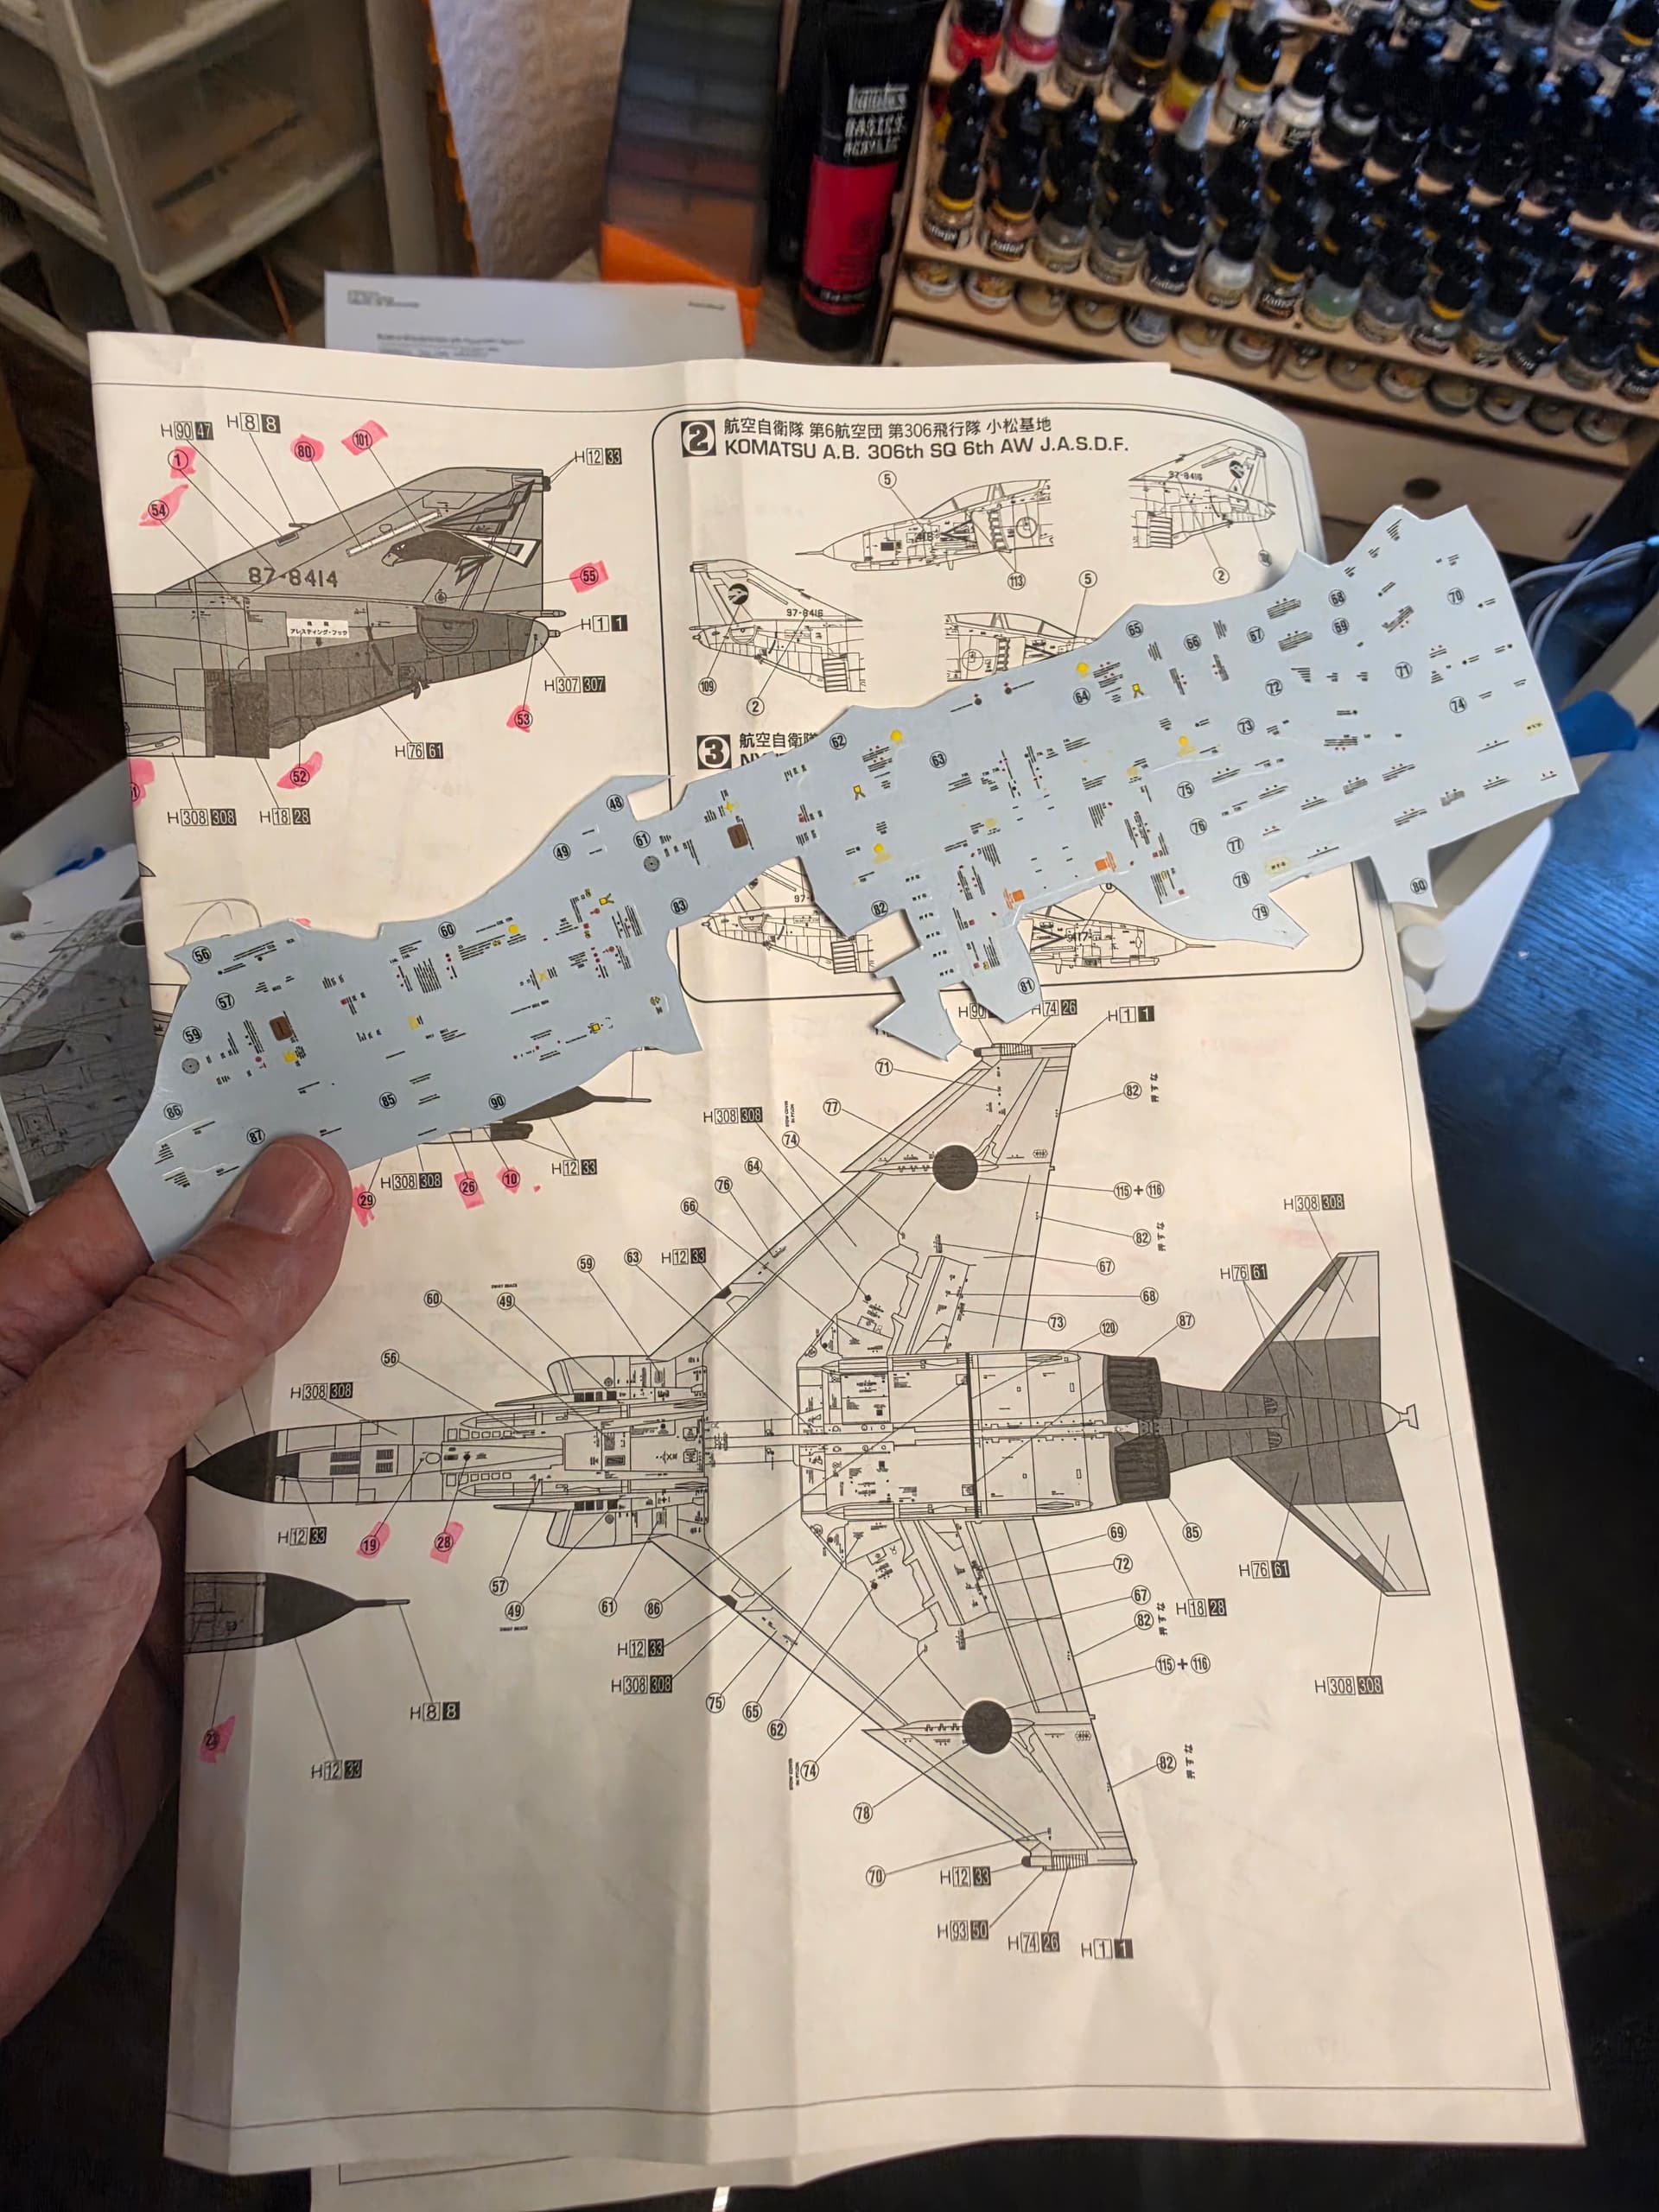
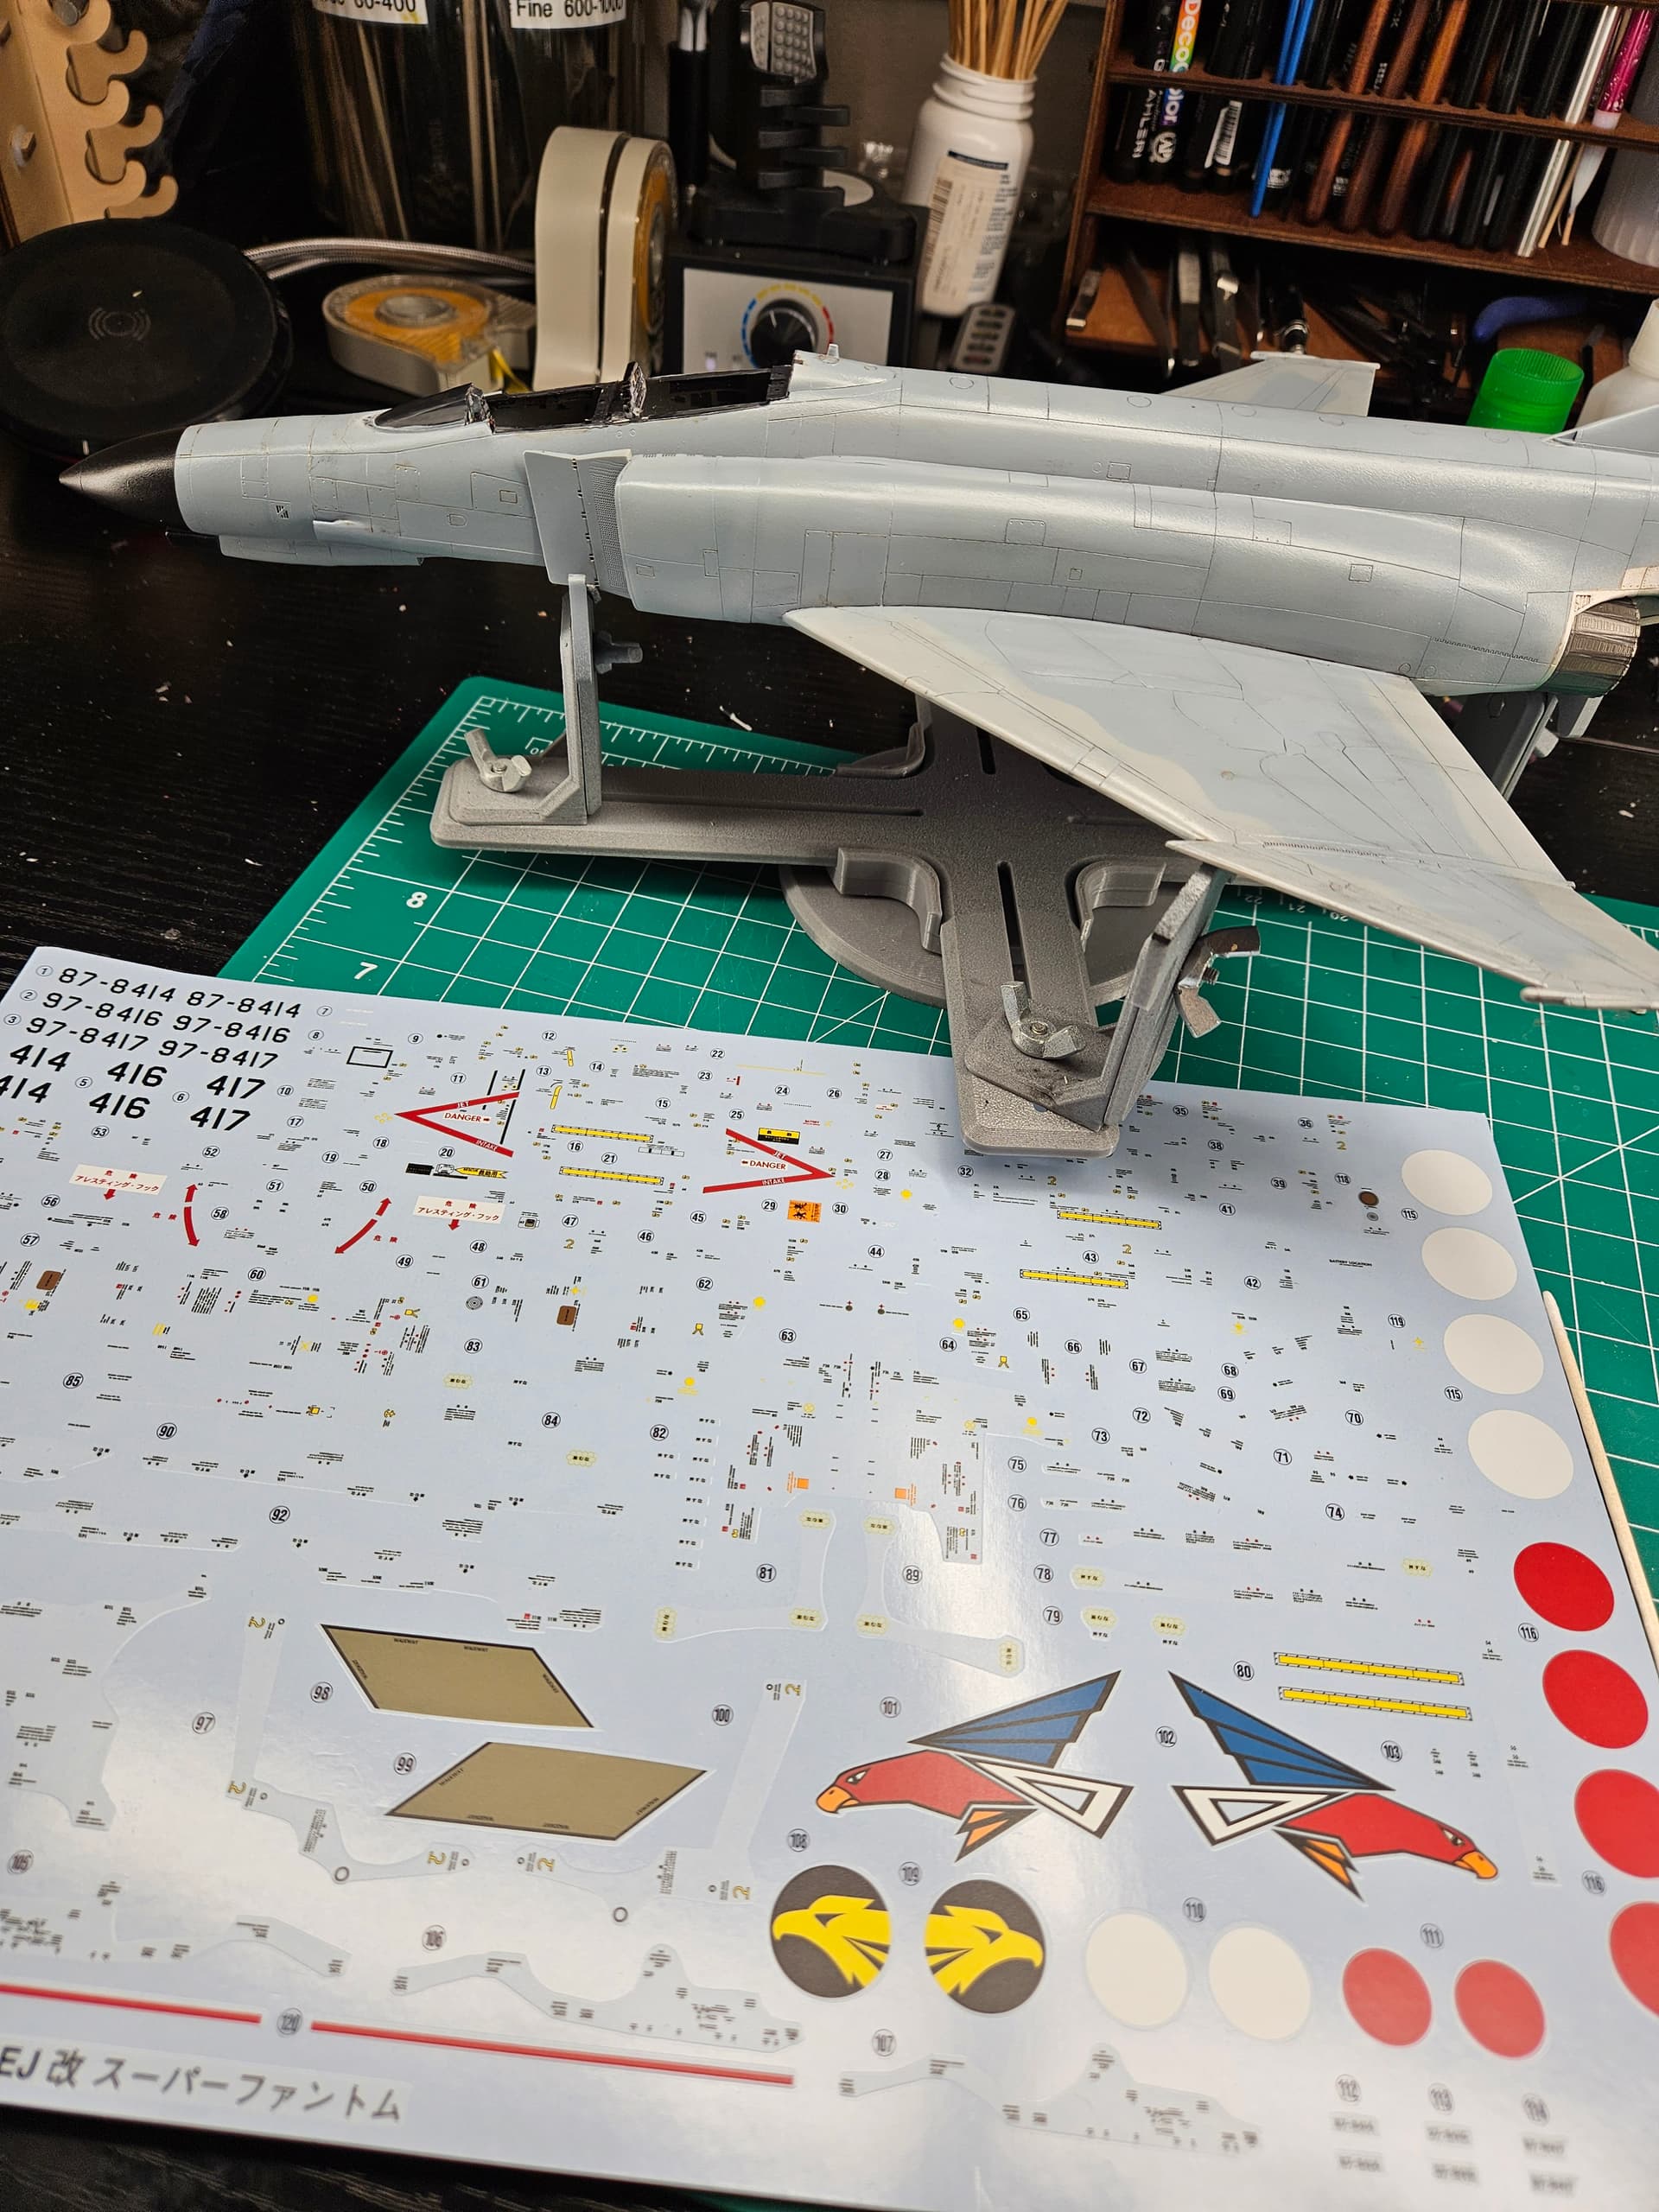


 I’m going to finish every stencil on this one, but I’m not sure I need to go through this particular rite of passage twice.