I want to be retired, but not older 
I want to be retired, but not older
Looks good. I have never understood what interior XF-71 was supposed to match.. Was it a very early war color? is it For Mitsubishi built a/c? is it for Nakajima? Is it half and half so you can use it on either? Wait–it doesn’t work like that? 
Thanks mate! Supposedly XF-71 is representative of Mitsubishi builds, whereas Nakajima used a more olive-coloured flavour. While it’s probably a little darker in the photos than it is in the flesh, even then I thought it was a little on the dark side against colour photos of contemporary examples. I suspect the problem is referring to contemporary examples to paint an 80 year-old subject, given the tendency for zinc chromate to degrade over time when exposed to UV light. Furthermore, any reapplications during restoration/maintenace probably would’ve used a more modern formula.
It’s a similar issue to the way many armour modelers will rough up their plastic with Tamiya Extra Thin because close up photos on museum pieces tend to show more texture. During its operational life though, the steel plate was probably immaculate (putting aside any battle damage) with the contemporary “texture” being a direct result of decades of rust and pitting from the tank being stored outside as a static display.
Honestly, if time machines were a thing there would be a rather unhealthy number of unexplained casualties, POW’s and folks executed as suspected spies due to aspiring scale modelers wandering around WWII battlefields and staging areas taking notes. Not to mention the horrendous damage to the space-time-continuum due to their smartphones getting taken off them, and there’s probably an even chance that one of those nerds has an ebook copy of Winston Churchills 6-volume account of the Second World War saved on their phone too…
Looks good so far Pr. How do you find the kit so far?
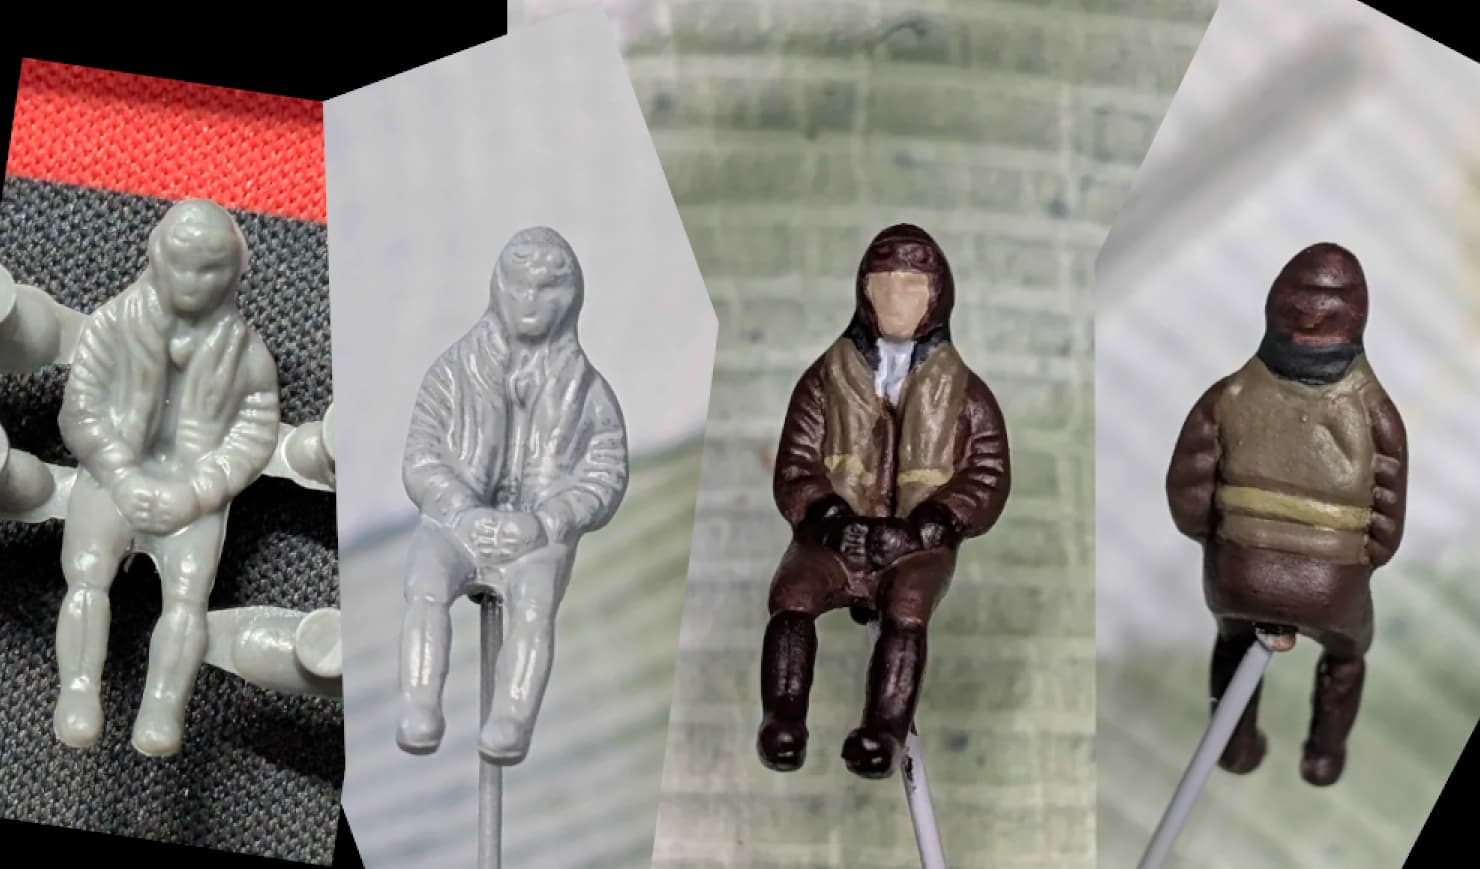
It’s been 28 years since I built an aircraft but I feel like the quality of the moulds and the plastic particularly on details like the pilot, is vastly improved even for entry level kitmakers like Airfix. I guess I’ll reserve judgement until I try to bring the hulls and wings together.
Loving your Ki-10 as well by the way. It’s amazing to think that there was less than half a decade separating it’s frontline service history from A6M 
I promise, no more updates until I complete the stencils and install the landing gear!
I am loving that stencil work.
Nah man, keep them coming!
Well, apparently my promise lasted exactly one day!  Thanks guys! I put another two hours into the stencils tonight, so maybe I’ll give you another update after the next two-hour session. You asked for it!
Thank you, I’ve never put so many down in my life, starting to get decent at these tiny stencils after what seems like 500 of them!
Airfix 1:72 Mitsubishi A6M2b Zero
The decision as to whether I build a Flying Zero or a Tarmac Zero is being driven largely by whether or not I make a mess of the pilot, but initial basecoats of Tamiya acrylics over Light Grey Primer mean things are looking promising for a wheels-up model!
Tamiya acrylics over a Light Grey Primer…
Oh no!! You gotta keep that going Sam, I think it shows incredible dedication to getting it right, and reminding some of us, (Your truly included) why I am not building an F-4 anytime time soon! Best left to more patient folks such as yourself.
Outstanding work by the way and this is going to be a fantastic build!
Best Regards,
Freddie from Palm Beach
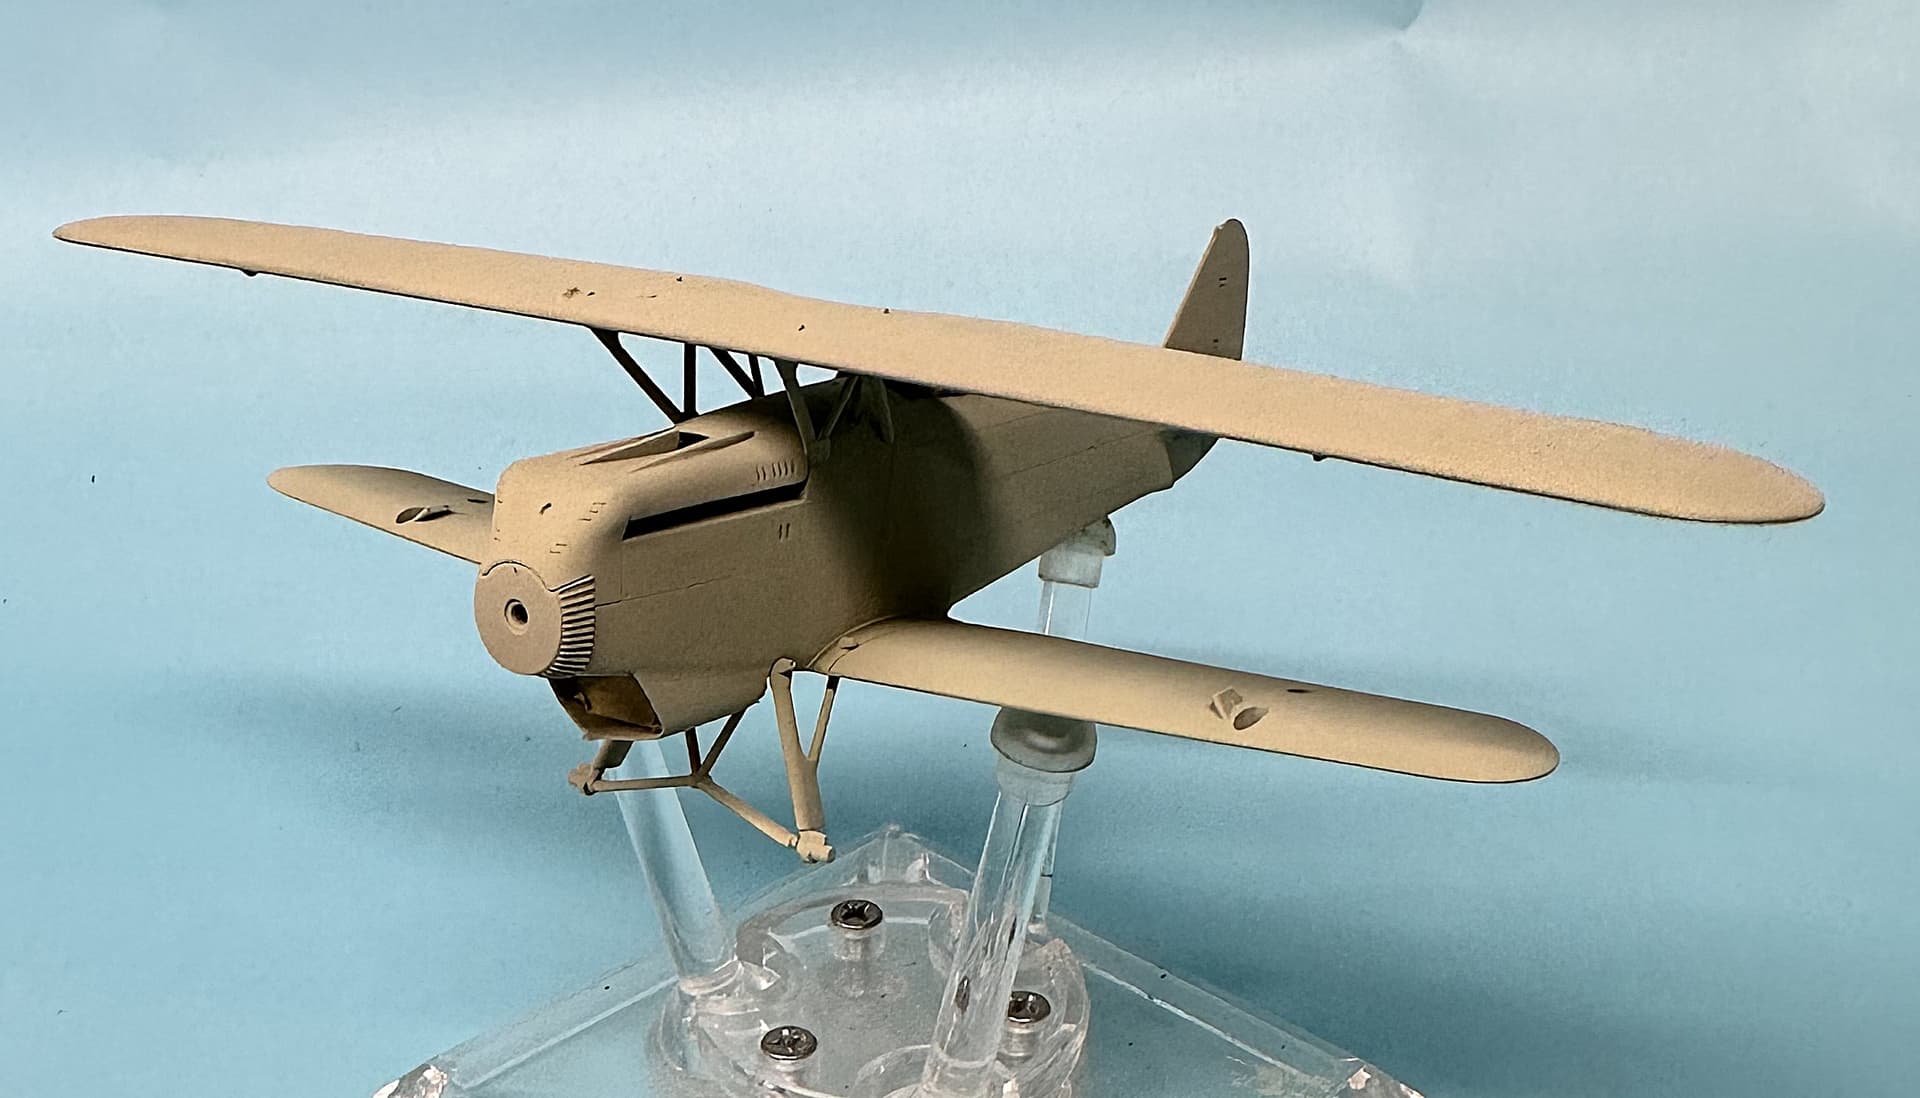
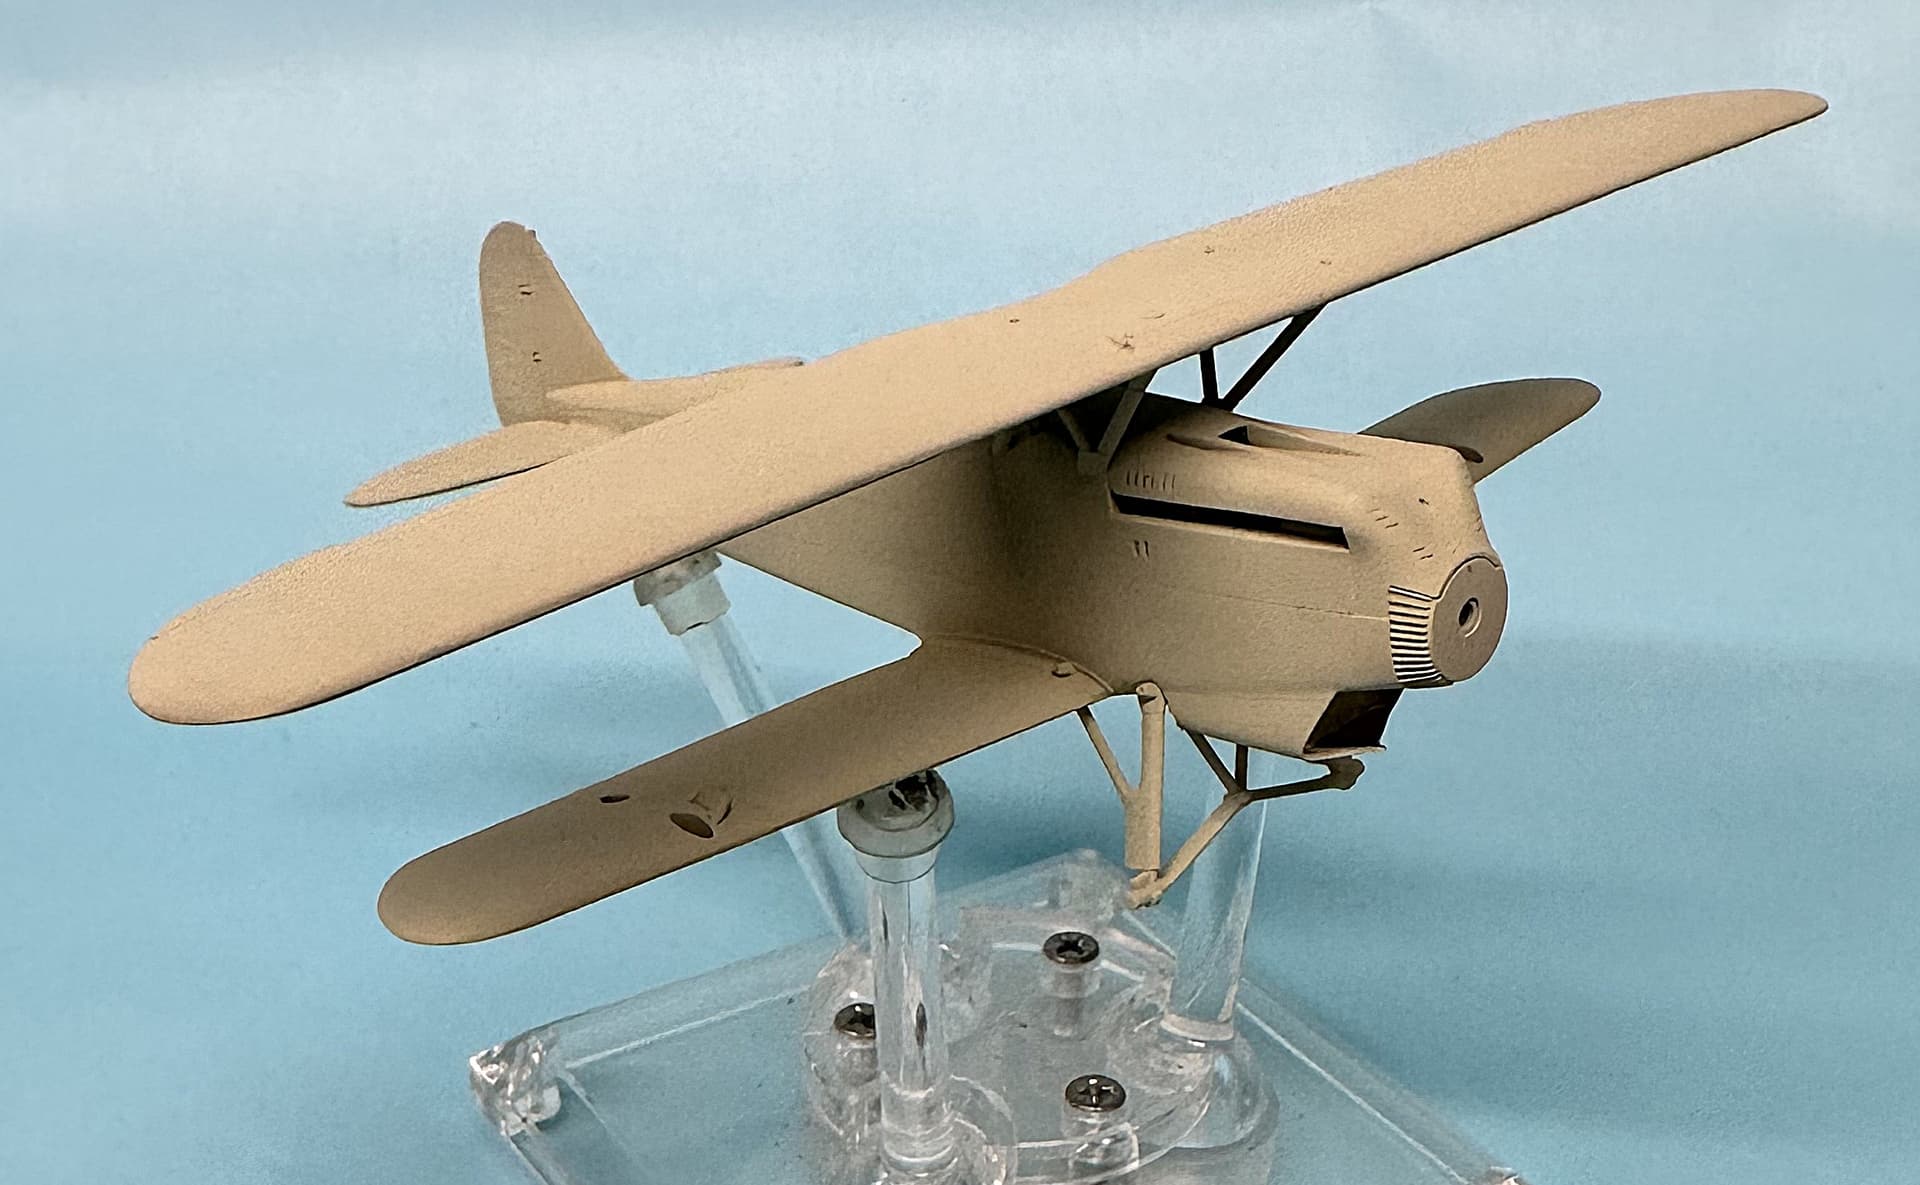
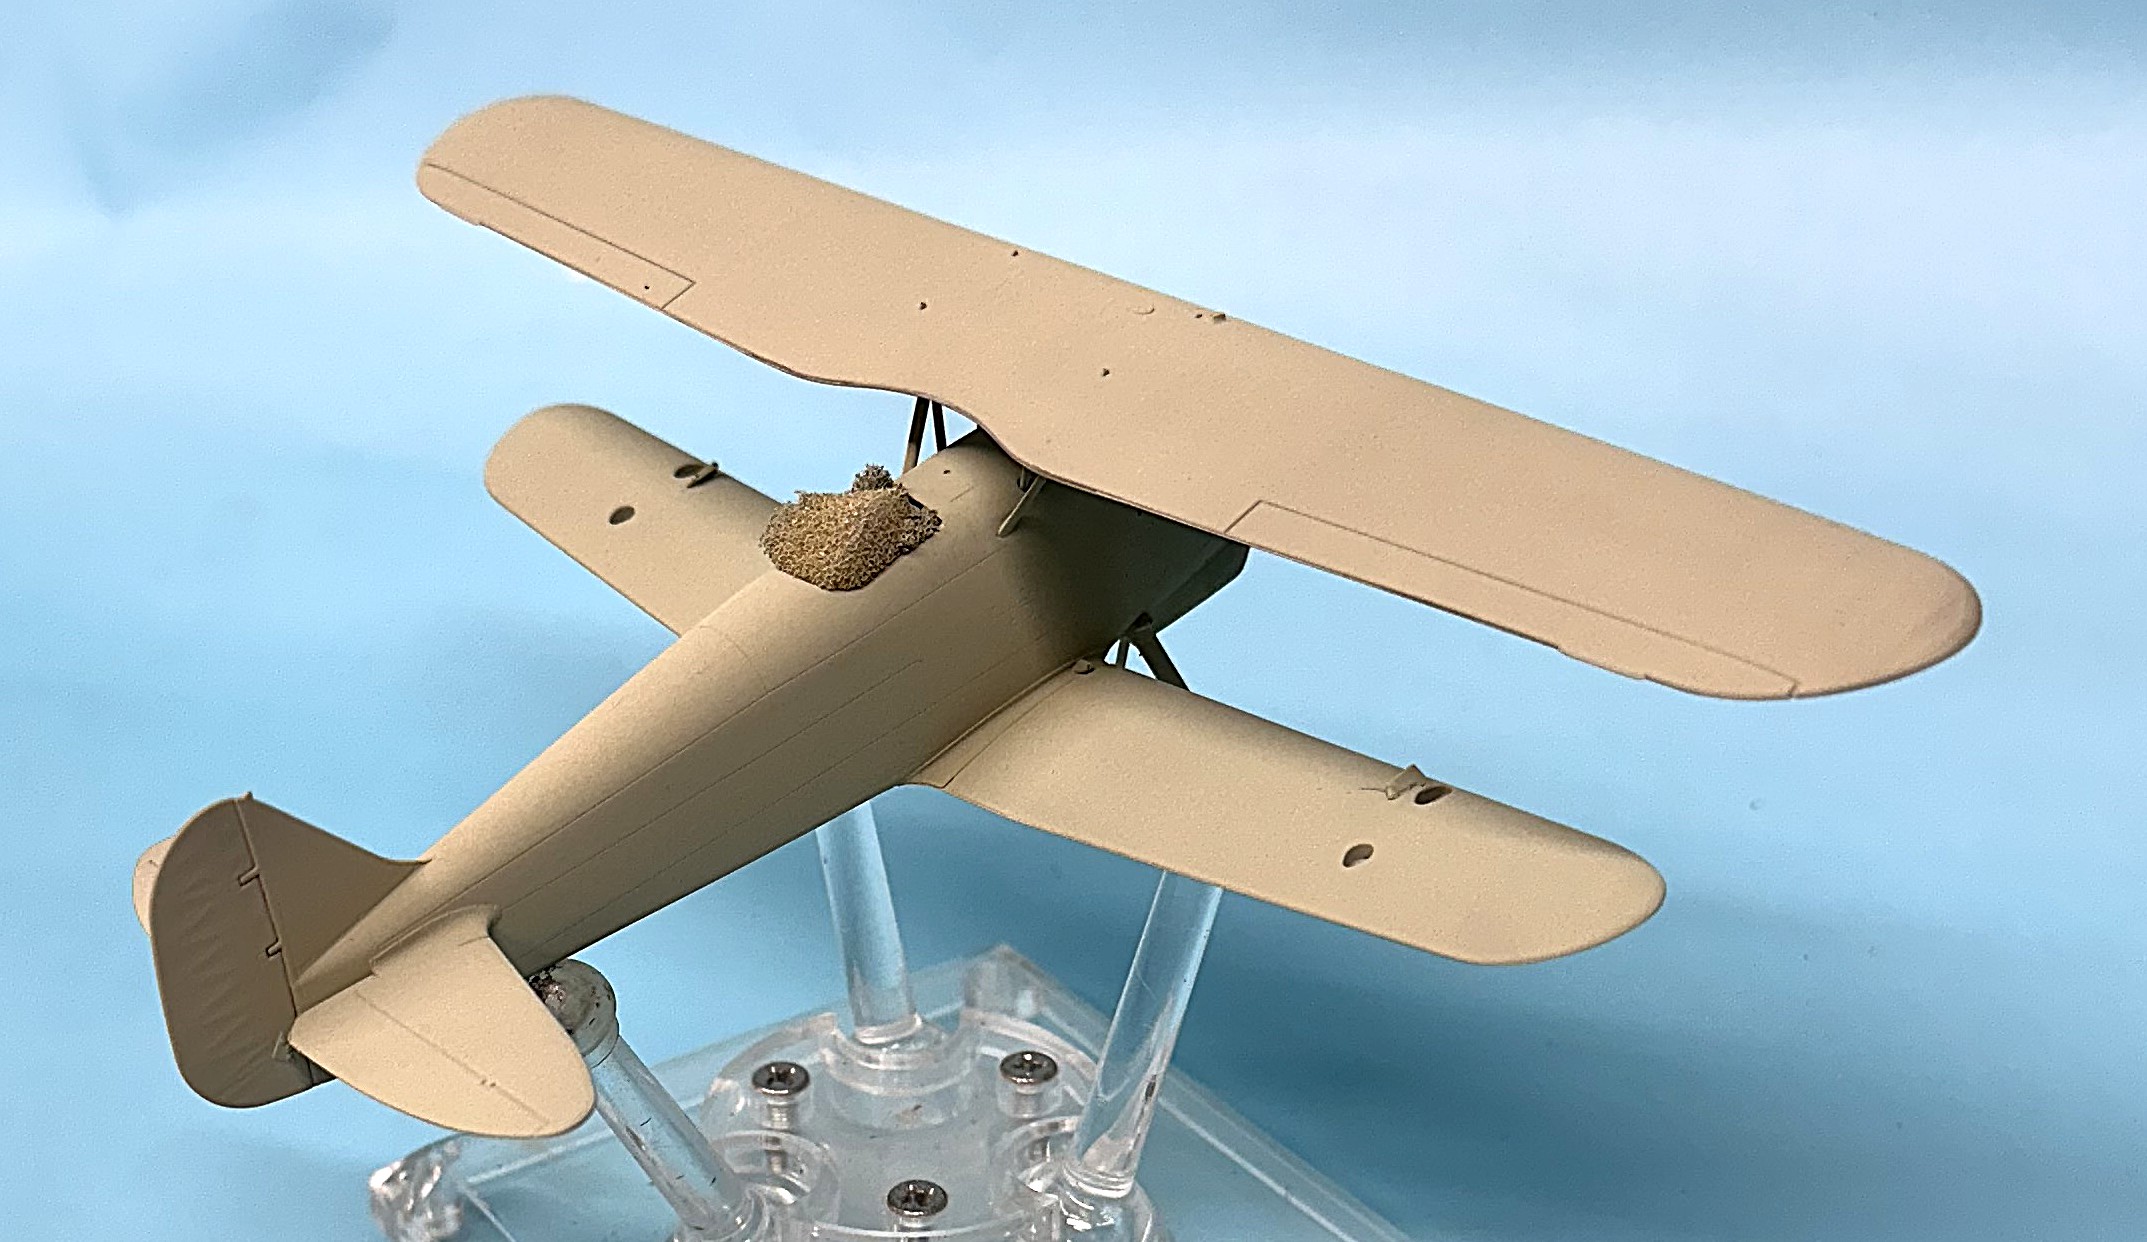
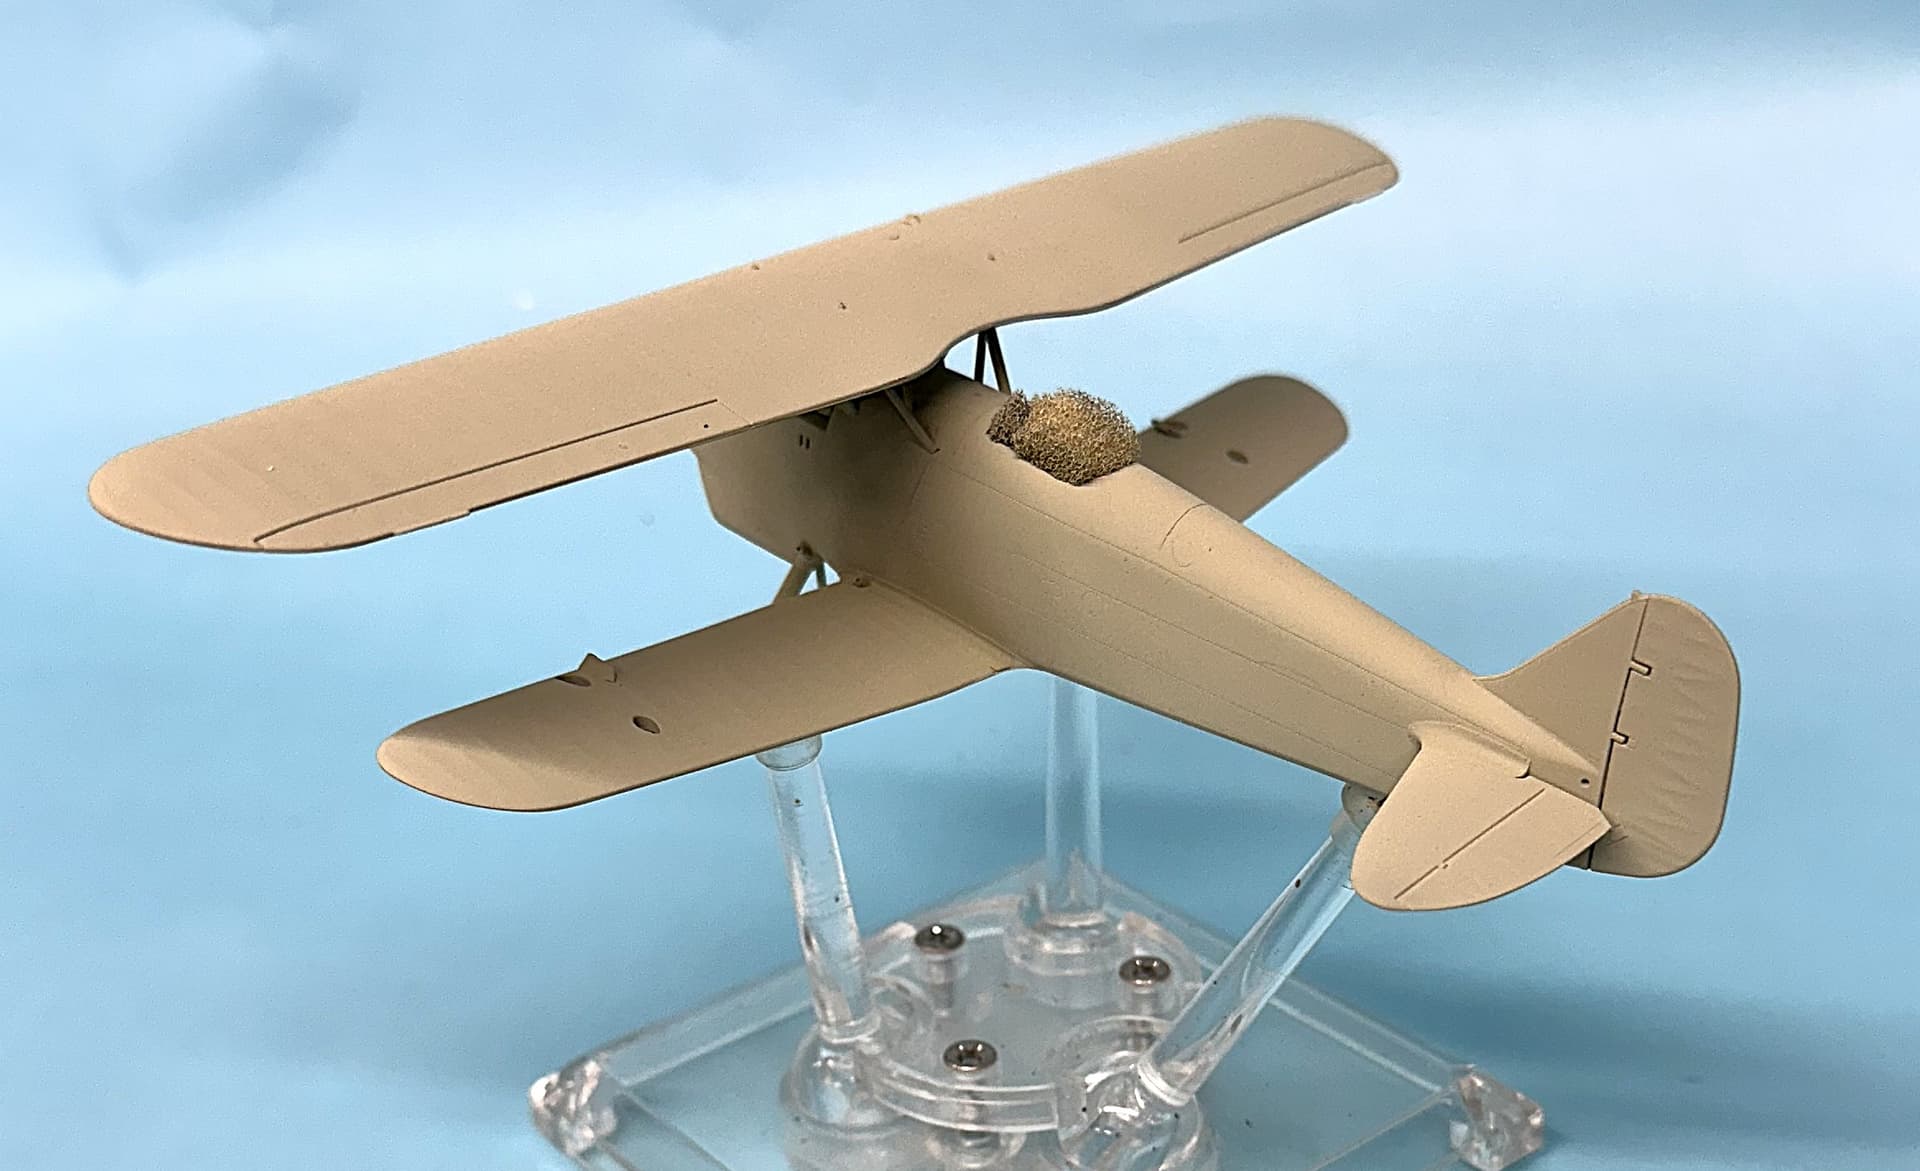
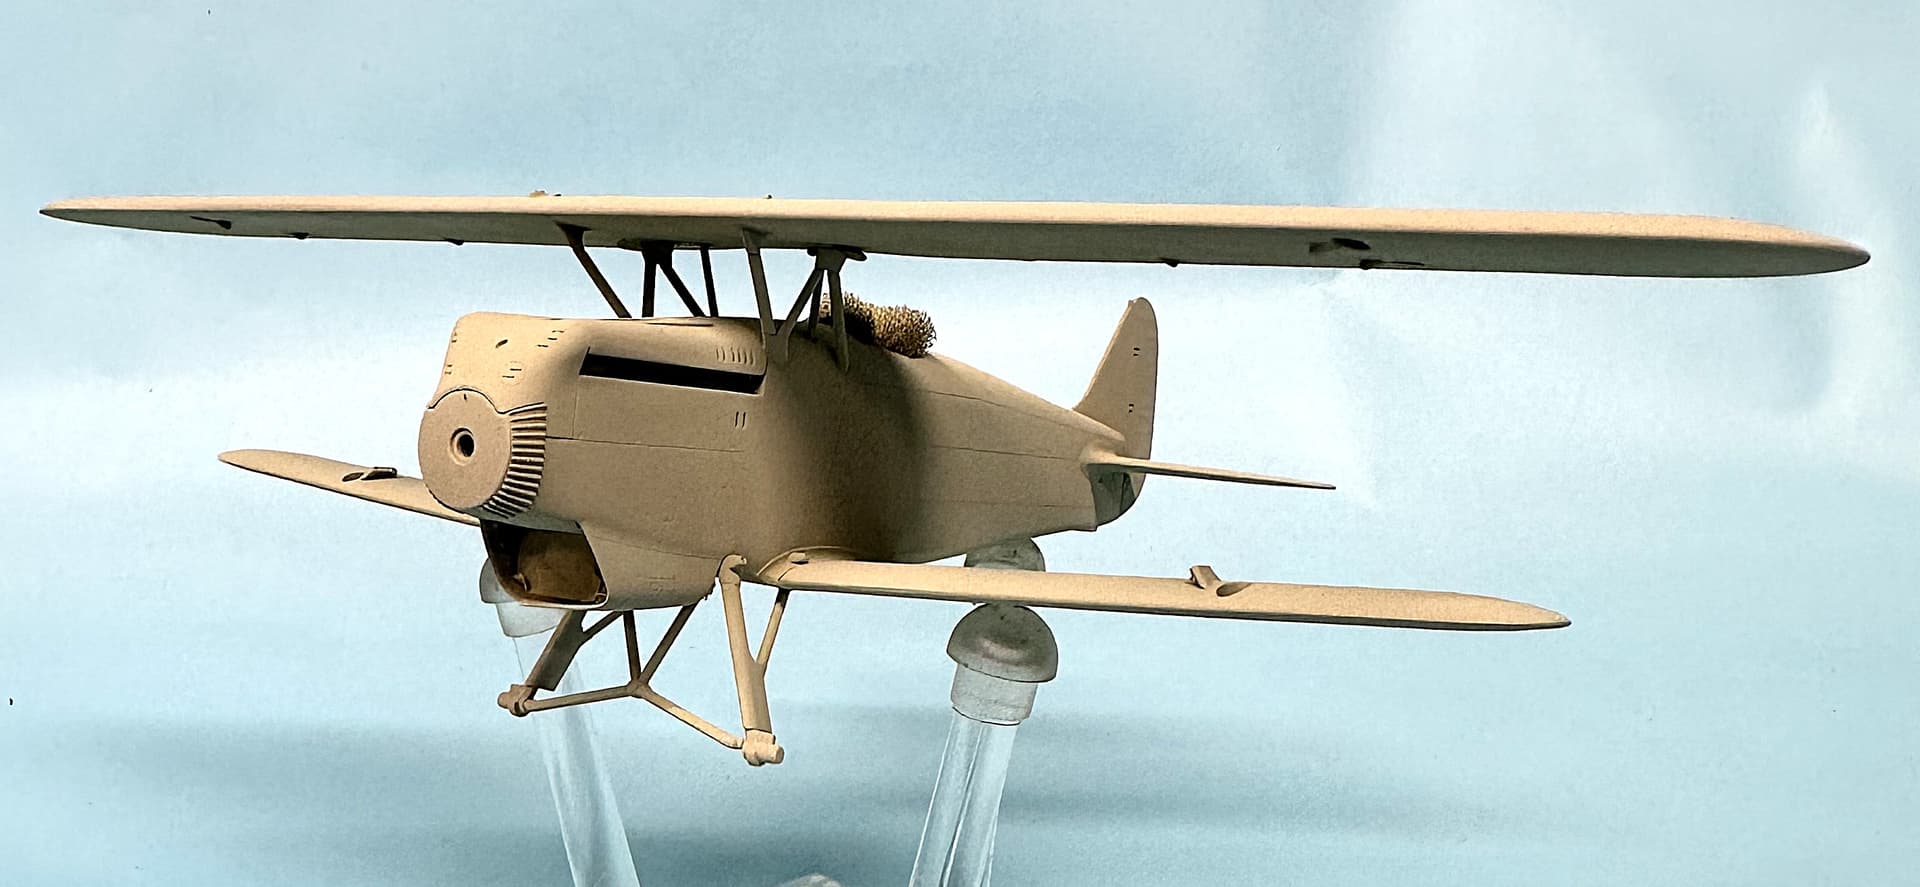
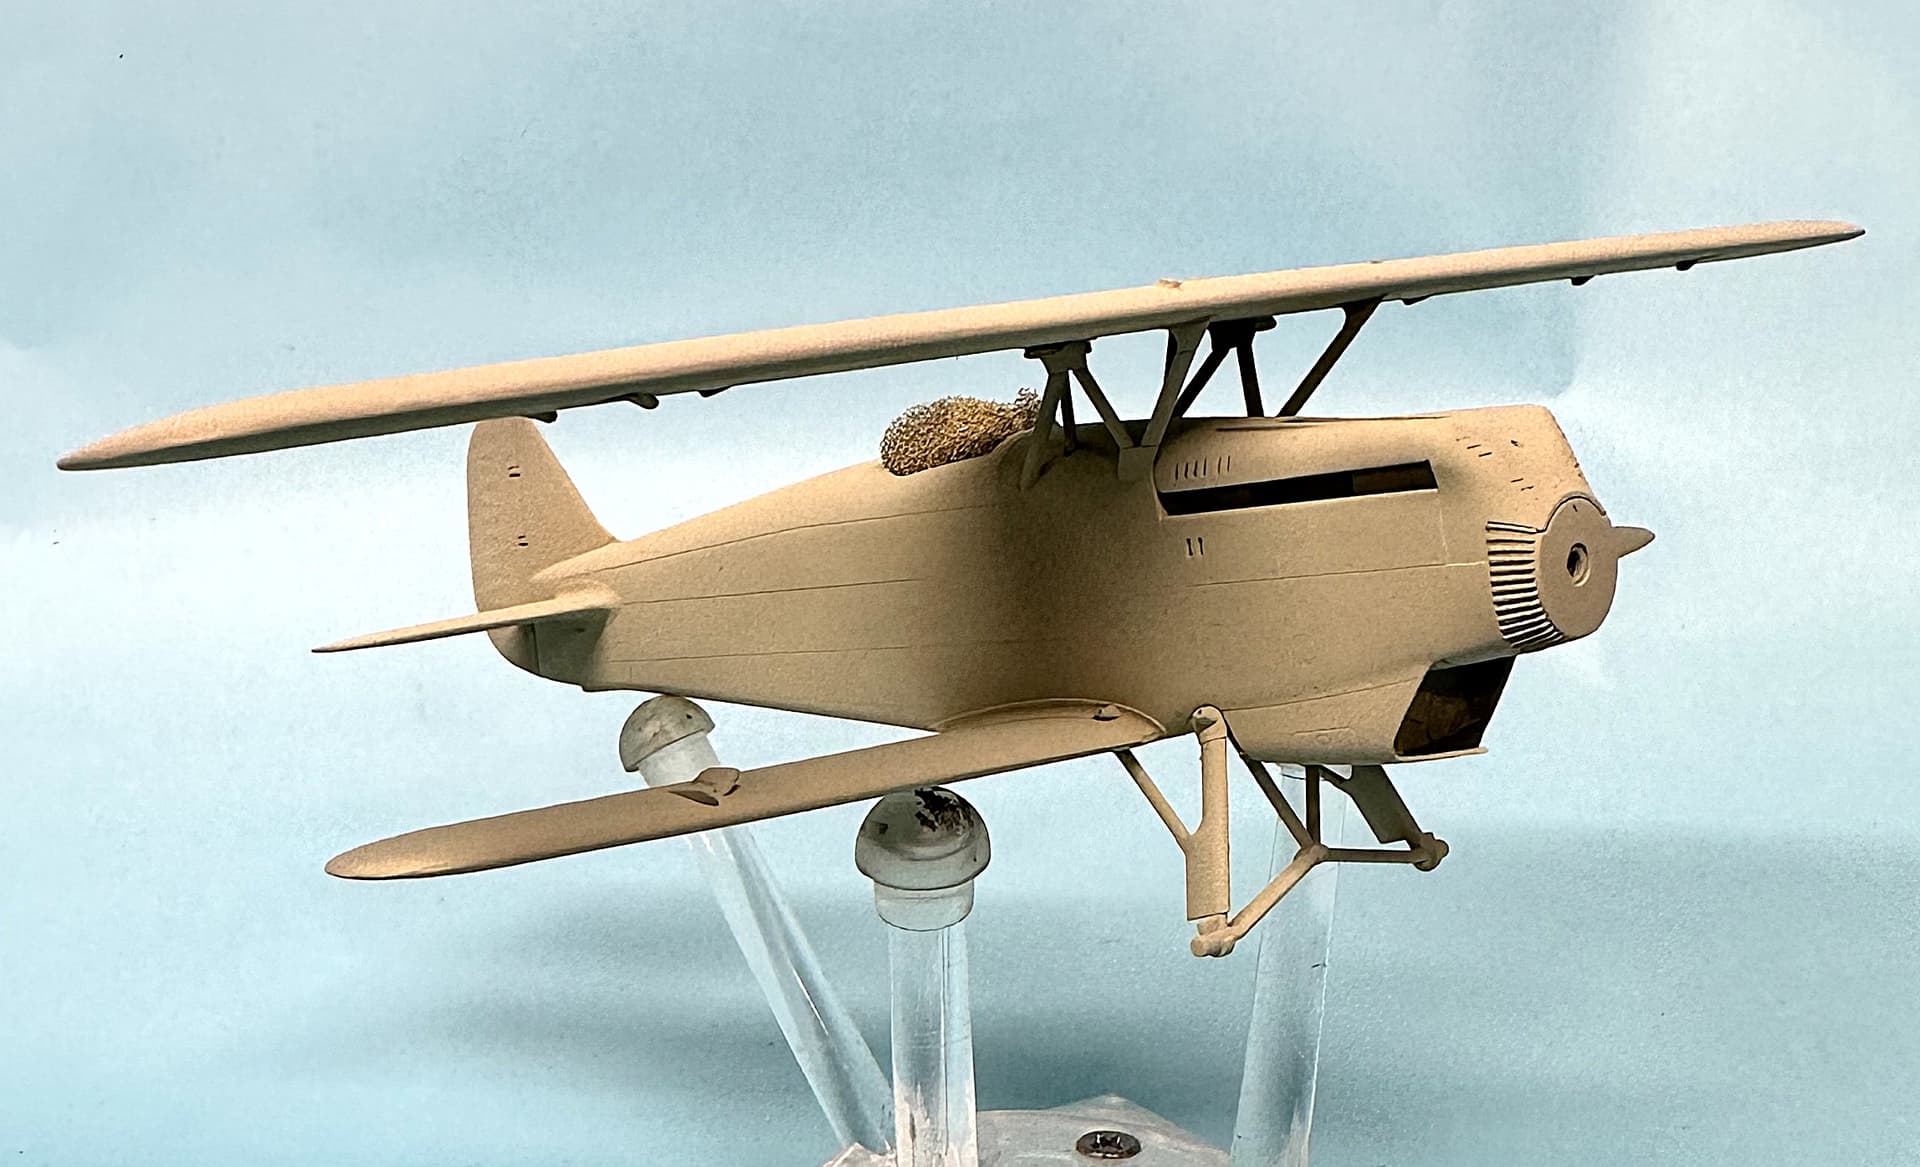
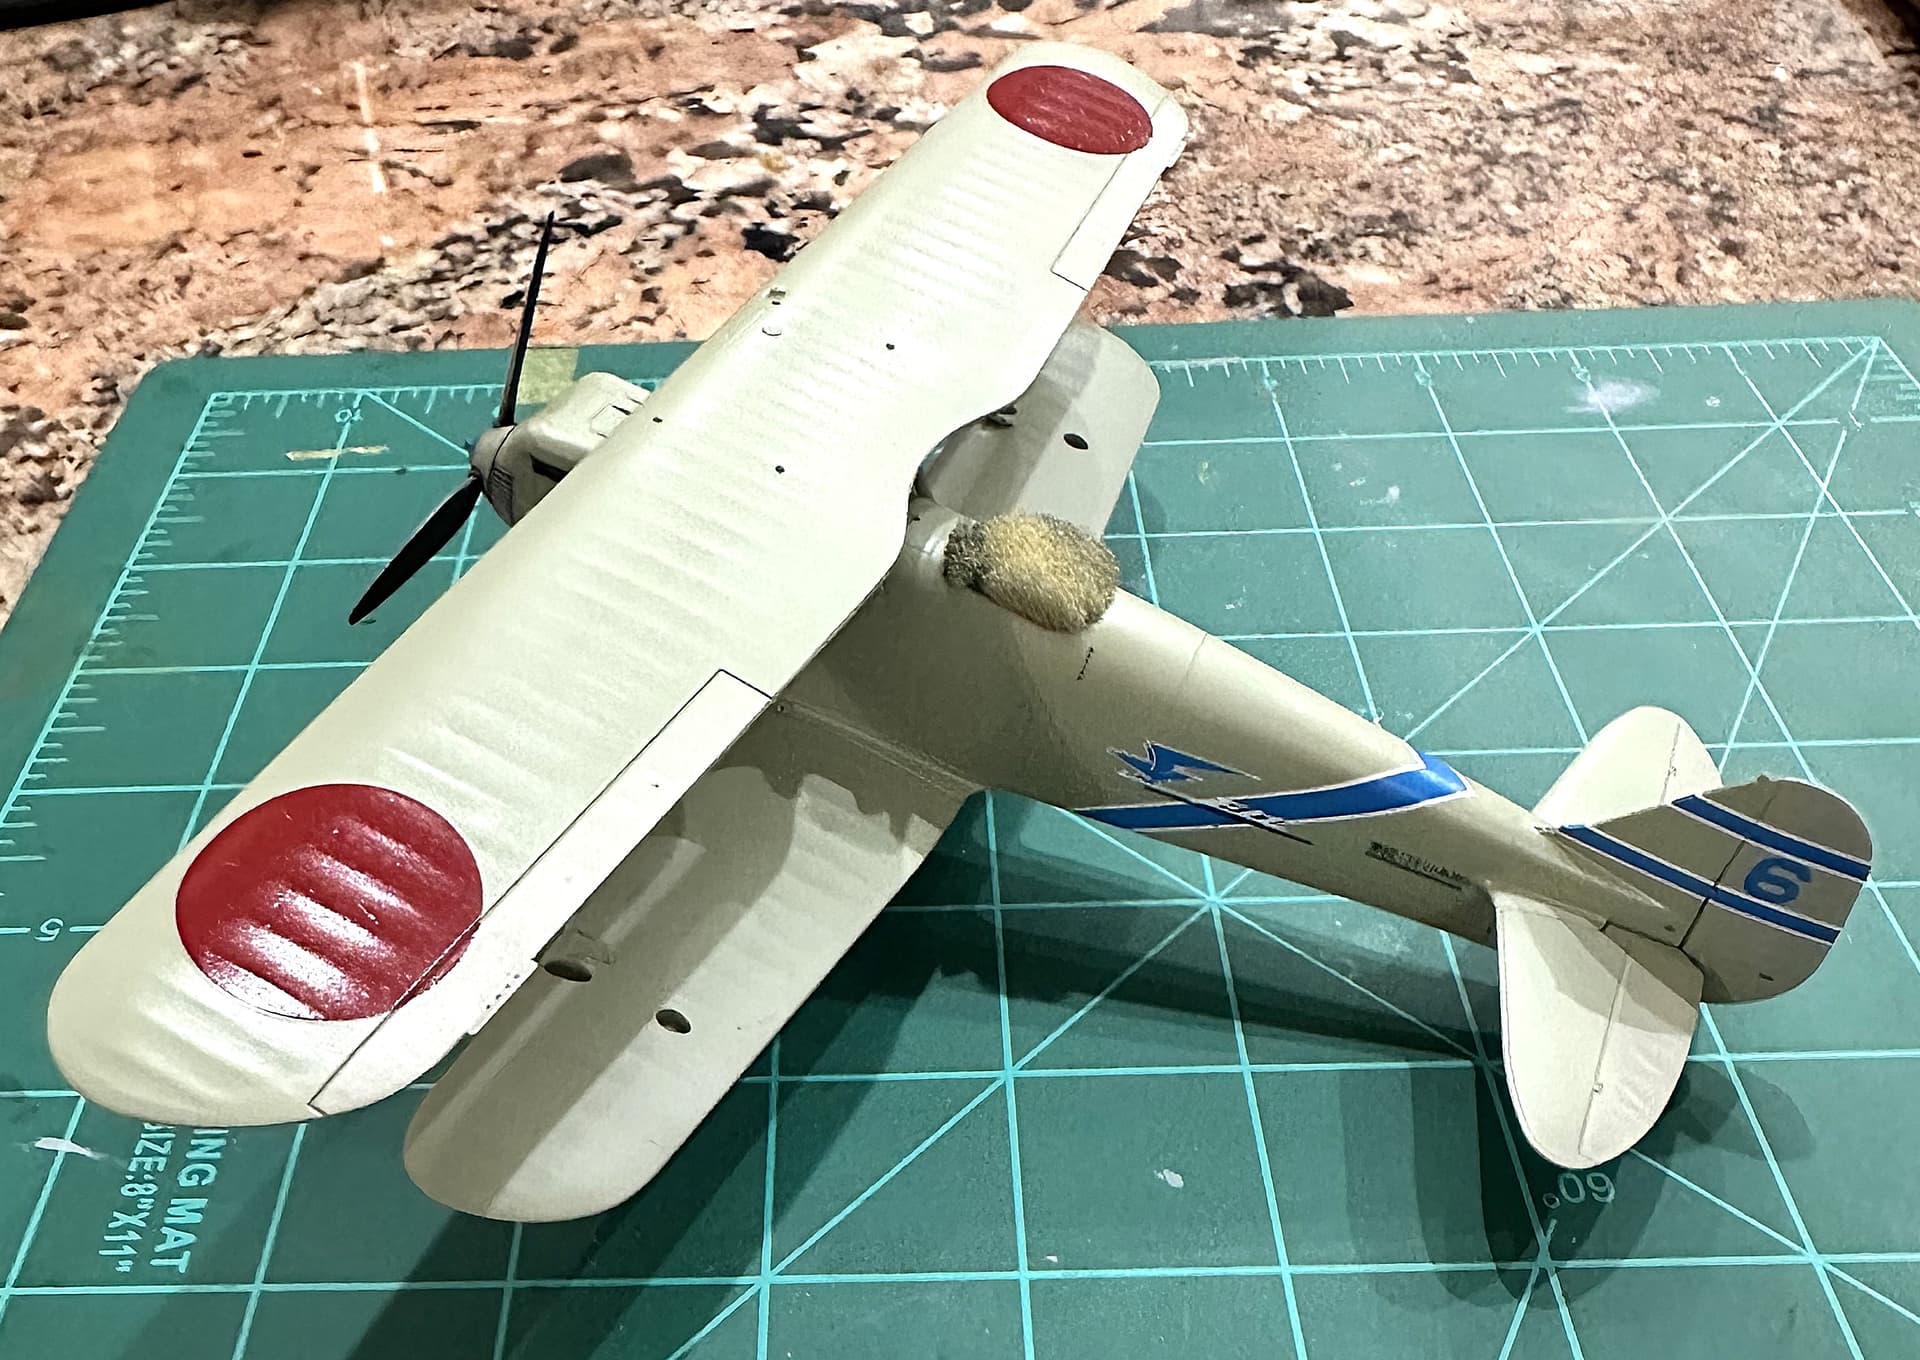
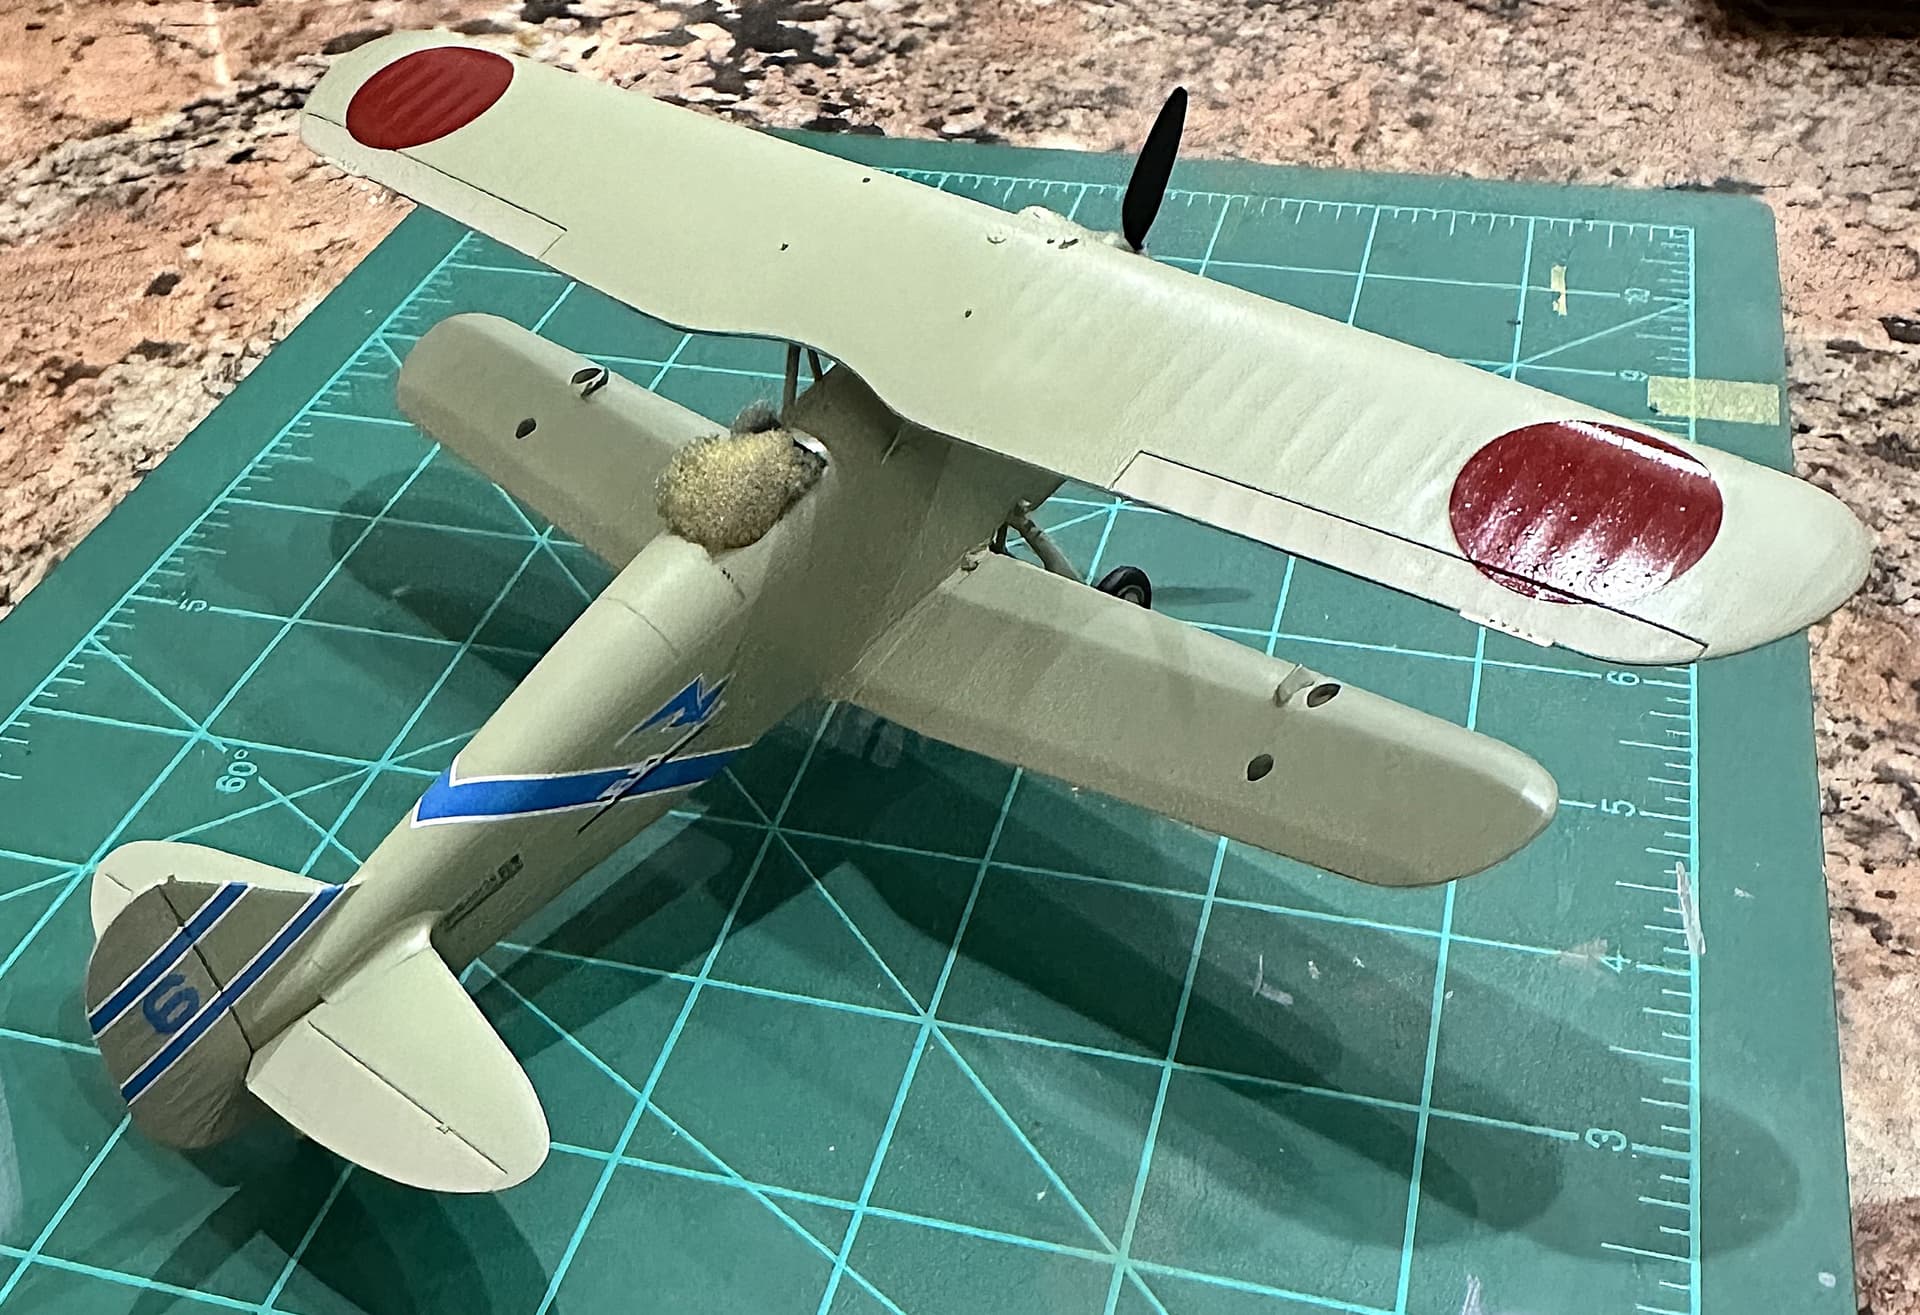
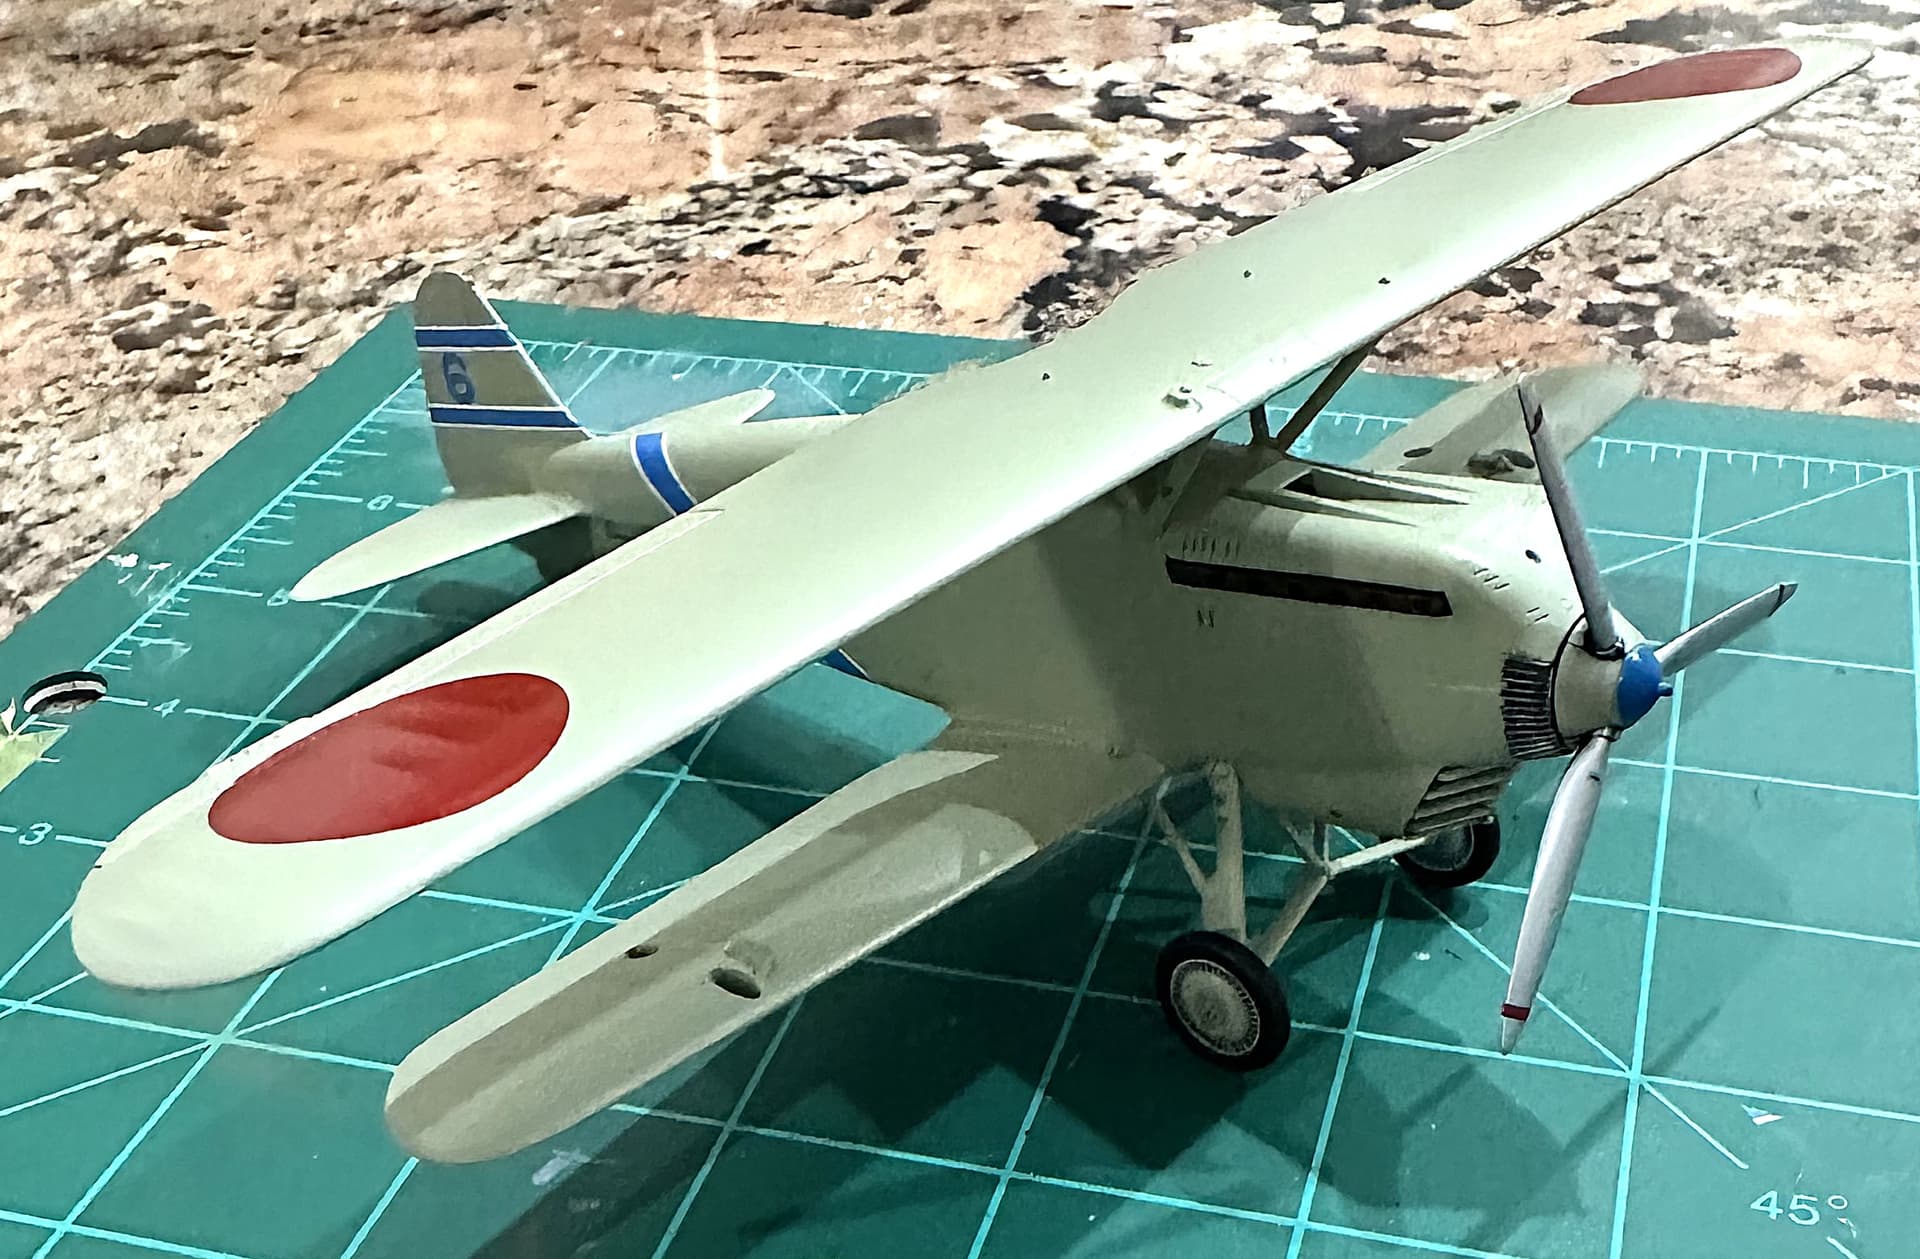
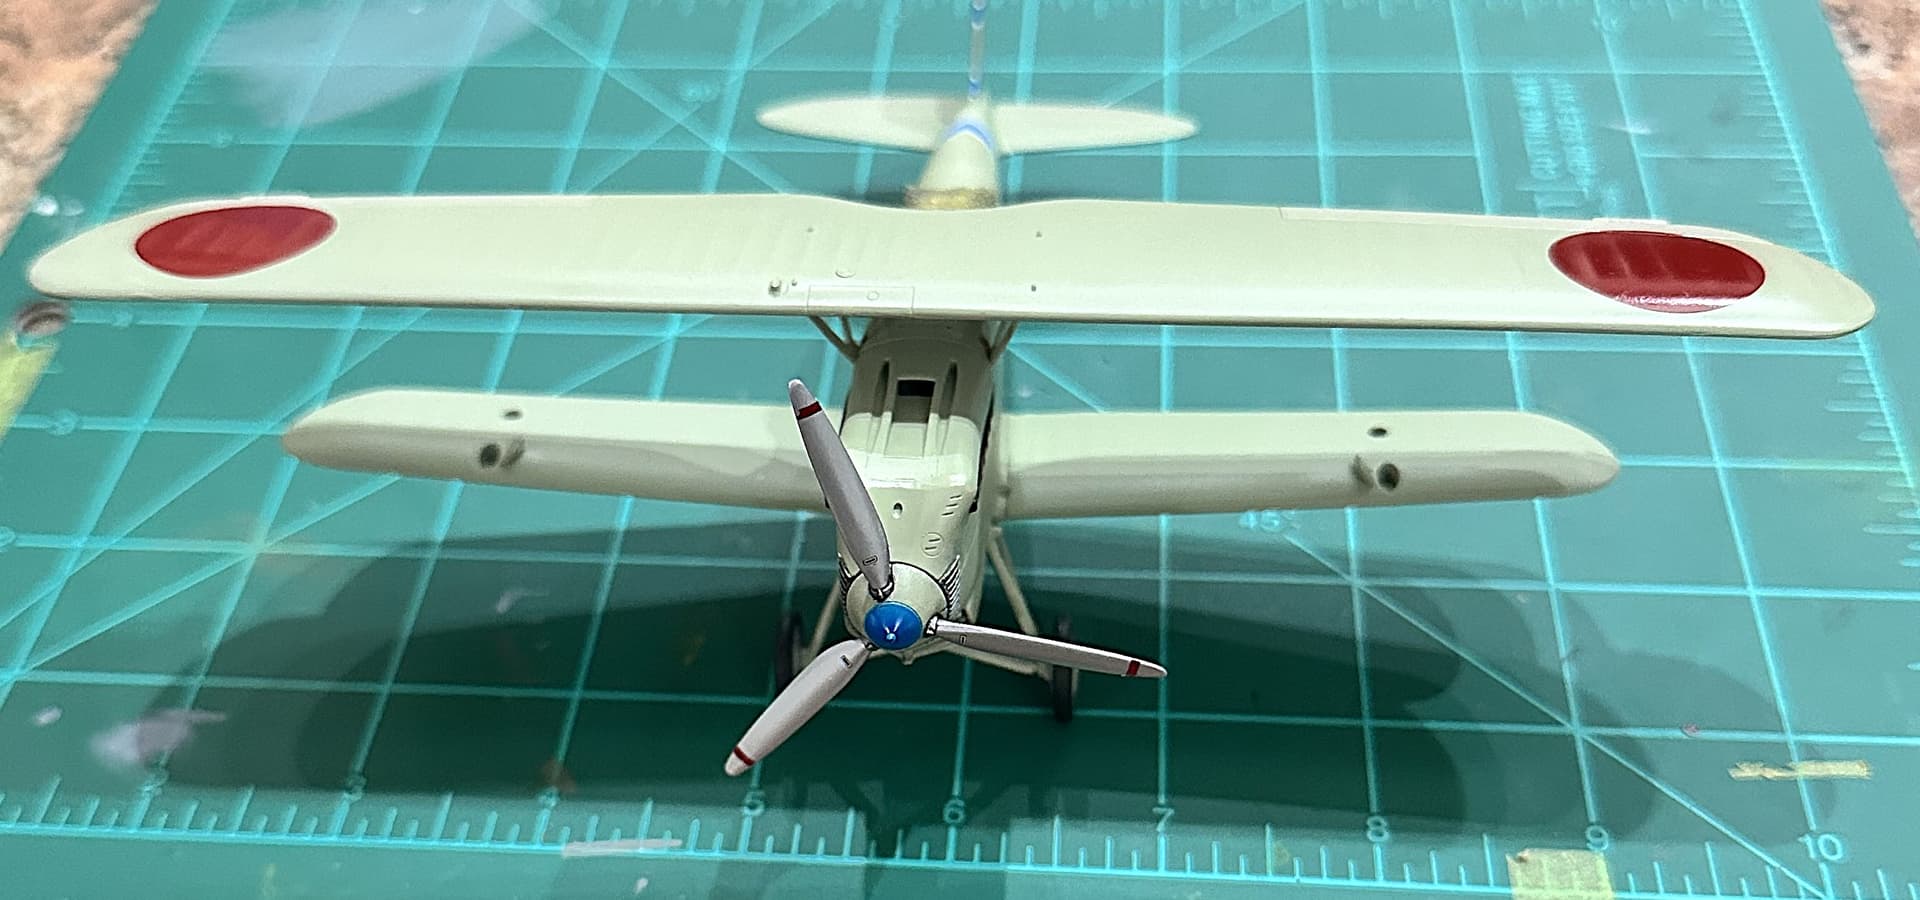
This Morning I threw a bit of paint at the Ki-10. Using Tamiya Acrylic, thinned on a 50/50 ratio of paint to thinner. Upper wing looks a bit warped? (It is a tad) I am hoping to fix that once the outer struts are installed? At least it appears that will correct everything once that occurs. Assembled some of the fiddlie bits like, wheels, exhausts, prop and spinner and some of the other parts that will not be installed until after the weathering; which I plan on keeping to a minimum as well.
Markings will be the machine flown by 1st Lt. Sakai Iwori, 2nd Batt, 2nd Squadron, China, May 1938.
Thanks Freddie! I’m beginning to think my promise to stop the stencil updates isn’t going to survive. I put another two hours into them last night, and judging by the responses, apparently you guys want to keep watching me suffer!
I appreciate the kind words. It’s definitely testing my patience, but I think all this work is going to pay off in the end.
The MiG-21 is also covered by stencils, or so would Begemot make you think in any case. I’ve seen a few Fishbeds ‘in the flesh’ and never saw that many on… Many F-4 photos do not show that many either. Maybe the contrast between the paints used for stencilling and those of the camouflage is not that great? All in all, it would not make sense that only a couple of aircraft are covered up while others only sport a few.
Afternoon Everyone!
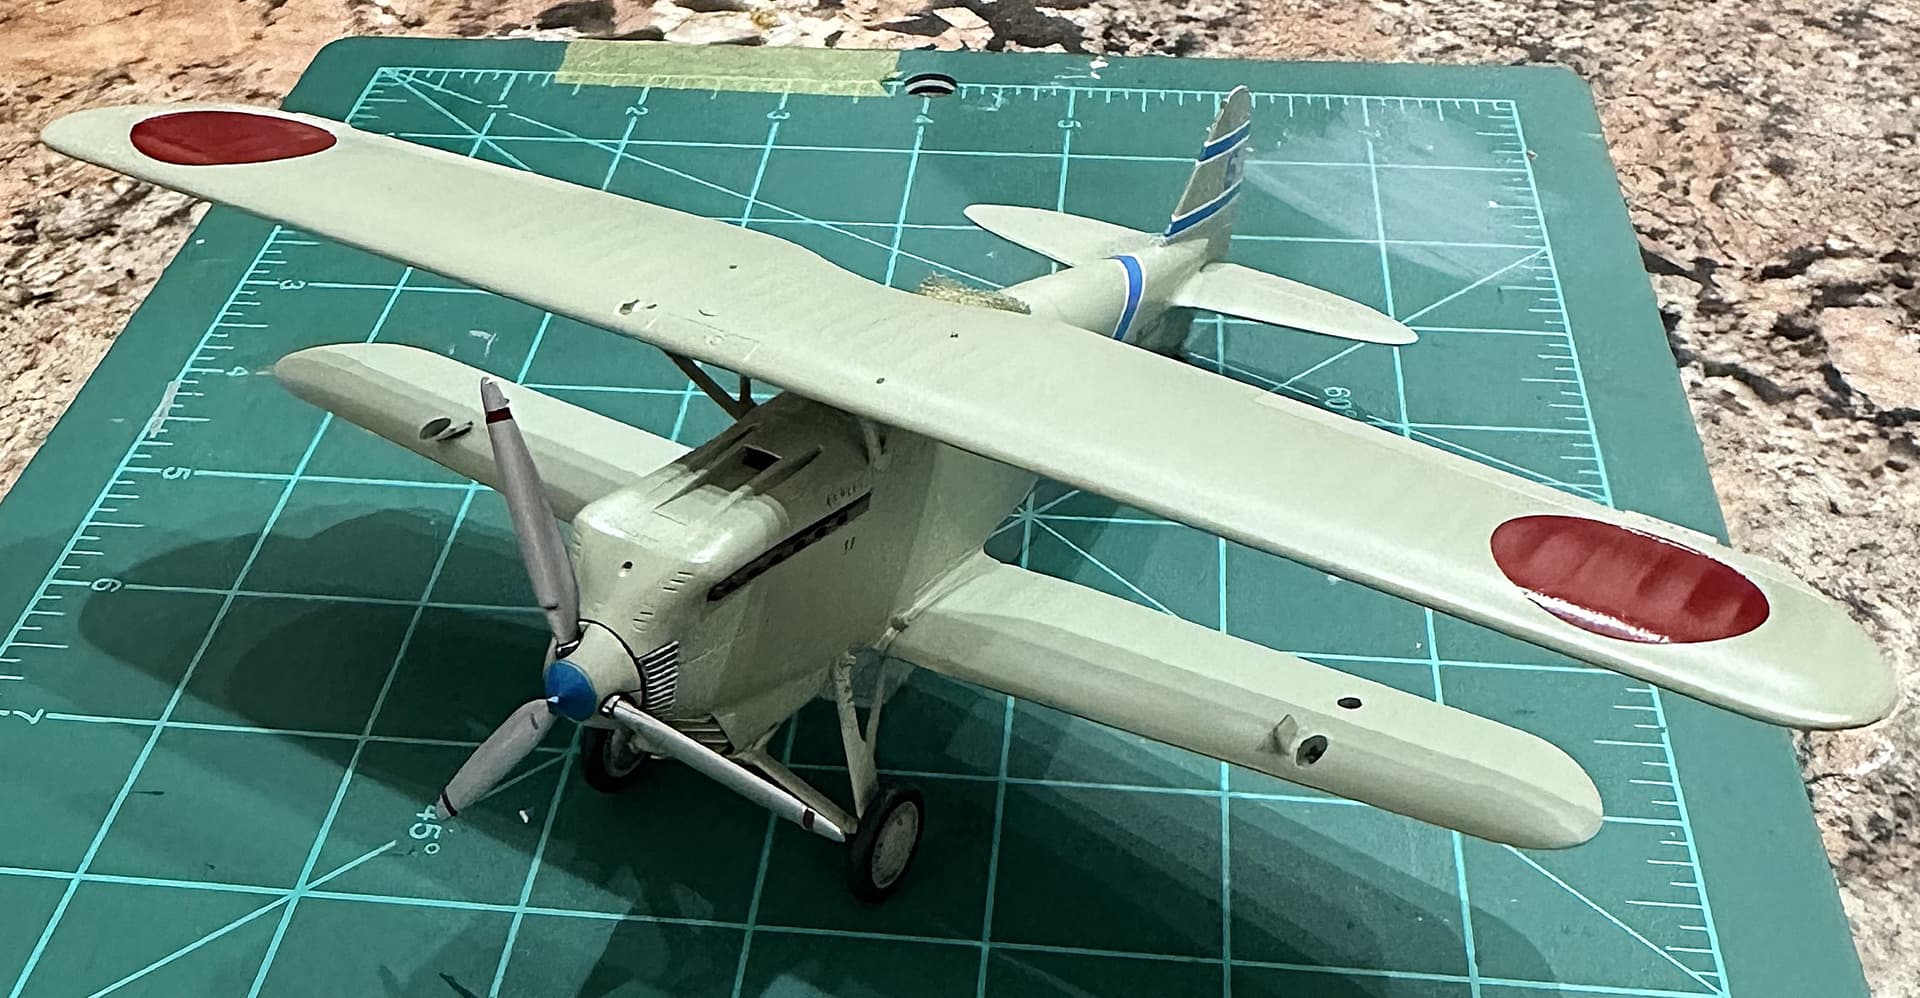
She’s all painted, sealed and decaled up! She’ll sit for another day before the weathering to make sure everything is dry and ready.
I painted her with Tamiya JA Grey/Green cut 50/50 paint to thinner ratio. I am also using the Fine Molds Stainless Steel Rigging Set. IMO, it is absolutely necessary for this kit and it looks a lot harder than I think it will be…famous last words…
I’ll use Flory Washes and AK weathering Pencils, but not too much. The pictures show her dolled up. I placed a bunch of parts on her to see what she might look like after I hit the finish line. I think it’ll be a LOT easier weathering without the upper wing and the rest of the fiddlies in the way.
Now to figure the next Japanese subject
Regards,
Freddie from Palm Beach!
How do we use/display the badge?
Looking good Freddie! And thanks for the reminder to put my Flory wash order in…
That stuff is awesome isn’t it? I’ll be placing another order soon myself. Here in the states I get it from a store in Denver; High Altitude Hobbies.
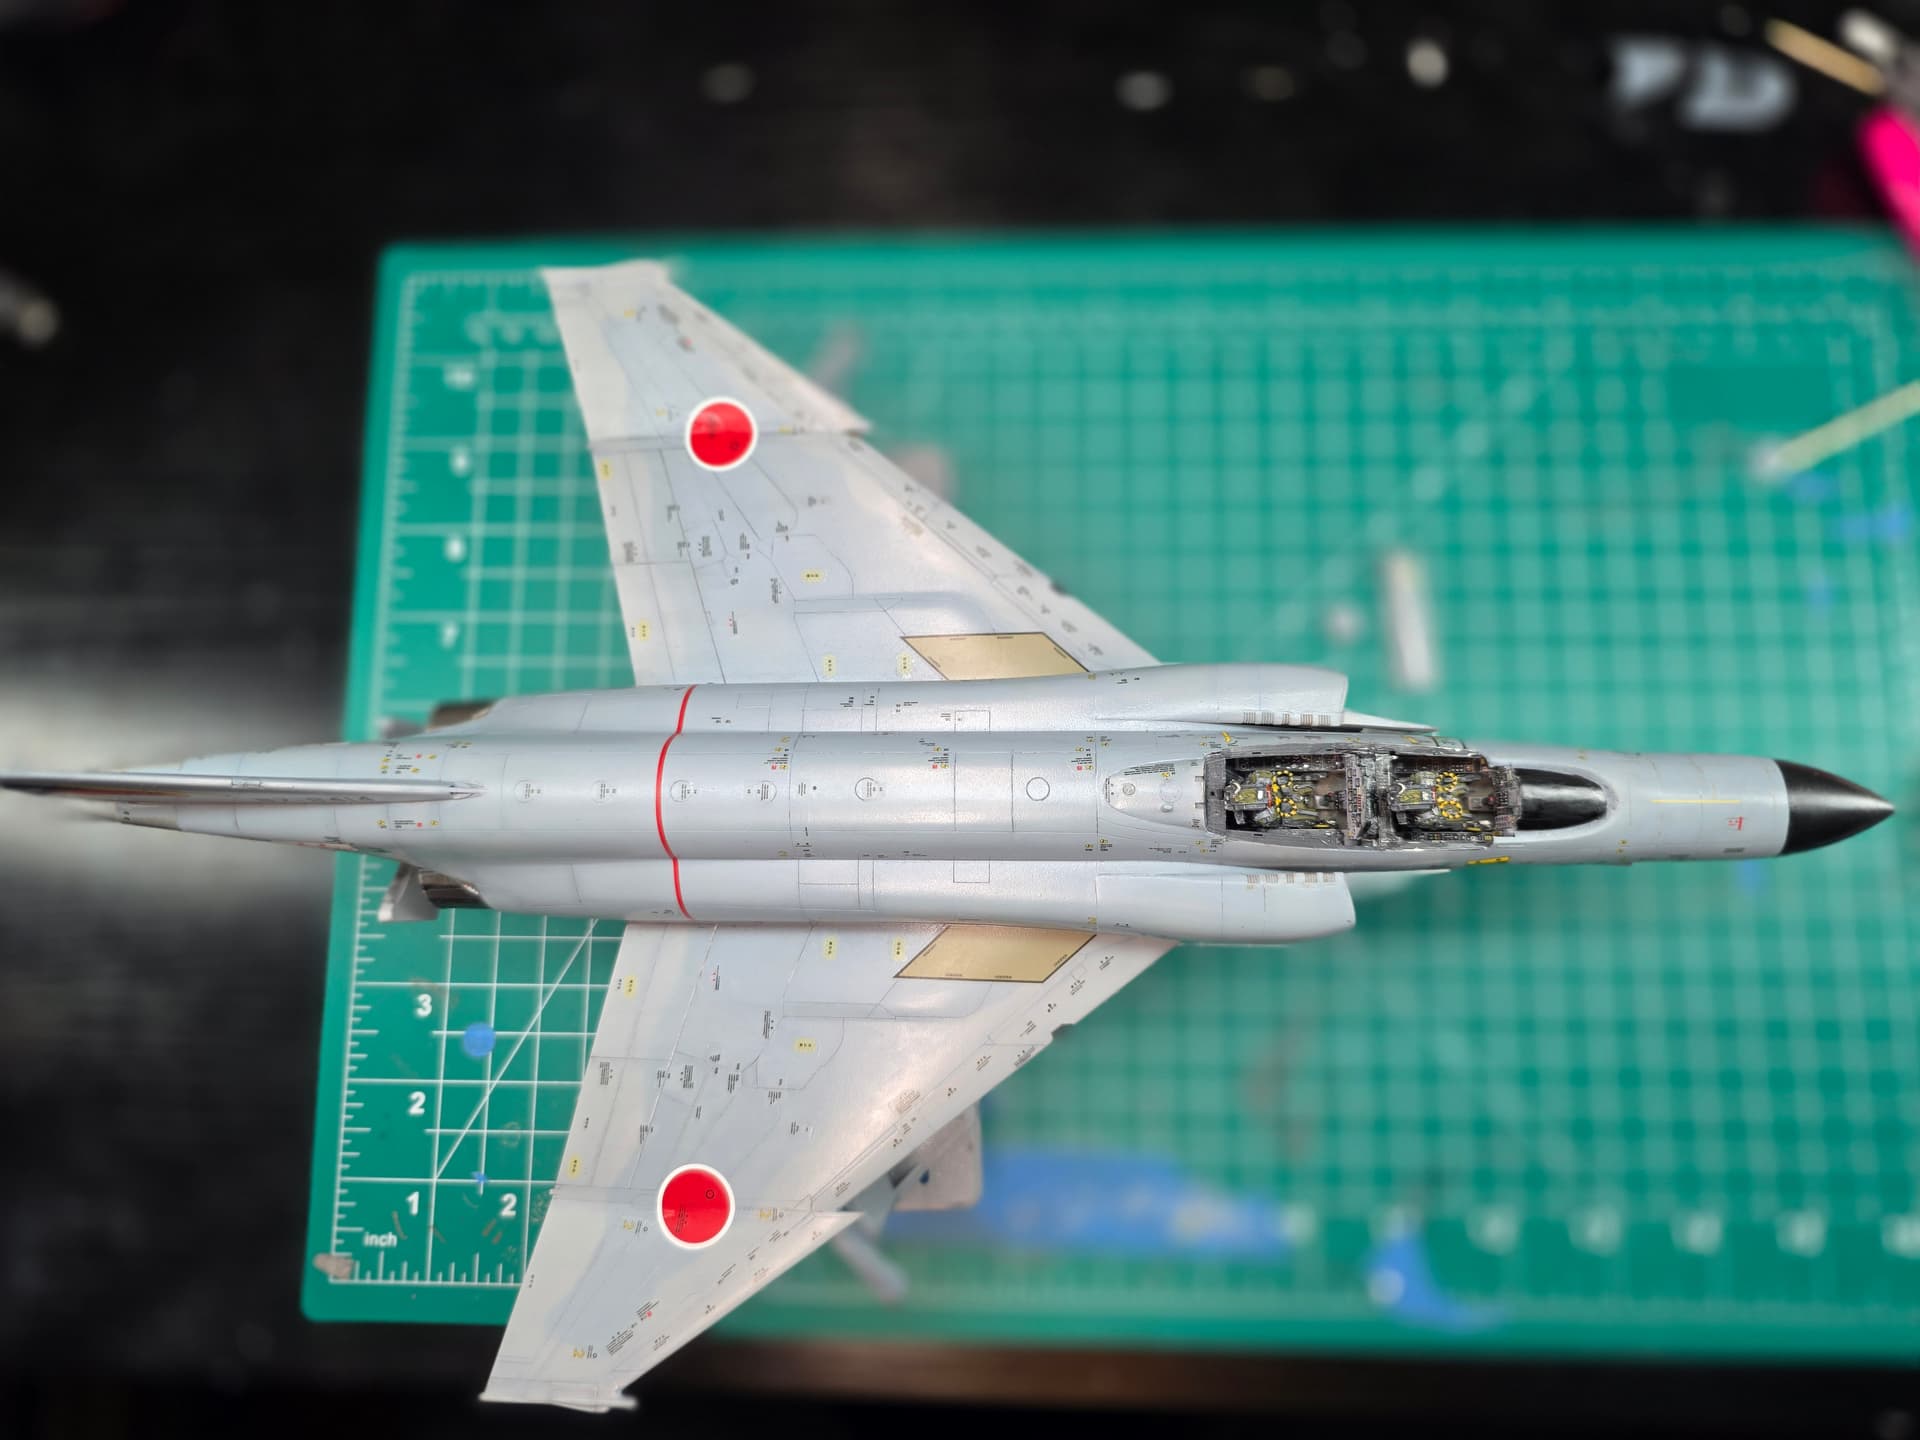
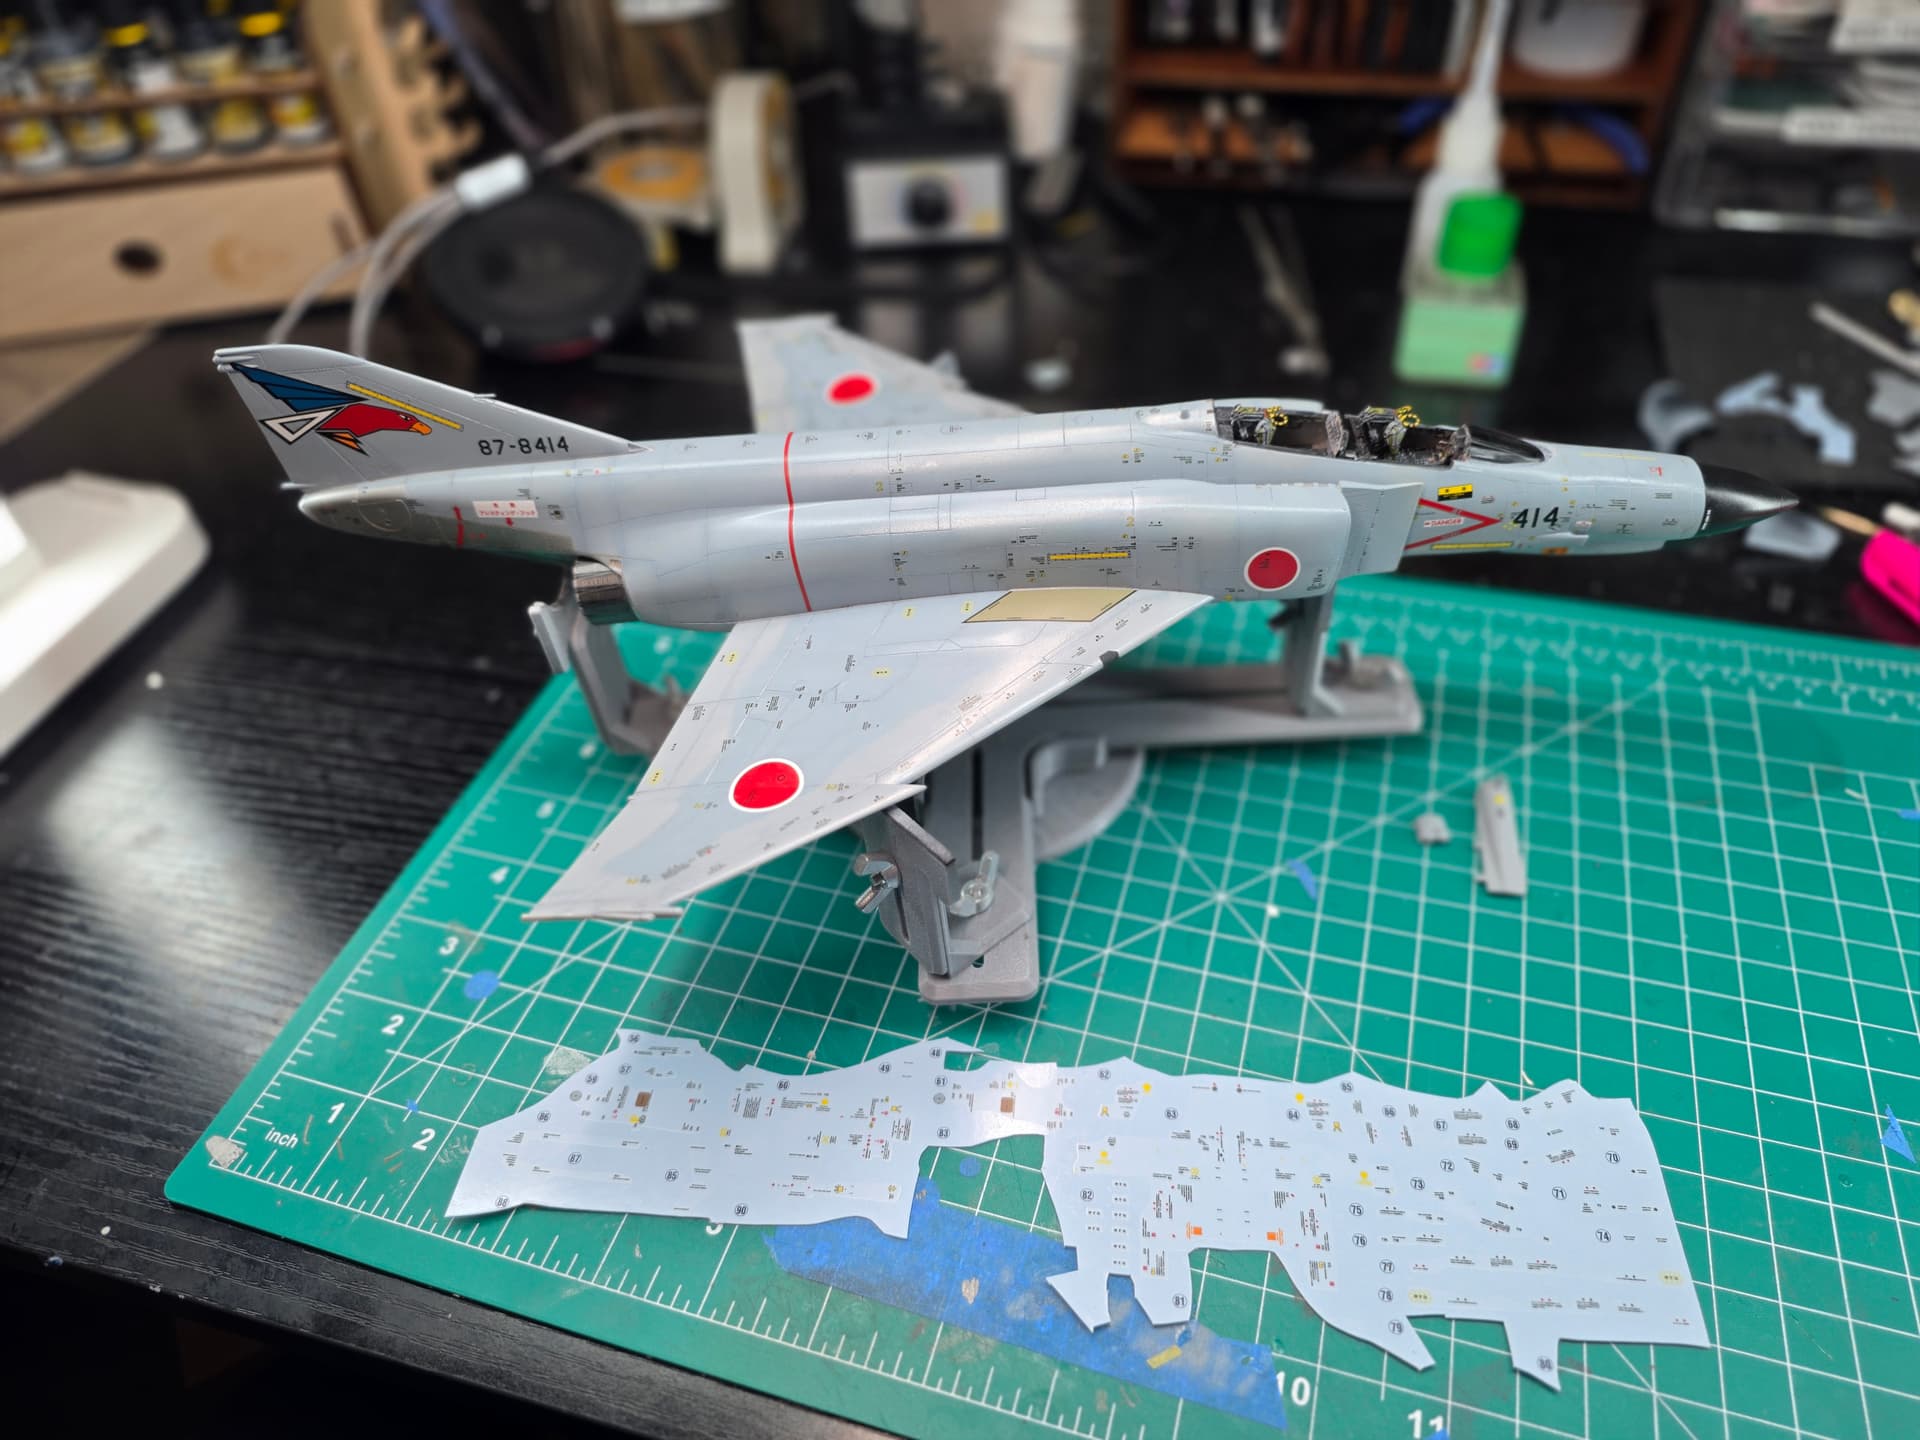
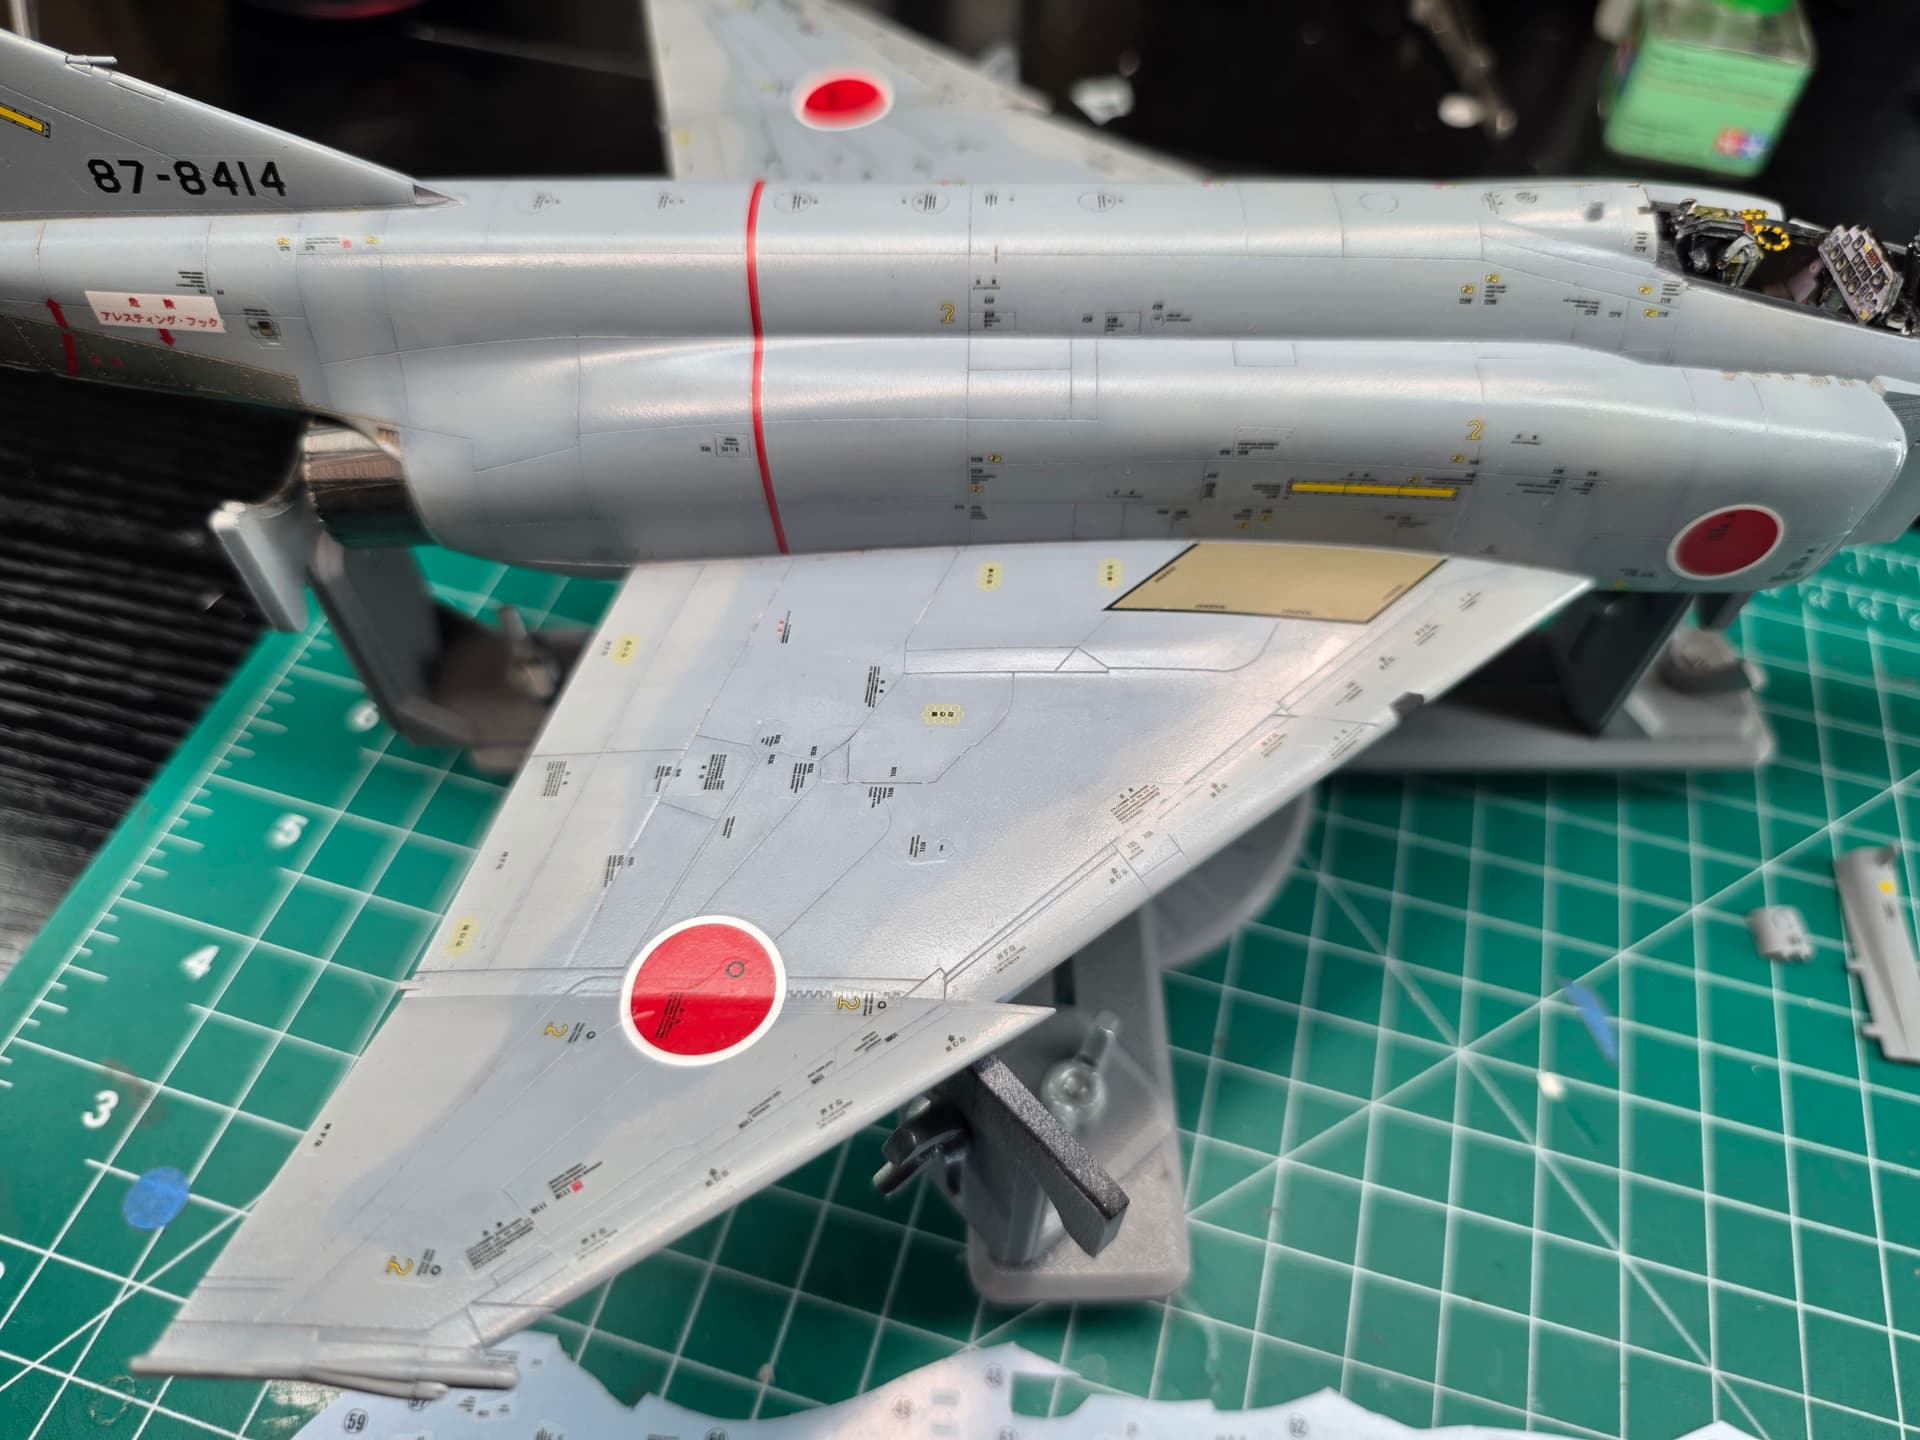
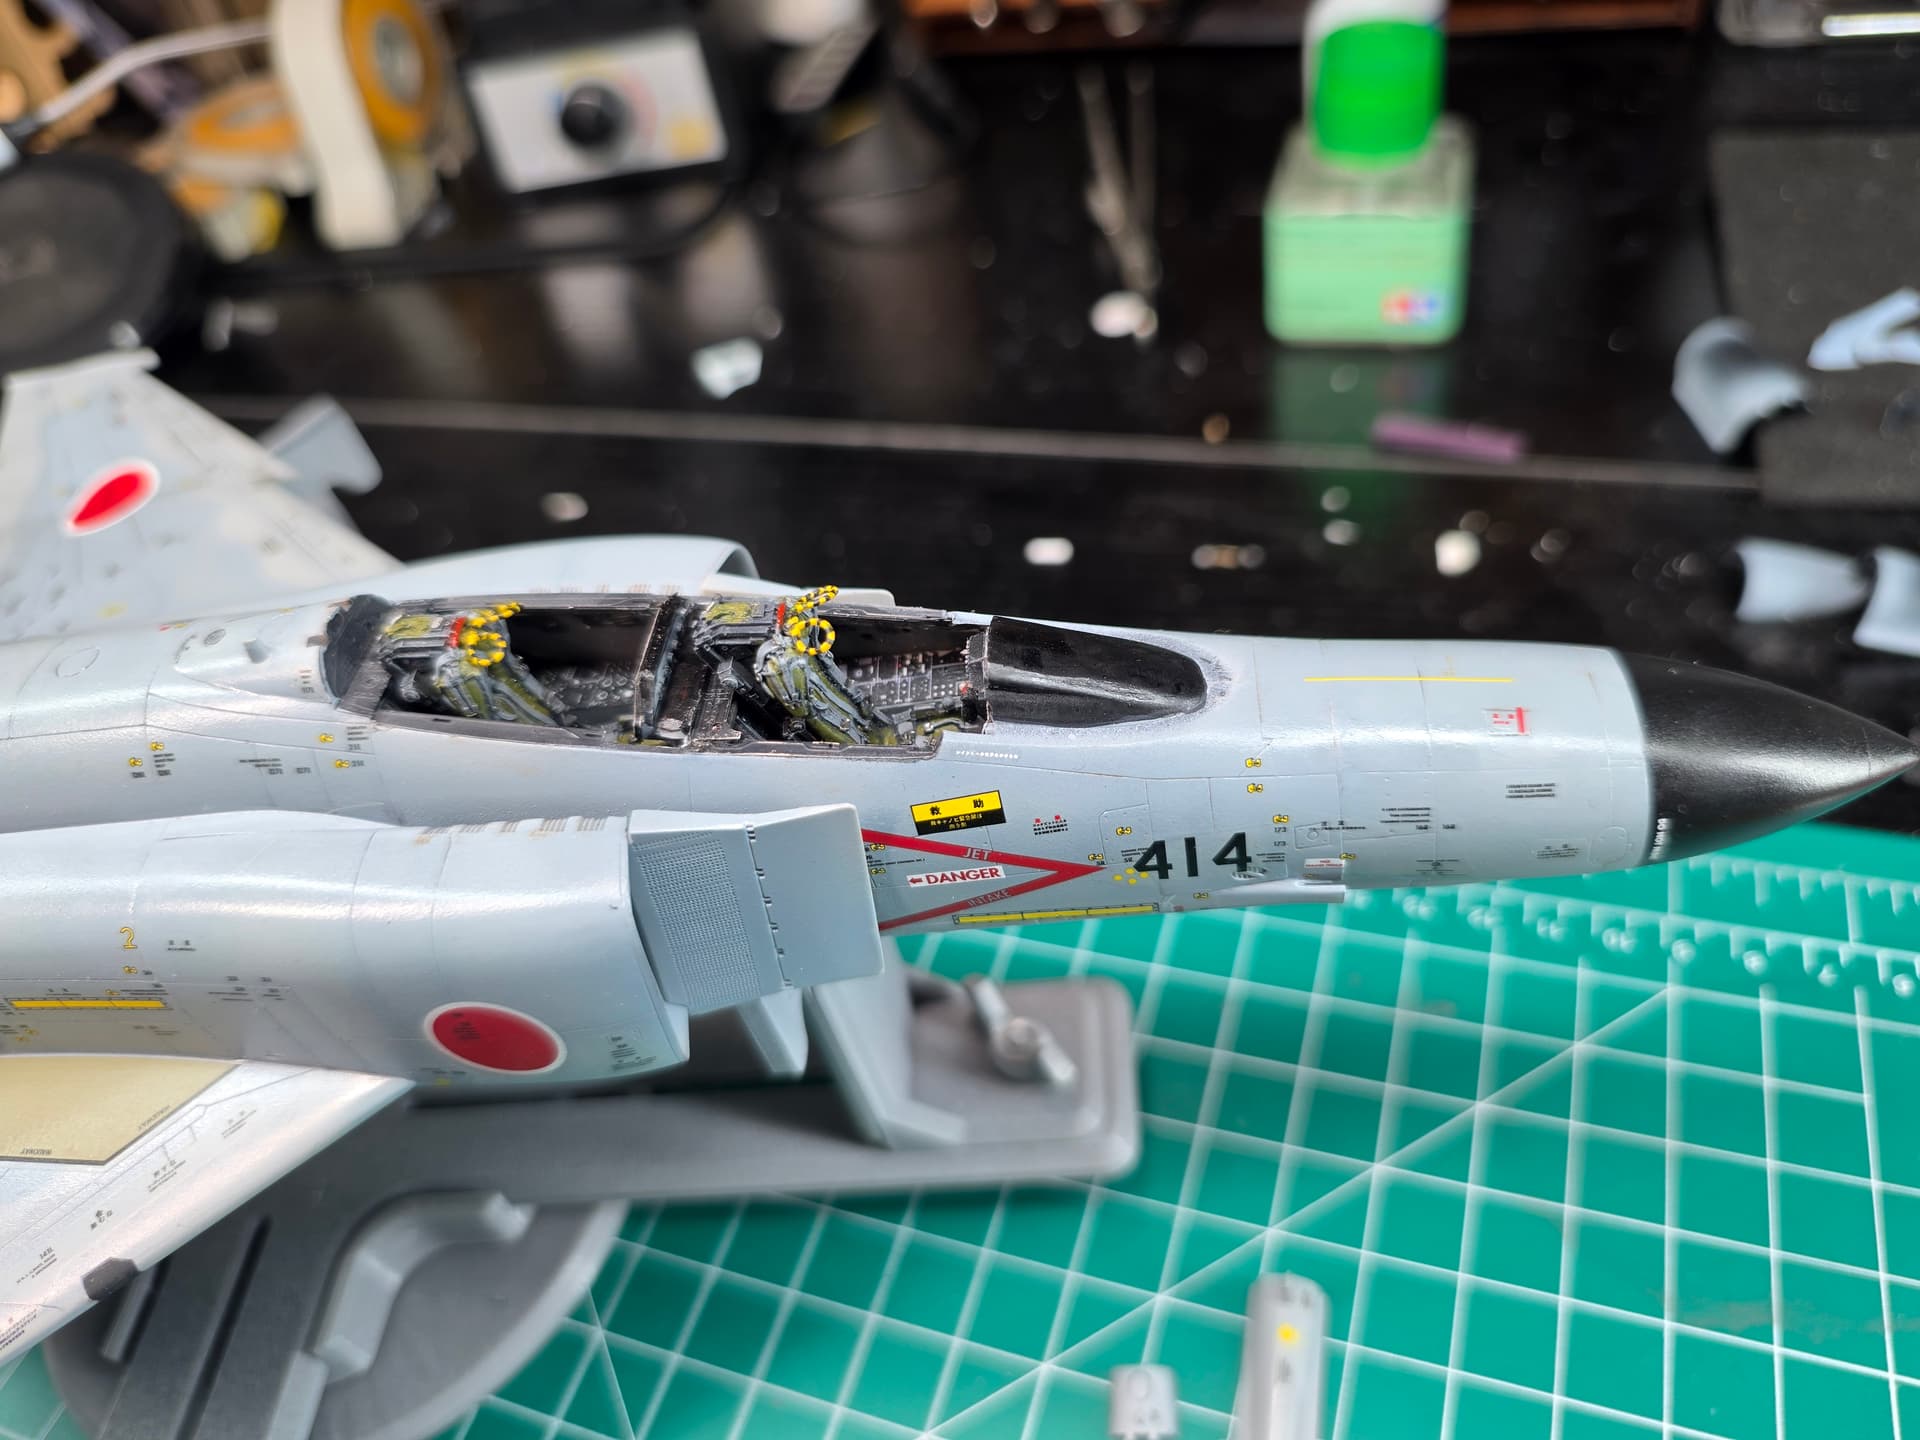
Another three hours at the bench tonight, and I’ve now completed all of the stencils on the upper surfaces and sides of the aircraft. All that’s left is the underside.
The decal sheet in the photo shows what’s left of this marathon. It’s finally starting to look almost reasonable!
Seeing the whole upper surface together now makes all those tiny decals feel worth it. I really like how much life all that fine lettering and color adds to an otherwise fairly subdued gray airplane.
Next stop: flip her over and finish the job.