It does look cool, just a serious bit of work. When It’s finished, I bet 25% of the total build time will be decals.
Never built a Zero, they have a lot of decals?
I’ll tell you what, I have two other Phantom’s in the stash and it is going to be a long while before I get up the courage to build one again.
Well, certainly less than your F-4 !
But it’s the most decals heavy model I’ve done yet. Tons of super small barely readable little stencils. Honestly I could ( and should ) have just used a fine tip marker!
1 Like
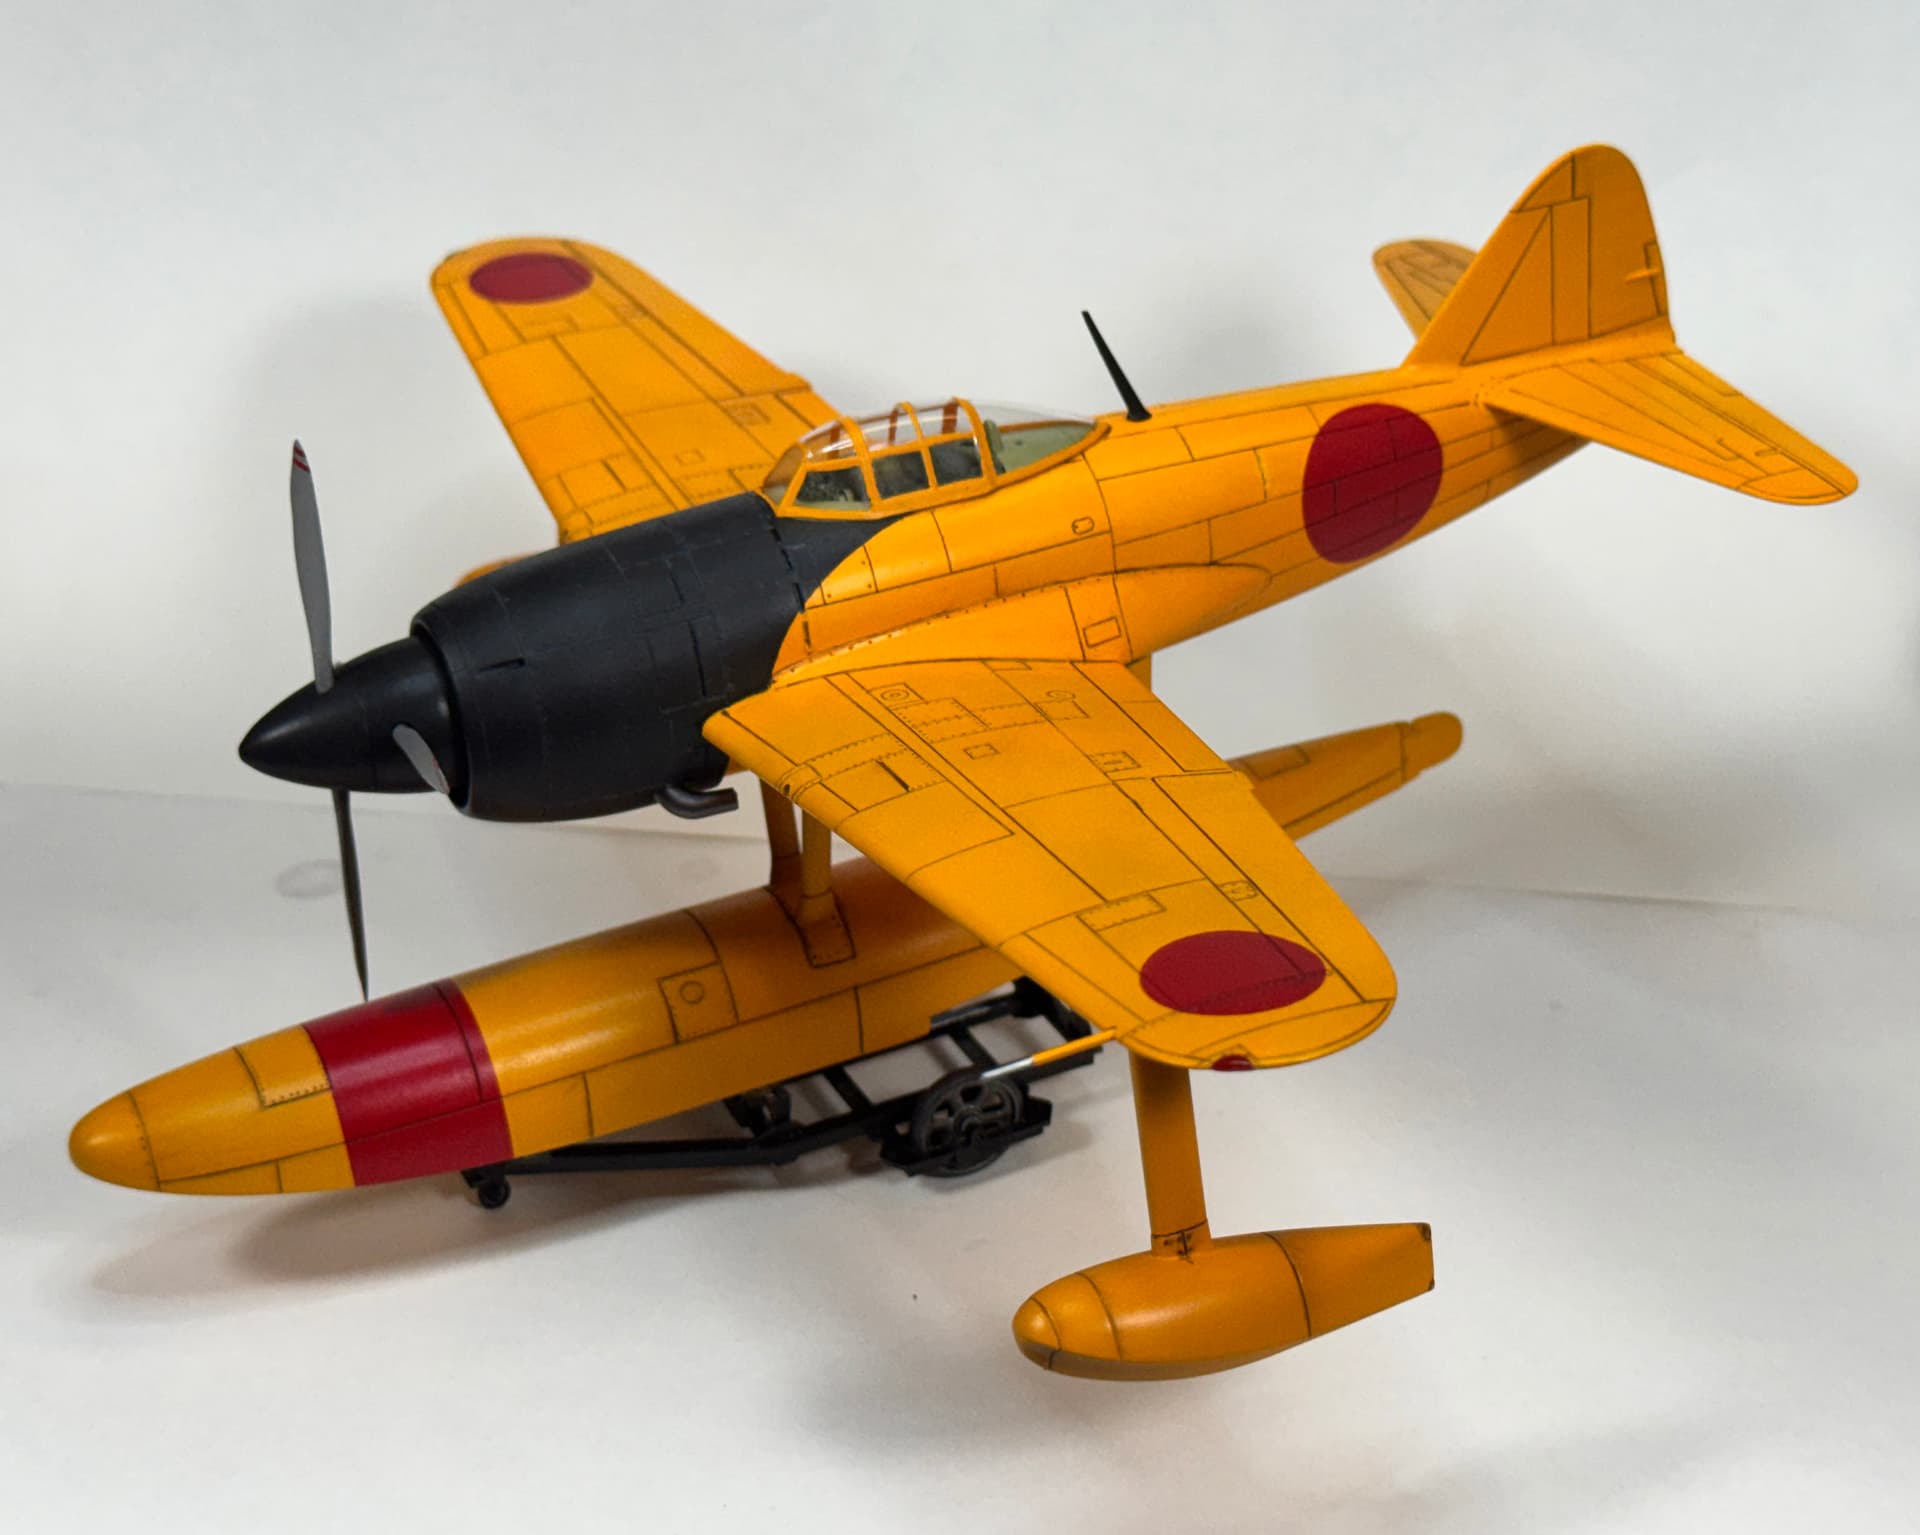
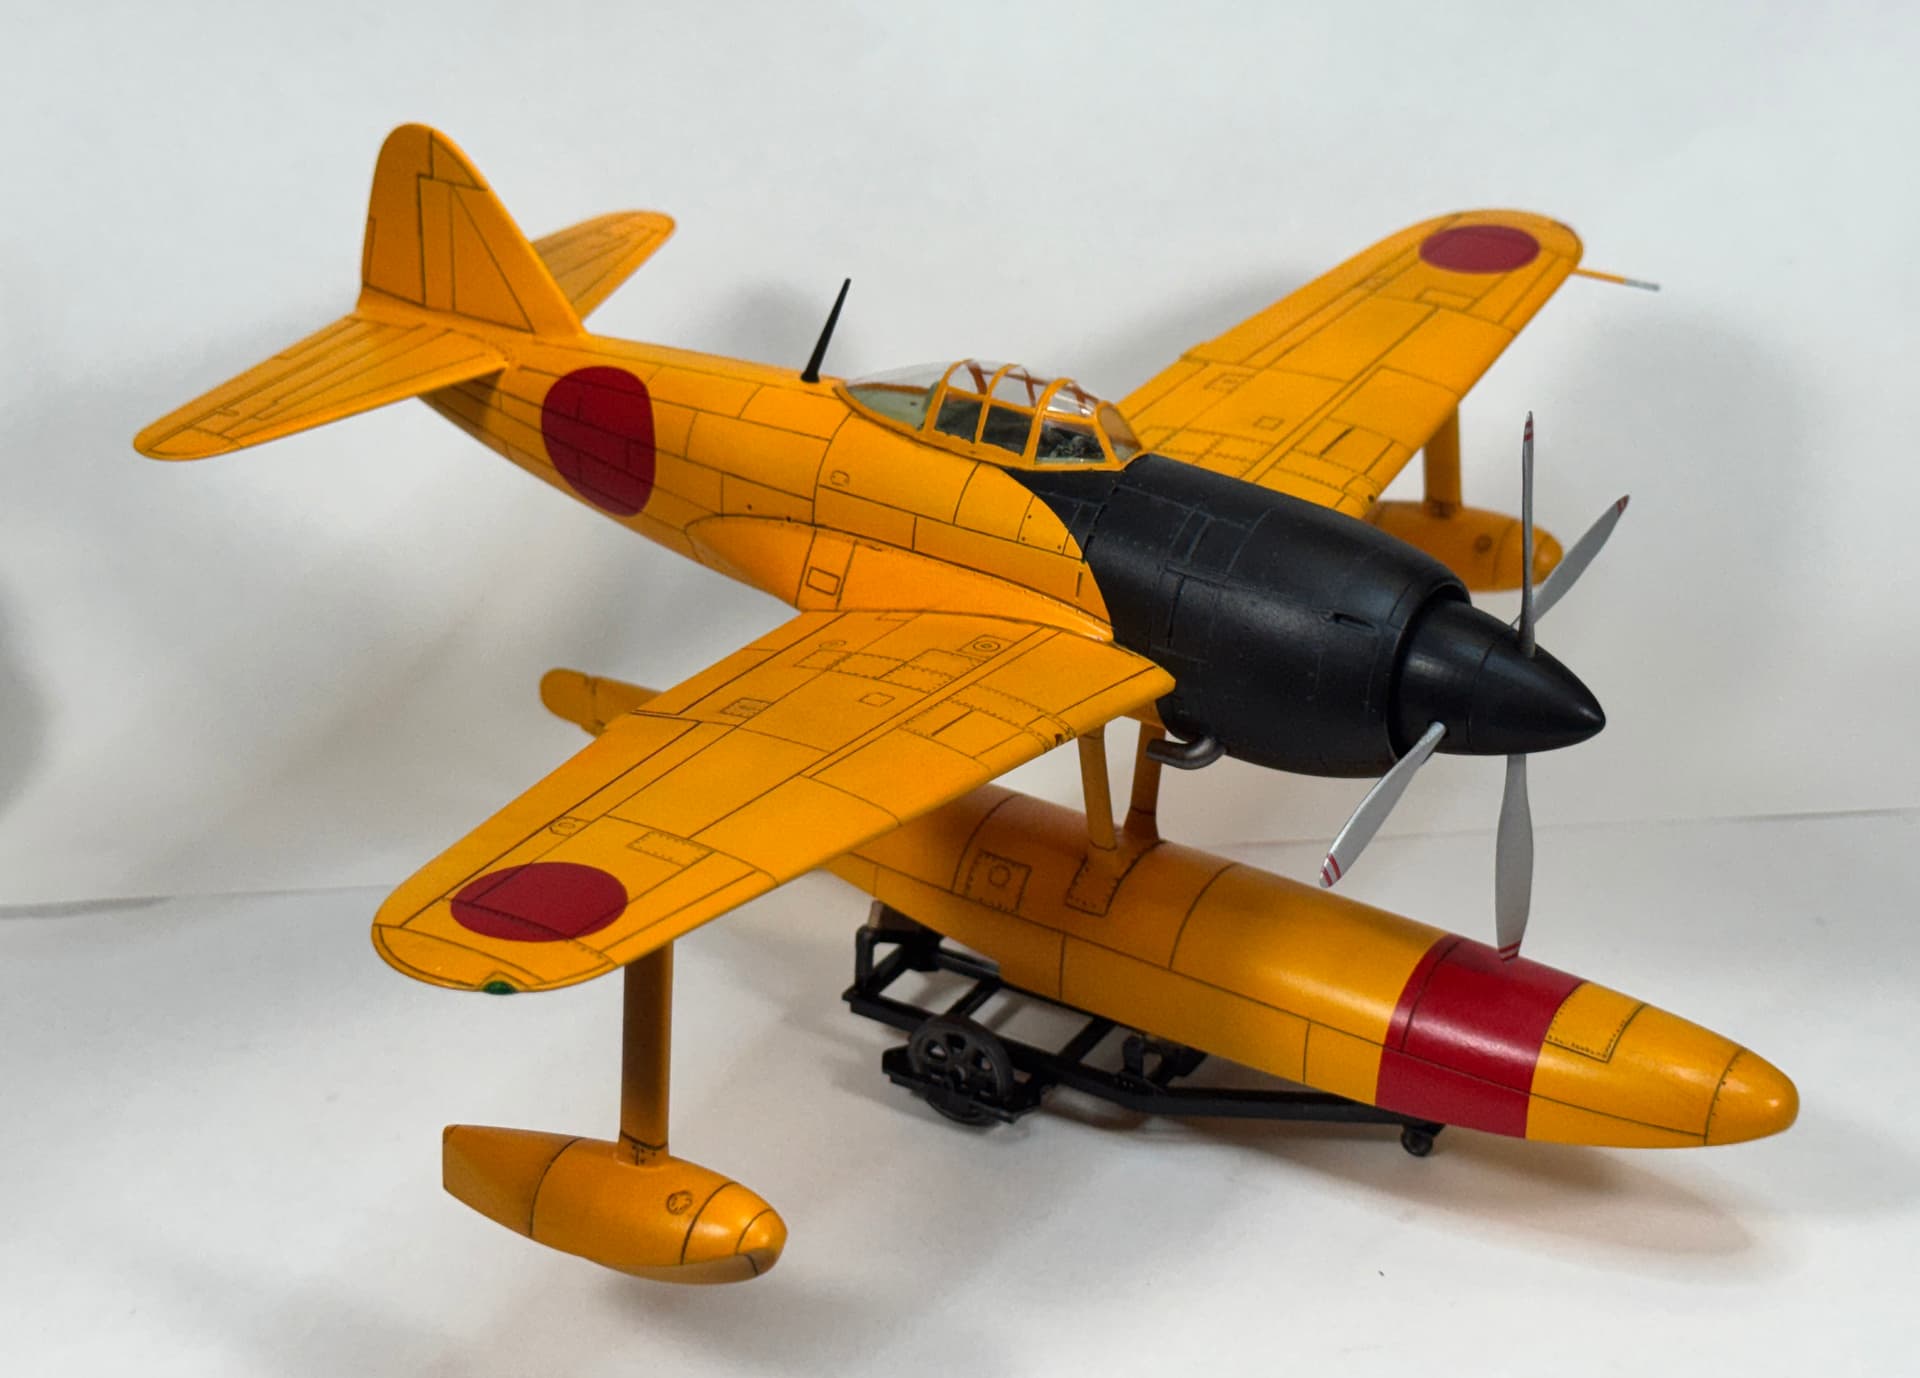
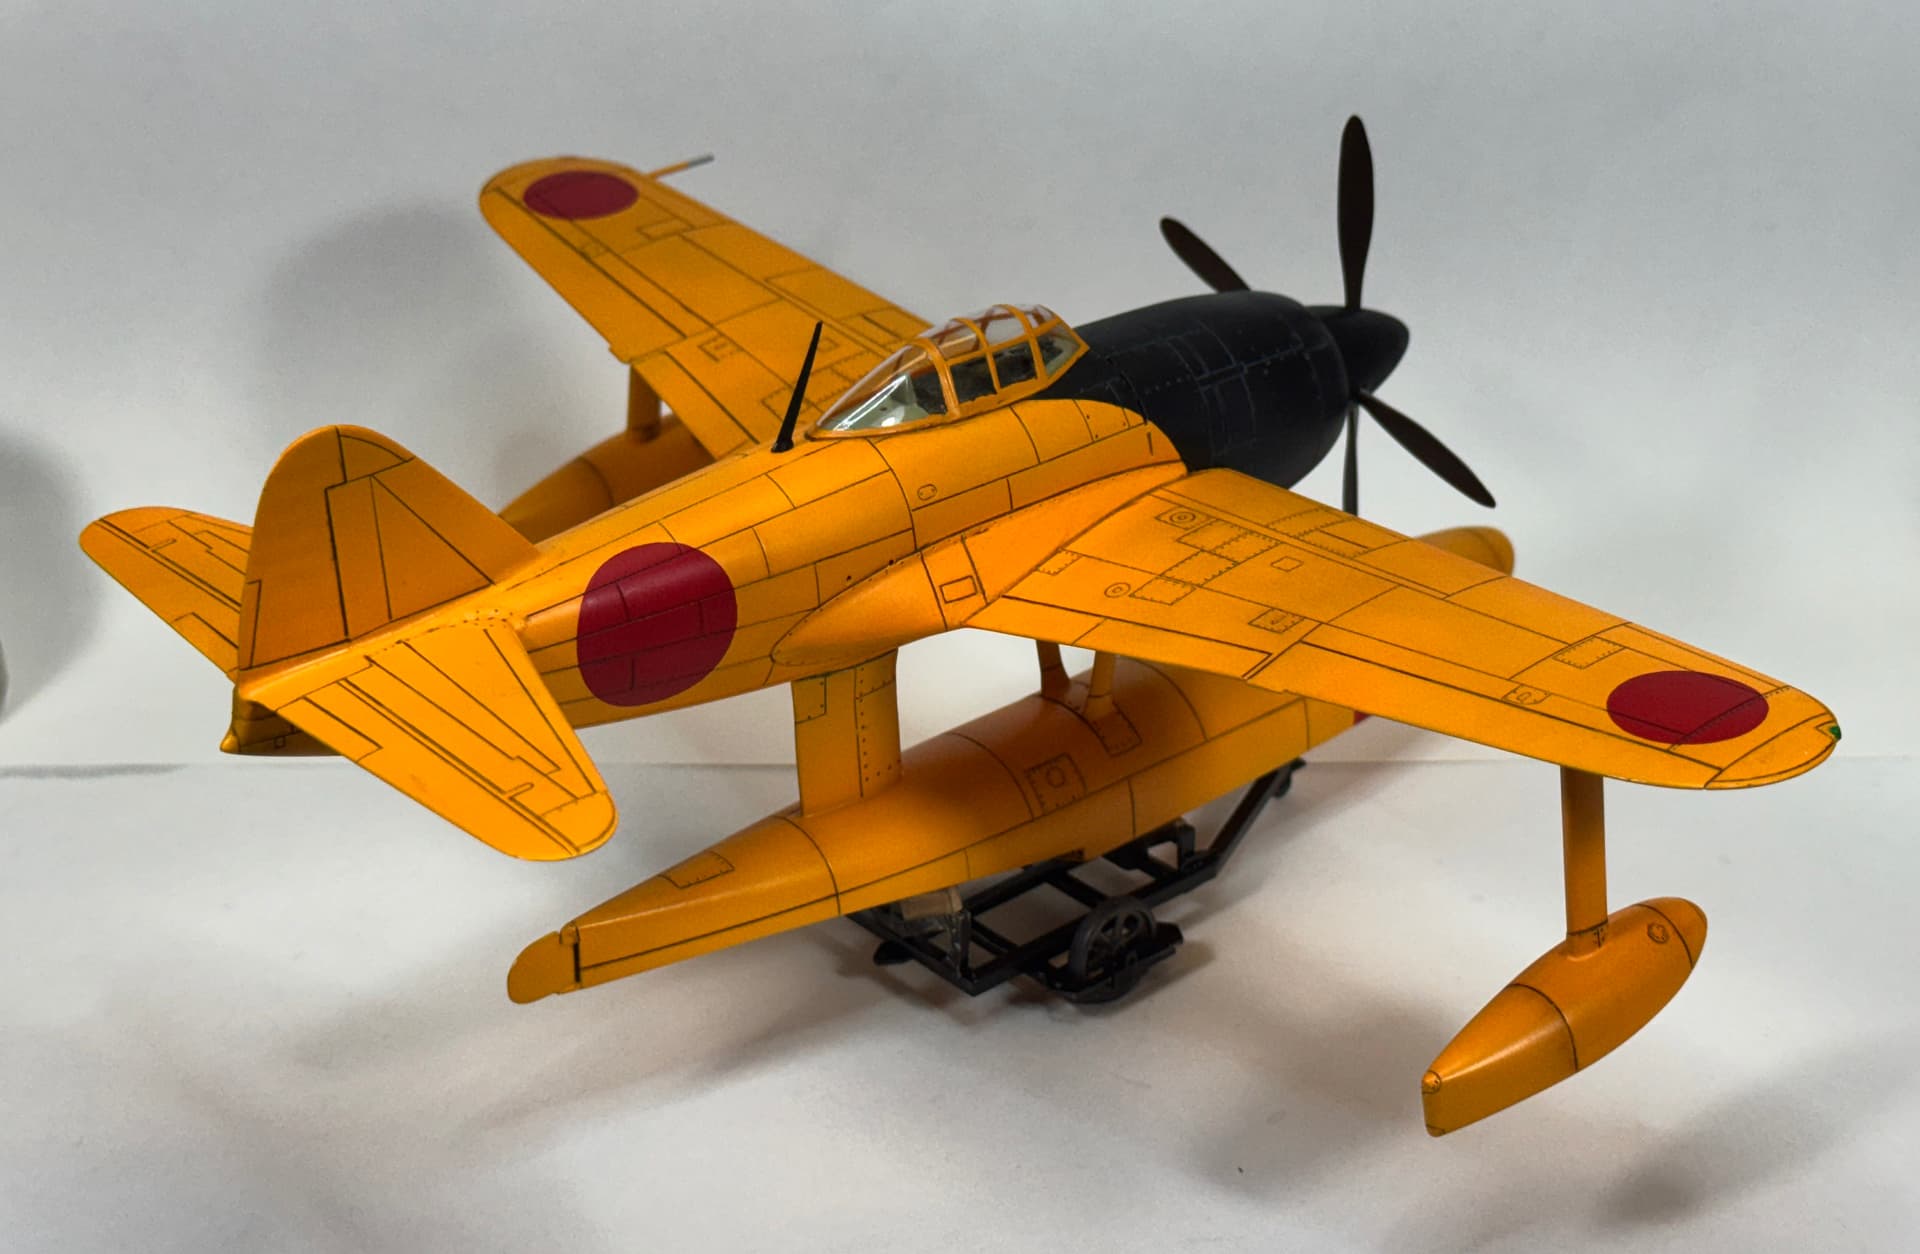
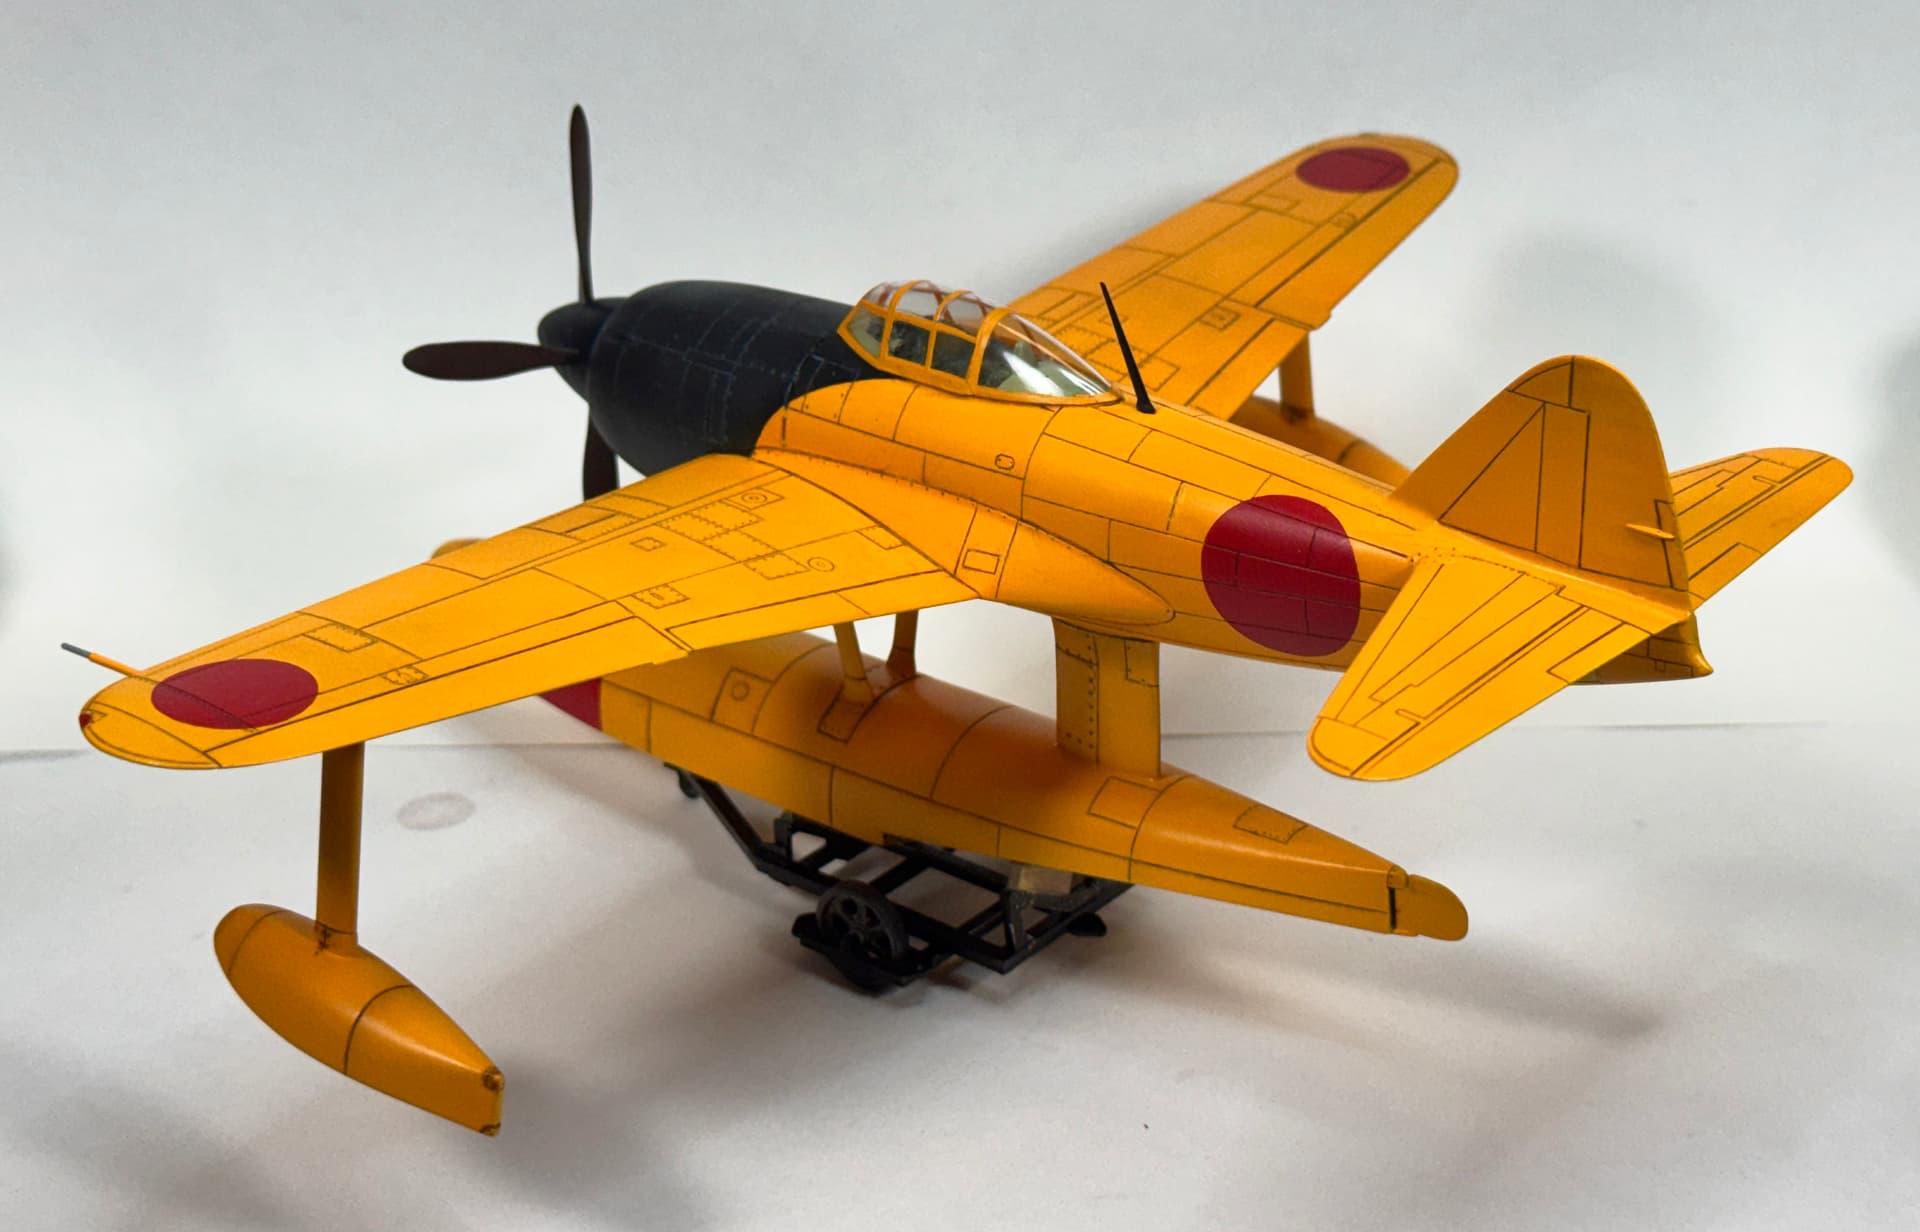
That’s bright!! Rare bird too. Nice work.
1 Like
Looks great to me! Very cool subject and paint job.
Cool scheme! Love it.
1 Like
Nicely done! It turned out great. Congratulations.
1 Like
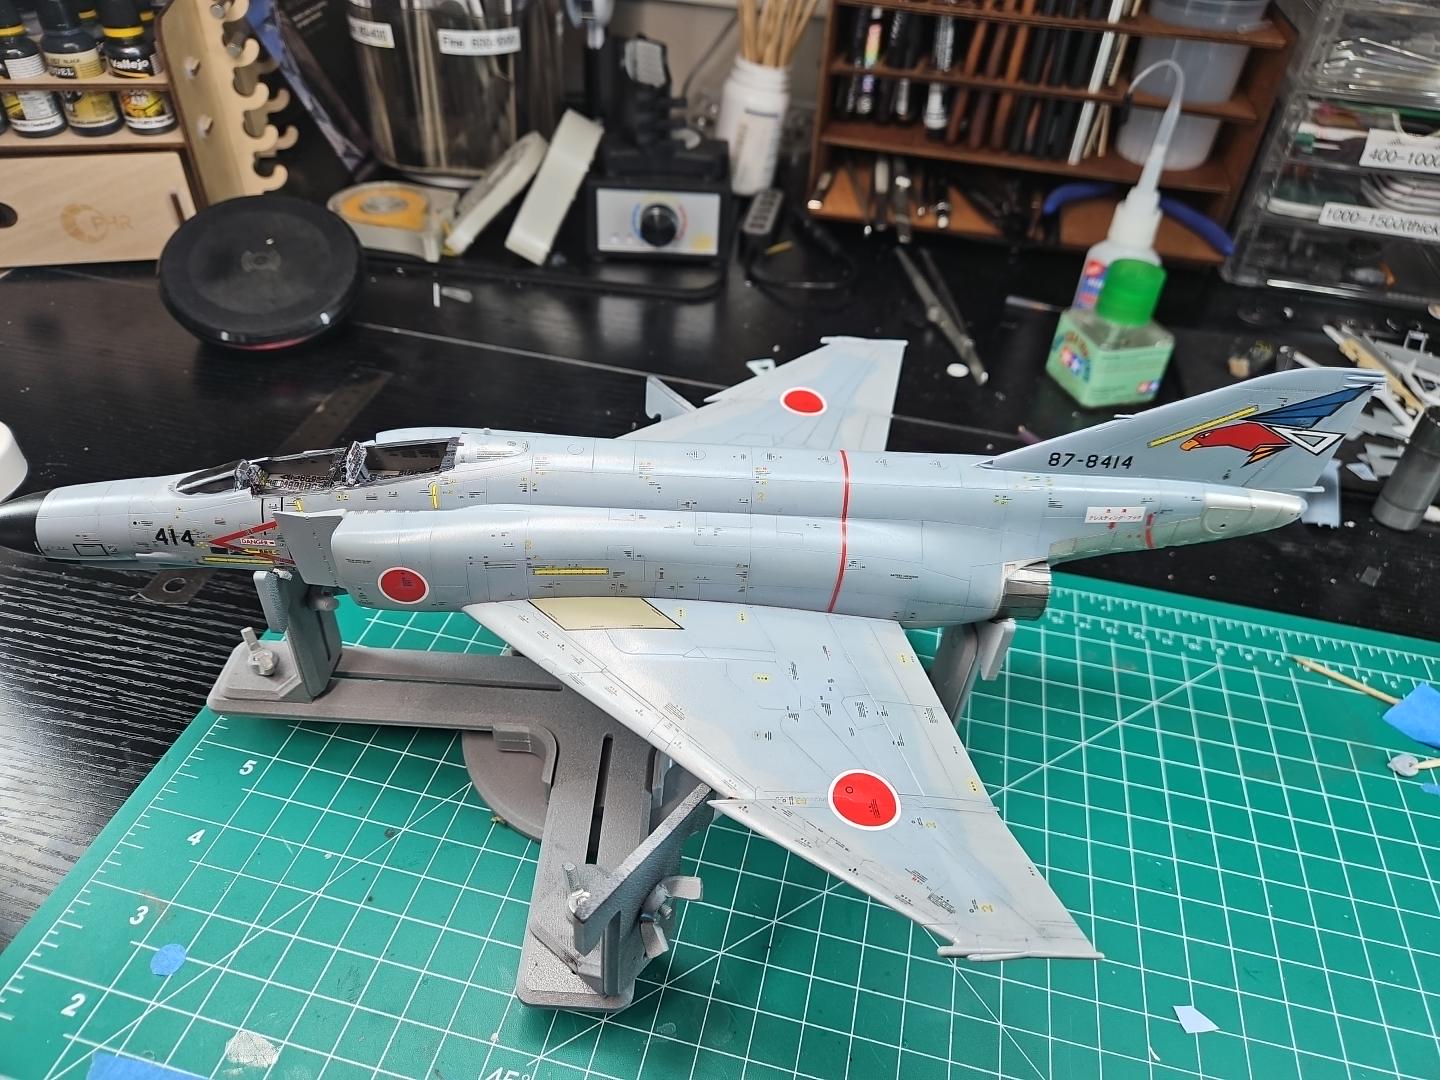

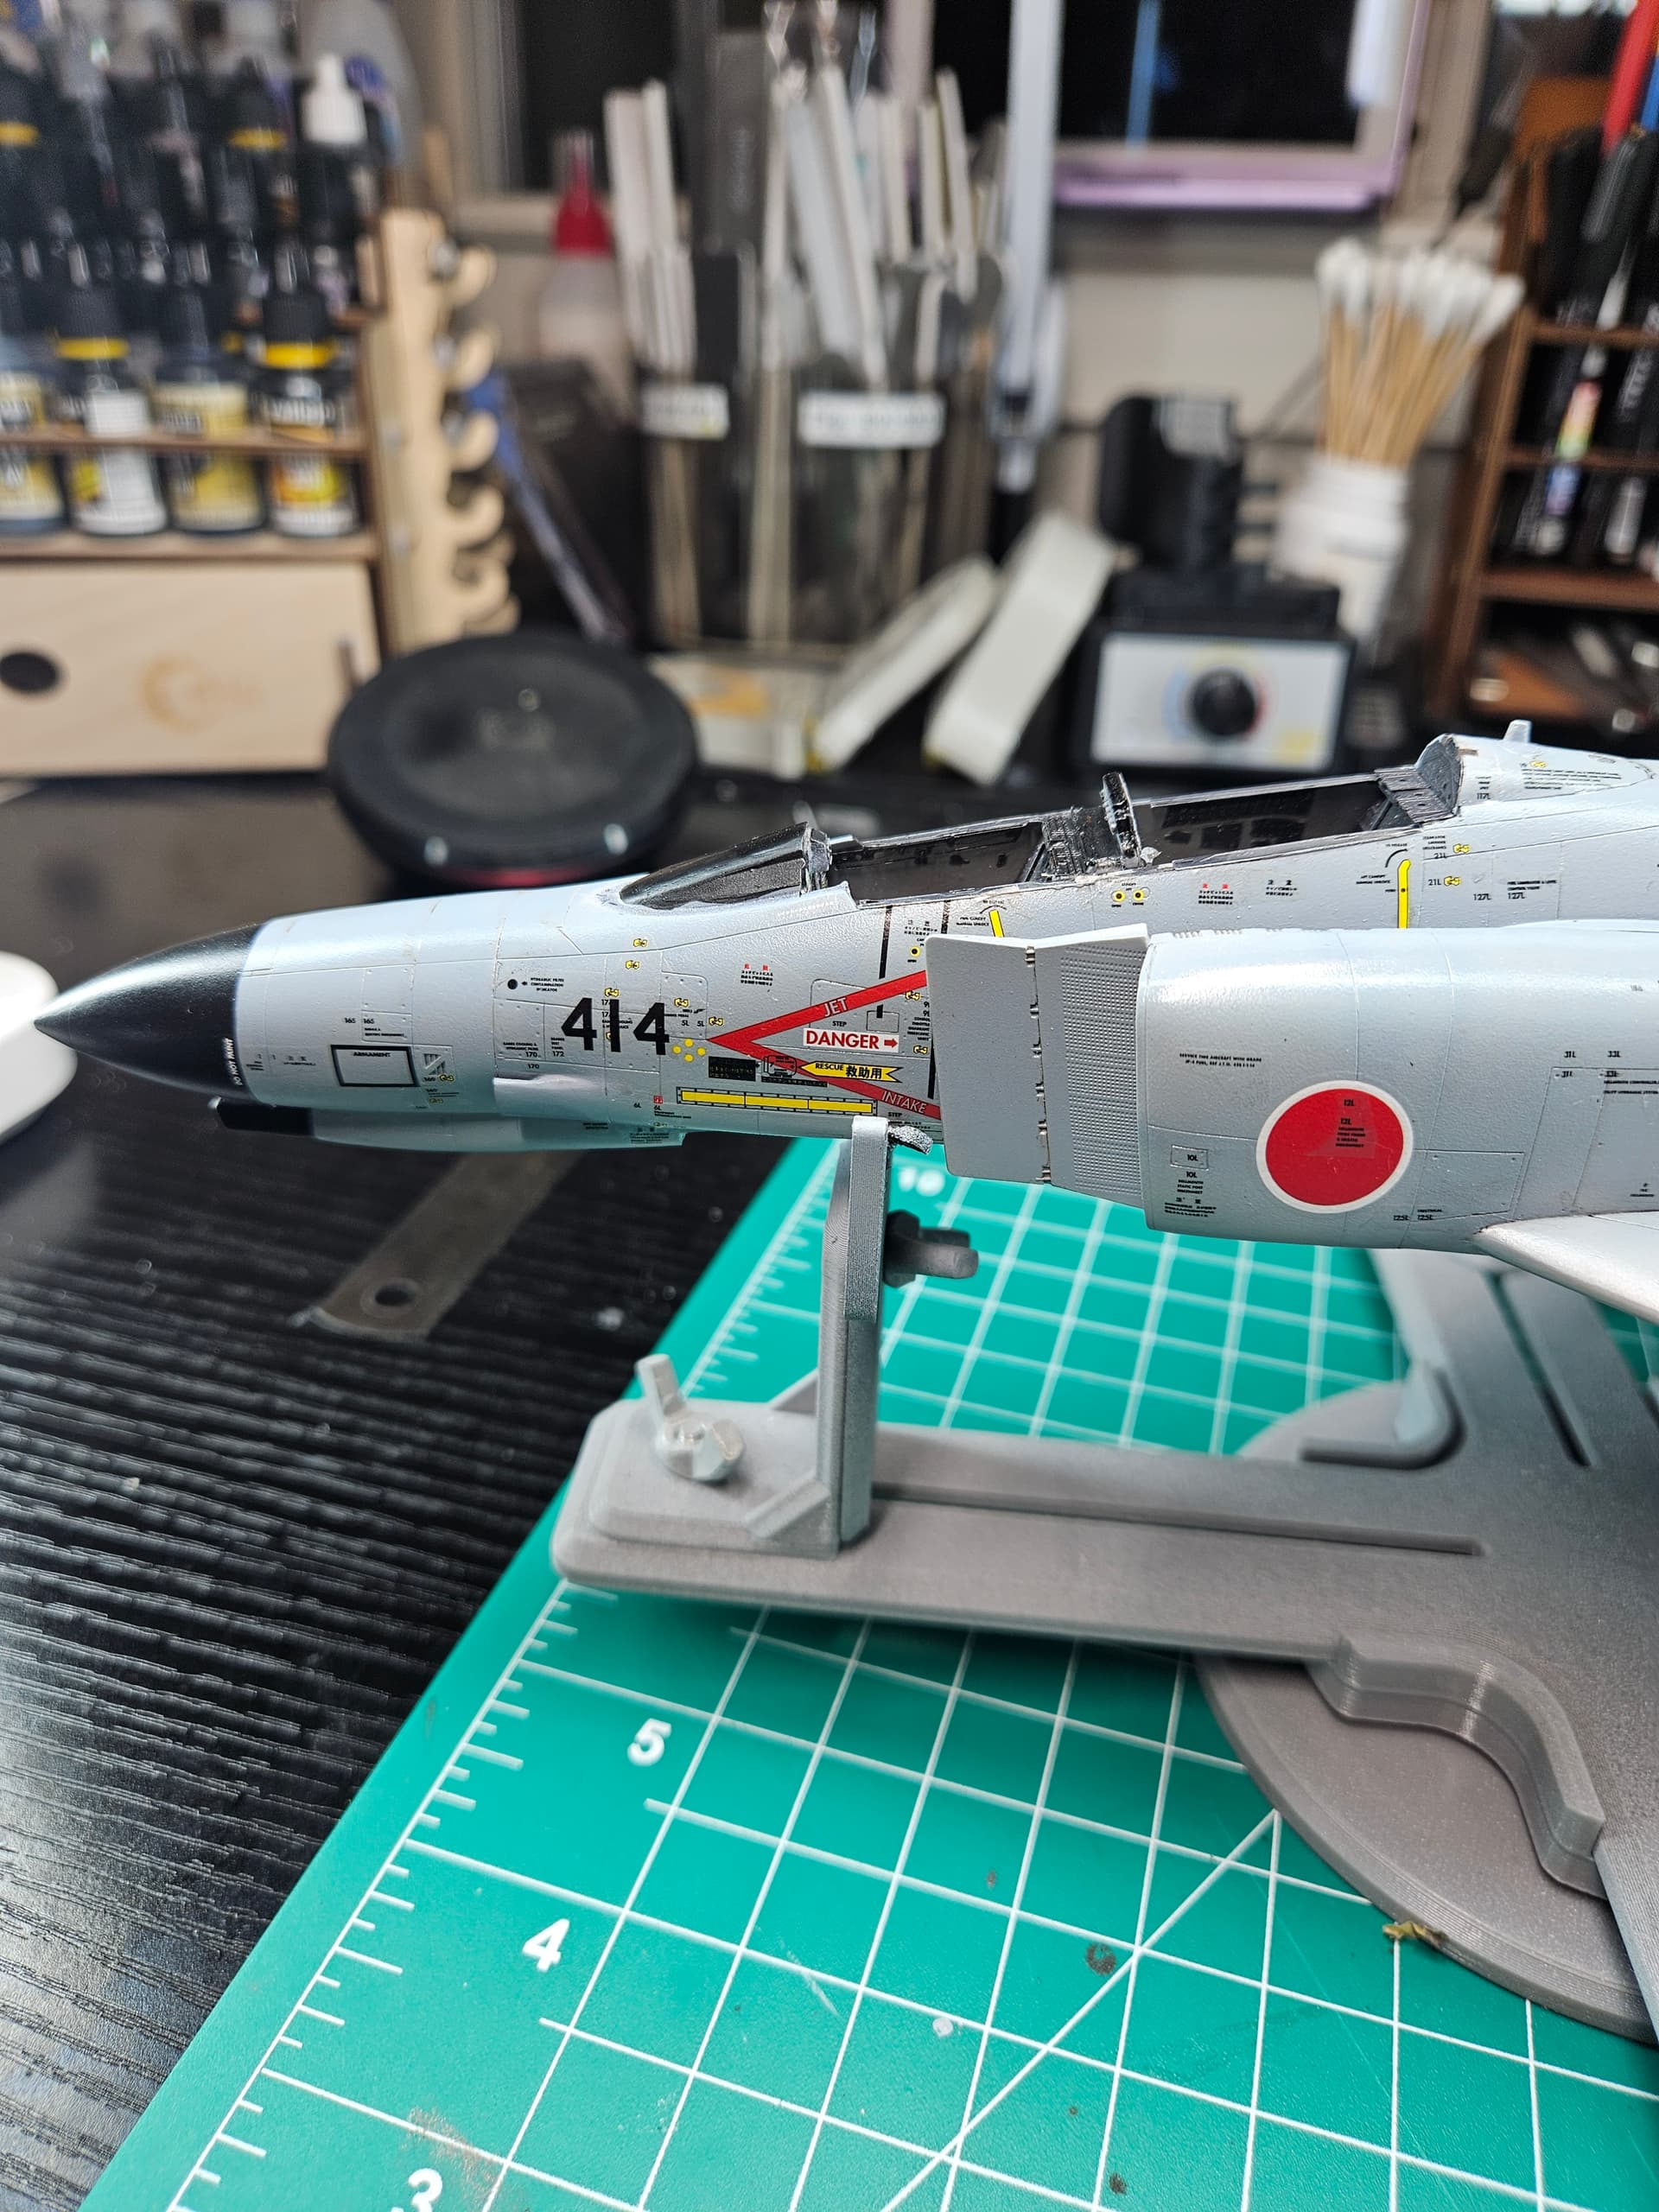
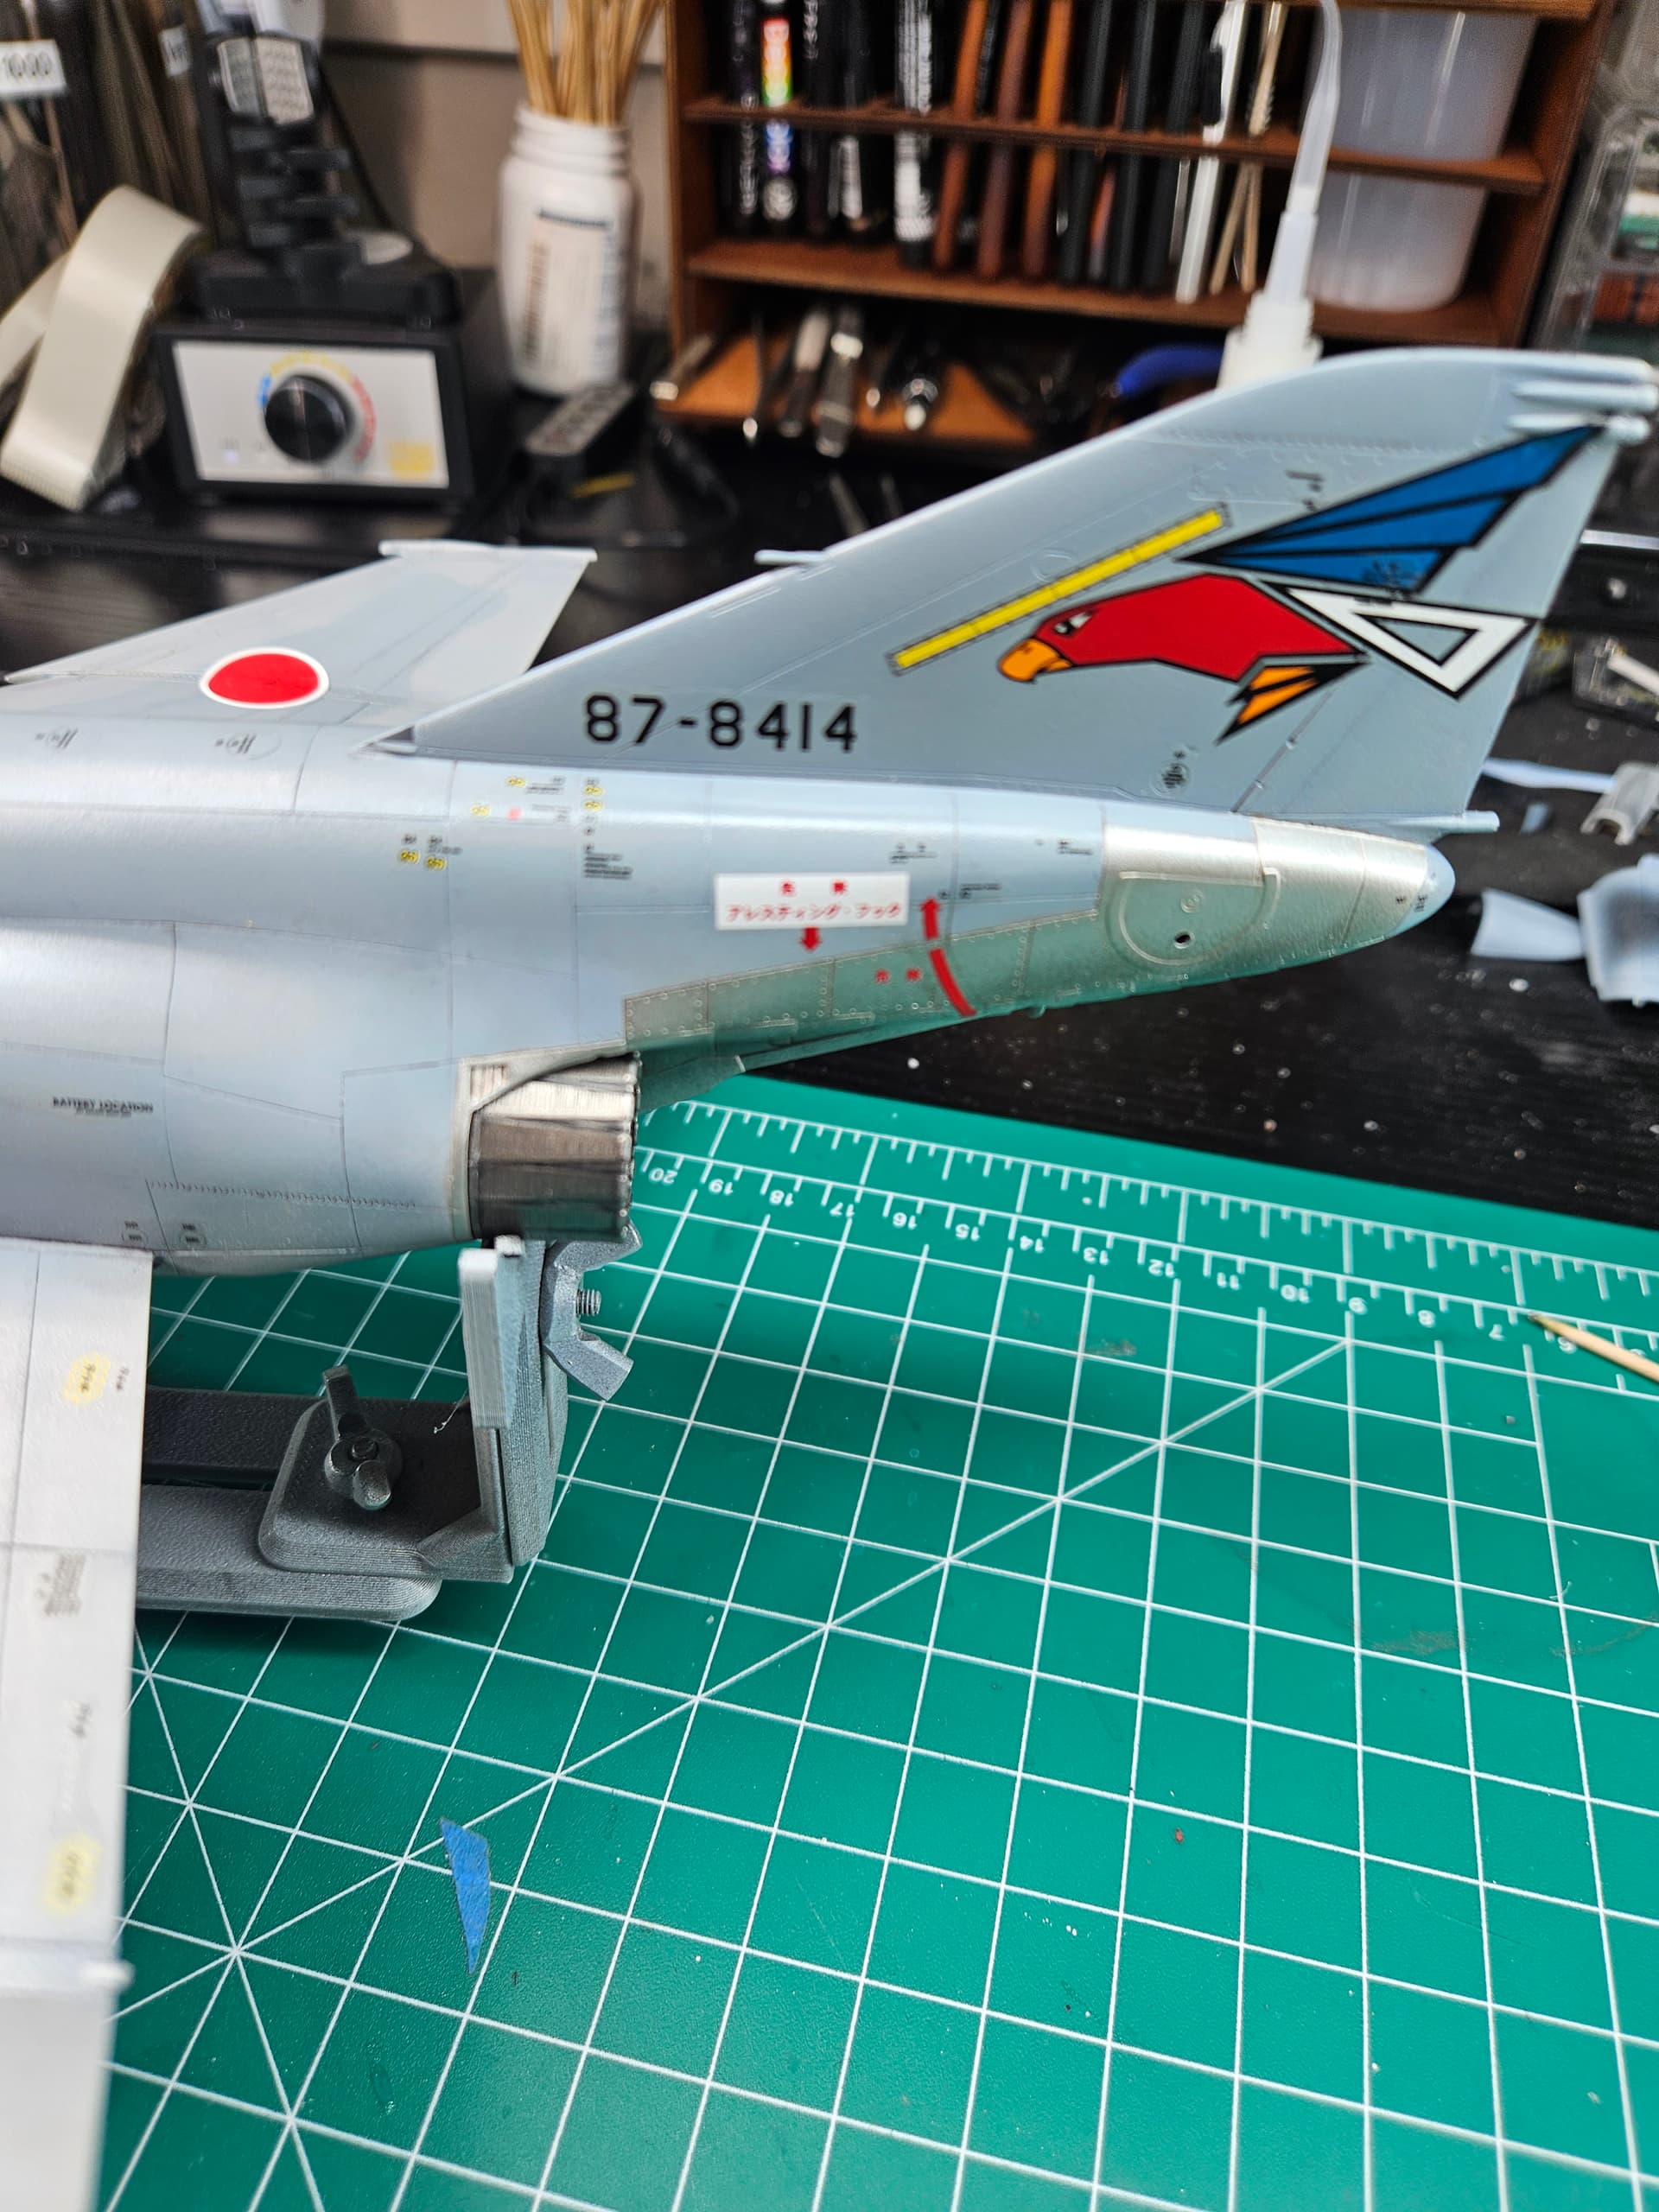
Finished the entire port side and wing of the Phantom tonight. I’m estimating somewhere around 120 individual stencils and decals went down on this side alone, and about 12 hours of work to get them all on.
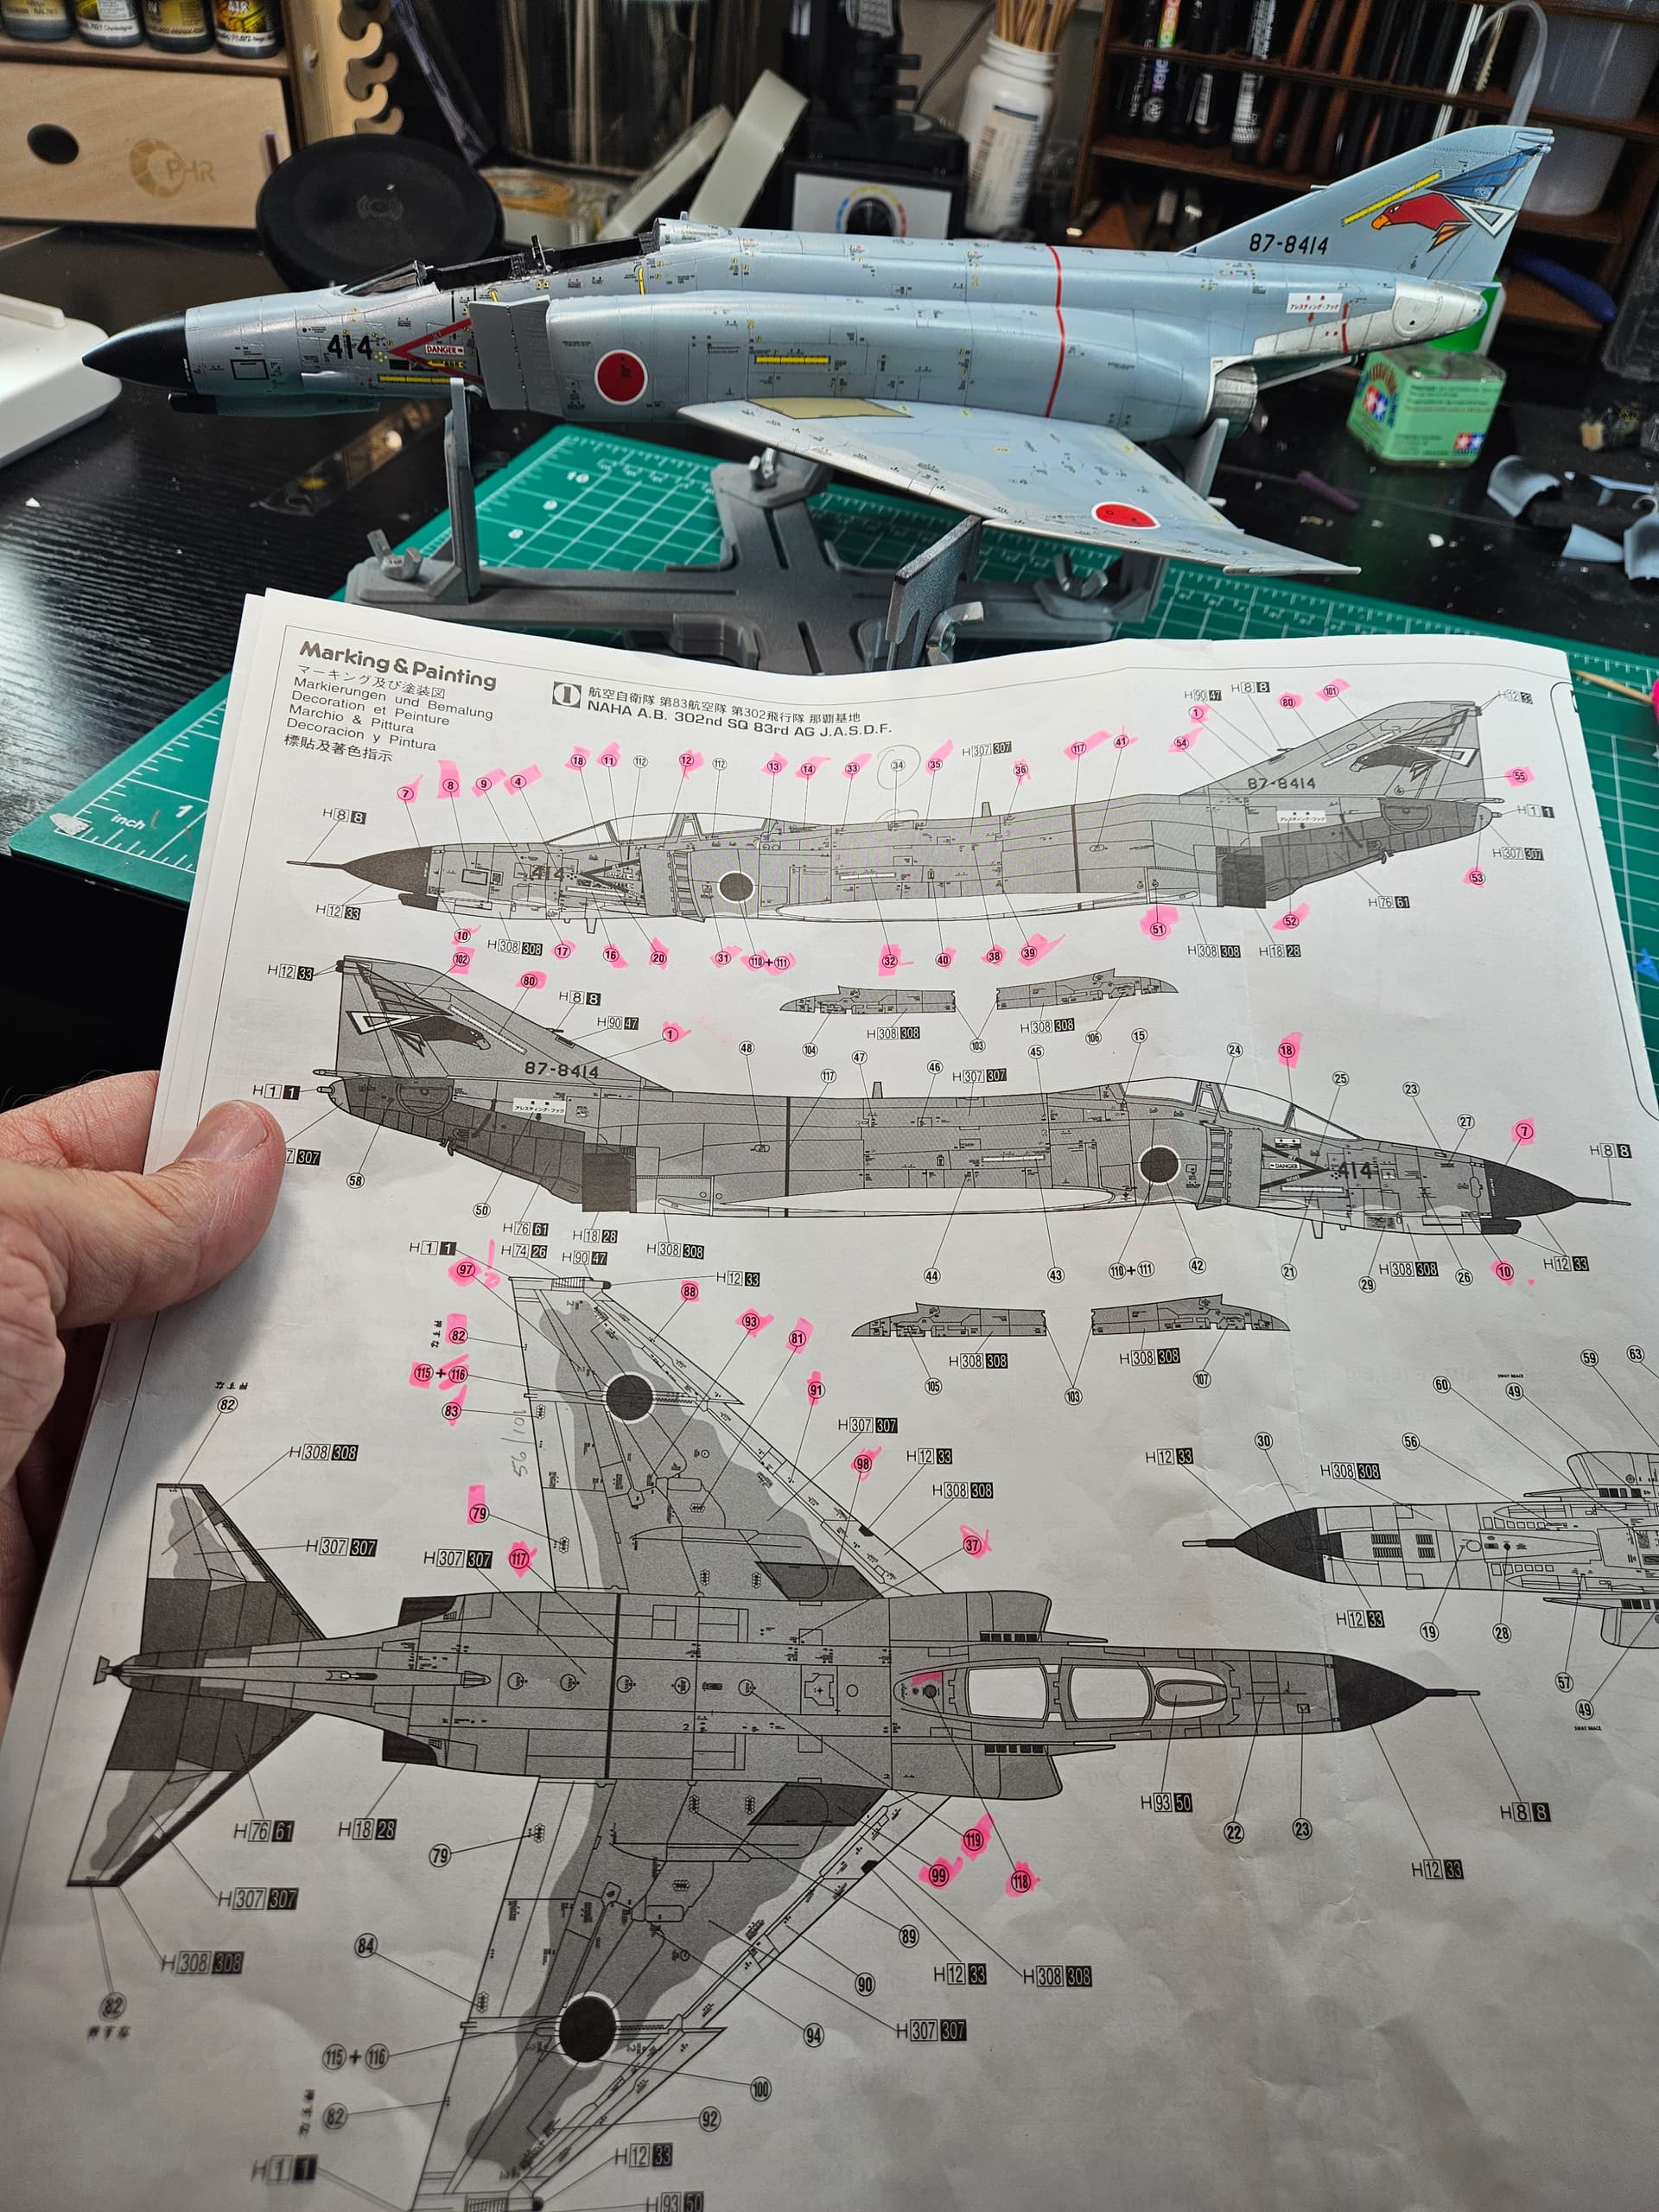
The pink highlights on the decal diagram are everything that’s finally done.
Feels good to see this side finished.
I remember what attracted me to this kit was the box art showing all the stencils, I thought it looked cool, and it does, but wow it’s a ton of work.
Now I get to turn it around and do it all over again… 
7 Likes
Well the year is getting away from me, and the kit isn’t about to start self-assembling…
I try to keep one main project, one mule, and one fun side project… And I just finished the last fun side project…
7 Likes
Git-R-Done! Should be an easy and relaxing build!
2 Likes
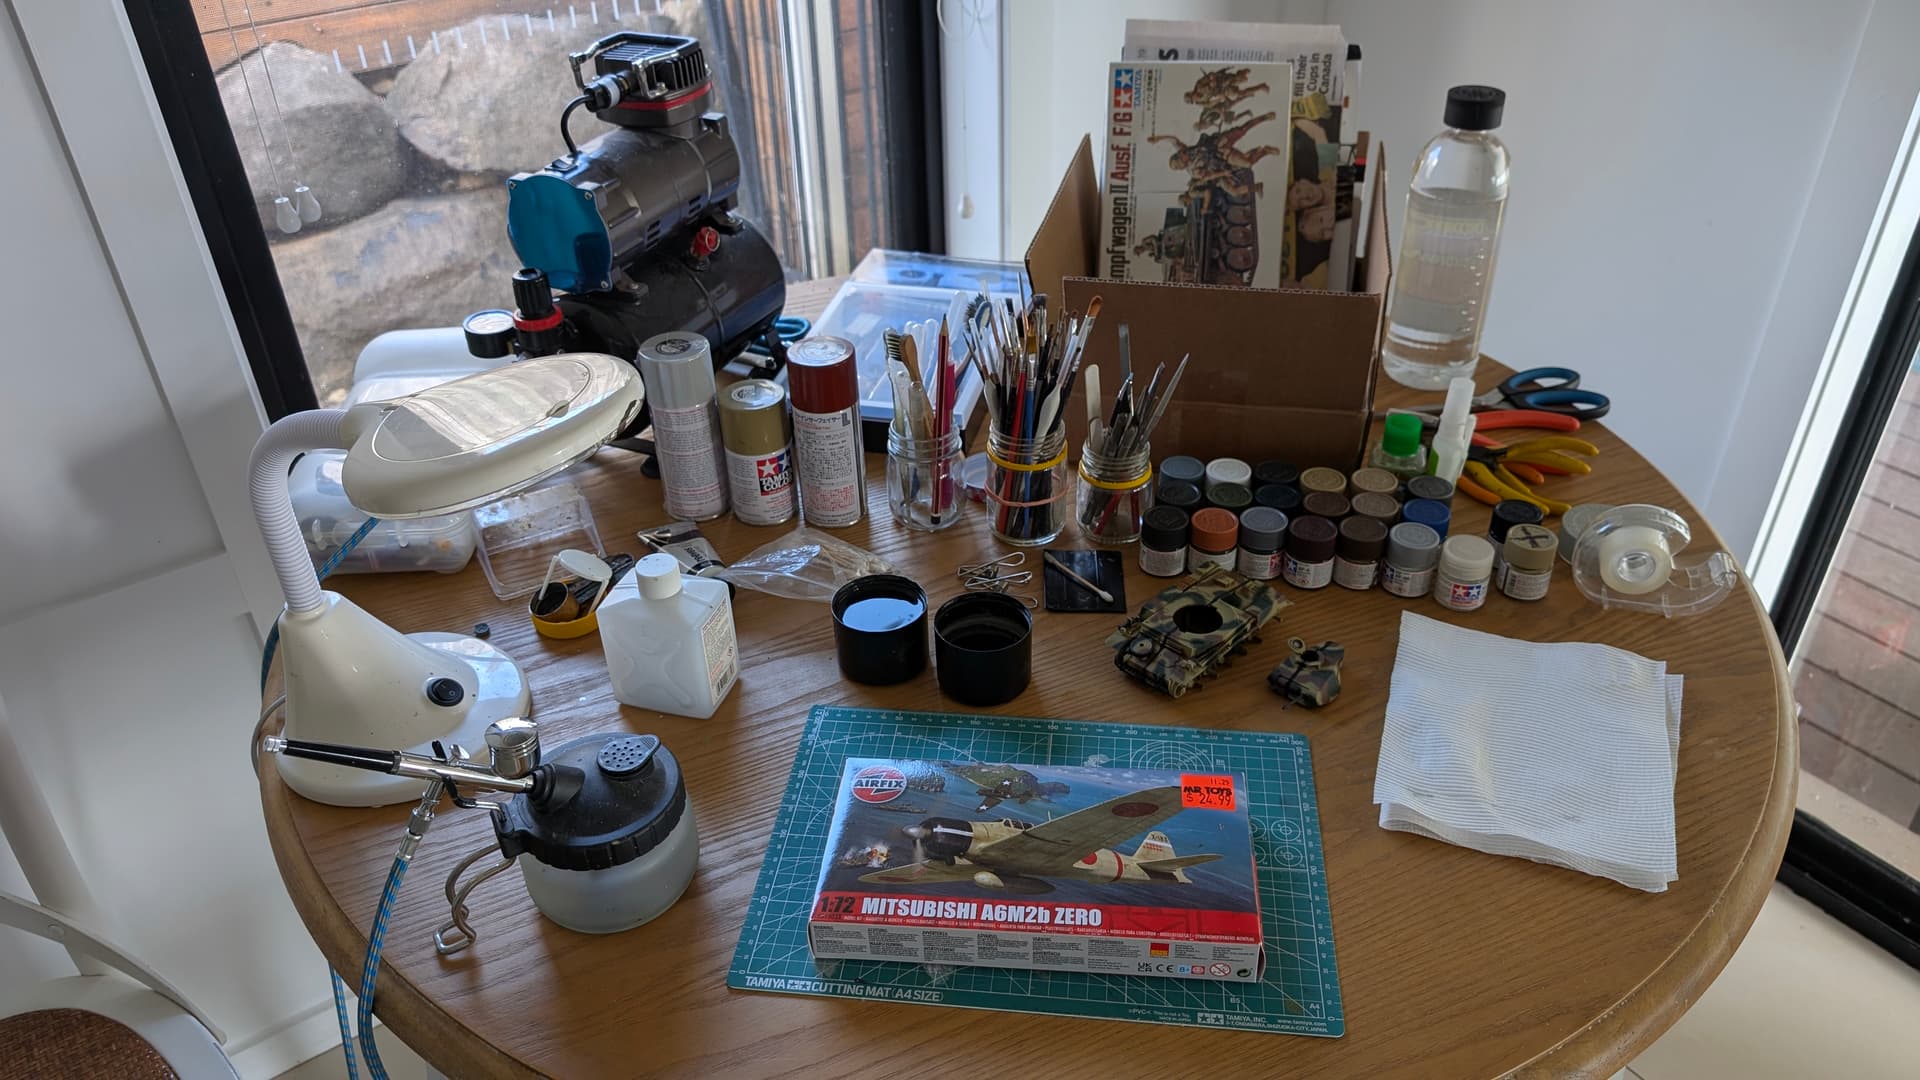
Well it ain’t much, but it’s an honest start for a kit that’s been in the stash since Feburary…
Cockpit sub-assemblies are done, which will each get painted before the hull parts come together. We also started prepping FPO 2/C Hashiguchi (the pilot) because I wanted to make sure I could still drop him in the seat after the hull parts were closed.
Because this is just a basic skills test, it’s pretty much an OOB build, but I did decide to drill out the partially-moulded lightening holes in the seat. The dags from the drilling process were treated with some Tamiya Extra Thin, which dissolved them and left some nice smooth edge details on the perforations.

5 Likes
Okay, Folks,
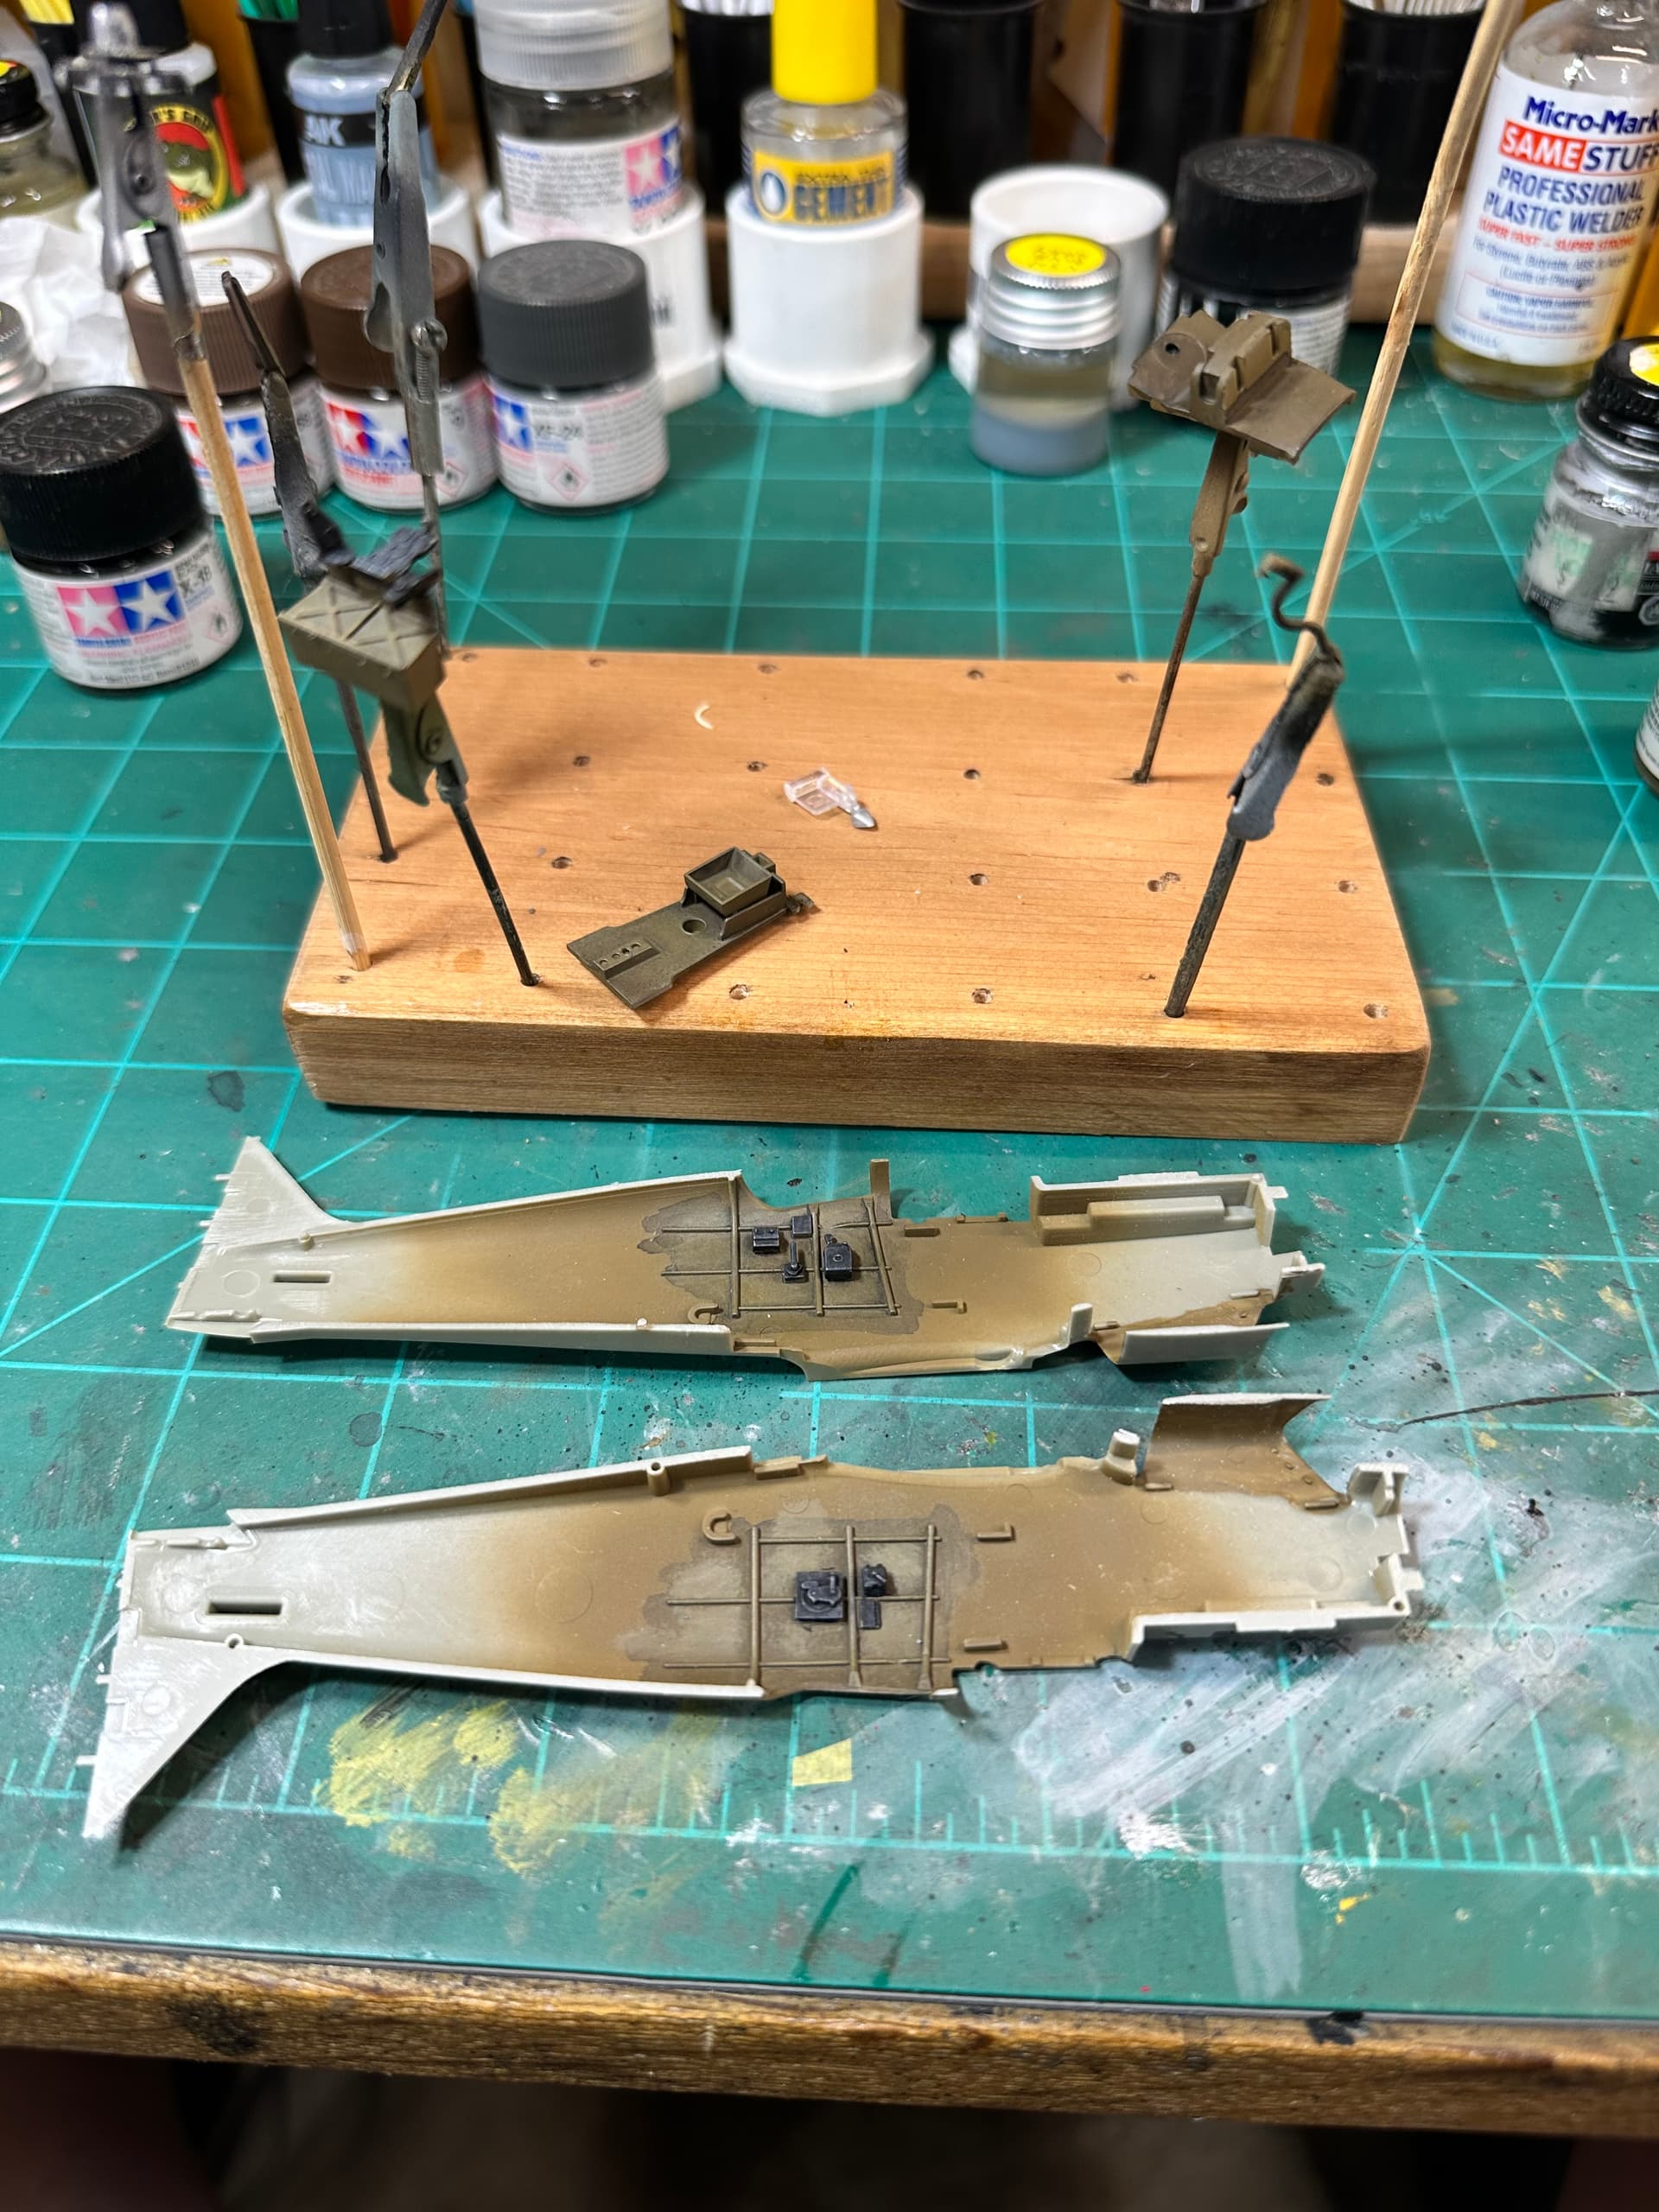
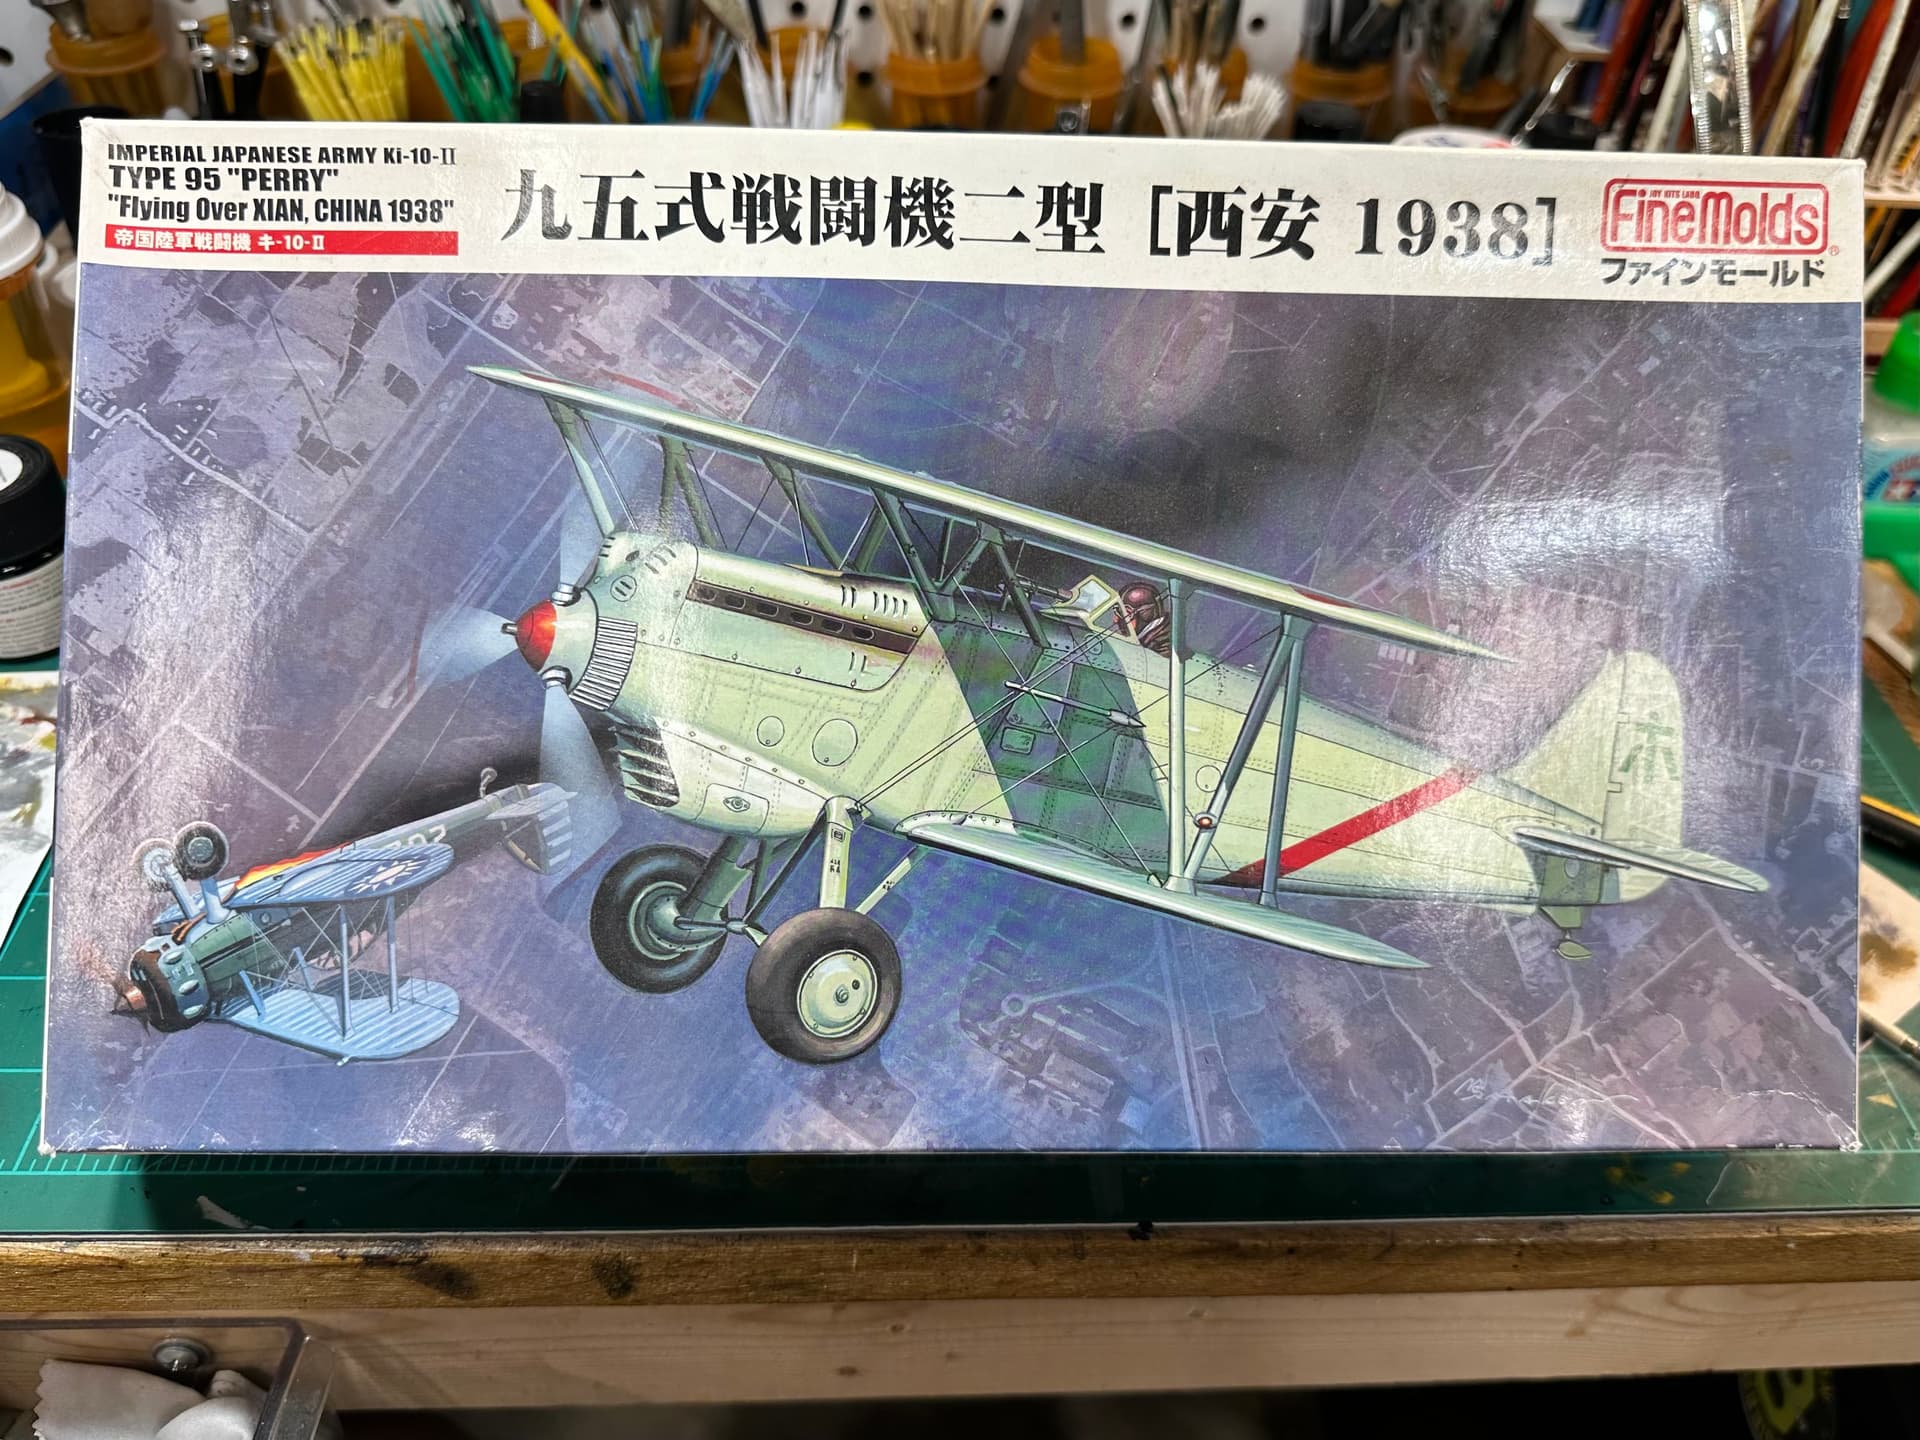
I started on this Fine Molds kit of the Ki-10-II, Army Type 95 Fighter.
Out of the box, the detail is pretty good and I did manage to get a hold of the stainless steel rigging set, (Thank you Gary) and plan on using it, help detail it out. So far I am enjoying this build, even if I am moving slower than I usually do because it’s a bi-plane. As you all probably know, they can be tricky. More to come y’all.
Freddie from Palm Beach Gardens
7 Likes
Great to have you on board @fjs3 ! Cool looking kit! I’ll get you added to the roster page. Looking forward to your build!
1 Like
Looks like you are off to a good start!
1 Like
Hey All,
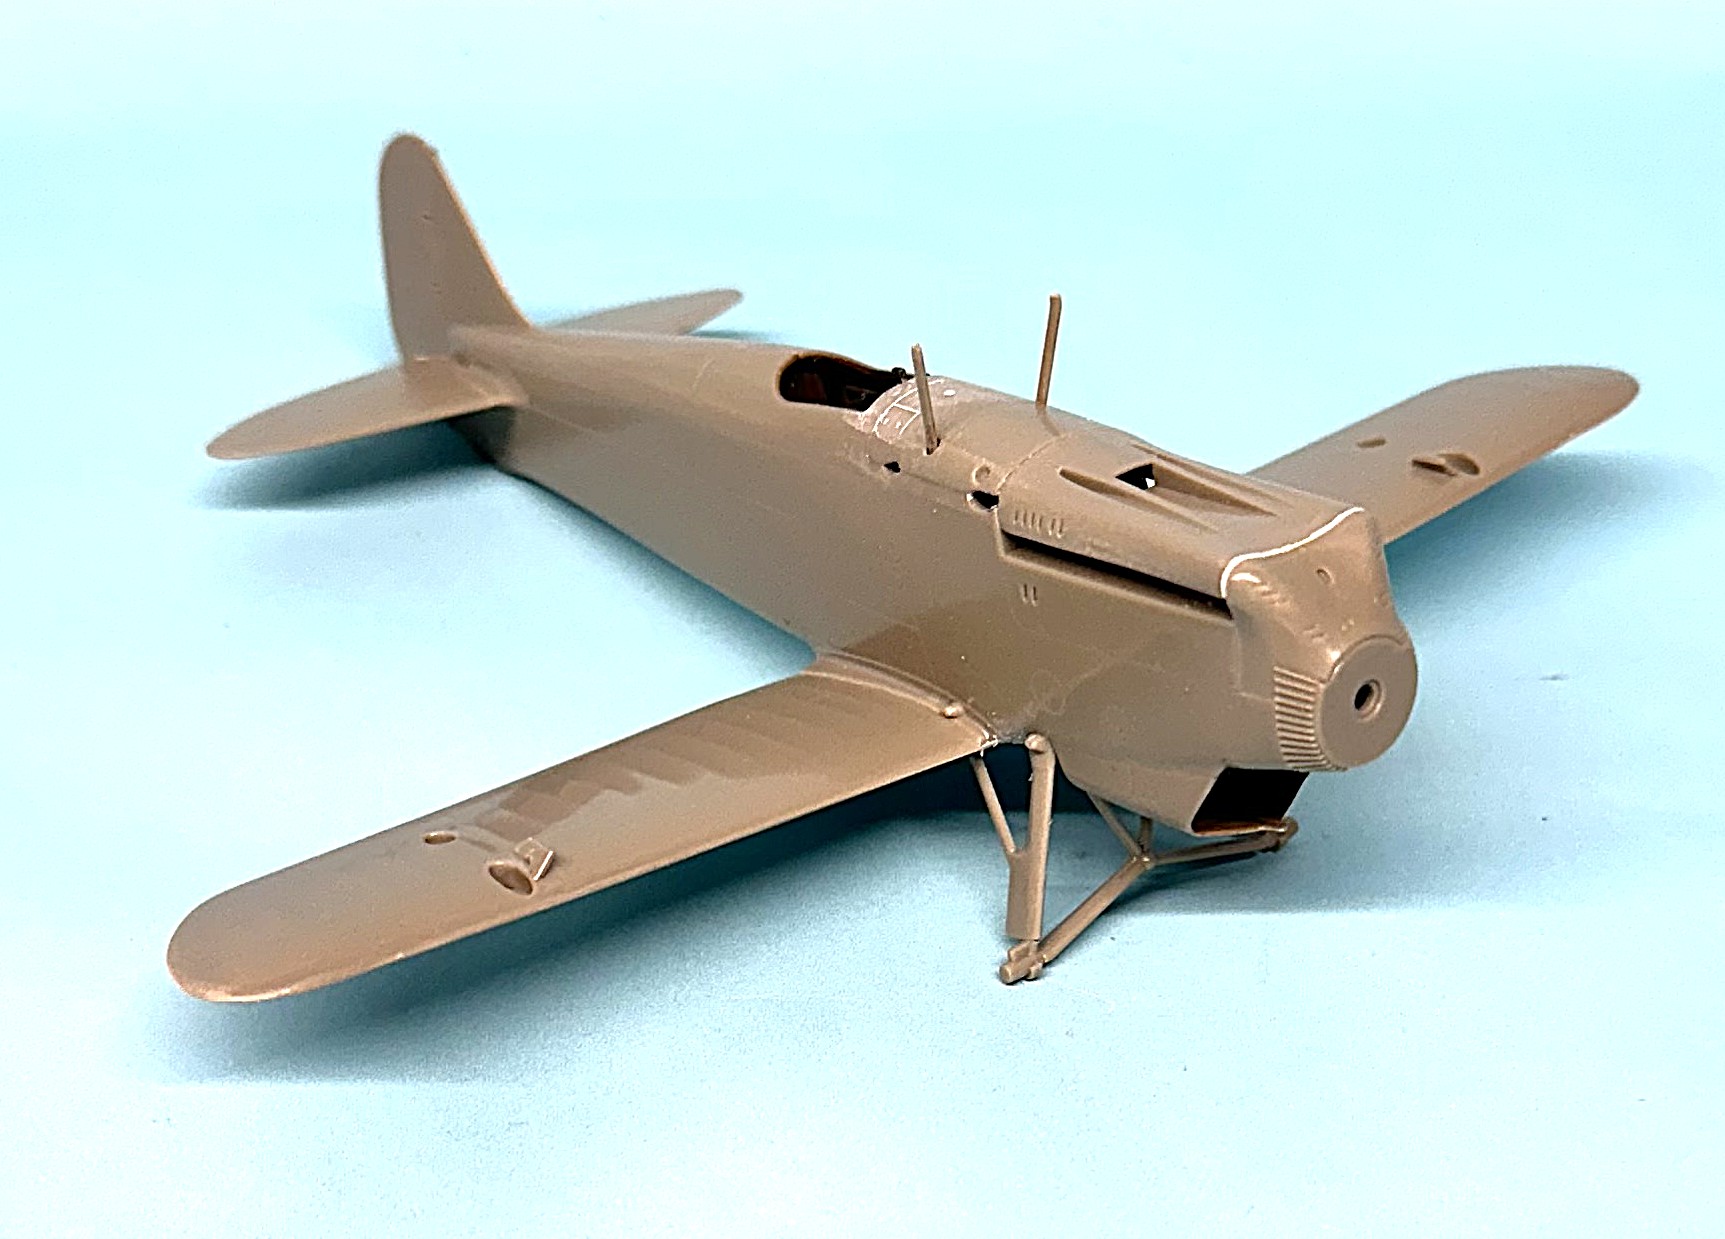
I’ve really been rolling on this Ki-10. One of the best things about being retired, is to have the time to really put time in on the bench and get stuff done.
I got the fuselage closed up and lower wing attached. Will start to throw paint at her tomorrow? Since I’ll be using the rigging set, I think I will need to paint, decal and weather many of the parts before assembly. Seems a lot easier without the upper wing in the way, OR the rigging.
More pictures soon, and Happy Modeling!
Regards,
Freddie from Palm beach Gardens.
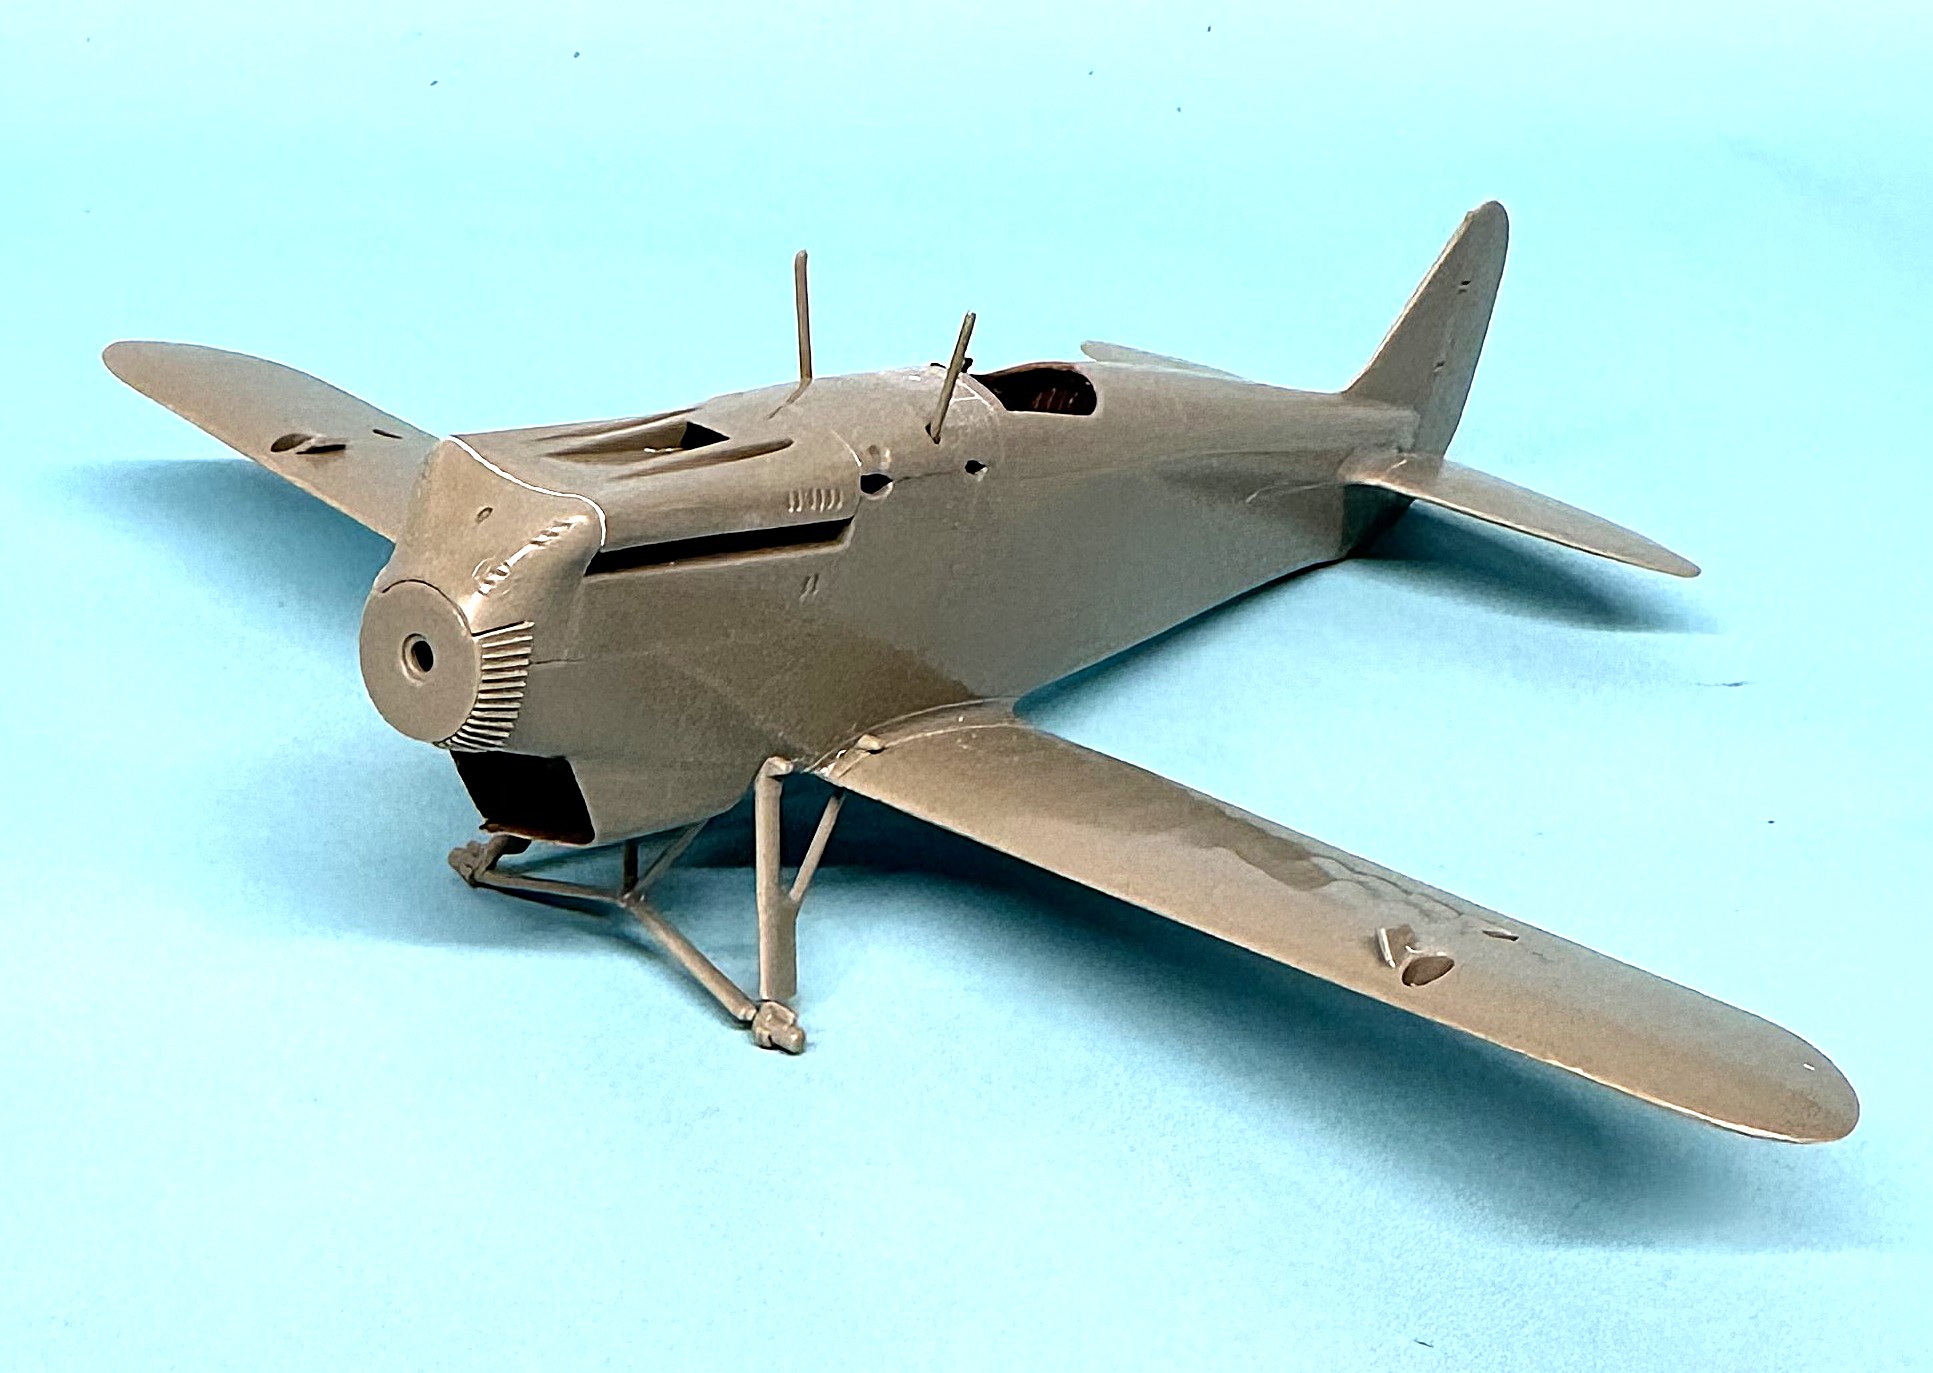

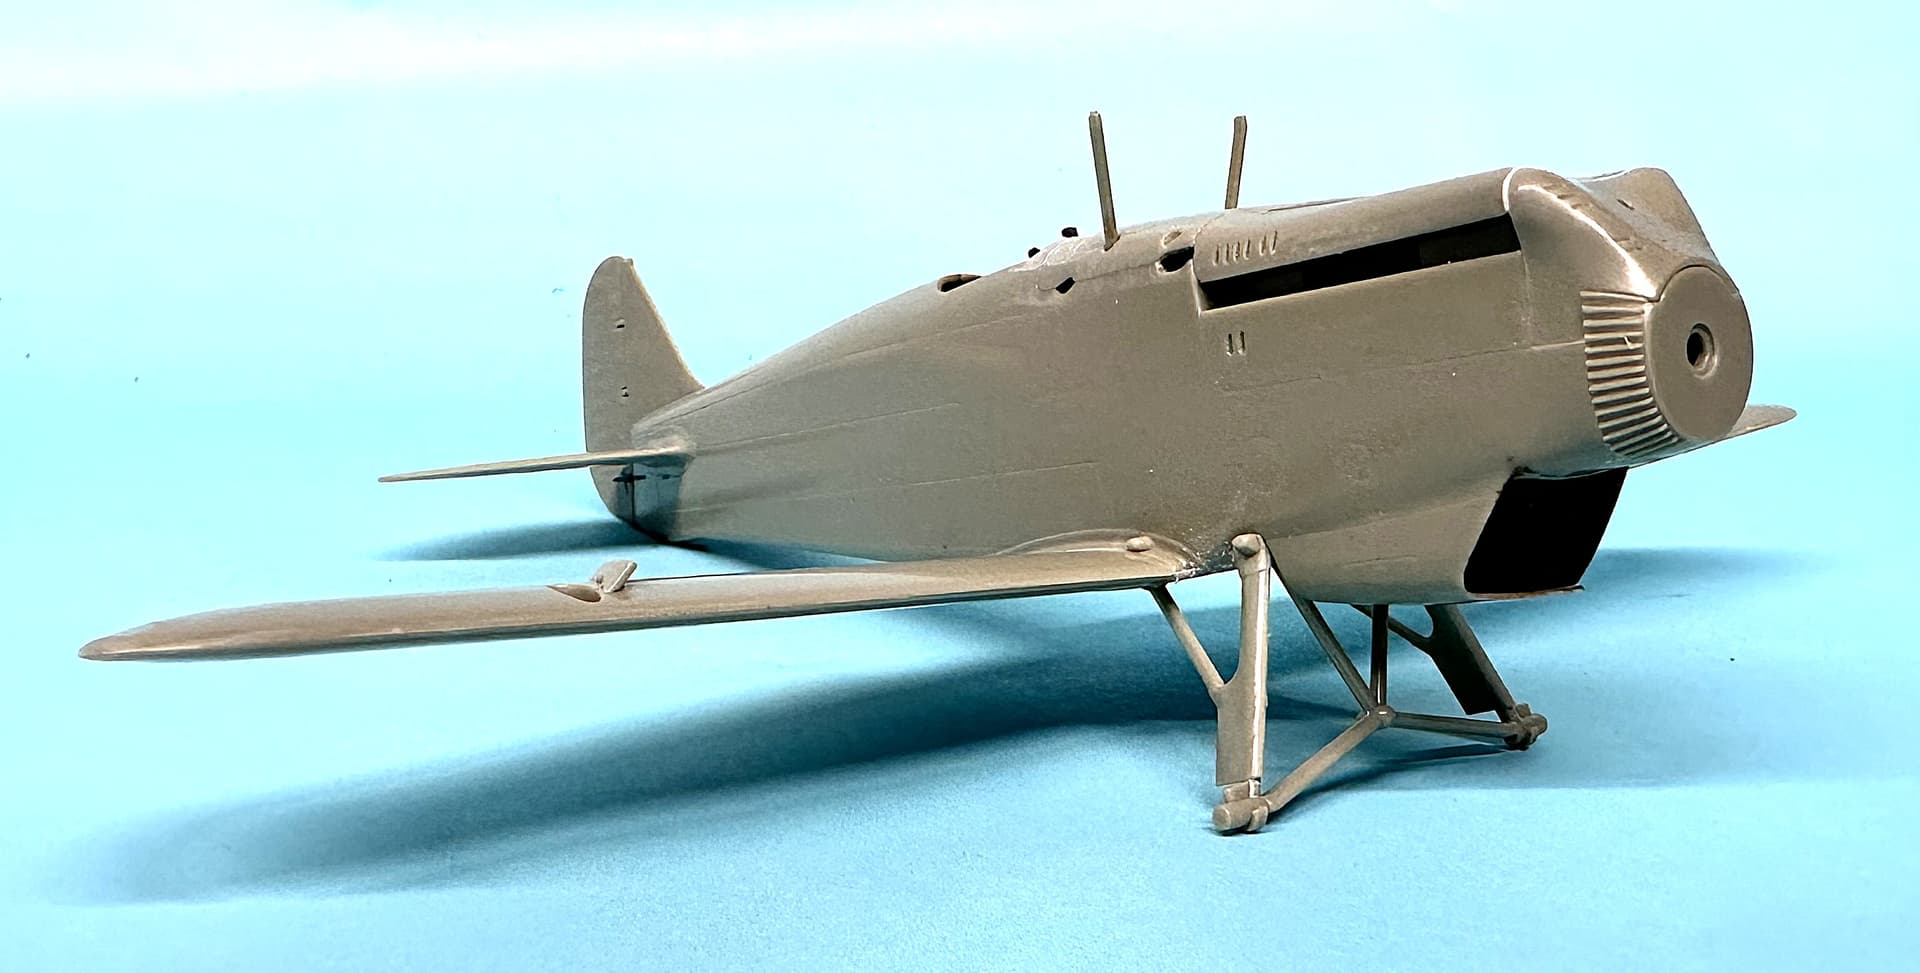
7 Likes
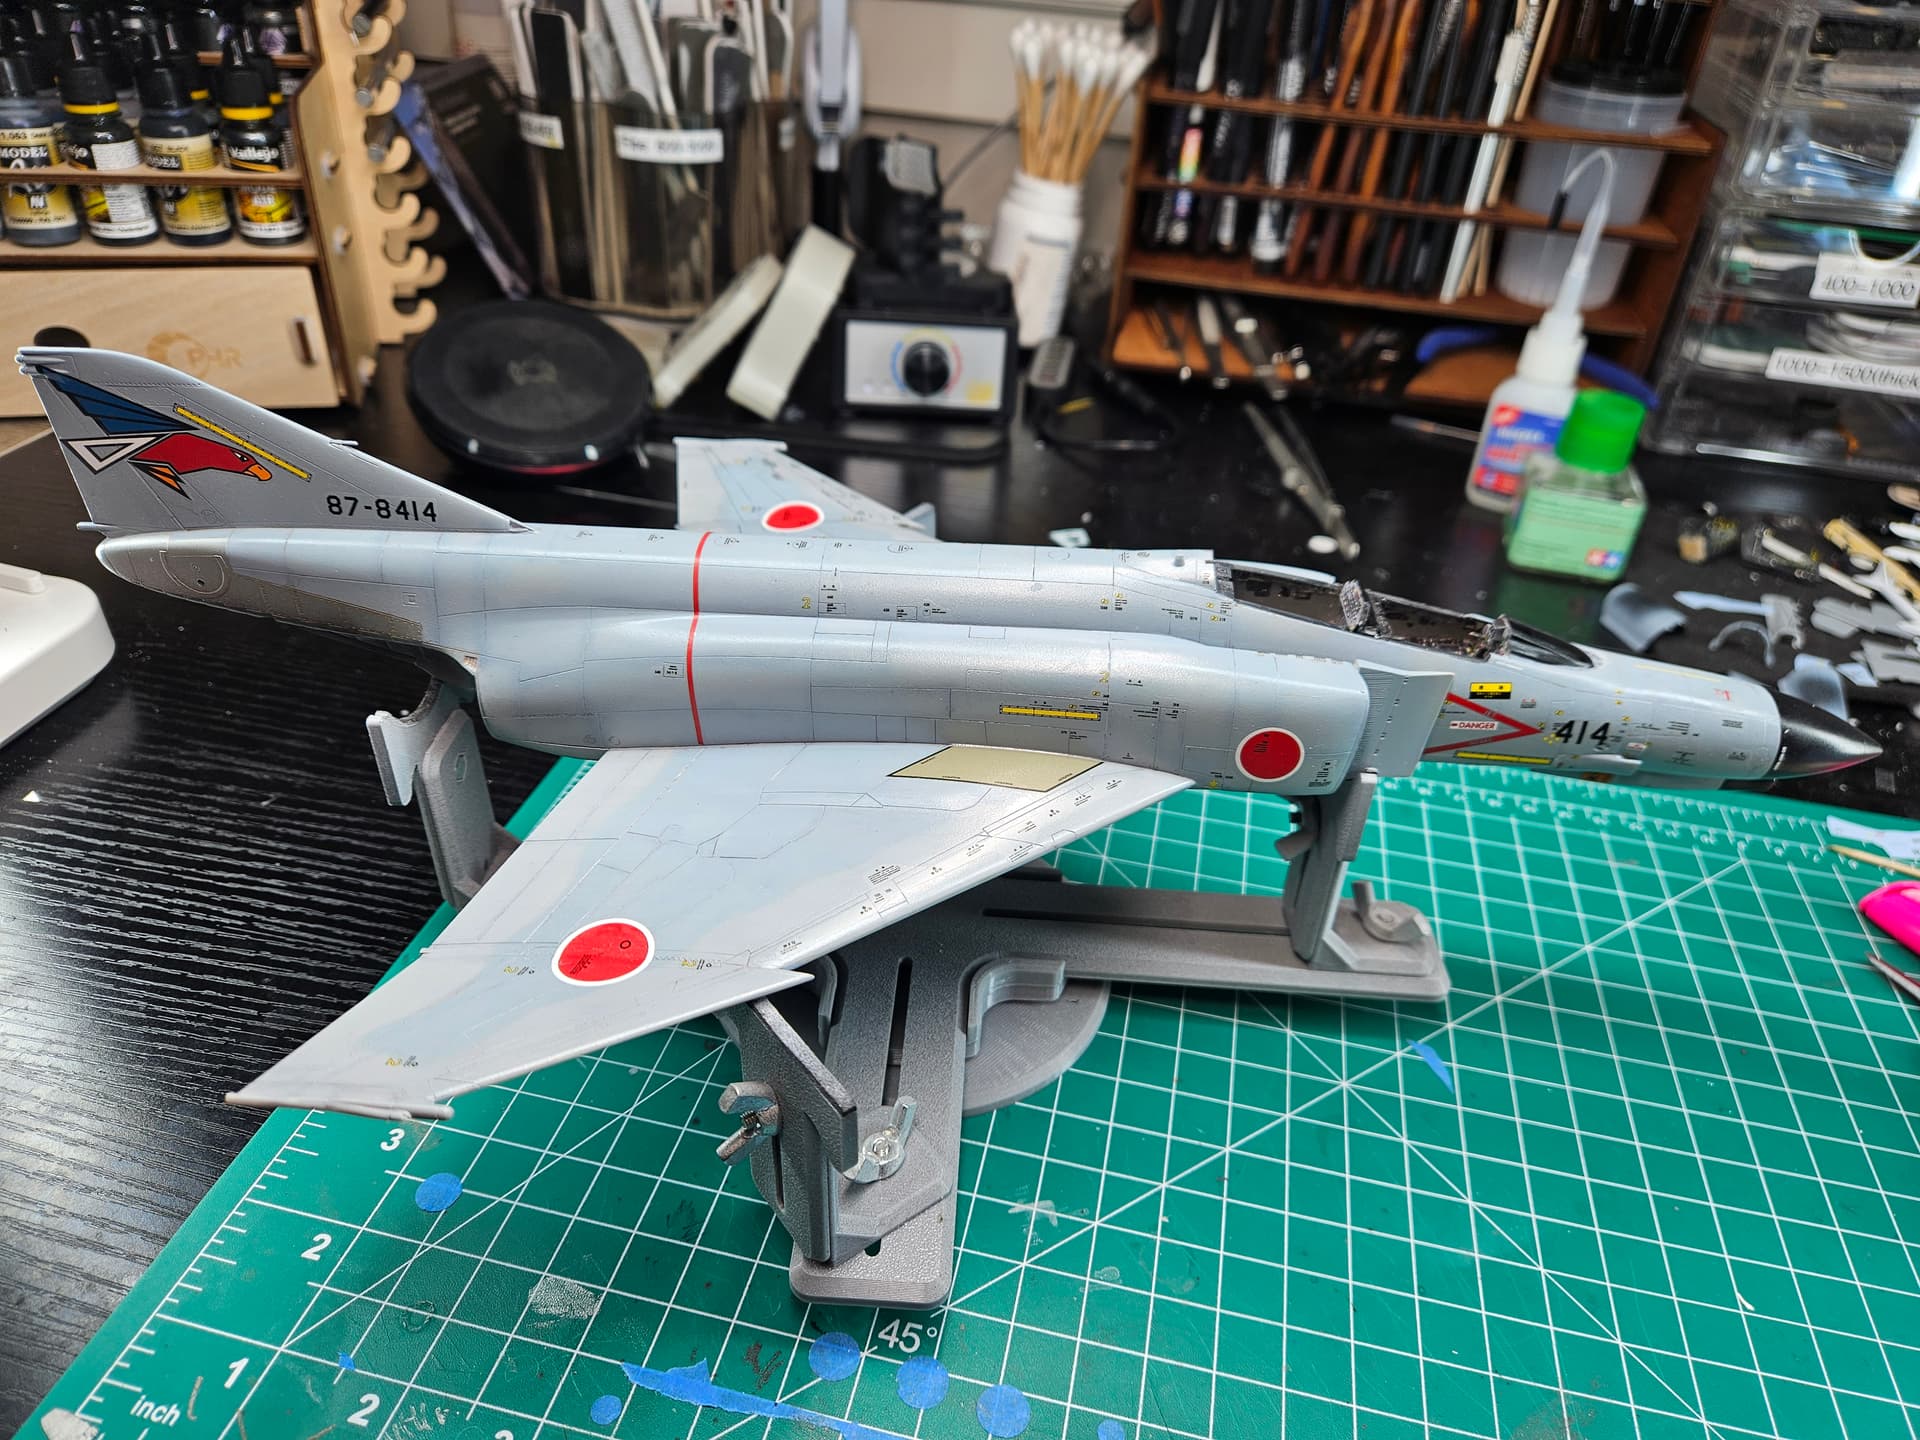
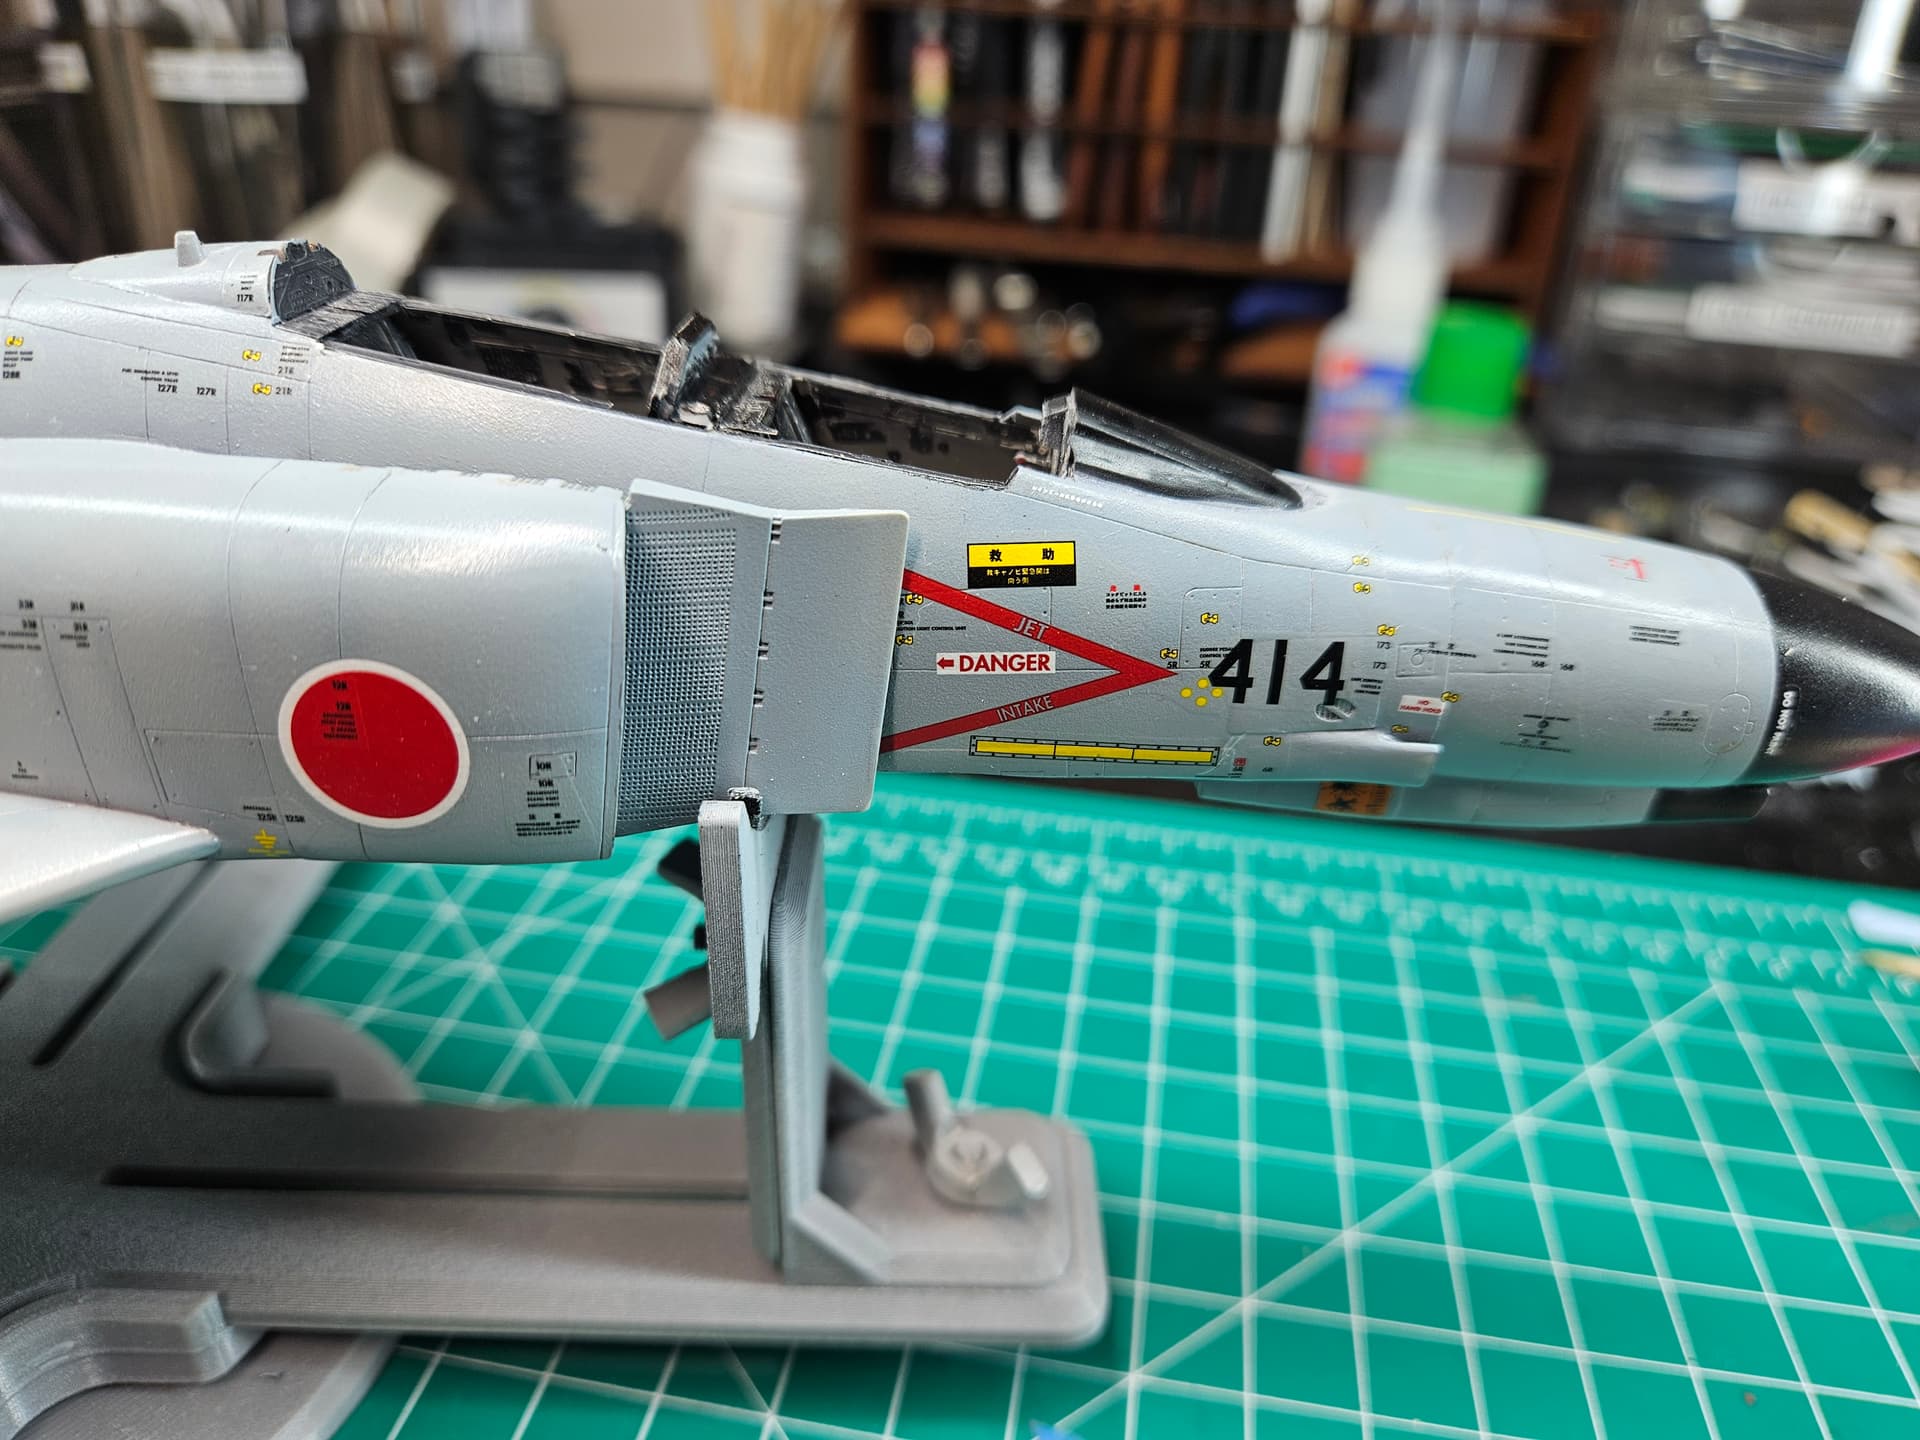
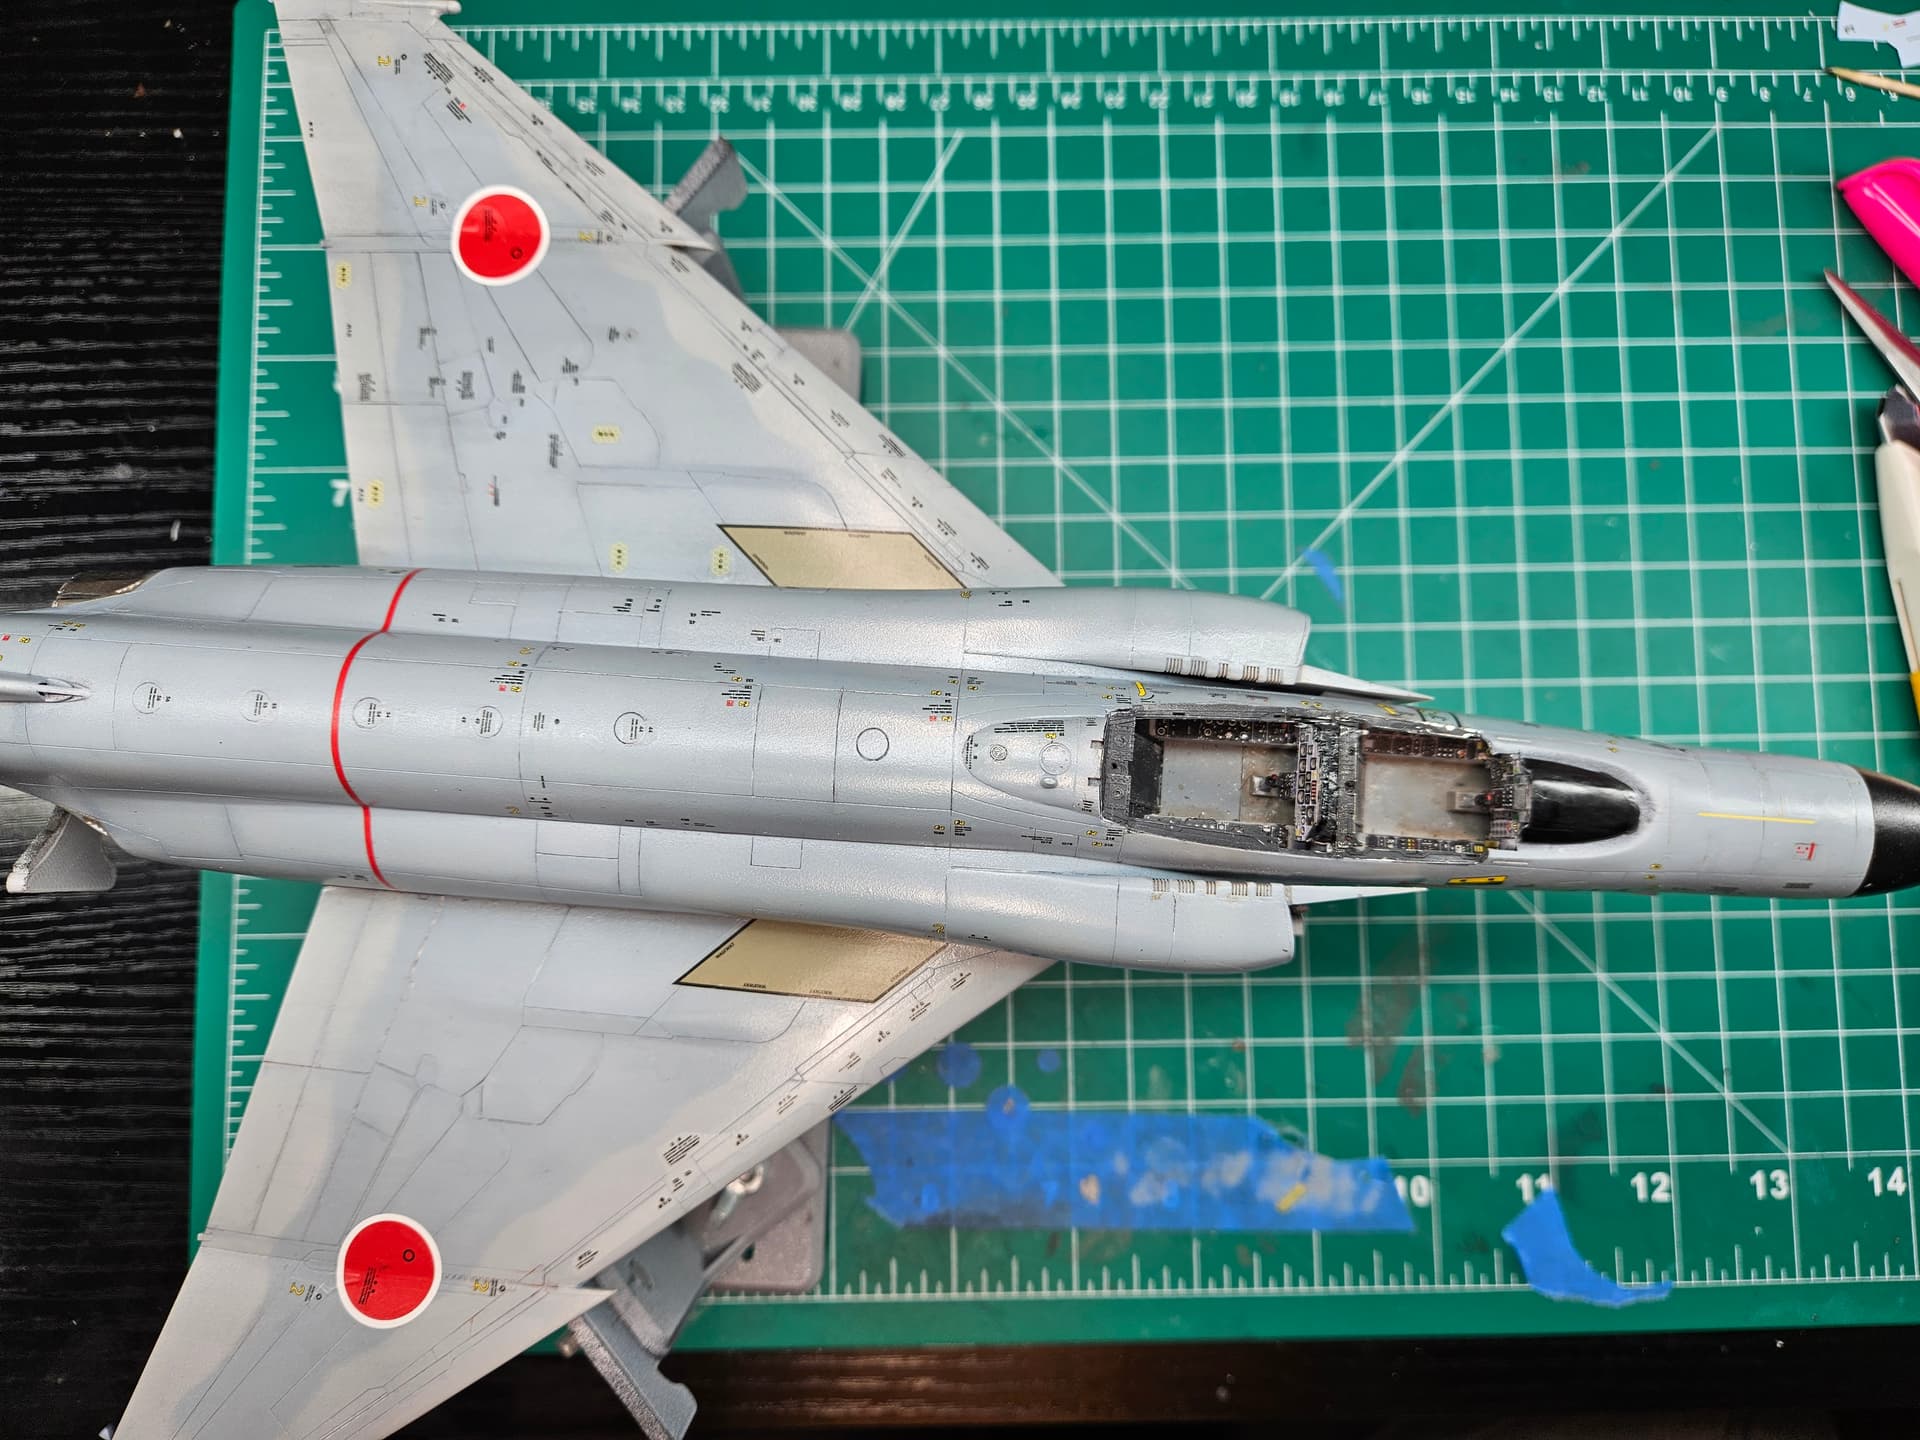
The starboard side stencils are finally starting to fill in, and I have to admit, this is becoming a lot less drudgery and a lot more interesting. Now that the markings are filling all those empty spaces, it’s beginning to look a lot more like the box art—which is what attracted me to this kit in the first place.
My son-in-law, who’s a bit of a WWII Pacific Theater history buff, saw the photos and commented on how strange it was to see Japanese markings on an F-4. I suppose when most of the Japanese aircraft you’re used to seeing have propellers, a Phantom takes a little getting used to!
I’m about halfway through this side now. The decal sheet is looking pretty well carved up, and the pink highlighter on the placement guide is finally starting to take over.
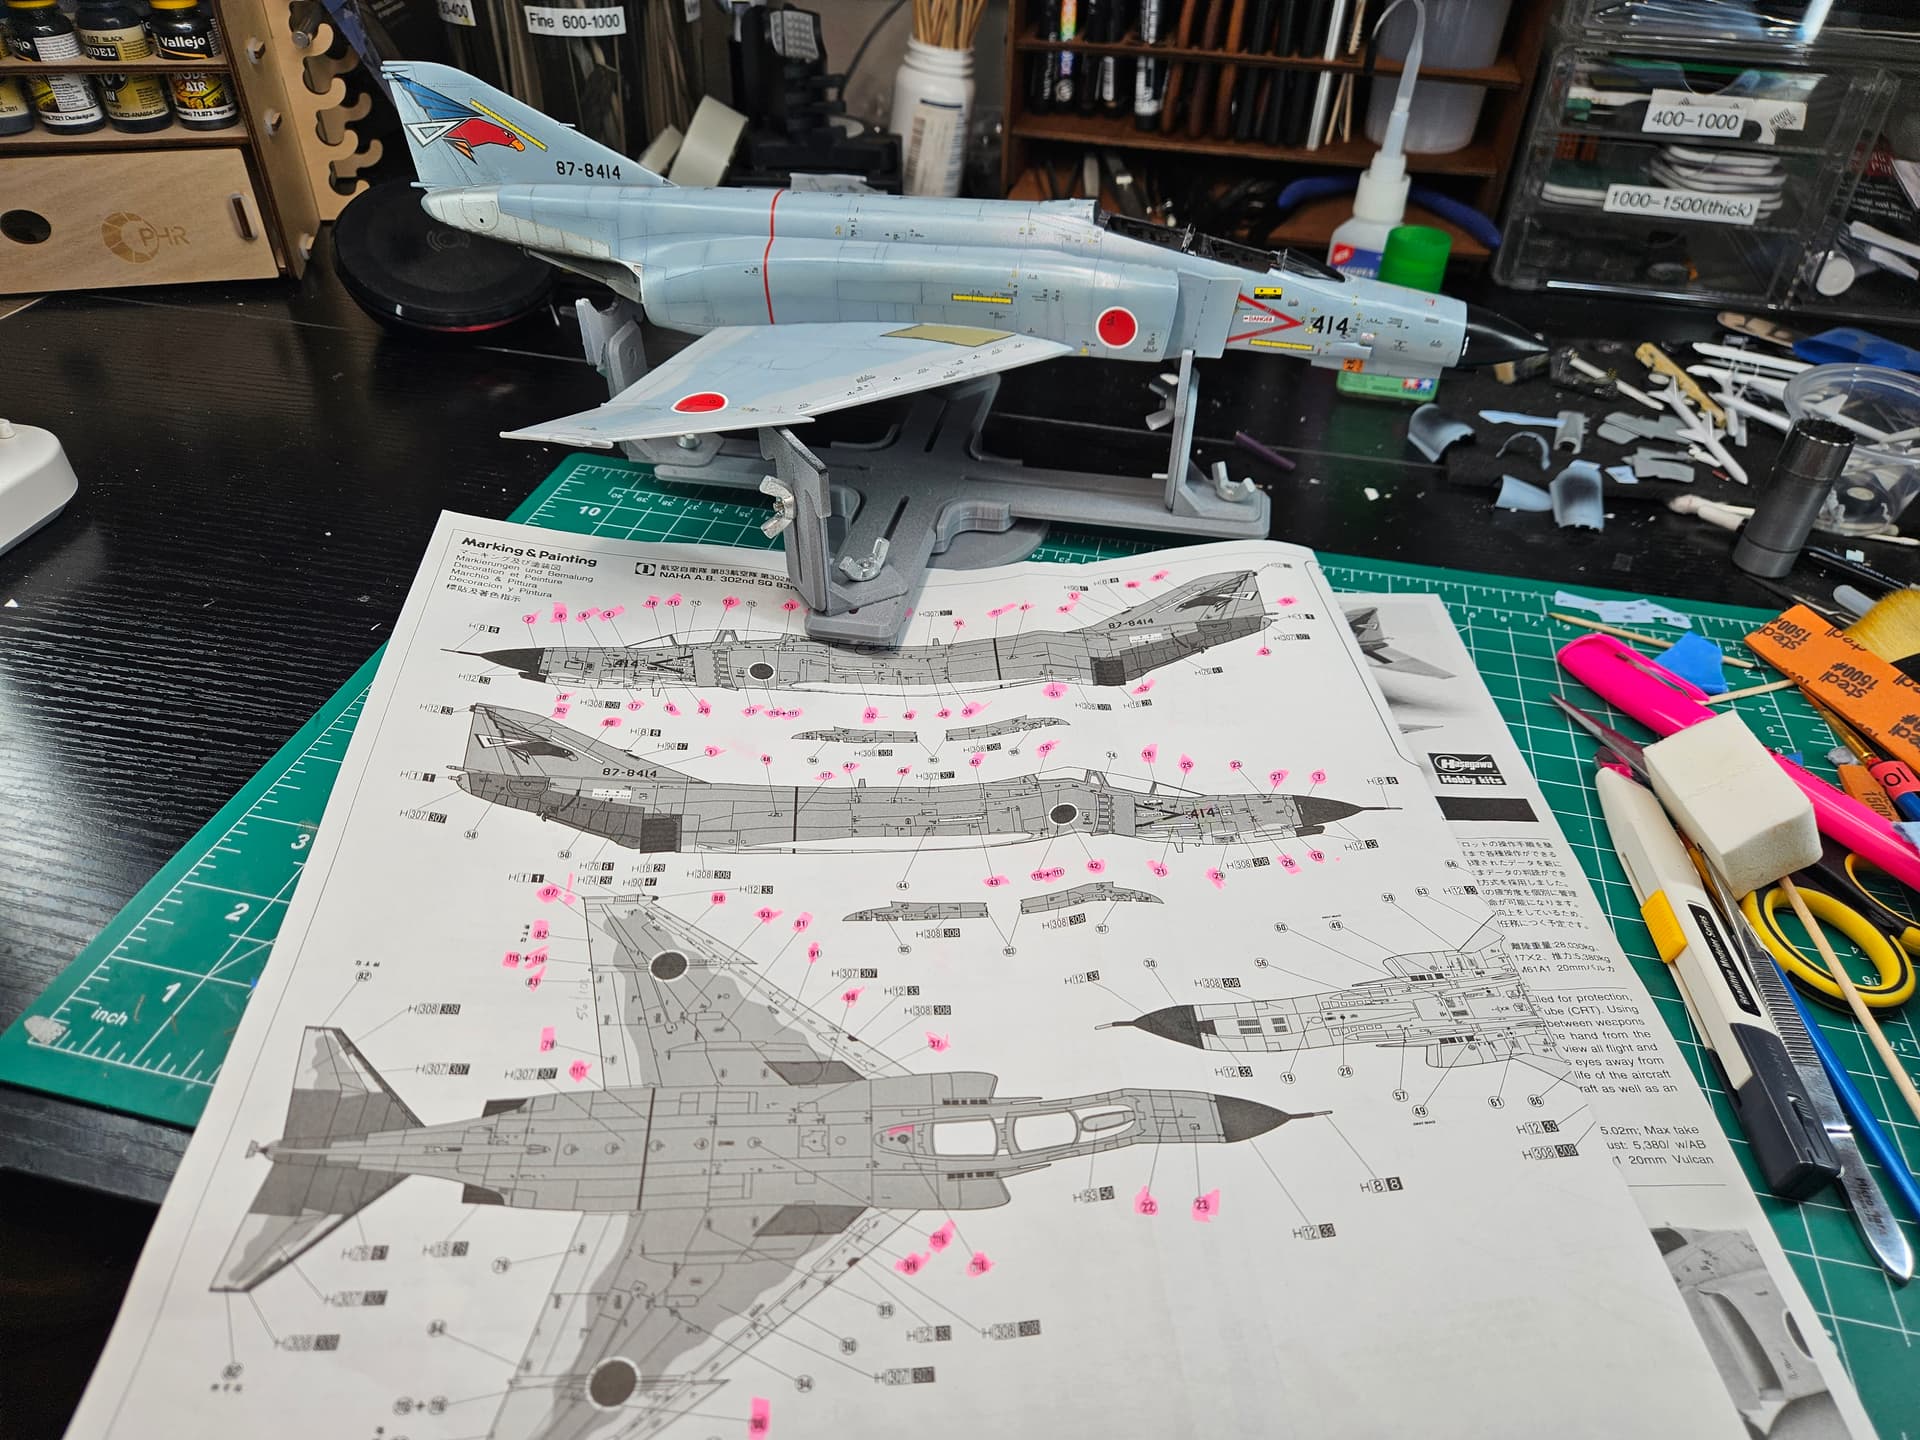
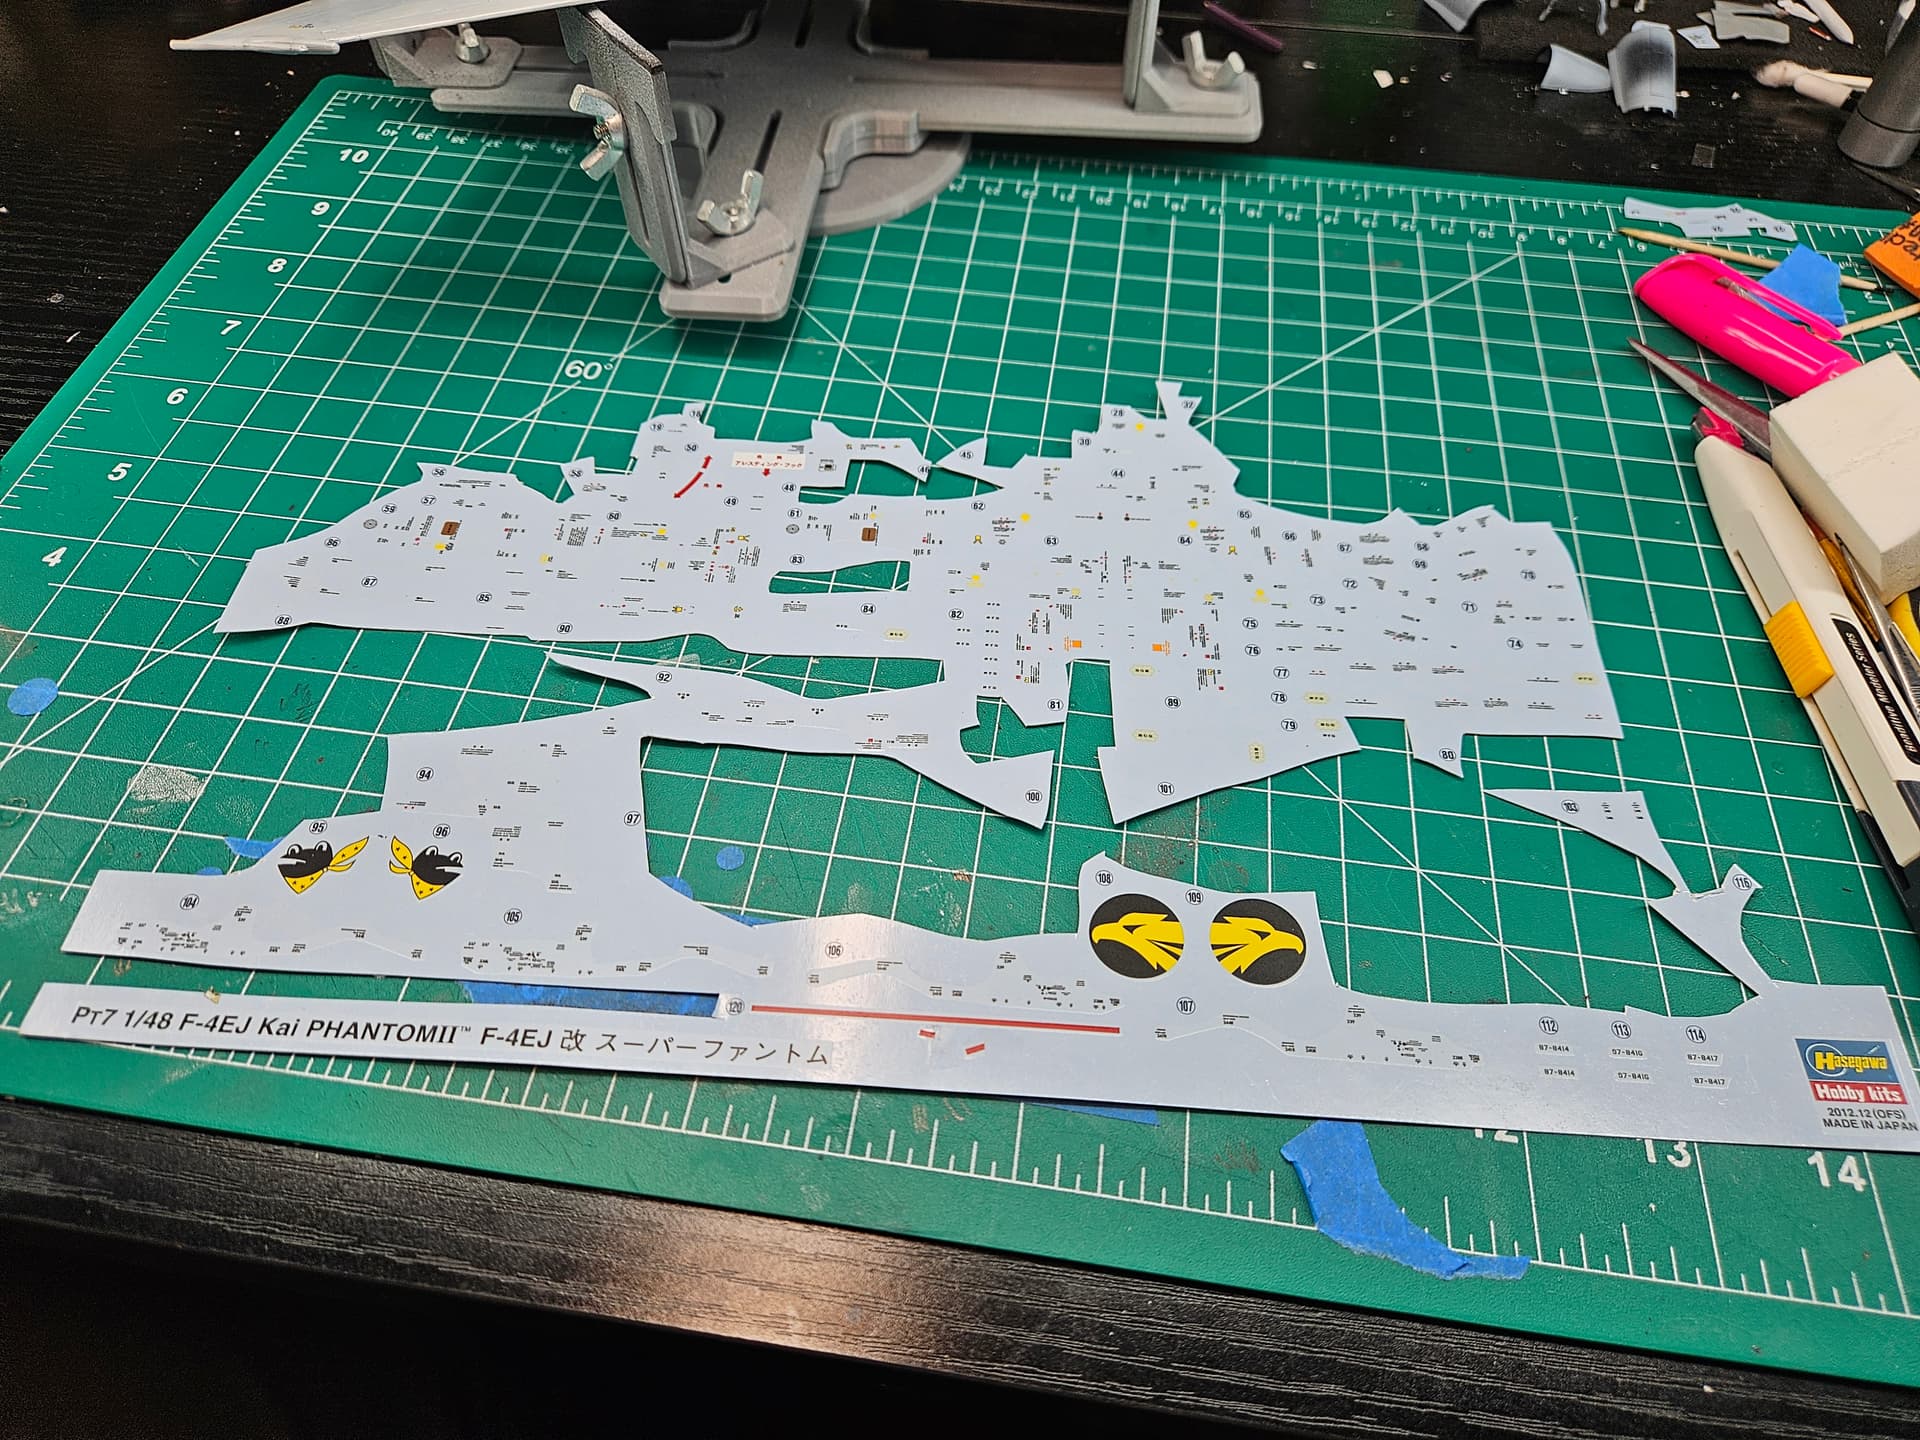
One lesson learned: I did this backwards. I started with the port side and am doing the starboard side second. In hindsight, I should have started here and saved the port side for last. That’s the side with the boarding ladder and the one I’m most likely to display facing out, so it would have benefited from everything I learned along the way.
The Phantom certainly earns its reputation as a “Stencil Queen.” But working my way through all of these has made me wonder—why? Why does an F-4 seem to have a warning, instruction, or label on practically every access panel when other military jets have nowhere near this amount of writing?
Anybody know the story behind that?
5 Likes
That’s a really interesting-looking aircraft, Freddie. I know almost nothing about biplanes, so I had to look up the Ki-10 after seeing your build. I had no idea Japan was still developing biplane fighters that late into the 1930s. Looking forward to seeing this one come together.
Airfix 1:72 Mitsubishi A6M2b Zero
Most of the progress today has been more of a mental nature, trying to form a conclusion as to whether this will be a flying kit or a grounded kit. I think I know where I’m headed anyway…
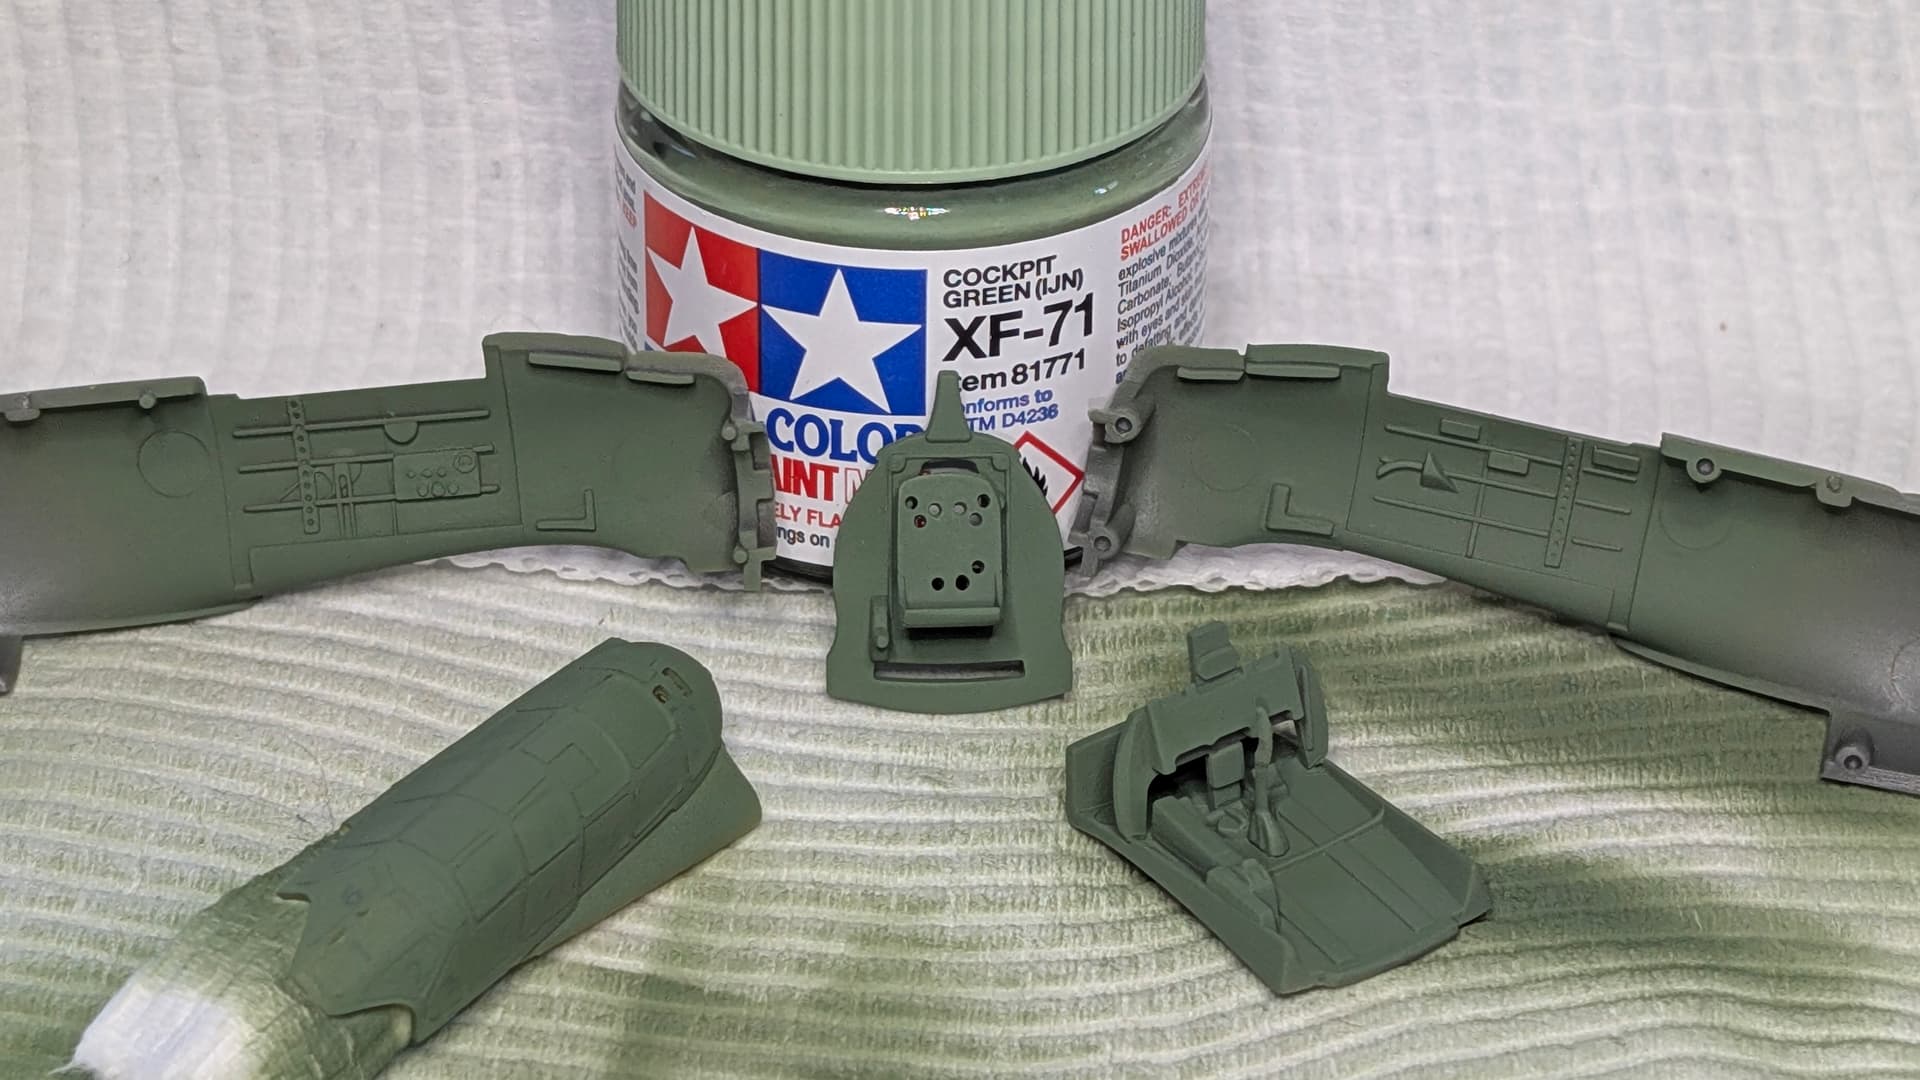
The cockpit has been basecoated with Tamiya’s XF-71 Cockpit Green (IJN) which is supposed to replicate Japan’s flavour of zinc chromate.
The canopy was masked off with aftermarket masks from ASK (ArtScaleKit) and sprayed with the cockpit colour. This will hopefully mean the interior canopy structure shows up as cockpit green rather than the red oxide external primer I’m planning on using for the main paintjob.
Going to let this settle before proceeding to shading and details
2 Likes