Looking very nice, you can really crank them out!
2 Likes
That Tojo is coming out really well.
Regarding the problem with the model I would probably just do my best to ignore it. Would annoy me but I’d hate to ruin that nice camo scheme.
1 Like
Hey Grey,
After reading multiple reviews of this kit, and other versions of it as well, AND looking at photographs of an earlier build of the SAME KIT…I figured out that the issue was not the kit…but the builder himself…in short, I installed the part backwards which placed the antenna on the wrong side. Dumb. A rookie mistake that comes from only one thing; not paying attention. I’m going to finish this build as it is, but let it be known, I will build another one, only this time correctly.
2 Likes
It’s still going to look great regardless.
1 Like
Your Tojo is progressing very nicely Freddie ![]()
1 Like
Looking good is it ever tiny!
1 Like
The paint job is looking really good. Interested to see how the rest comes together.
2 Likes
Very, VERY nice! Those Arma kits are beautiful models.
2 Likes
The Tojo looks great. I think the antenna is such a minor detail that 99.999% of people would never know.
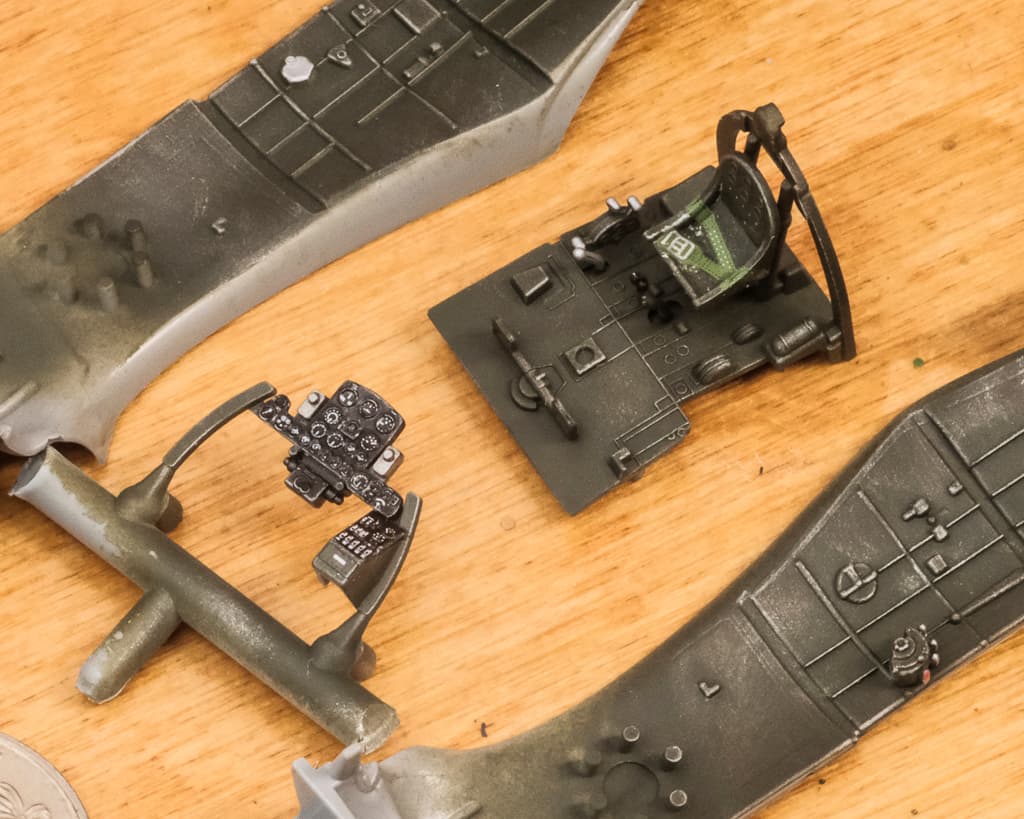
The cockpit of the ki-84 looks excellent! Very detailed.
I’m closing in on finishing my Mitsubishi. I have two parts to go.
5 Likes
Looking very good.
Need to start back on my entry one day. It’s primed and I have all the paint for it. Maybe next week when it warms up some more.
1 Like
At this stage, I have to let it ride.
Cheers, Freddie
1 Like
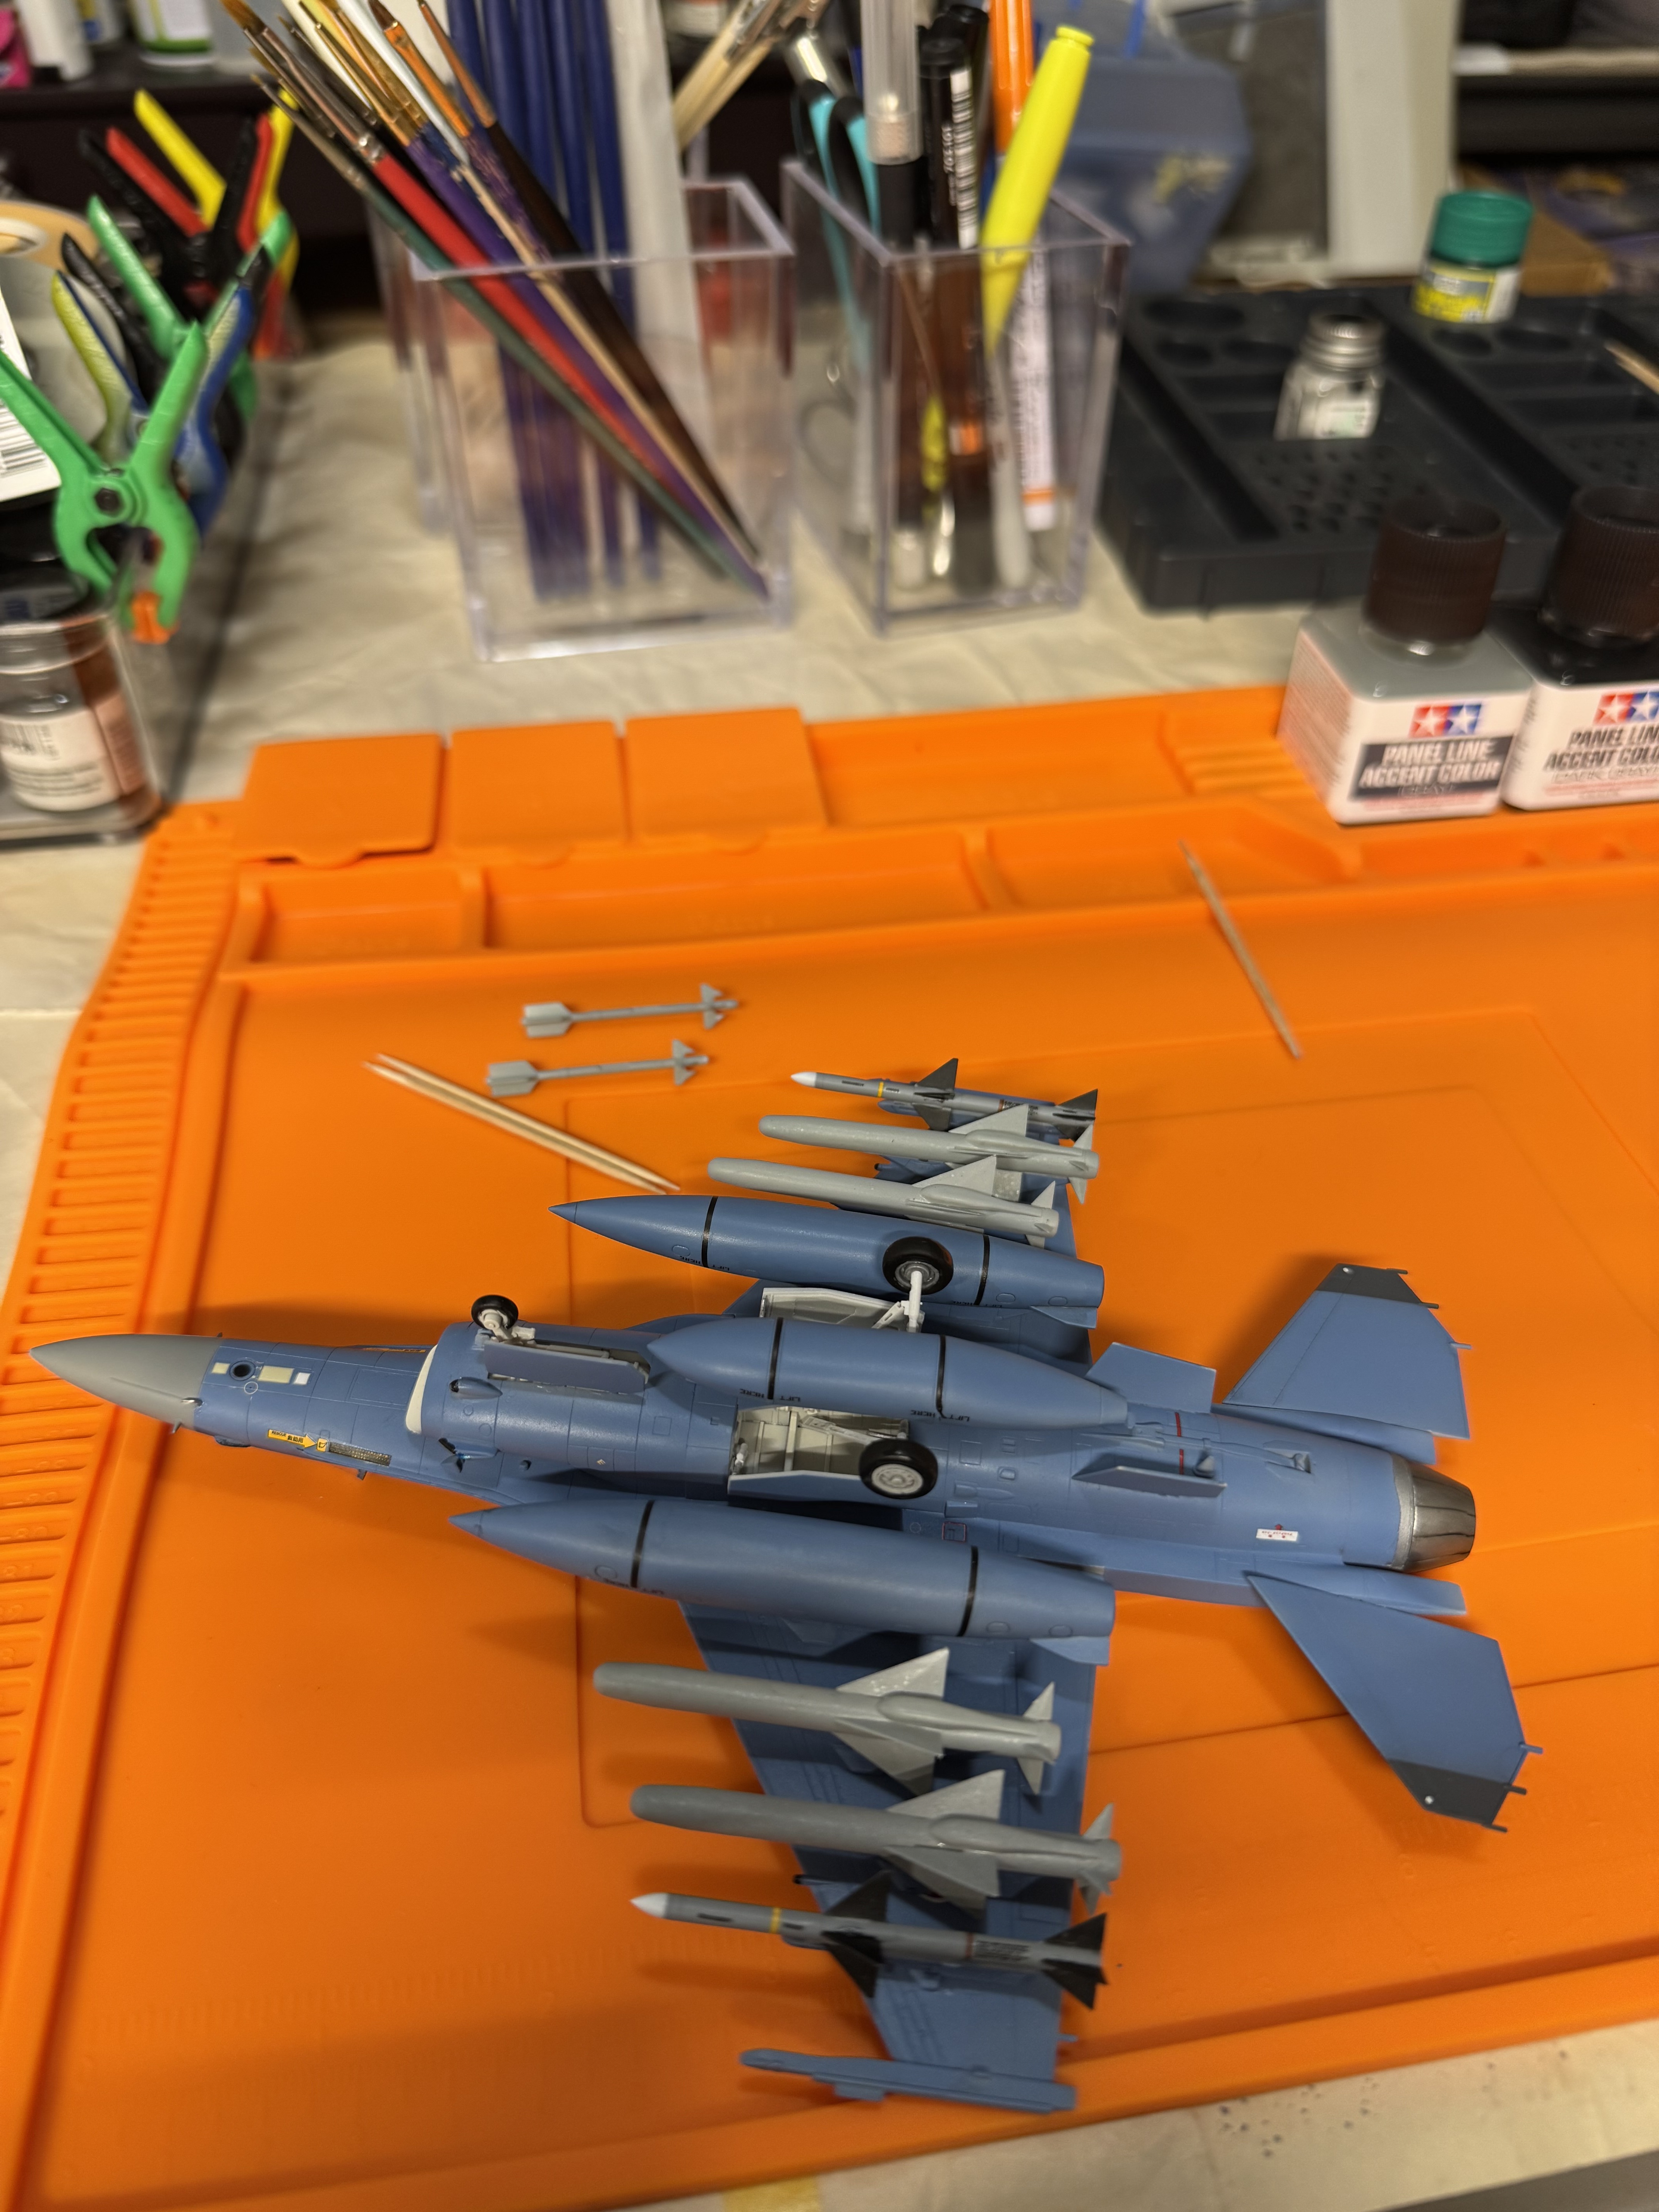
Looking forward to the end result, Greg. That’s an F.2?? (I don’t know much about jets)
I started on the Tamiya, A6M5 Model 52, (Zero). Can you please update the page when possible, thanks.
Cheers
Freddie
1 Like
Sure. Which Tamiya A6M5 is it and which scale?
Sorry about that!
It’s the newer 1:48 scale release, kit number 61103.
1 Like
When it warms up? It’s 90 degrees F out here!
Yes, it’s an F-2. I honestly don’t know much about them, I picked it for its good looks!
Greg
1 Like
Thank you all folks, for the comments.
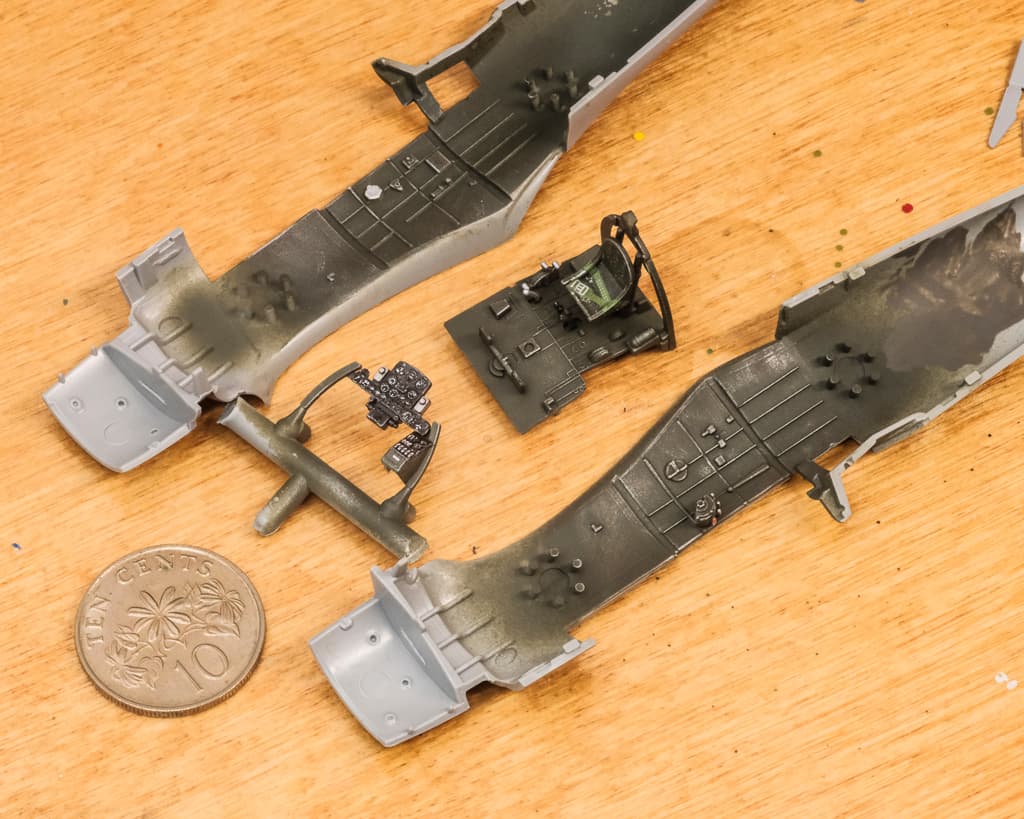
The cockpit was sprayed green and details picked by brush. Nose guns were left to be installed later.


I had vowed that this would be an OOB build. Yet, after a fresh look, Lo and Behold, I realized the obvious.
Seat and kit-provided decal harness - the way I made them - came out absolutely horrendous!. This had to be corrected!
Action No.1 taken - detach the culprit (seat) from the cockpit and dip it into a pool of IPA. Paint and decals were dissolved to Davy Jone’s locker.

Action No.2 taken - This cute PE set of Jap seat belts was bought from my local hobby shop for 2,5 euros. Painted with deck tan and red brown. The result is at least more decent now.


That’s a case study of how an OOB vow can be so easily broken…
5 Likes
It was 60f here today going to be 90f next week.
2 Likes