The pete came out great. Superb monochrome finish, as thats difficult to make ‘interesting’. You also can crank them out! 2nd model already? I am 25% done on my little motorcycle in 1/48.
2 Likes
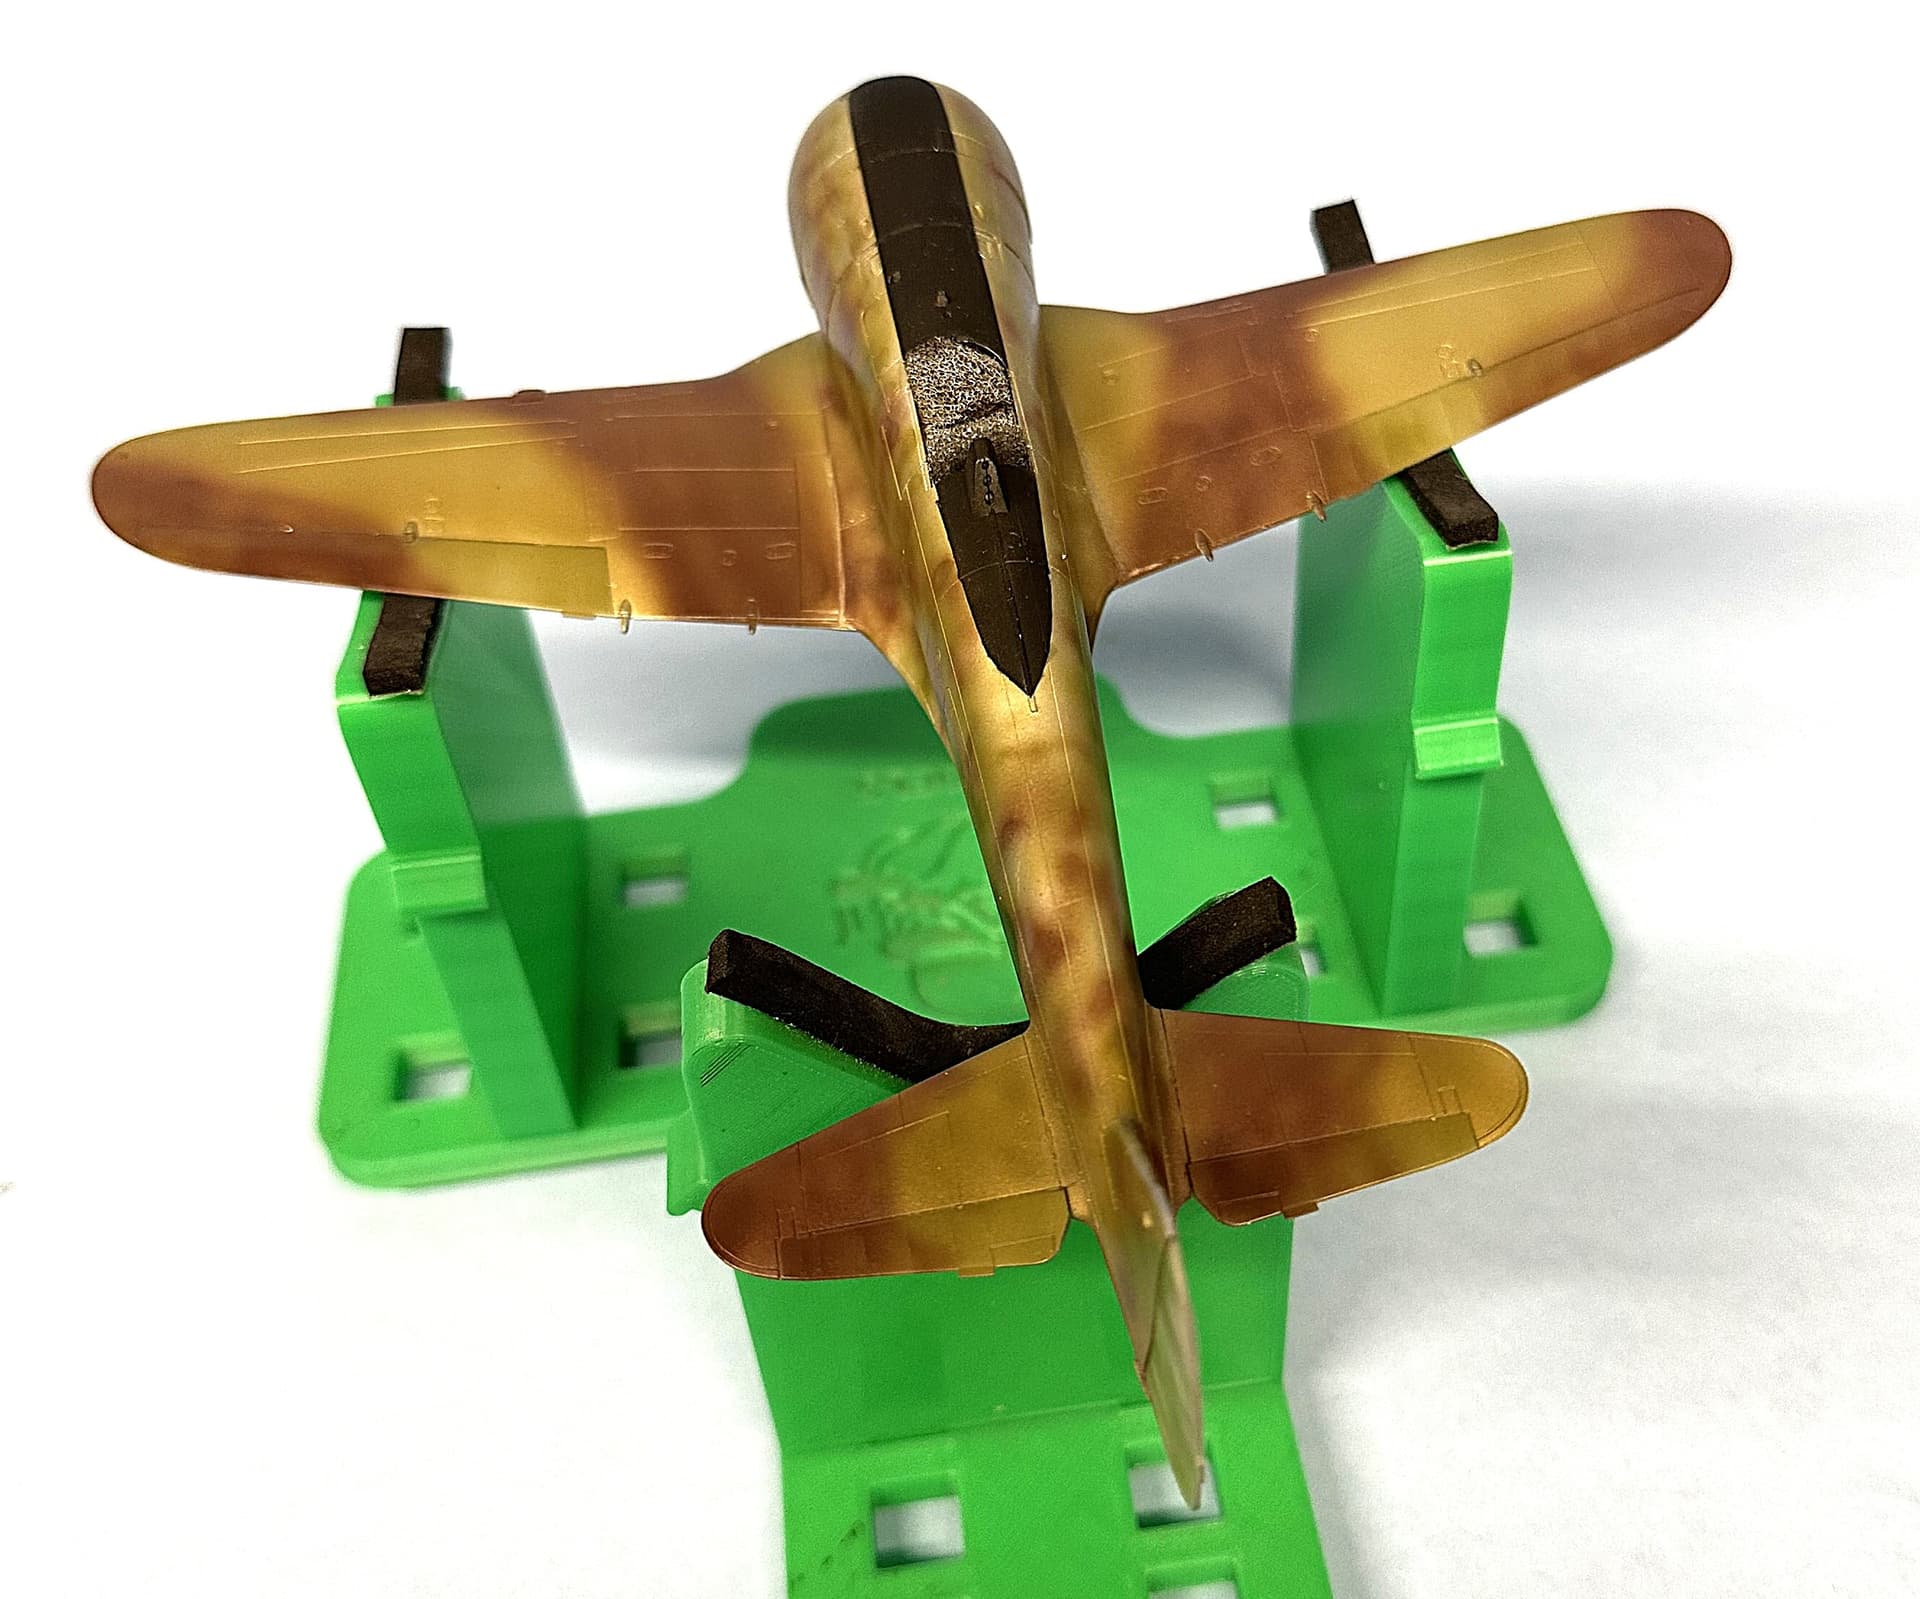
I love that jig. It’s really really a great tool for putting models together. I hope they are still making them too!
2 Likes
The last I heard they are taking a break so they could address a minor health issue with his wife. I know they are going to start back up because he completely redesigned his garage and turned it into a 3d printer farm. He has 8 going at one time. Their glue holders are great also.
1 Like
Cockpit looks great Freddie. I think we should nickname you ‘Fast Freddie’ BTW ![]()
2 Likes
Waiting on paint for my Type 61. UPS keeps finding ways to delay the package.
1 Like
They don’t call them “OOOPS” for nothing.
1 Like
I have a number of their products. I like the way they look and work. This one is for 1:72 scale and small 1:48 scale aircraft. I want to get the larger version for larger 1:48 and 1:32.
I’m hoping his wife gets through whatever the issue is as soon as possible. S, the sometimes life gets in the way. The models can wait.
2 Likes
Just don’t call me late for dinner… ![]()
2 Likes
The last delay is because they forgot to dispatch the trailer…
1 Like
Forgot? Not buying that one.
1 Like
Supposed to be delivered today which is good because I primed the Type 61 yesterday. Perhaps I can paint tomorrow morning.
1 Like
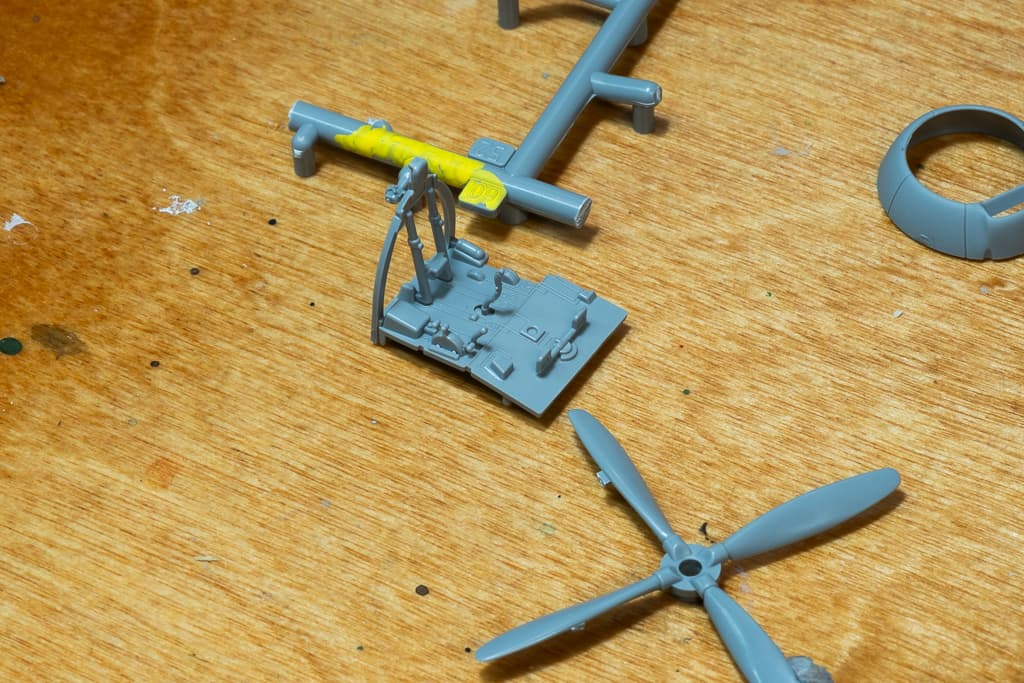
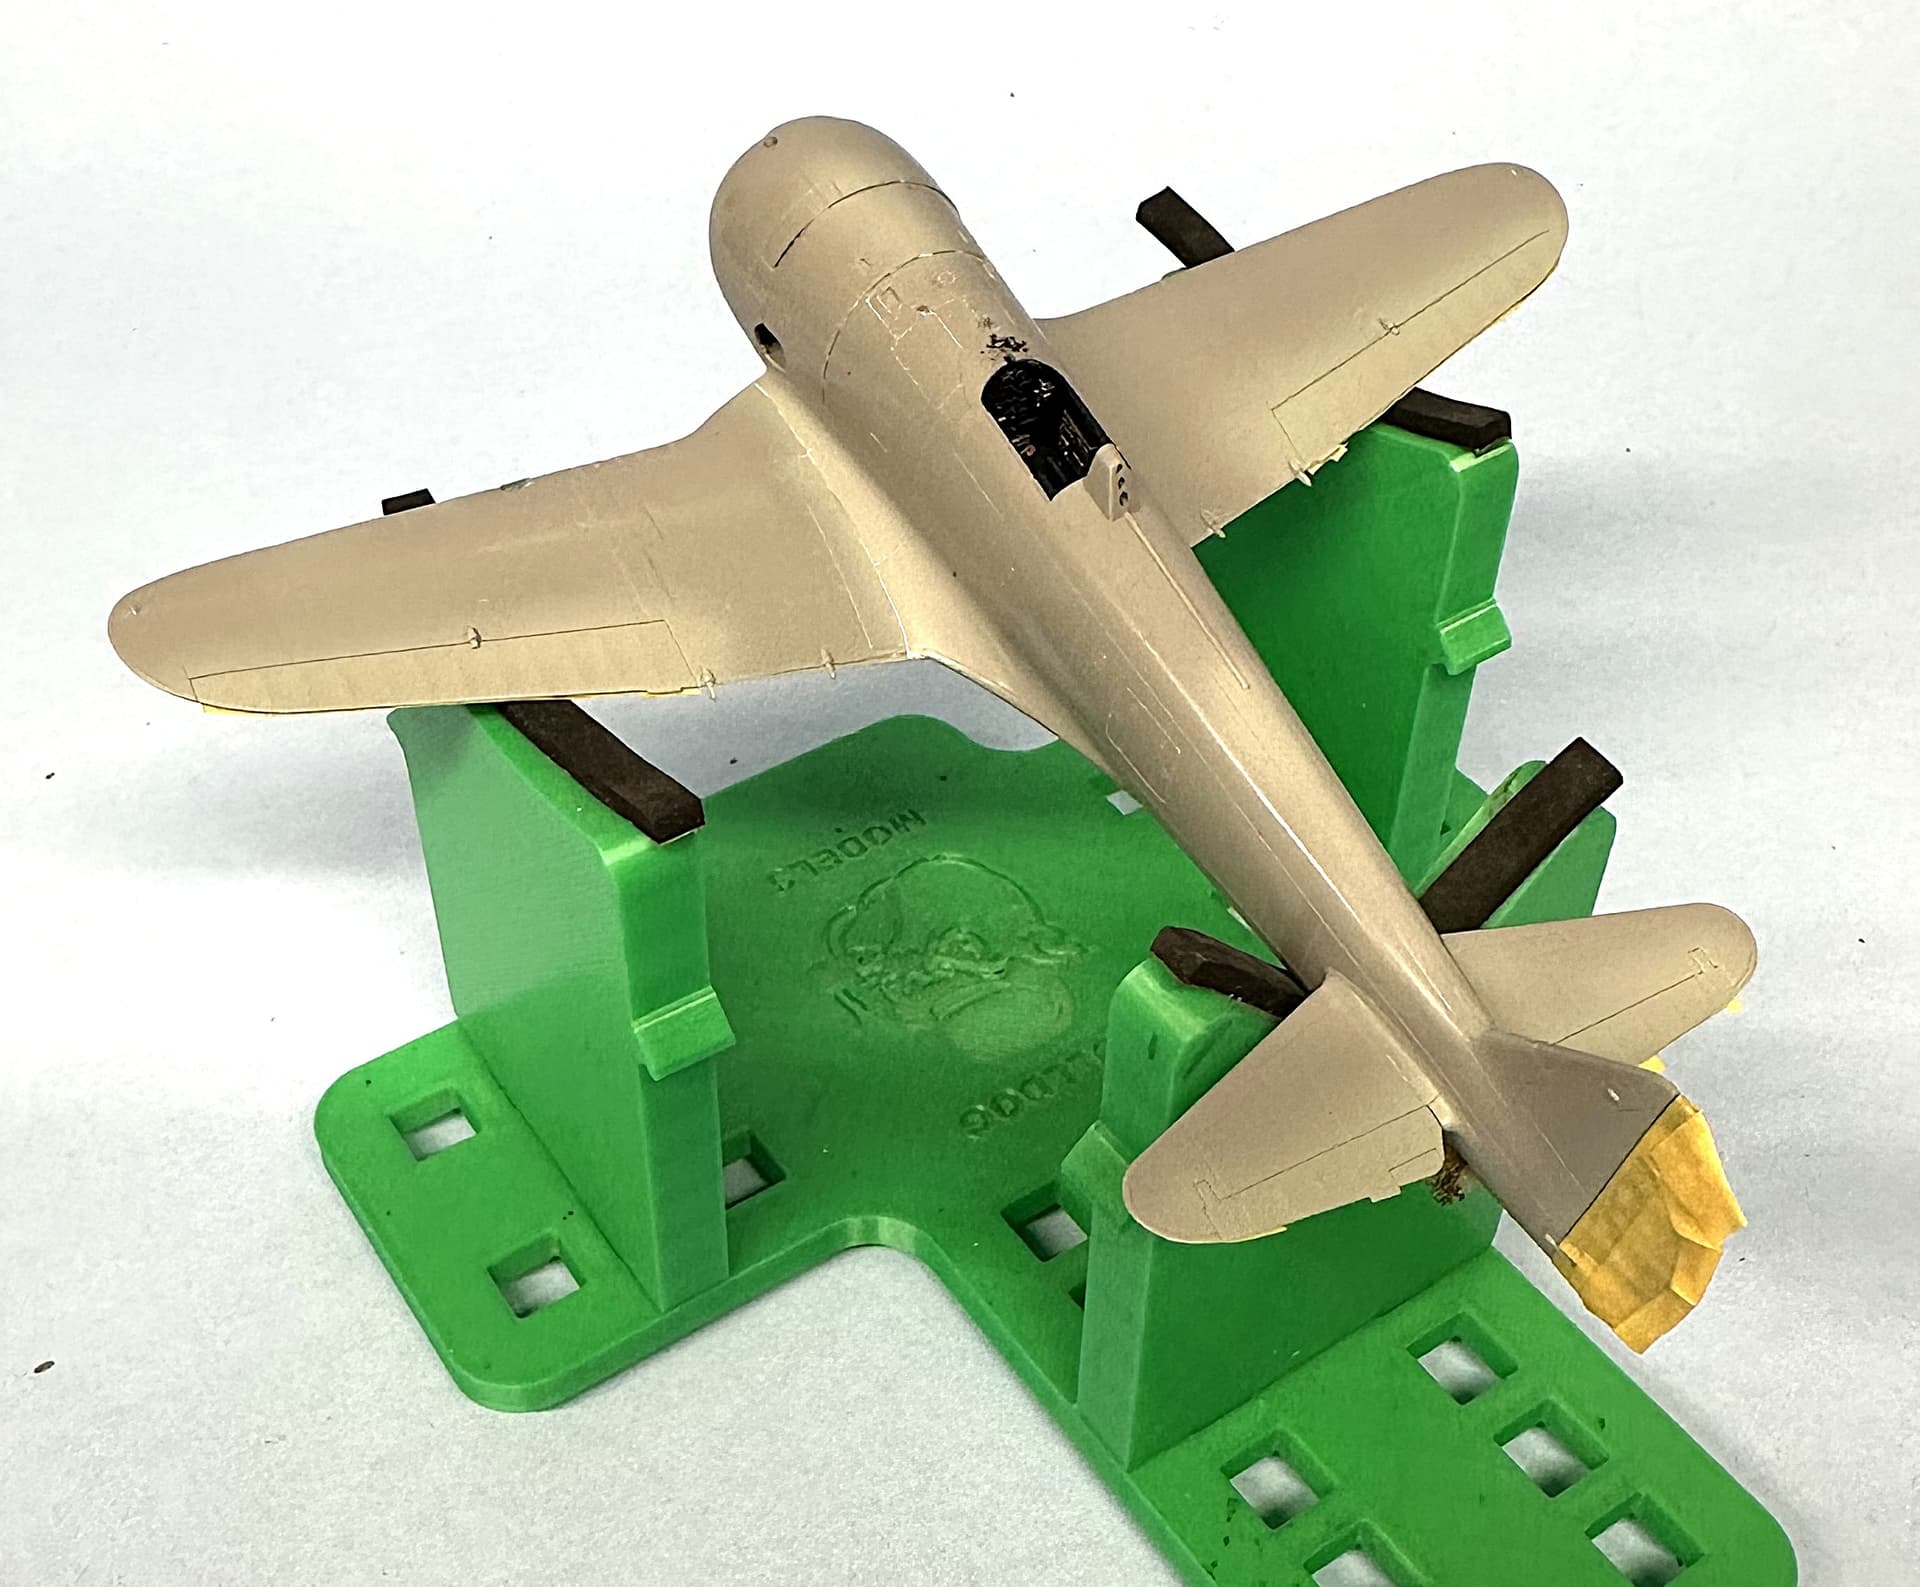
Last days I spent some time on the cockpit and engine. The build will be generally OOB, there are no aftermarket available (neither will be) apart from a little copper wire.
The seat was drilled out, as well as the wheel wells sides.
My photos are rather bad, when I realized, I had already primed and painted the assemblies - thus, I apologize. This will be fixed for the following posts.


6 Likes
That looks really great, Zvezda! Love the detailing in the cockpit!
1 Like
Nice progress on your A6m @Zvezda1980.
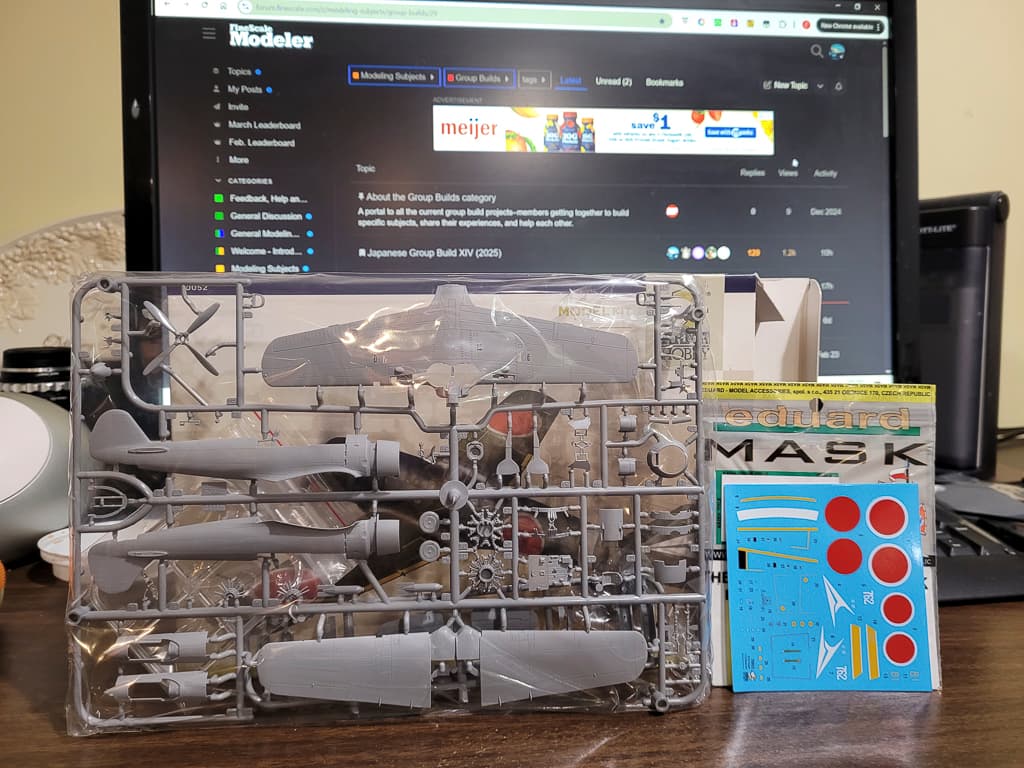
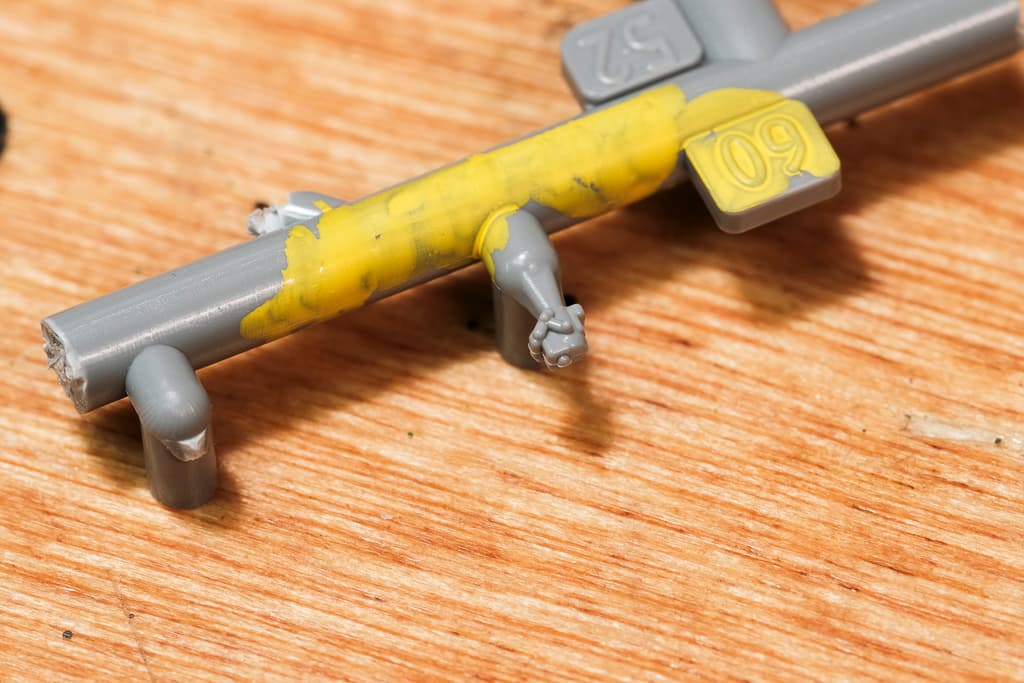
I guess it’s time I started on this Arma Ki 84. Just fiddling around getting parts off the sprue. Although very impressive as a kit, I am not a fan of how the sprue attachment points are designed. They take quite some time and care to clean up. That’s not a complaint, just a fact. Overall it seems like it will be an amazing kit. If I don’t lose half the parts first. I almost threw this part away as I did not notice its tiny self on the sprue (the one where I marked the sprue in yellow paint so as to make sure I see it in the future and don’t try to discard it again!)
5 Likes
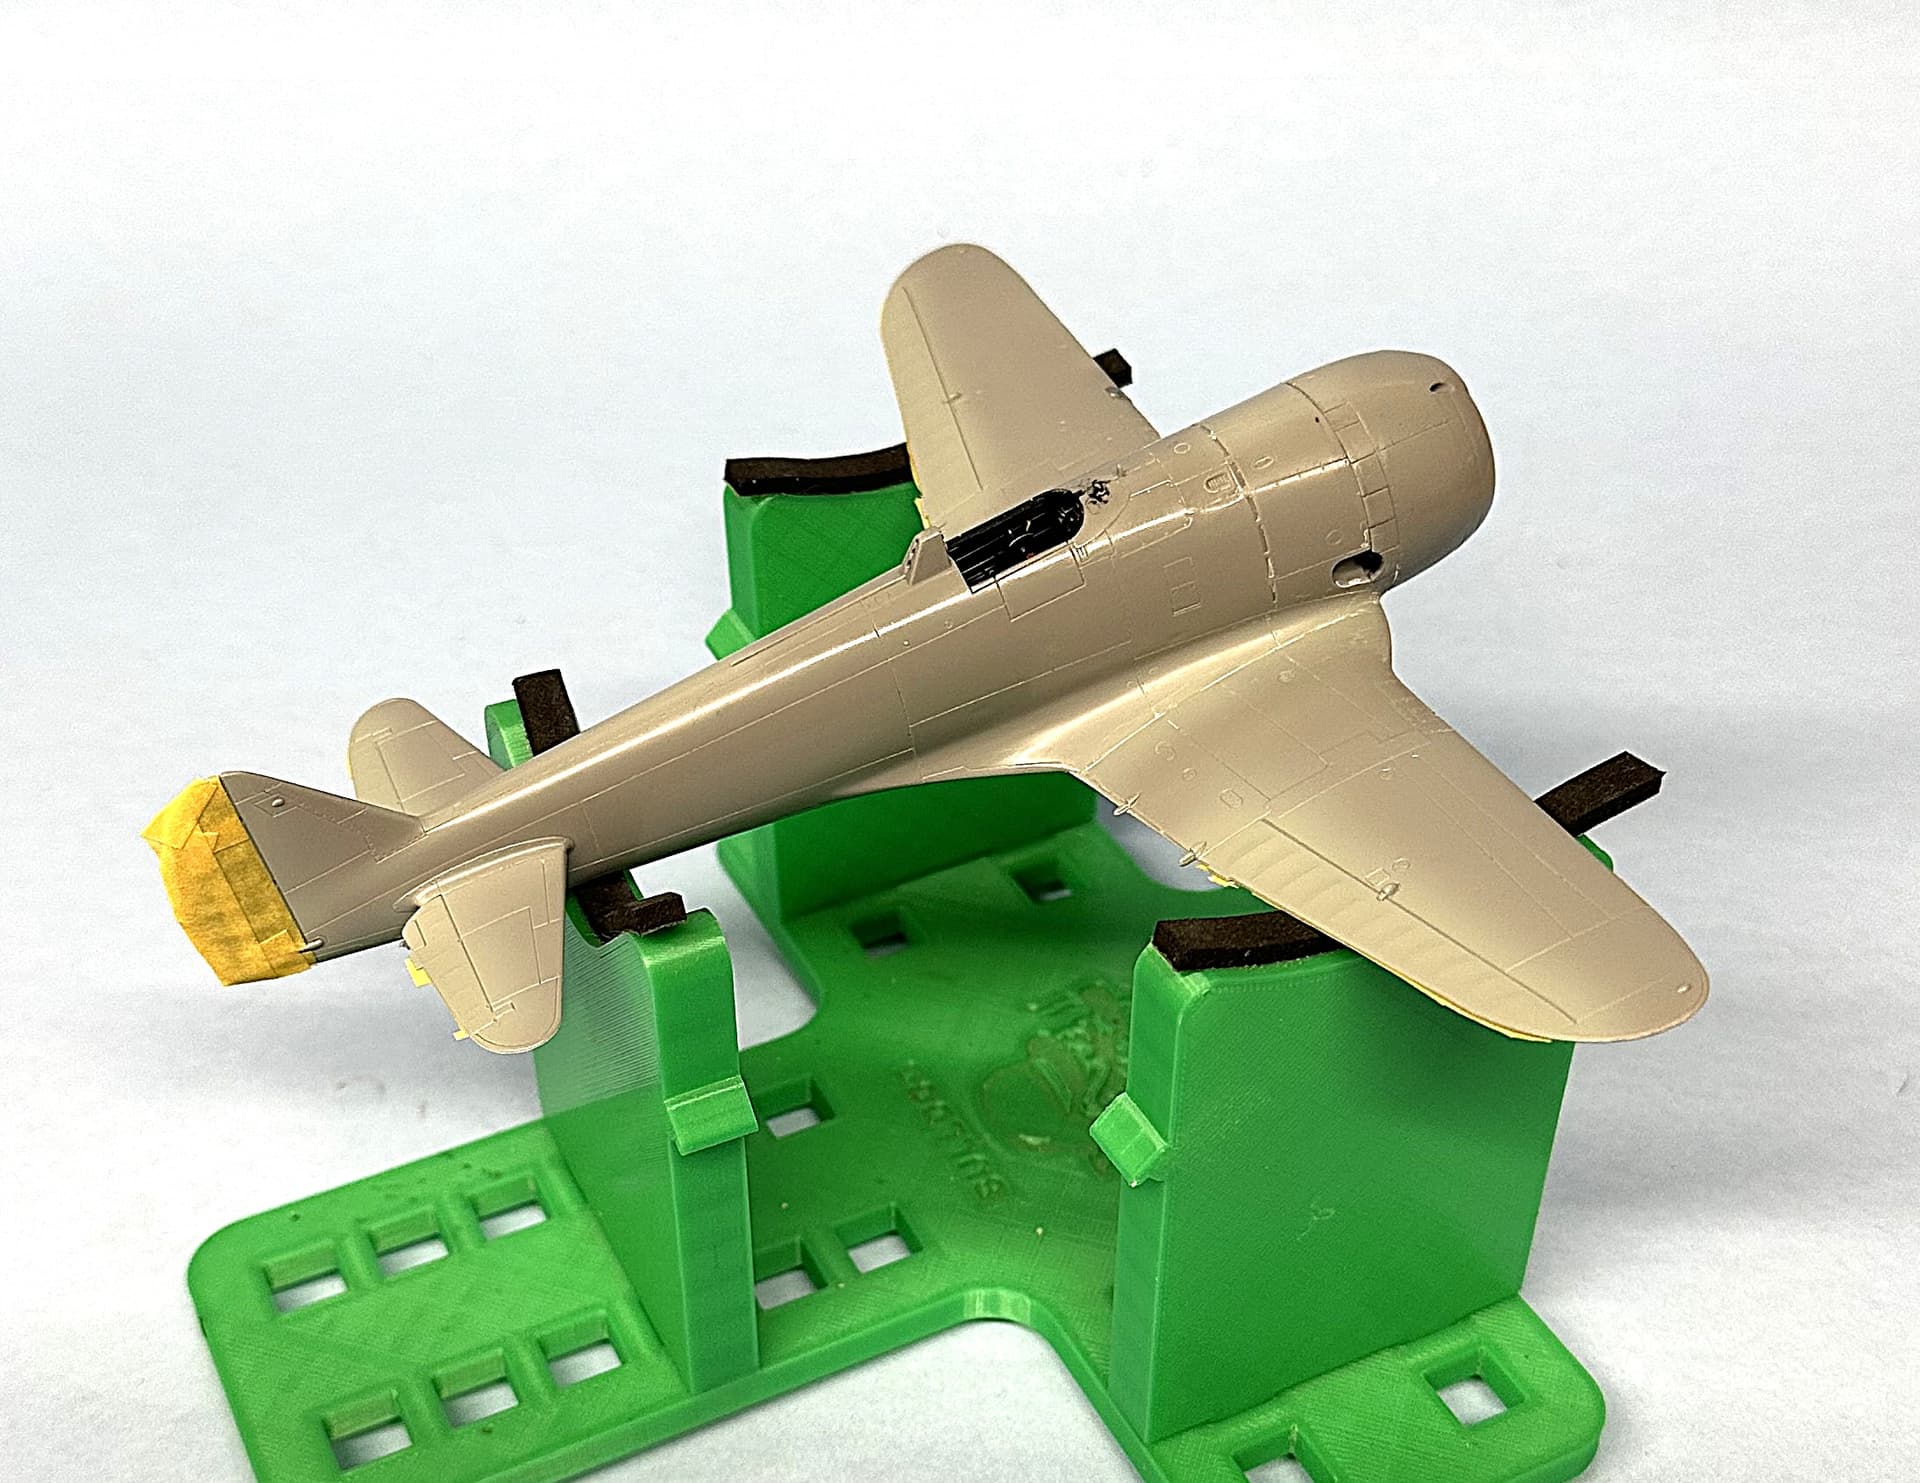
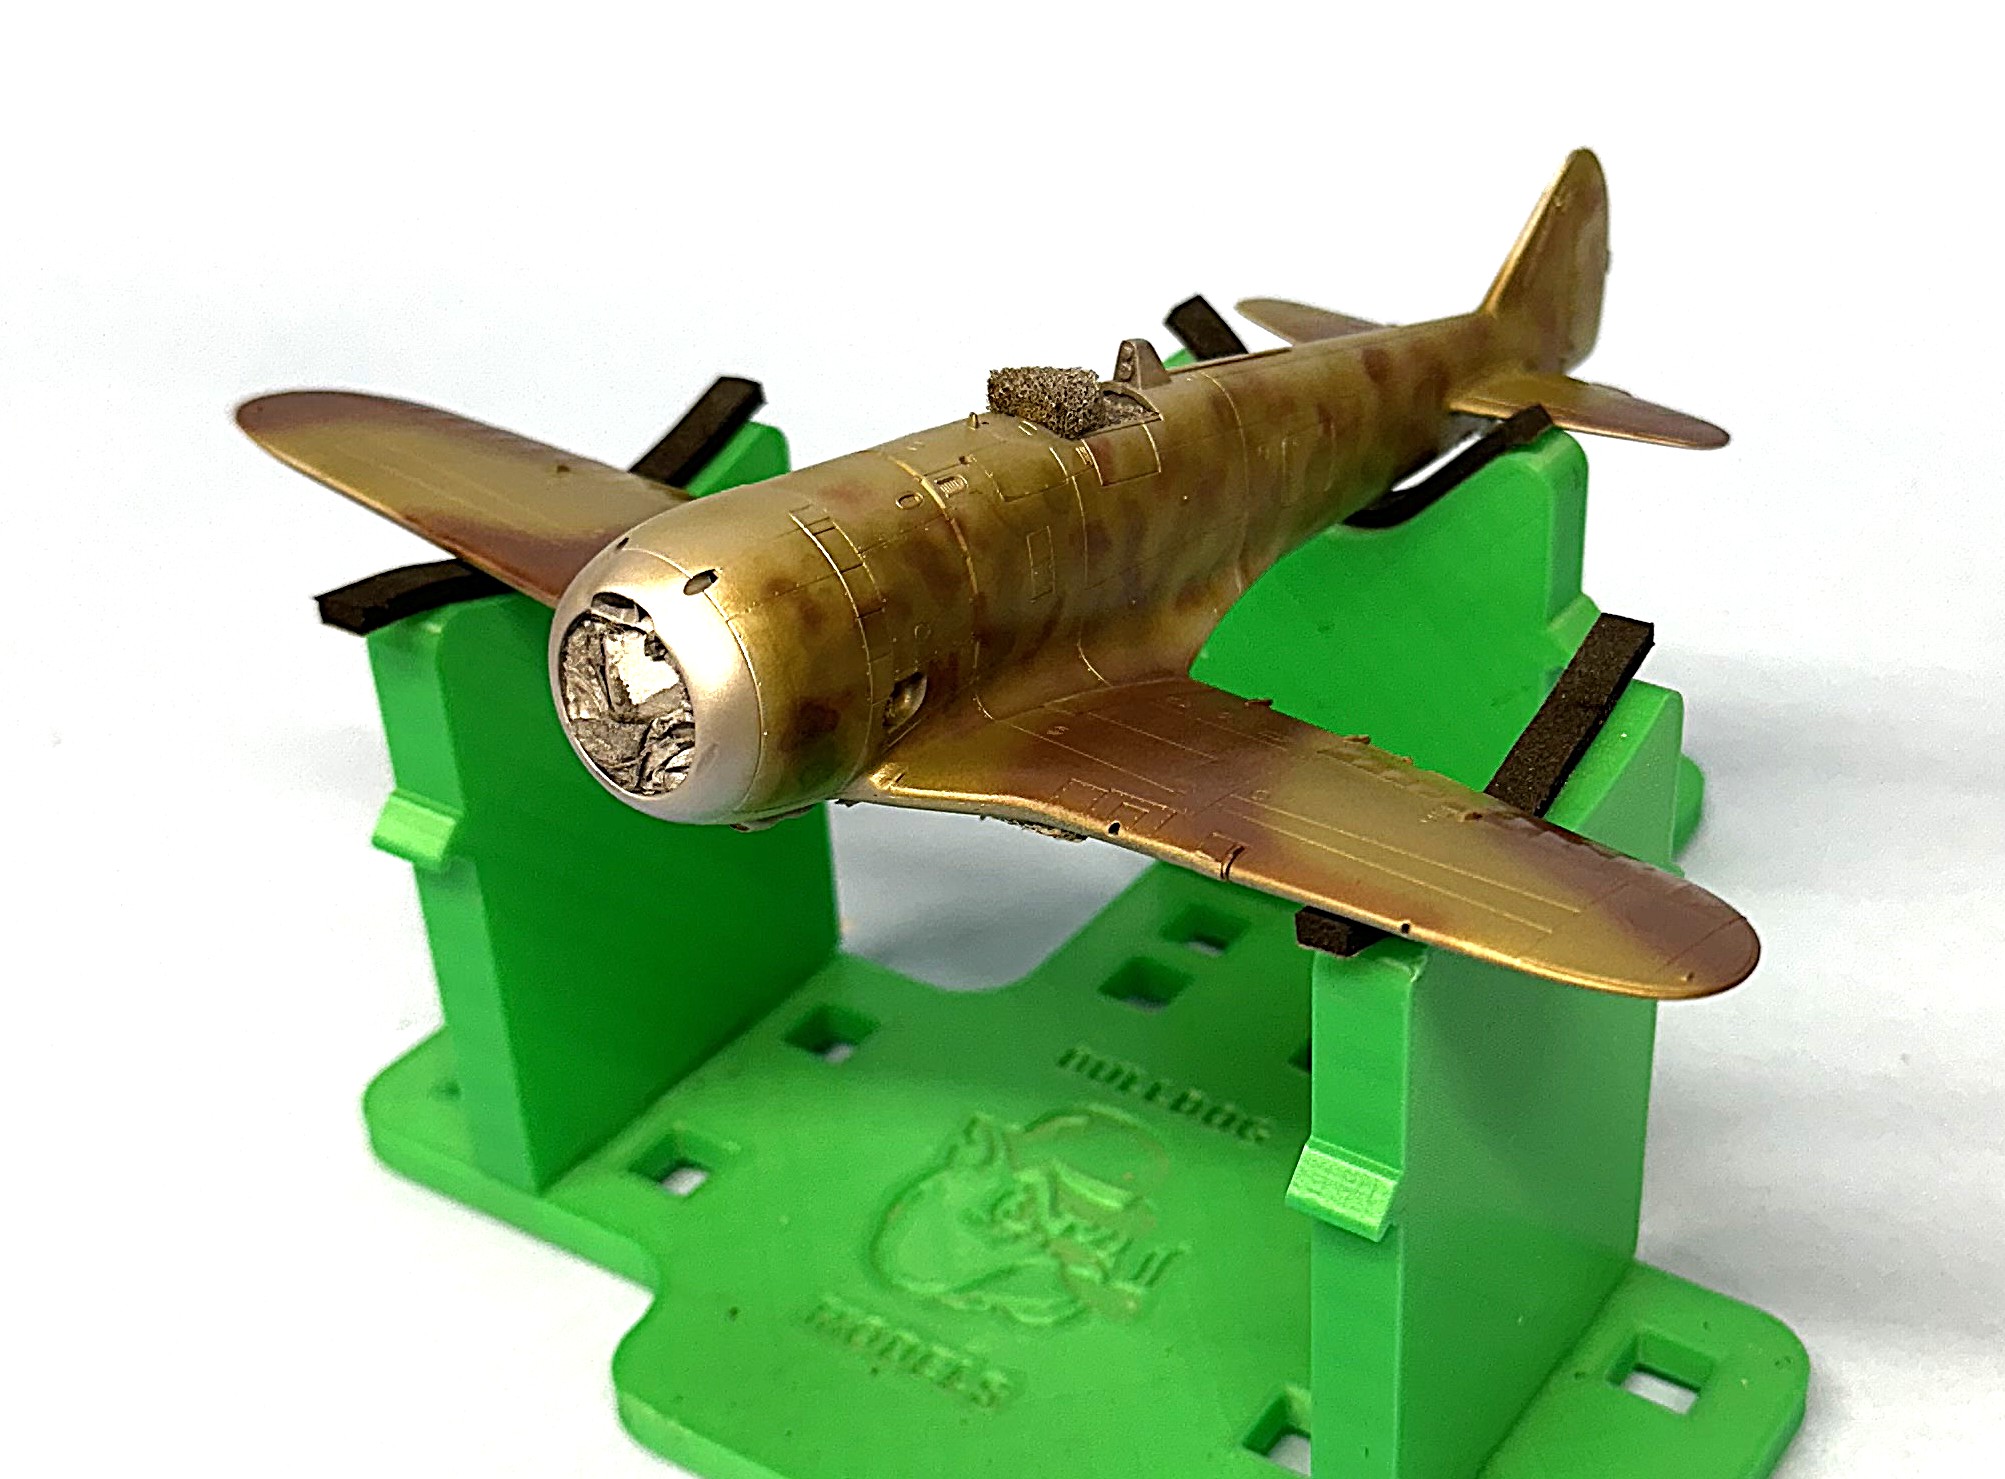
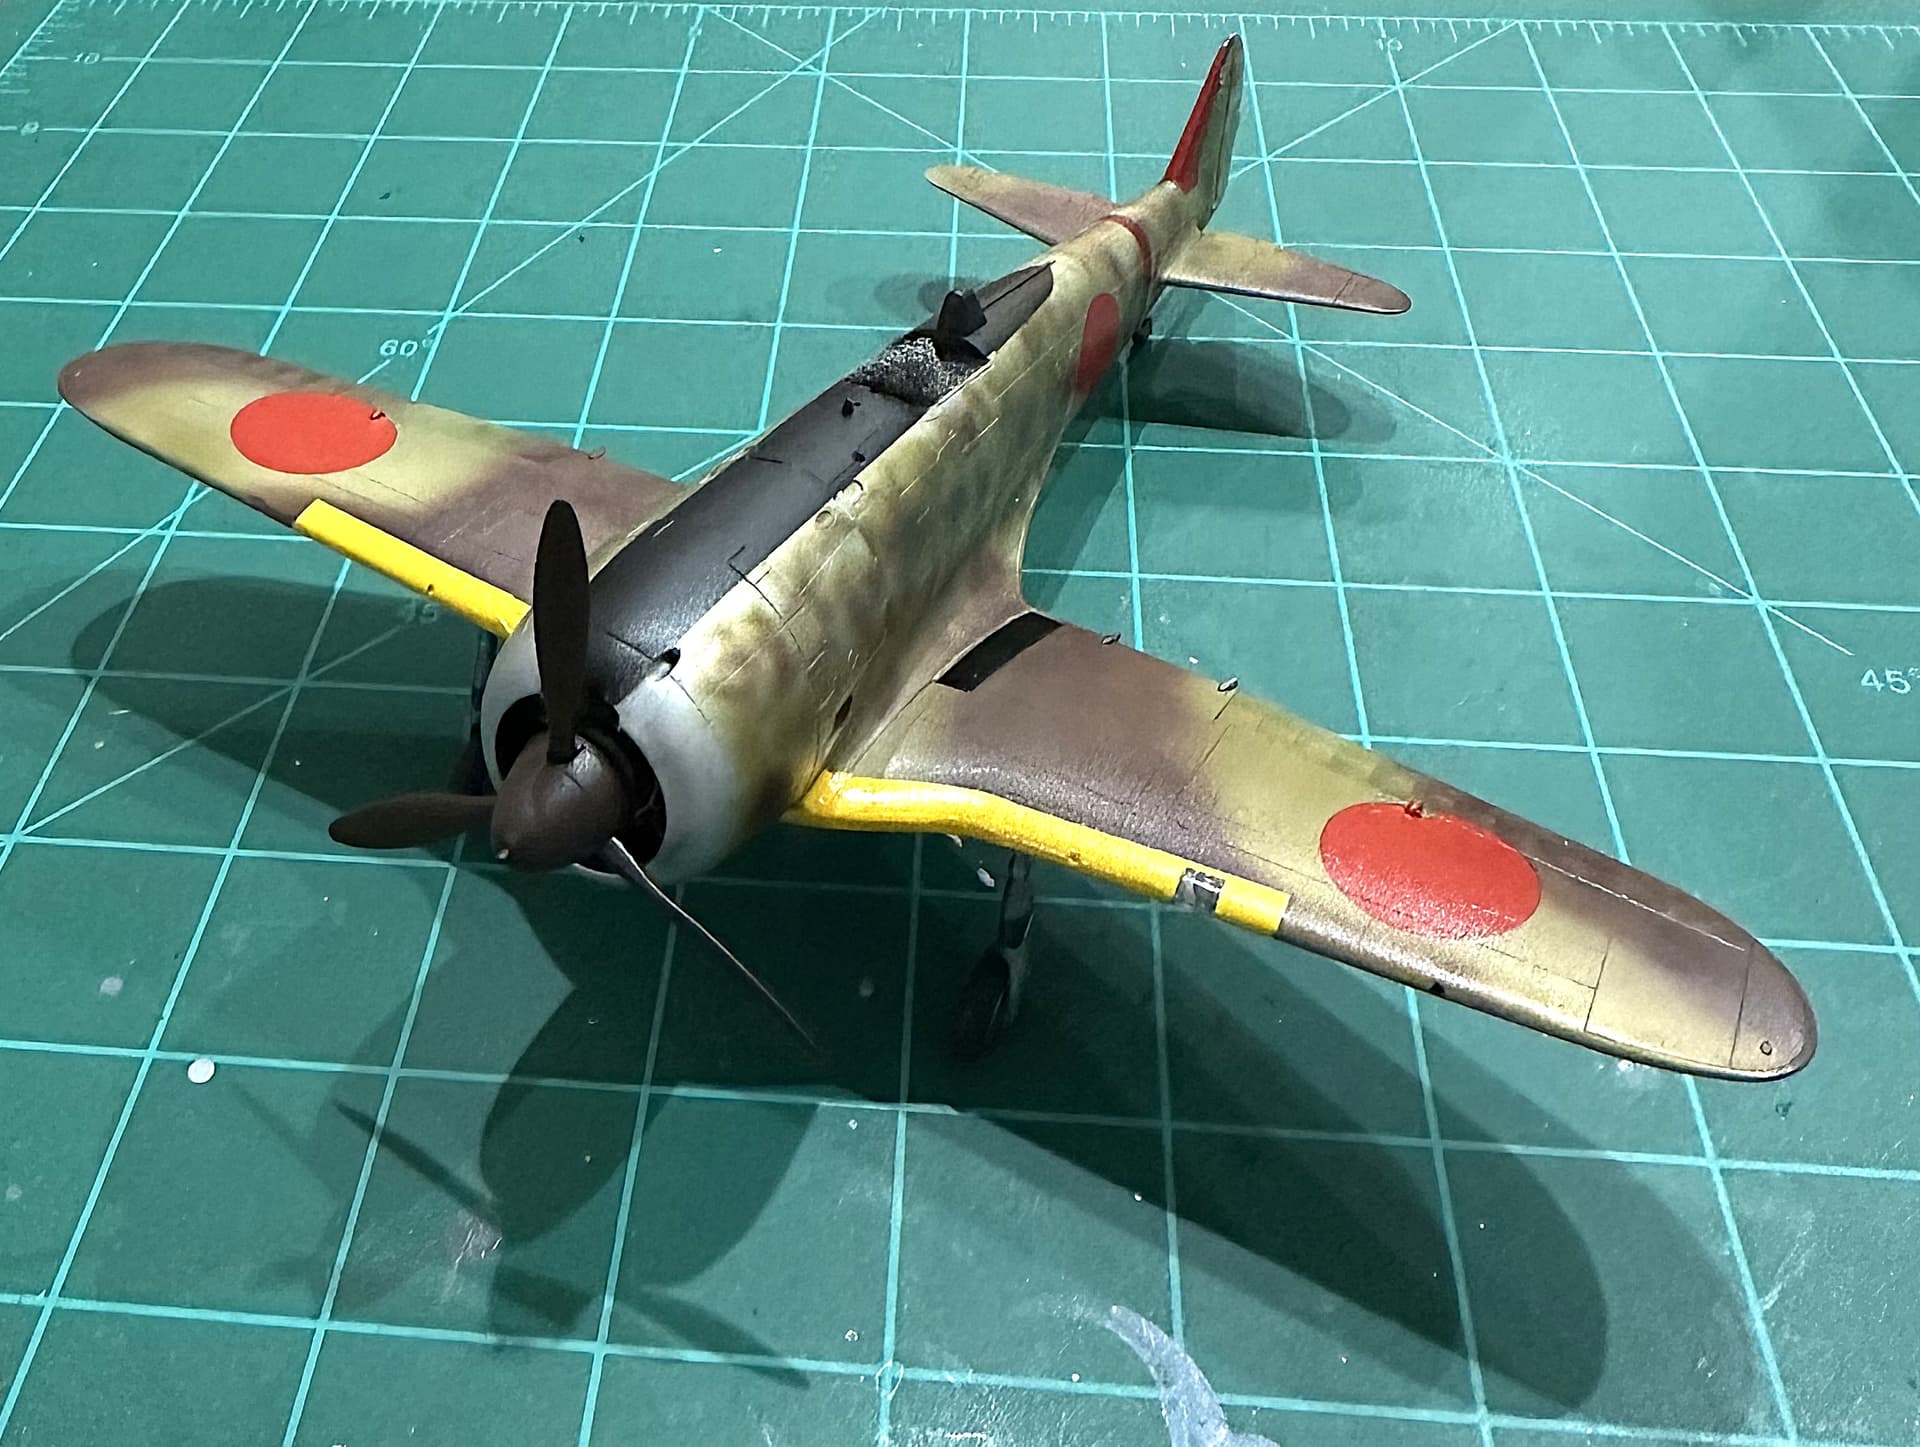
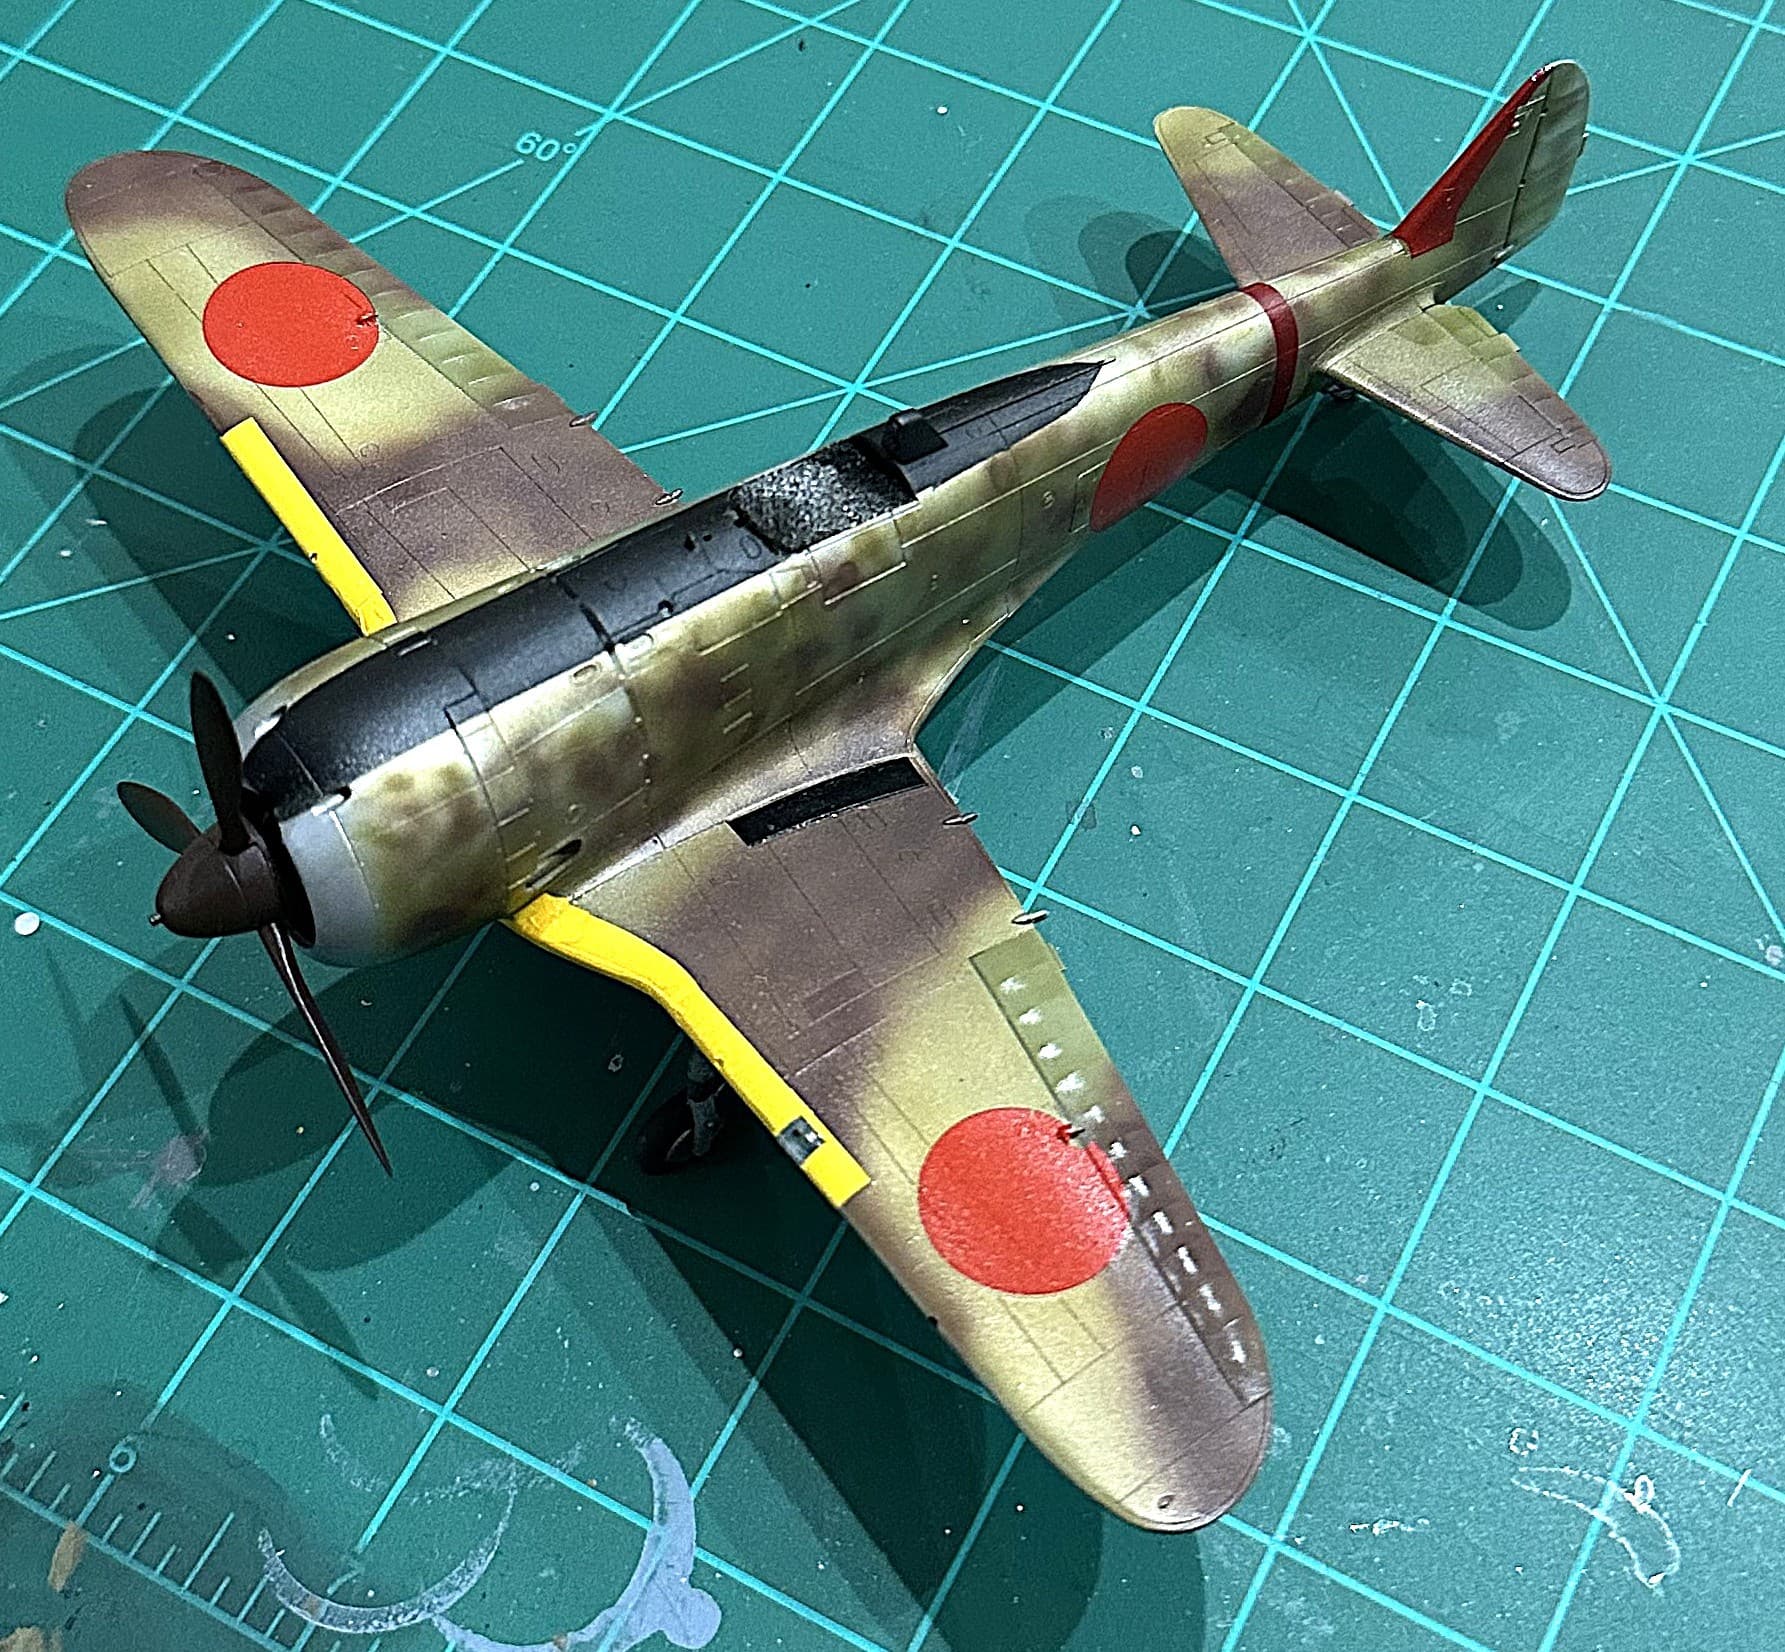
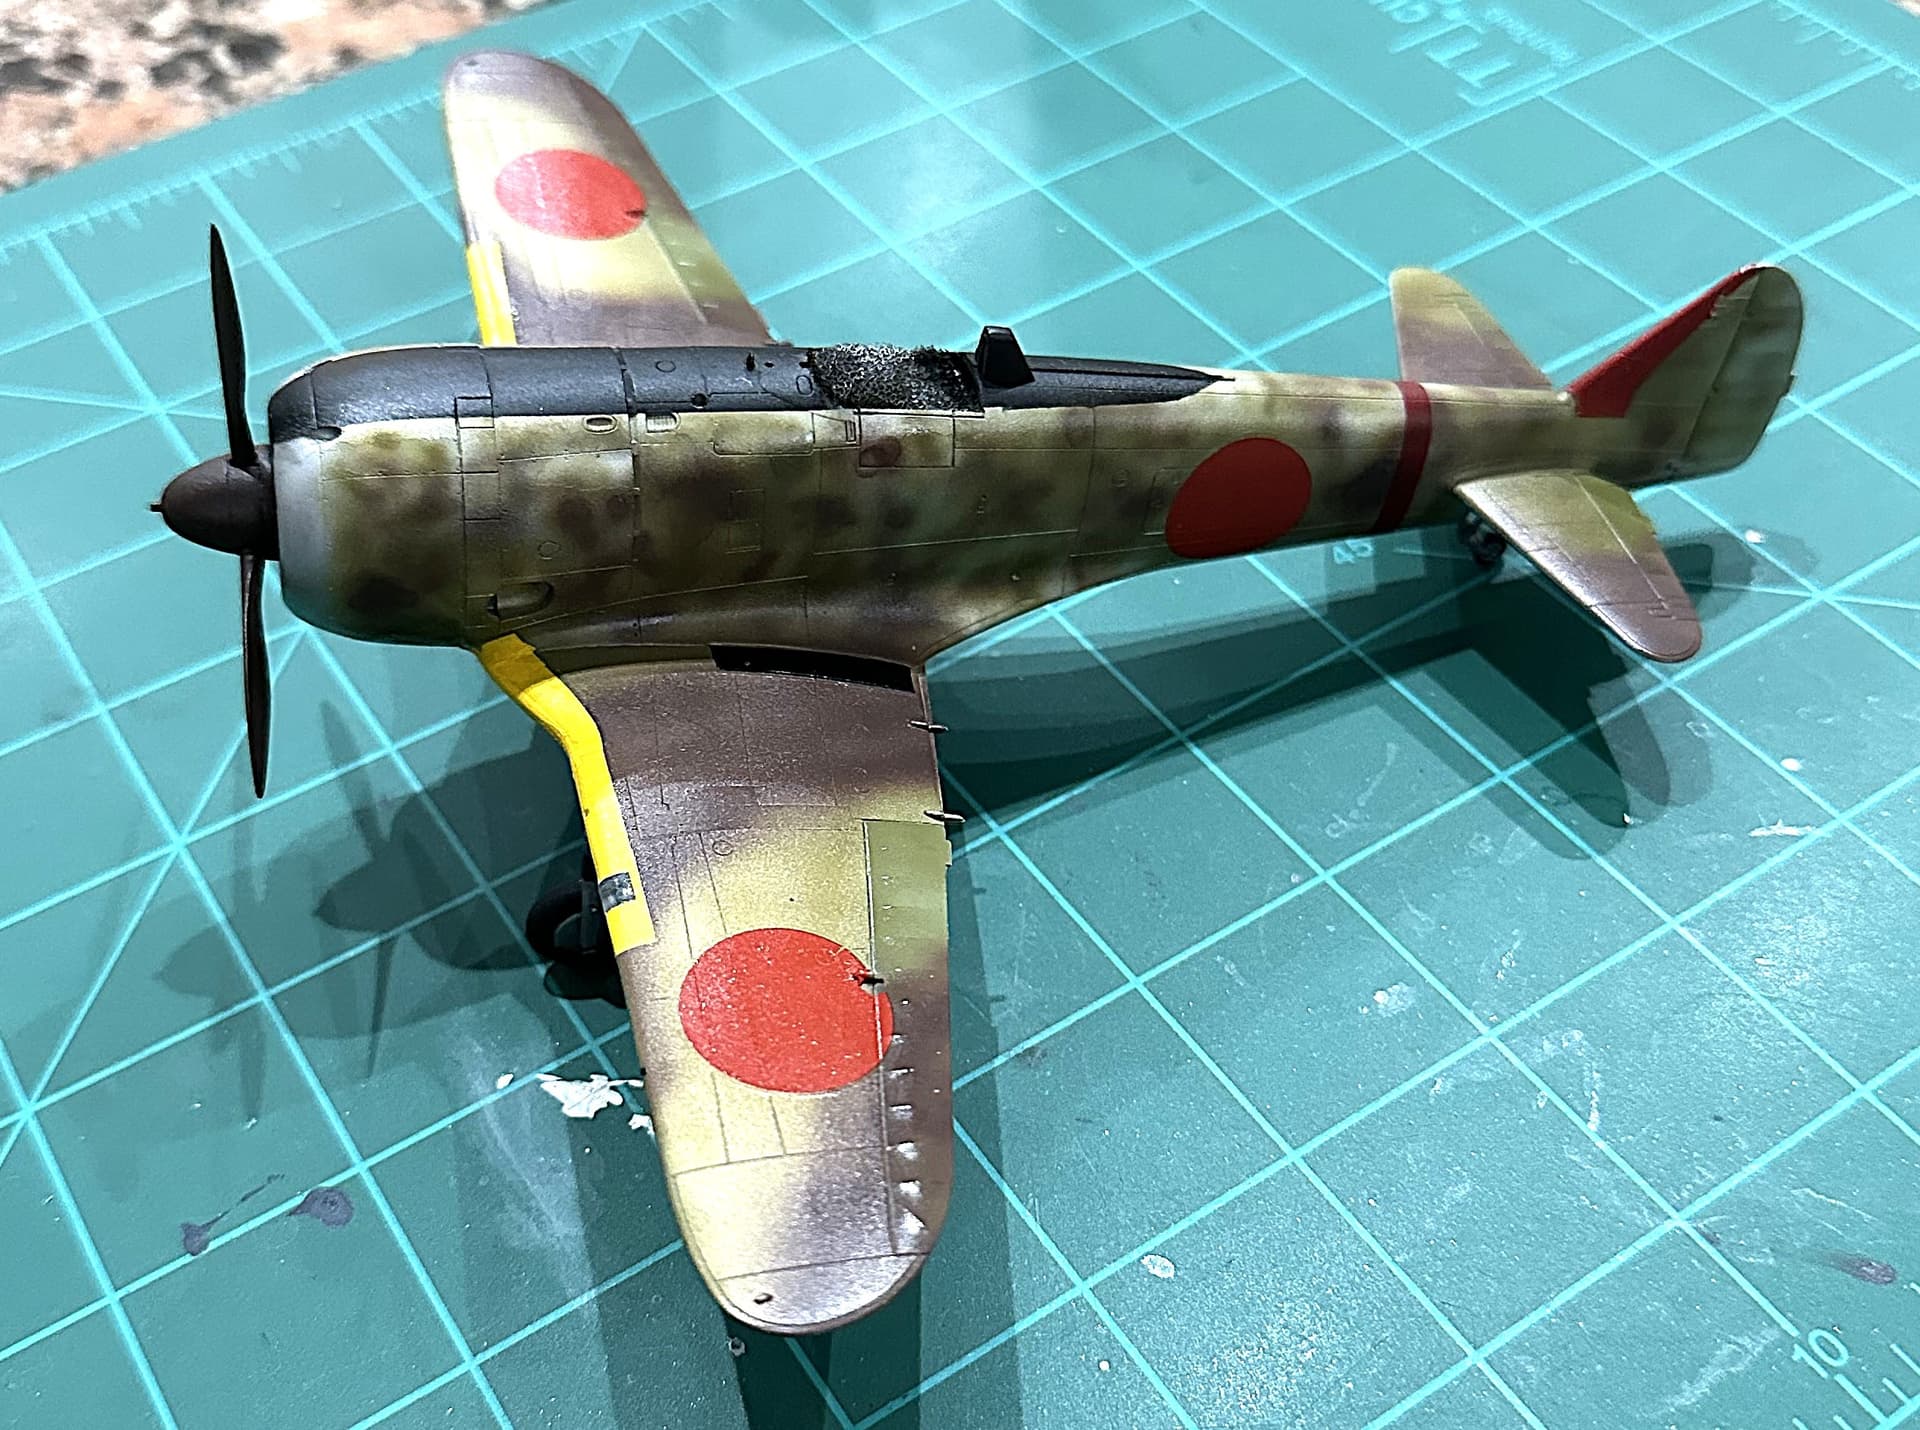
'Tojo" is coming along, but not after a few hiccups by the builder…
Had some paint issues with the NMF due to my own screw up…I thought I knew a better way…I didn’t. After fixing those issues I finally got to throw more paint at her and get the glare panel painted.
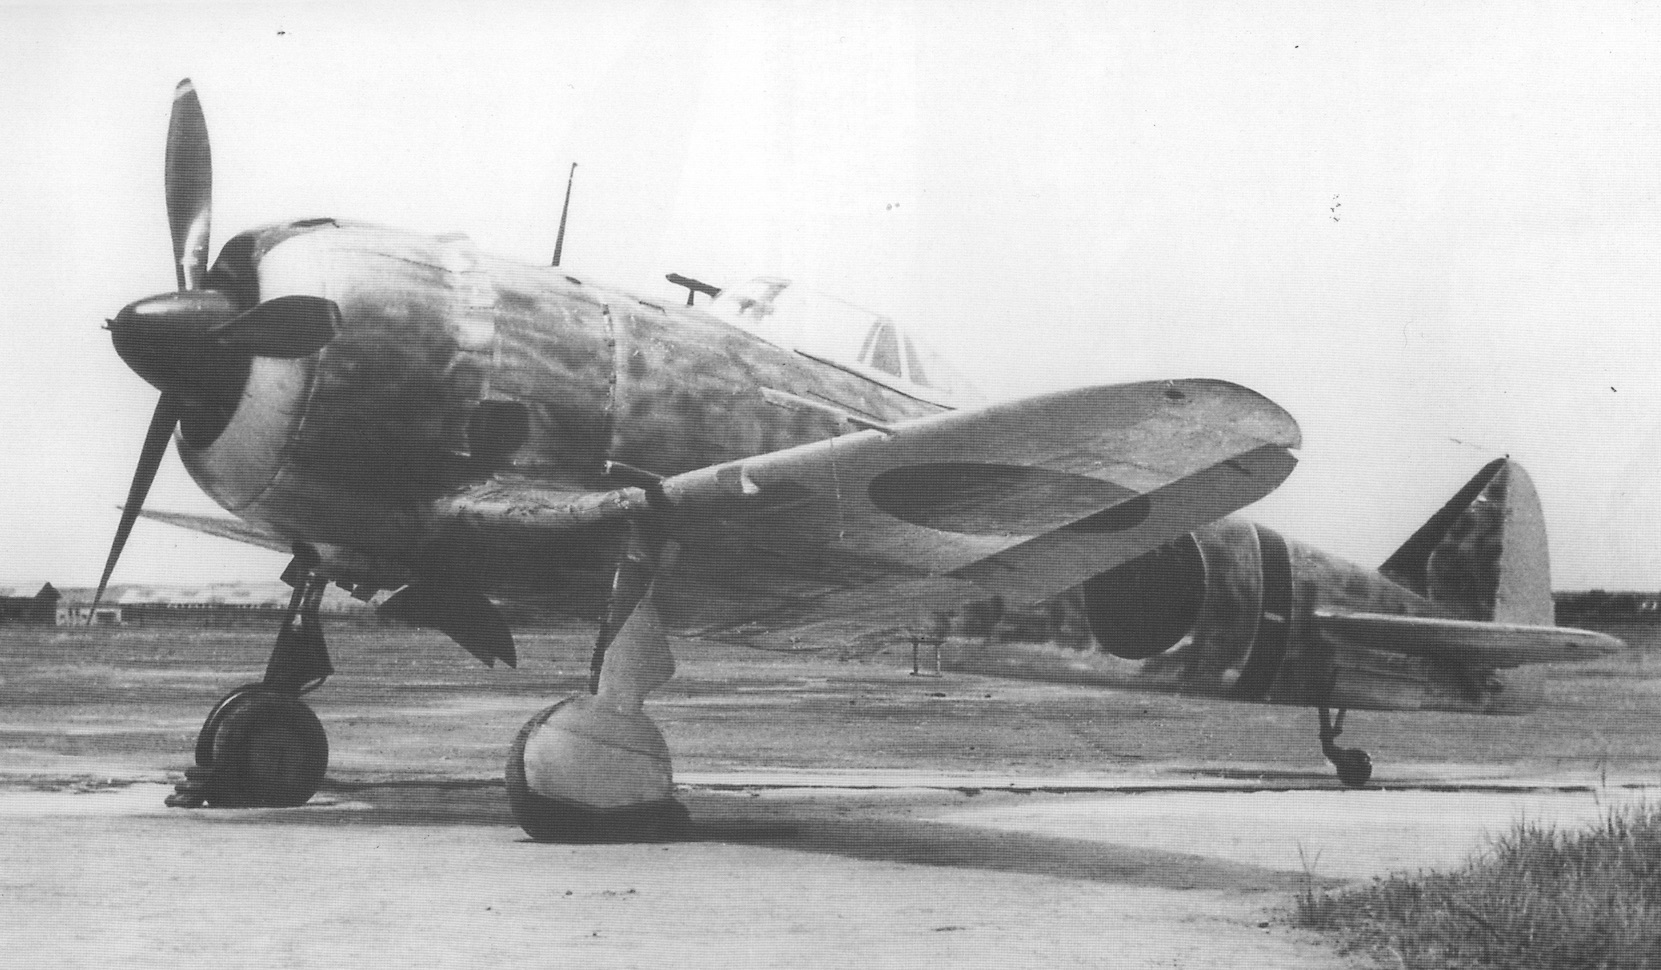
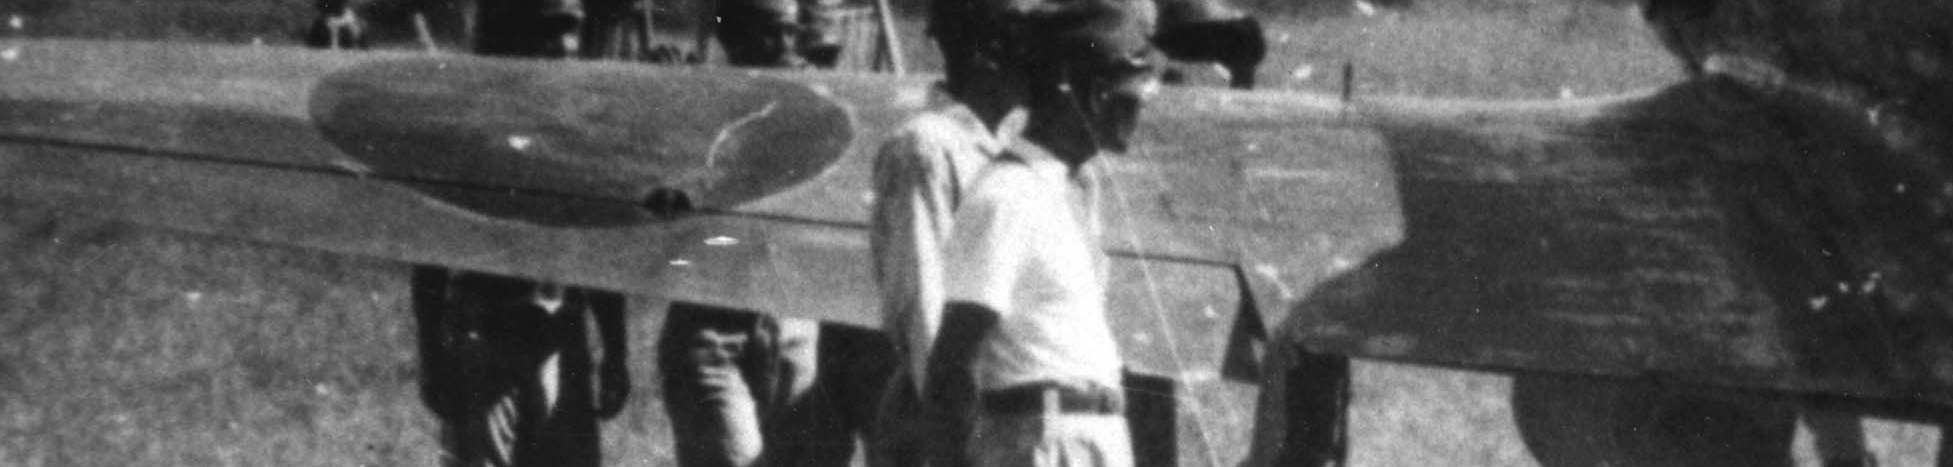
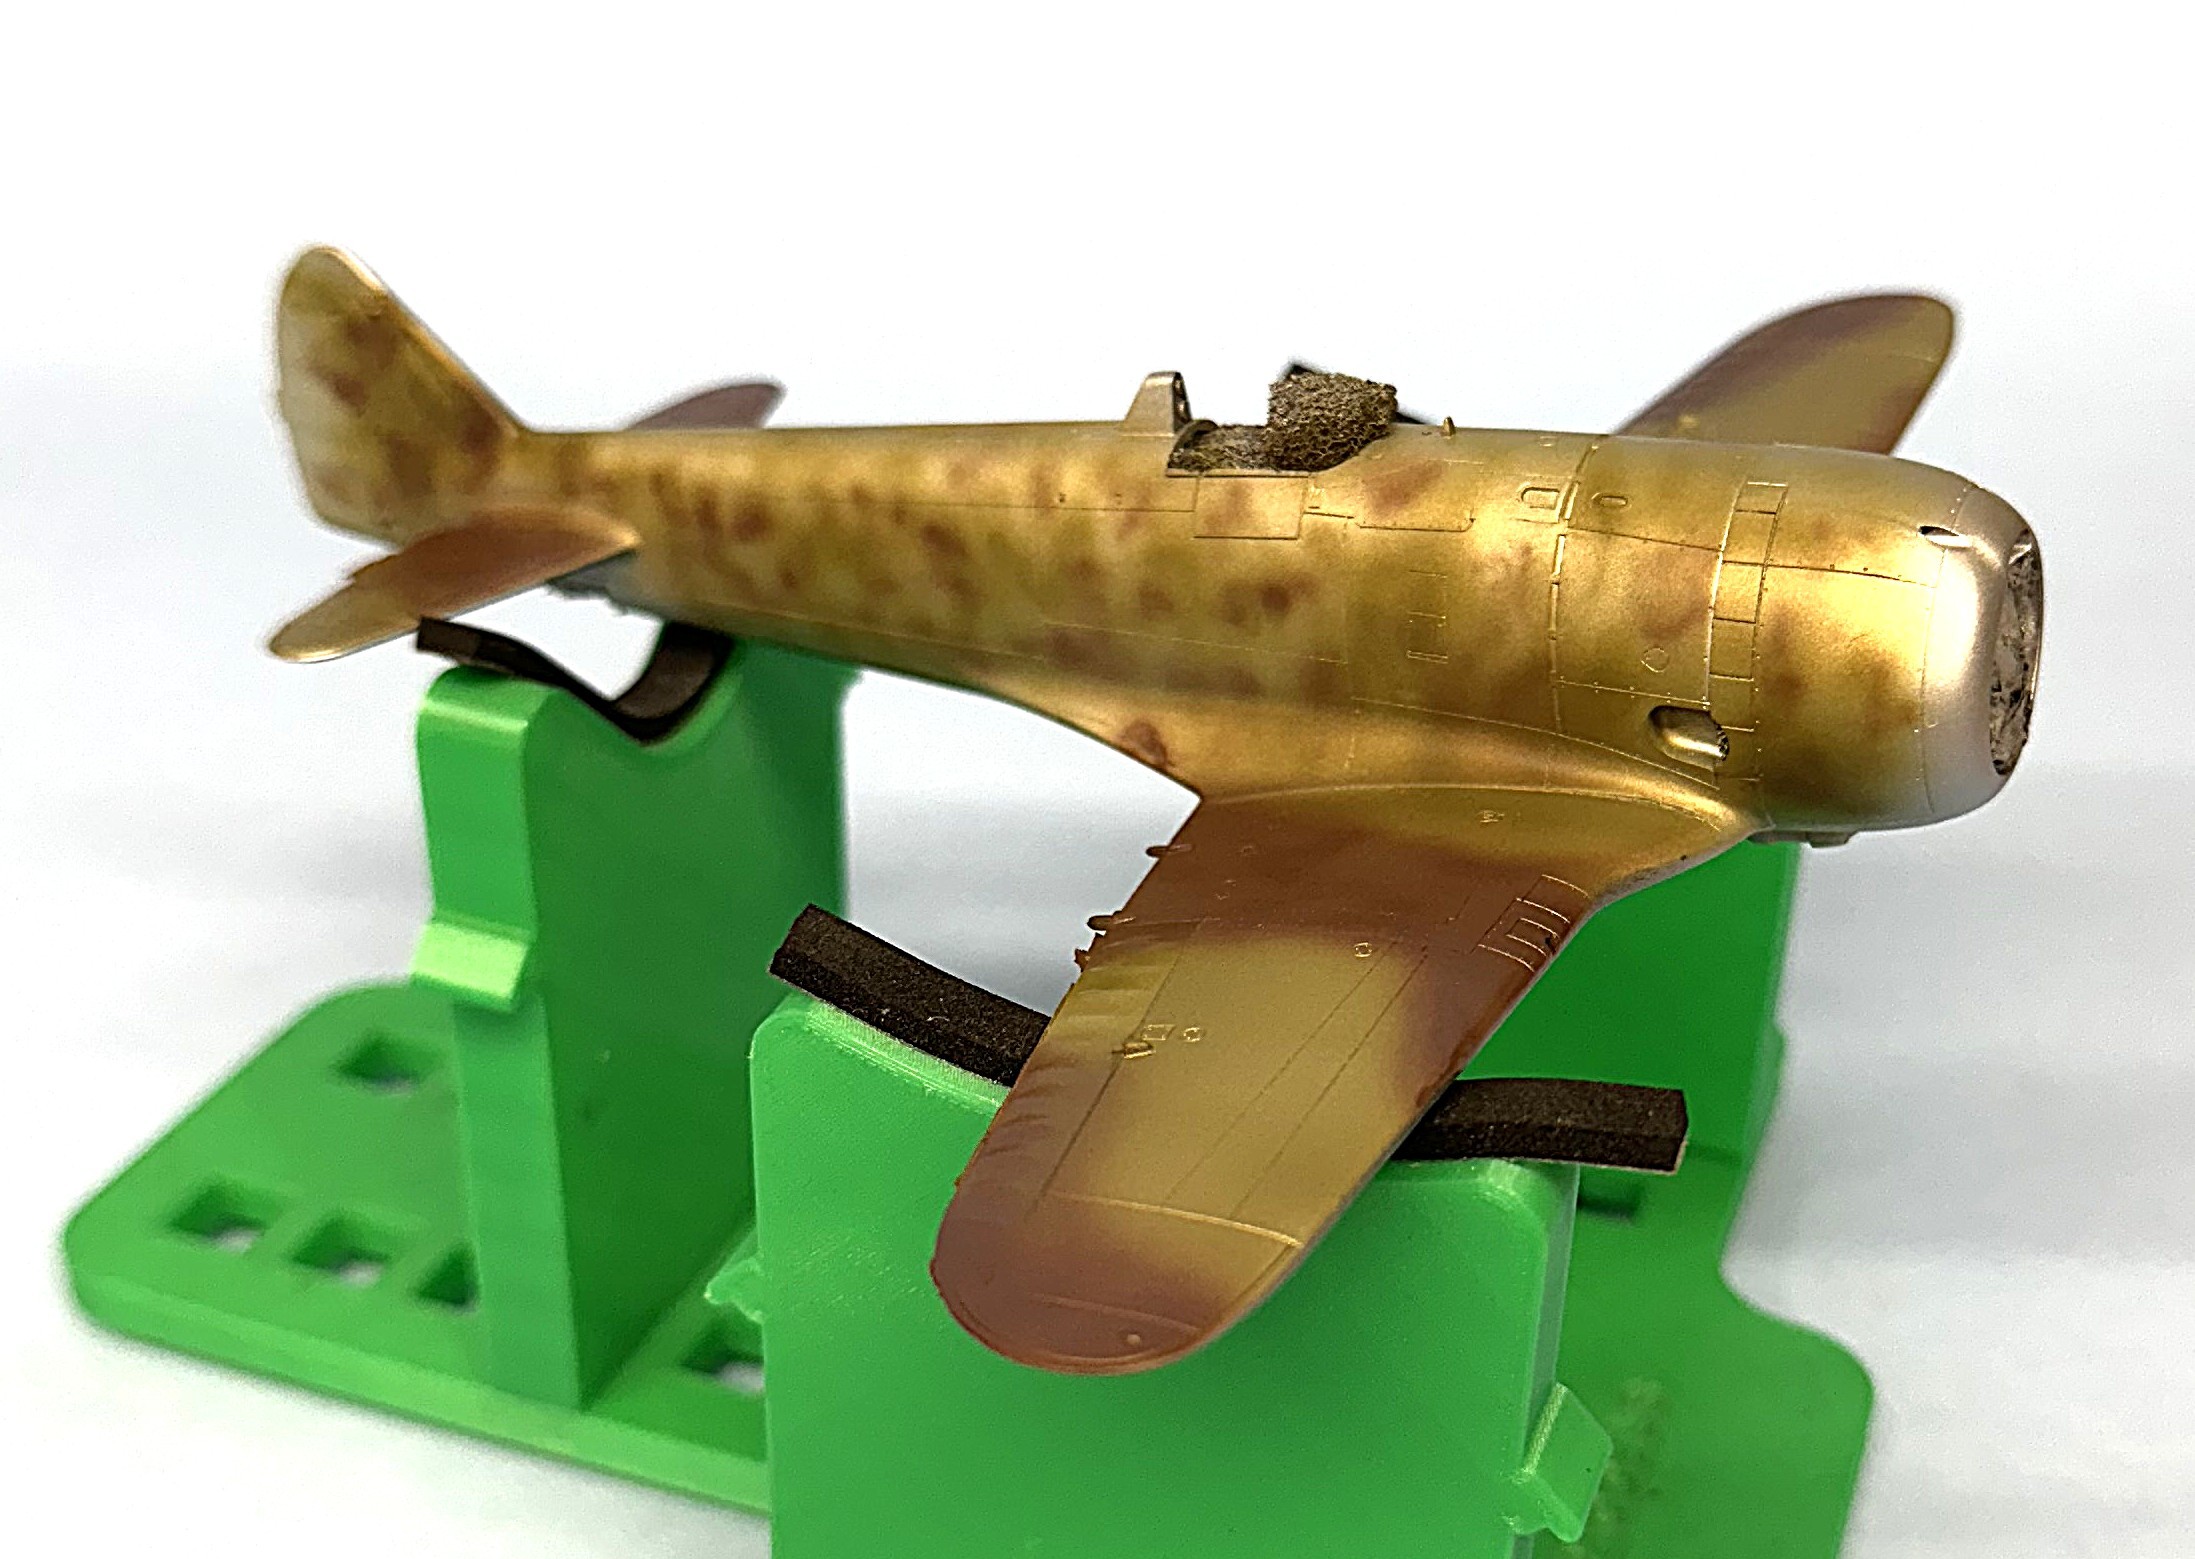
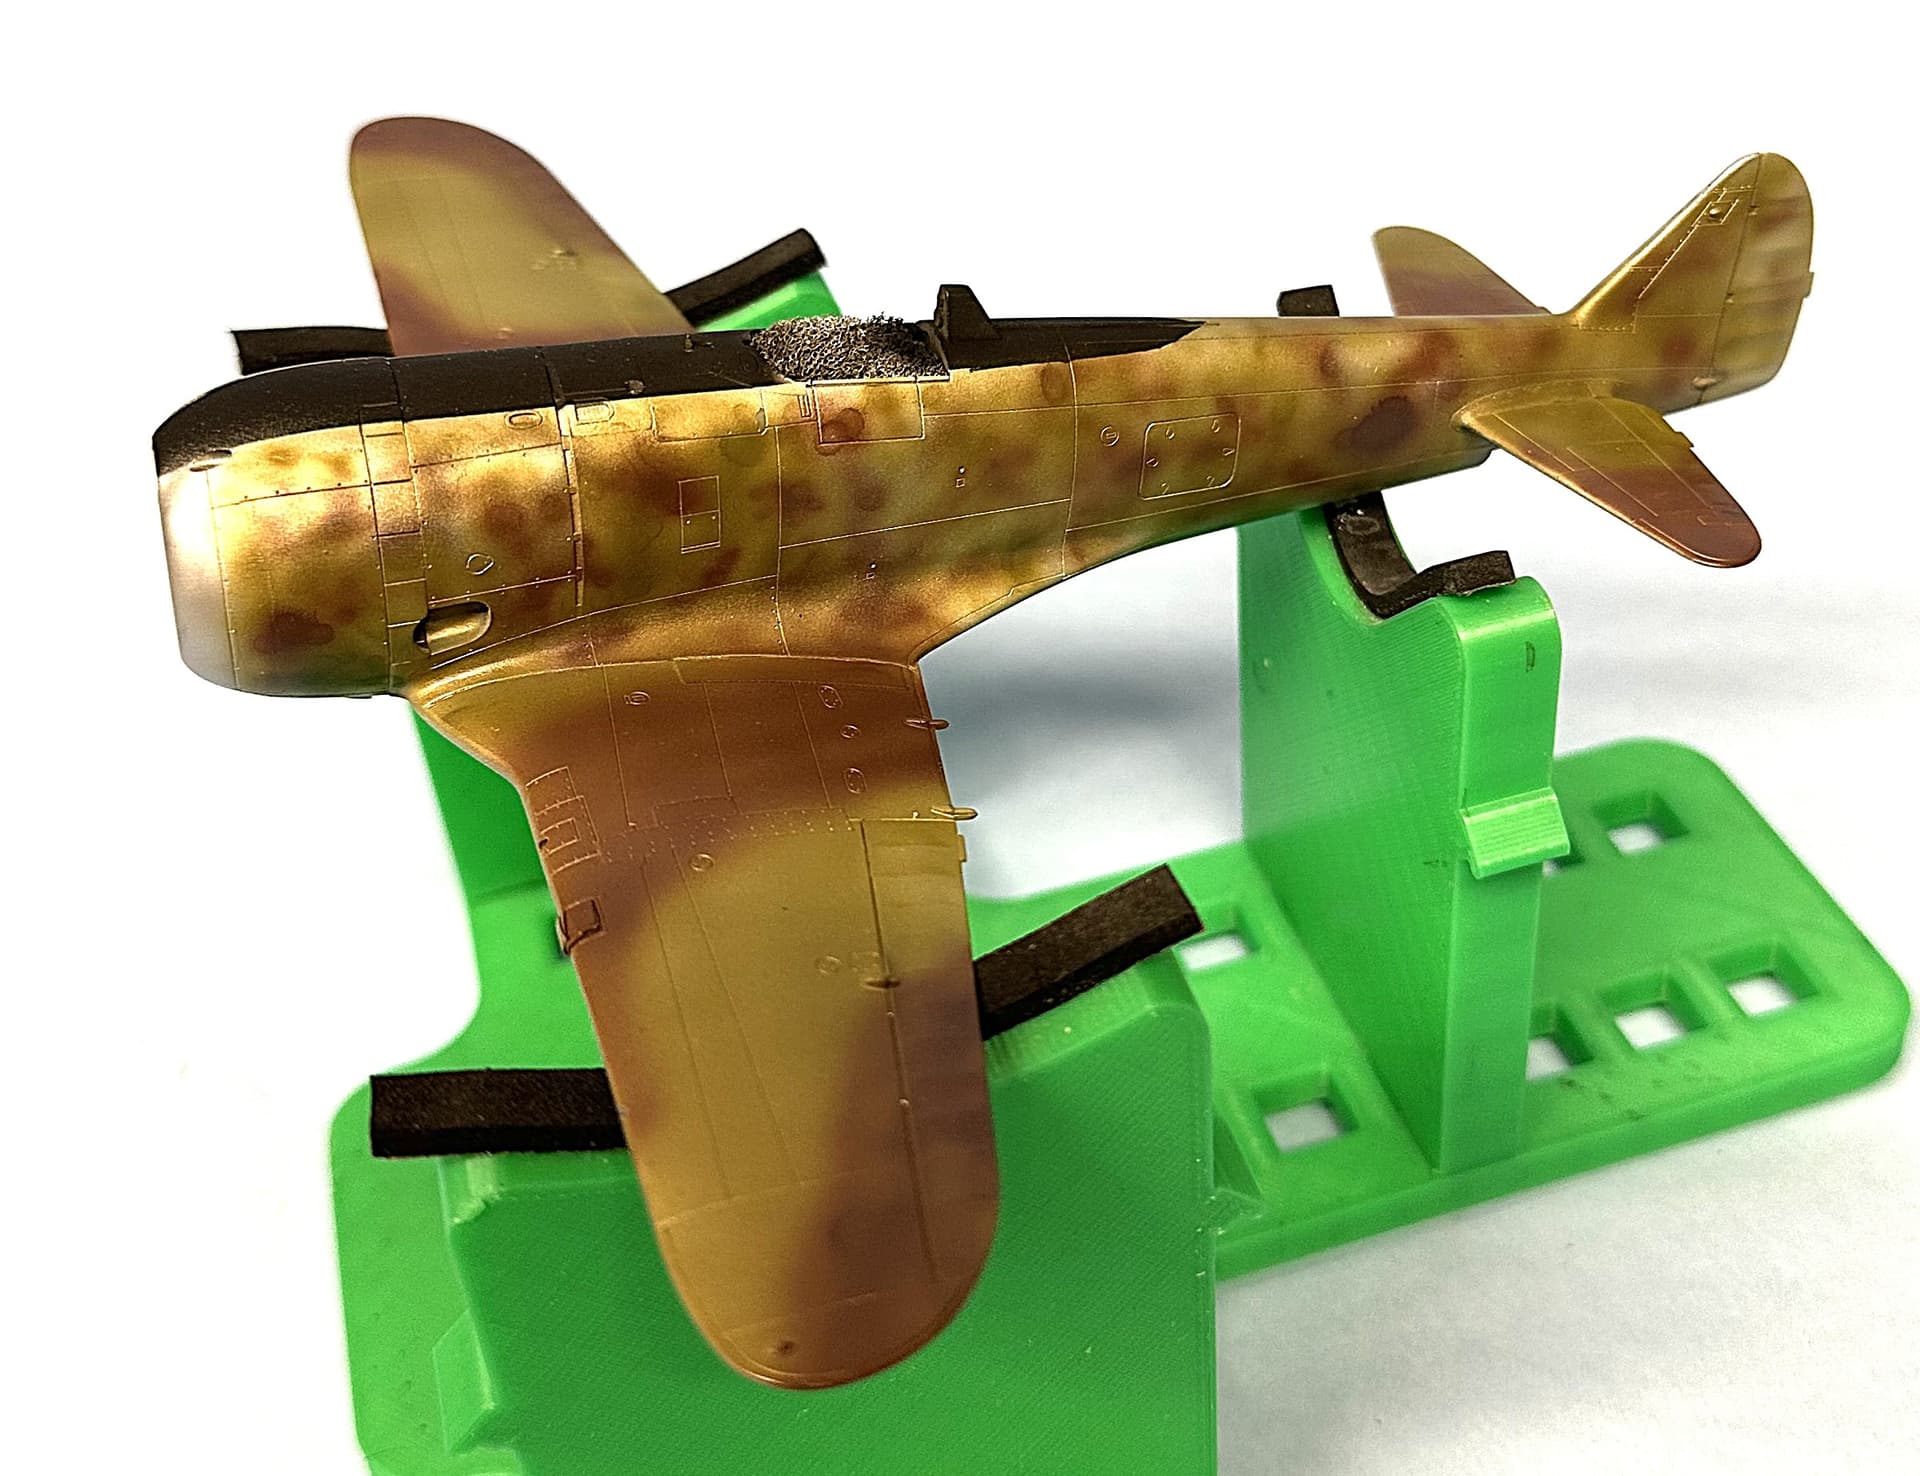
Scheme is a mottling of Olive and Tea Brown over NMF, The banded pattern on the wings and tail, (Which do look odd I admit), was decided on after several discussions with Mr. Nick Millman, who believes this to be the way the aircraft in the 2nd Chutai were painted. He also provided photographic evidence to back it up. Very neat looking ‘Tojo’. Apparently, Wakamatsu had visited with the Germans and liked the way the Germans camouflaged their aircraft, and he decided to pattern the aircraft under his command accordingly in a similar fashion. Pretty cool stuff too!
Next up are the first clear gloss in the morning in preparation for the decals and maybe the decals tomorrow night? We’ll see.
Thanks for looking and have a great day, Y’all!
Cheers,
Freddie
6 Likes
The paint on the Tojo came out great!
1 Like
Been a bit but making progress again on the JAL Concorde.
1 Like
Thanks, Grey. Had a few hiccups along the way but I managed to recover in time.
Cheers,
Freddie
1 Like
Hey Folks,
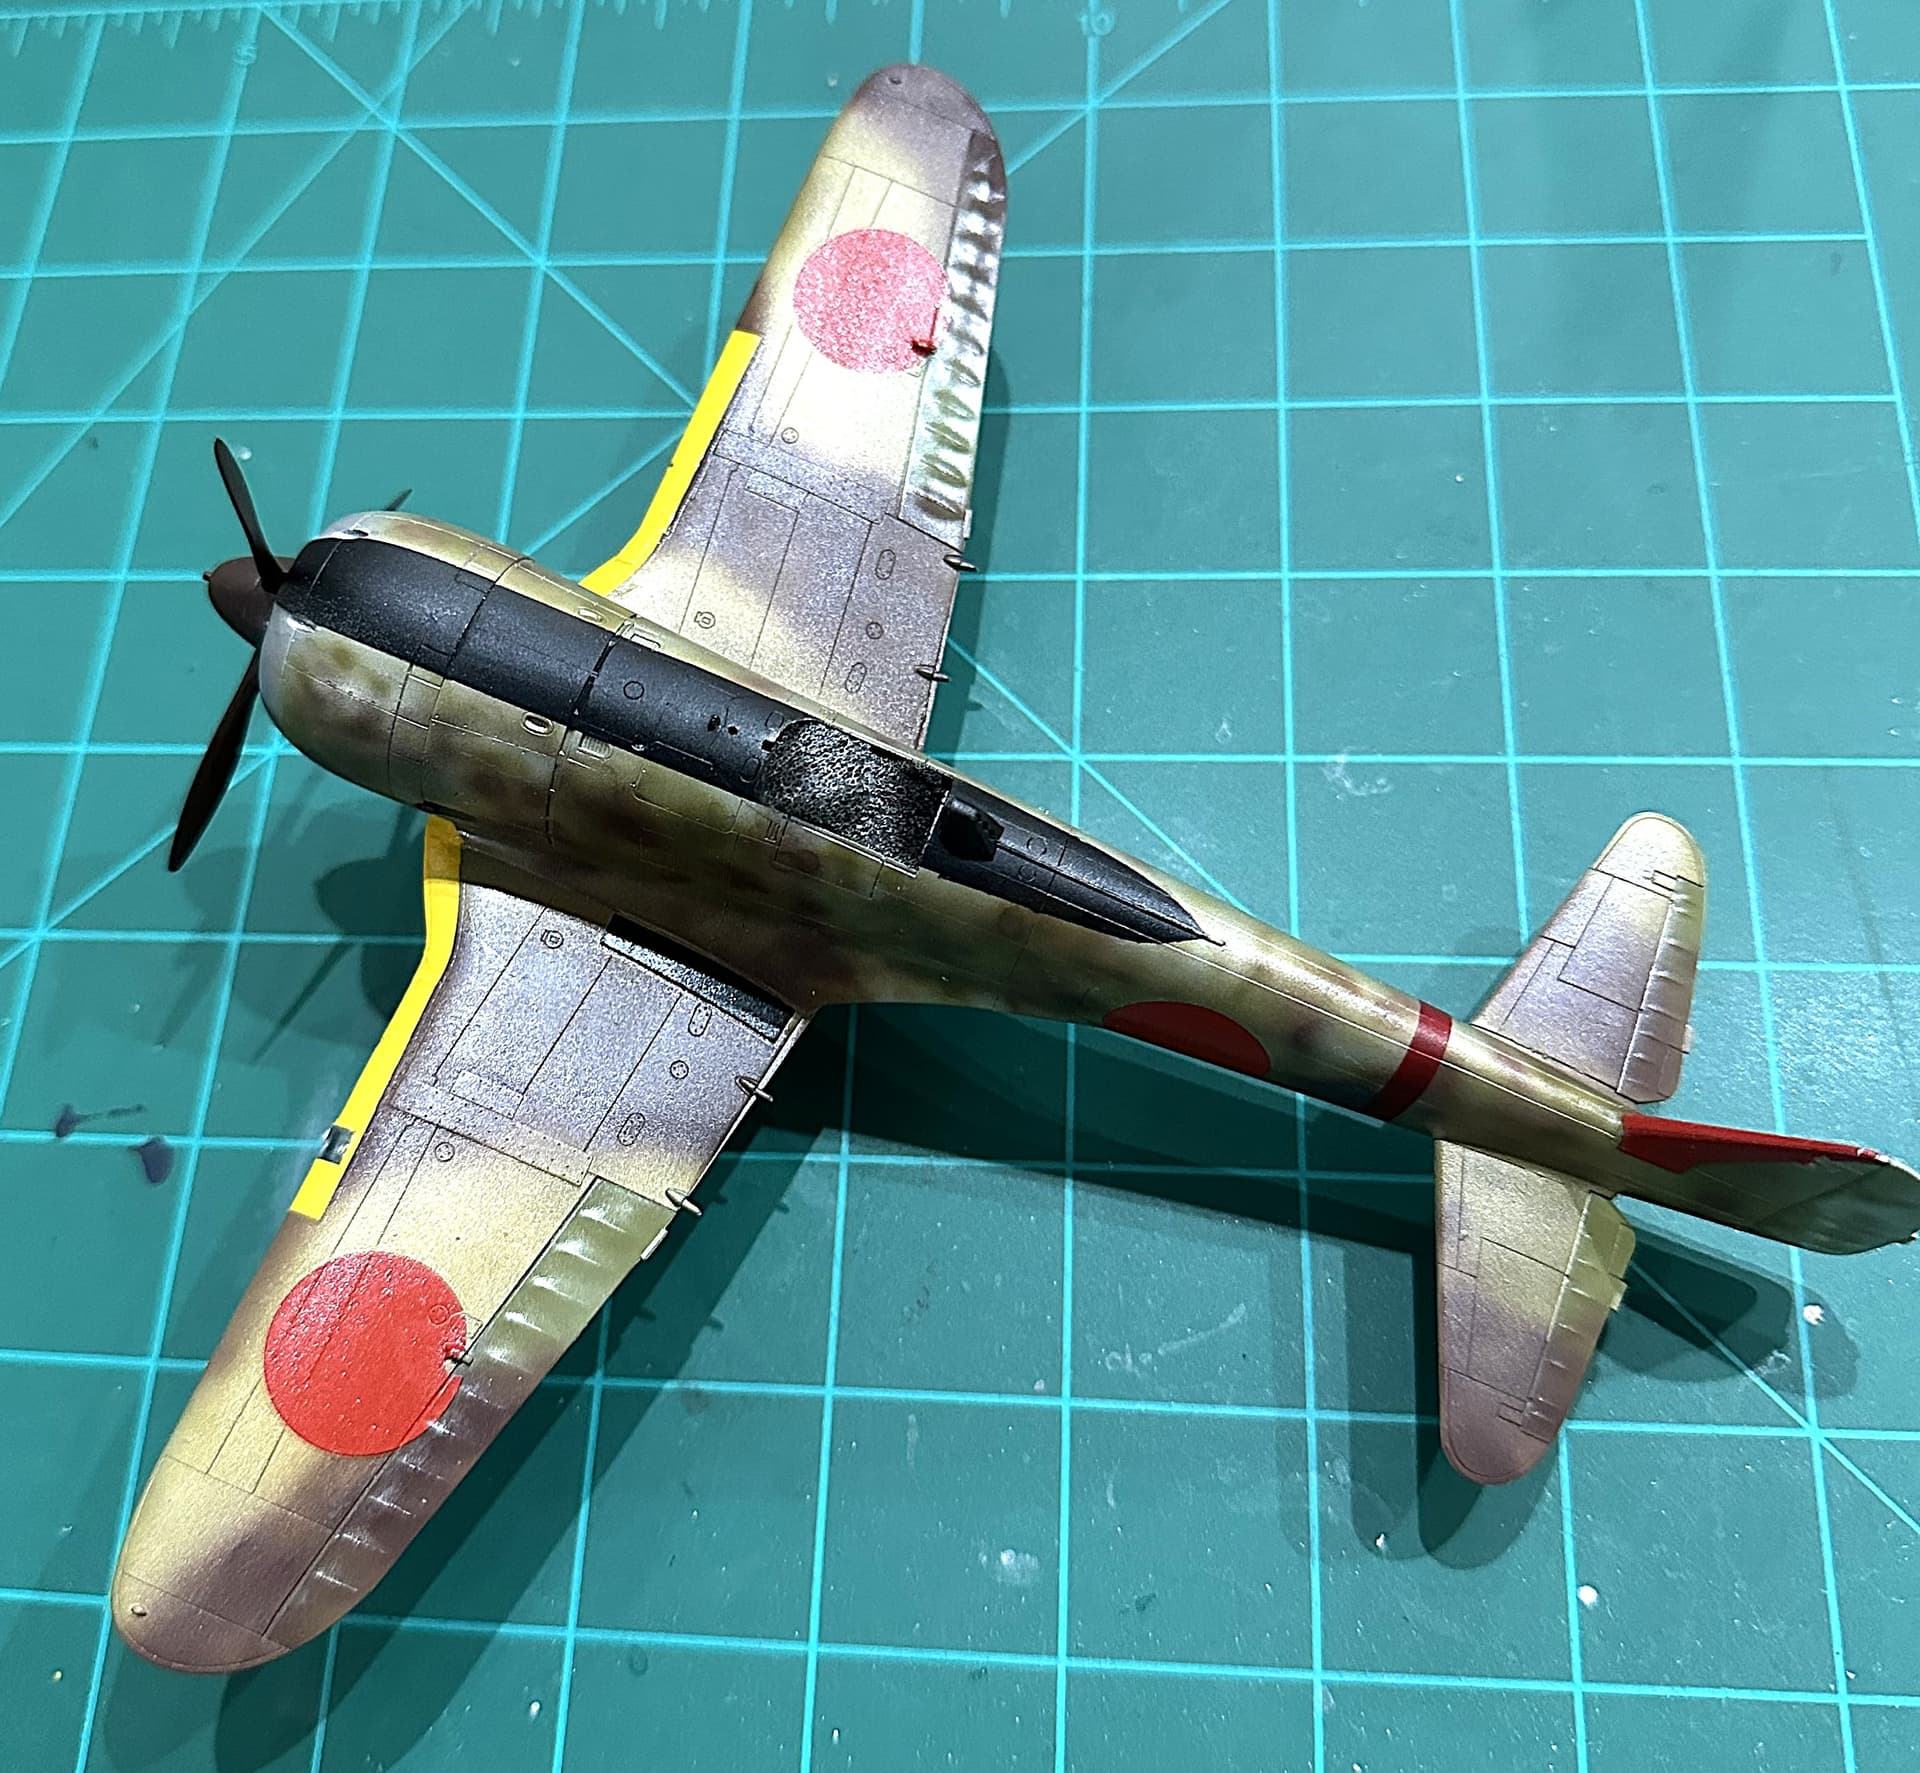
Made a lot of progress decaling the ‘Tojo’ the past couple of nights, and here are the results. Once the decals are fully dry and settled down, I still need to put on the little service markings and no push type markings on the wings and tail. Then it will be another clear gloss to seal everything in before I get started on the weathering. This is how she sits as of now.
Hasegawa did make a mistake that I am not sure how to handle at the moment; they put the position of the radio mast on the wrong side of the airplane. The drawings of the model on their own instruction sheet shoe the mast on the correct side, yet the model is back asswards. So now, I either just put the mast in as is, OR now try to fill that hole and drill another one to correct the kit… With the kit being painted, it’s not as easy a fix, and of course I only realised this AFTER, I painted the model.
Anyhow, Cheers for now, y’all
Freddie
6 Likes