Wow, everyone’s stuff is looking great. I see some nice paint work going on or sure. Love that his GB is still goin strong this late in the year. I need to get back on my Ki-84 this week!
2 Likes
The post shading was fun. Ordered a .28 HS Evolution needle and cap for my HS Ultra airbrush. Really makes a difference for me. I can see the needle and make adjustments as needed.

Using Vallejo for almost everything. The flow improver helps a great deal with tip drying and leveling.
Going over the struts and found one broken. My careless handling of the sprues was the cause, but fortunately the broken piece was still attached and a little attention with cement solved the problem. Will be getting them into the paint booth after a bit of prep work.
Happy modeling
Mobious
4 Likes
That is truly incredible paint work and weathering!
1 Like
Finally got started on the Val

5 Likes
Great looking interior!
1 Like
@keavdog the detail in your cockpit is inspiring! Thanks for sharing!
@Mobious the biplane is looking great! I love the rib detail on the wings.
1 Like
Got the upper wing on and let it set overnight.
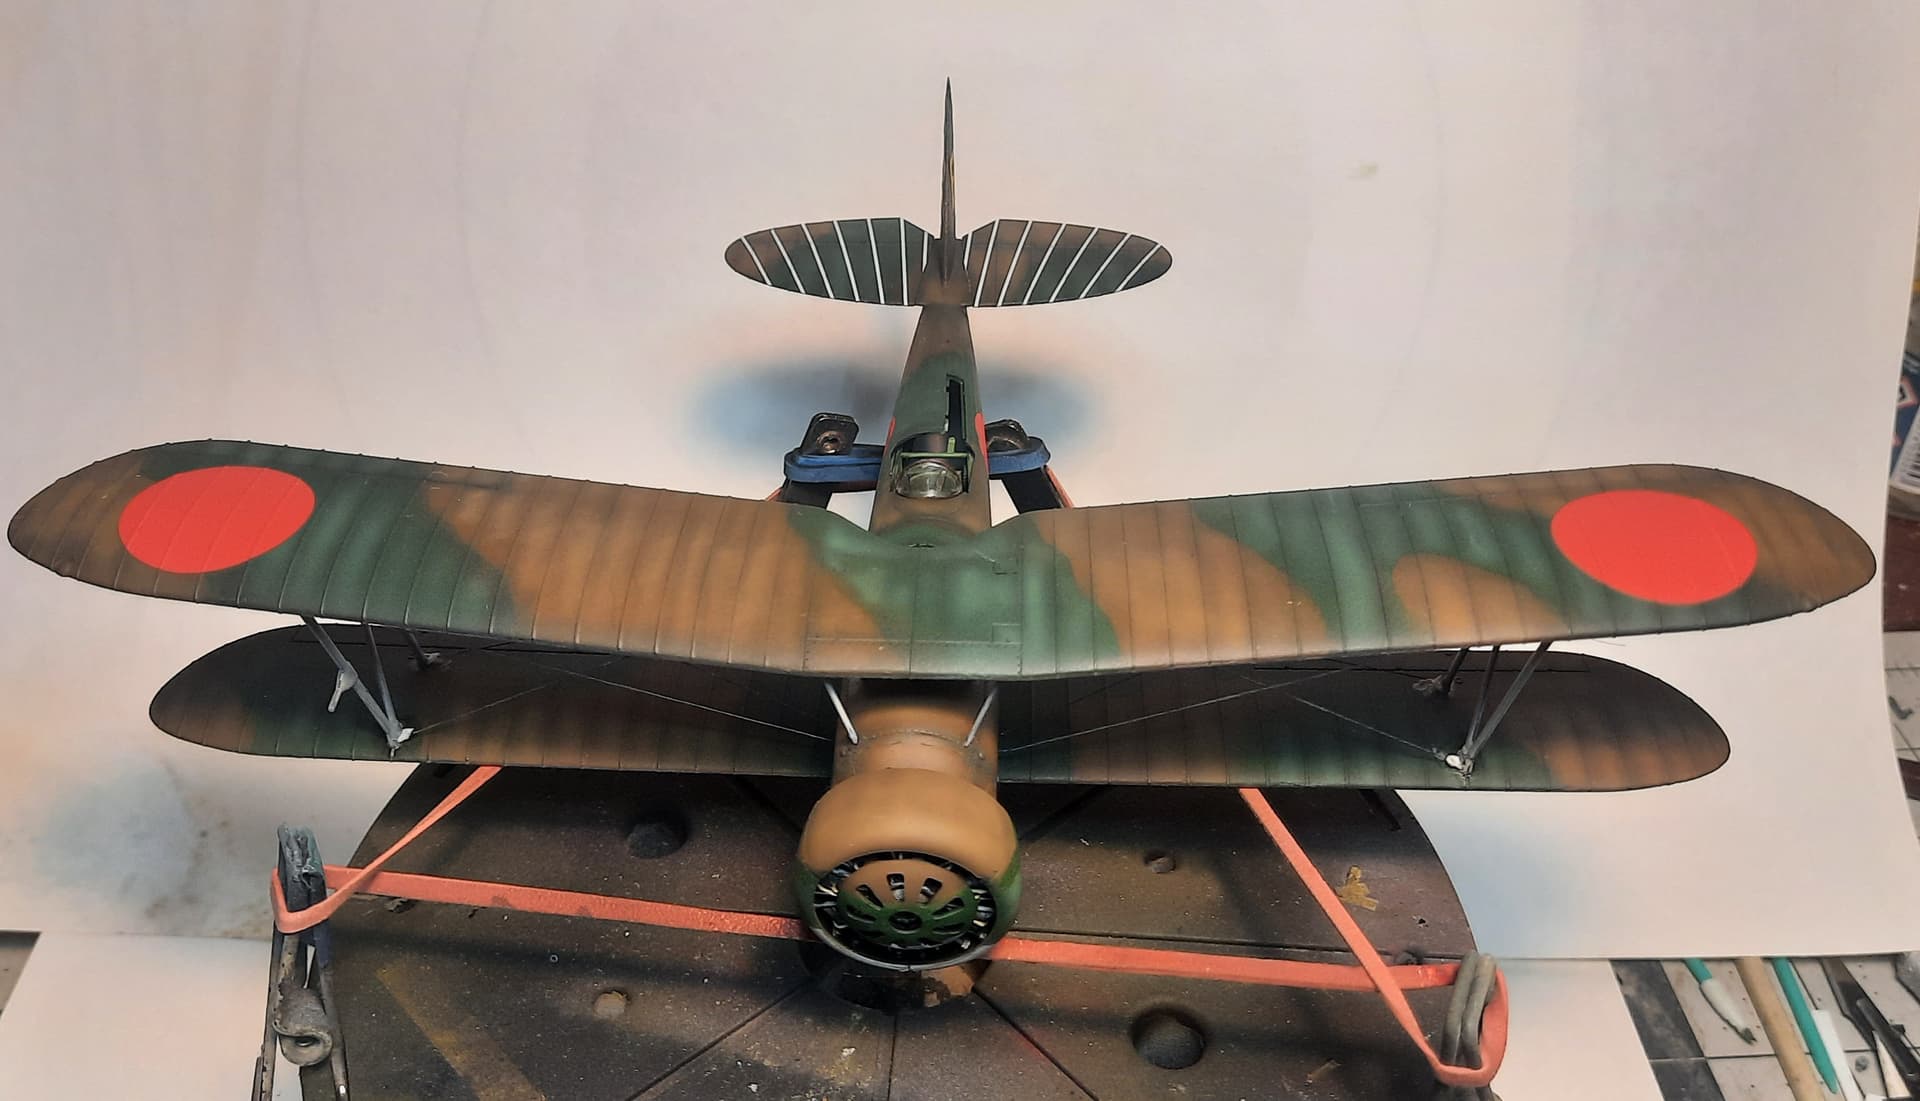
Had a go at the PE rigging thinking it would be relatively quick. Nope, the PE is not for me. Scratched the connection points with .10" sheet styrene and 1 lb. Fishing line was used to make the bracing cables. The cables were painted with several layers of black with a spot of blue added. After this Tamiya weathering pastel light gunmetal was mixed with water and applied with a brush for a steel finish.
Happy modeling,
Mobious
4 Likes
If I may ask, what went wrong with the PE lines?
I had one wing rigged with the PE, started the other wing and couldn’t get them to set correctly. Was getting glue everywhere and the final straw for me was one of the mounting points came lose and went awol. I thought it looked pretty straightforward and to be fair i was using thin CA while the instructions call out using thick CA. It probably would have been easier
2 Likes
Thank you for the reply. You are correct in assuming the thick CA would haver performed better. Nonetheless, your plane is looking fantastic!
1 Like
Your Val is off to a good start John. Nice cockpit painting!
1 Like
Rigging is definitely a skill I do not have. Looks like you are working this out pretty well though. This is coming along very nicely!
1 Like
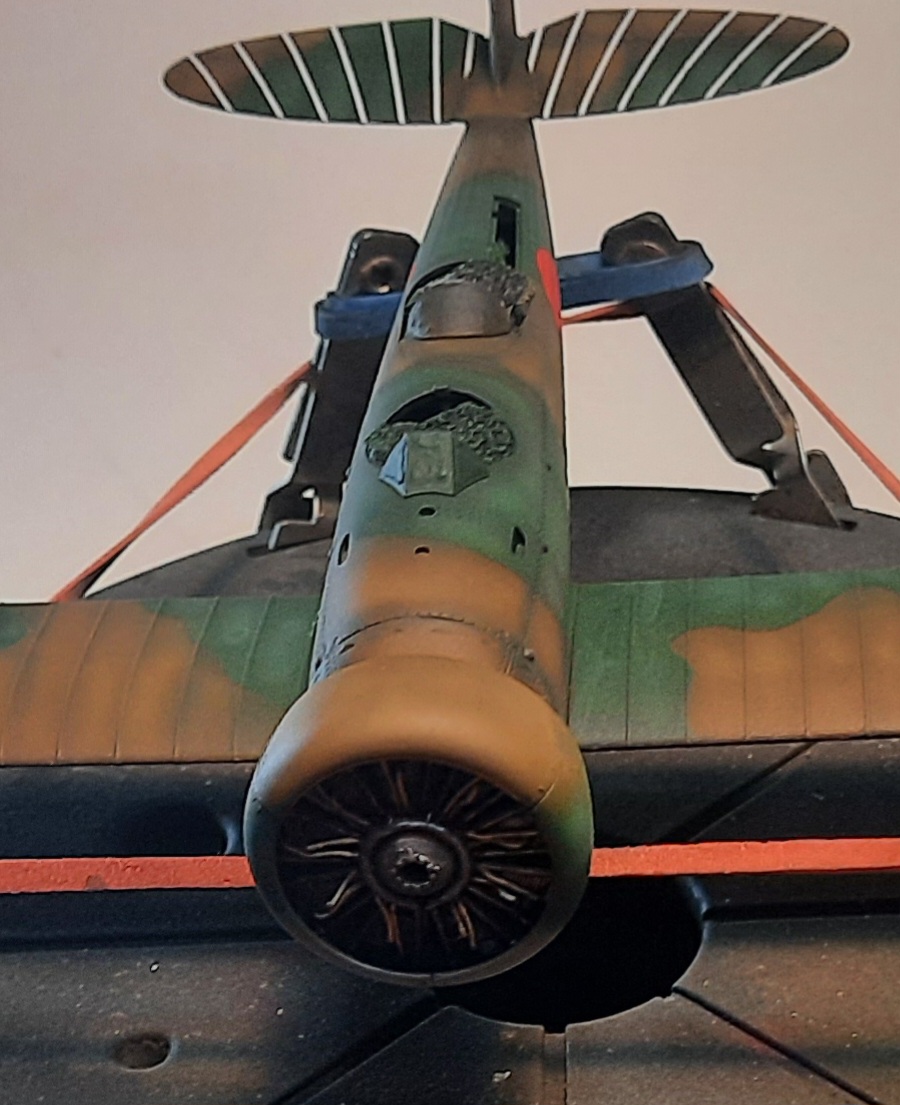
I would have preferred to plan the rigging before paint and the top wing install. I finished the elevator rigging and began to rig the main float.
One item that is bothering me with this kit is that the rear gunner mg was not offered with a drum magazine.
Many thanks to those that have been posting in this thread lately, as it bumped it to the top of the forum list and reminded me that I haven’t been at the workbench in months and have a Tony to finish! I enjoyed killing some time this morning going through the thread and looking at all the neat builds, and especially @Mobious’ stippling on an exhaust manifold - I need to steal that idea!
3 Likes
Yeah, I rarely use thin any more, med or thick seem to make my life easier with PE. In general, I often wonder if the microscopic parts are worth the hassle.
1 Like
Beautiful work. Perfect blend of weathering.
1 Like
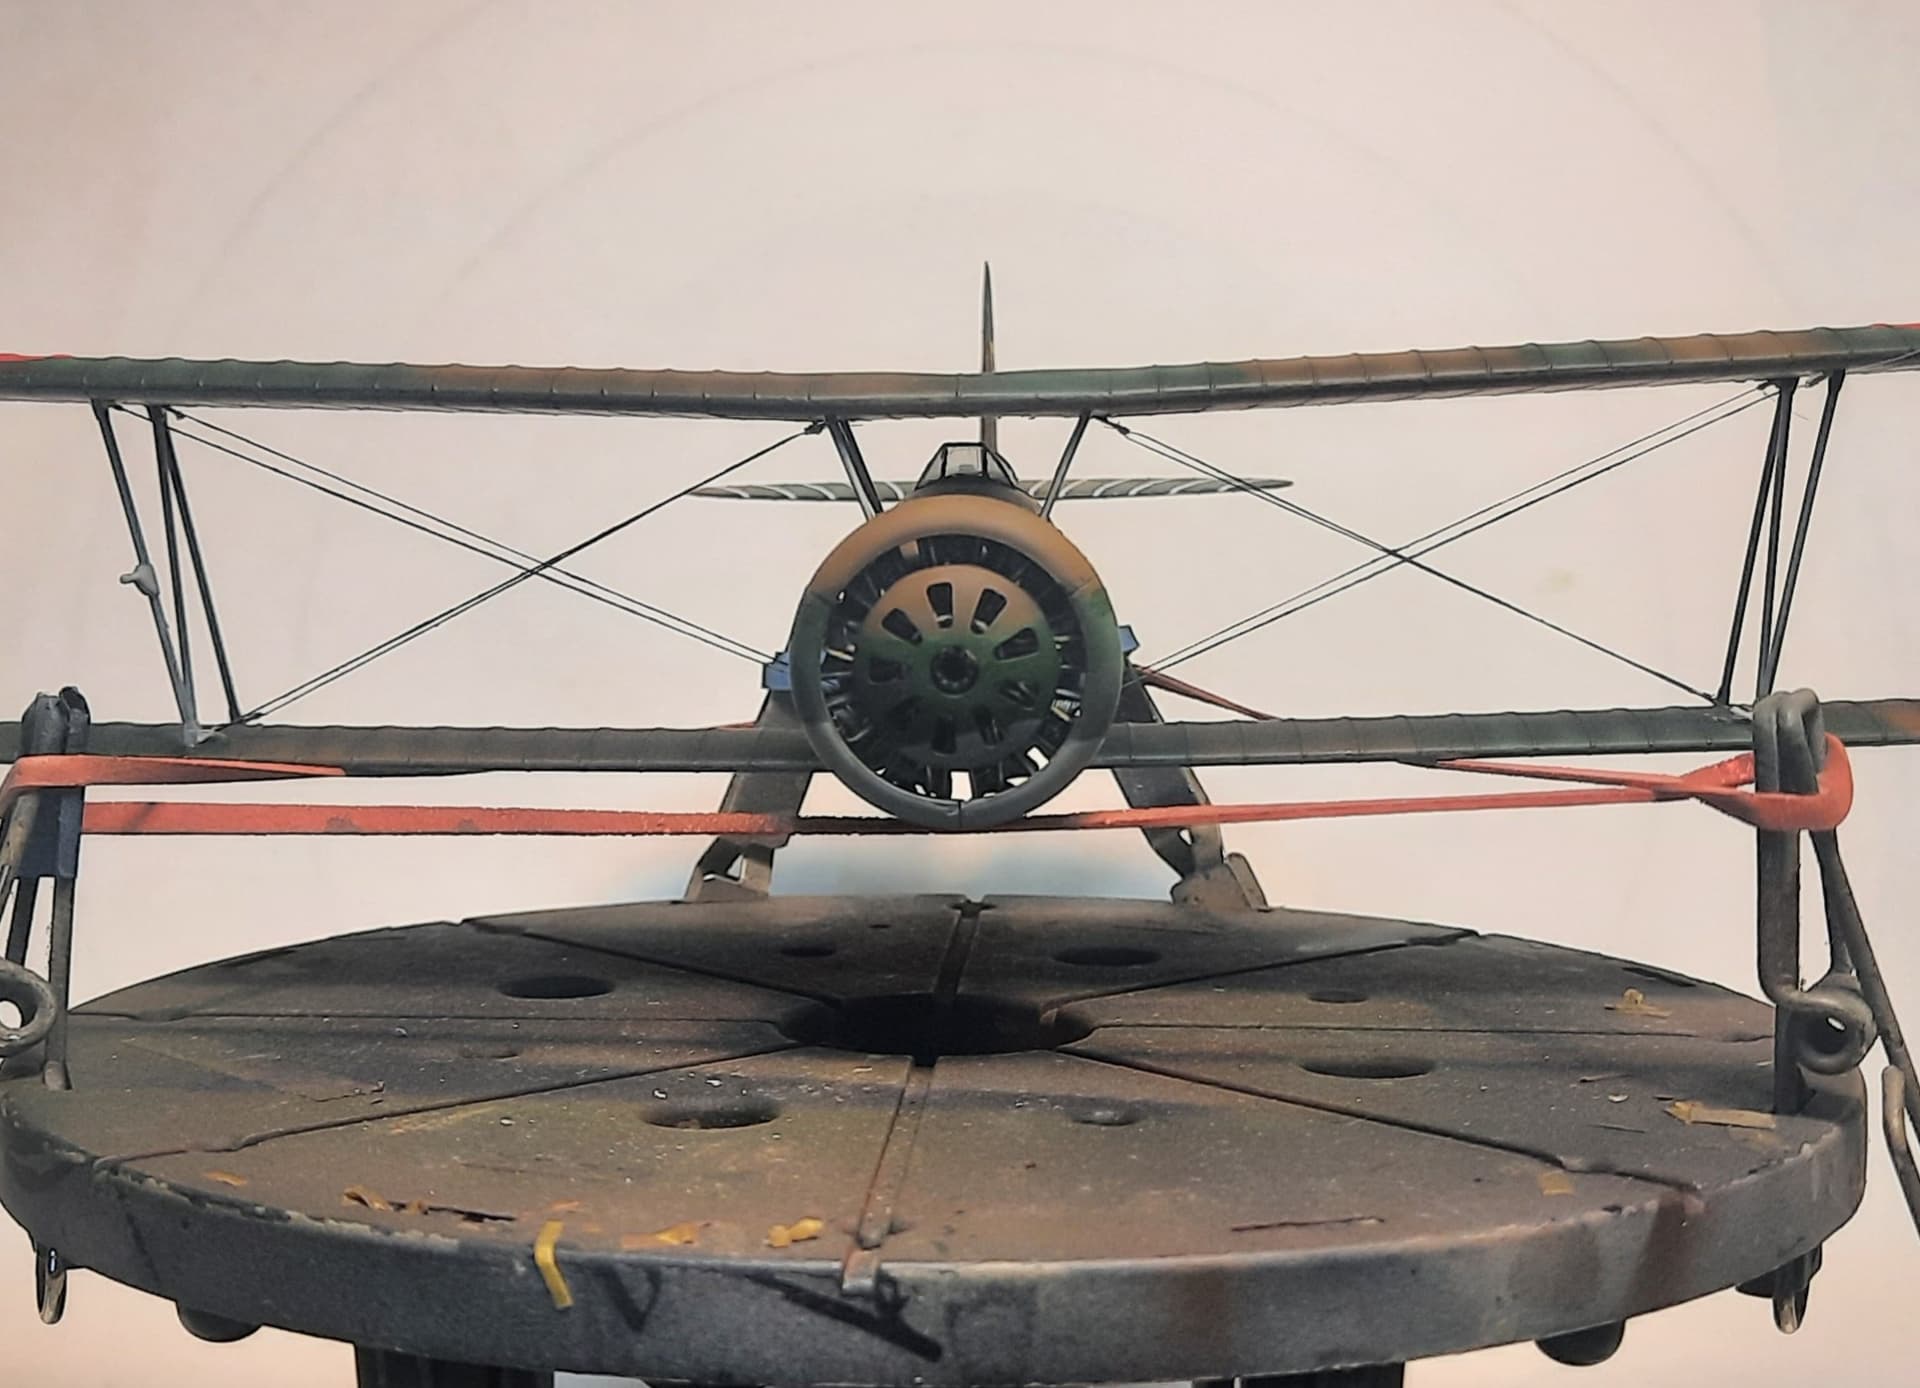
I should have more selection for my adhesives. Used Ammo medium plastic cement to position the float bracing and it worked great. Once positioned, thin cement was used for the final bond. I’ll be using this process for a future Albatross II build to set the upper wing. I will also be adding a medium CA to my list of adhesives.
1 Like
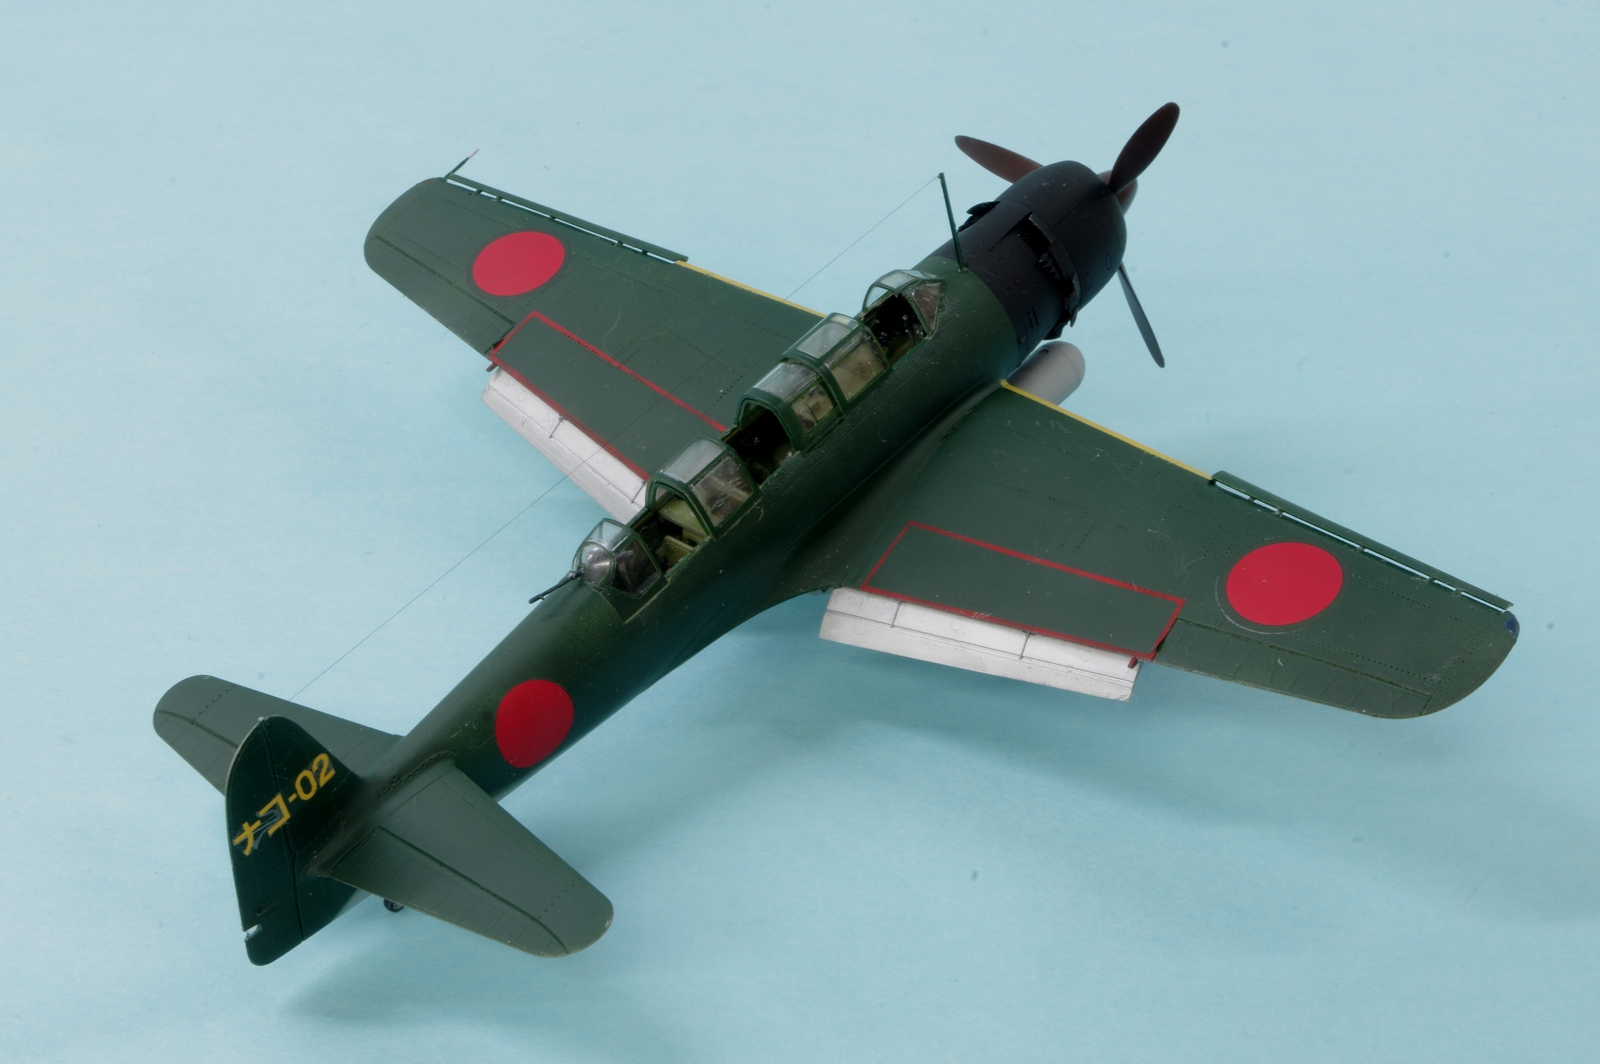
I photographed all the open canopy parts from multiple angles and with a ruler in the picture. The pictures were imported into Autocad where they were resized. The areas to be masked
were drawn over the photos and a dxf file from that work was used to cut the masks using a Silhouette Cameo Vinyl Cutter. I use Tamyia Masking sheets, much better to
work with than Oramask or other vinyl materials. There were a lot of individual window panes. Many of them needed adjustment after trial fitting, but that’s the only way to get it right.

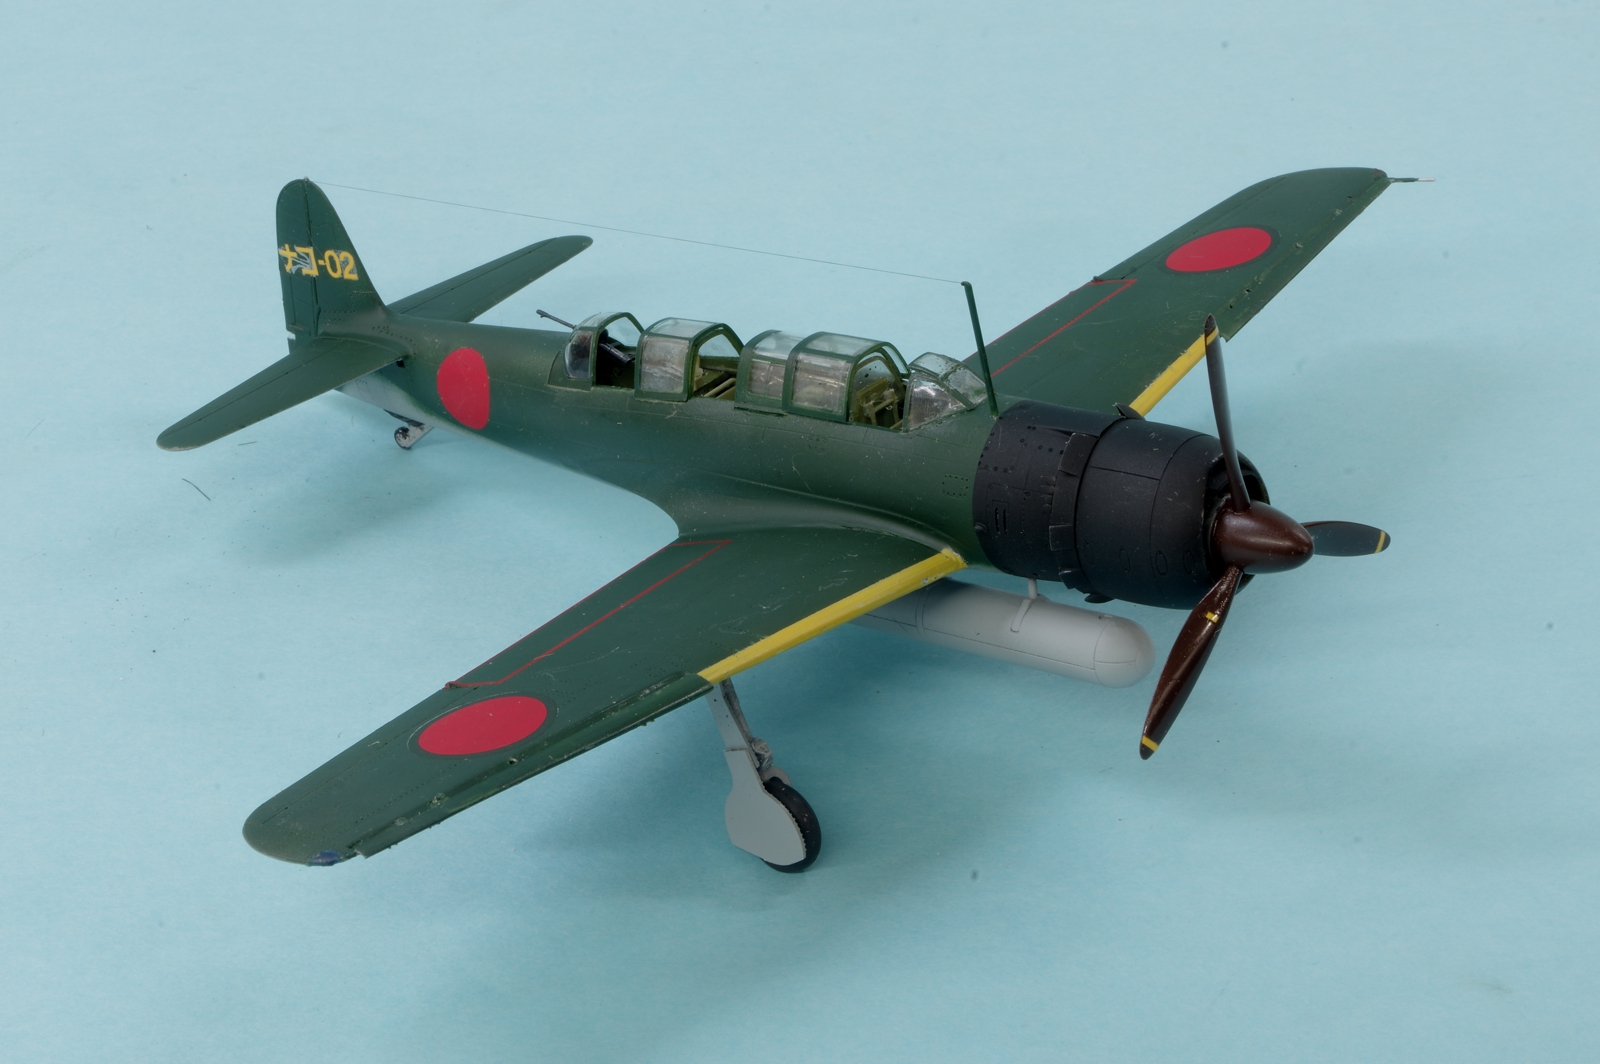
And just like that its all done. This is a well engineered and very detailed model. The canopy parts were all properly sized so they all nested properly in the open position, allowing a nice view of the interior detail. The landing gear fit positively including the four doors on each side and the tires had flat spots.
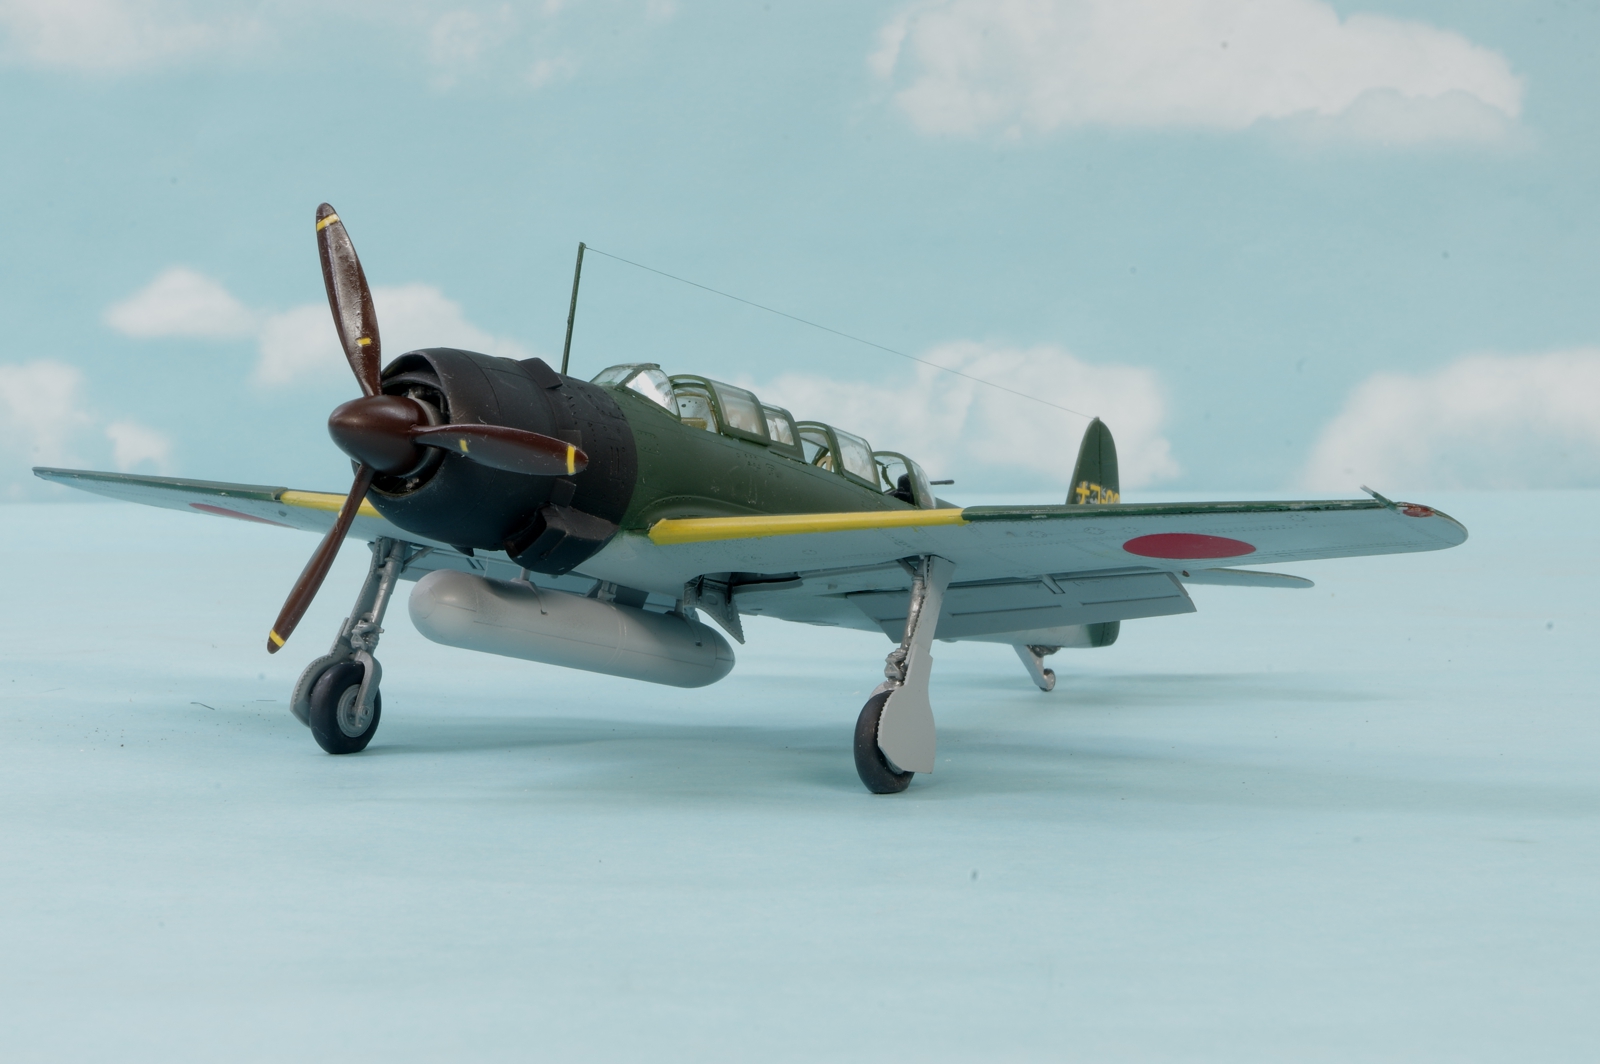
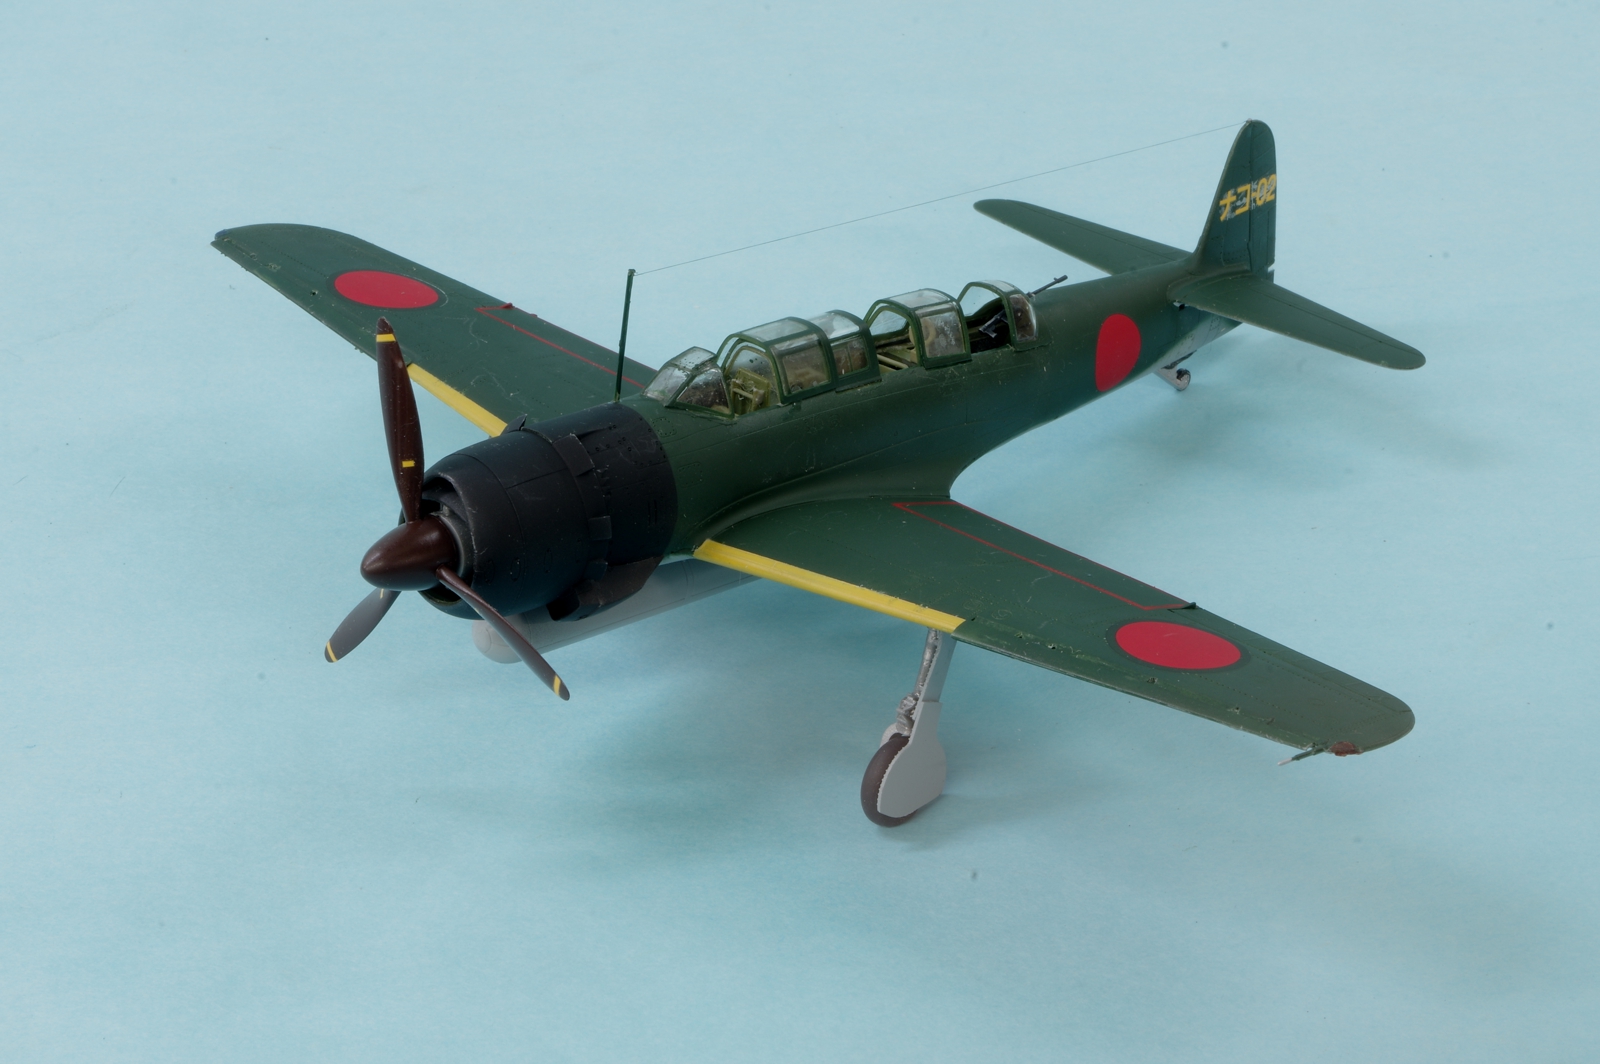
Separate cowl flap parts were supplied, one in the open position and the other closed.

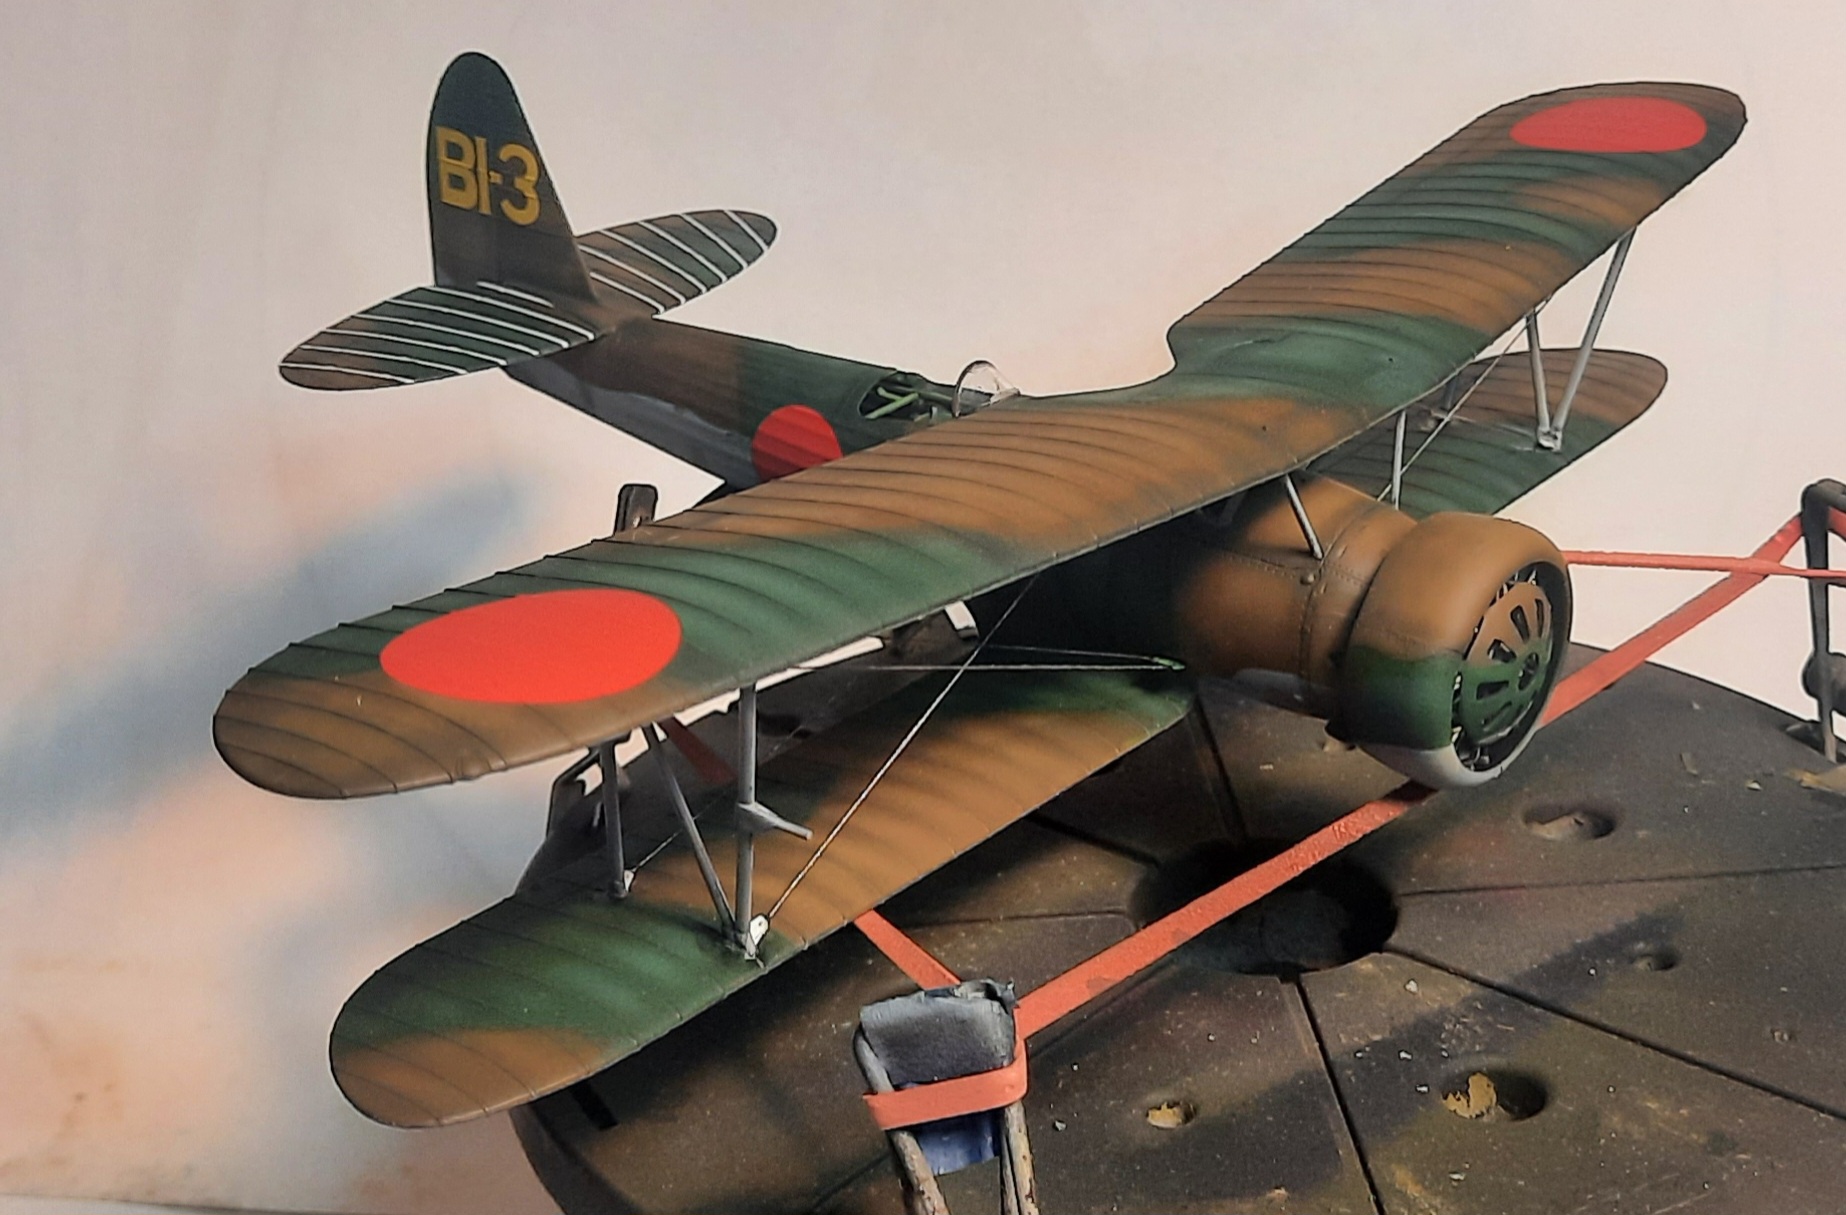
The exterior base colors are Gunze C15 and C35, Mitsubishi Navy Grey and Nakajima Dark Green. I was going to do an aluminum undercoat but the new bottle of Alclad II had something
wrong with it and it actually etched the upper wing panels. I wiped it off with Mr Leveling thinner and settled for the monochrome green of a fresh paint job.
First time I have had an issue with Alclad ALC-101

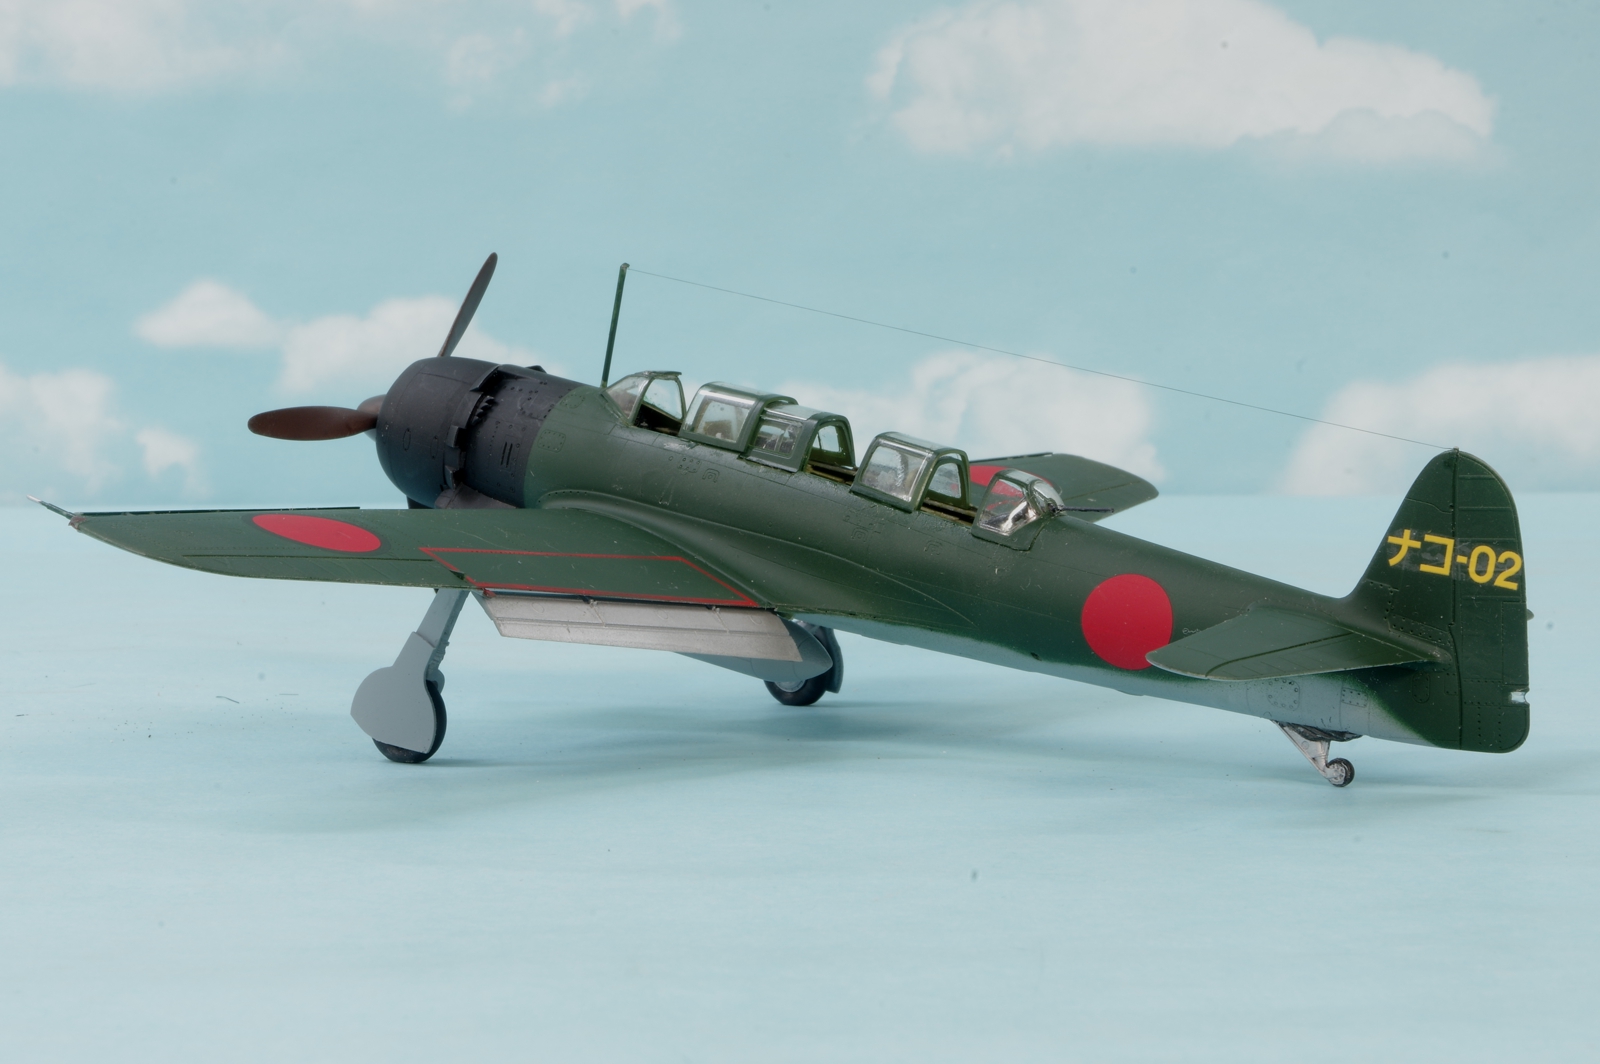
I painted on the wing walk lines, but used decals for the minimal markings.

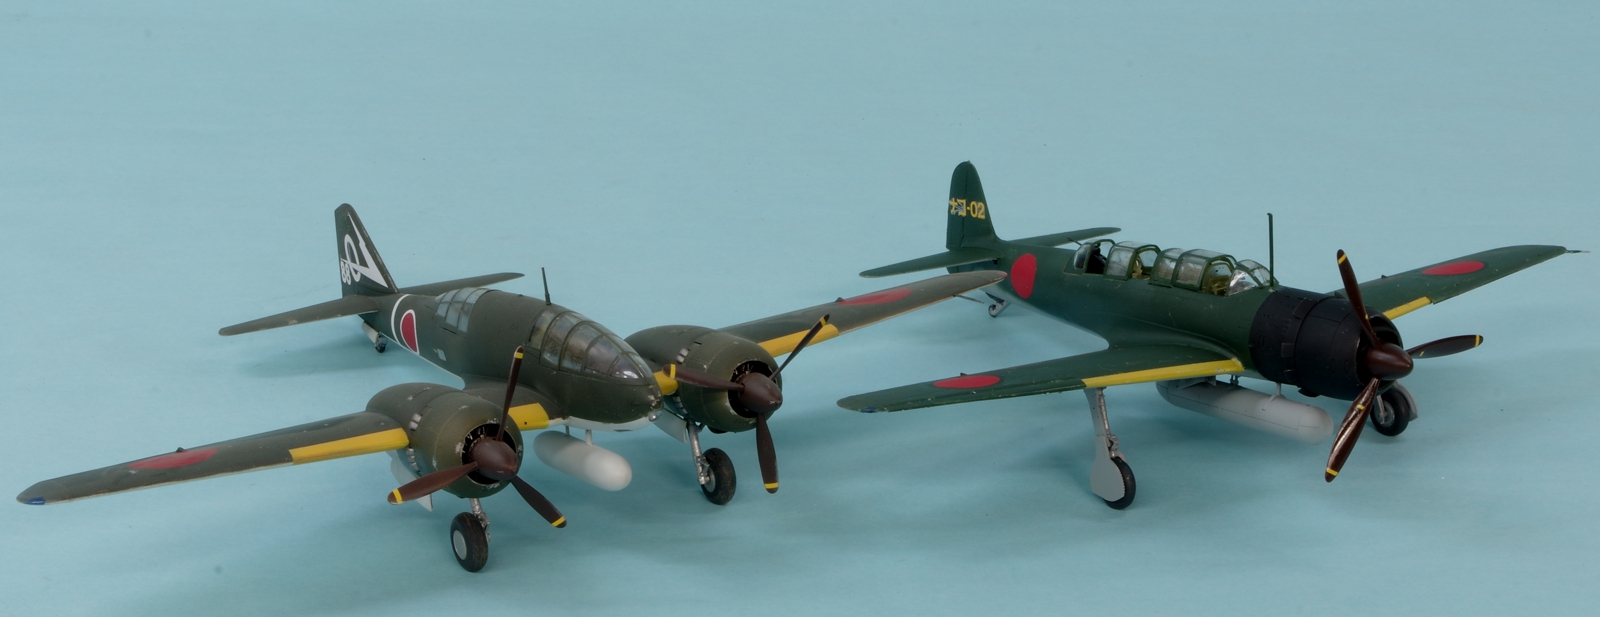
With the Tamiya 1/48 Ki-46III Dinah, another Japanese Recon airplane. The Myrt was a large airplane, the Dinah relatively small for a twin.
6 Likes
That is some beautiful work.
Stunning work. The masking is flawless. Really like the idea of having the ability to make mask. The paint work looks ![]() .
.
The comparison shot really does put the size into perspective.
Wish more kits would included the cowl flap option.
Really impressive and congrats on a job well done.