Awesome work. Nicely detailed and the paint work looks great.
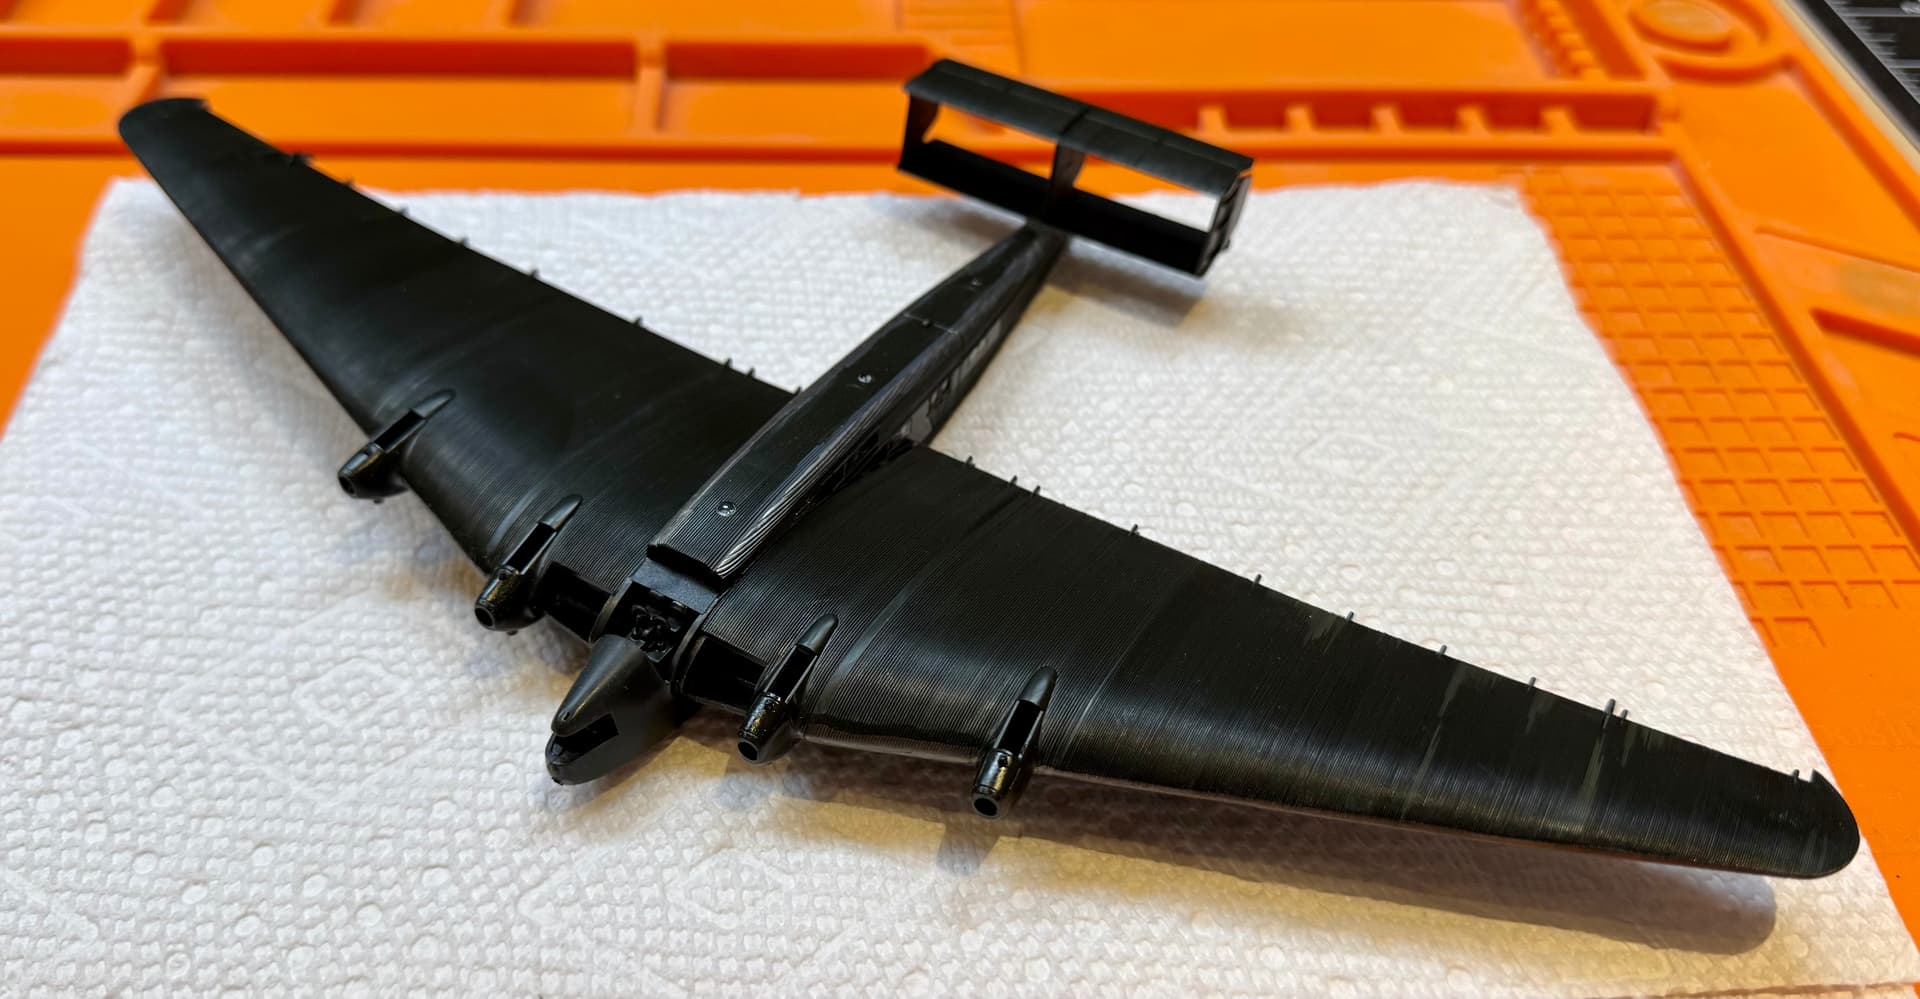
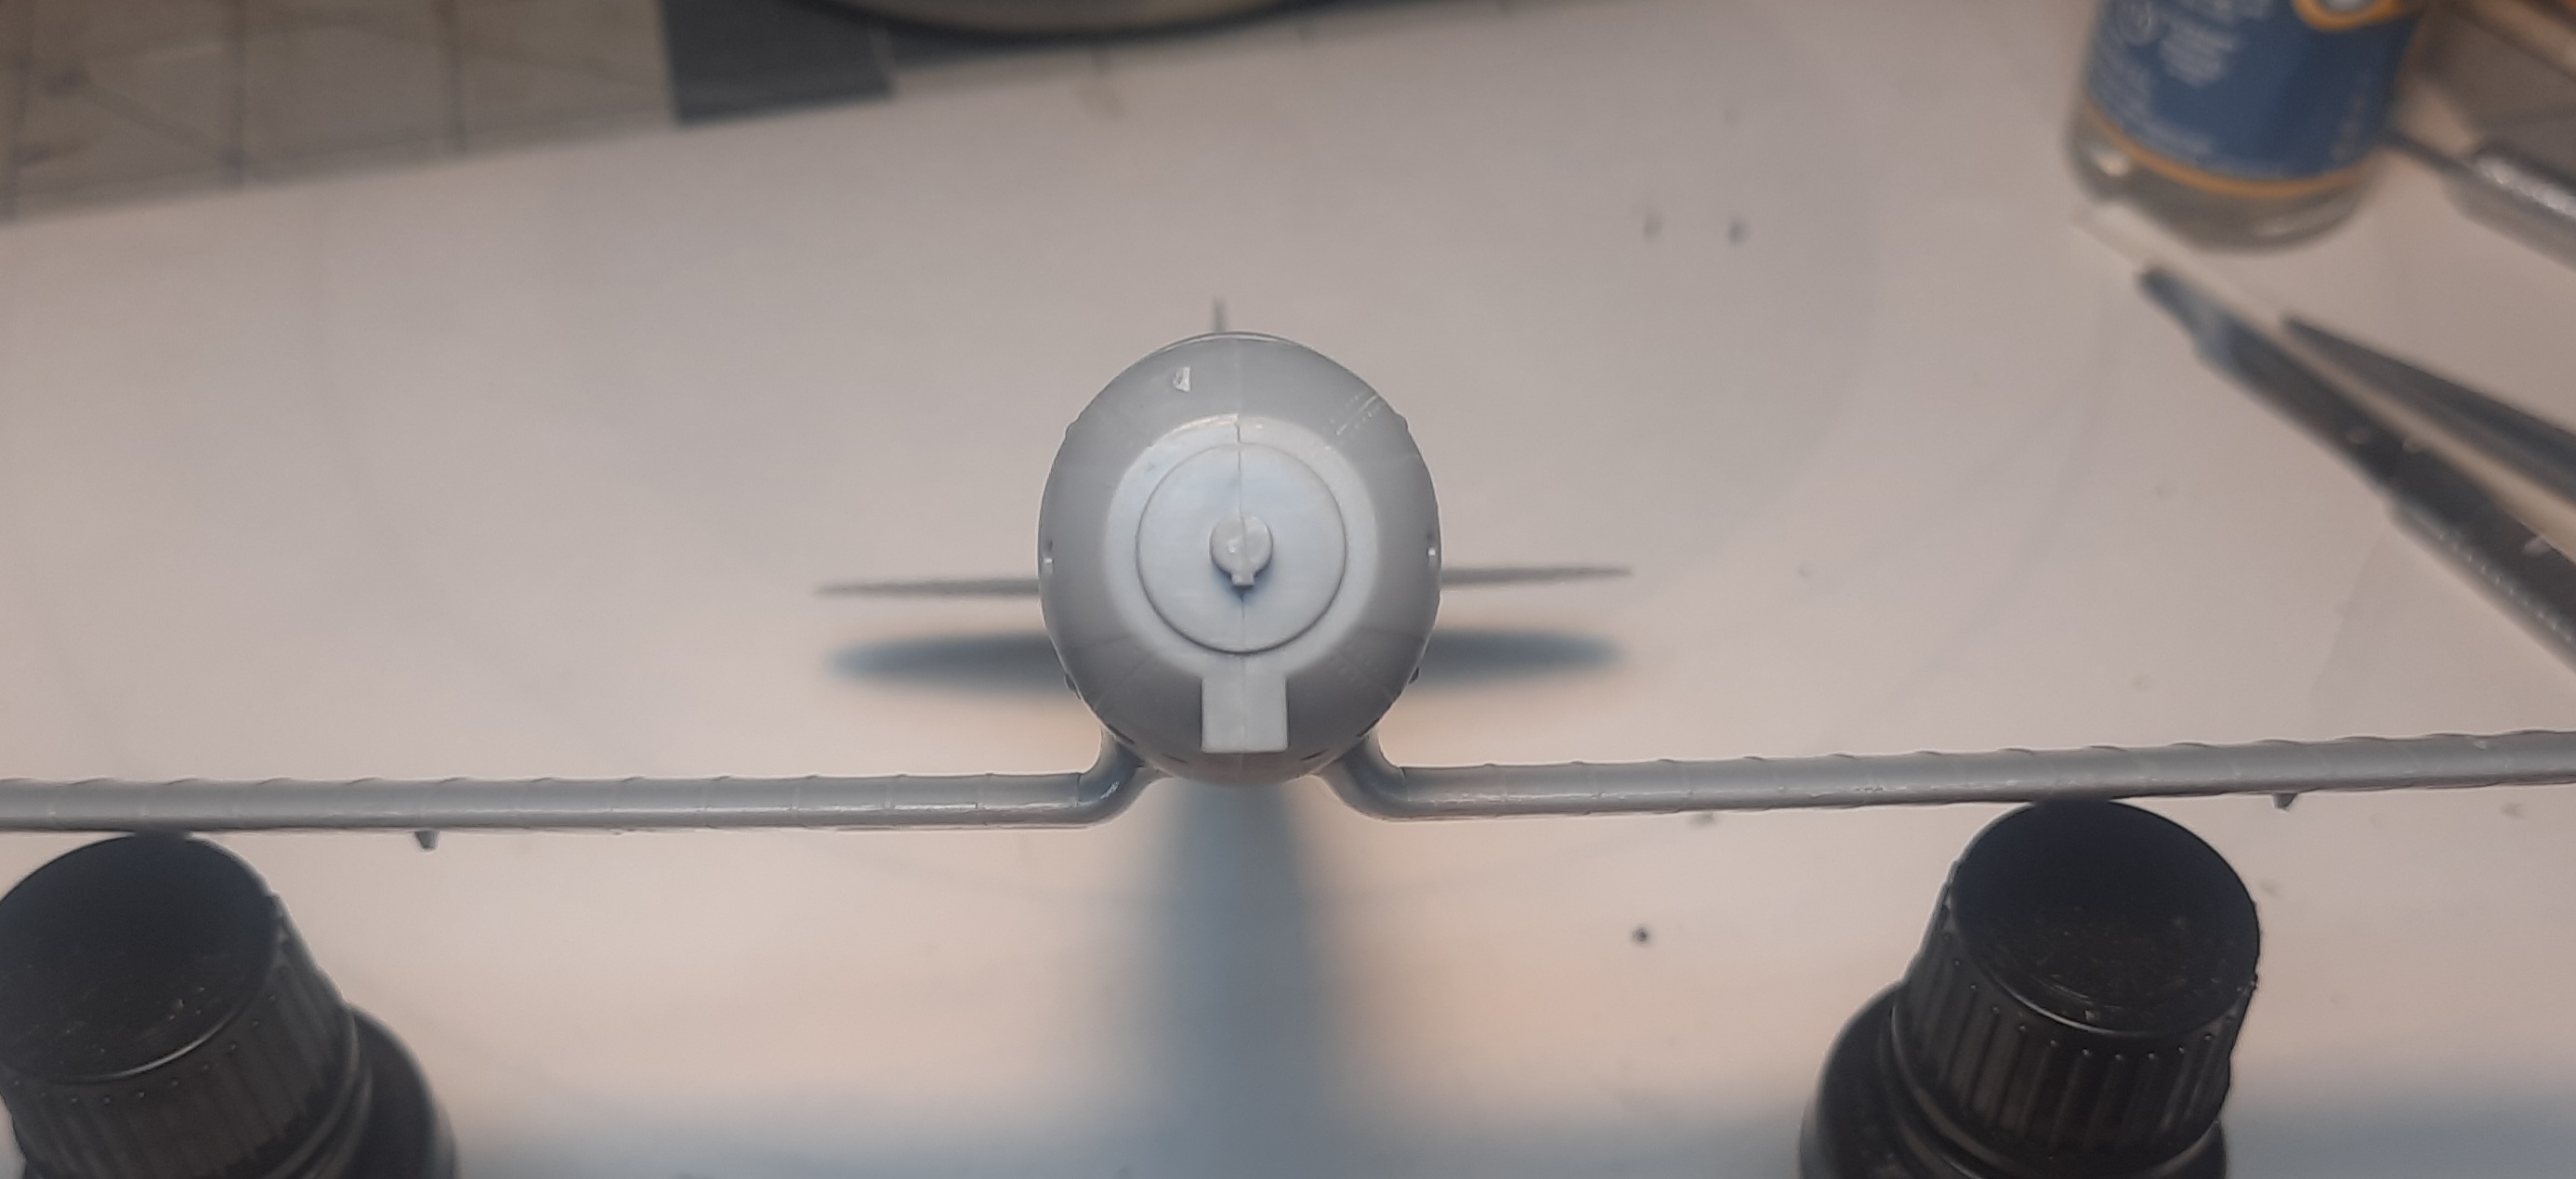
Managed to get the fuselage together with minimal gaps. To me it looks like a radical bobsled at this point in construction.
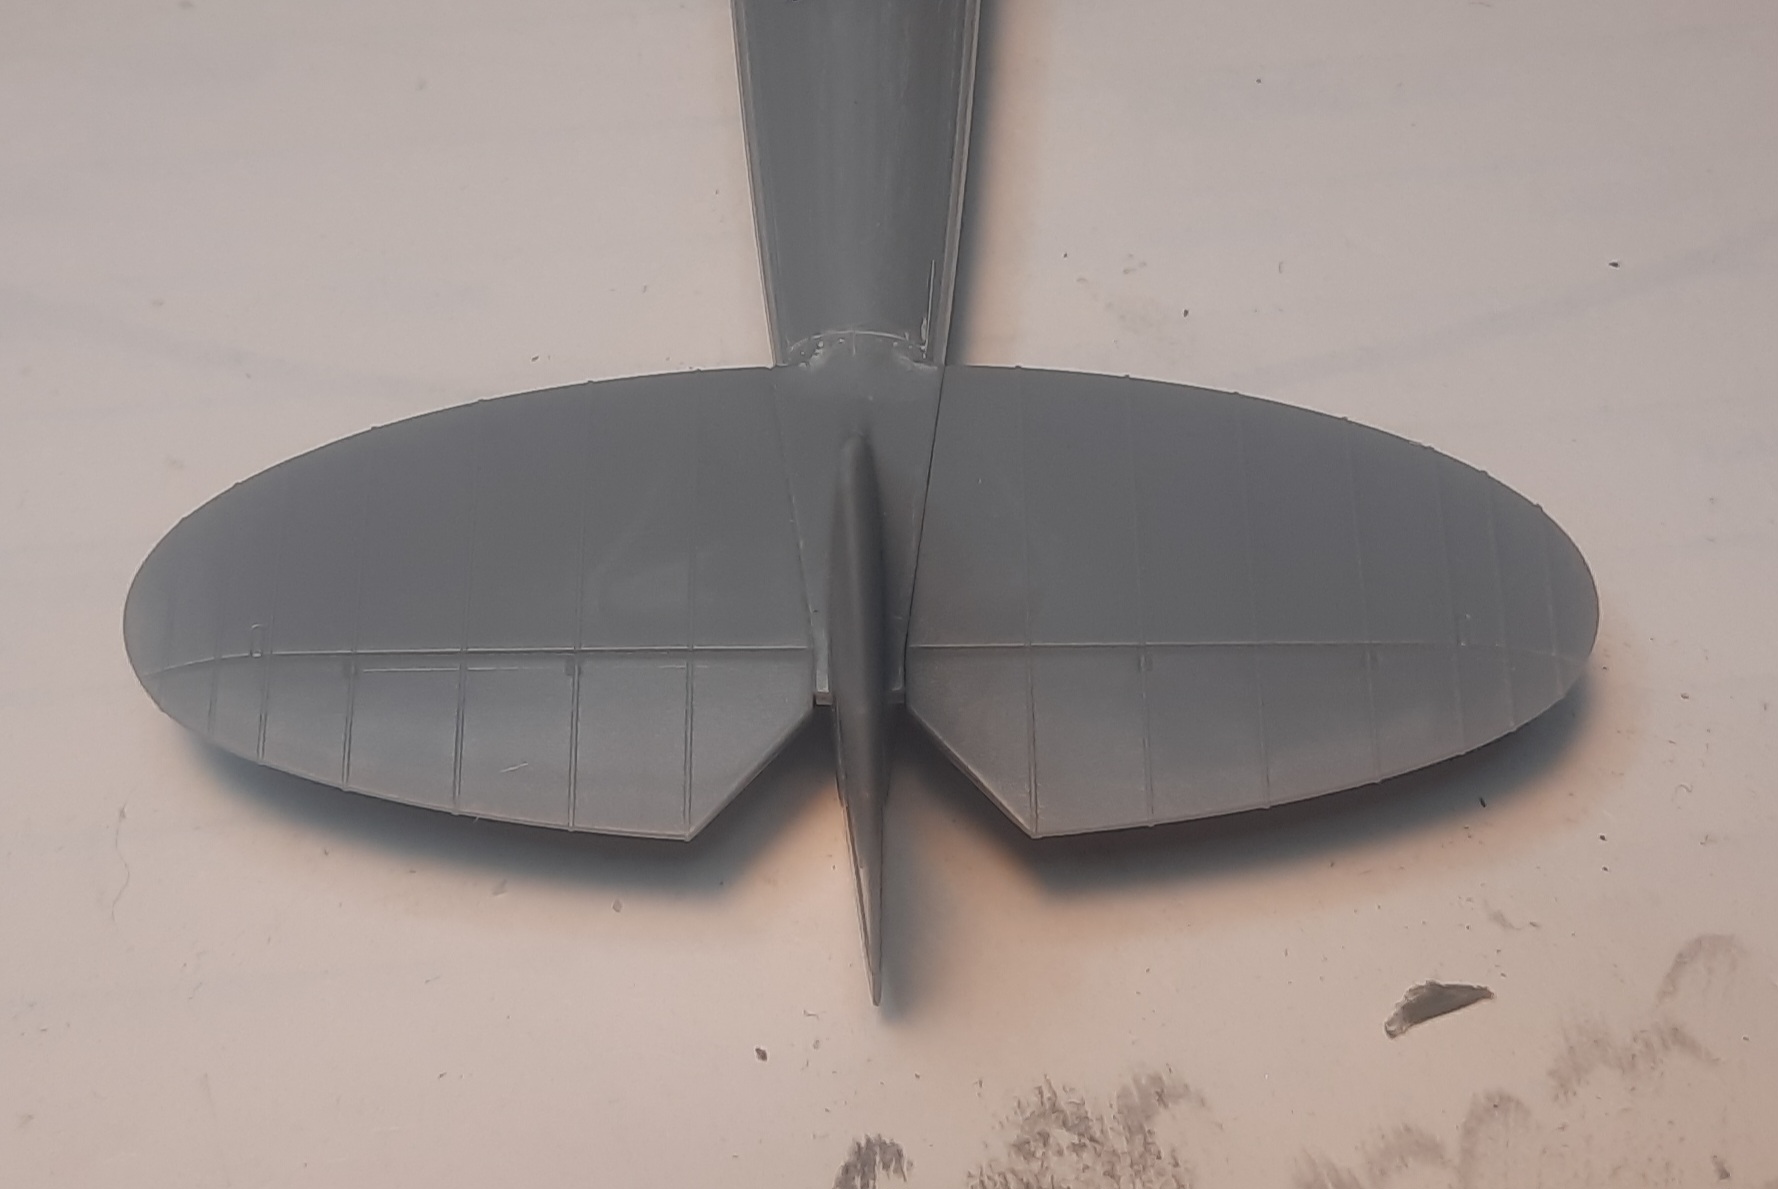
One area of concern for me is the lower wing. It’s a 3 piece affair with an upper and lower wing and a third being the upper part of the wing root. The attachment point is a recessed area in the fuselage with no tabs/slots, just the pocket. It’s fitting is straightforward but my concern is the strength of this gull wing joint. Considering the addition of pins to help bolster this area in preparation for rigging. May just “wing it”.
Happy modeling
Mobious
2 Likes
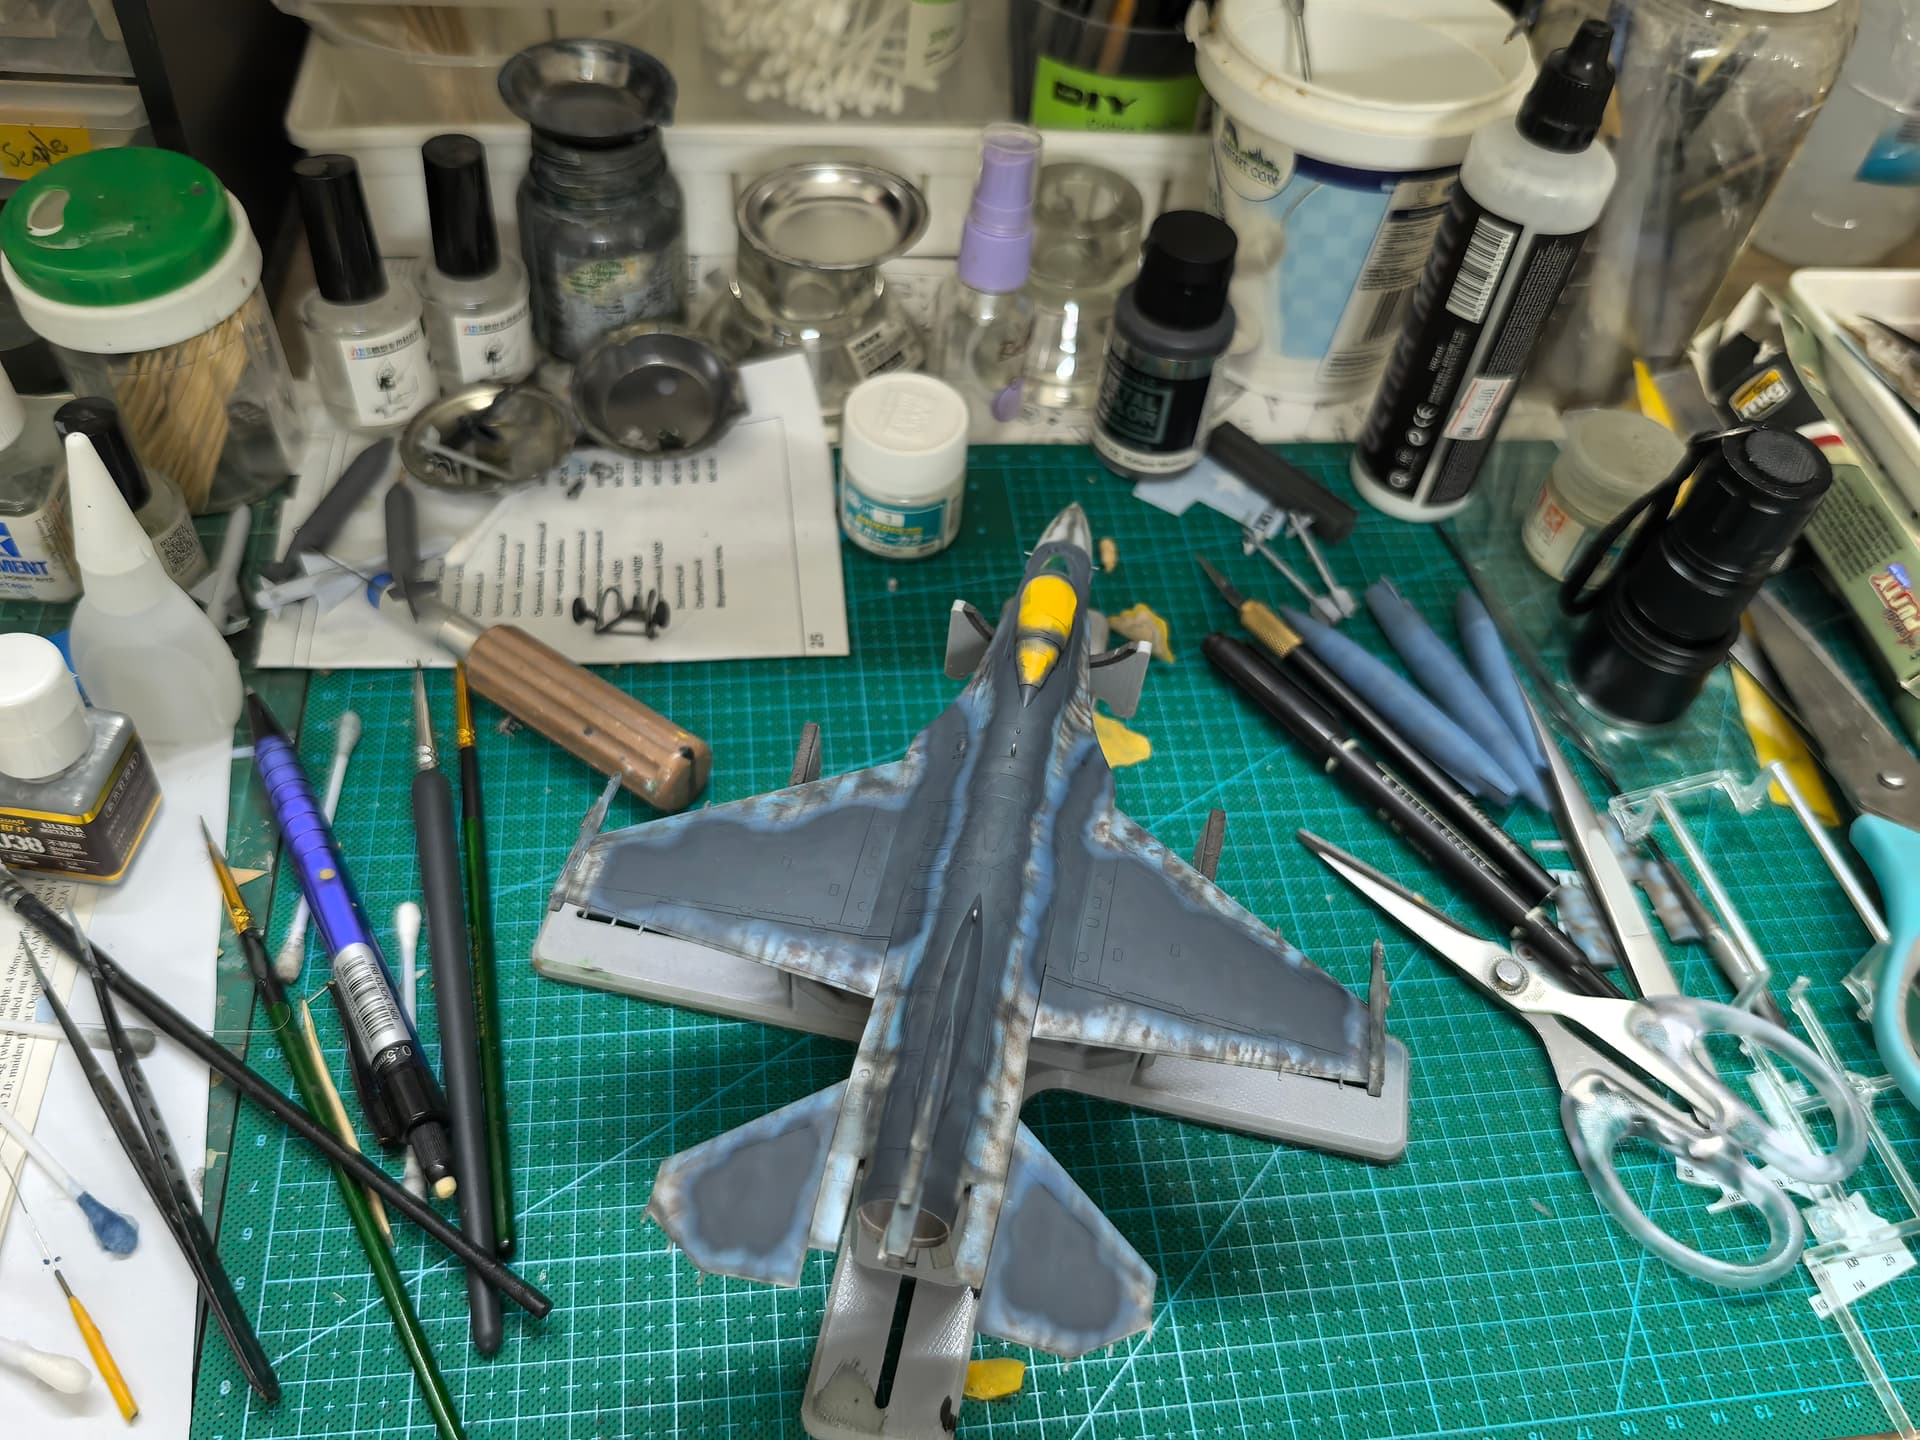
Hi @kwongyan . Your F-2 looks fabulous. It appears you are new to the the forums so welcome to FSM Forums as well! Generally, to join/participate in a group build, you introduce what you will be building to the group, then post progress photos as you go along, ending with a photo of the finished build. If you scroll through this group build thread you should get the hang of how this all works. If you would like to join the GB, Just reply with what kit you would like to build and I will add your name and entry to the GB Roster. Please also be aware that this group build will only be active for two more months, so choose something you can finish in that time frame. Happy Modeling and again, Welcome to FSM Forums!
@Mobious! You are wearing me out brother. I think you can literally build kits faster than I can type words about your builds on my keyboard! ![]()
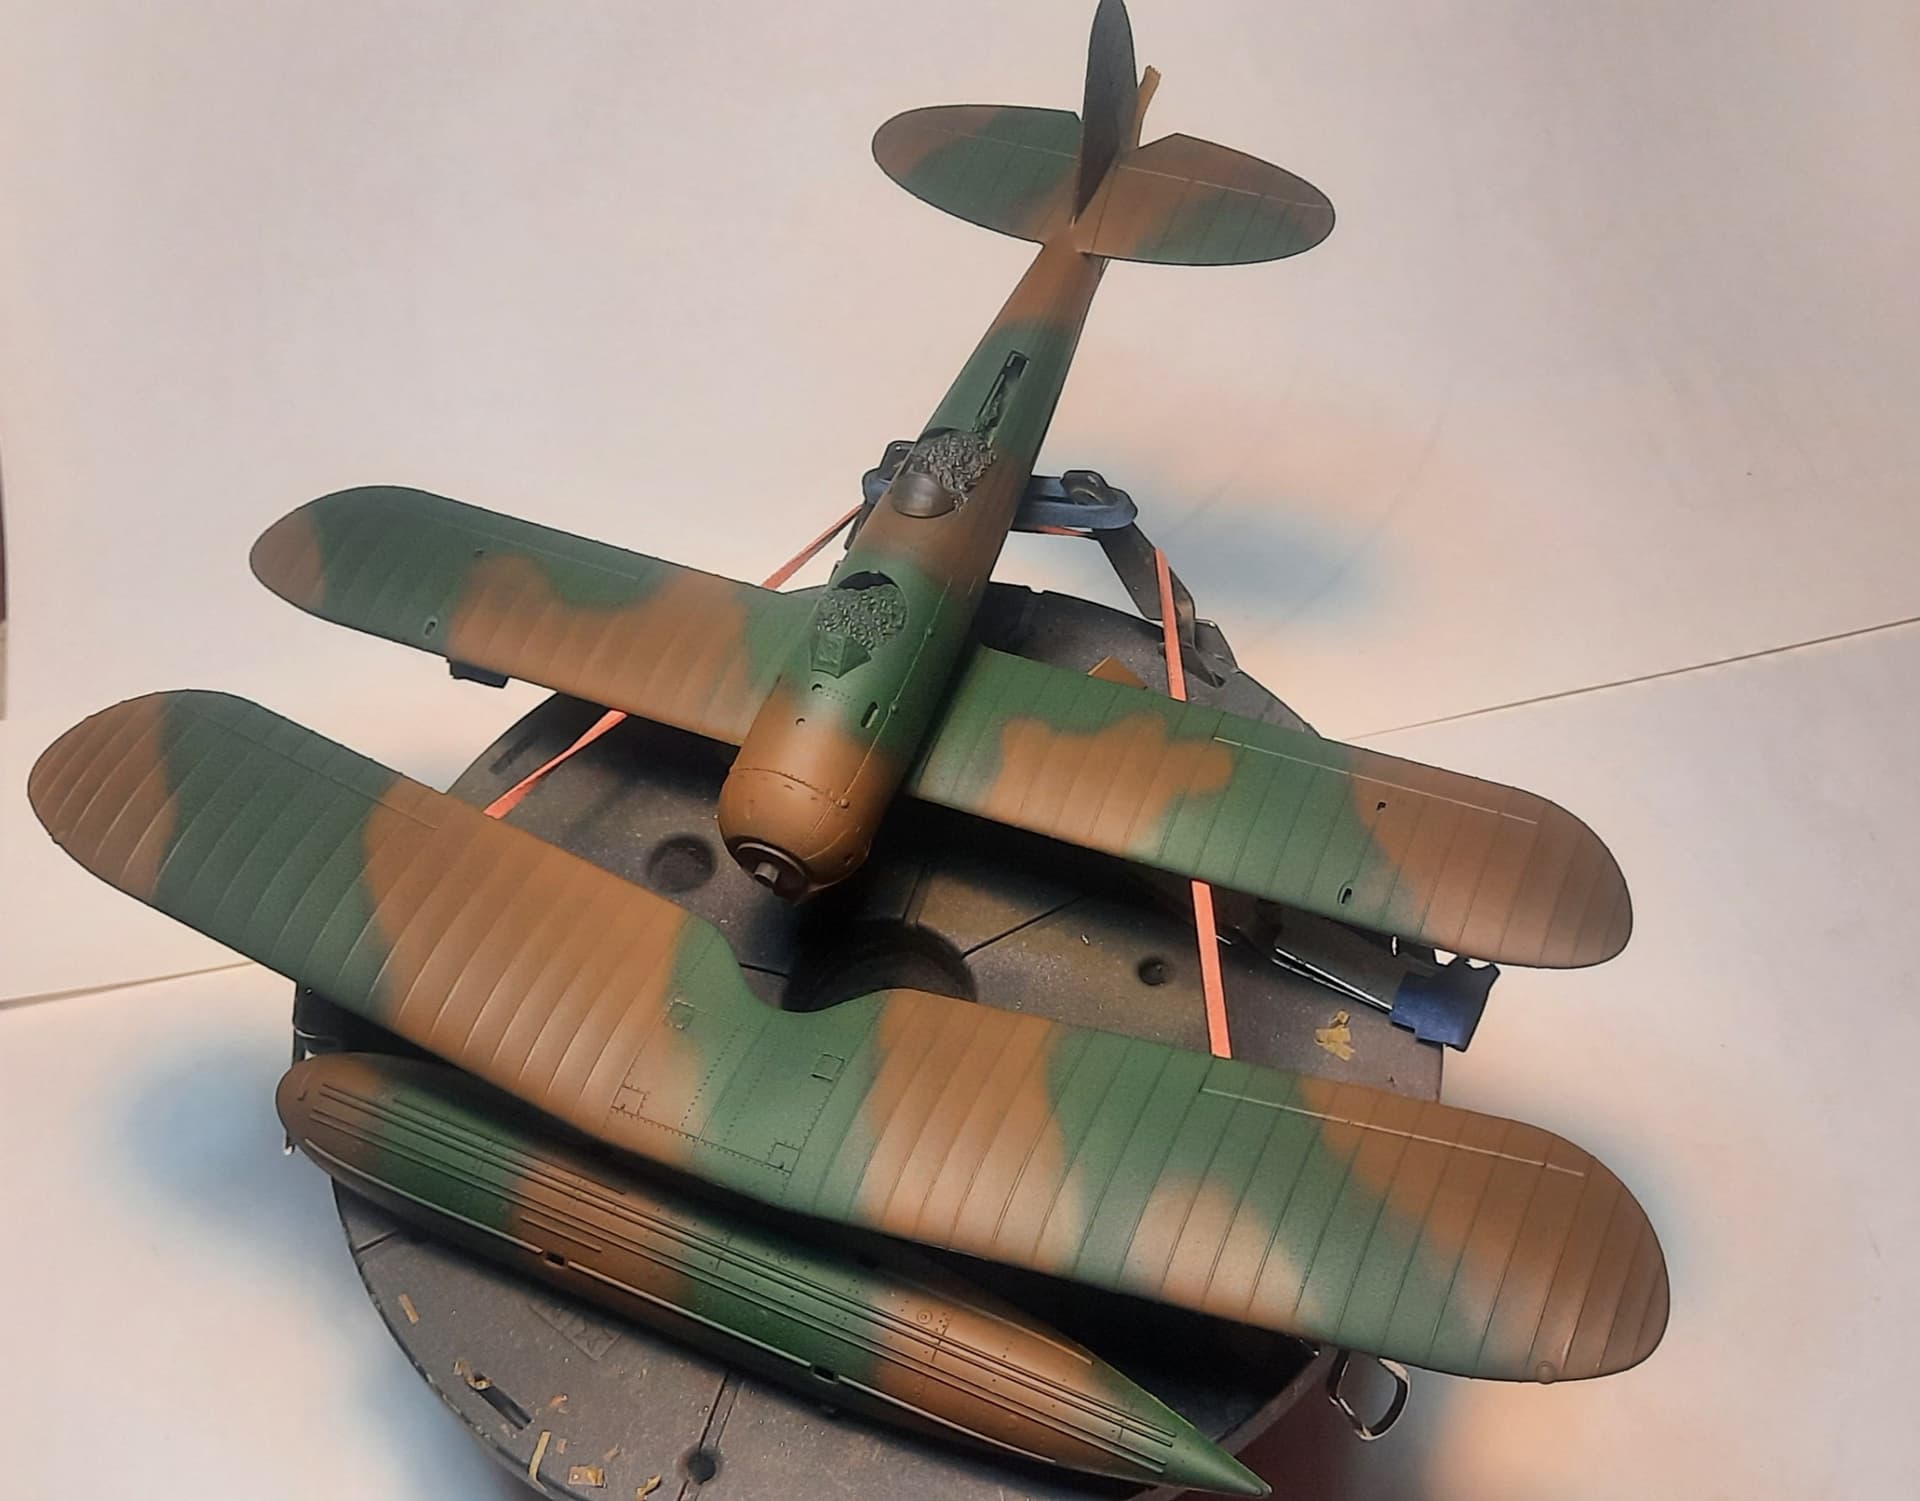
All Joking aside, I really like your choice of the Hasegawa E8N1. I went over to Scalemates to make sure I had the kit description correct for the roster and was surprised to find out that this was a new tool kit from 2015. The last sea plane I remember Hasegawa releasing was the “Pete”. I will be watching this build closely. Can’t wait to see this one completed!
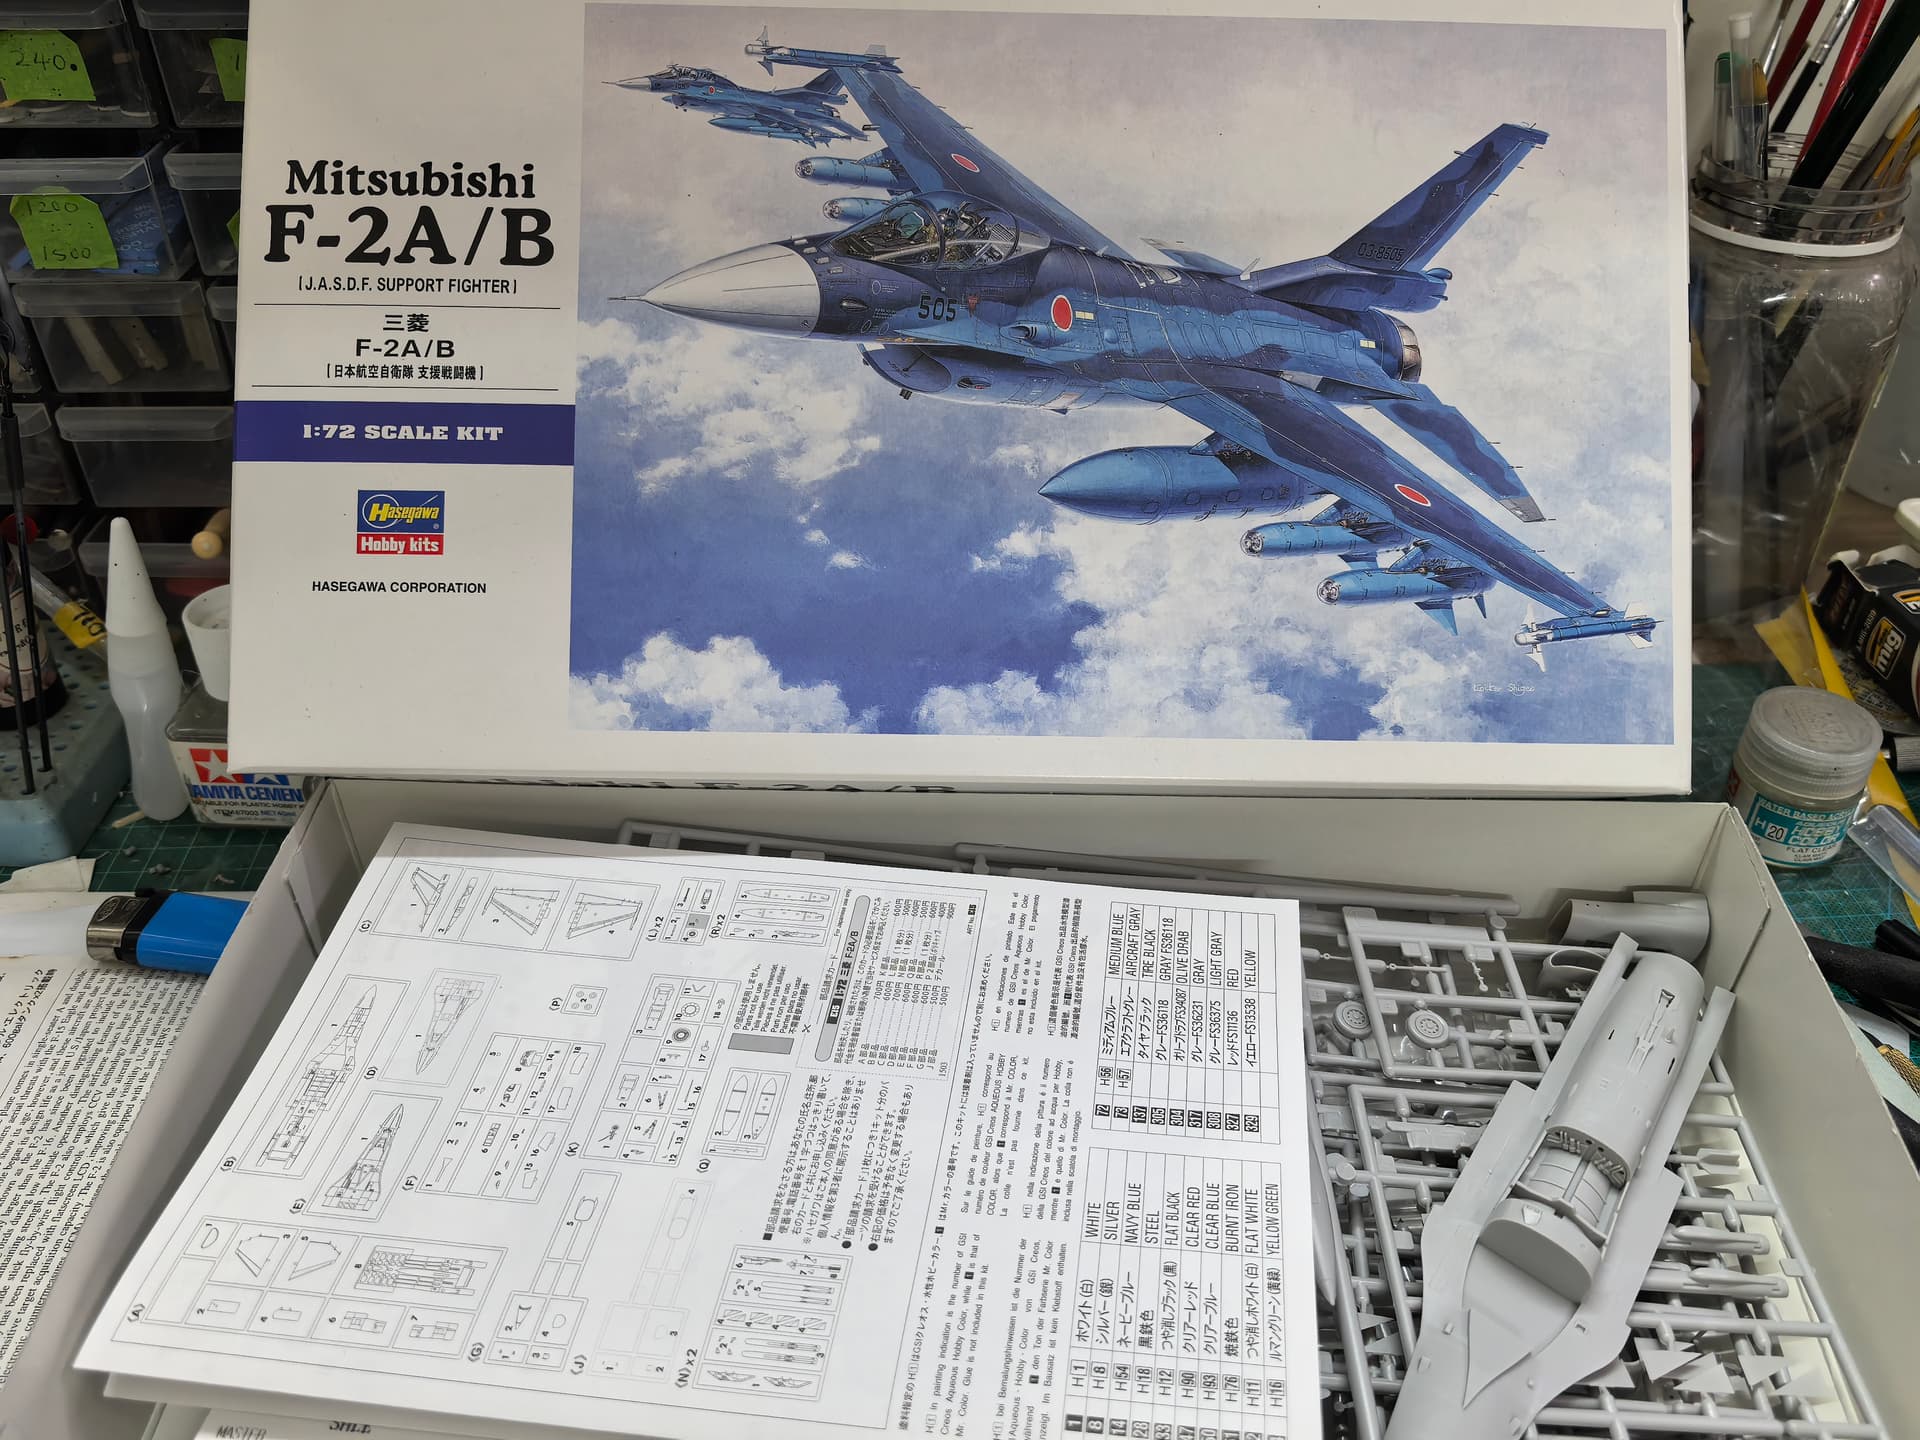
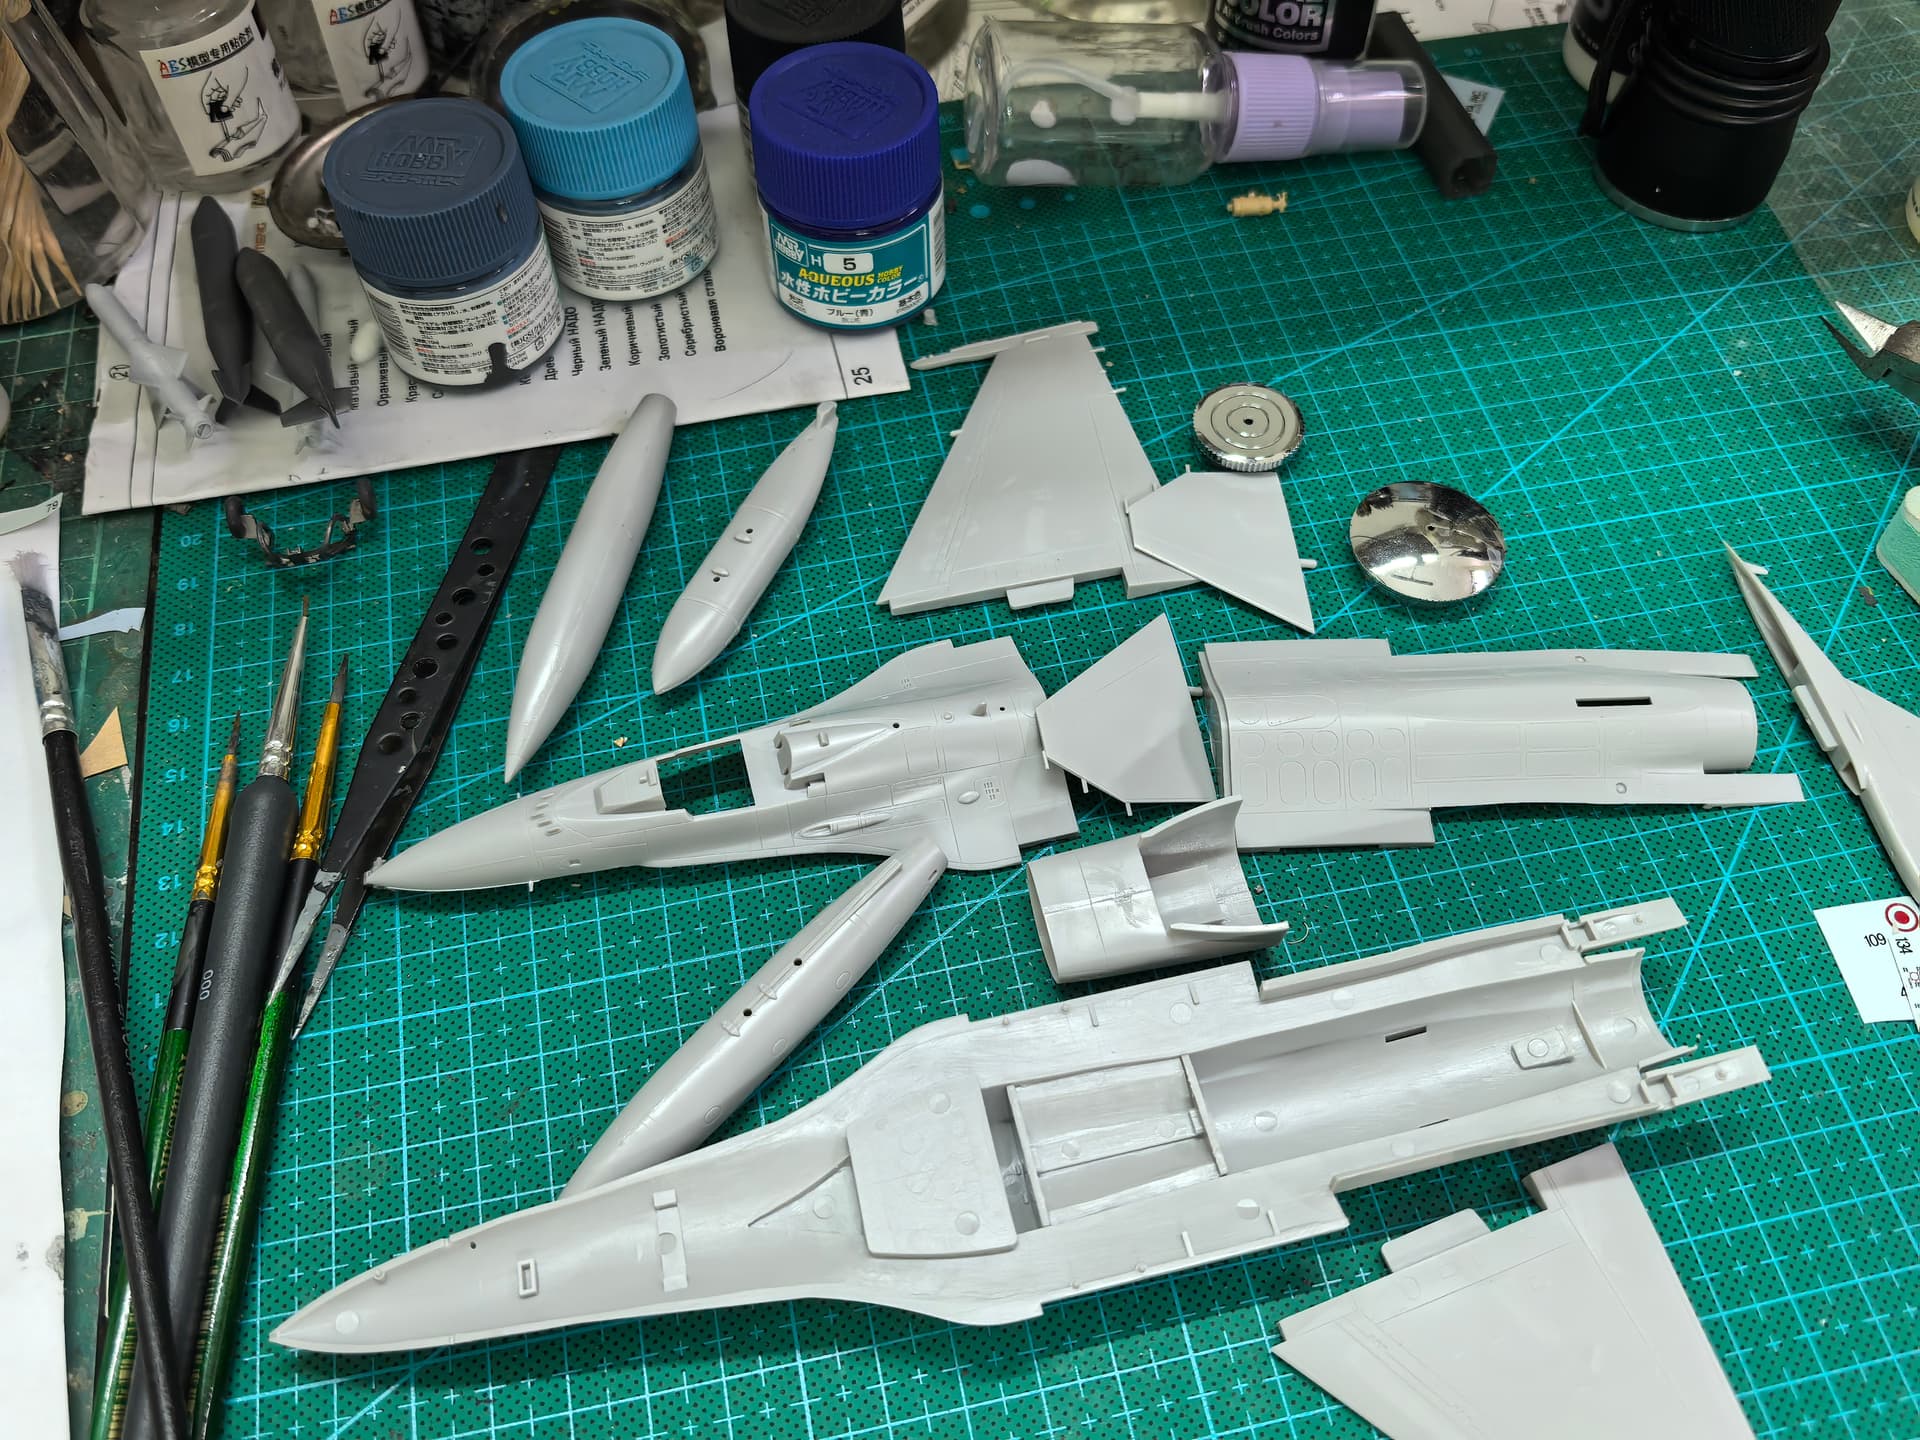
@cbaltrin Yes, I would love to join this Group Build. The model I posted was completed a couple of days ago. I am starting a new build. Hasegawa 1/72 JASDF F-2A, and would love to enter it to this GB.
1 Like
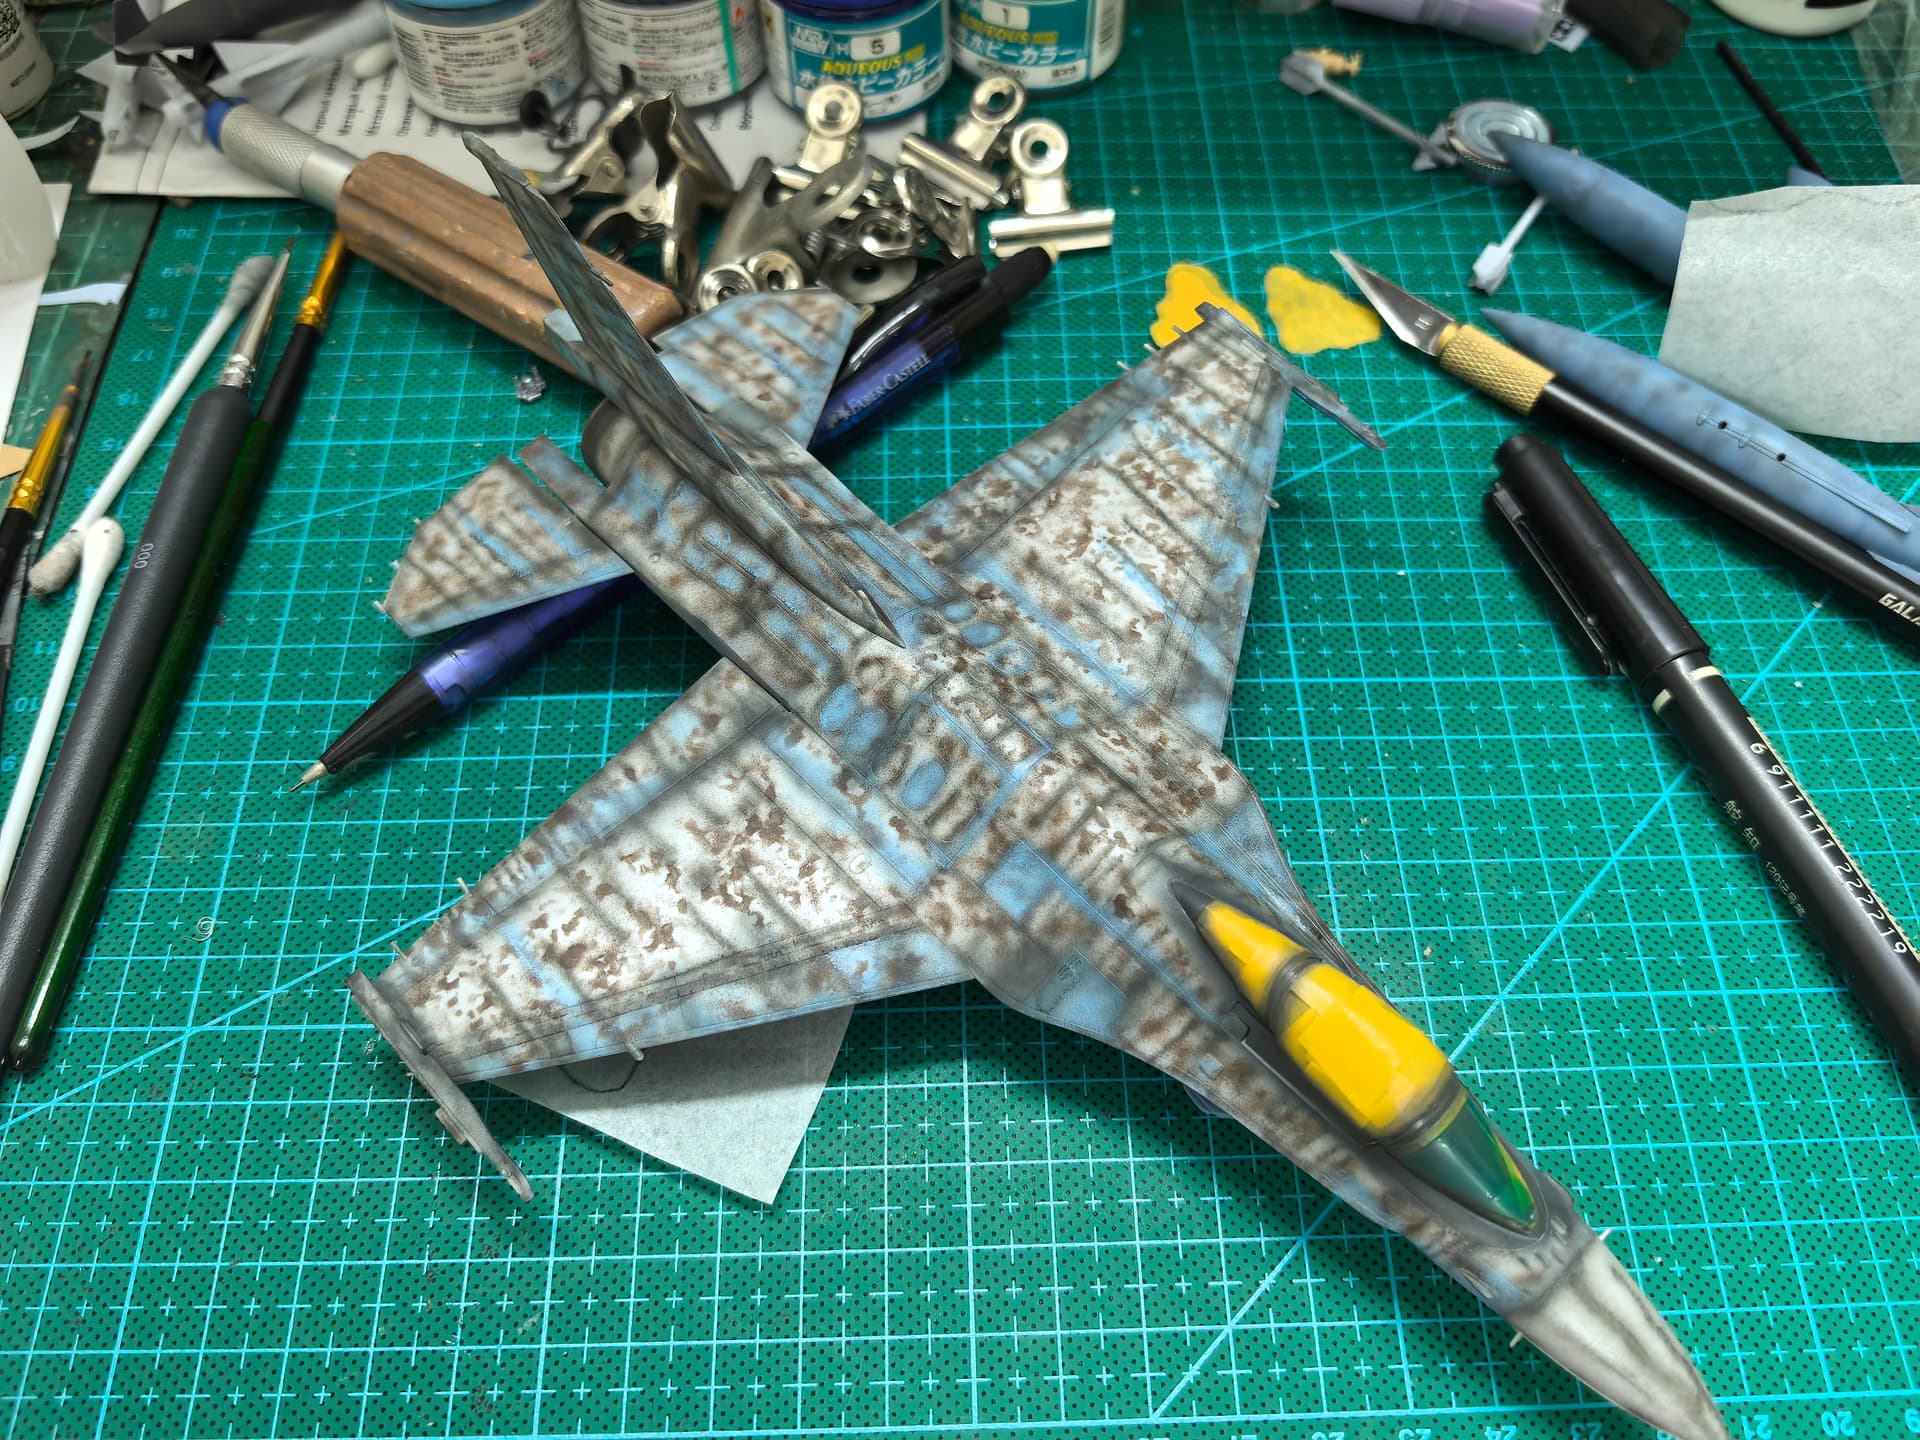
Welcome to the forums kwongyan. Beautiful F-16 you have there!
Sounds Great @kwongyan! I will add you to the roster!
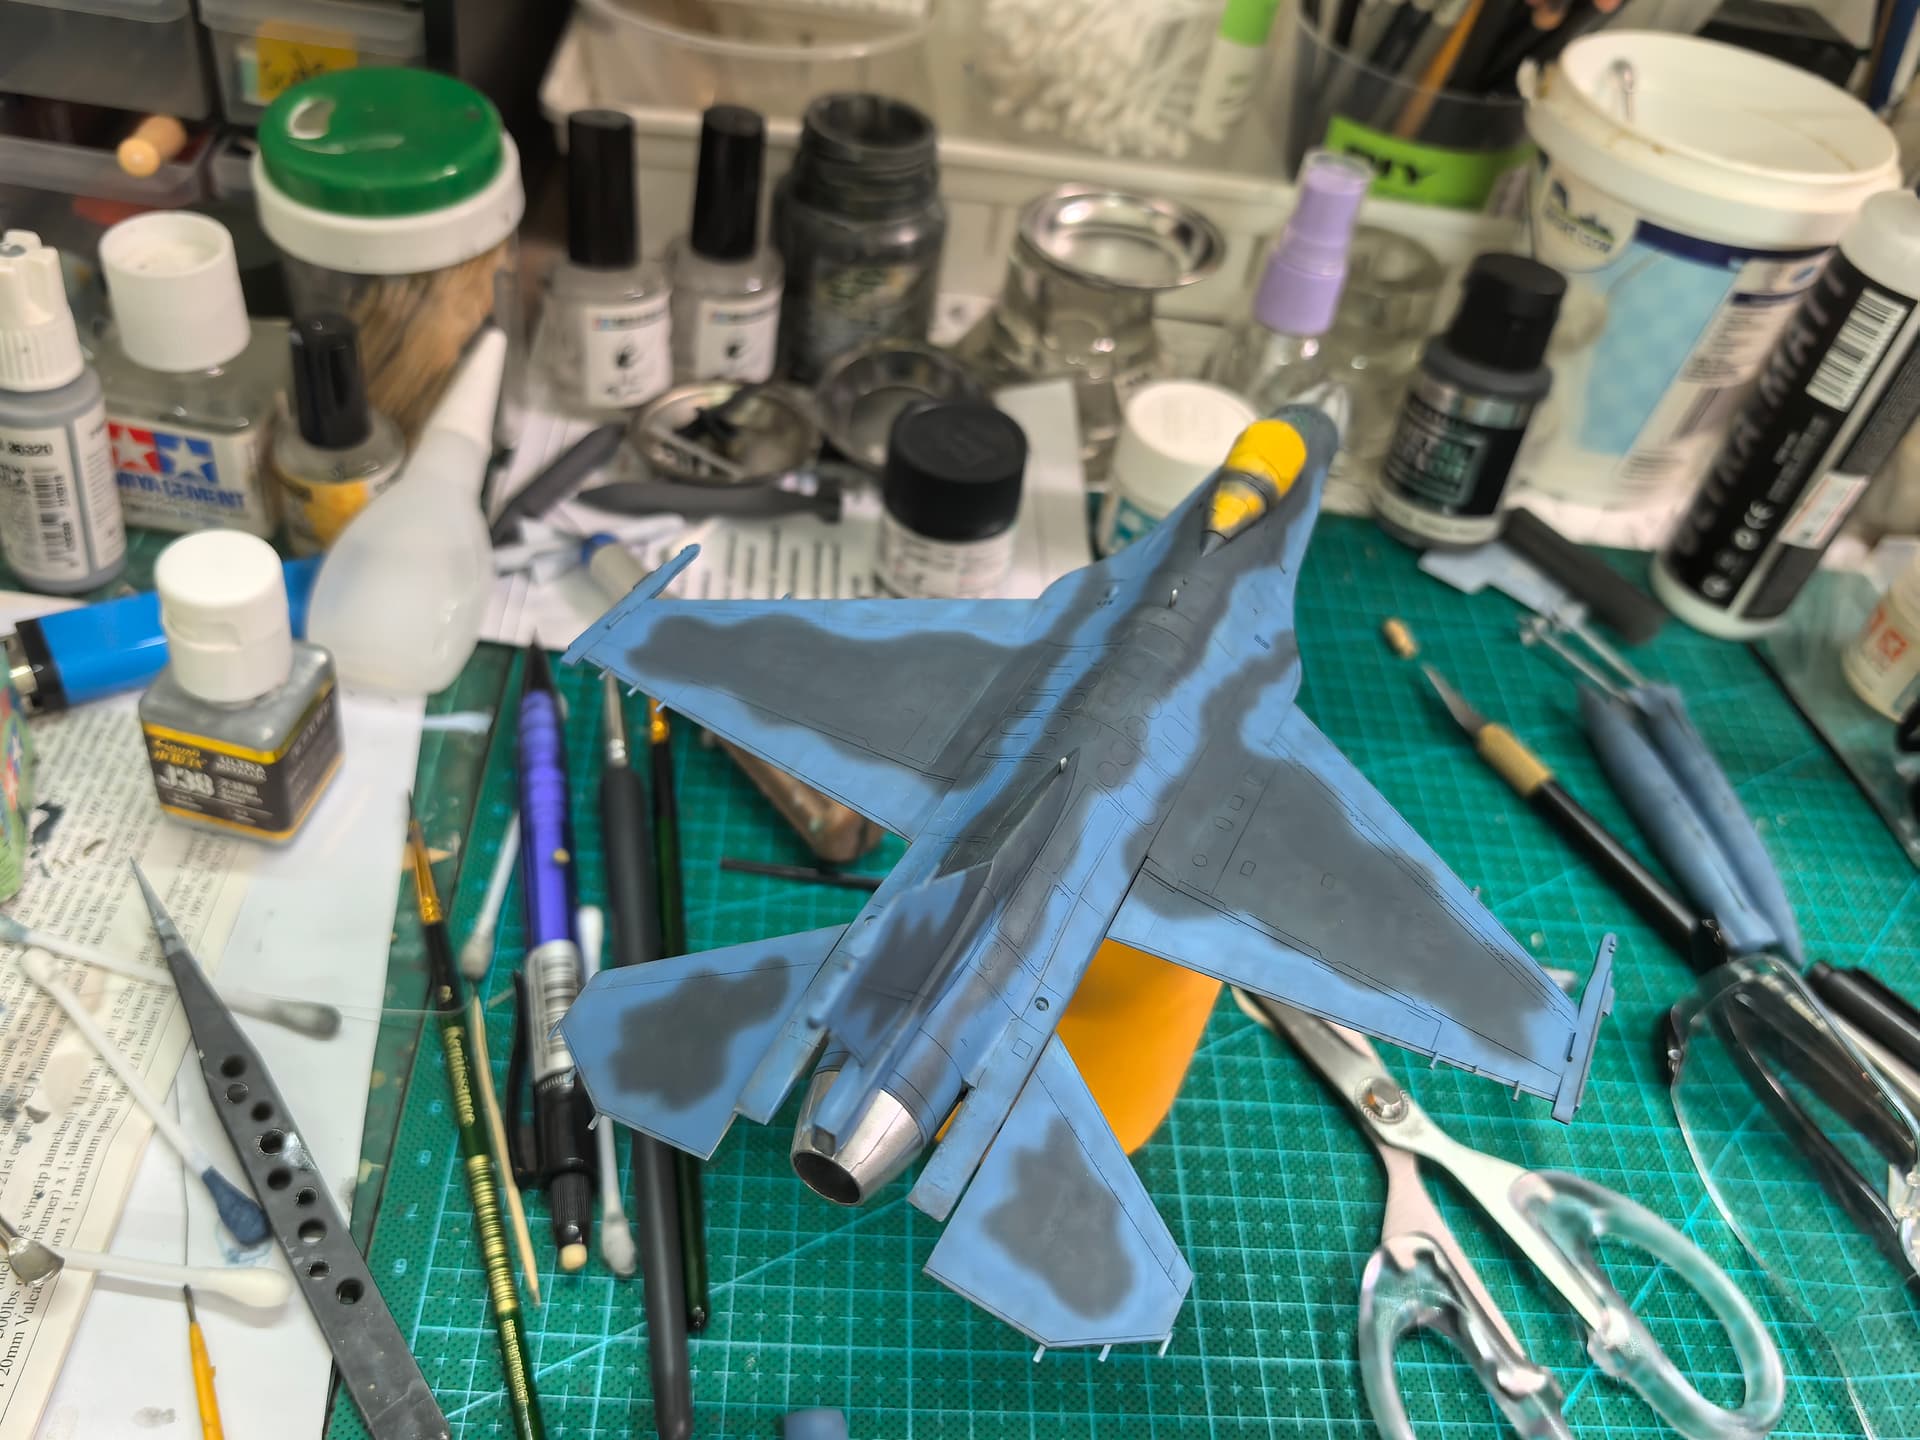
The Japanese F-2 does look like an F-16, but they are actually not the same. The F-2 has a larger wing span, different radar and avionics and different build materials for the airframe.
3 Likes
Here is my build…
Note: System says I am new user and only allowed to attach 1 picture per post. Do I need to wait a couple of days before I can start posting?
4 Likes
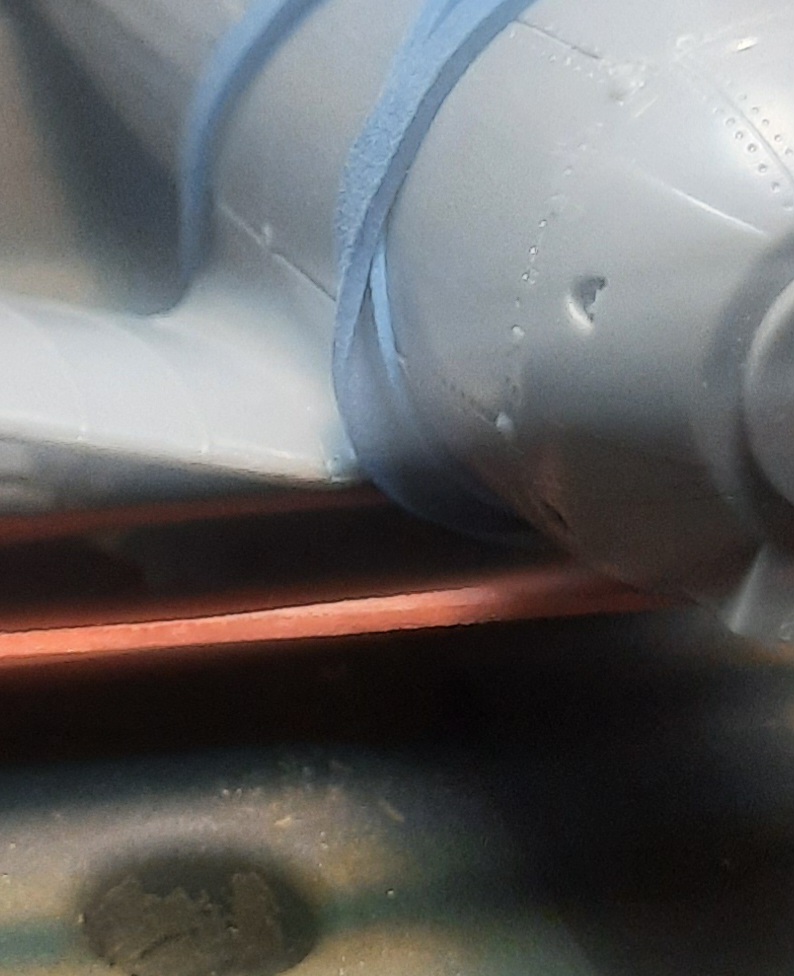
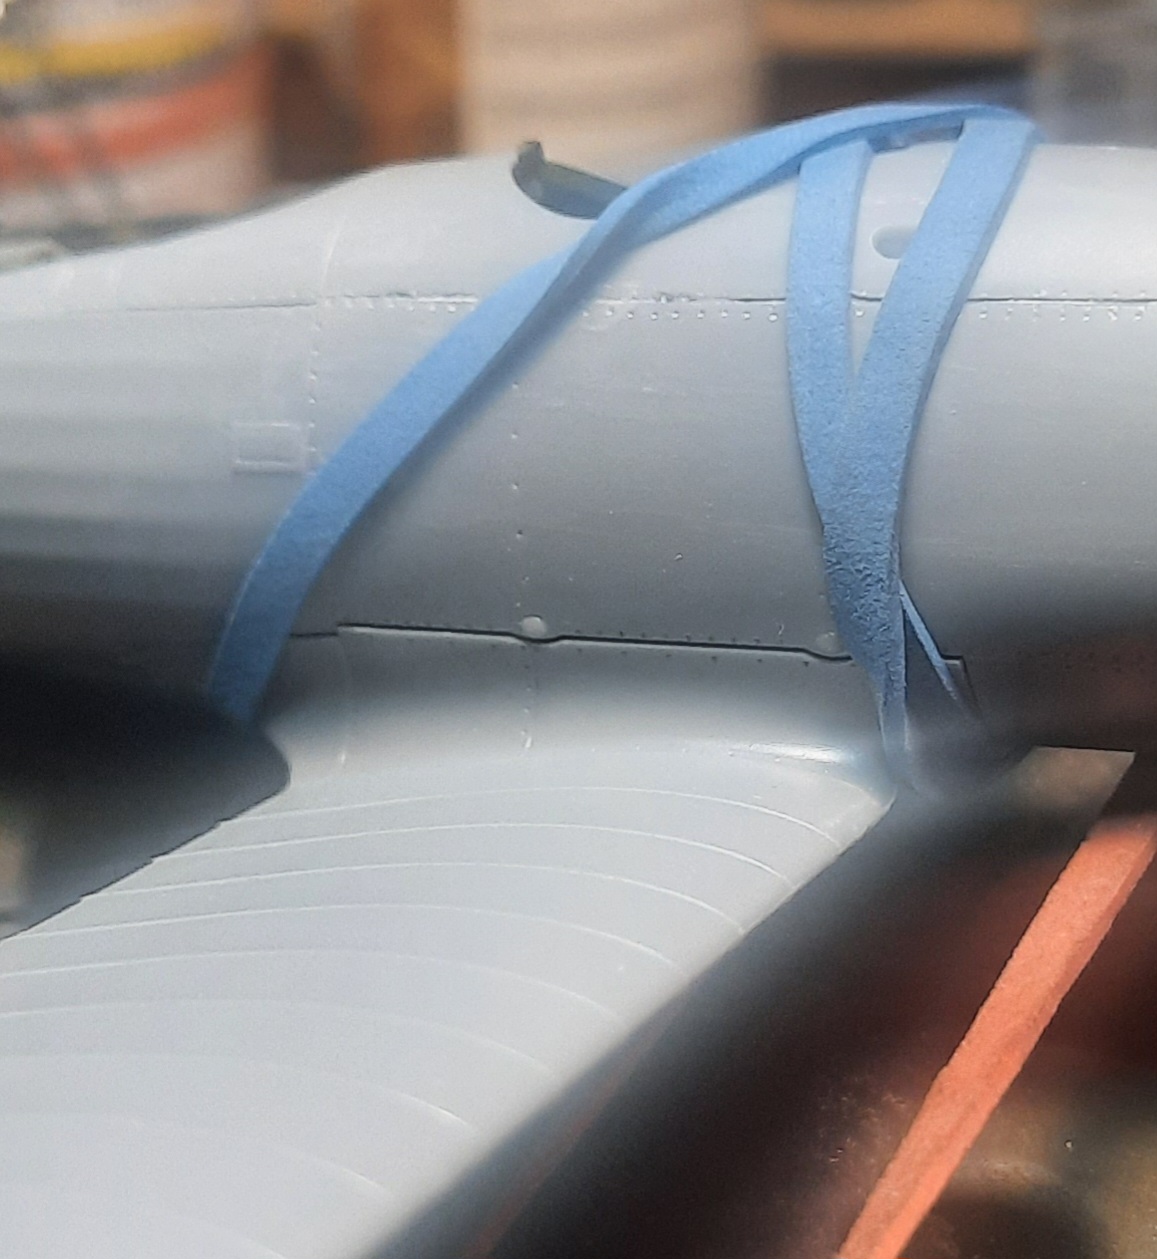
The detail on this kit is nice. The wing root is a bit questionable. The ribbing details of the wing is really cool. Looking forward to putting some paint on this if I can remember how? Been awhile since I’ve built a stick and canvas bird.
The wing root turns out quite nice with very little fitting required. The connection point appears to be strong enough for rigging. I was pleased with both the wing and elevator connection points.

3 Likes
Wow, that does not look 1/72 in the box. Looks quite detailed and nicely molded. Should be a fun build!
1 Like
Thank you for that information. I was not aware of the differences.
1 Like
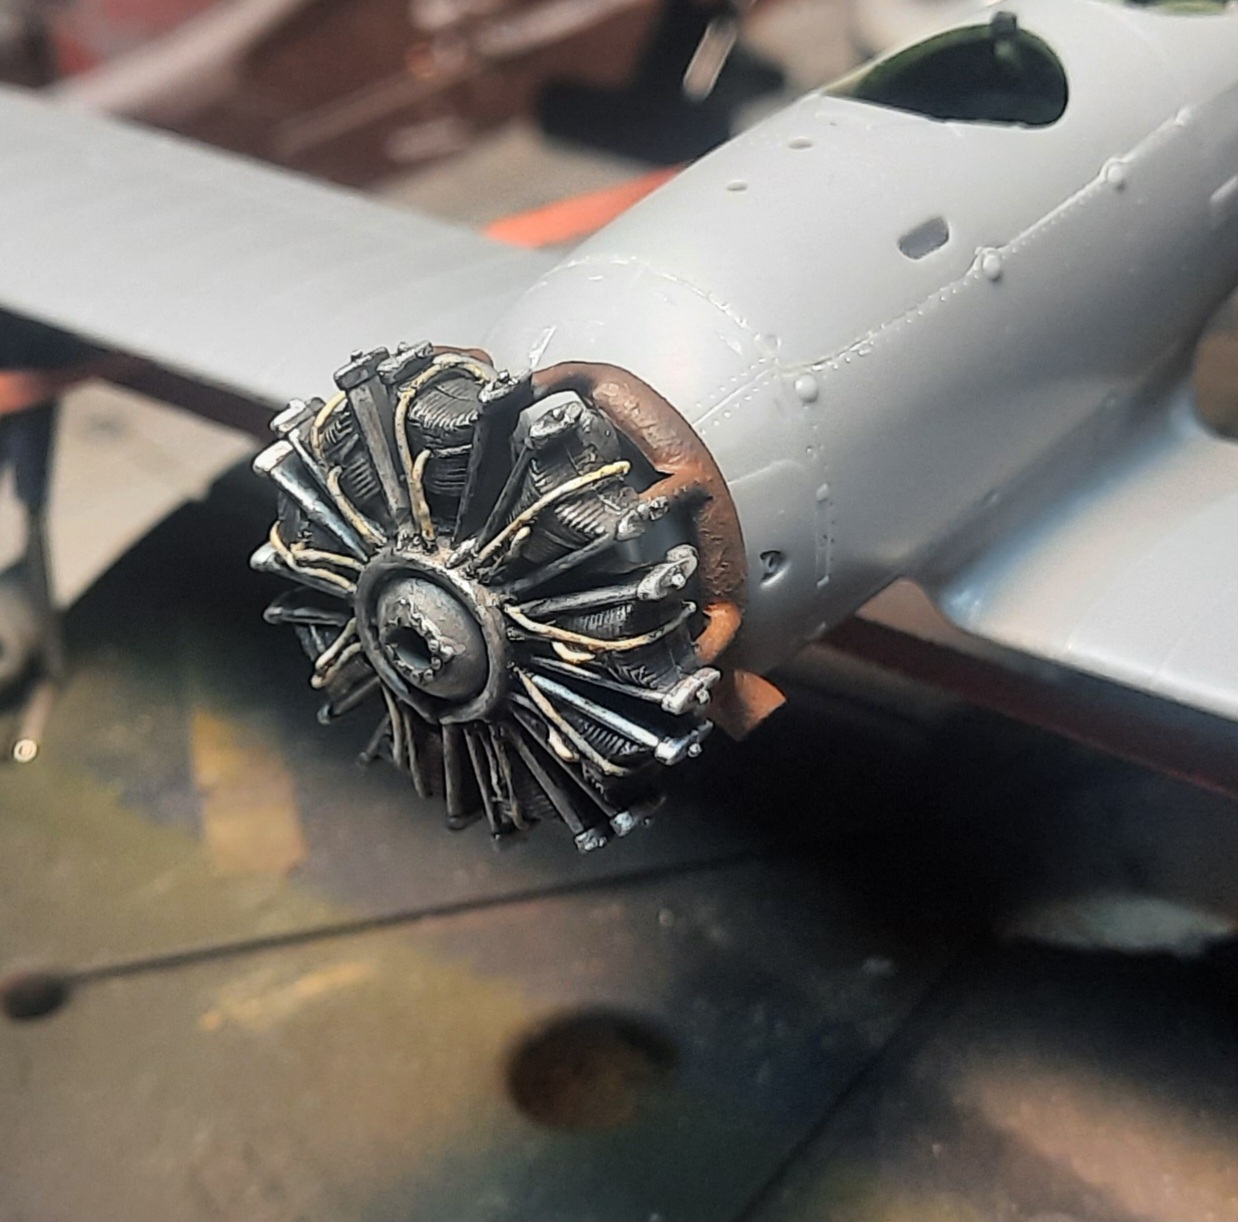
The Nakajima Kotobuki 2-Kai-1 powerplant produced 580hp. Enough power to propel the E8N1 to a top speed of 300km/h.
The Hasegawa rendering is a gem, consisting of 6 pieces. A left and right exhaust manifold, a front and rear engine halve. The rear is molded with the intake manifold and the lower 2 cylinder exhausts. The crank case front capturing a poly cap makes for a total of 6.
Happy modeling
Mobious
10 Likes
Very nice build! Welcome.
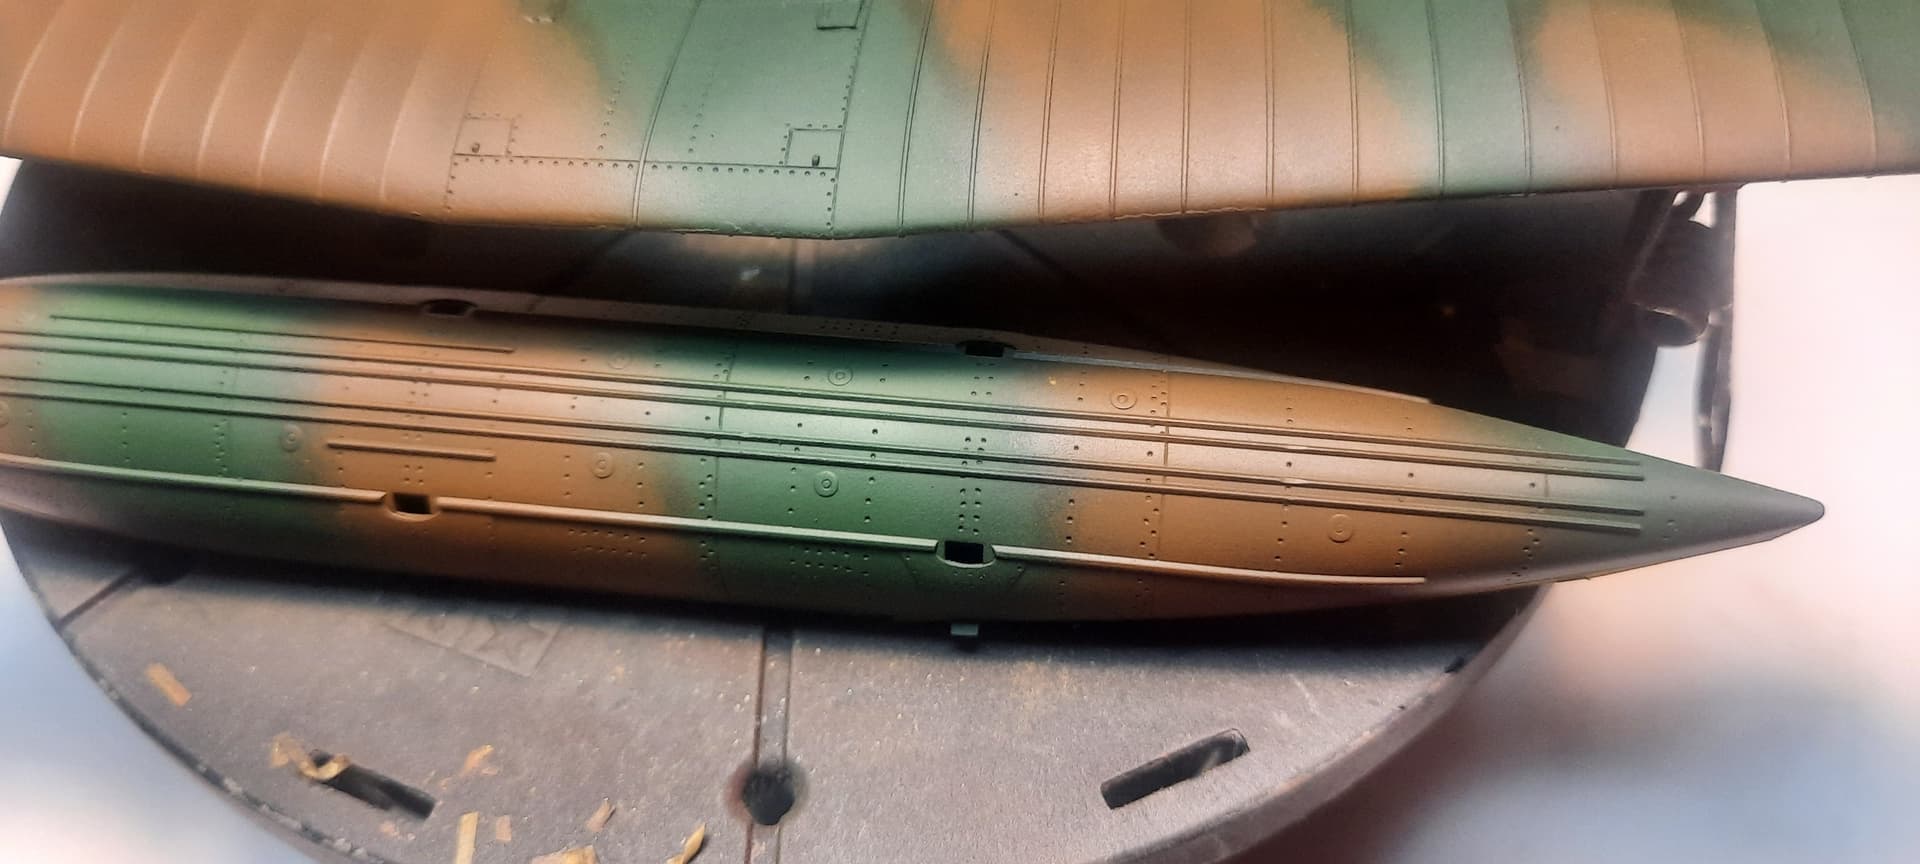
Making progress in spite of a couple set backs. Things started badly when I began priming the E8N1. My old primer airbrush is wore out. The threads in the body for the tip are no longer present and thread tape is currently acting as both the missing threads and gasket. It worked well enough to get the primer down smooth.
Ended up using the old Paasche H primer brush to free hand the camo because some knucklehead used my double action and didn’t clean it properly the night before. Have to do post shading after I get the hard edge on the camo.
Thought I had lost the pe sights for the rear gunners mg. I knocked them off some where between the assembly area and the paint booth. Spent almost an hour searching the booth and the floor in front of the booth and couldn’t find them. As hope dwindled, I returned to the assembly bench and gave it a quick once over. I didn’t want to give up because I had spent some time on drilling the barrel the trigger and then thinning the rear stock of this gun. Found both front and rear sights on the bench.
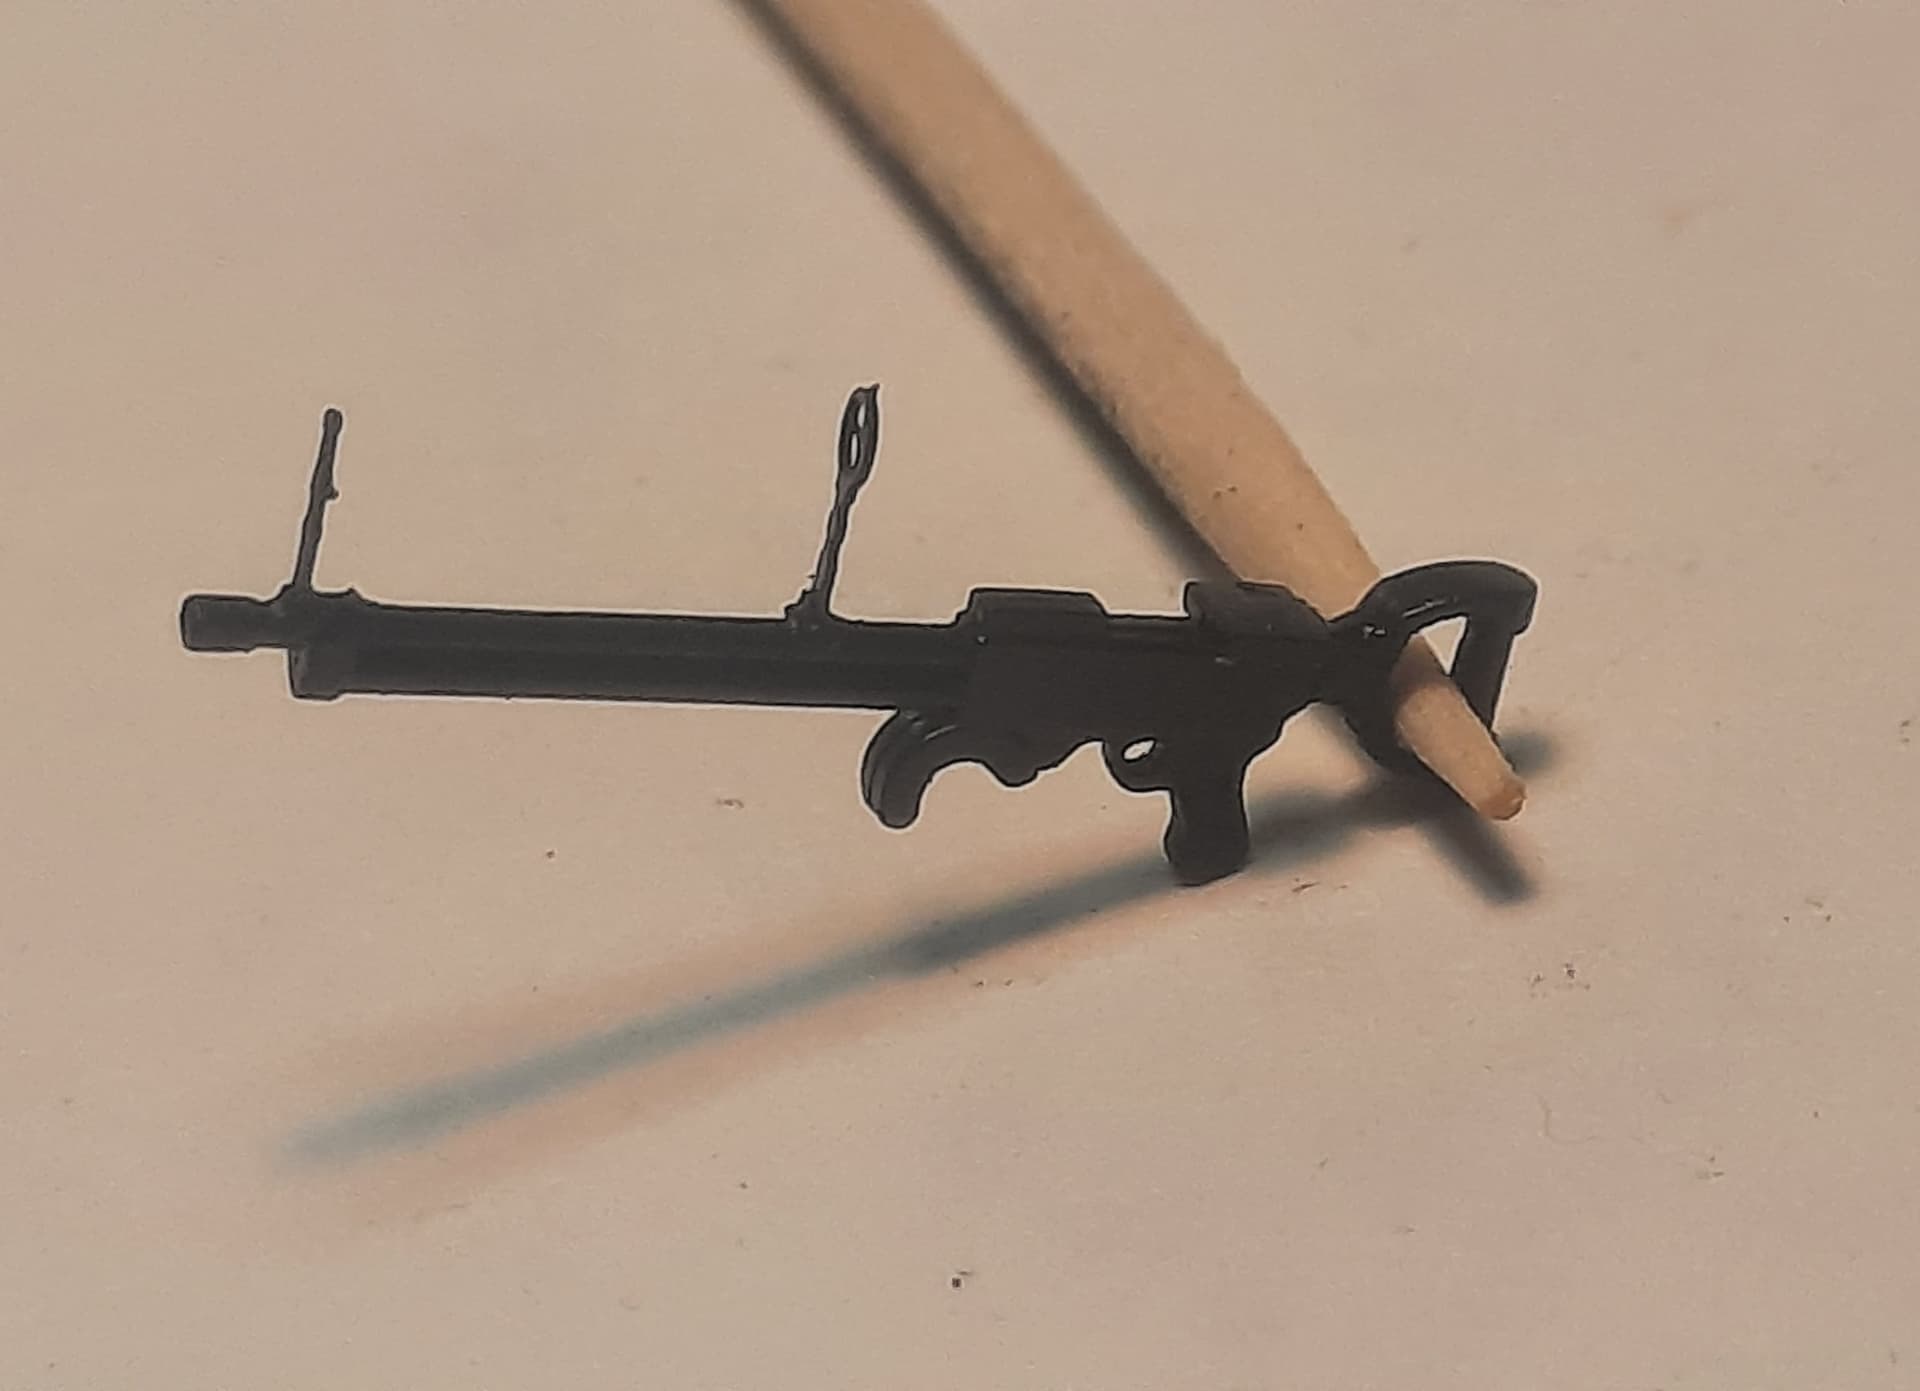
Never give up… never surrender…
Happy modeling,
Mobious
4 Likes