I’m having fun in this group build. I’m going to start on a Dragon 1/35 Type 95 Light Tank. It’s supposed to be a very good kit and much better than the old Tamiya rendition. I’ll post more details when I get started.
1 Like
I’ll be in next year if there is a new one, this year just sucks for me.
1 Like
Struggled with progress,
Took 2 attempts to get the flap pockets built, wasn’t sure if it would work. This is not as accurate as I had intended.
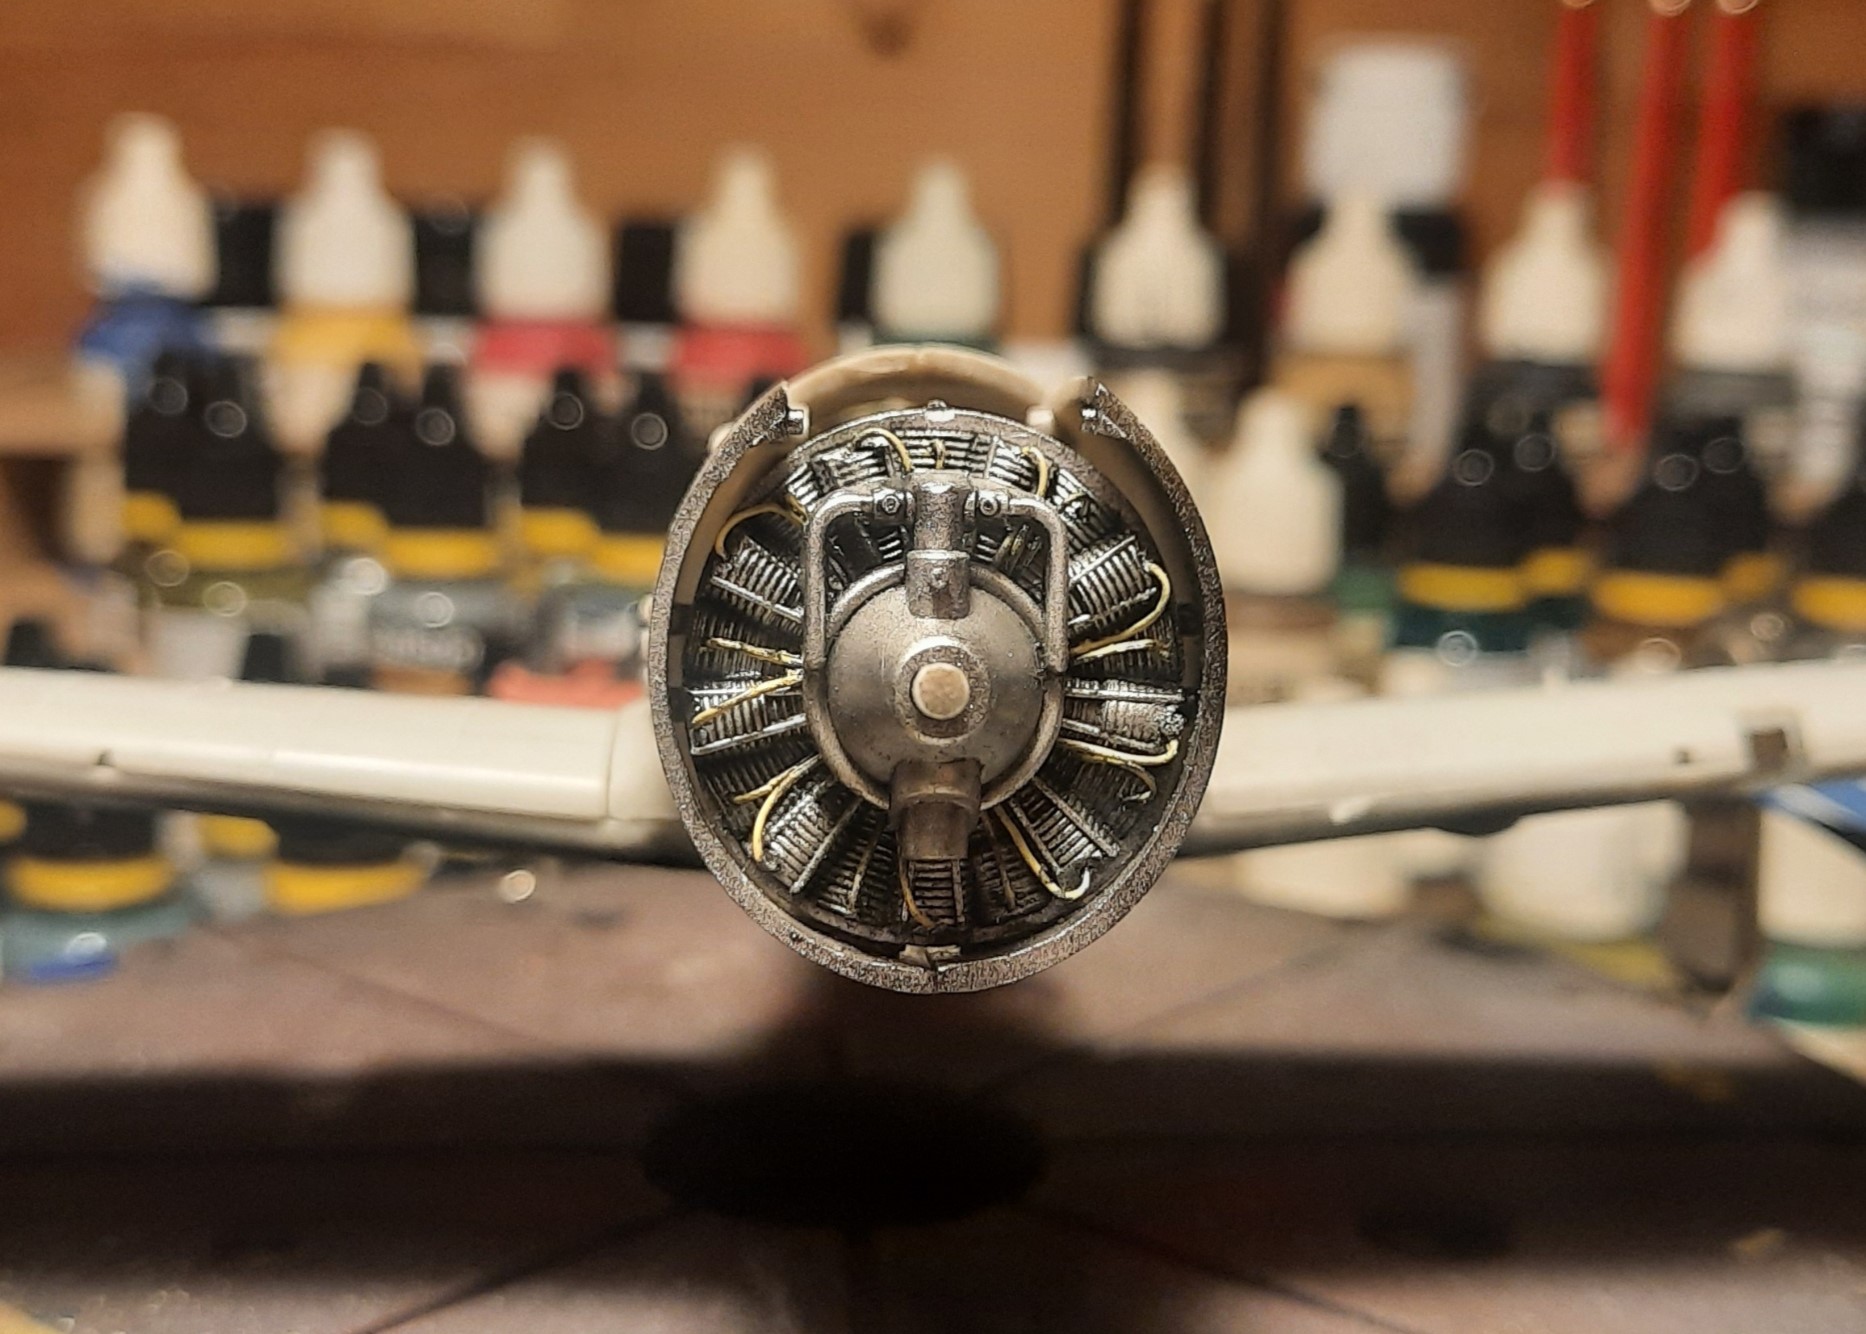
The engine is pretty much bundled inside the cowling, I’ve added plug wires to detail the engine, may not see much after the cowl and spinner are in place, but Mo will Know. The Hayate had an interesting engine being that it was a smaller displacement and lighter weight than other contemporary radial engine designs but was able to operate at higher rpm’s producing comparable hp numbers
4 Likes
been picking Frank’s nose, … uh, wait, no… been working on the exhaust on the Frank… trying to get better definition.

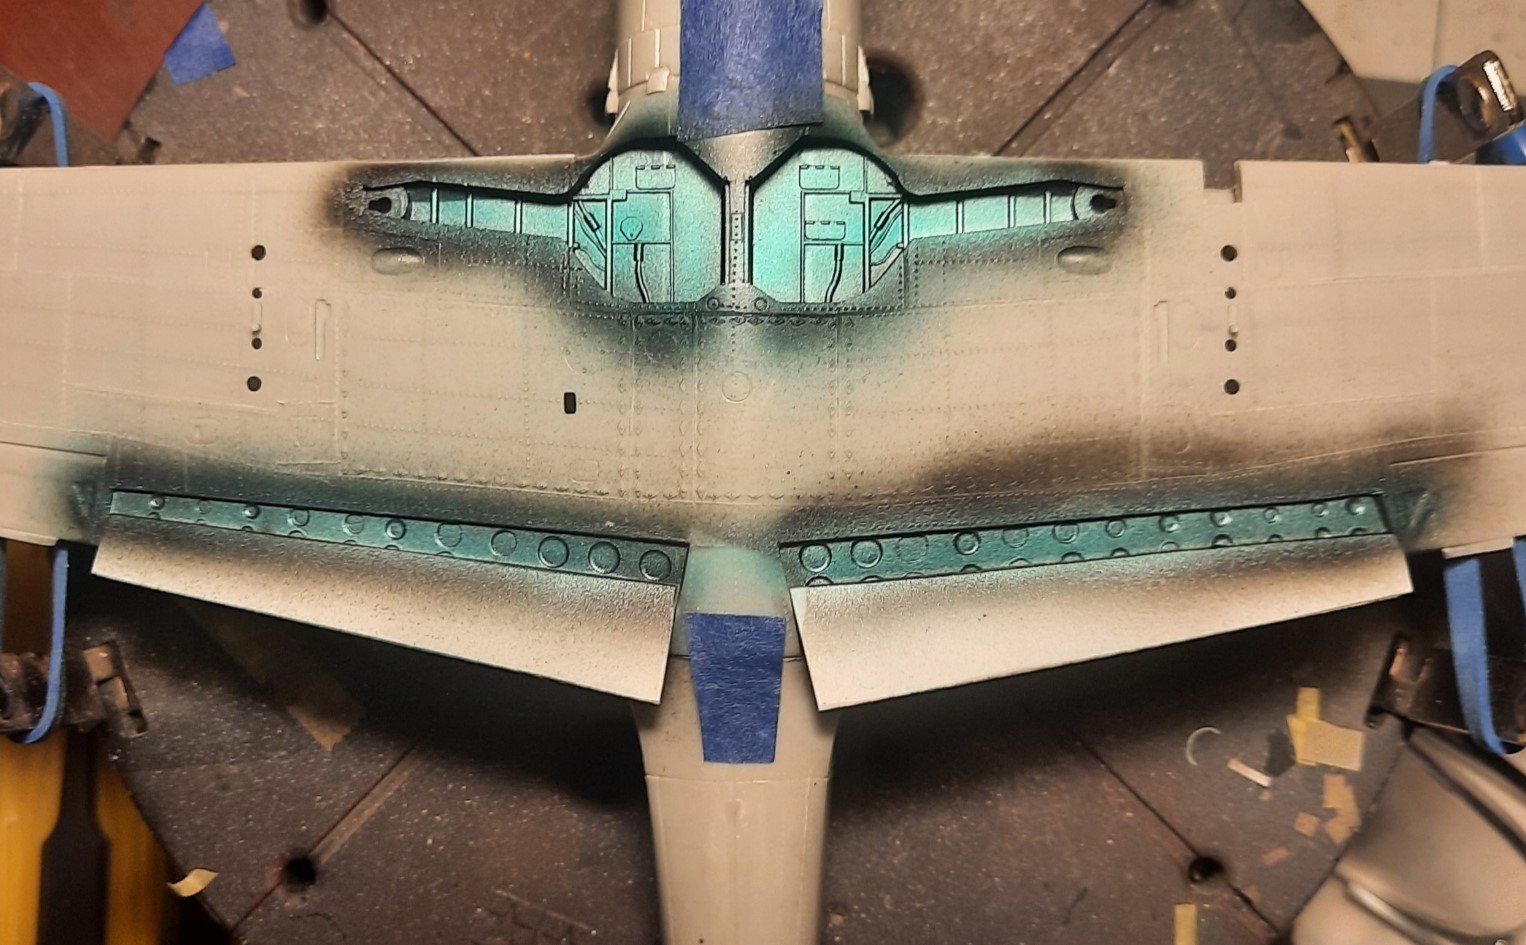
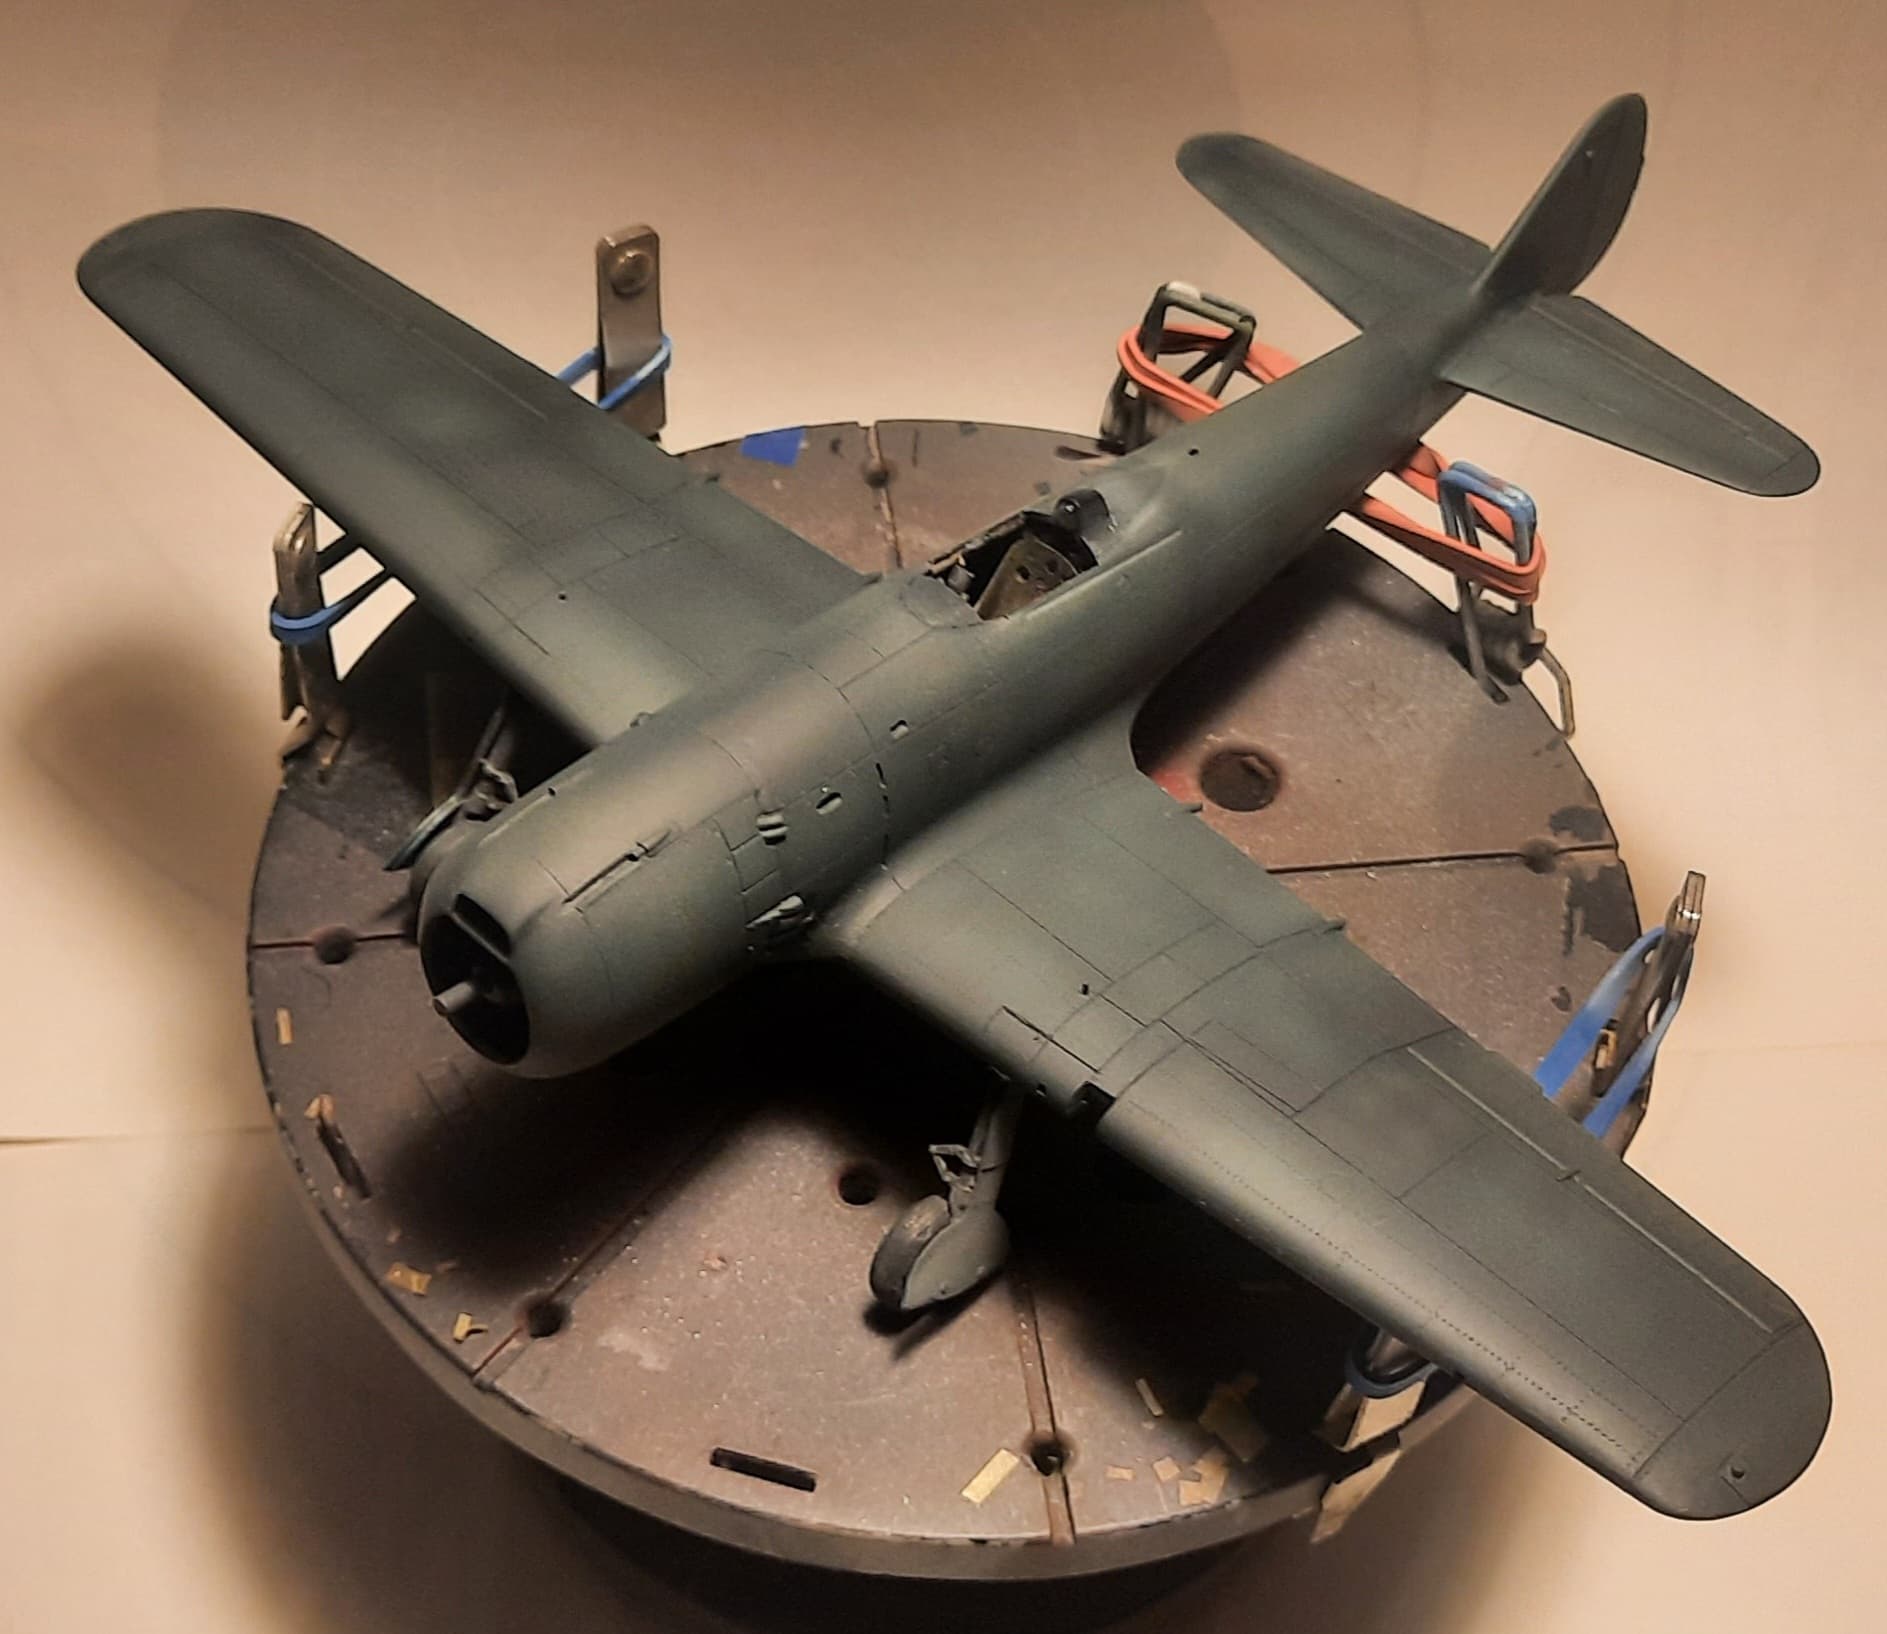
Began the wing assembly after scribing new panel and rivet lines. Addressed an overlap issue on the starboard wing leading edge. Looks like a decent fit after all the sanding. More test fit before glue…found a gap on the bottom that needed card stock. The plastic this kit is molded from is very soft. Nice for carving and etching but not so nice for rigidity. Added some bracing internally for the upper wing to help stabilize the wing root joint.
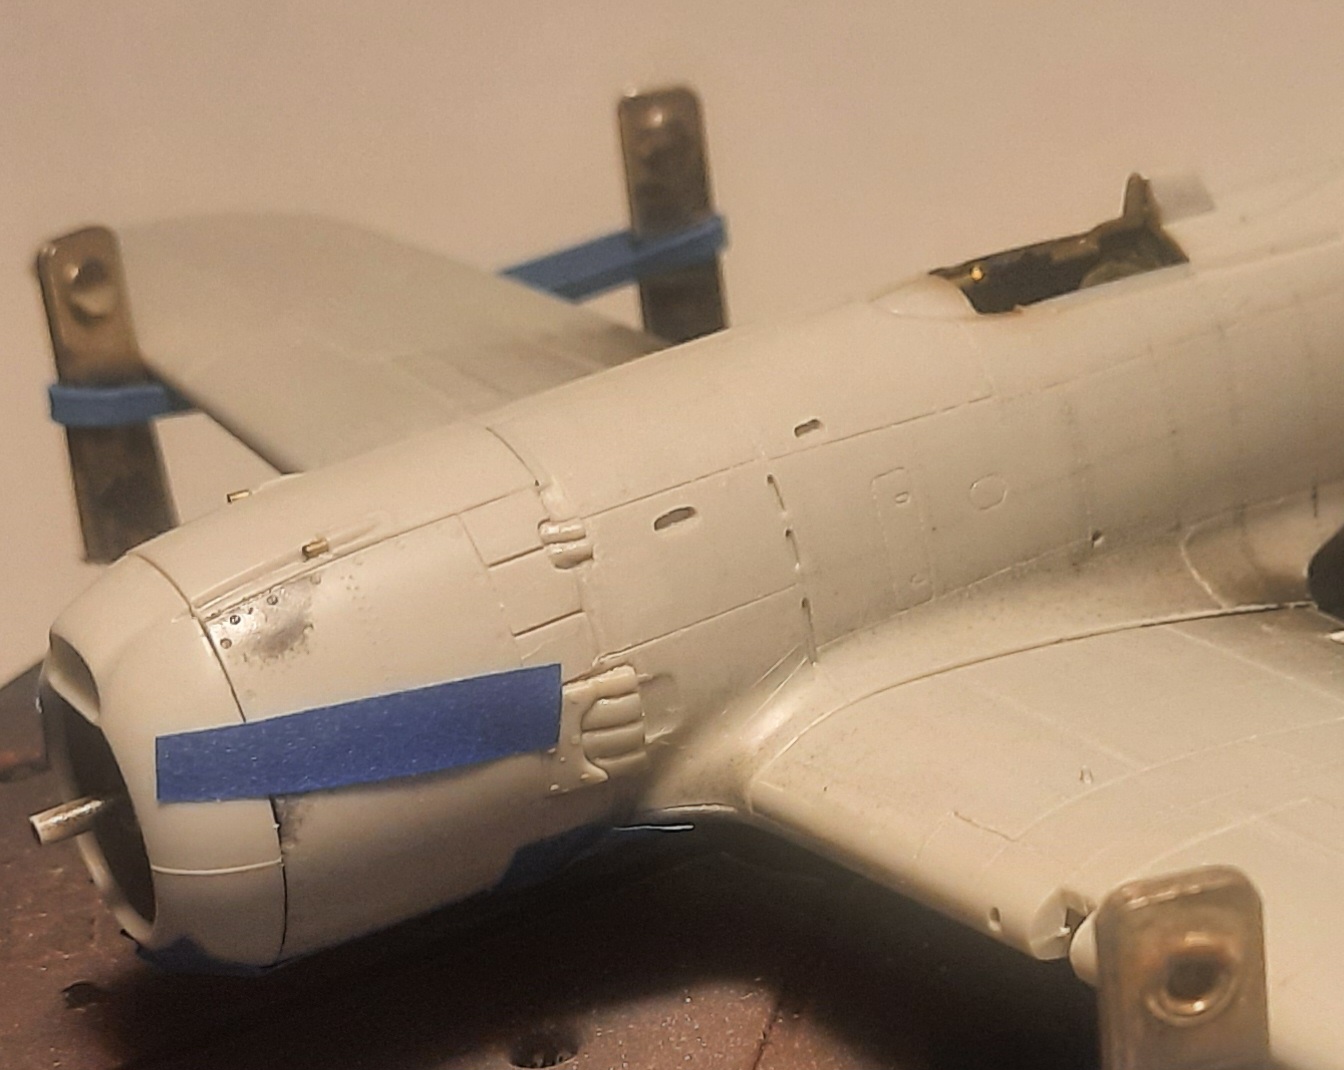
Scratched a new gun sight, the one in the kit was molded in the light grey fuselage plastic and not one of the 4 clear parts that are included. Sort of a disappointment,so I dropped it and lost it… ![]()

Added some brass tube to define the twin fuselage mounted 13mm mg’s.
Added more panel lines and rivets to the elevators. Going over the tail too, to see if I missed anything.
Finished up the wing attachment and sanding and got the Ki-84 into primer and noticed a few spots I have to fix. While that was going on decided to work on a pilot figure for this one. Spent a minute or 2 on cleanup before painting began. The pilot that was originally packaged with this aircraft was assigned the Ki-43, so I picked up a set of Hasegawa pilot figures. There were 2 different poses of Japanese pilots in the set. The figures appear to be a little out of scale.
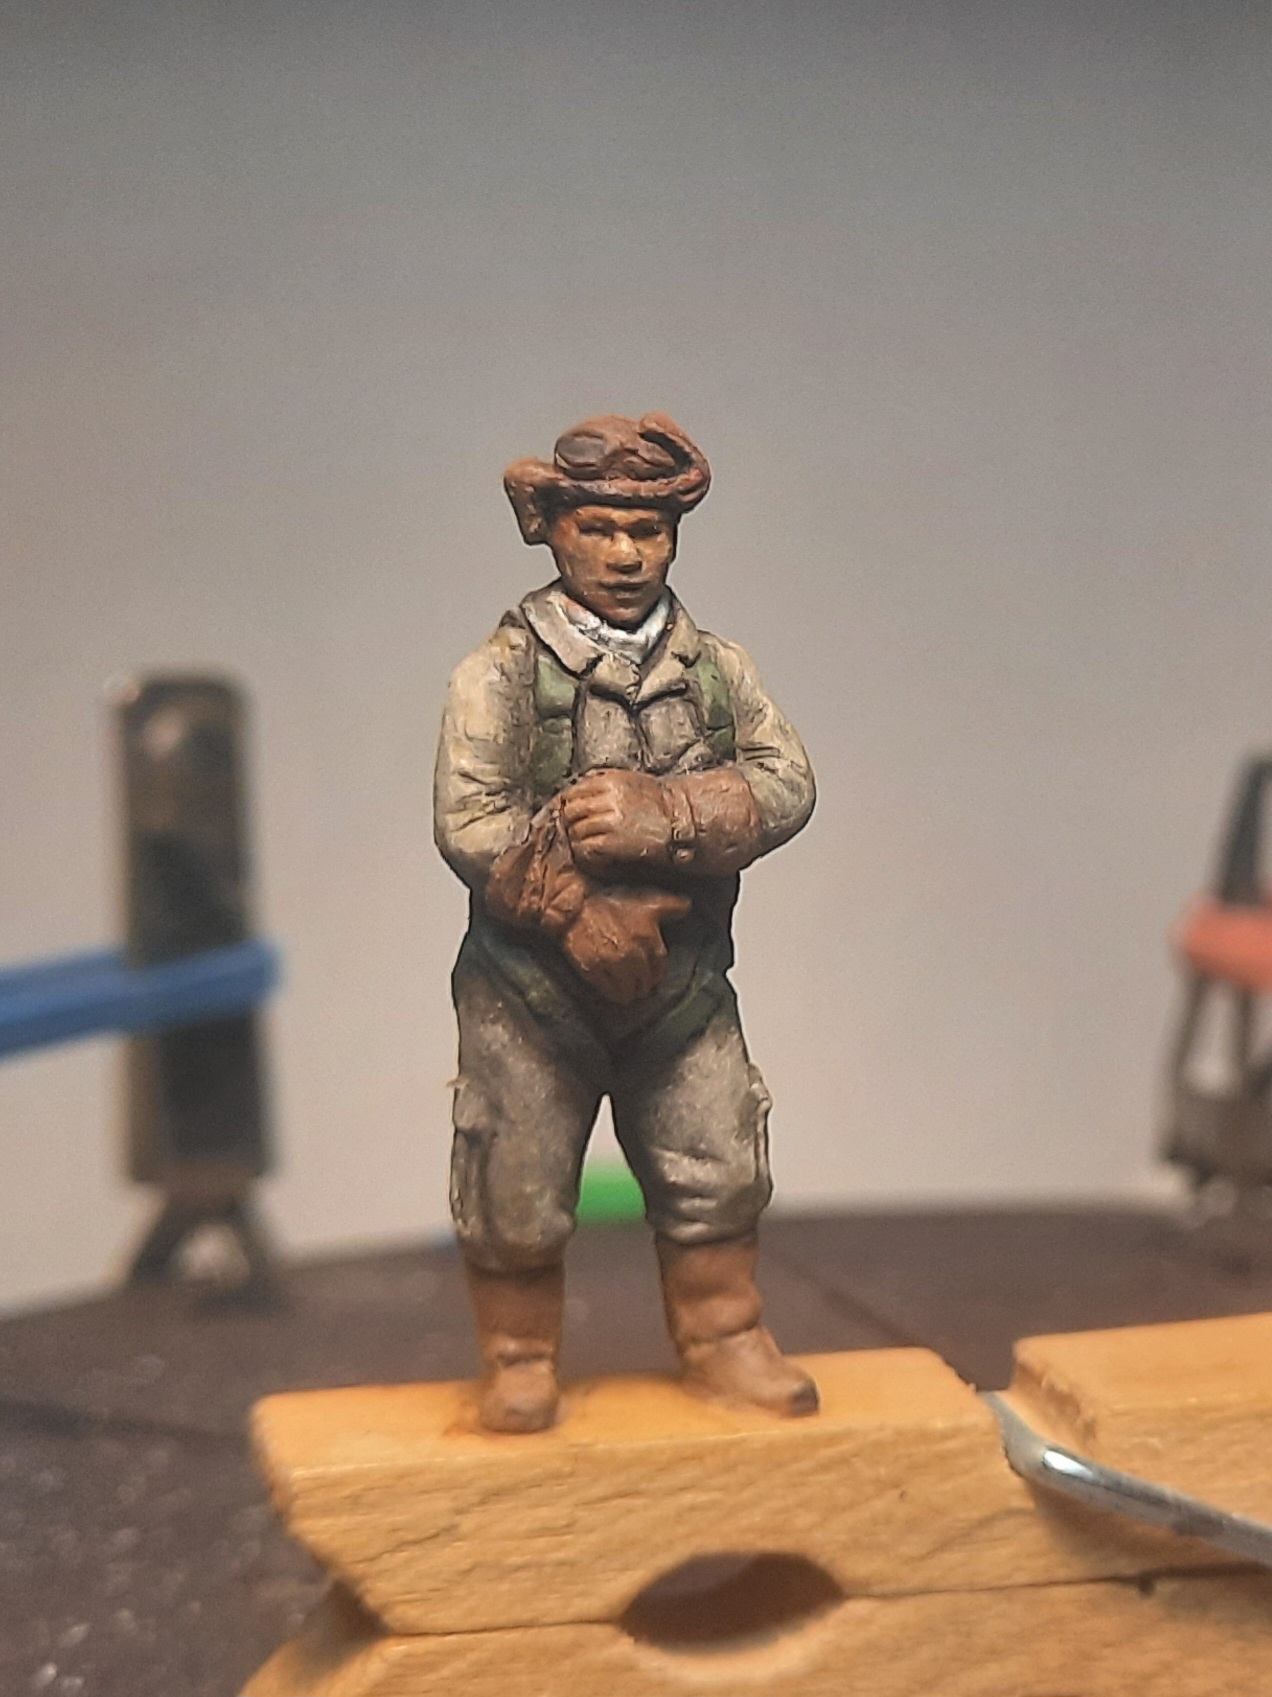
Let me introduce N. Furtter the pilot now assiged to the Ki-84
That’s it for now. Happy modeling…
3 Likes

Went over some rivet detail that got lost in the sanding. Got a base coat down and sealed. While waiting for this to cure, got some details added to the landing gear.
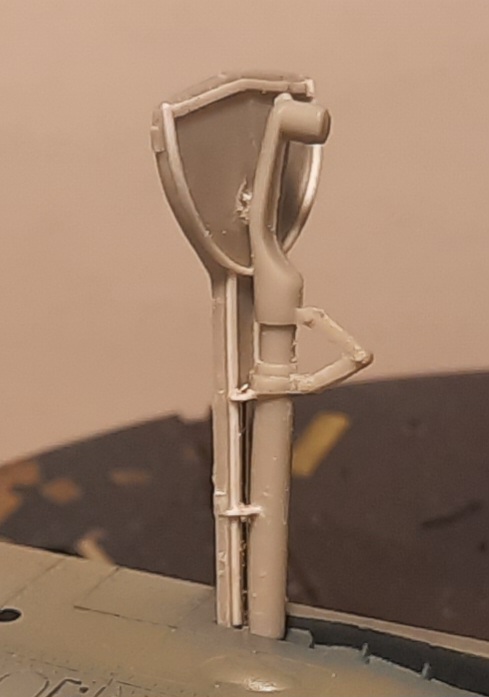
The gear is molded in the same soft plastic as the rest of the kit and not sure if this will become a long term problem, but the Ki-84 was known to have had weak landing gear so maybe this is molded into the model, Idunno. Anywho, happy modeling…
Mobious
2 Likes
Glad to hear it EBergerud. Looking forward to seeing your Type 95!
Looking good Mobious. I am sure all your hard work on that Ki 84 is going to pay off !
It’s not so much “hard work” as the fact that Hasegawa has a Ki-84 Hayate that is a newer tooling and would have required less time to get to where I am now. Of course this comes down to the fact that I knowingly chose this path and the challenges associated with it. Patience is the key and I’ve lost my keys several times already ![]()
Here’s to the challenges that await! And hopefully success…
Cheers,
Mobious
Well as for making a choice, I chose Alclad 2 primer because of being a lacquer and was thinking that this would bond well with the kit plastic and provide a stable base for a lot of masking. I let everything sit for a day before moving onto the masking for the camo and to my amazement as I attempted to reposition the first mask the primer let loose. I grabbed the 3m masking tape and proceeded to remove about 2/3 of the paint. What a mess the Ki-84 and the mask all spent the night in the waste basket ![]() . Next morning I thought about it and began stripping the rest with Iso Alcohol. Took it right down to bare plastic removing all the layers turning it all into a slime. Still had a mess but there was hope that this could still be salvaged.
. Next morning I thought about it and began stripping the rest with Iso Alcohol. Took it right down to bare plastic removing all the layers turning it all into a slime. Still had a mess but there was hope that this could still be salvaged.
I lightly sanded the surface and reshot the Alclad 2. I let that set for several hours than wet sanded again before moving on. Cleaning everything between coats. Lastly got everything in the proper colors and will attempt the camo again.
The wheel wells and flap pockets will have to be reshot. A new tail wheel will have to be scratched. With all this going on a line from one of my favorite Sci-Fi movies came to mind…“Never give up, Never Surrender”…

Did I mention
Happy modeling,
Mobious
3 Likes
My condolences, but it’s good you have the grit to keep going! I never use the Alclad primers, if I use anything at all under Alclad metal colors it is Tamiya acrylics or Model Master enamel.
Think the problem I had was that I didn’t give the primer enough time to cure before the sealer was applied. I’m hoping to have this sealed up this evening let that set for 24hrs before attempting the mask again. That’s the plan anyways ![]() . Course it may just be the lacquer vapors impeding my judgment…
. Course it may just be the lacquer vapors impeding my judgment…
Happy modeling
Mobious
1 Like
Wow. Nice Recovery. That would have taken the wind out of my sails for sure. This is the advantage of building the cheaper kits–easier to chuck it and start over with a new one ![]()
I used the Alclad gloss black primer once (and only once) several years ago to prep some F-14 Engine nozzles. I don’t think it’s cured to this day. Still feels tacky. Only thing I prime with now is Mr Surfacer 1000 (or black 1500), or Tamiya Spray Primers. For base coating Alclad, I will use Tamiya Gloss Black or Silver Leaf Spray paints (decanted usually) .
1 Like
I’ve always used Mr surfacer and have never had an issue but I thought I’d give the Alclad a try. Checked this morning and it seems to be cured out. Anyway I’ll be ordering some Mr Surfacer shortly.
Happy modeling,
Mobious
1 Like
Mobius: you might check the YouTube Channel “Scale Model Workshop” run by Paul Budzig who is as good a modeler - in a technical sense - as I’ve seen. He recommends using automotive primer via a Spray Gun. I went half way and bought a rattle can of Duplicolor Hot Rod Black lacquer primer - it is both Sandable and Fillable. All I know is that it works beautifully. It’s a true lacquer so you’ll want to do it outside, but it dries very quickly. It bonds to the surface perfectly and if there are any ghost seams or scratches on the kit, I’ll bet they’ll be gone after the primer is down. This stuff is absolutely great - and it sprays like a ritzy “spraycap” airbrush. Less than $10> Duplicolor makes a few million primers so look for #1698 Hot Rod Black - that’s the real deal. Give it a try - I use it on all my aircraft builds.
3 Likes
Hi gents
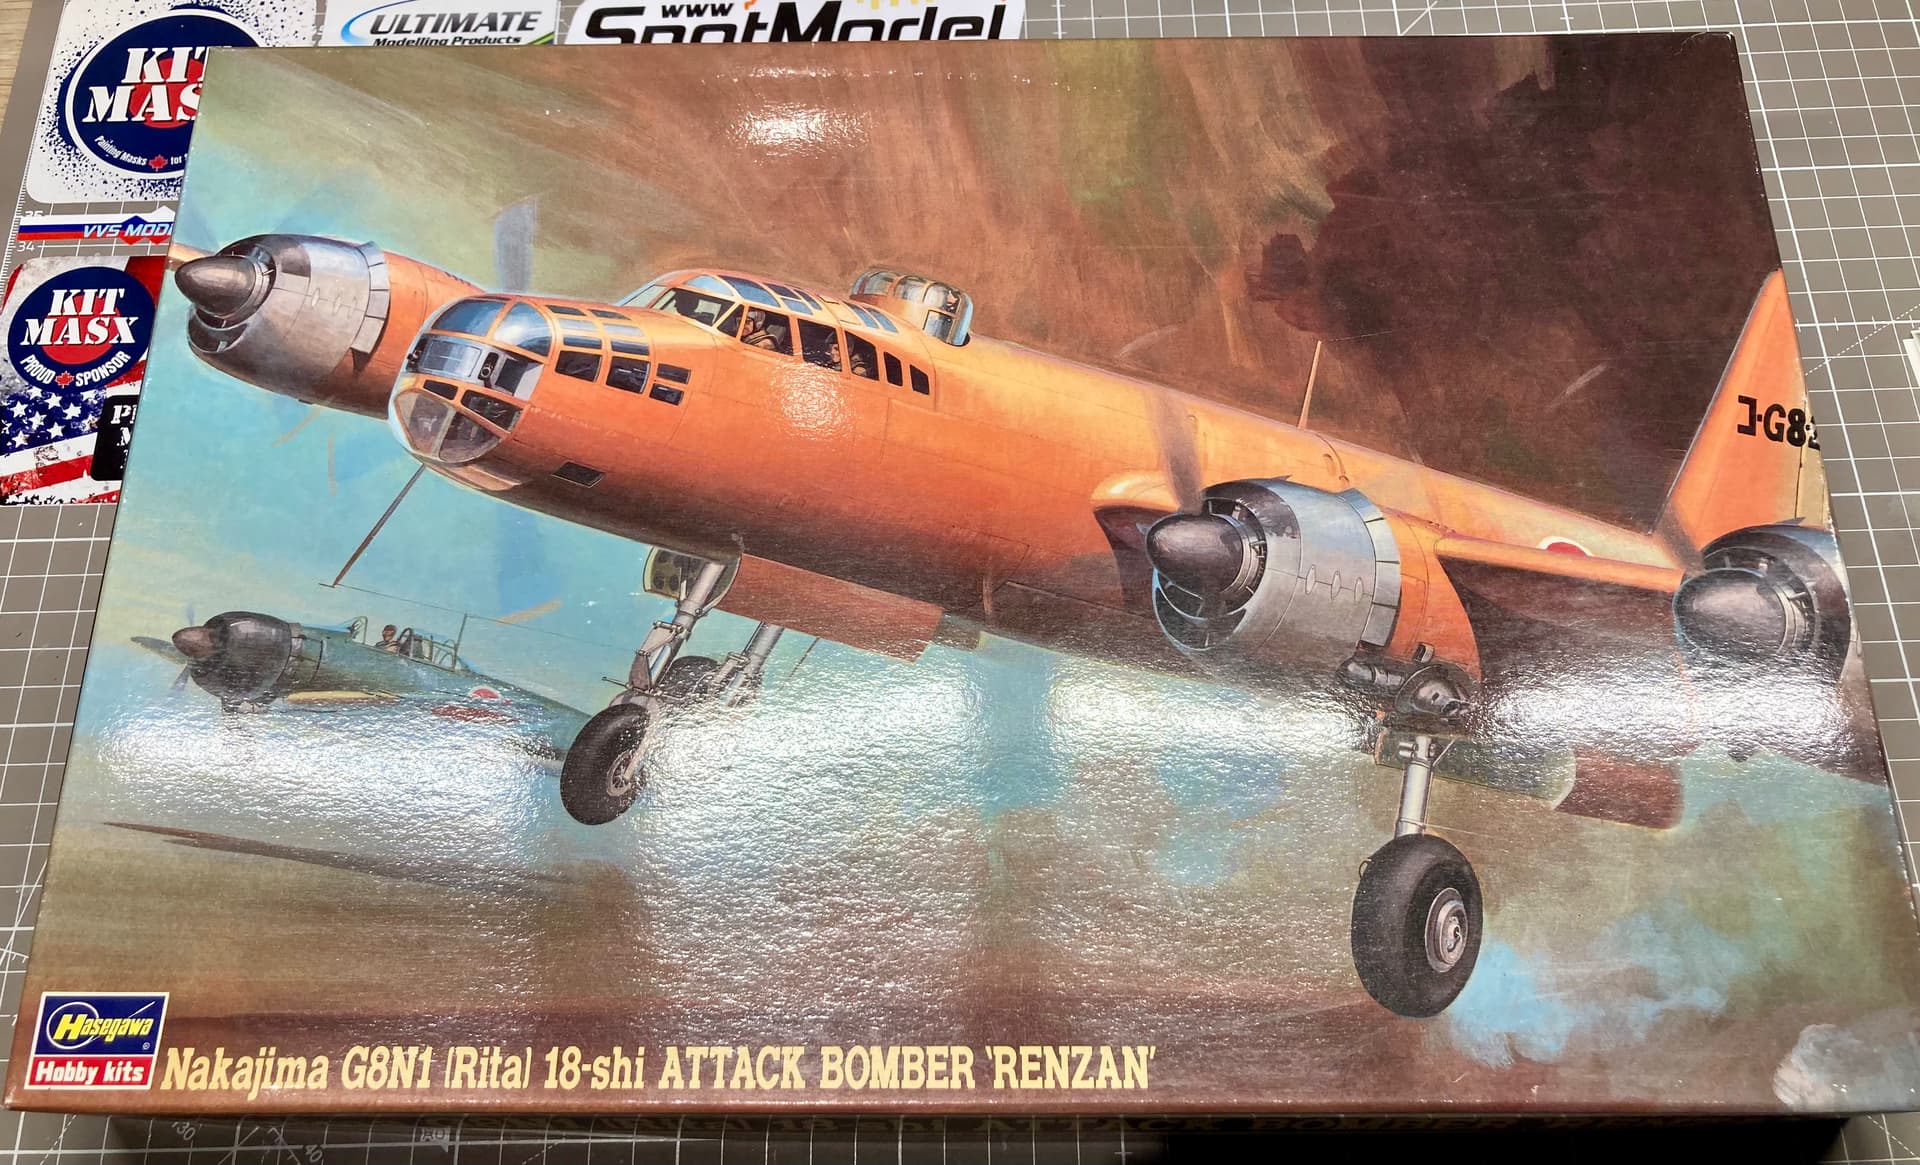
I decided to continue on with things Japanese and present the Dragon 1/35 Type 95 “Ha Go” Light Tank, Early Production. (Kit #6767) As you can see very nice box art.
 boxart by Eric Bergerud, on Flickr
So far this has been pretty much good news. This kit has been very well reviewed (you might check the very good review on Andy’s Hobby Headquarters on YouTube) and I can certainly see why. The detail is excellent and so far the fit has been Tamiya quality. The only real problem is with the instructions. Dragon is not famous for their instructions - they mislabel parts, give you no clue as to sequence and, worst of all, don’t always give you a view of how the kit is supposed to look when important parts are put on. On a couple of occasions I had to rely on internet builds.
The other problem has nothing to do with Dragon. The tank was little so there are some very fiddly parts. Years ago I built a M3 Stuart in Australian service at Buna and as you can see the Stuart was considerably larger. (The two actually fought in the PI - I’ll discuss the operational history of the Type 95 when I’m done. Interesting buggy really.)
 M3Type95 by Eric Bergerud, on Flickr
Fortunately I was given the chance to build it “open” or buttoned up. I chose the later because the kit has no interior, so there’s not much to look at inside. And buttoned up, the assembly was considerably easier. Judge for yourself:
 kitfront by Eric Bergerud, on Flickr
 right by Eric Bergerud, on Flickr
 left by Eric Bergerud, on Flickr
Now it’s time to paint and weather the kit. As you can see from box art and from a pic of an original Type 95 residing now in Singapore (where the type earned serious laurels in 1942) the paint job will be complicated. So I’ll black base it because I will want a very irregular surface. The jungles of Southeast Asia were not kind to paint jobs. I hope I’ll get the energy to do a small vignette. We’ll see.
Eric
6 Likes
Wow! What a chore. Looking forward to seeing the final result.
Your patience and resolve is impressive.
2 Likes
Watched a couple of video’s from the Scale Model Workshop. I really enjoyed them. I plan on watching the canopy tutorial. The airbrush videos were informative and presented in an excellent manner. Had to watch the PT boat build videos too.
Glad to see some armor on the venue. Looking forward to seeing updates on the type 95.
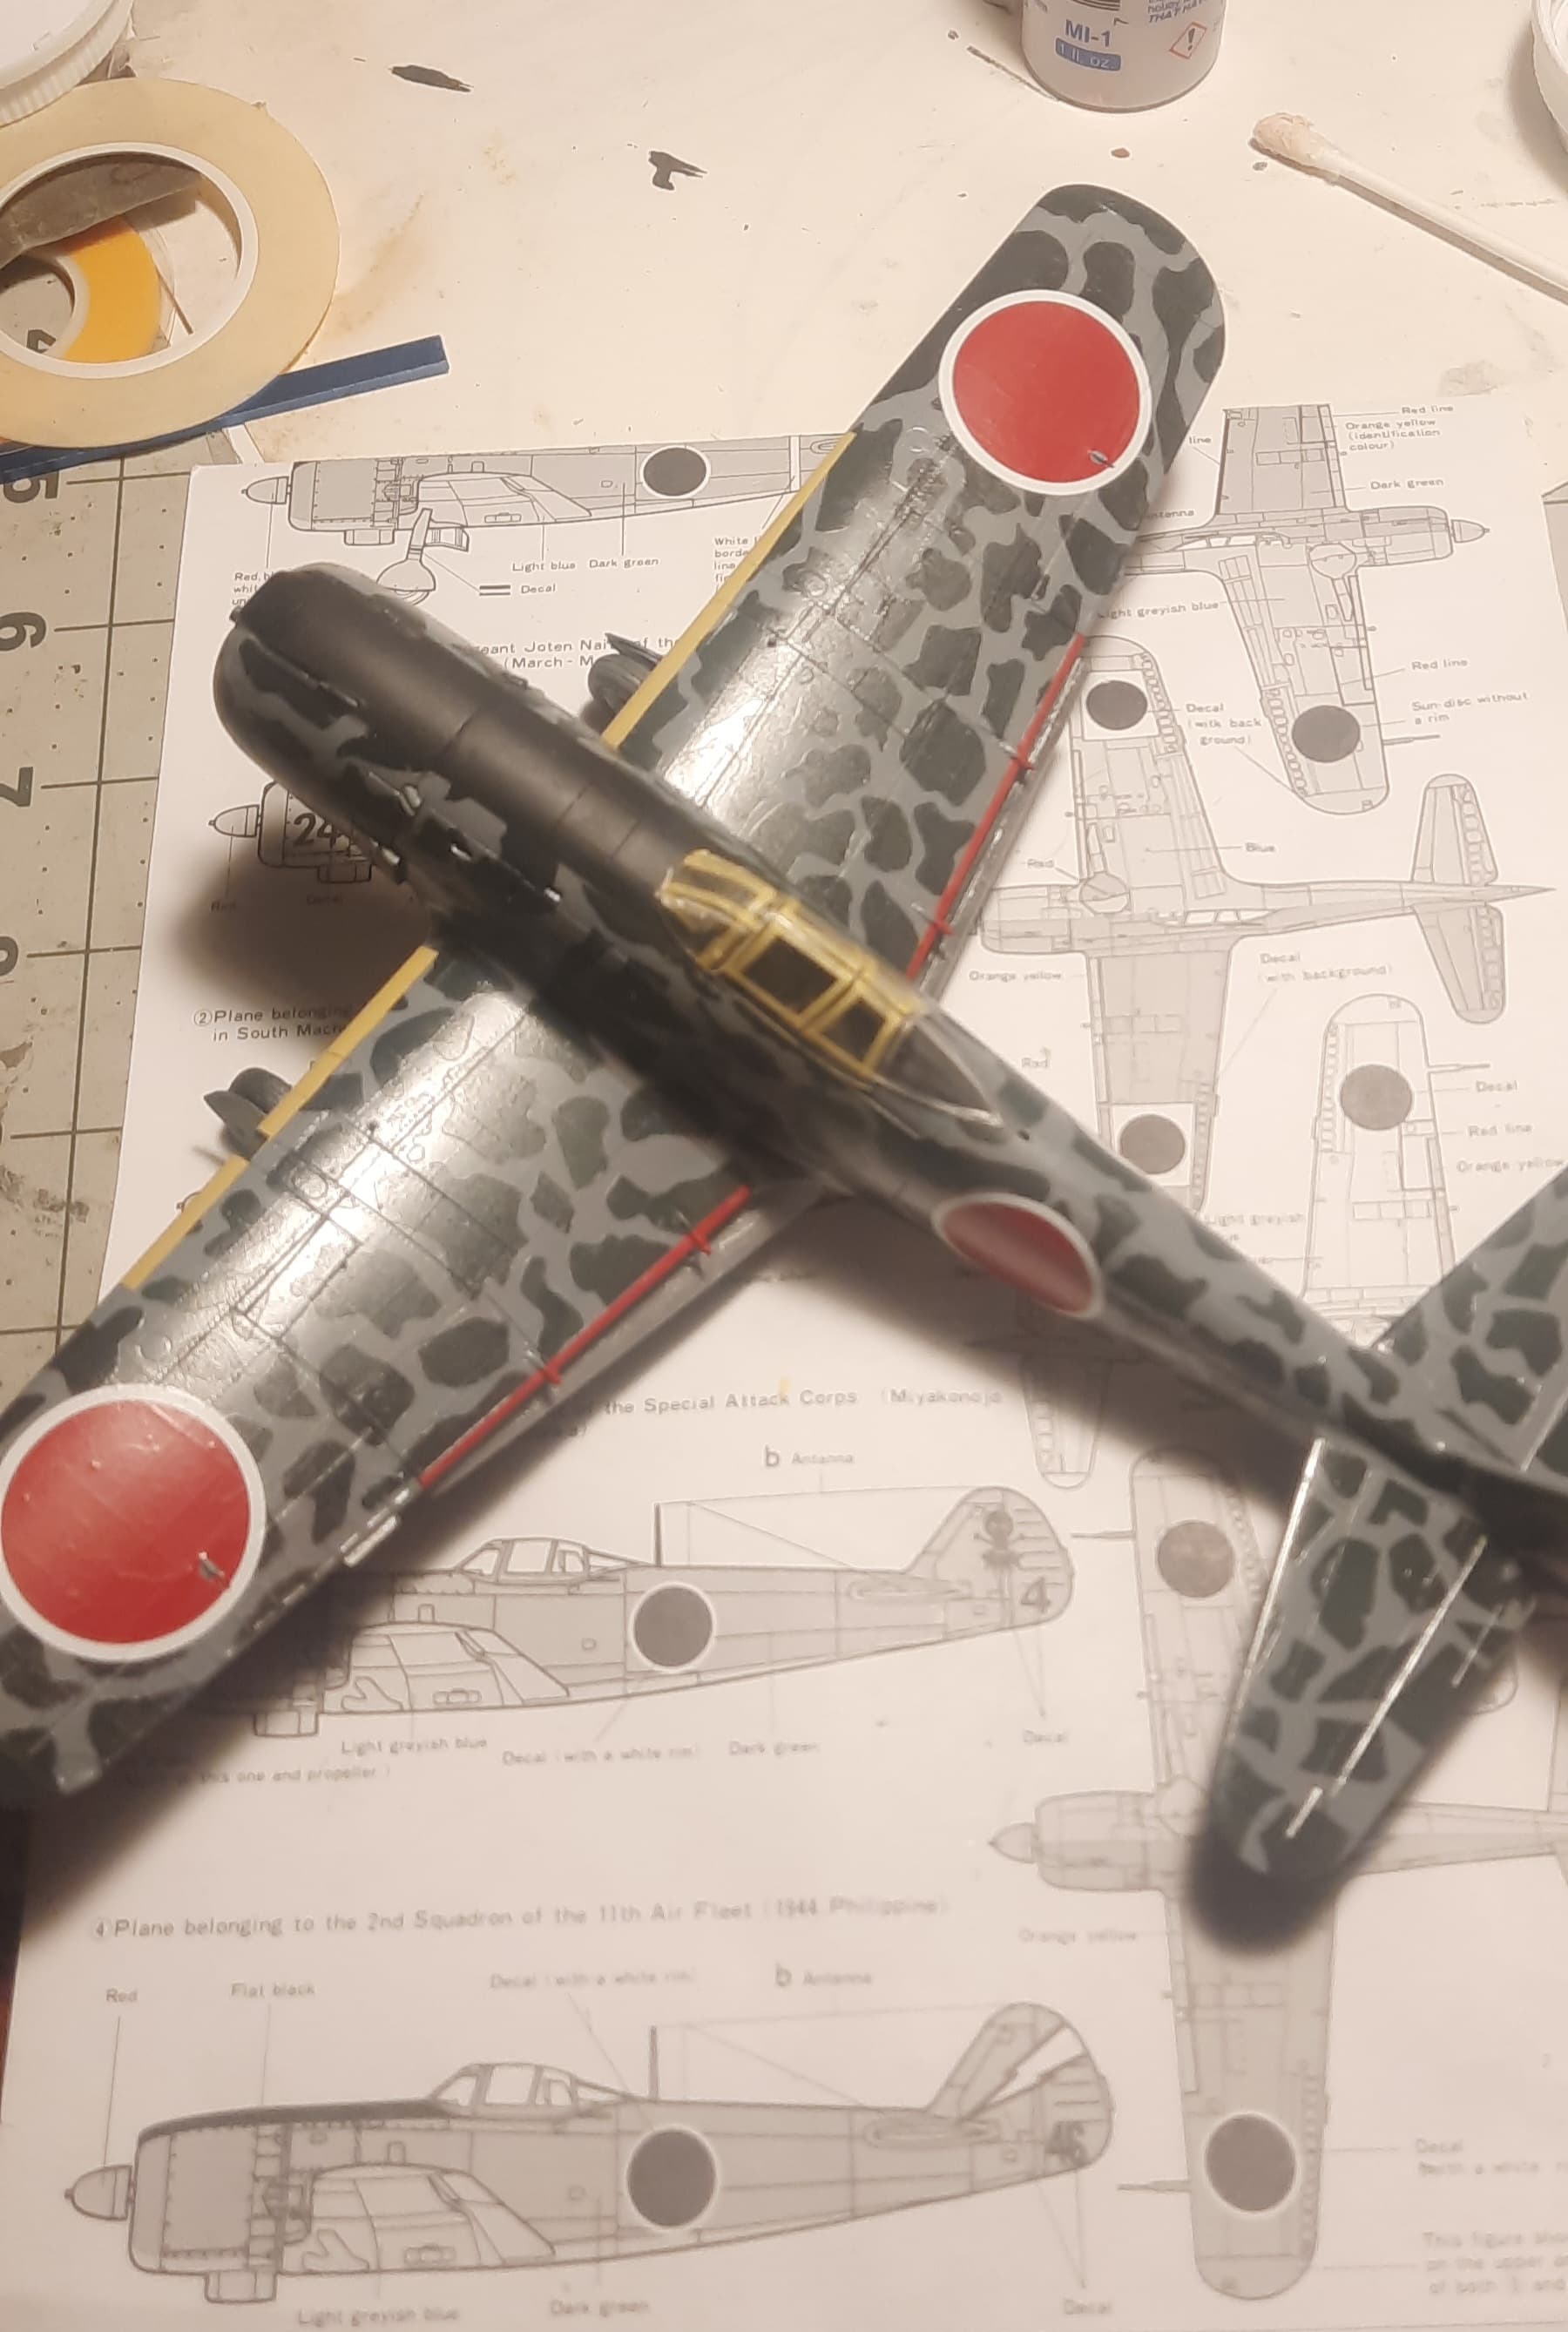
The Hayate is in camouflage. The mask set did not have any history of this aircraft. The decals that were included were unusable so the kit Hinomaru was used. They were on the thick side but reacted well with the micro sol and a cotton swab. Most of the touch ups have been done. Currently tackling the canopy
Happy modeling,
Mobious
5 Likes
Hi they are good models
1 Like