As stated by others, There is no limit to number of entries/builds you can sign up for.
1 Like
Thank you everyone for the comments!
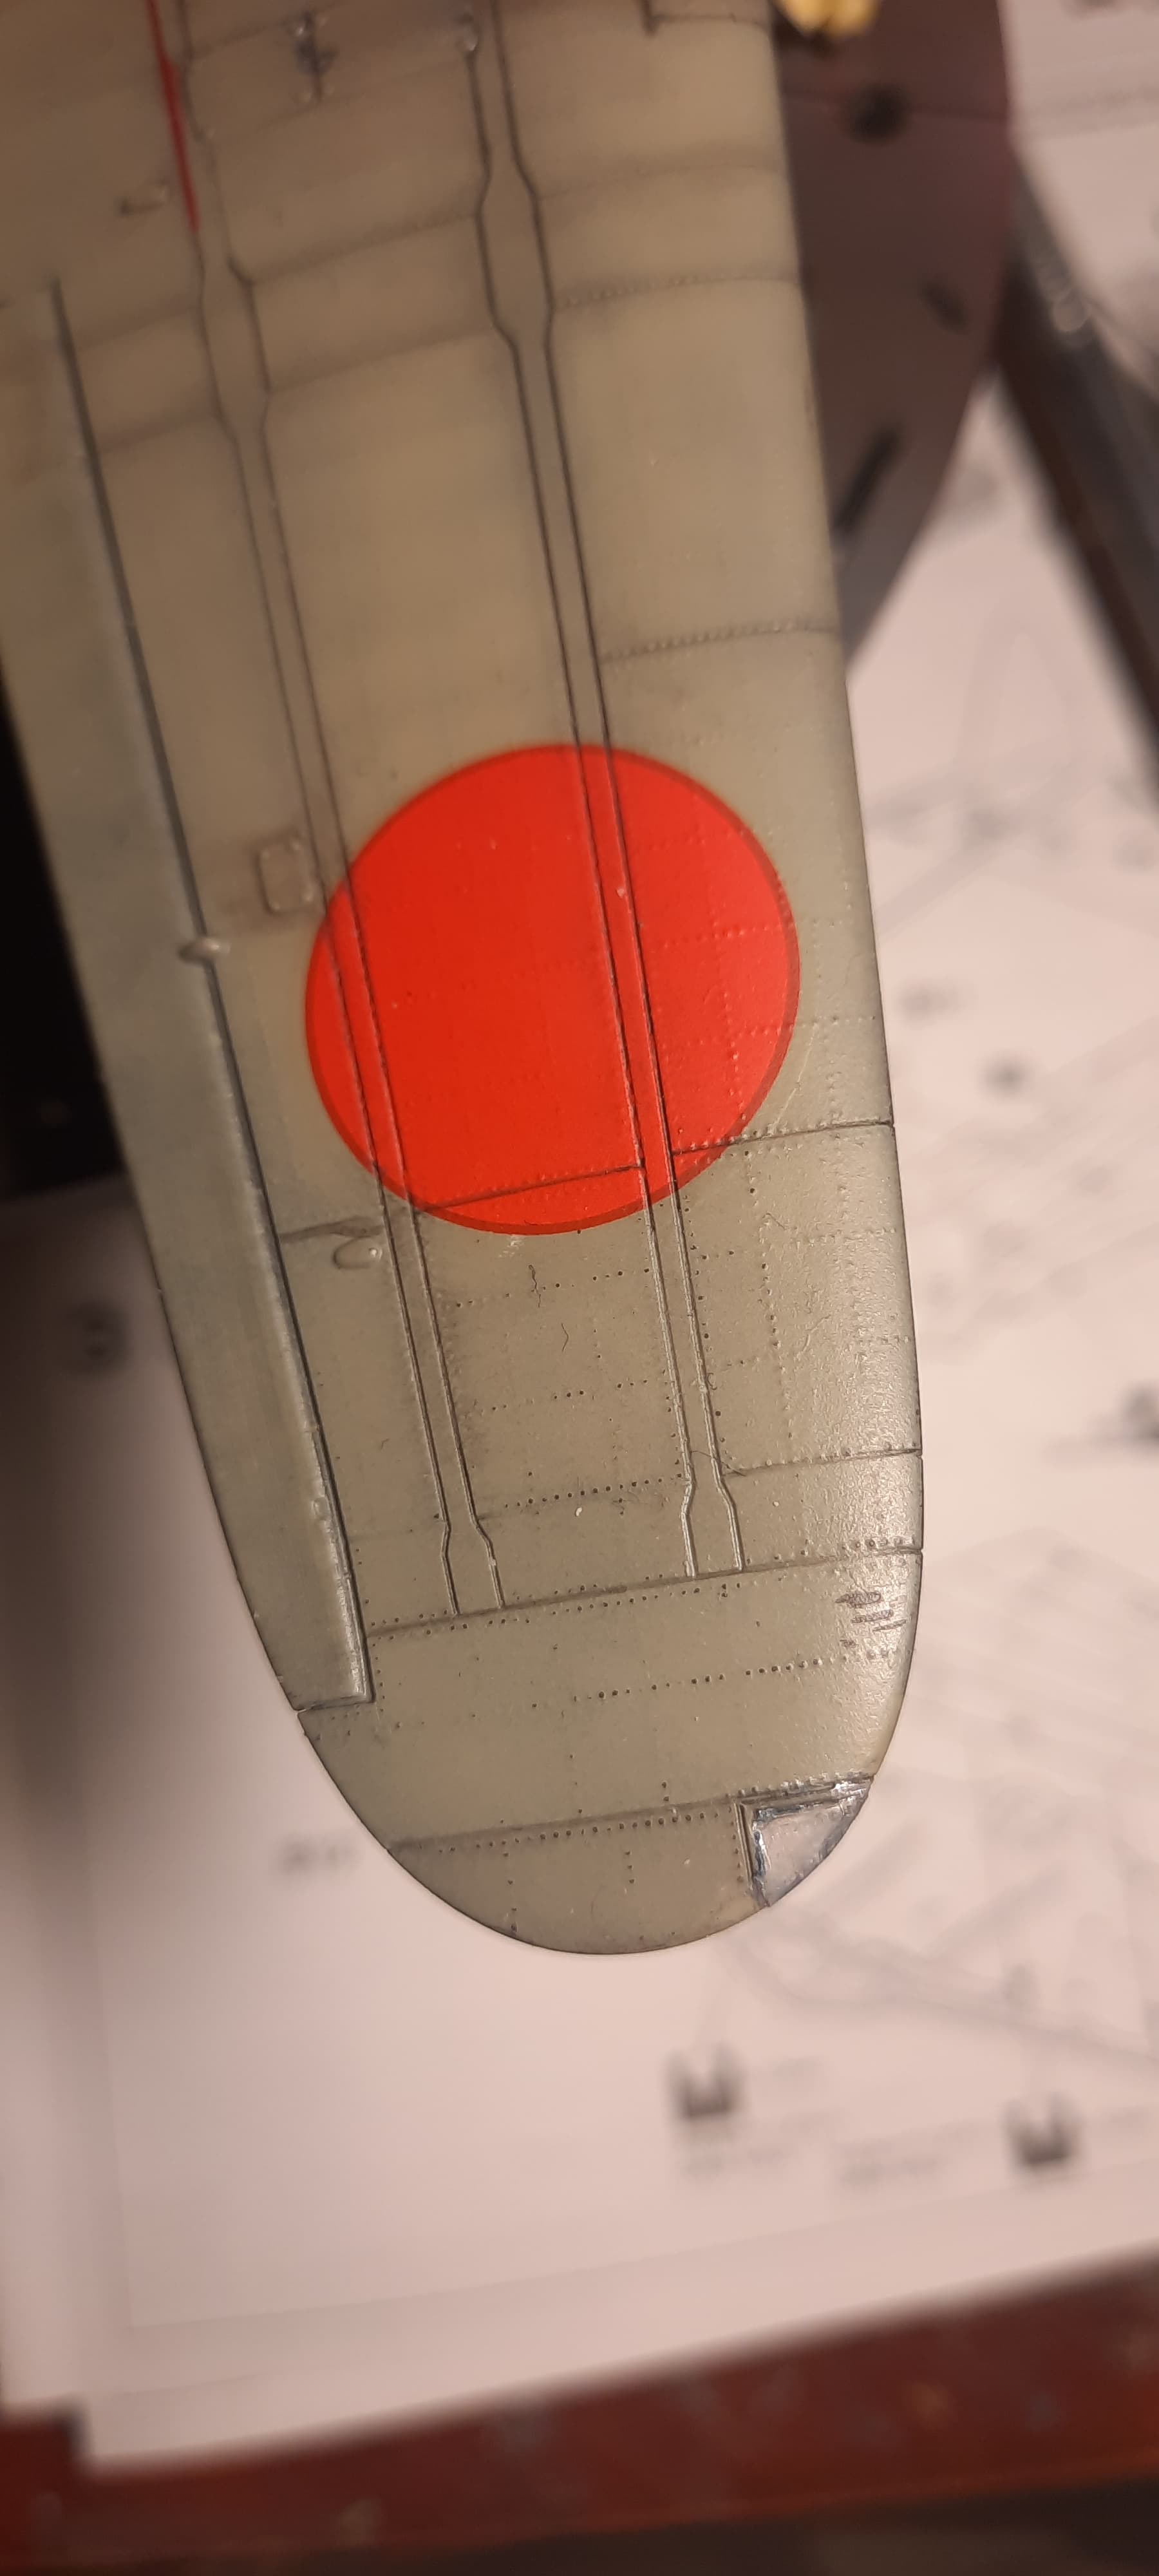
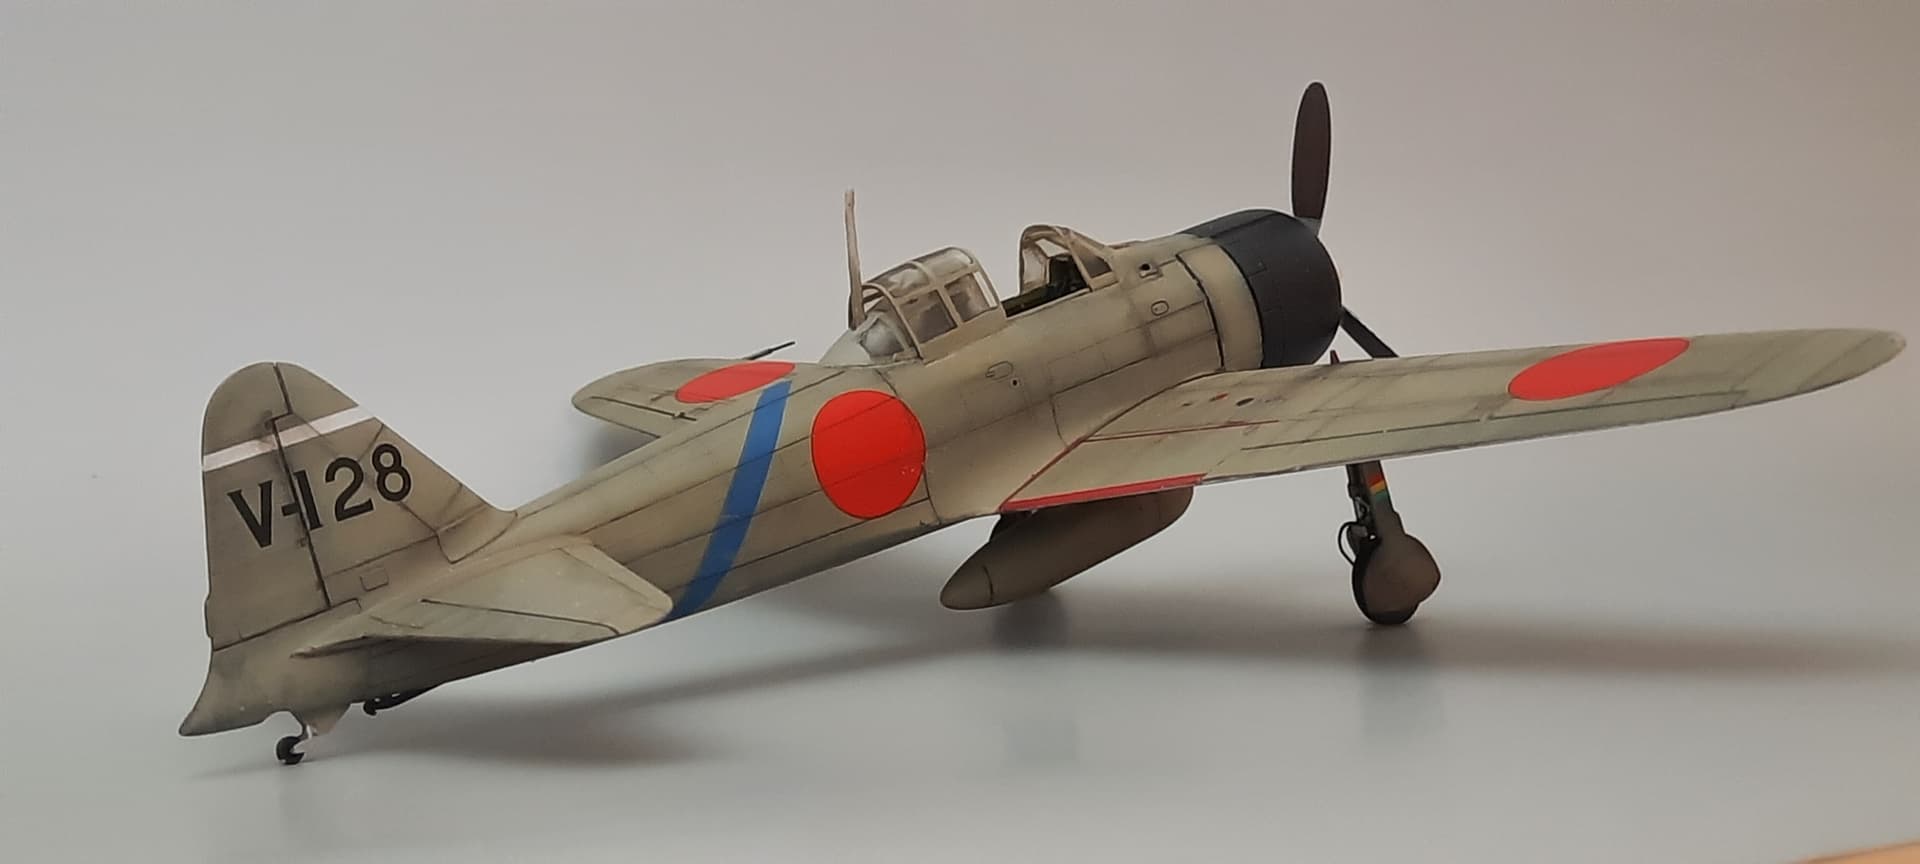
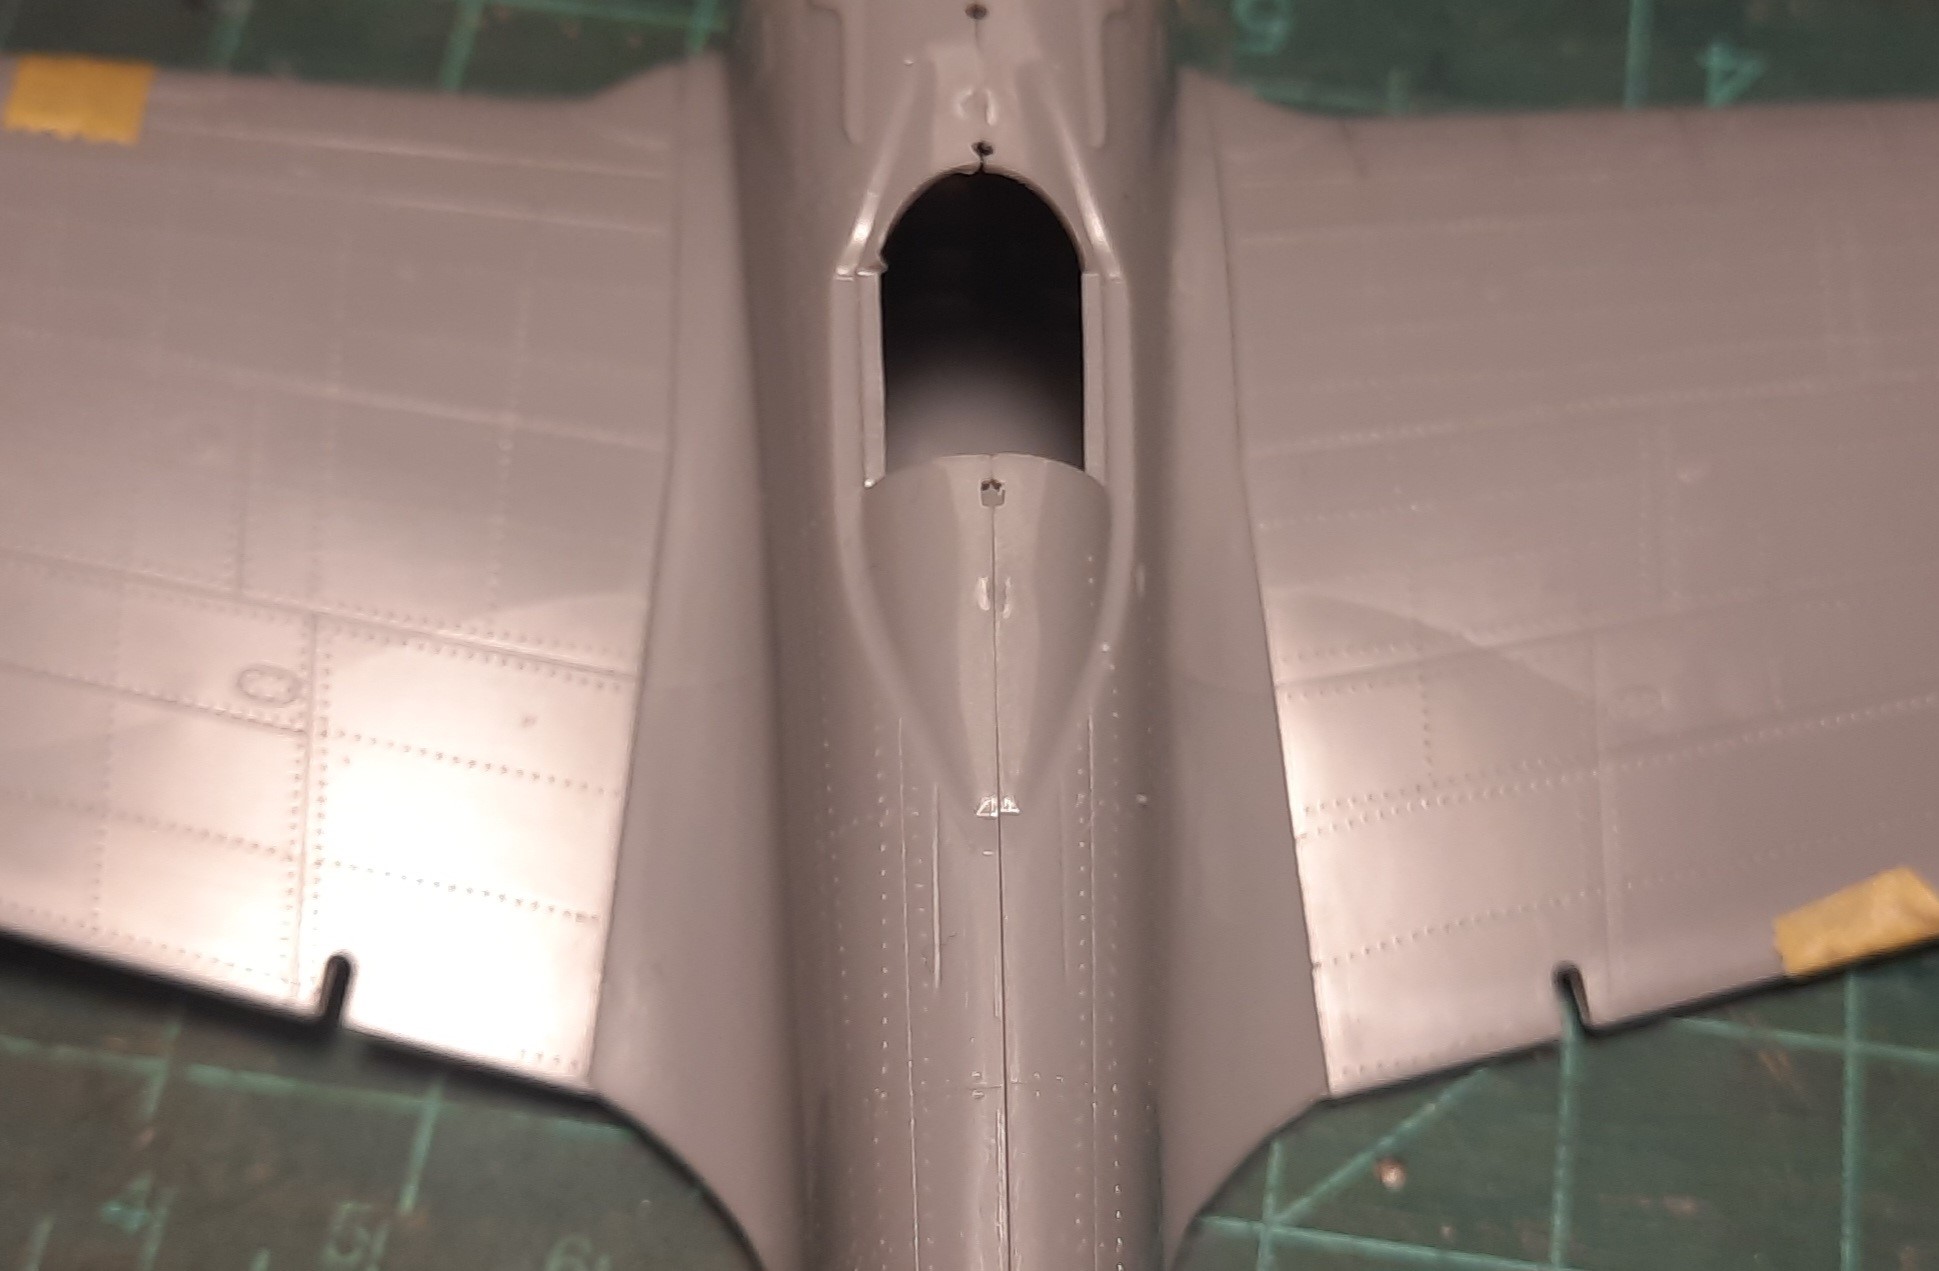
Still struggling with the slider section of the canopy trying to get it to set better. Added weathering and a light satin coat, to seal it up. Was considering upgrading the wing tip nav lights. I can not tell if they are colored by the bulb with a clear lens or actually have colored lenses.
2 Likes
Got a really nice view of a zero in flight for reference and began by cutting the solid nav light lens out keeping 90 degree cuts to avoid material loss as much as possible. Next I had clear .01" laminated to the inside thickness of light housing. After bonding was allowed to cure the wing shape was roughed in then sanded followed by polishing. It worked but would have been far easier to do this before painting with better results.
In the process of initial shaping before the lens was attached, I had been using a small set of needle nose pliers to hold the lens and unfortunately they slipped and fired the lens to the darkest corners of my bat cave. I had all my trusty bat cave spelunking equipment readily available and at once repositioned the waste basket and the paper towel box and began the search and rescue. Immediately recovering what appeared to be a toenail clipping but was in fact to my amazement the missing lens.
Happy Father’s day to all
4 Likes
Gonna call this one…
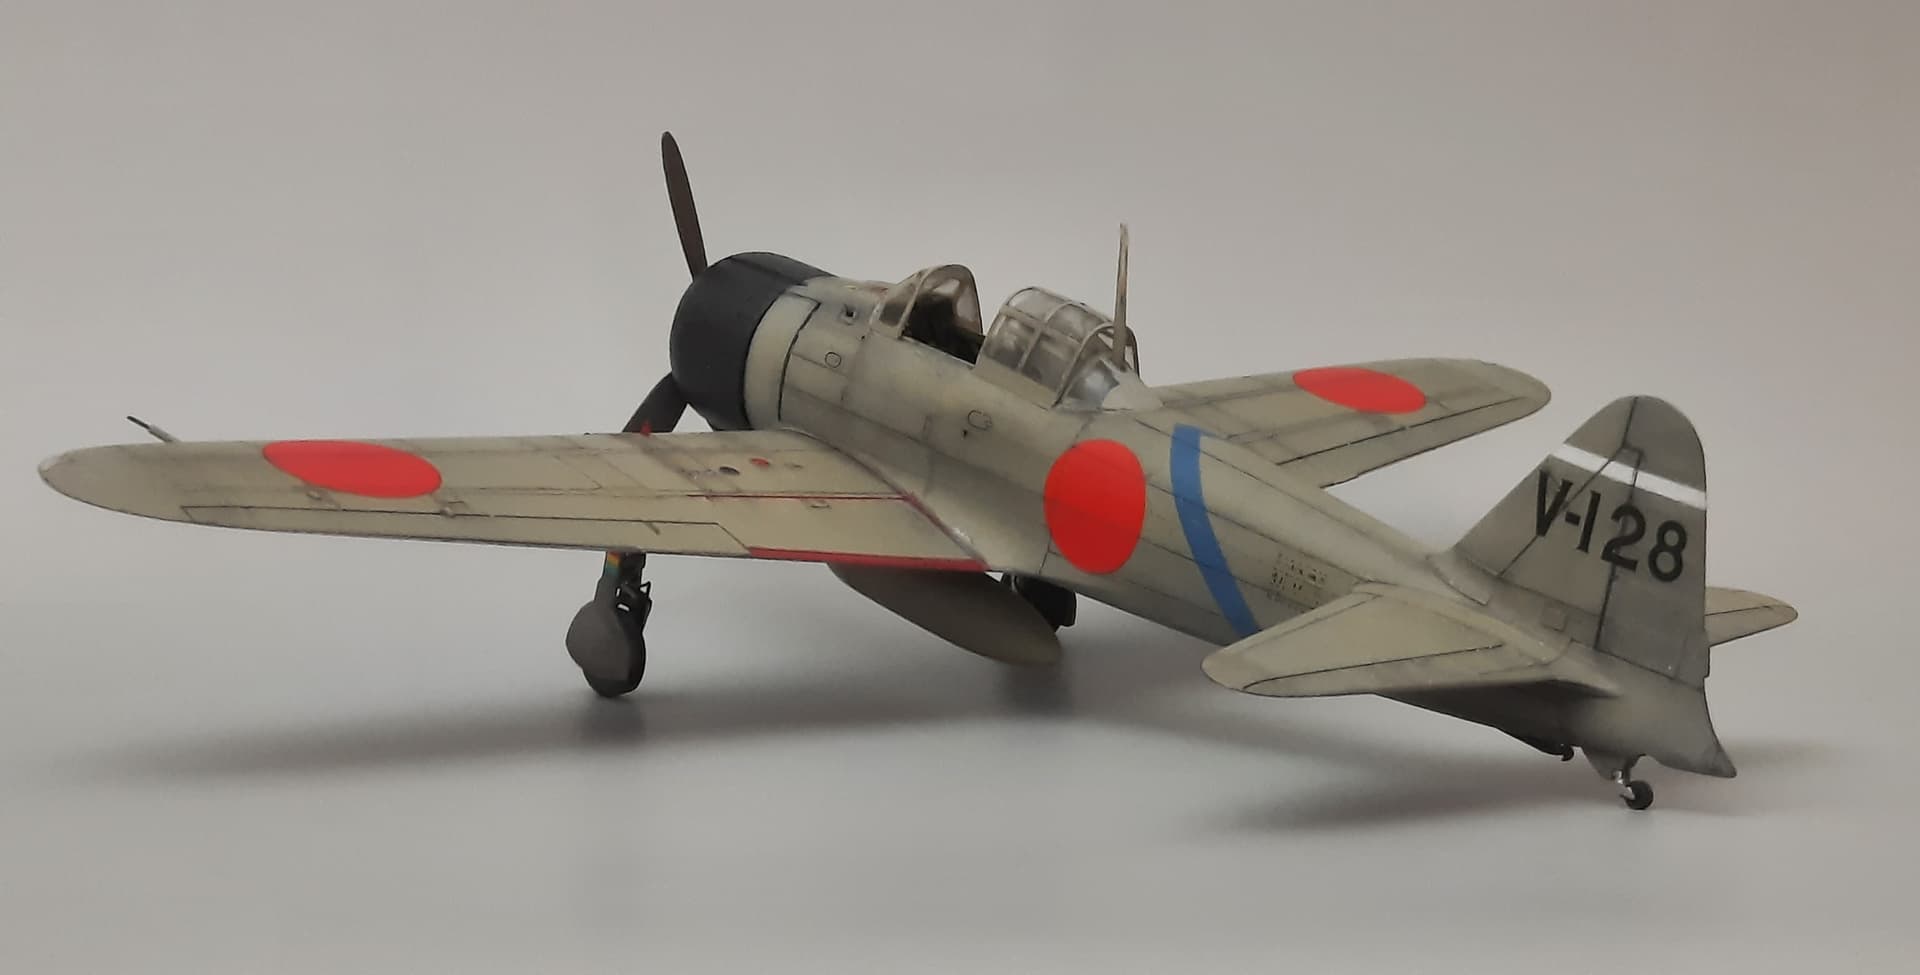

Apology for the profile photo. I noticed the prop had a distinct negative angle.
This was intentional as to allow rotation of the propeller. It had to rotate for my grandson who already has laid claim to this nimble little fighter.
Thanks for looking and happy modeling,
Mobious
6 Likes
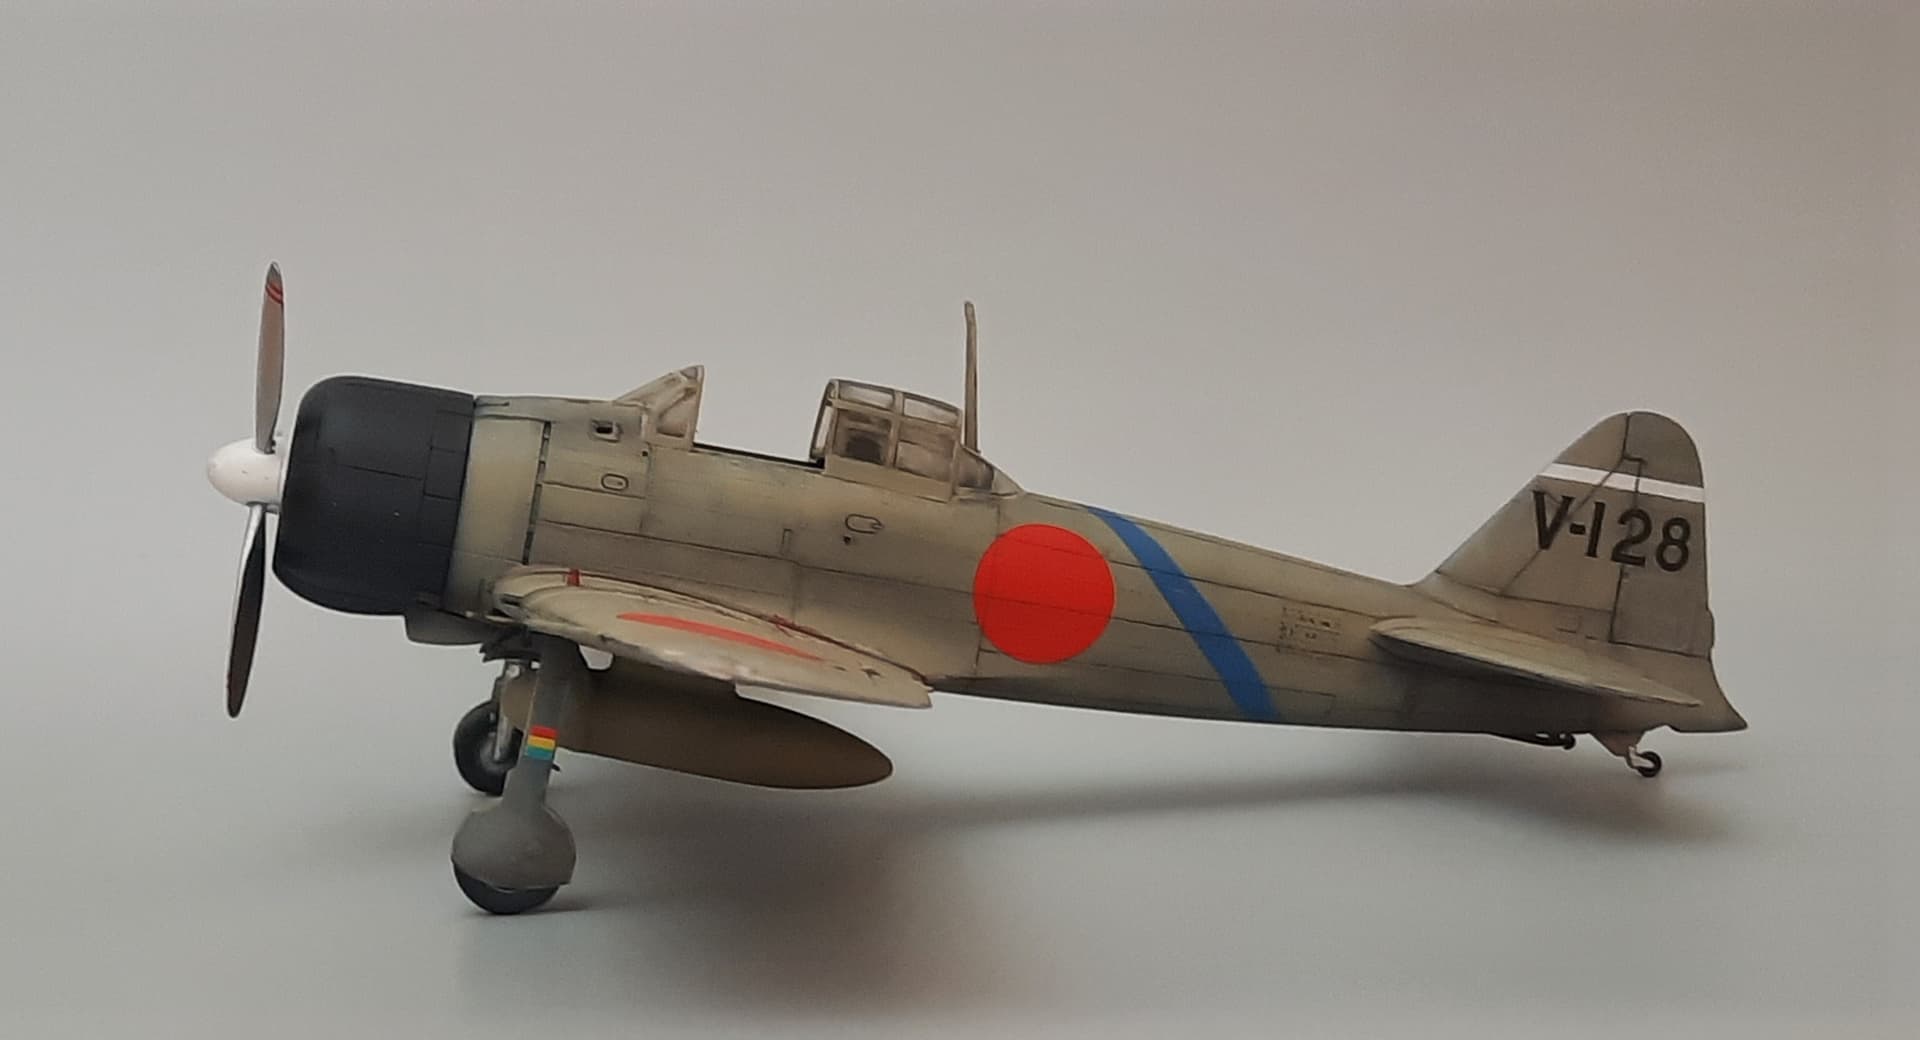
Nice looking A6M2 Mobious. Not following the bit about the propeller though ![]() but that’s ok–looks fine to me eye!
but that’s ok–looks fine to me eye!
2 Likes
I removed the prop and added some shims to get it to set at the correct angle and still spin for my grandson. I spent a couple of hours adding the arial after visiting the USAF museum in Dayton and the A6m2 they have there. Couldn’t find any pictures of the antenna online.

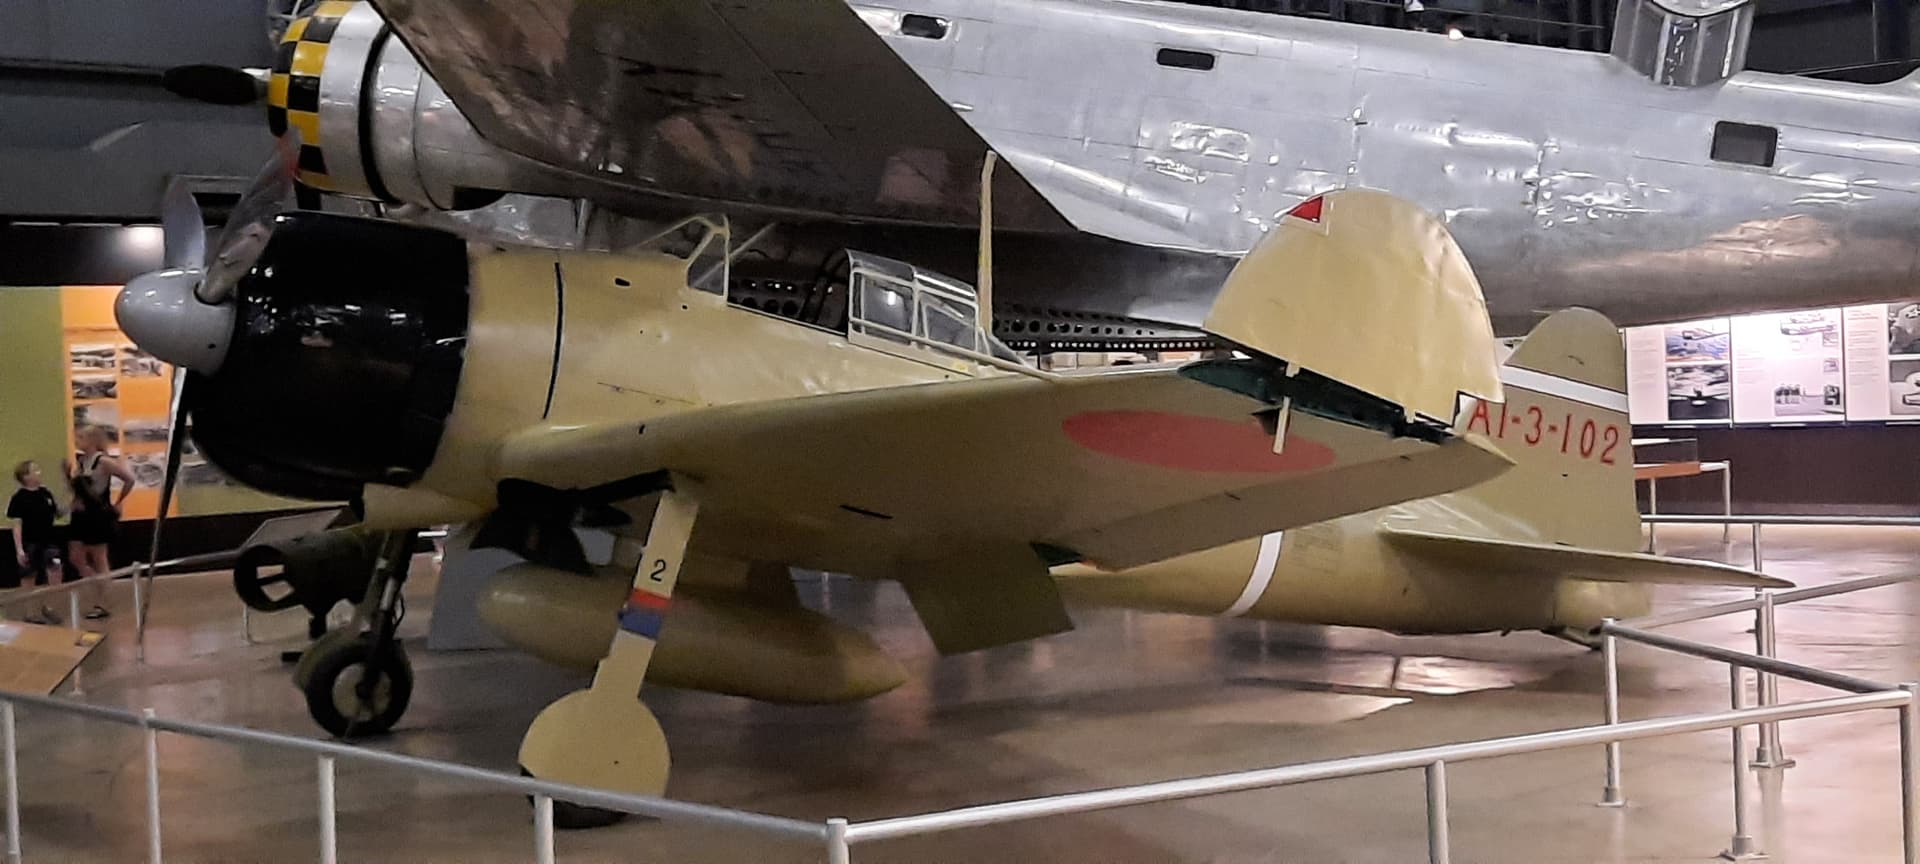
I was surprised to see the number of Japanese WWII aircraft there. It has been a number of years since my last visit and was awed by the recent collection and displays. would recommend a go see if you’re near.
The Fujimi A6m2 has found a home. My grandson picked it up tonight.
Thanks for the comments, Started a Hasegawa Ki-43 I if there’s space and time permitting?
3 Likes
@Mobious did you see the ghost in the WWII hangar? The B-24 is haunted.
1 Like
Nope… I didn’t see the ghost.
Did see the Mosquito in US livery.
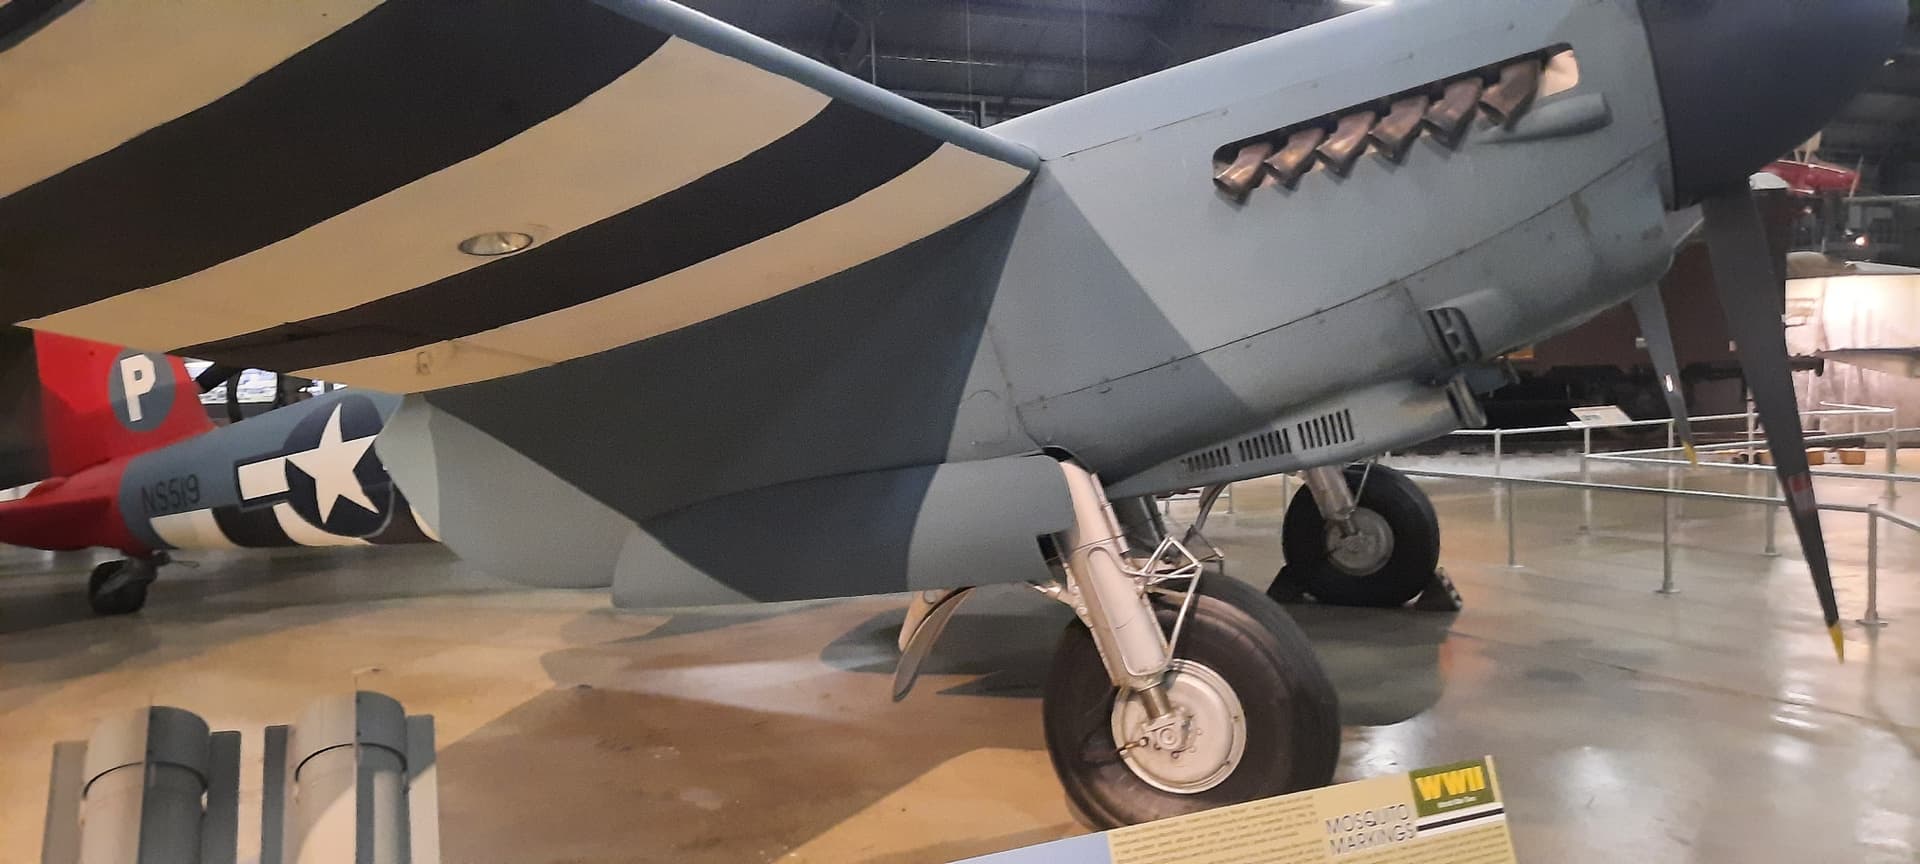
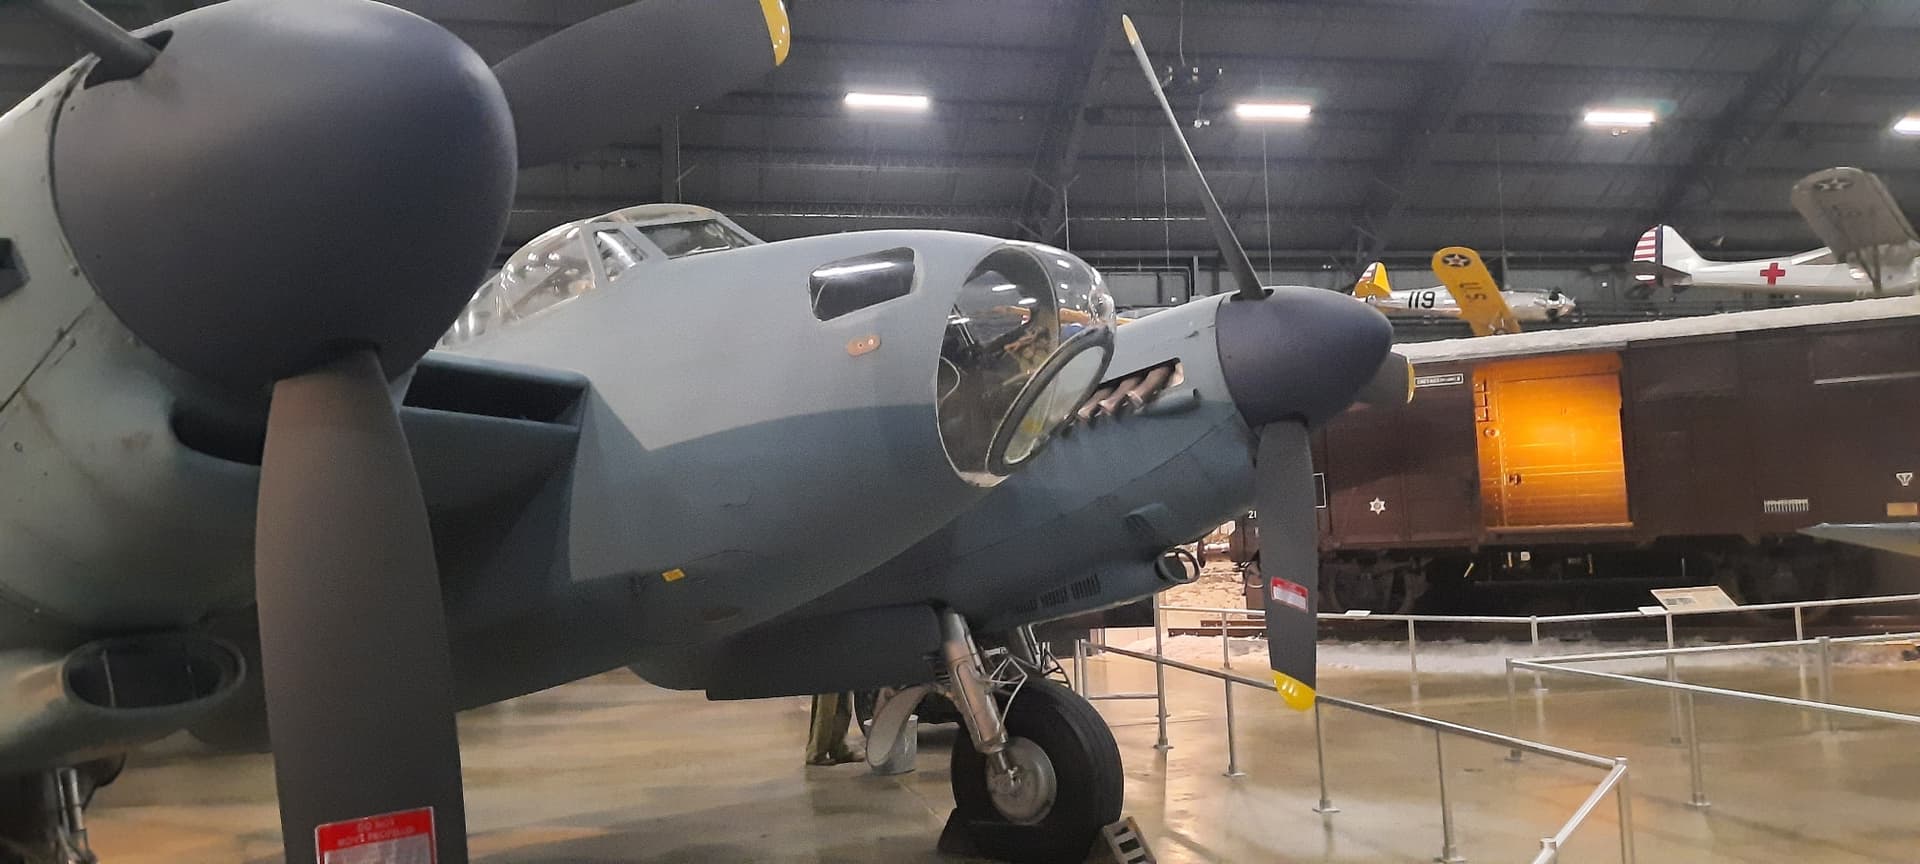
I know this is not Japanese but hey, It’s a Mosquito and Mossies are cool.
3 Likes
The Mossie is definitely cool. I am blessed to live close to the museum and I get to spend lots of time there in the winter when it’s too miserable to do things outside, or in the heat of summer when it’s too hot for a playground, but the kids still need room to stretch their legs.
1 Like
Yes its a great way to spend a day no matter the weather ![]()
![]() .
.
Do have some updates on the Ki-43 I. I’ll try to get them up this weekend.
1 Like
The radios were so unreliable that many times they removed them and cut the antenna mast off to save weight
1 Like
Don’t know if you remember, but I got a chance to visit! It was awesome!
2 Likes
Well, considering the strategic situation of Japan in 44-45 and the implementation of the “divine wind” tactics, one way flights wouldn’t need locator radio sets to find their carriers, not sure if comm sets were of much use or were used at all. Terrifying business.
Planning another trip to an aviation museum this weekend. ![]()
1 Like
A trip to Kalamazoo Air Zoo was fantastic. Highly recommend a visit. The restoration shop is awesome, with numerous engines displayed and a WIP on a SBD2. They have a very substantial collection of aircraft all under roof in climate controlled hangars. There were several USN aircraft from WW2 along with several WW2 USAAF aircraft displayed. All aspects of aviation were generously covered from early flight to the Space age along with a tandem seat SR71. Anywho, highly recommend a visit.
The Hasegawa Nakajima Ki43-I is a gem of a kit.

The kit offers a nicely detailed interior with a decal for the main instrument panels. The instrument panel has raised detail for painting if you were to prefer that route. Just thinned the seat bottom down, added Eduard IJAAF belts and a bit of .3mm nickel rod for rudder control cables and also opened the foot pedals up a bit.

Overall fit is good and don’t see any problems with gaps. Had a go over with the rivet tool to add additional detail to the surfaces.
Thanks for looking, happy modeling…
Mobious
3 Likes
I will have to check that place out. I live near Detroit, so really have no excuse !
1 Like
My first trip there and was surprised, never knew about it and I live about 1 1/2 hrs away. A friend from Texas told me about it. There is an entrance fee, but it’s reasonable and worthwhile. I plan on going back next year. If I am not mistaken they have a PBY that is there for restoration. All I was able to catch a glimpse of was that long wing in 3 sections. The restoration shop is very neat to see.
Did get the wing tips fixed on the Oscar. Filled a gap at the aileron and began sanding. Not sure why it was engineered this way but it is.
2 Likes
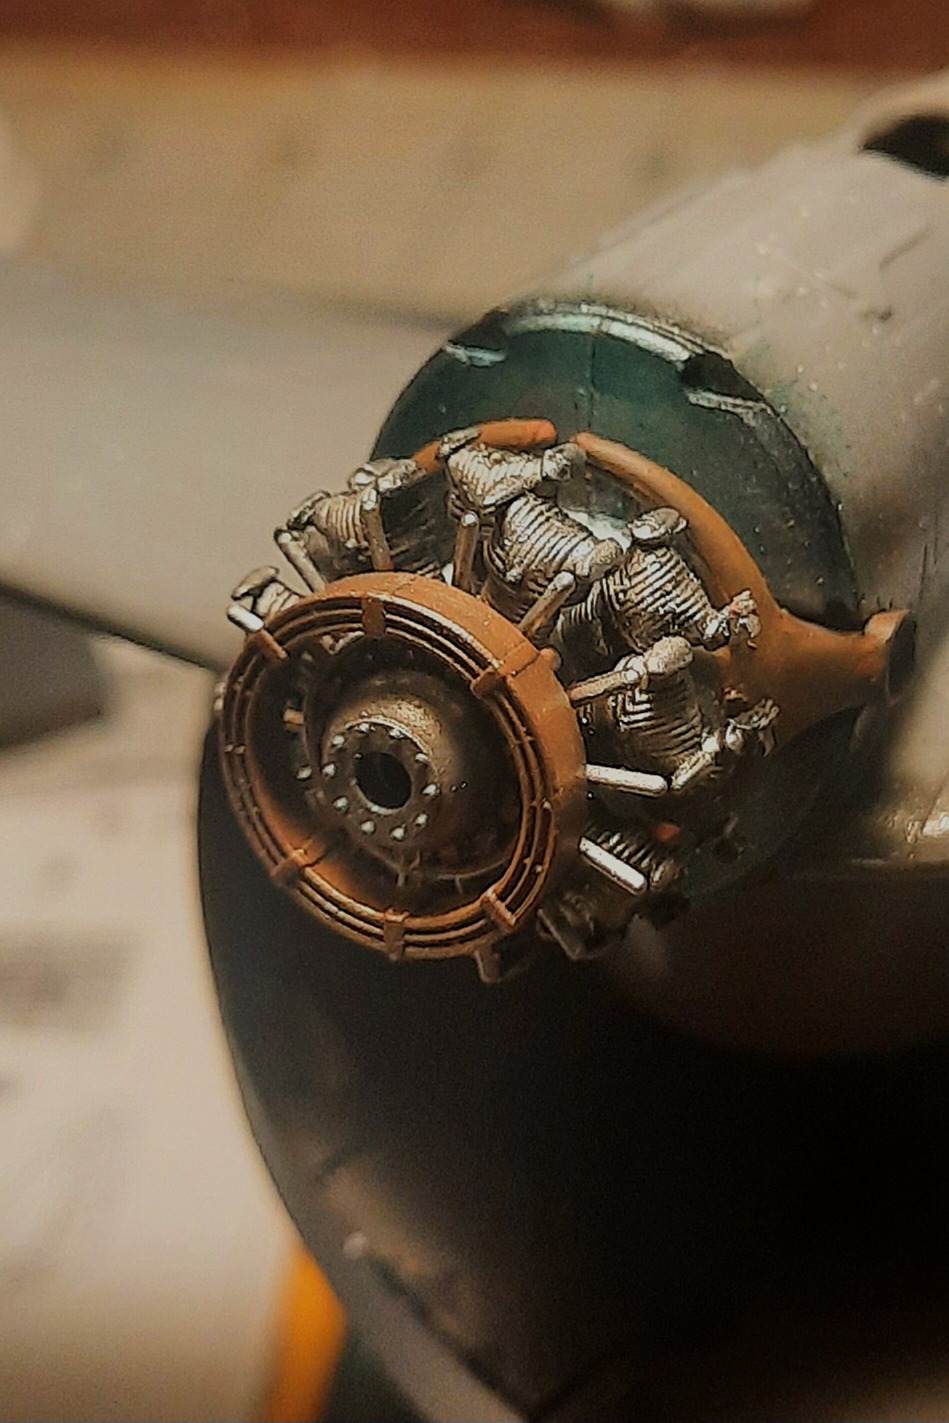
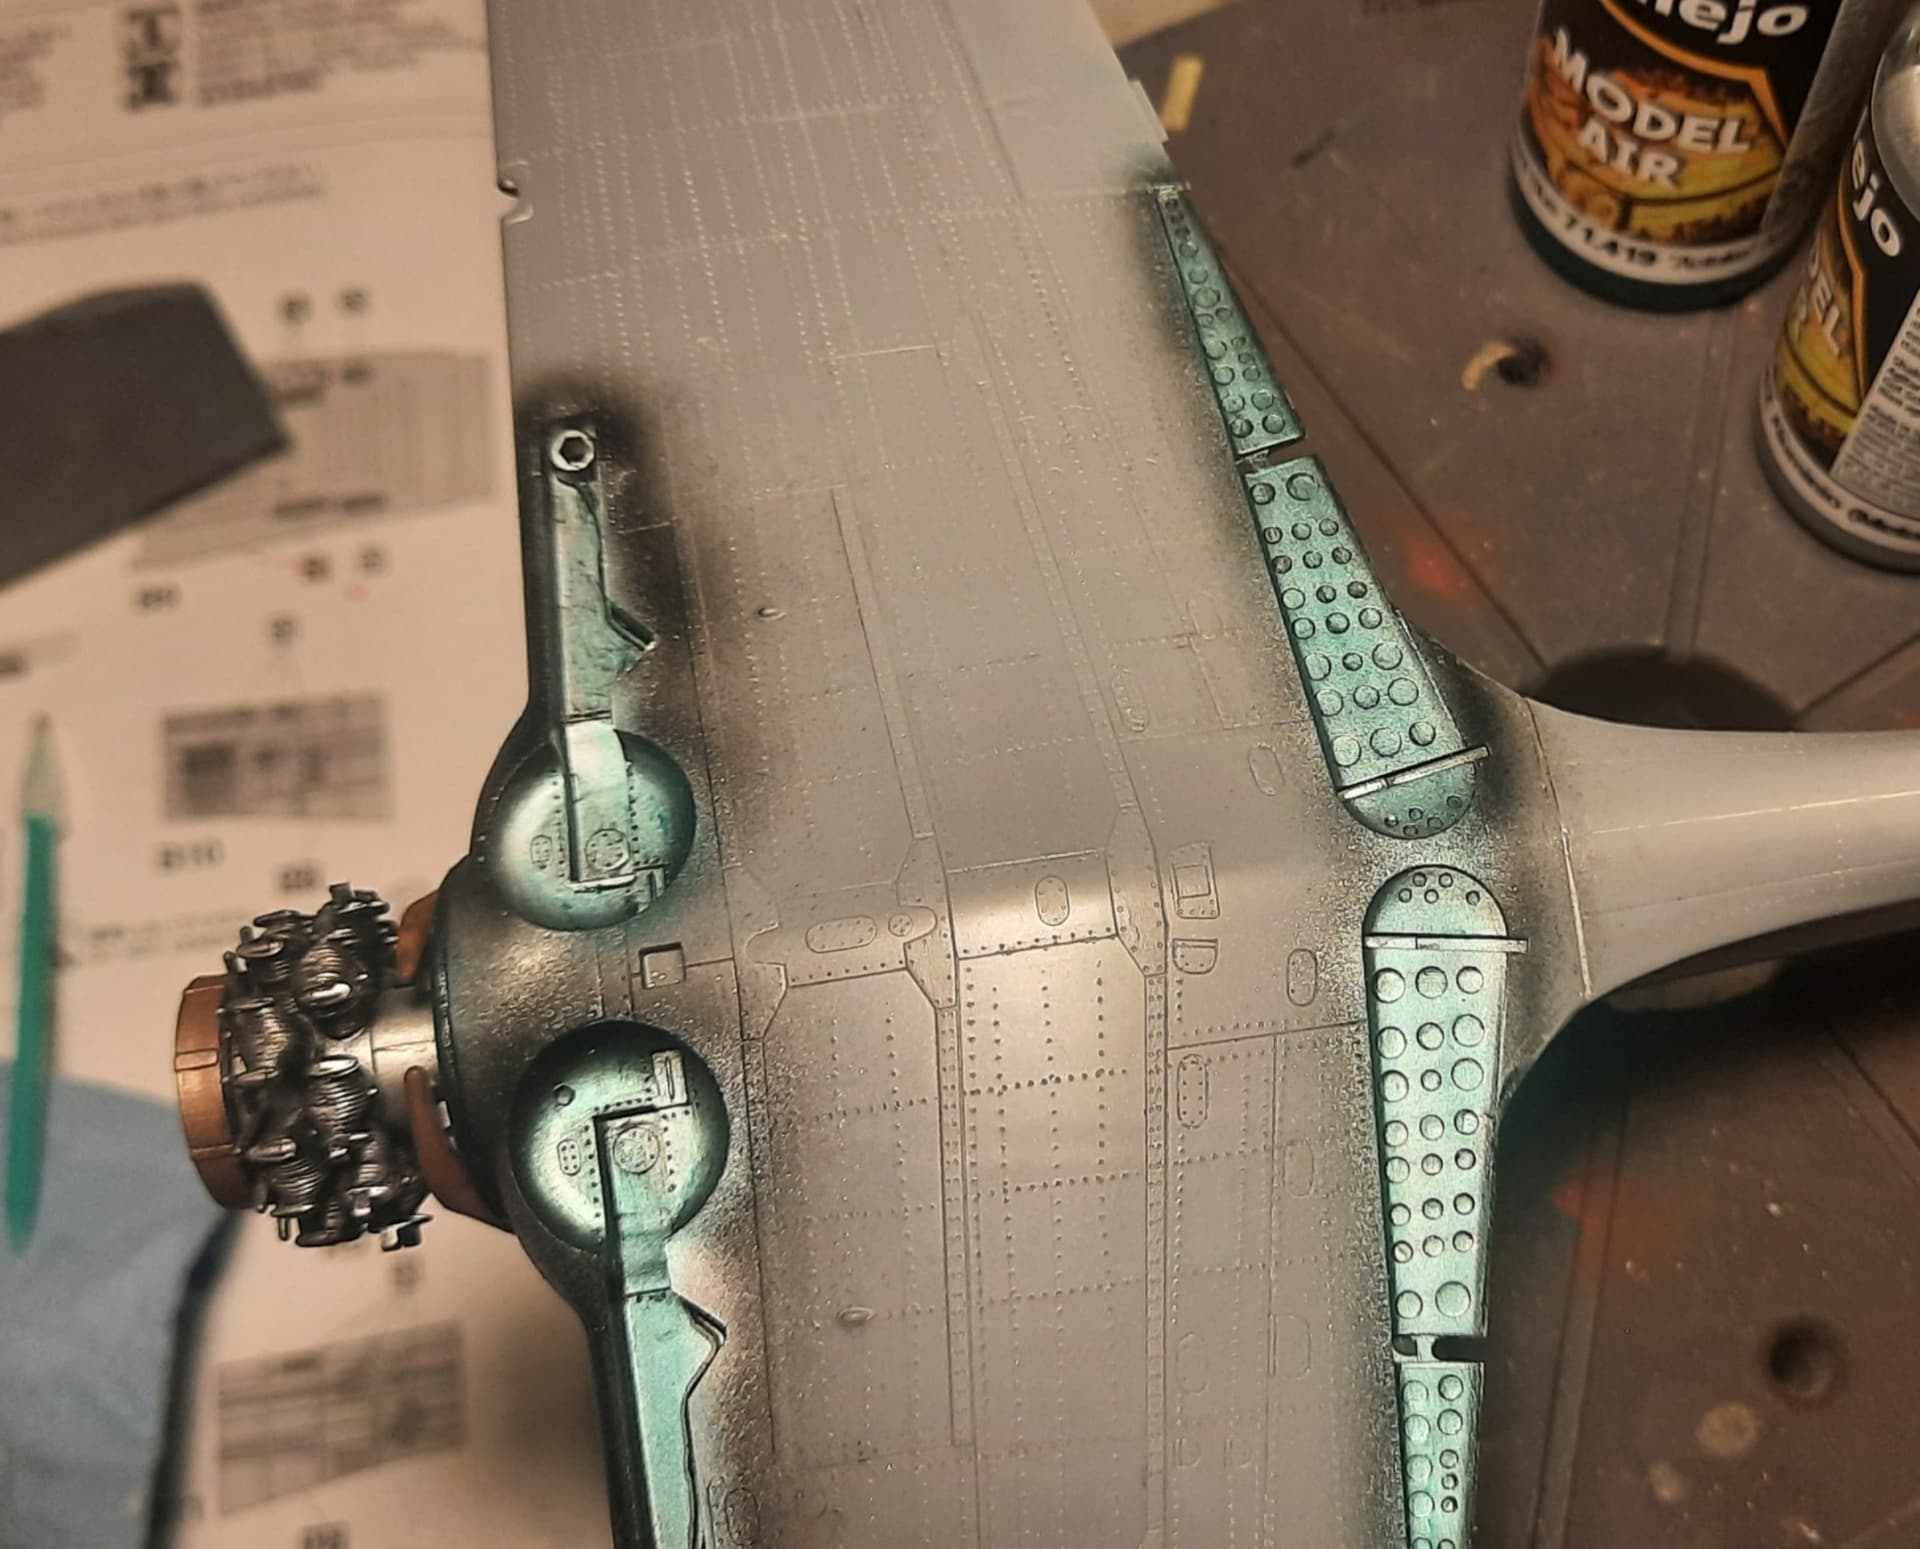
Just painted the Nakajima Ha25. I was pleased with the level of crisp detail of the Hasegawa kit. Practically no mold lines on the engine. Probably one of the best kit engines with only 4 parts (5 if you count the poly cap) I’ve built 1/35 motorcycle kits requiring more clean up with less cooling fin definition.
The painting was done with a base coat of Alclad II lacquer followed by Valejo Model Air Aluminum. Again Valejo Model Air copper was lightly airbrushed on top of the aluminum. A pin wash of AK panel liner was added to the all the exposed metal. The aotaki coating was achieved with multiple light coats to get the desired depth of opacity. My first try with this was on the A6M2 and was a little on the heavy side, but this one to me looks more like a coating rather than a full blown color. The exhaust manifolds were hand painted a thinned dark brown to achieve a modulation of the base, this was followed by Valejo red leather thinned to again achieve a mottled coat.
After things settled down and were left to dry a final step of adding pastels to blend.
4 Likes

In primer…
Had a bit of a headache going on earlier with the 2 piece landing gear that was mentioned earlier in this thread.(obviously I did not heed the warning)
After thinning down the landing bay doors and cleaning out the mounting brackets, everything was assembled and brake lines were next, The Sun was shinning, birds were singing and my favorite song was on the radio, when a slight wiggle on the starboard gear turned into a catastrophic failure of both gear.
This was after 24hrs of dry time.This one nearly bought it I was so frustrated. Ended up using CA to fix it and proceeded to add the brake lines and finish the gear up and get it into primer.
Thanks for looking and happy modeling,
Mobious
1 Like
Mobius:
In case you do a rematch on an A6M2, Sakai claimed in his memoirs that many early Zeros didn’t carry a radio - they had a long trip and could do without the extra weight. A “Special Attack” (Kamikaze) Zero would almost certainly lack a radio.
1 Like
Hi
I got finished making a Stuka for the Battle of Britain Group Build and have a few weeks to waste. So I thought I’d add another item to the Japanese GB.
The kit in question is the 1/48 Hasegawa rendition of a late war Japanese naval fighter the Kawanishi N1K1 Shiden (allied code name George.) As time is limited I’ve decided to take a suggestion from Hasegawa (they always make several boxings of their kits) and build a N1K1 captured by the Americans and made a POW.
 POWboxart by Eric Bergerud, on Flickr
I’ve been tempted to do this before with a Zero or Oscar. But this is a good time for a POW aircraft. First, unlike most Japanese fighters, the N1K1 is really kind of ugly – a tubby thing lacking completely the grace of the Zero. Second, captured aircraft were always given Natural Metal Finish which will save a great deal of time – no masking, no chipping, much less weathering.
The kit looks pretty good so far. It’s a circa 2000 Hasegawa kit and those were pretty good – not Tamiya standard but well made with good fit. (I just did an Airfix Stuka and Airfix bungled the clear parts – small bungle with a plane with as much glass as the JU-87 – Hasegawa won’t do that.)
Naturally I started with the cockpit and even made some seatbelts out of Tamiya tape. I don’t build for the camera but below is proof:
 cockpit1 by Eric Bergerud, on Flickr
 cockpit2 by Eric Bergerud, on Flickr
Discriminating modelers won’t think much of my cockpits but in this kit (as is usually the case) nobody is going to be able to see the thing. I’ve finished most of the fuselage – note how small the area occupied by the cockpit – the “office” will be even more hidden when the clear parts are put on.
 fuselage by Eric Bergerud, on Flickr
That’s it for now. More later.
Eric
3 Likes