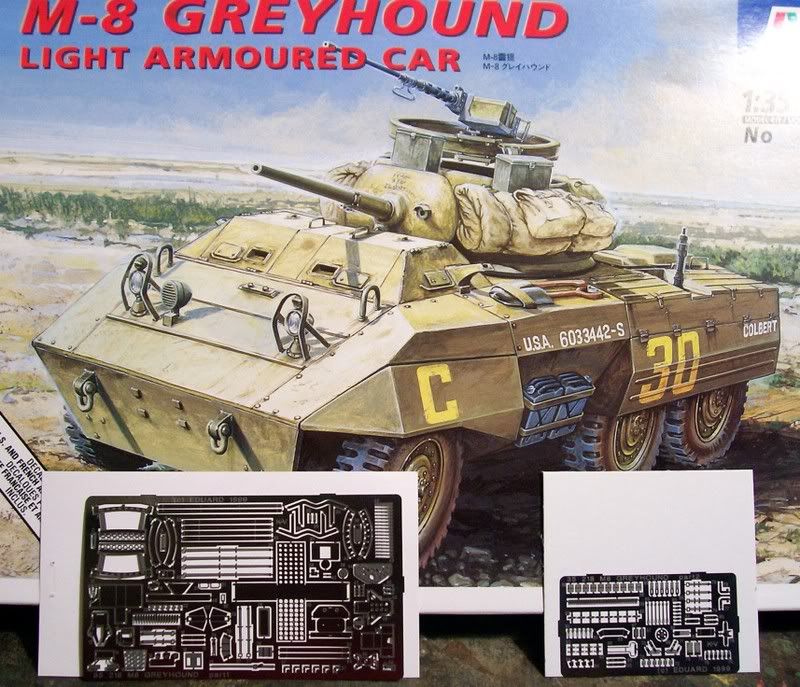
Hi guys, well i had an urge for something in green and after some headscratching this was the winner, this is the M8 greyhound from italeri with the eduard upgrade set.
The boxart and pe.
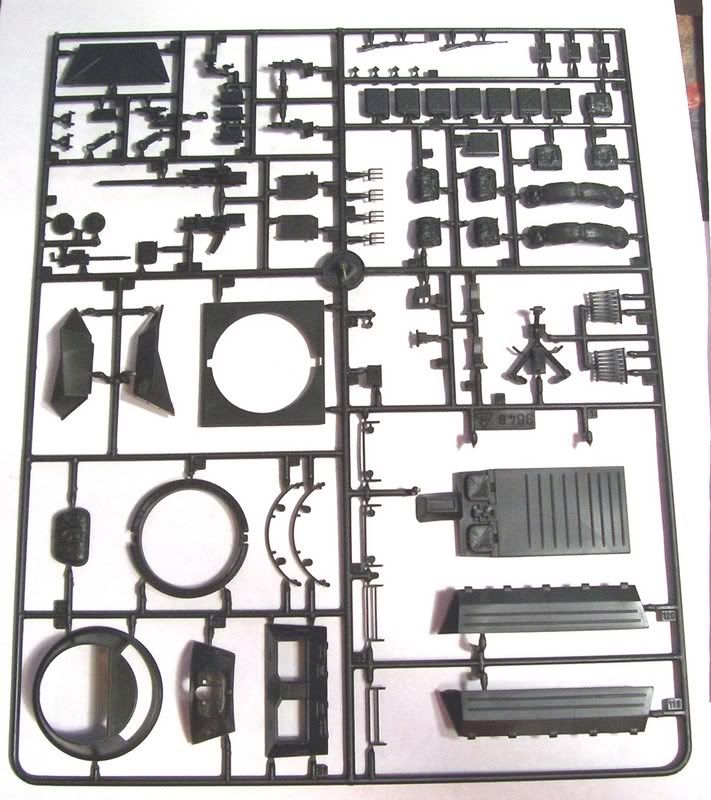
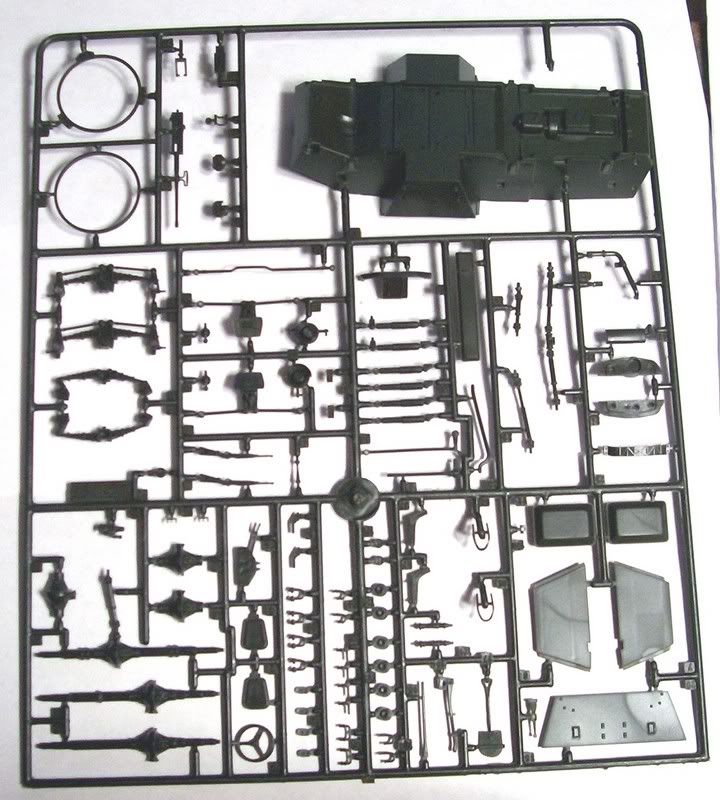
And shots of the sprues, the plastic is so dark it kind of messed up the pics but this still gives a general idea of what to expect from the kit parts wise, the quality is fairly typical italeri which is crisp flash free molding and good fit but there are a few sink holes and knockout marks to deal with and some missing details but the eduard set should fix that, over all i think it will look the part when done but its not quite up to the level of the tamiya kit.
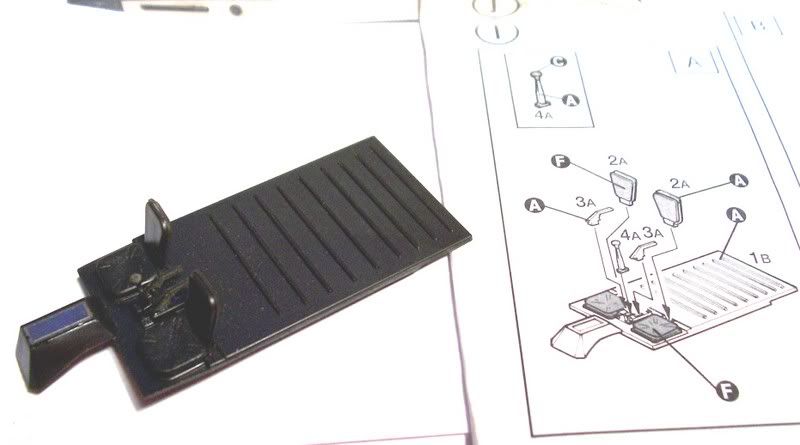
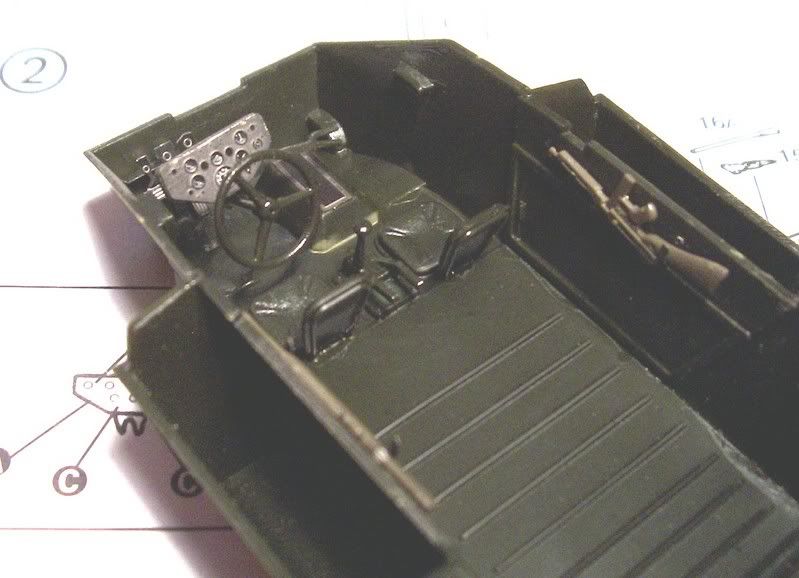
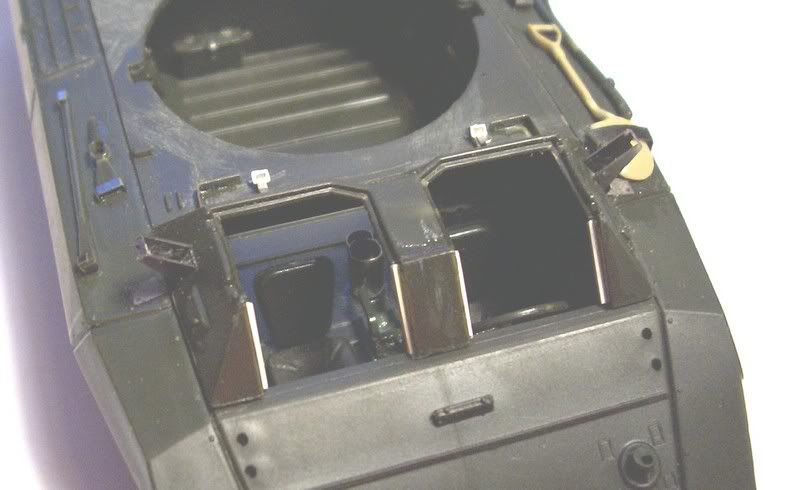
Step 1 and 2 begins with the drivers station and there is very little of it in fact there were no pedals at all but the eduard set provides what is missing and i added new weapons from some tamiya spares i had, when all is said and done not much will be seen anyway, i got through the first 2 steps without any problems.
O.D.? What’s this world coming too? [:o)] Like Zoran, I’m interested to see how this guy goes together. The Tamiya kit is really sweet though. I’m sure after all the PE and weathering is finished, it will be just as nice.
Ron: off the top of my head, I recall that the M1 Carbine stowage was at the sides of the driver and asst driver. Where you have the M1 and M1A1 Thompson – is that what the Eduard set advises? Just wondering. If you need confirmation, I have a copy of the TM if you want me to look it up.
Ron, I’m working on the Tamiya M20 right now, so I’ll be watching how you weather this Greyhound…It should take you, what?—all of three days to get it done? LOL…[:D]
Hi Roy yes i followed the eduard instructions for the brackets (the guns were loose just posed) also the italeri instructions call for the same placement of the kit parts i didnt think much of it but i will look around and see if i can find any confirmation on this, im not going to go too overboard on total accuracy but simple fixes like placement of weapons and such i would like to fix so any info would be appreciated thanks for taking the time.
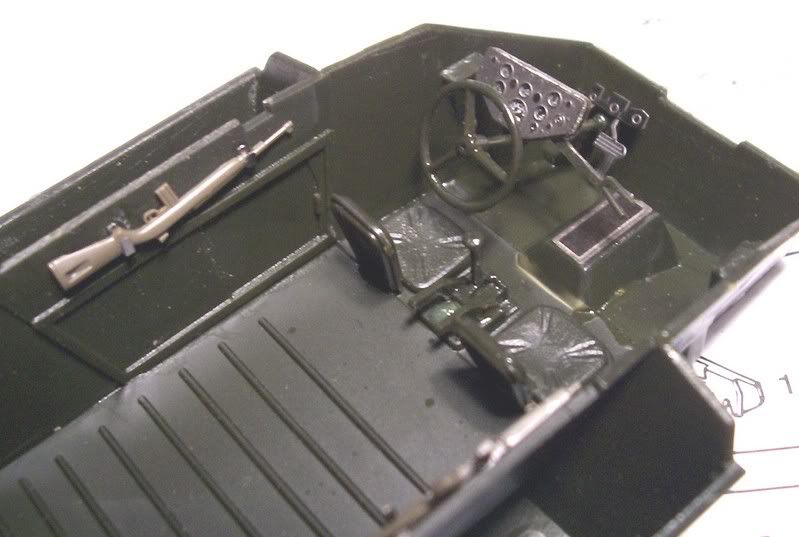
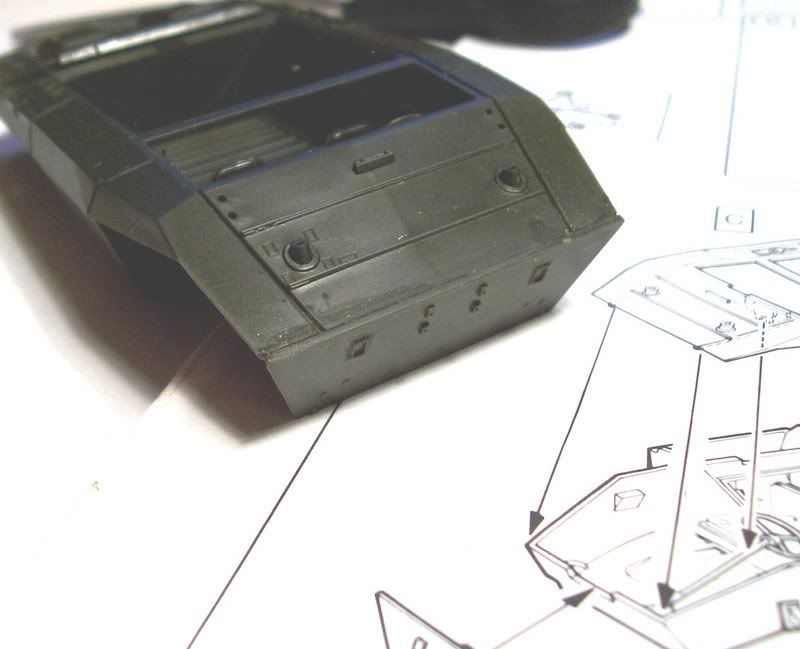
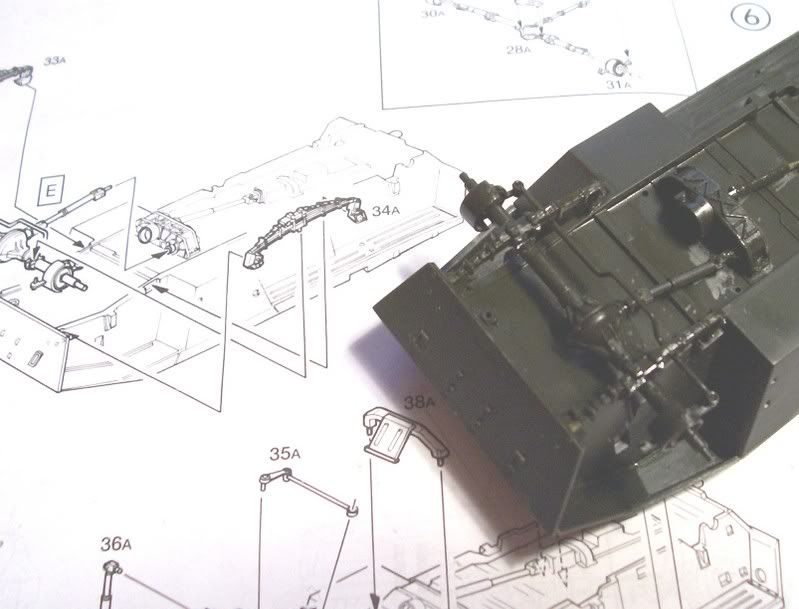
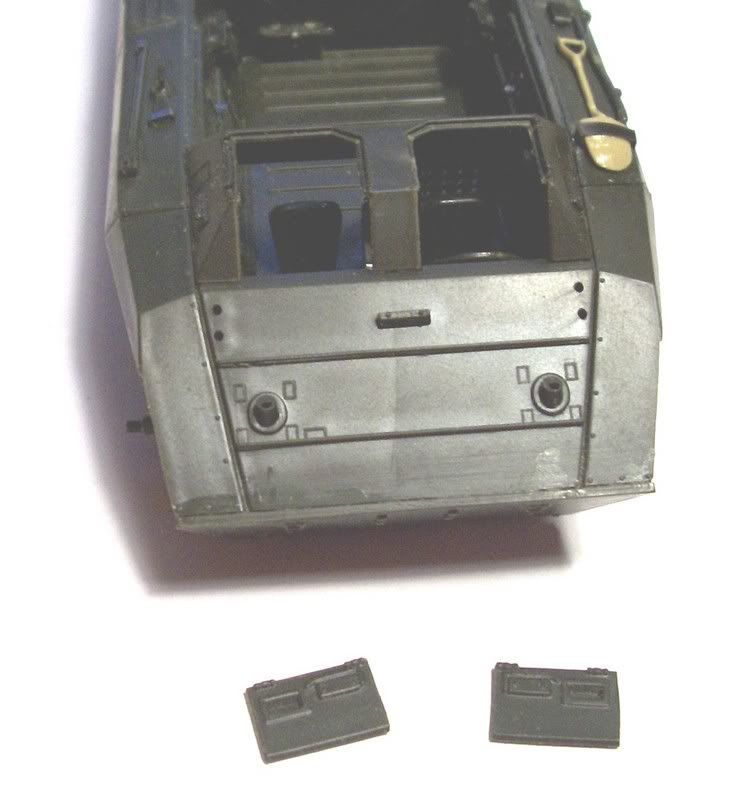
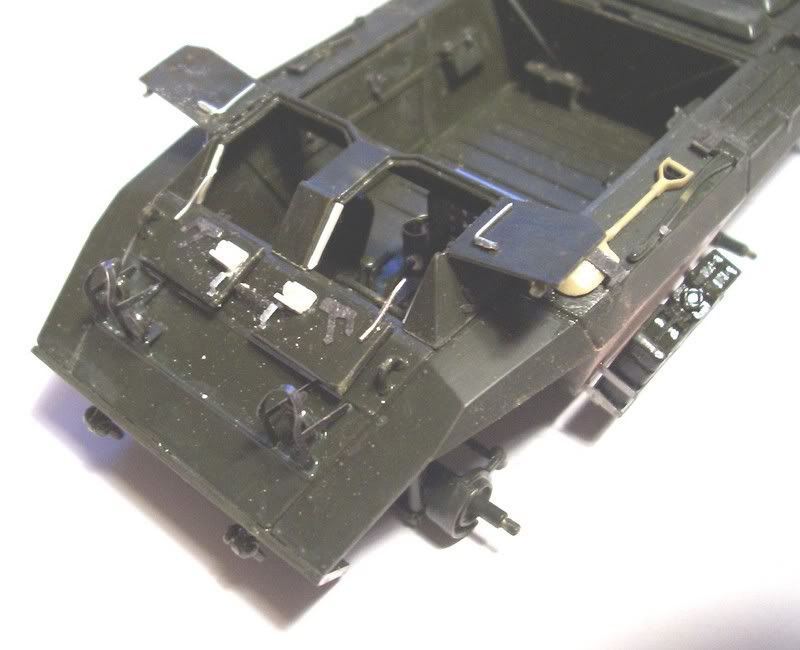
I moved on with the build by joining the upper hull to the lower doing this hinders the painting of the front of the interior but i will still be able to manage also none of it will be seen forward of the drivers position so a basic paint job up there will be fine,
Following that i began on the suspension and drive train, the front first,
Then the rear, again all this goes together great with just alittle cleanup of seams and a couple of small knockout marks, there were some tiny sink marks but they were covered up and nothing needed doing to them, after it is together its looks quite decent perhaps again not quite up to the tamiya kit but still serves its purpose well.
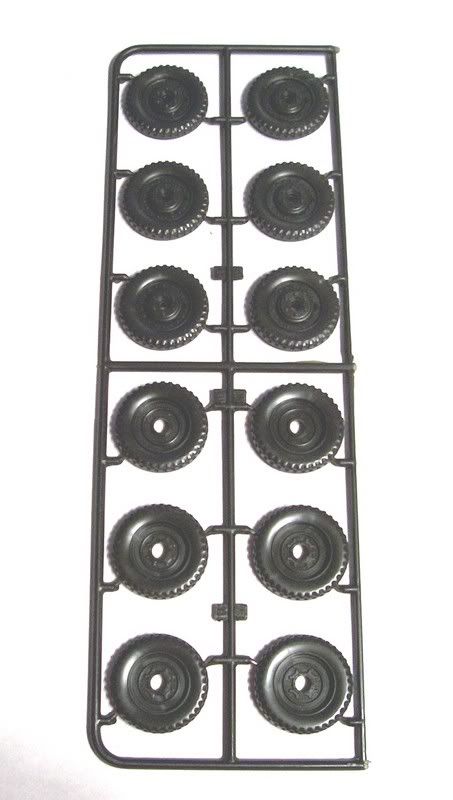
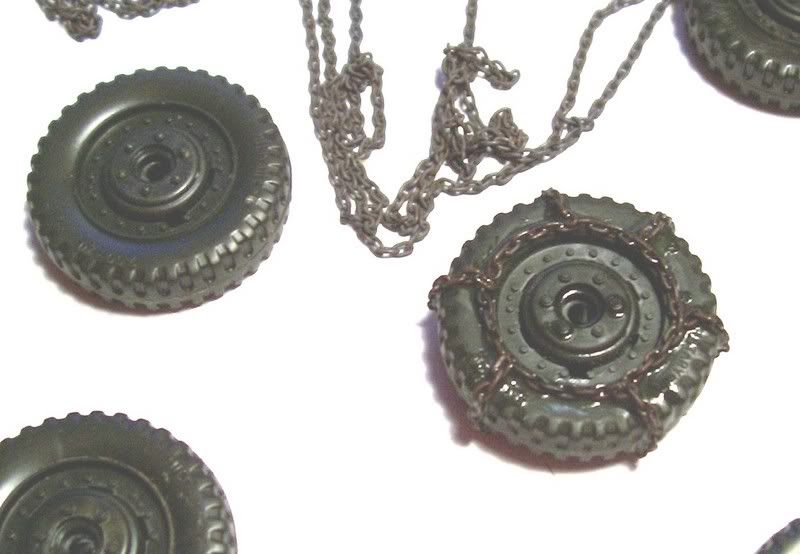
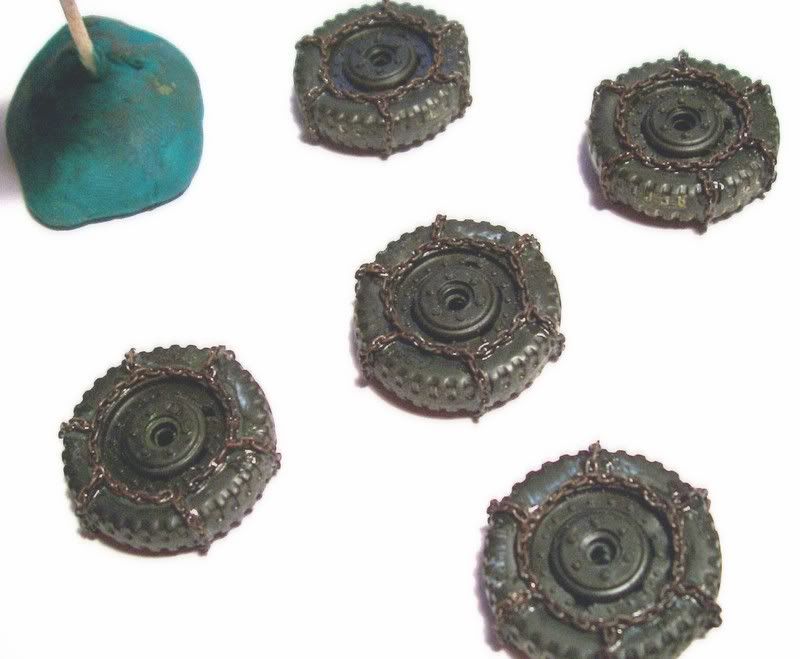
I then turned my attention to the wheels and decided i wanted to spice them up a little, knowing there is a resin set of snowchain clad wheels available i still decided to try fashion some of my own so using some 16 link per inch chain and armed with my super glue i set about this task and i do believe with a little mud and weathering these will turn out looking ok not perfect by anymeans but definatly ok.
Wow, Ron—I must say that I am impressed with your snow chains…they look great…here are the resin wheels you were talking about; I’m putting them on my M20…I think yours look much better!!! Awesome…
First Off looking good. I love the idea of the chains [wow] I’ll be keeping an eye on this one. I have an M-8 waiting in the wings. Really want to see what you do with yours.
But what I find truly amazing is that both you and Manny are building a US armor vehichle!! [:O]
What next…Doog and Tigerman building Shemans in a GB. [:O] I am currently checking but is their a world shortage of zimm!! I’m wondering what Manny will do for a figure…[:o)]
Ron, hopefully you feeling better. See you on your next update.
Thanks for the comments and interest guys, lol Redleg i do have a couple of allied things on the shelf not nearly enough though and i just fancied something in green and these armoured cars rock.
Hi Bill hiding the missus’s chains wont be a problem its what to do with the pearl earrings i need to figure out heh.
We have an update,
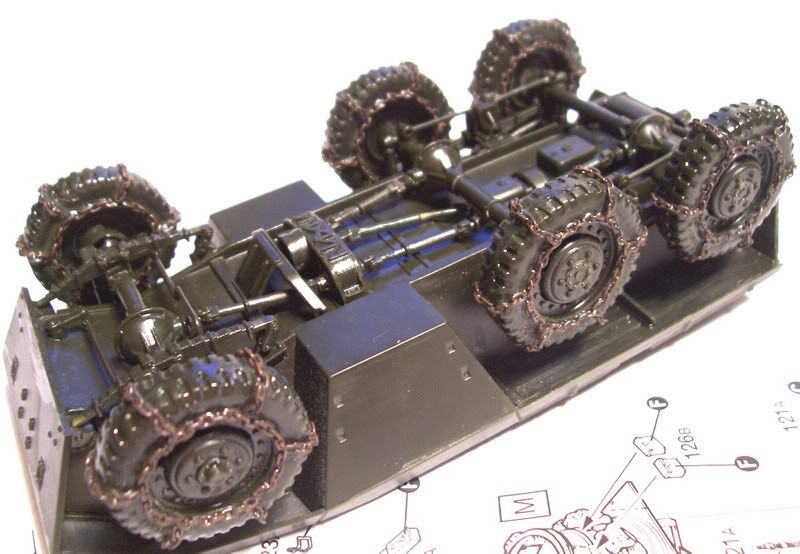
heres a shot of the wheels cleaned up and posed on the vehicle
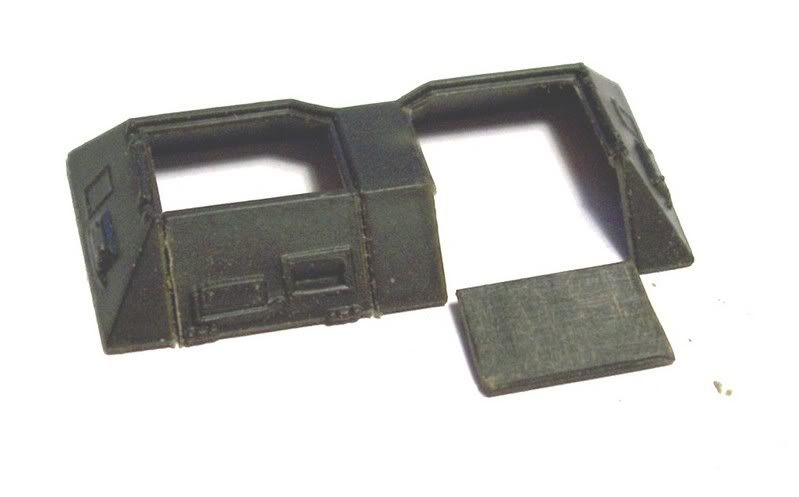
i wanted to position the drives hatches both in the open position but italeri molded the front ones shut so i had to cut them off,
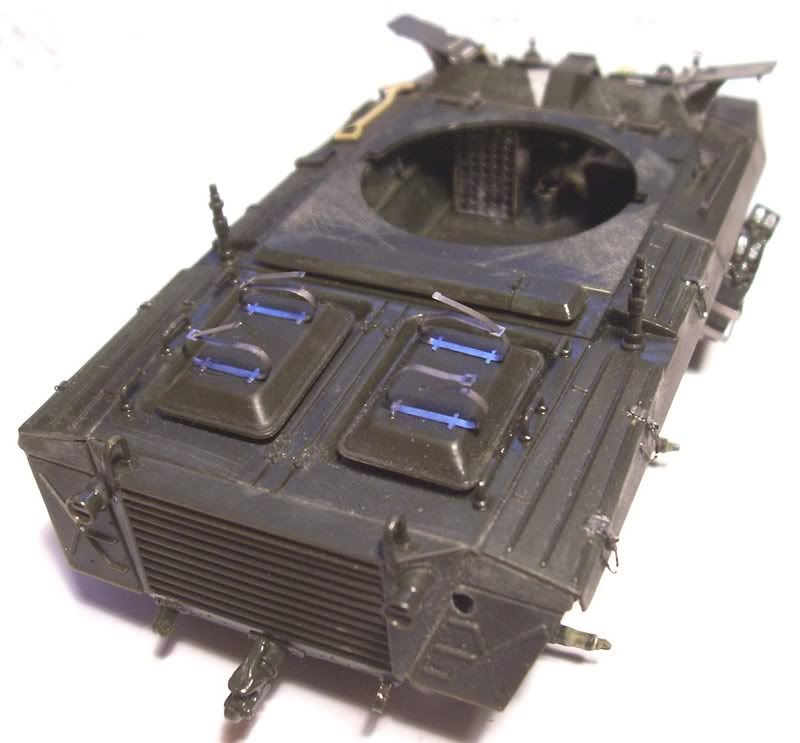
then i added the strips back to the hatch frame and the side rests for the upper hatches
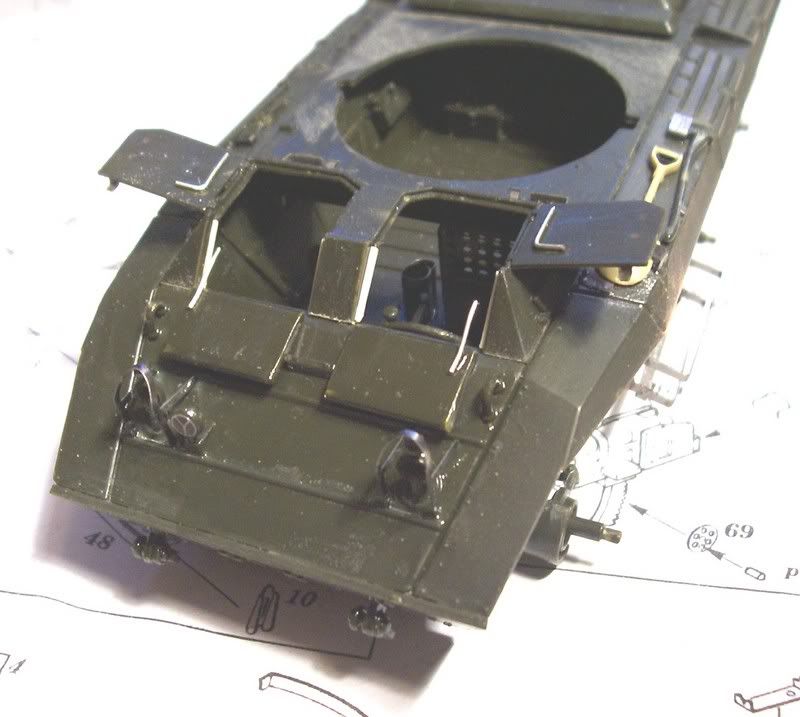
next the hatches were added the ones i cut open had no inned detail so i added a little of this and that i also replace the handles on the upper hatches, the PE side racks for the jerry cans were also fitted and the lights and PE frames and rest of the front details including the tools and clasps.
shes looking kinda messy at this point even by my standards lol but i believe she will clean up just fine
Looking great…I like how you add jsut enough tiny scrathcbuilt details to really make it stand out. Those chains on the tires are a erally nice touch too.
Thanks chaps, Manny its plastic sheet cut into strips to be honest i dont even know the thickness i got a bundle of it on ebay cheap lol
Got an update,
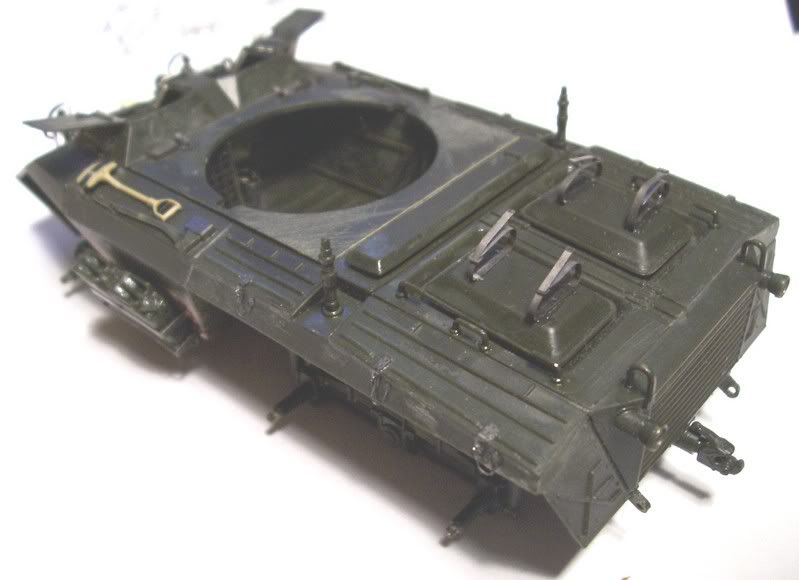
heres a couple of shots of some of the small detail on the rear, the toolbox hinges and chains among other things,
that pretty much rounded out the hull and everything other than the turret although if i can find some refs i may rework some of the interior depending on how much will be seen when its finished,
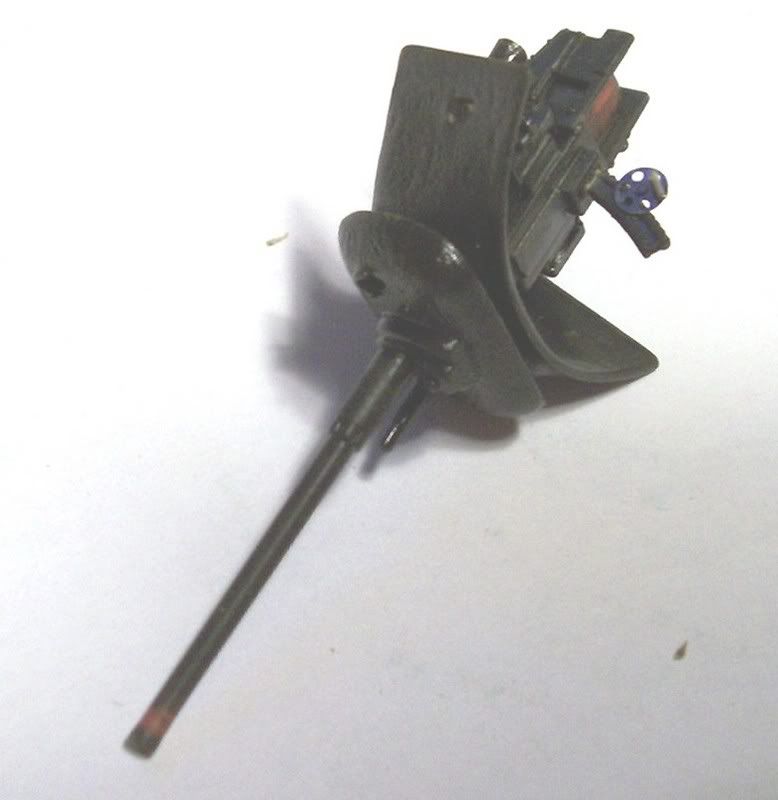
so i moved onto the gun and mantlet which isnt too bad but the end of the barrel was missformed and need some work plus the breech needed a little filler here and there
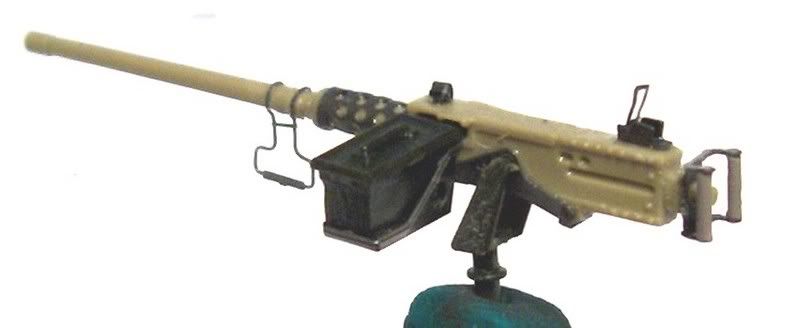
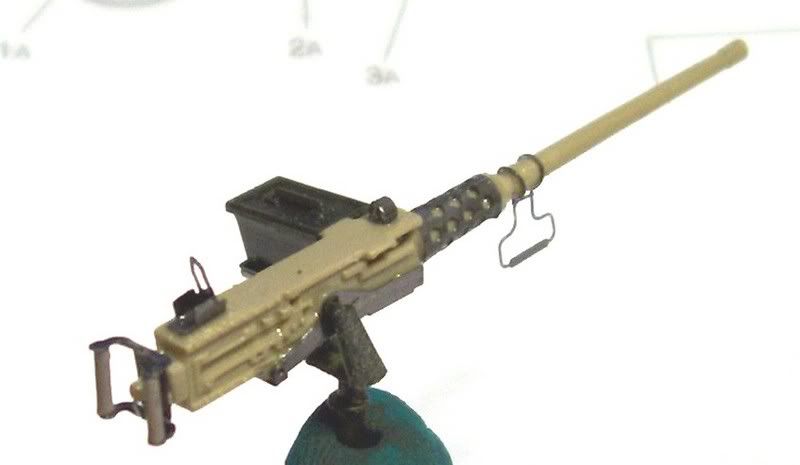
finally for this update i worked on the 50cal for this i ditched the kit gun for an academy one i had in the spares box and used the eduard set on it instead and most of it fit just fine with a little fudging and once more its not perfect but i think with some paint on it, it will look fine.
all that remains is the inside and outside of the turret and a few last minute fixes and this will be ready for some paint.
Yup you got it, rescued damsels [:)] strap em on and head for the hills
yes the ammo rack was PE although im thinking there should have been two in there but i cant find any refs, but in the end i dont think much is going to be seen, not sure what i will do in there yet.