I'm done with sanding/wet sanding by hand! Any alternatives?

Hi guys,

When I began the hobby last year, it took me a while to get an airbrush, because I believed I wouldn’t be a ‘serious modeler’ without mastering brush painting first.

It was only when I got so frustrated that I decided to finally buy an airbrush, and I haven’t looked back since. I now don’t believe an airbrush is a tool you get only when you ‘upgrade’ to higher level modeling. I say you need it from day one.

A similar problem with my models now is the sanding/wet sanding for the gloss finish. No matter how many YouTube tutorials I’ve watched, I still can’t get my car bodies to look good. Either I don’t wet sand and there’s a trace of orange peal, or I do wet sand and it looks patchy and scratchy. The YouTube videos are, of course, always welcome, but they practice on convenient, flat surfaces (where you don’t have to worry about the edges), and some cars are way more complicated than that.

Like brush painting, I know there’s a way to do it right if you want to go the by-hand route, but I’d rather just go with a machine.

Is there any solution/alternative for this? Can I use a dremel, or another process completely?

This is one of those things where I feel if I don’t find a solution, it may turn me off doing shiny objects/cars in the future, and I don’t want to limit myself in that way.

Let me know. All advice welcome. [:)]

Wet sanding tools: Micro Mesh

Current model: Revell Ford Shelby GT-H

Or maybe I should change my gloss? I use Humbrol Gloss Cote.

I don’t do cars, but I used to do commercial spraying for Norton motorbikes & Jaguar.

The key is preparation.

Get your target/car body as smooth as possible, key with 0000+ wet & dry or those nail buffing sticks ftom dollar/beauty shops.

Then prime with a good auto or lacquer primer. smooth again with 0000+ wet & dryetc.

Dust coat, (very light coats, to key the paint), then progessively build up the finish.

When you think ‘just one more’ stop.

Allow to harden, 1-7 days, depending on the paint.

Consider Hiro Boy automotive finish Paints, formulated for err car models, but it depends what you have available to you.

Then don’t sand! Unless you have orange peel or runs like pimples.

Consider car finishing compounds, Nova/Novus(?) or T-cut or similar, & polish out.

Touch up if necessary. This is a normal part of finishing.

Definately bin the Humbrol, it’s difficult to spray, will yellow over time, & I had more grief with this this than any other finish.

My favourite at the moment is Galleria acrylic, Mat, Satin & Gloss, self leveling, easy to spray, forgiving if you over-cook it.

Hiro Boy do a Show ‘n’ Shine Spray which may suit your needs.

I rarely build cars, but I started a new build recently on the same Testors/Fujimi Porsche 911 Turbo that I had built when I was in high school. I had to bag everything up and set it aside so I could just focus on one model and get my F-16 finished, but so far the painting process is going well. I’m using Model Master enamels I managed to find through Ebay being sold by little mom and pop shops. As with all of my other modeling subjects, I give every part a bath in Simple Green, rinse, bath in 99% alcohol, then dry. Then I use decanted Tamiya Surface Primer (just the regular gray stuff, which lays down nice and smooth when airbrushed), thinned with MEK. I give the primer at least 2 hours to cure, then paint. So far, I just have the first coat on, which went on in four passes of the airbrush. The first pass shows a lot of the primer through it, and with each pass I get closer and closer to the model with the airbrush. The final pass goes on nice and wet, so its really important to KEEP MOVING. I’m using the Model Master Enamel thinner because I haven’t had good results with other things like lacquer thinner for that (probably just my technique, so YMMV). After that, I put the whole thing under an upside-down Gladware container and leave it under there for at least 24 hours. After that its safe to uncover it and let it cure an additional 6 or 7 days and not have to worry about dust getting stuck in the paint. It will get dust on it still, but it won’t stick. But, definitely don’t handle the parts until that full week has passed. The second and final coat is the wet coat, where the paint is actually mostly thinner. Again, the most important thing is to keep moving with the airbrush…don’t stop, pause, or hover. Now, I haven’t gotten to the wet coat part yet, but aside from the airbrushed Tamiya primer, this is the same technique I used on the one I built in high school. The first coat was nice and glossy, but after I put the wet coat on, I always hesitated to touch it because it still looked like it was wet…the finish was that smooth and glossy, like glass.

After about 5 coats,wet sand the body staetibg with 3200 grit and go up to 12000.Then clean it up and give it a thinned coat of body color followed by a good clear coat No prob!

By hand is the only way to go. I personally use decanted clear krylon and I wet sand the base coat and clear coat using modeling sanding pads that start at 3200 and go up to 12000 grit. The primer surface must also be super smooth so sand it with 3000 or so dry and then paint. Dont sand the edges or body lines as this will rub through SUPER easy and ruin your paint work. Take your time, sometimes days worth, and slowly work up to finer and finer pads. When you are done you will be very happy with the results. Finish the paint with NOVUS polishing system and you will be stunned at the shine. Good luck and it does take some practice.

BK

This one was wet sand as described.

This one was not wet sanded, only cleared. You can see the orange peel in the paint here.

Slight orange peel!

Abrasive polishes. They come in a wide range of grits. Auto polish is a fairly fine grit- rubbing compound coarser, cleaner a medium.

Thanks to everyone so far for the replies. Believe me, I check up every few hours to see if there’s a new reply to the thread, and so far I’m ecstatic about the responses.

It’s just that I have so much feedback that I’m gonna have to try finding time in the weekend, or at least by Monday, to express all of it.

Have a good one. [:)]

I definitely WOULD not try to do any sanding with a motor tool, such as a DREMEL!

That would most likely make it come out more patchy than what you’ve had up to this point. It probably would even gouge through the paint and primer, and dig into the plastic.

Hi OHMS, I have been building models of all types, everything for nearly 80 years & love cars. I think the best advice I can give you is use Tamiya spray Lacquer. I buy the cans & spray a 1/2 oz bottle 1/2 full thru a 4" plastic straw & then thru my Pasche airbrush. I also use any large can of paint the same way.

I also don’t use much wet & dry paper, mostly some 3M type pad from an auto store made for car painting. It is about 2000 grit. The other people gave you great advice too. I will show you some of the cars I have painted this way. I just wanted to show you what Tamiya spray lacquer can do. I use Tamiya’s acrylic paint for ships & things because masking tape does not peel it. Gene

Beautiful! What is the second car down?

Don, it is a 1/16 Rolls Baloon Car I forget who made it but it is a beautiful kit. You even rig the wheels & it wasn’t hard. I have done a lot of wheel rigging, once you get the pattern straight.

That little Bugatti was another real nice kit. It is 1/16 or 1/20.

Gene

By the way, that Balloon car I got on ebay used & painted & it was a mess, but the wheels were not started. I soaked it in 1/2 Purple Power & water for a day & all the old paint came off. It repainted nice & is a beautiful model. I did a lot of those big old car kits. Loved them.

I shoot my gloss enamel paint and set it aside to cure for 5-7 days then use a soft old cotton t shirt and Novus#2 to polish the paint that produces a glass smooth finish. This method will also work on a car finish.

Ookay, I was dreading this, but time to reply to the posts (deep breath).

@Jon_a_its:

What’s “0000+”. I use Micromesh abrasives, which number (off the top of my head): 1800 going all the way to 12,000 in about 10 sheets. Are we speaking about the same thing?

I could try your suggestion: multiple dust coats instead of 1-2 wet coats. I thought dust coats were just for the base, so I never considered (or maybe even seen on YouTube) a multi-layered dust coat. It’s easier for me to try this because it’s just a change in method. Getting specific stuff in South Africa or ordering online is often impossible (when they’re out of stock), time-consuming or costly, so I have to be very sure I want something before plonking the cash down.

My fear about dust coats was you’d get a non-even, patchy finish, but I’ll practice on some bottles to see if this is a better option. Sounds intriguing.

It’s not really the fact that I have to change my method that troubles me. I don’t mind trying out different paths until I get this right. What’s really confusing me is I’ve seen YouTube videos where they get a good shine, basically emulate what they’re doing with the same or similar products, and there’s still a big difference. I’m just trying to figure out what I’m missing/they’re not showing.

Thanks for the recommendations.

@Eaglecash867

If you’re saying you can still see the primer after the first coat, it means you’re heavily thinning your paint, which is also something I can try. Again, this isn’t a costly, “try another product” solution, so it makes sense that I attempt this first before putting aside my Humbrol coats.

I don’t know if I’ll go ahead with the bath in alcohol just yet.

At the moment, I just shoot the Tamiya acrylics straight out of the bottle, without any thinner unless it can’t go through the airbrush. Lol! Some of you may be shaking your head after reading that, but I always believe in taking the easy route until it’s proven not the way to go.

@philo426

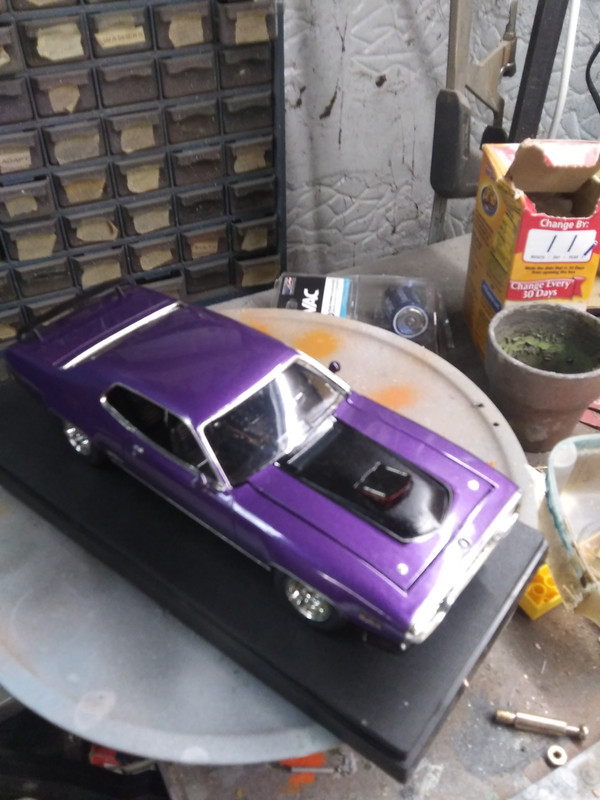
YES!!! This is the approach I (sort of) took with my current model. Prime → wet sand → 2 good body coats → wet sand → 3rd coat → 2 gloss coats

I thought I saw the method in this video (https://www.youtube.com/watch?v=1rxgXxyOPKQ) but looking at it now, I may be confusing it for another one.

I’d like to find a way to get the gloss/mirror finish without sanding the uppermost coat of paint and/or clear coat, because that just adds another variable to a scracthy finish. I’m sure someone on YouTube did it by sanding only the undercoats.

@BrandonK

I understand not sanding the edges/body lines to prevent the paint from burning off, but doesn’t that lead to a patchy finish? This is why I want to attempt trying to get a gloss by sanding only the undercoats.

@Don Stauffer

Abrasive polishes, you say? Will have to look into that. Is this the equivalent to the Tamiya polishing compounds? Because I have and use those as the final process.

@BUCKY

So there’s no other way to do sanding besides by hand? Noted.

@gene1

This is doable. I have 2 cans of Tamiya gloss clear spray. Never thought of using it through an airbrush. Colour me intrigued!

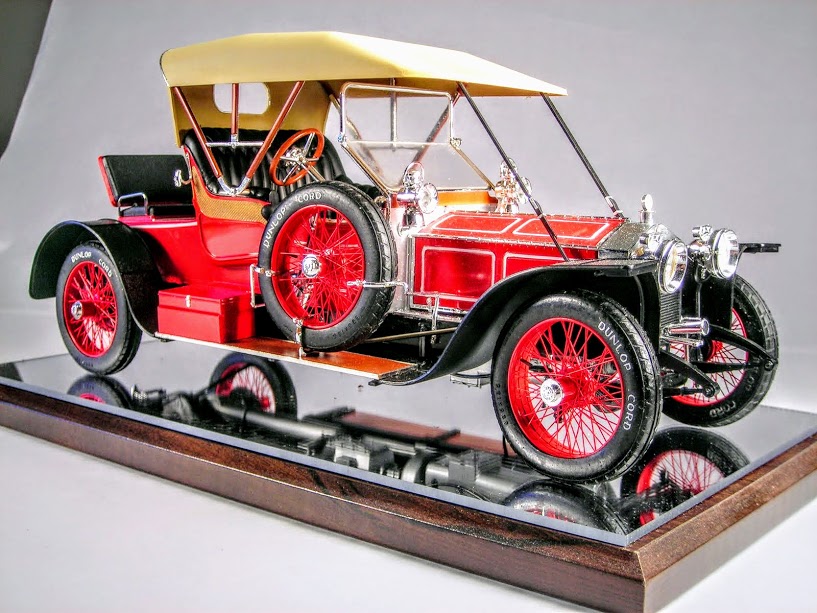
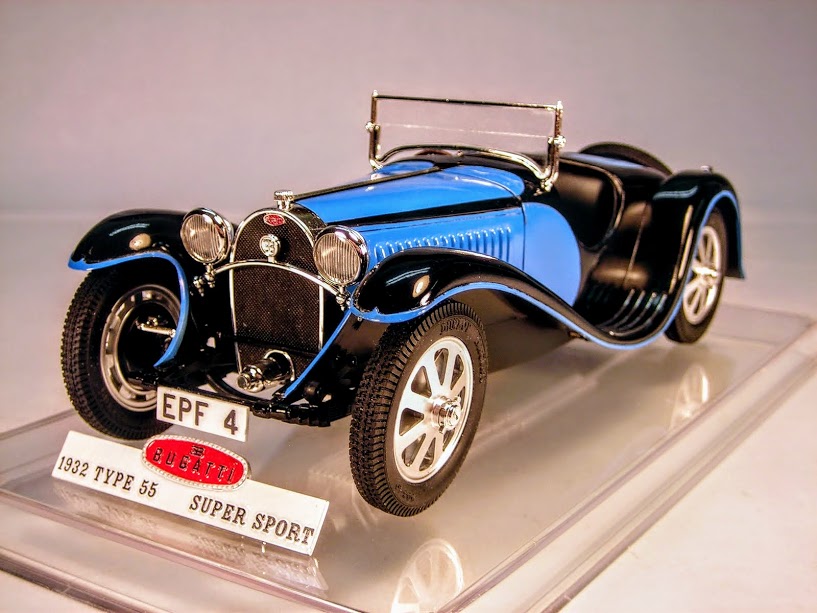
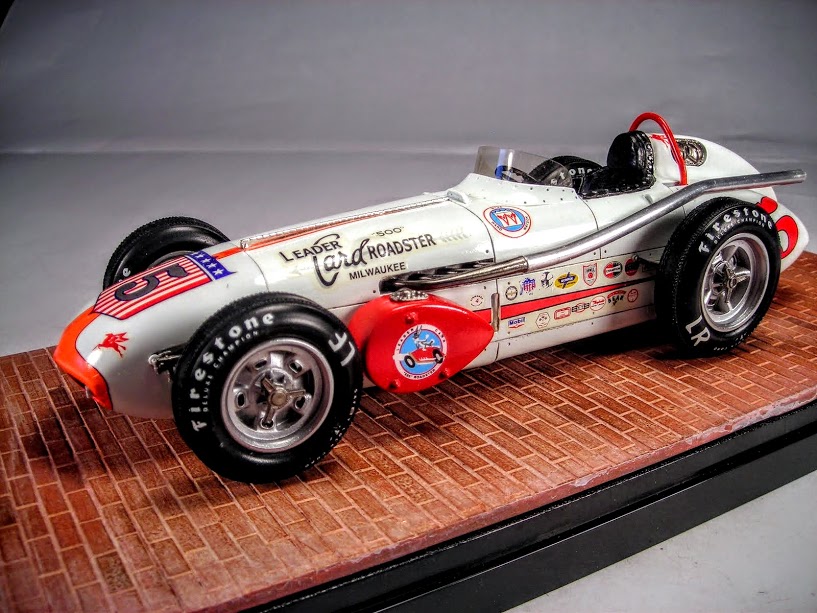
BTW: From one racing fan to another, nice models!

@plasticjunkie

I’ll try that with the Tamiya fine compound, which I have.

That’s it! Thanks all for the tips, people! Now I have plenty to do in trial-and-error. Will get back to you in time with more problems to help solve! [:P]

The secret of a good gloss finish is brinkmanship. It also requires multiple coats. The first coat should be light, the last very wet (several intermediate coats help). The last coat should be so wet it is just ready to run. How do you know when it is ready to run? Experience and practice. Buy or find some cheap sources of plastic. Many of us use cheap packages of plastic. Priming is always a good idea.

Sanding between each coat is necessary. Model cars are the most difficult genre to paint, because of the need for a good gloss finish without clearcoats.

Yeah, people like Dave Thibodeau teach the sanding of even the primer! (Which is how I built my current model).

Days?! Wow. I went through abrasives 3,400-12,000 on my car body within 30 minutes. [:D]

Again, this is something I’d like to try first, because it’s just a change in method and I won’t have to purchase anything new. Plus it seems easier, and I want to explore the easier options first.

Are you saying the cotton shirt acts as a very fine sandpaper? Because I’ve been applying Tamiya Coarse compound to my models on scratch-free cloths (basically the cloth used to clean eyeglasses, obtained from local opticians). The point (I thought) of the compound is more to level scratches, not visibly smooth out the surface (from orange peel), but I’m wondering if your cotton shirt suggestion can actually smooth out a surface like the fine sandpaper, just with a lighter touch. That’s definitely explorable.

Yes the cotton t shirt will act as a super extra fine polisher specially when combined with Novus.