Clemons that’s a great tutorial! I learned a few tricks there I didn’t know! Biggest difference I do is using hair spray as an undercoat instead of thinner to remove the whitewash- it seems a bit more gentle on the undercoat but if you’ve added the clear undercoat as you said it shouldn’t make much difference either way.
 [/URL[URL=http://s1346.photobucket.com/user/kingtiger11/media/Marder%20III/Marder%20III%20Dragon/DSC00157_zps8caacc7e.jpg.html]
Just an little update on my Marder. I’m working on the gun, wheel assemblies and some PE. I think I’ll take the suggestion from SchattenSpartan on a winter whitewash over a 3 camo pattern and use his tutorial as a reference. SS thanks, I think a lot of builders will find your information very useful and informative.
Terry
Terry the Marder looks great there. I thought the exposed gun on my M10 was complex, yours is a kit in itself! And that PE rack looks terrific!
Ok, I finished painting the tools and attached them to the rear hull and am now working on the tow cable. Sheesh, not sure why I took all the time trying to get the wood grain when I’m covering them with whitewash but ah whatthehell. Still need to add a little ‘stucco’ paint to the lower side of the tools to match the splattered ‘mud’ on the hull.
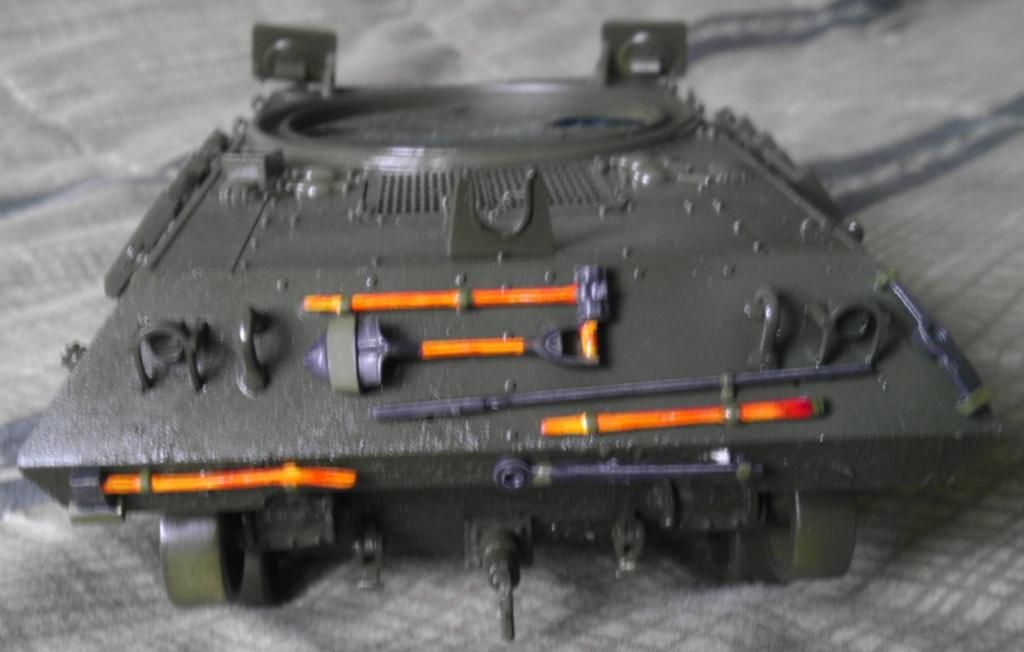
I see you pre paint your add ons like shovels and the like but a lot of guys set them in, prime/paint and THEN take care of them, seems like thats the more difficult way to go. I treat each piece and sub assemblies like a completed piece then install them, at least to me that make sense but I’m sure there’s an argument to the contrary. Anyway I like the coloring on the wood and the way you laid out a rough surface. Looks like a couple coats of Mr. Surfacer 500?
Nice work there guys, that gun looks really nice jibber.
I am the same with my vehicle tools and other items, I paint them off the kit and then add them after painting the vehicle and before weathering.
Yeah, I always paint stuff like that separate too, it’s a bear to try to get in there and paint the details once attached. The wood is just tan paint, then I take a Prisma brand brown pencil and draw the grain lines in. Then take a little Tamiya translucent yellow with a drop of red added for an amber colour and paint the wood areas. It looks a little toned down when the matte overcoat hits it.
The rough areas are just ‘Stucco’ paint (this seems the Marta Steward brand!?!) daubed on with a heavy brush. I paint the whole thing olive drab (or whatever colour it should be) and then shoot the rough areas with mud/dirt coloured paint. I find it easier this way instead of adding the ‘dirt’ later.

Really nice effect, I’ve used Mr Surfacer 500 on turrets, mantles etc and ended up with something similar to your finish. I think I’ll try it out, I never would have thought of using stucco paint on a model. Always learning….Thanks
Jibber: Nice progress on your Marder!
Cliff: That wood effect looks great! I paint my tools separately as well. It makes things much easier… I actually don’t like using hairspray because it causes a chipping effect instead of the paint looking washed off
Gamera: I like what you’re doing with that M10. I have an old Tamiya M36 calling to me from the closet…and it’s your fault! [;)]
Jibber: your Marder’s looking good. [Y]
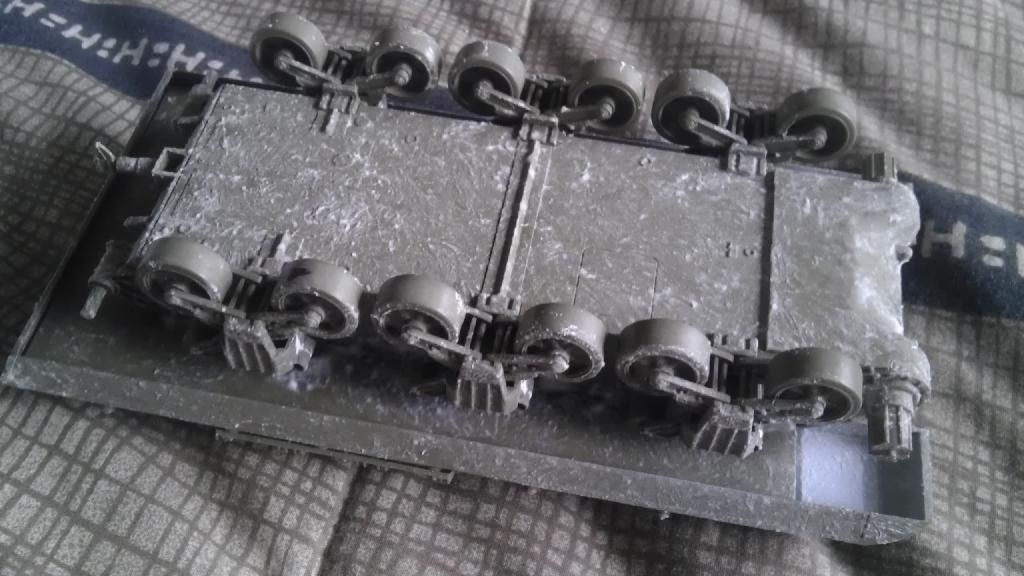
Gamera I picked up some Vallejo White Stucco, so far I’m very impressed with it. I used it on an old Panzer IV that had been sitting on my bench partially finished. I applied it to the underbody and wheel wells along with a little on the wheels, idler and sprockets. I think it’s going to paint up very nice but I do have a question. Do you think its better before or after the primer? I’ve thought about it and I really don’t think it matters, but then again maybe over the primer works better?
Terry
Thanks guys but I can’t claim credit for the stucco- this I learned from Steven Zaloga. I’ve never used the Vallejo brand but it’s probably better than this though I think the cheaper stuff works ok.
Jibber, I have no idea if it matters at all. I apply the stucco and then primed with the first coat of Tamiya olive drab in this case.
Clemons: I’m going to have to try it your way too. I love how your Royal Tiger came out!
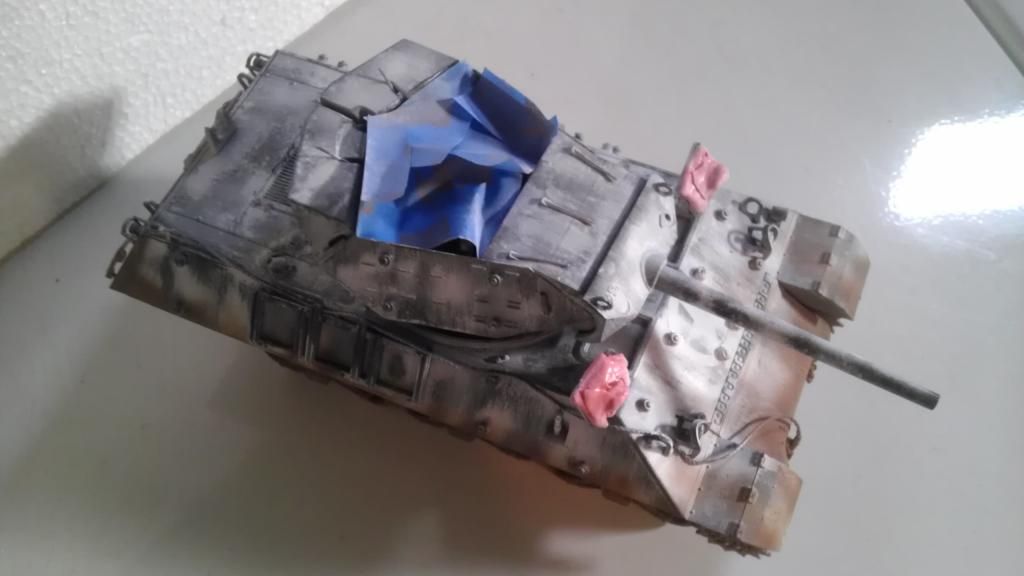
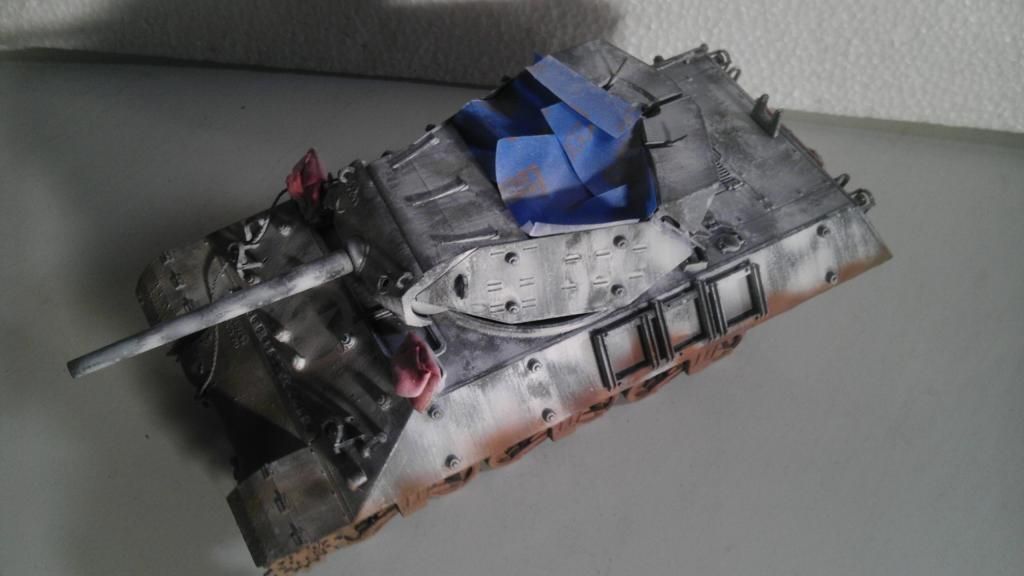
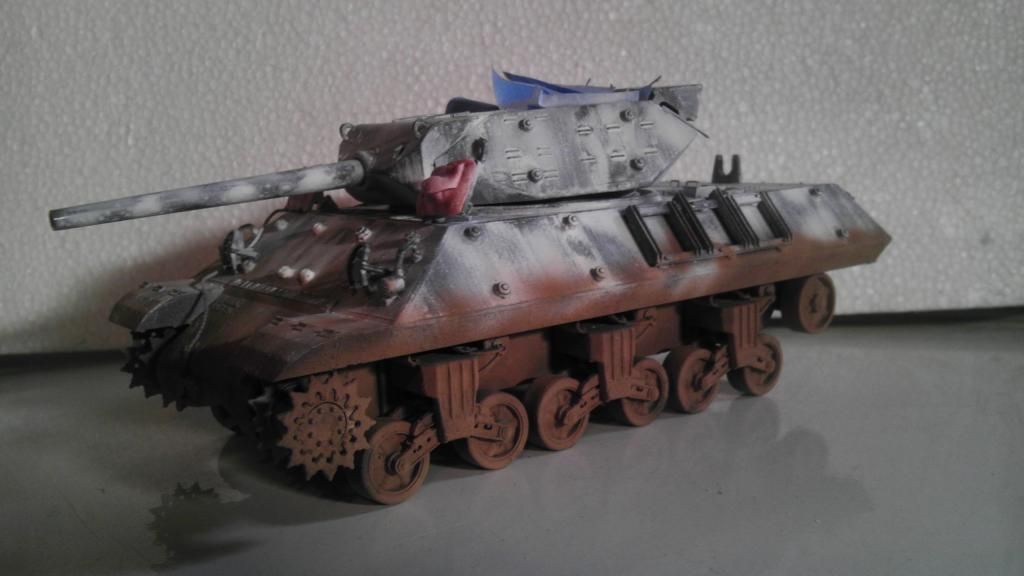
Anyway a few photos with the whitewash on and some of the mud (Tamiya dark earth) applied to the lower areas. When I get the tracks on I’ll add some highlighting to the mud. I still need to add the muffler to the back on the thing too. Sorry about the photos, I took them late in the day and the lighting wasn’t so great.
BTW: The pink stuff on the hatches is Silly Putty. The hatches would have been closed when they hit her with the whitewash so they should stay olive drab.

Gamera thanks for the info, she’s looking great.
Thanks Jibber, now that I look at the photos the mud on the upper hull looks a little regular - going to have to rough it up a bit too now!
Looking great, Cliff!
Thanks! Painted the treads grey yesterday, think I’ll pre-mud them before attaching and then hit the whole thing.
 [/URL[URL=http://s1346.photobucket.com/user/kingtiger11/media/Marder%20III/Marder%20III%20Dragon/DSC00192_zps827dba2e.jpg.html]
 [/URL[URL=http://s1346.photobucket.com/user/kingtiger11/media/Marder%20III/Marder%20III%20Dragon/DSC00190_zps9cb27922.jpg.html]
A little more work on the Marder. I’ve completed almost all the PE I’m going to use, and most of the building is done except for some individual pieces that’ll be added later. I have a primer on and the next step will either be hairspray or AK Chipping Fluid. I’m going to test one against the other because I’ve never used hairspray but I know the AK works very well. I’ve had questions on why the black primer, in this build I know I’m going to do some wash out and chipping so a base coat of black really makes a good contrast. If it’s a straight build I’ll most likely use Poly Scale red as a primer. BTW, theres a lot of pieces in these Dragon Kits and no shortage of PE, some real tedious work.
The PE tool box on the fender looks like I messed it up, but my plan is to give the entire build a roughed up winter look.
Looking really nice, Jibber!
I hear ya on the parts count on those Dragon kits. It’s tedious work, but it is very rewarding too! [;)]
May I ask what the hairspray/chipping fluid is for?
SS I’m going to chip off some paint in certain areas after I paint the 3 color camo, just like I would any other build, then spray on the gloss coat. If I understand your method, I don’t think it matters if I chip a little paint as long as I cover the entire vehicle is a spray gloss, that should seal everything. Please tell me if I’m wrong.

I had planned on using Vallejo Gloss acrylic varnish over the entire vehicle THEN a Tamiya flat white.