Ciff: Nice work! I love that almost paintless floor!
Tony: Now that’s a nice Hummel you got there! Is it the Dragon kit?
Ciff: Nice work! I love that almost paintless floor!
Tony: Now that’s a nice Hummel you got there! Is it the Dragon kit?
Yes sir it’s the Dragon Hummel kit
Tony lee
Now that’s a nice looking Hummel too Tony I built the kit years ago and well, mine don’t look that good!
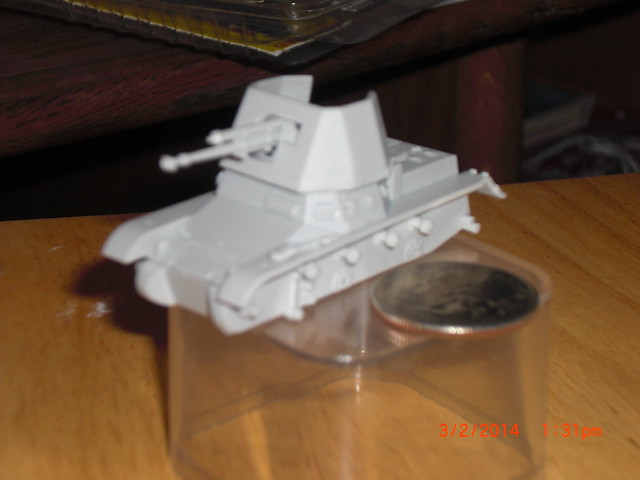
ok i’m in with the M3 GMC in north africa colors. i will crossover this with halftrack GB and since it has some tires it sorta kinda fits my warwheels genre though most of those are modern.

The instructiions don’t call out all the colors but it looks like the light blue is the dark yellow and the dark blue is early OD.

as for staining i have used silly putty and it doesn’t leave a residue but it most be pulled off slowly or it can pull off small pieces and make sure you look for residual boggers of it in creases. DO NOT heat it up. on this JGSDF TYPE 96B i put it under a lamp for 30 minutes and it did leave some staining which i noticed when i retouched. couldn’t have been too obvious as it has placed 2nd in the last 2 local contests. i look at it and think “if i had been doing pin washes back then.” OTOH there are 17 PLA and 9 JGSDF vehicles in the stash so…

Wayne
I’m also building one of the M3 75mm and while doing research I found that LifeColor has what they call “Khaki North Africa”#LFCUA 413 and it matches what the Marines used in the Pacific for camo.
Not being sure of what Dragon is calling Dark Yellow for the camo I switched to Pacific Marines M3. Tamiya Deck Tan is a very close match so I used it on mine.


Just FYI
Tony lee
PS: I hear all M3 75s had the roller on the front and not the winch but my T19 has the roller and I put the winch on it for variety.
hi tony. yes i suspect it;s closer to a tan than to german panzer yellow. as long as i get close by the time i scour it with dust pastels it will be a different shade
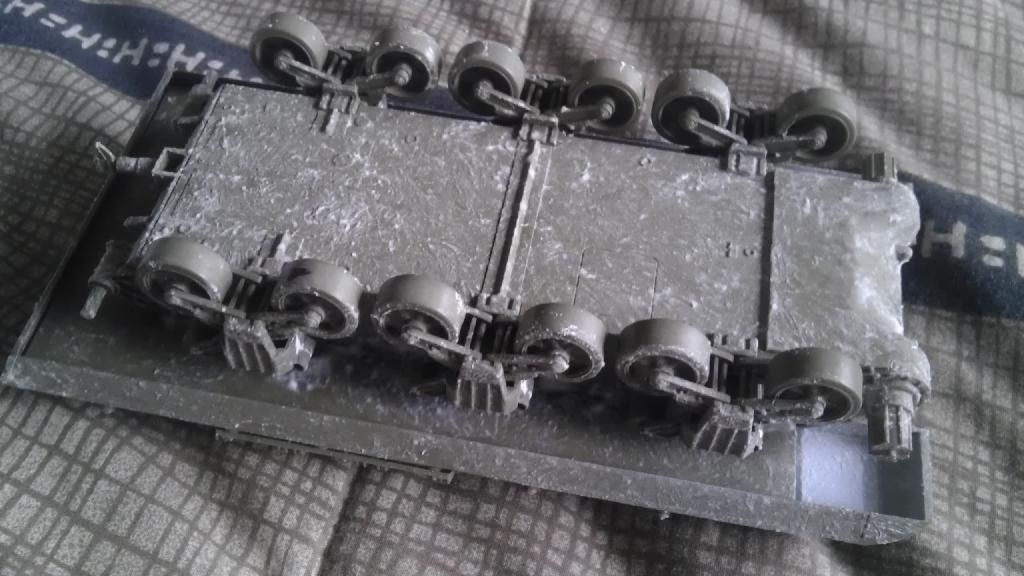
Took some in progress shots of the Panzerjager, but since it is so small, I couldn’t get any decent focused shots.


Those look great guys!!!
The M10 hull is now together. I’ve been experimenting with ‘stucco’ paint to create a rough surface to represent caked-on mud for the lower surfaces:
Tony I can really appreciate the camo job on the Panther. I did a similar pattern a while back and the biggest problem I had, were the nooks and crannies on the uneven parts trying to keep the paint from bleeding and consistent from one elevation to the next. I think you did a real nice job with that.
Just getting started on Dragons Marder III. Working on the main body, starting on some smaller sub assemblies and the main gun, I have a lot of work ahead of me. this is one of their Smart Kits and about 700 parts. Because the interior will be covered, I think I’ll assemble and save the engine and trans for a Dio I have in mind for another Marder thats been built and waiting for attention.
I could use some suggestions on how to finish it. I’ve studied Marders and downloaded about 40+ pics from many sources especially some real WWII shots of working and demolished vehicles, so I’m not sure how I’m going to finish it. Camo or grey? Clean or battle damaged? Theres so many choices I’m looking for some suggestions but I’m leaning to a more distressed look with some body and battle damage probably in a 3 color camo. I’d like to decide soon so I can proceed in that direction as I’m building. Thoughts? Thanks in advance.
Jibber: :Looks good! I have no idea on the camo, from what I’ve seen of Marders they came at the middle of the war where the Wehrmacht was switching from the panzer grey to the mustard yellow and you can go with an enormous range of schemes there.
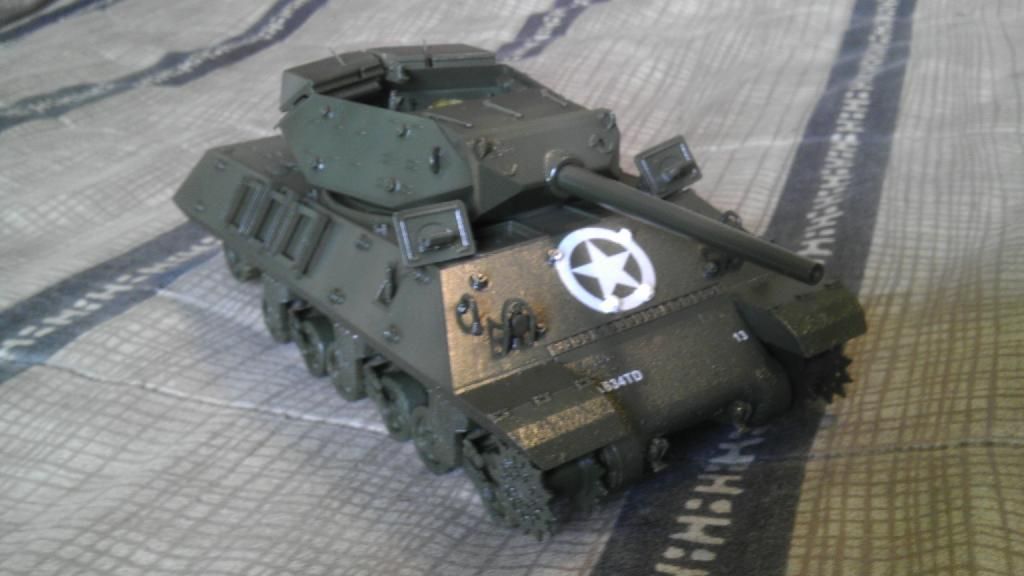
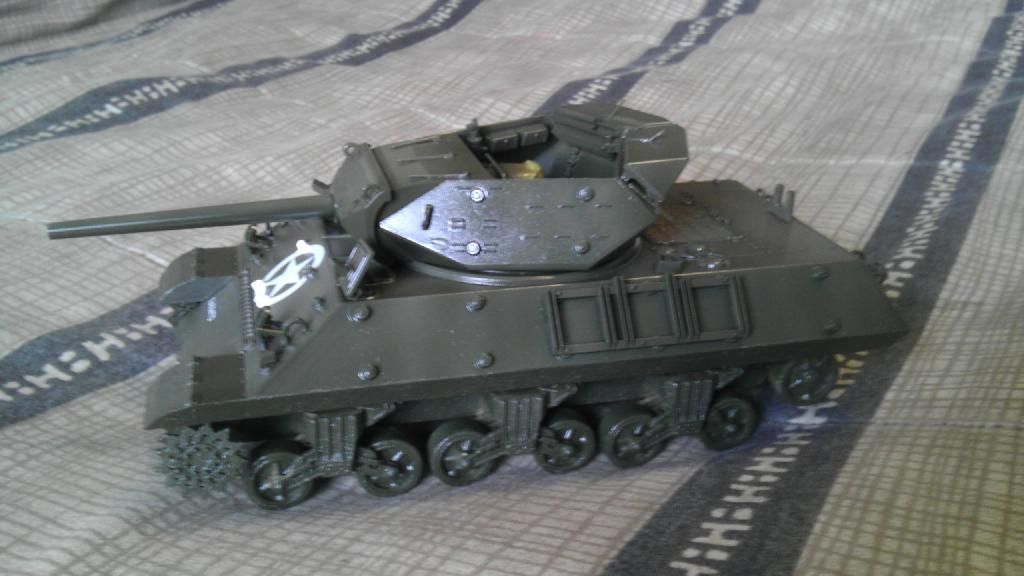
The M10 is mostly assembled. Sorry, I put a coat of gloss on her prior to hitting her with a whitewash so shes a little shiny. I’ve seen some cool photos of Battle of the Bulge M10s in washwash so I’m going to try to do her that way with the hairspray technique to slightly distress the the white. The hairspray is in place now but I forgot to add the tools first - so now I’m painting them to add since I assume the crew wouldn’t remove the tools first so they’d stay nice and pretty.
Rob: Looks like you’re off to a good start!
Jibber: Nice work so far! I’ve never seen a Marder III painted in gray, so I suppose you have to go with the later camo (yellow/green/brown). If you go for a beaten-up look, how about combining it with a whitewash? Whitewashed vehicles tend to look like crap after they’ve seen some action, so you have lots of possibilities regarding the weathering.
Cliff: You sure made quite some progress on your M10. I’m really interested in how the whitewash effect with the hairspray Looks like when she’s finished.
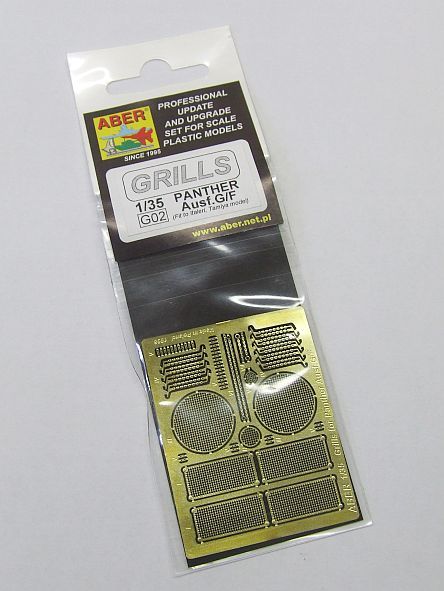
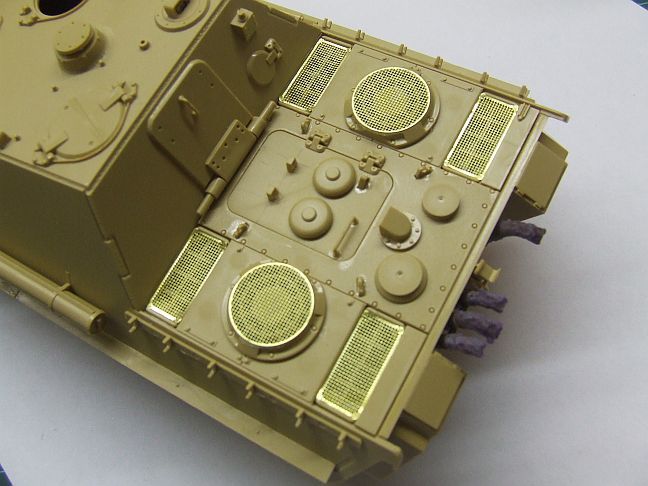
I made some progress on the Tamiya Jagdpanther today, for the first time in months. Today’s job was to apply the Aber etched grill set:
Like so:
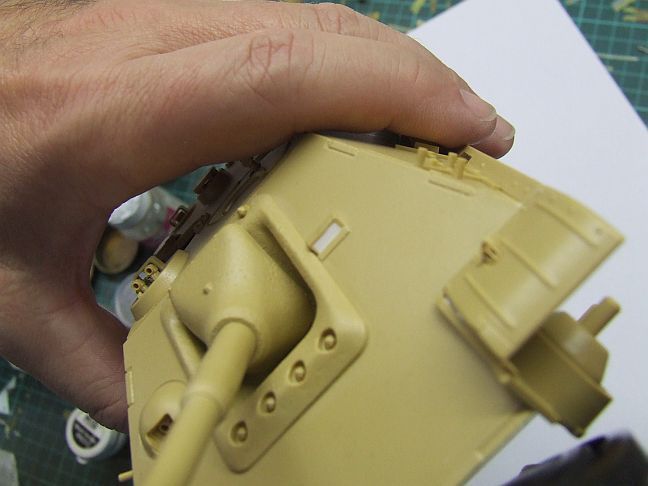
I also set up the driver’s vision port with a standard job of dark blue plus clear, and masked, here’s the port with styrene blanking the empty hole. The box art shows a transparency, though no photos I could find were clear enough to know what it amounted to, so I’m basically winging it:
She’s now ready for the paintshop, more or less.
Cheers, Mike/TB379
SS I never considered a whitewash over a 3 tone camo, I’l research that. Ive used it over German Grey before but I do have some pics of Marder III’s in grey
Great idea thanks.
Terry
I can write you a short tutorial on how I painted the whitewash on my King Tiger if you want me to…
Mike: Looks good!
Terry: Whitewashes are easy since there wasn’t any real standard way to apply them- some crews just dumped buckets of lime over the vehicle and used brooms to spread it around. I spray some hairspray on before the whitewash and then scrub it from the top down esp around the areas where the crew climbs on and off the AFV with a slightly moist rough brush to wear a little off. I’ll let Clemons go into more detail here.
Guys I appreciate that, I used a white wash on a grey Panzer and honestly is came out less than what I’d hoped for, I’ll gladly take the tips. Thanks
I’ll post a link to the tut here once it’s finished…
I’m done with the tutorial, so here it is:
Clemons, you weren’t kidding about some instructions…Thank You. I’ll get into them tomorrow, a lot of us can use this information.
 [/URL[URL=http://s1346.photobucket.com/user/kingtiger11/media/Marder%20III/Marder%20III%20Dragon/DSC00147_zps869ecfdf.jpg.html]