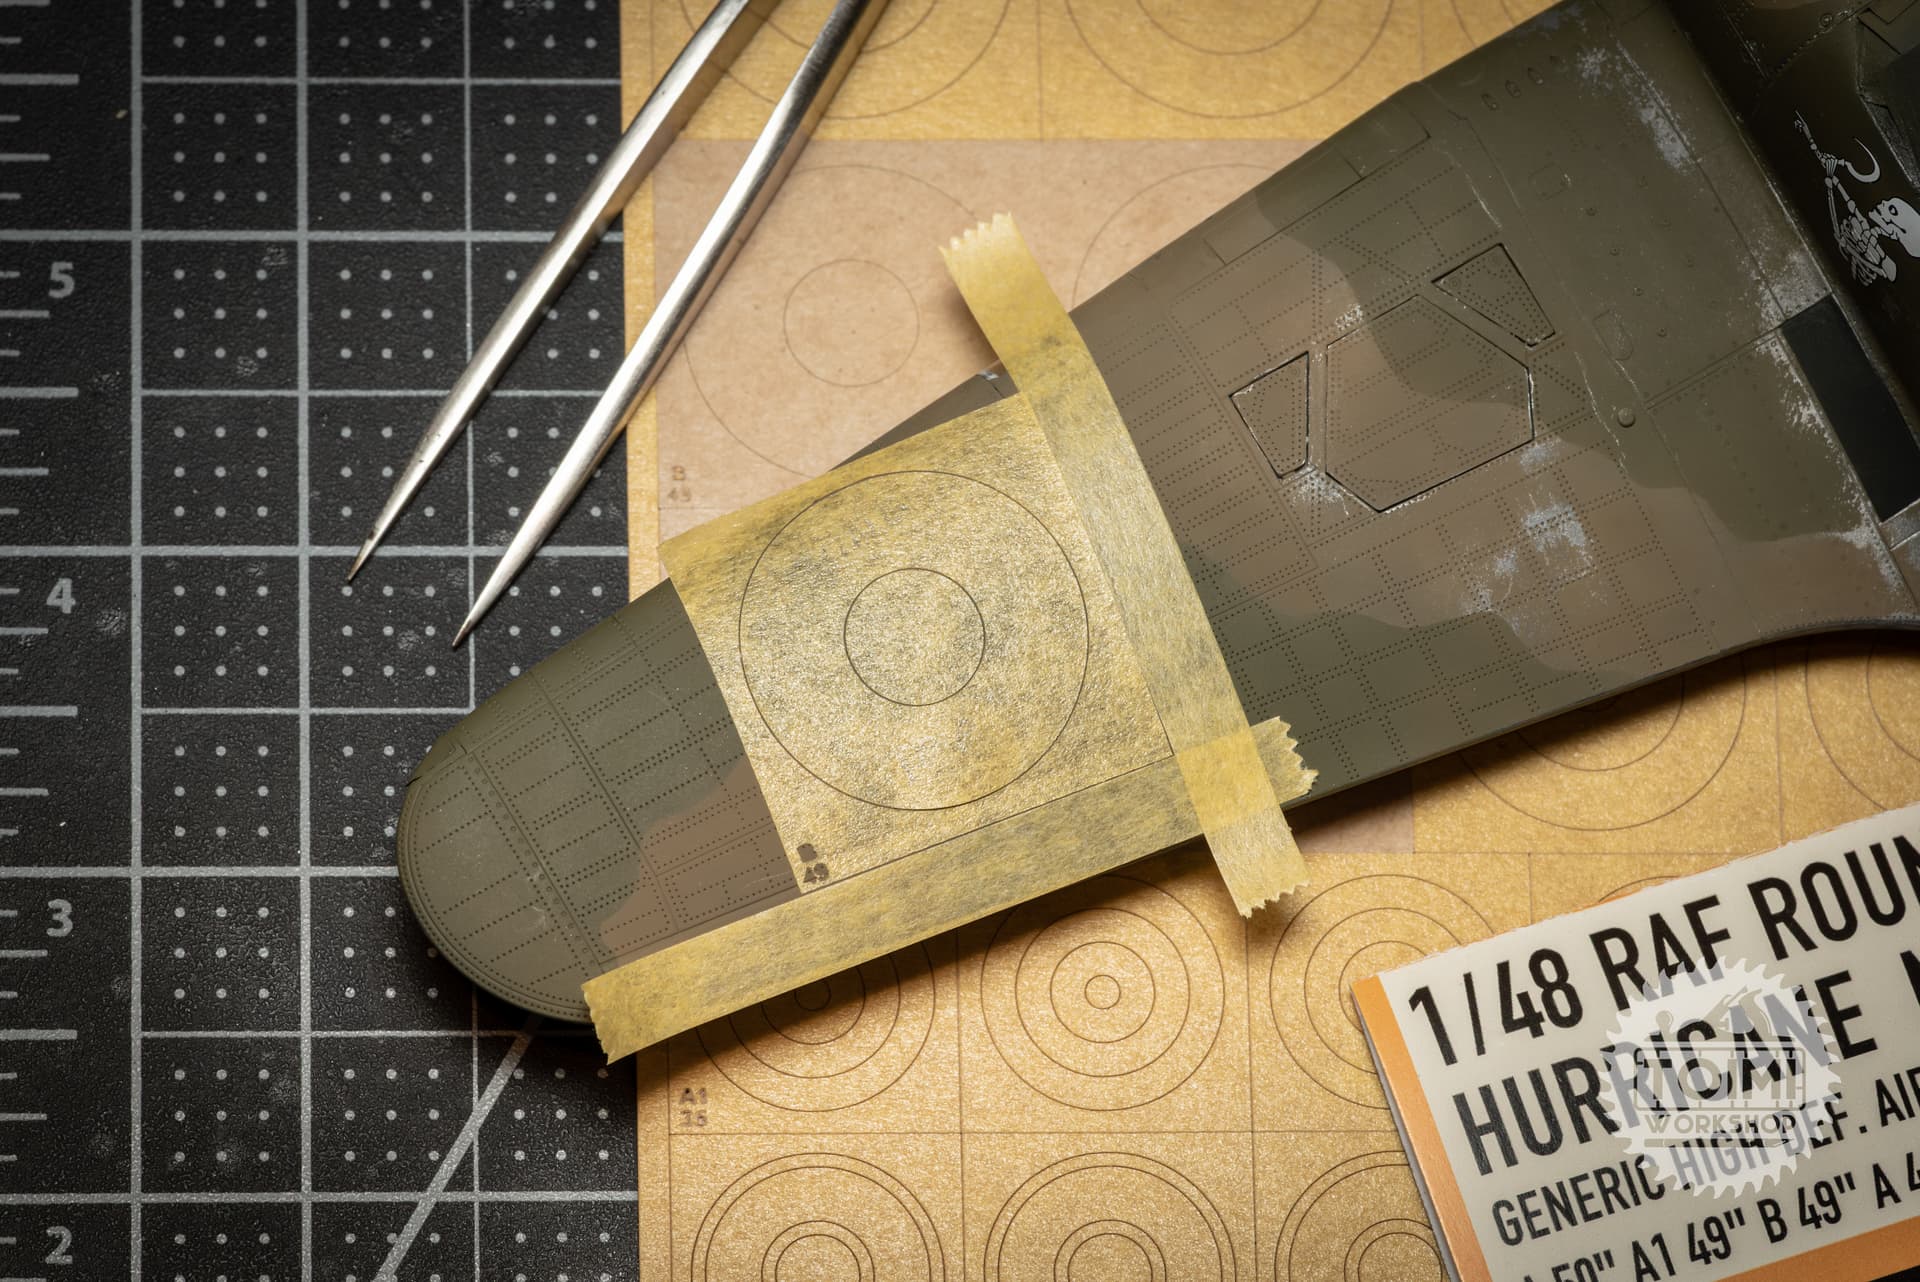
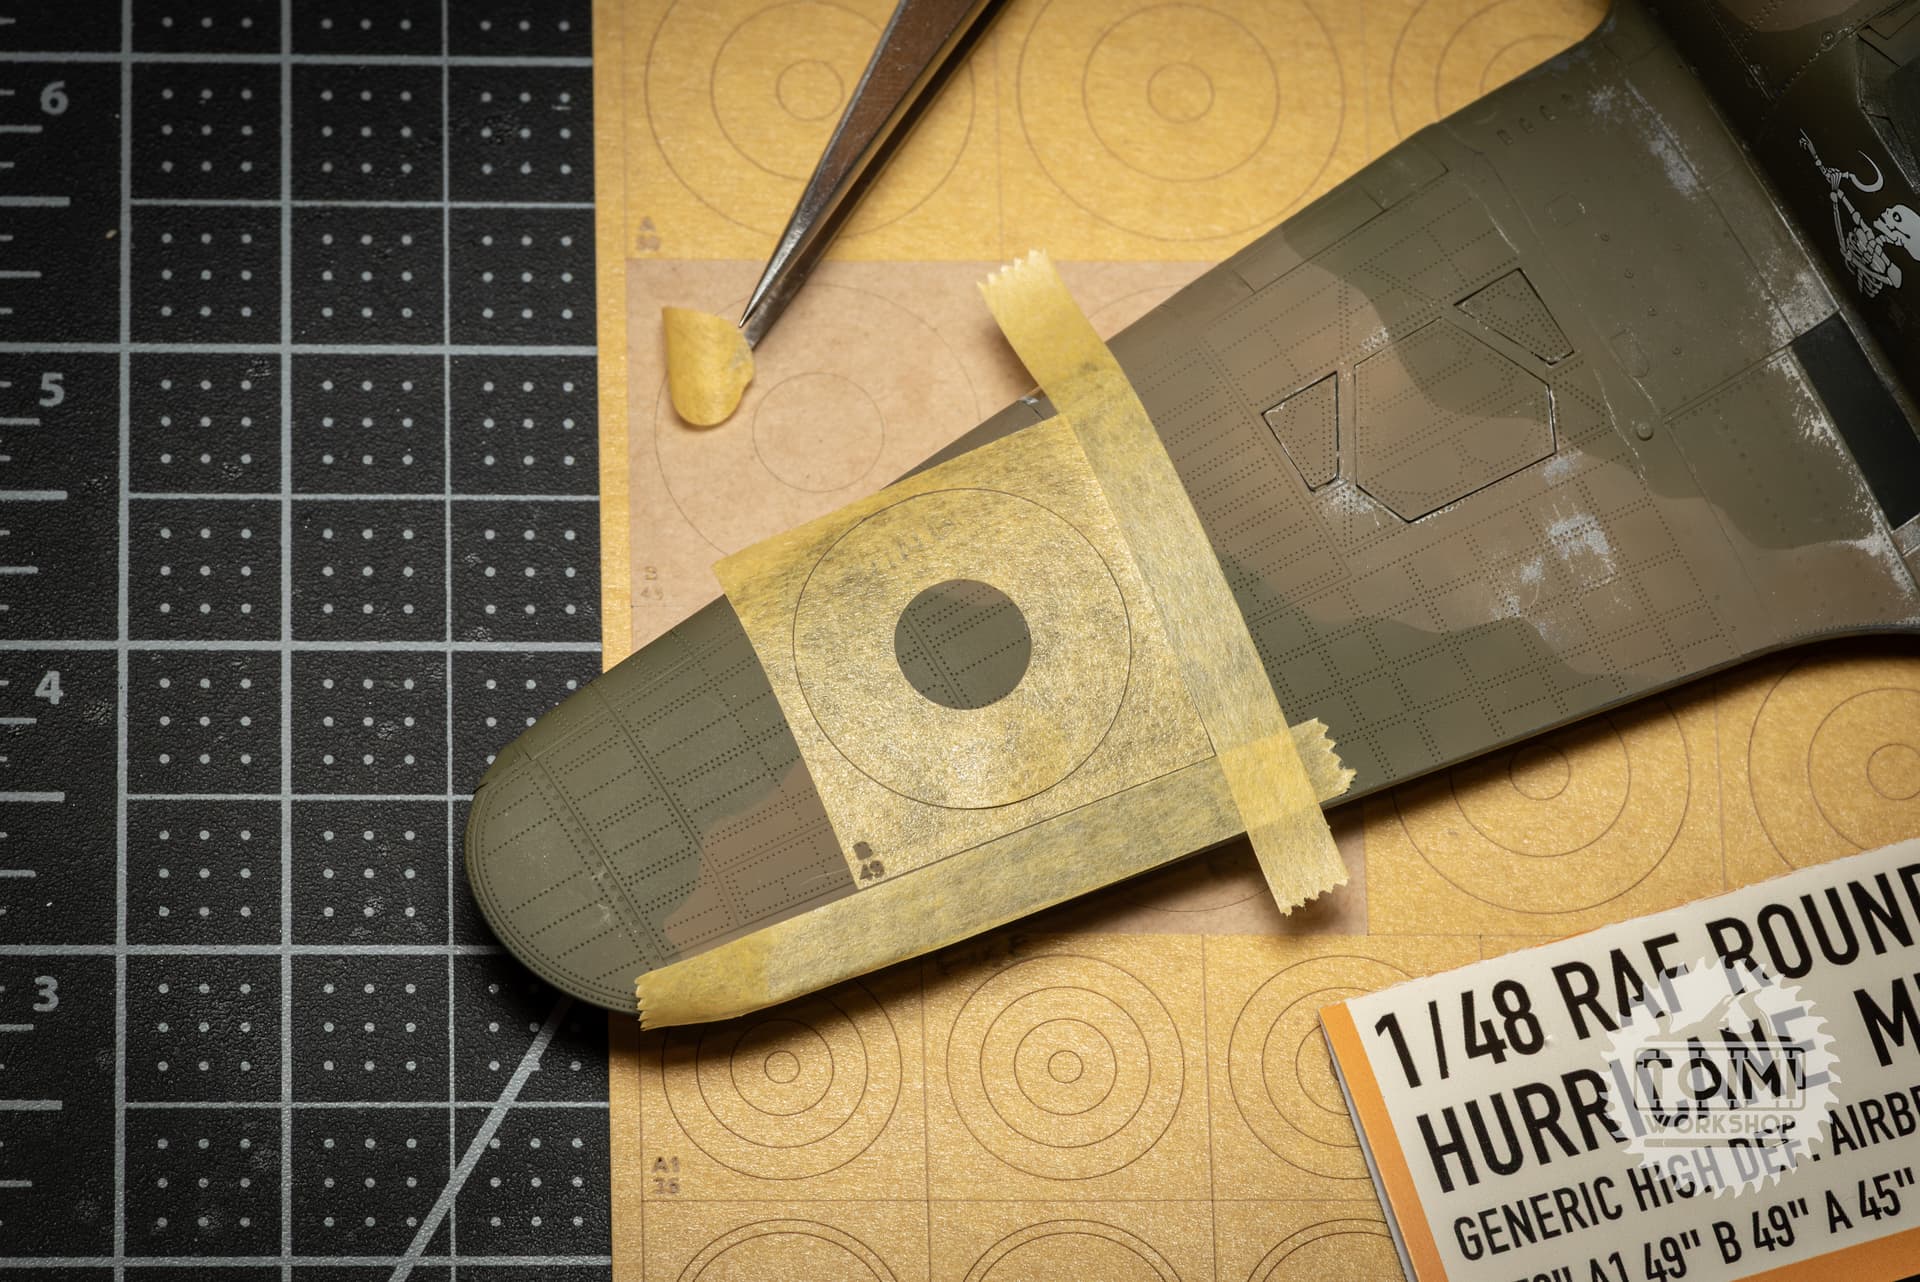
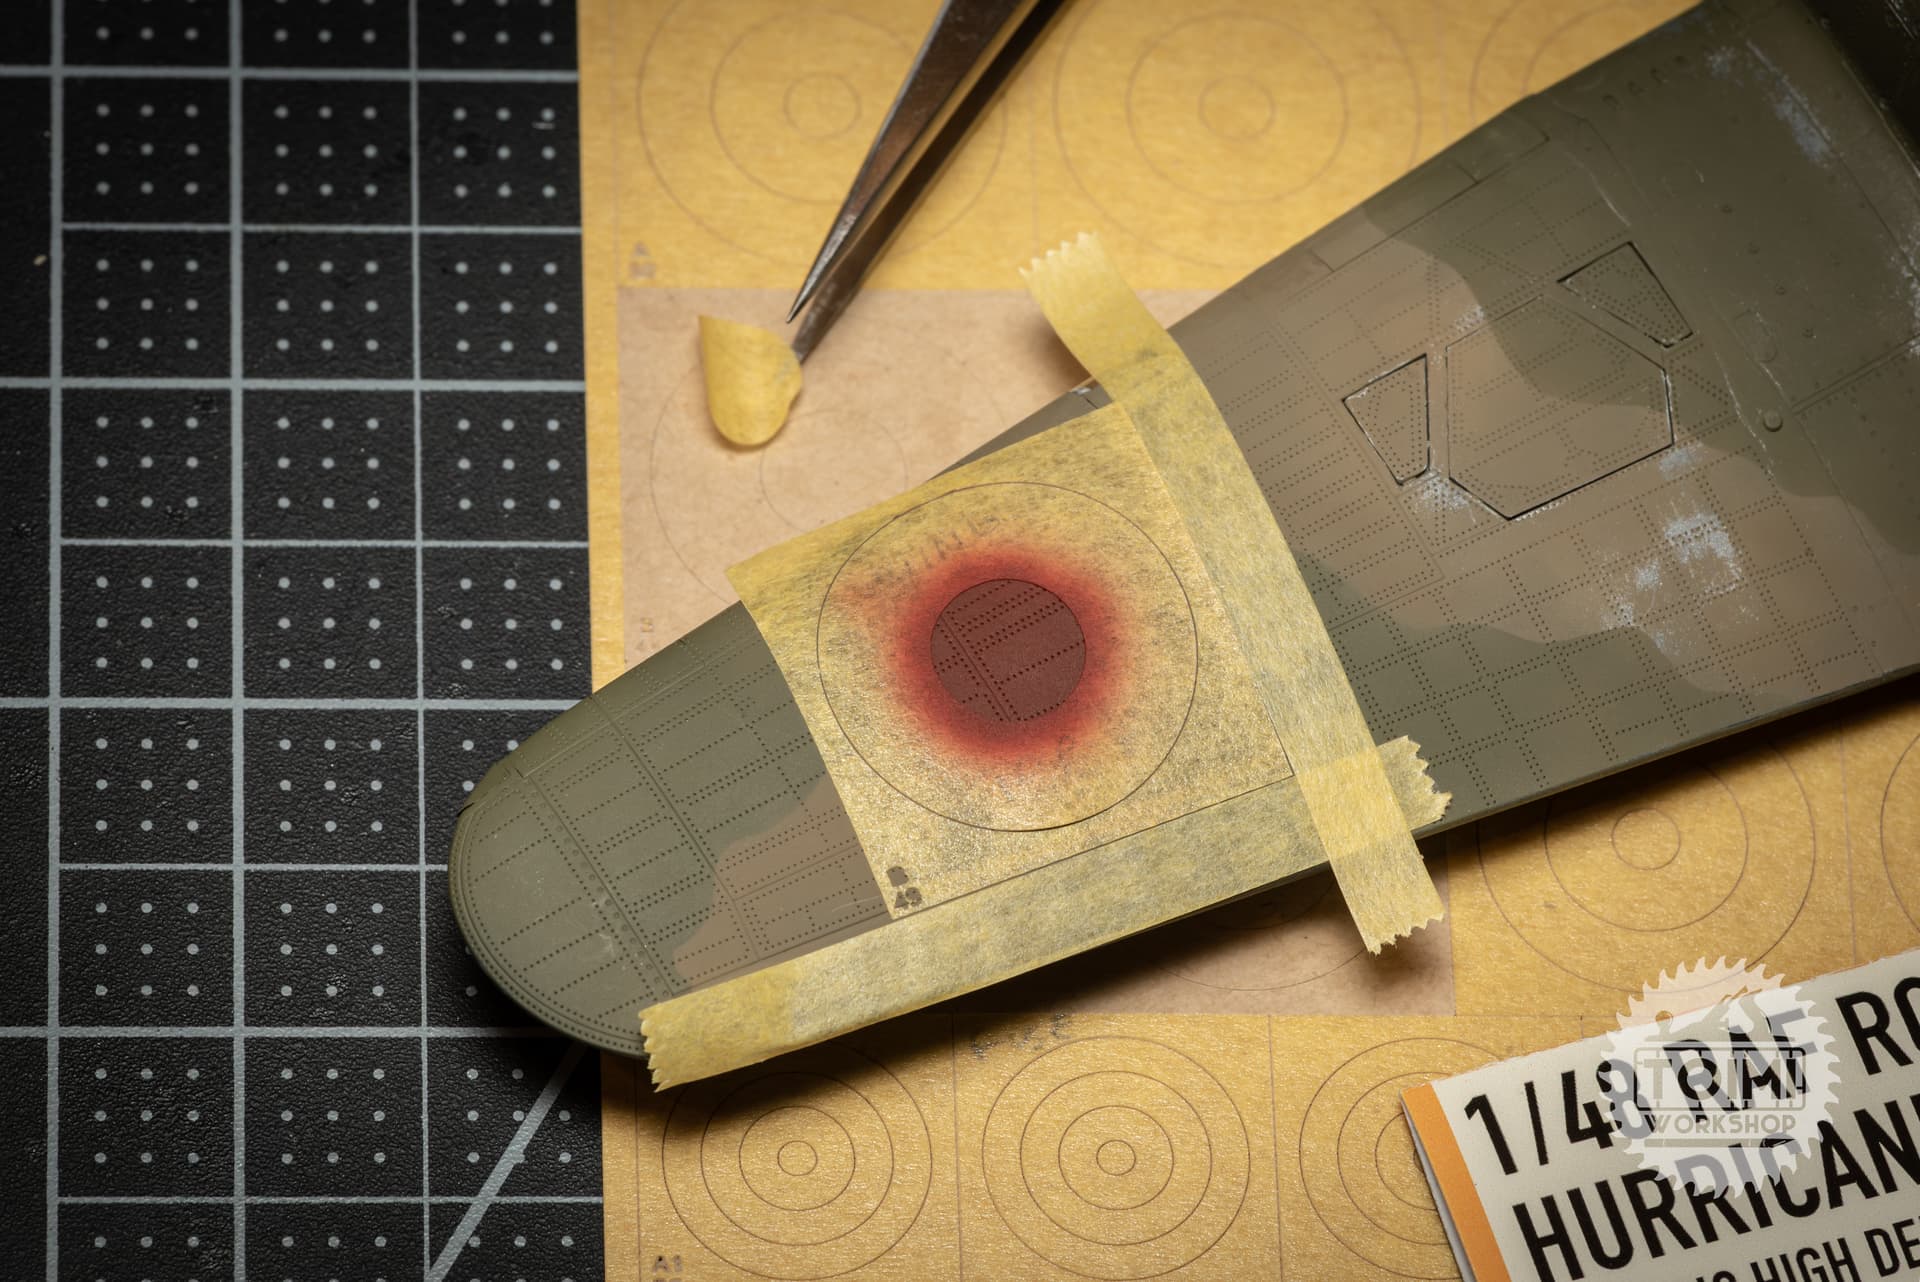
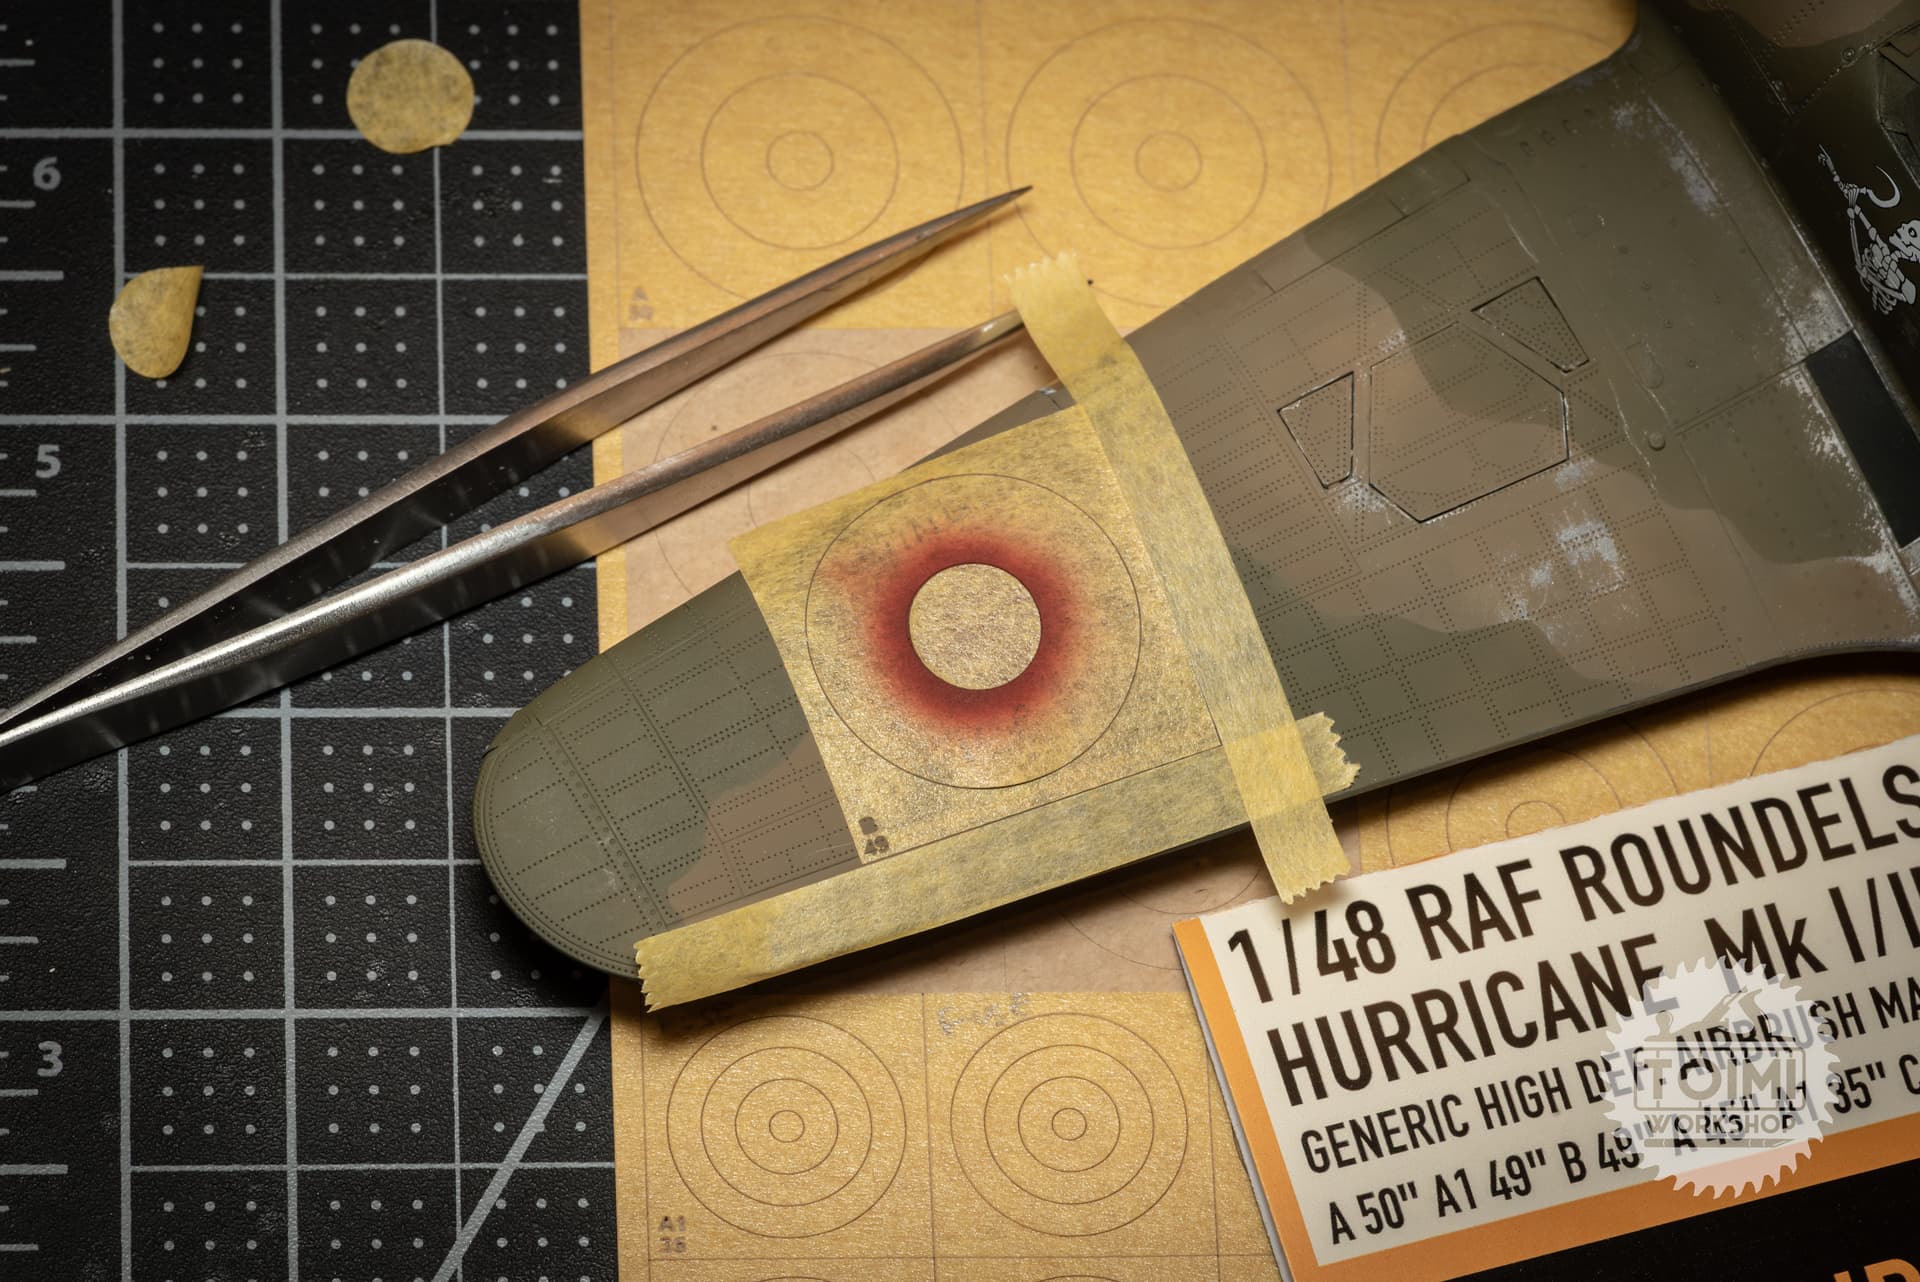
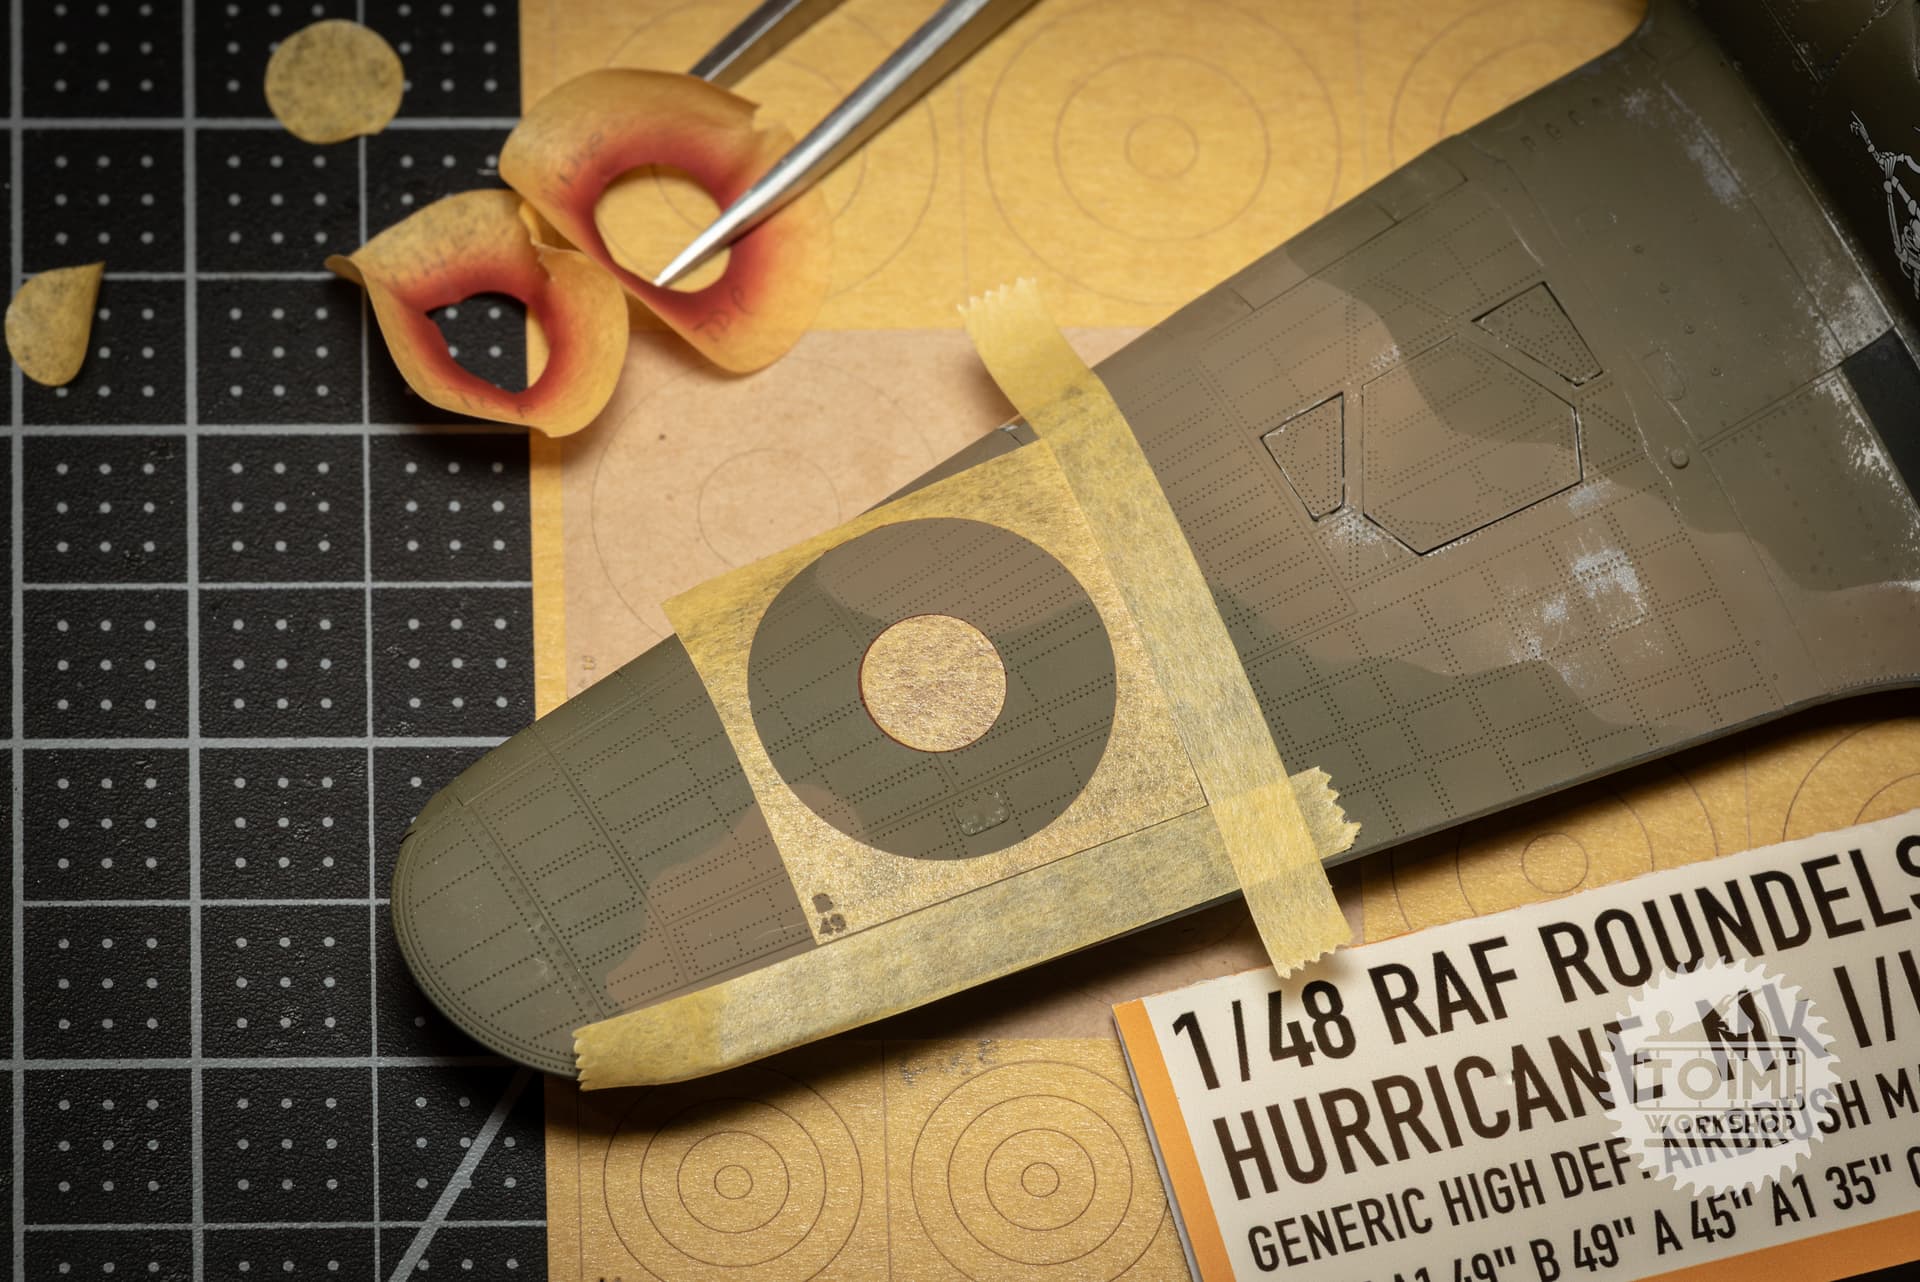
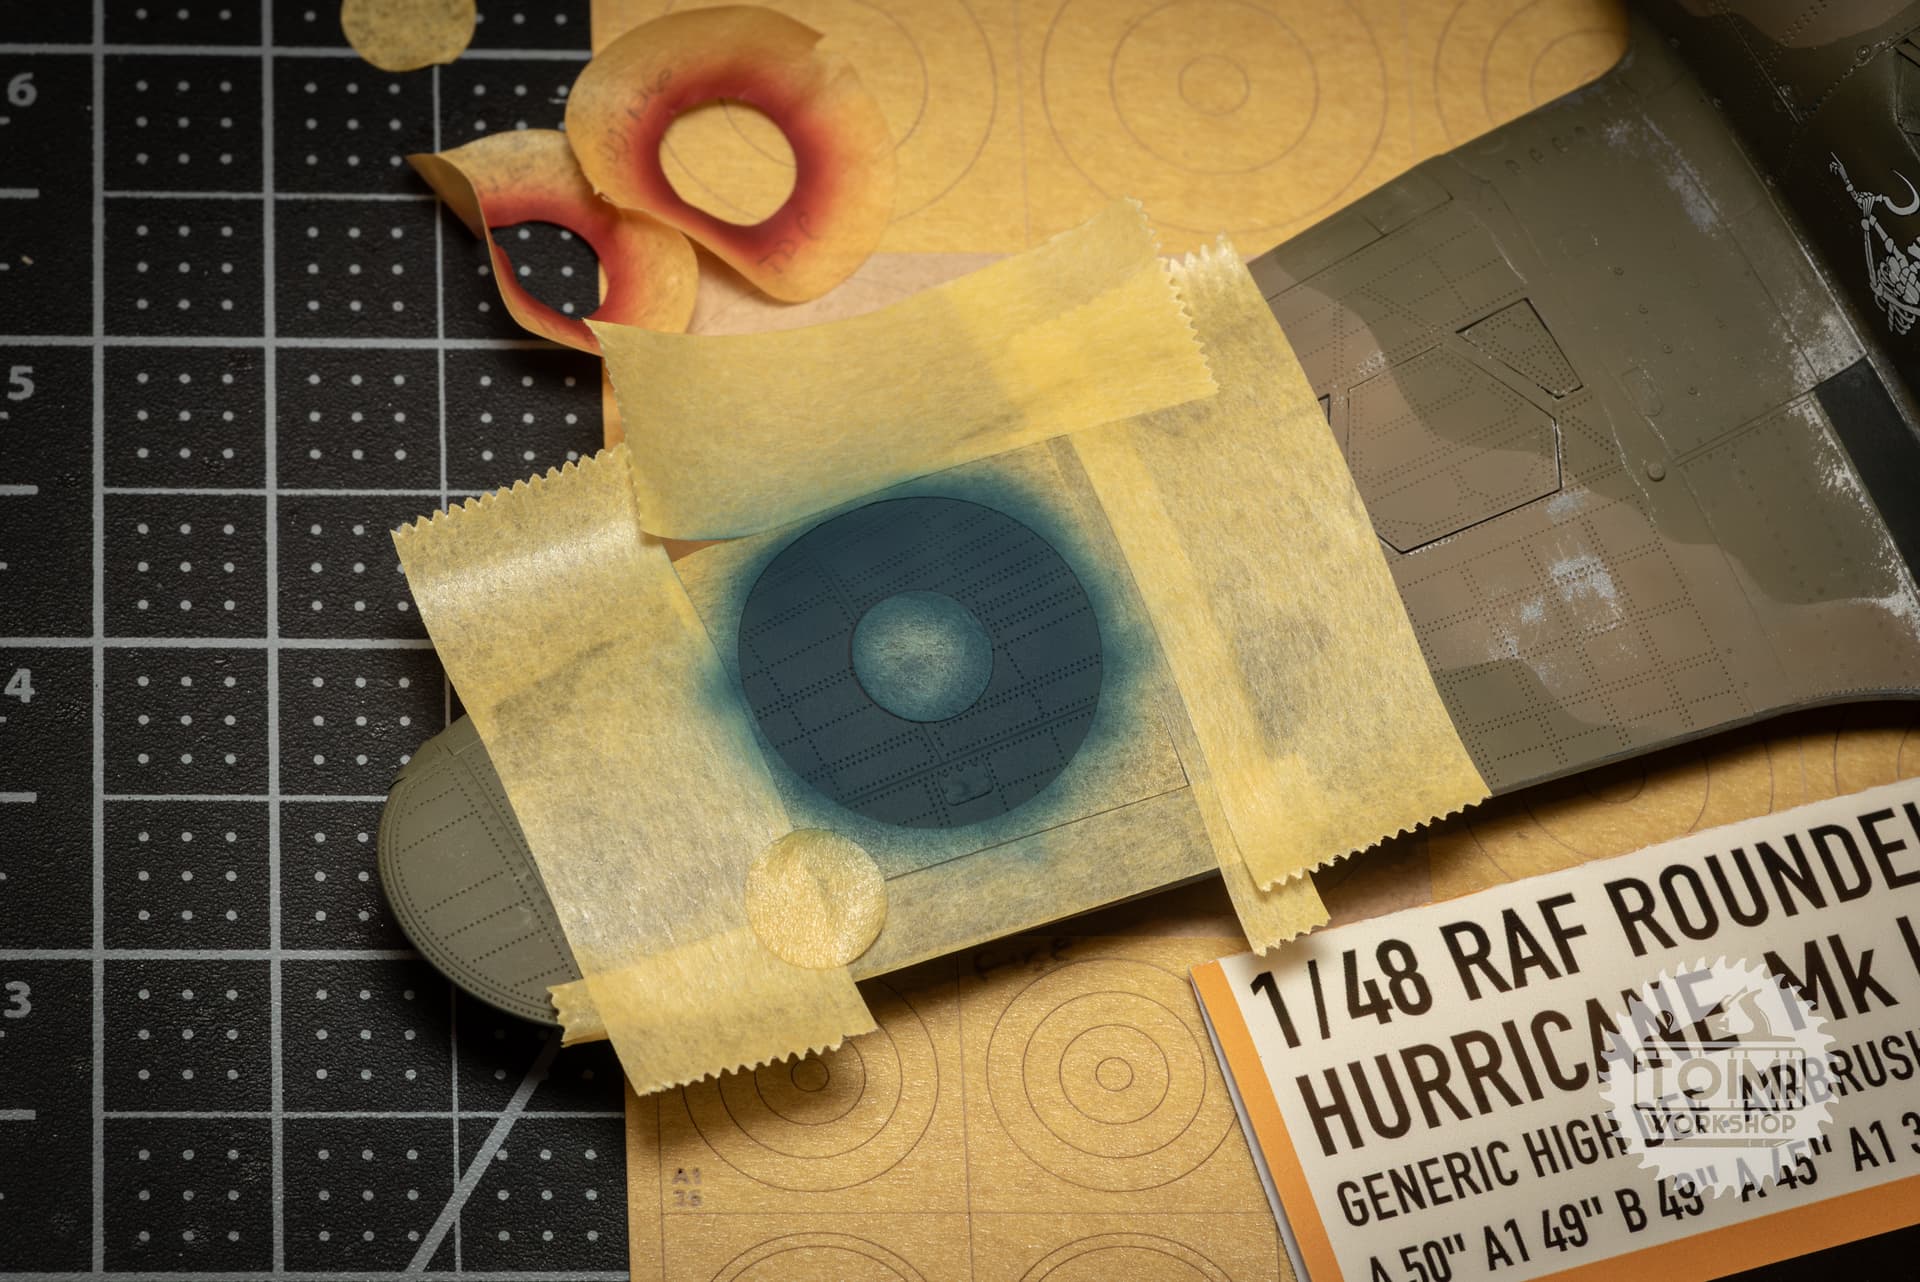
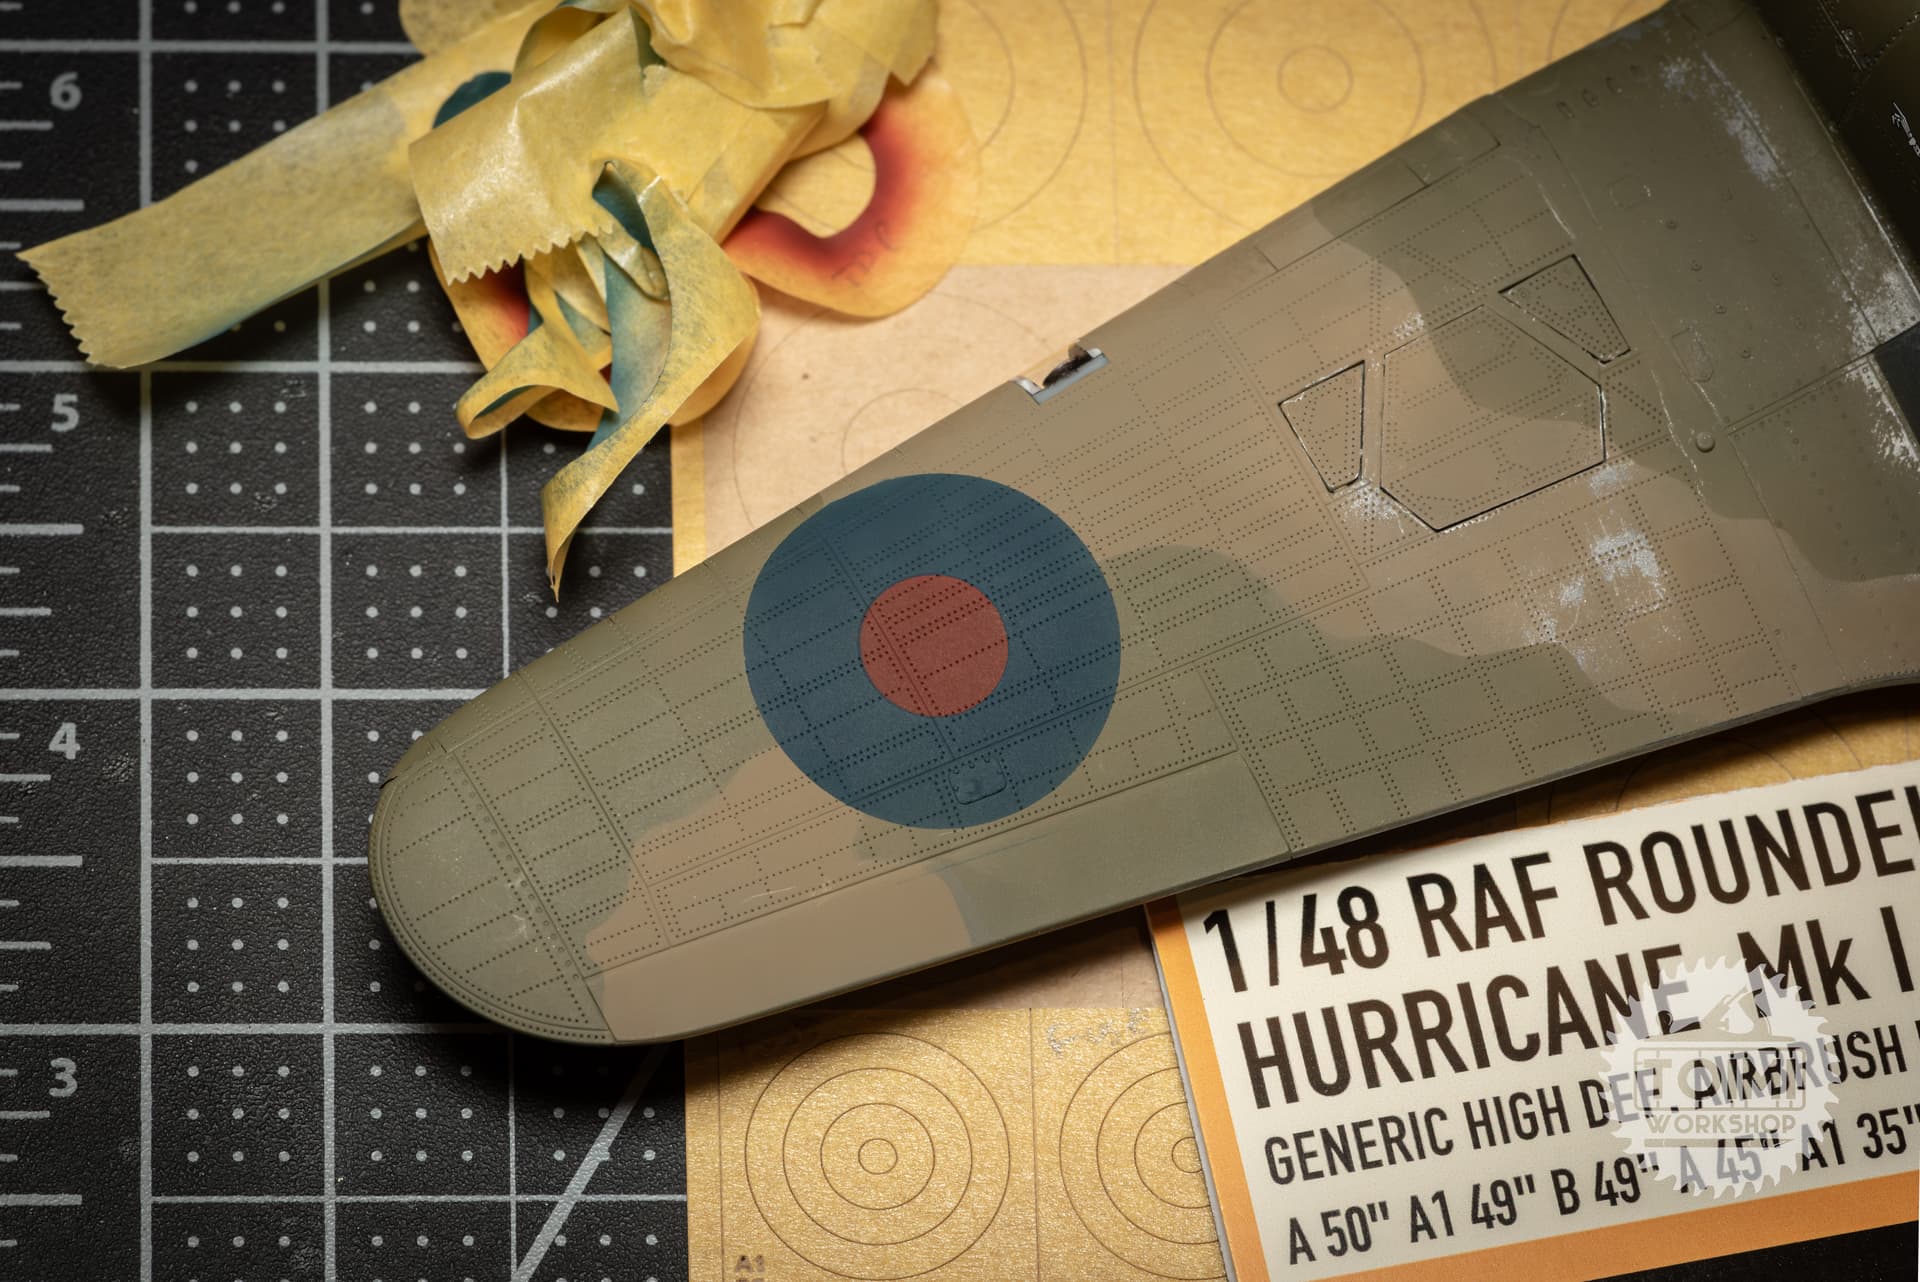
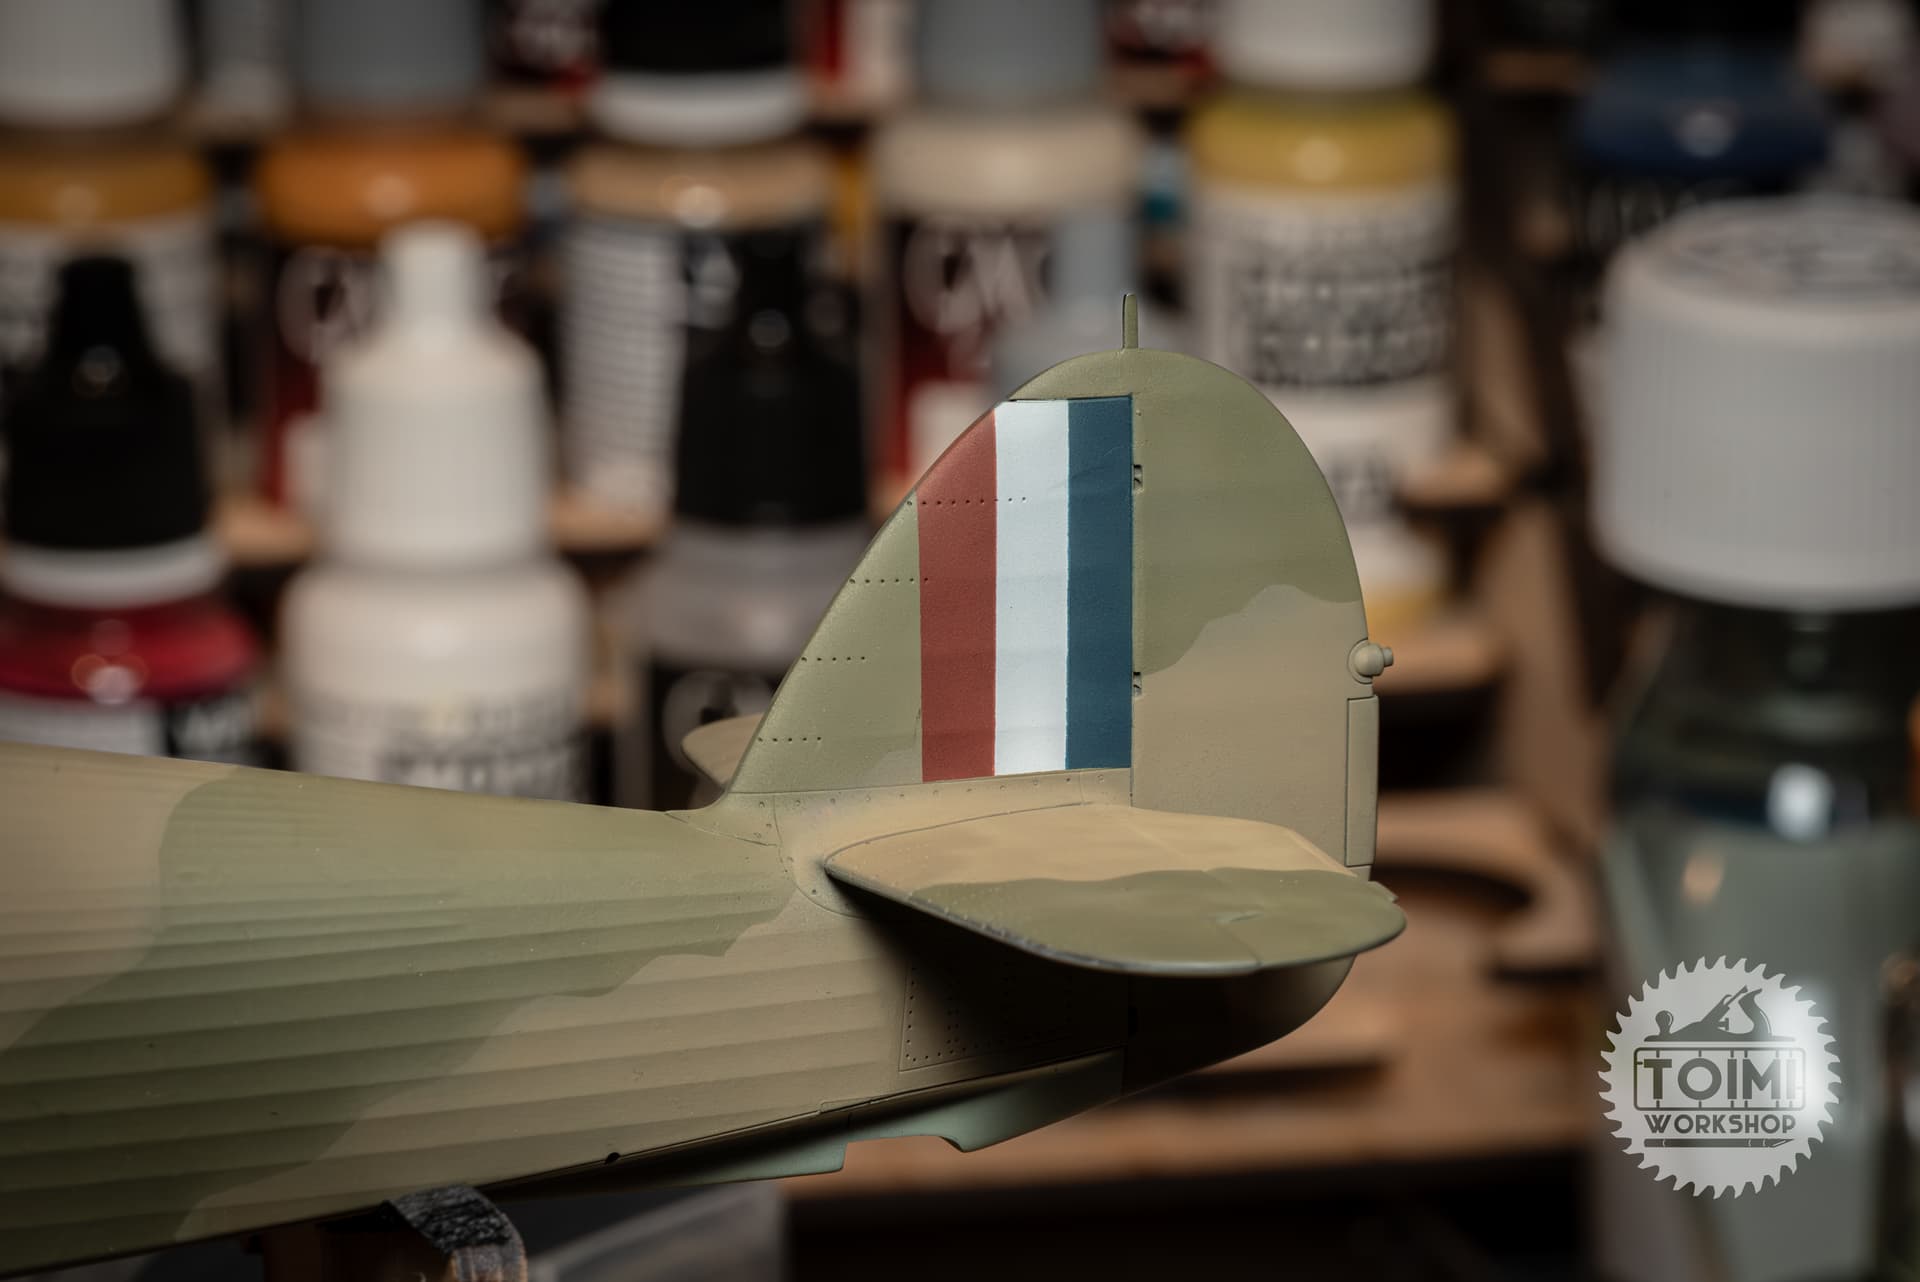
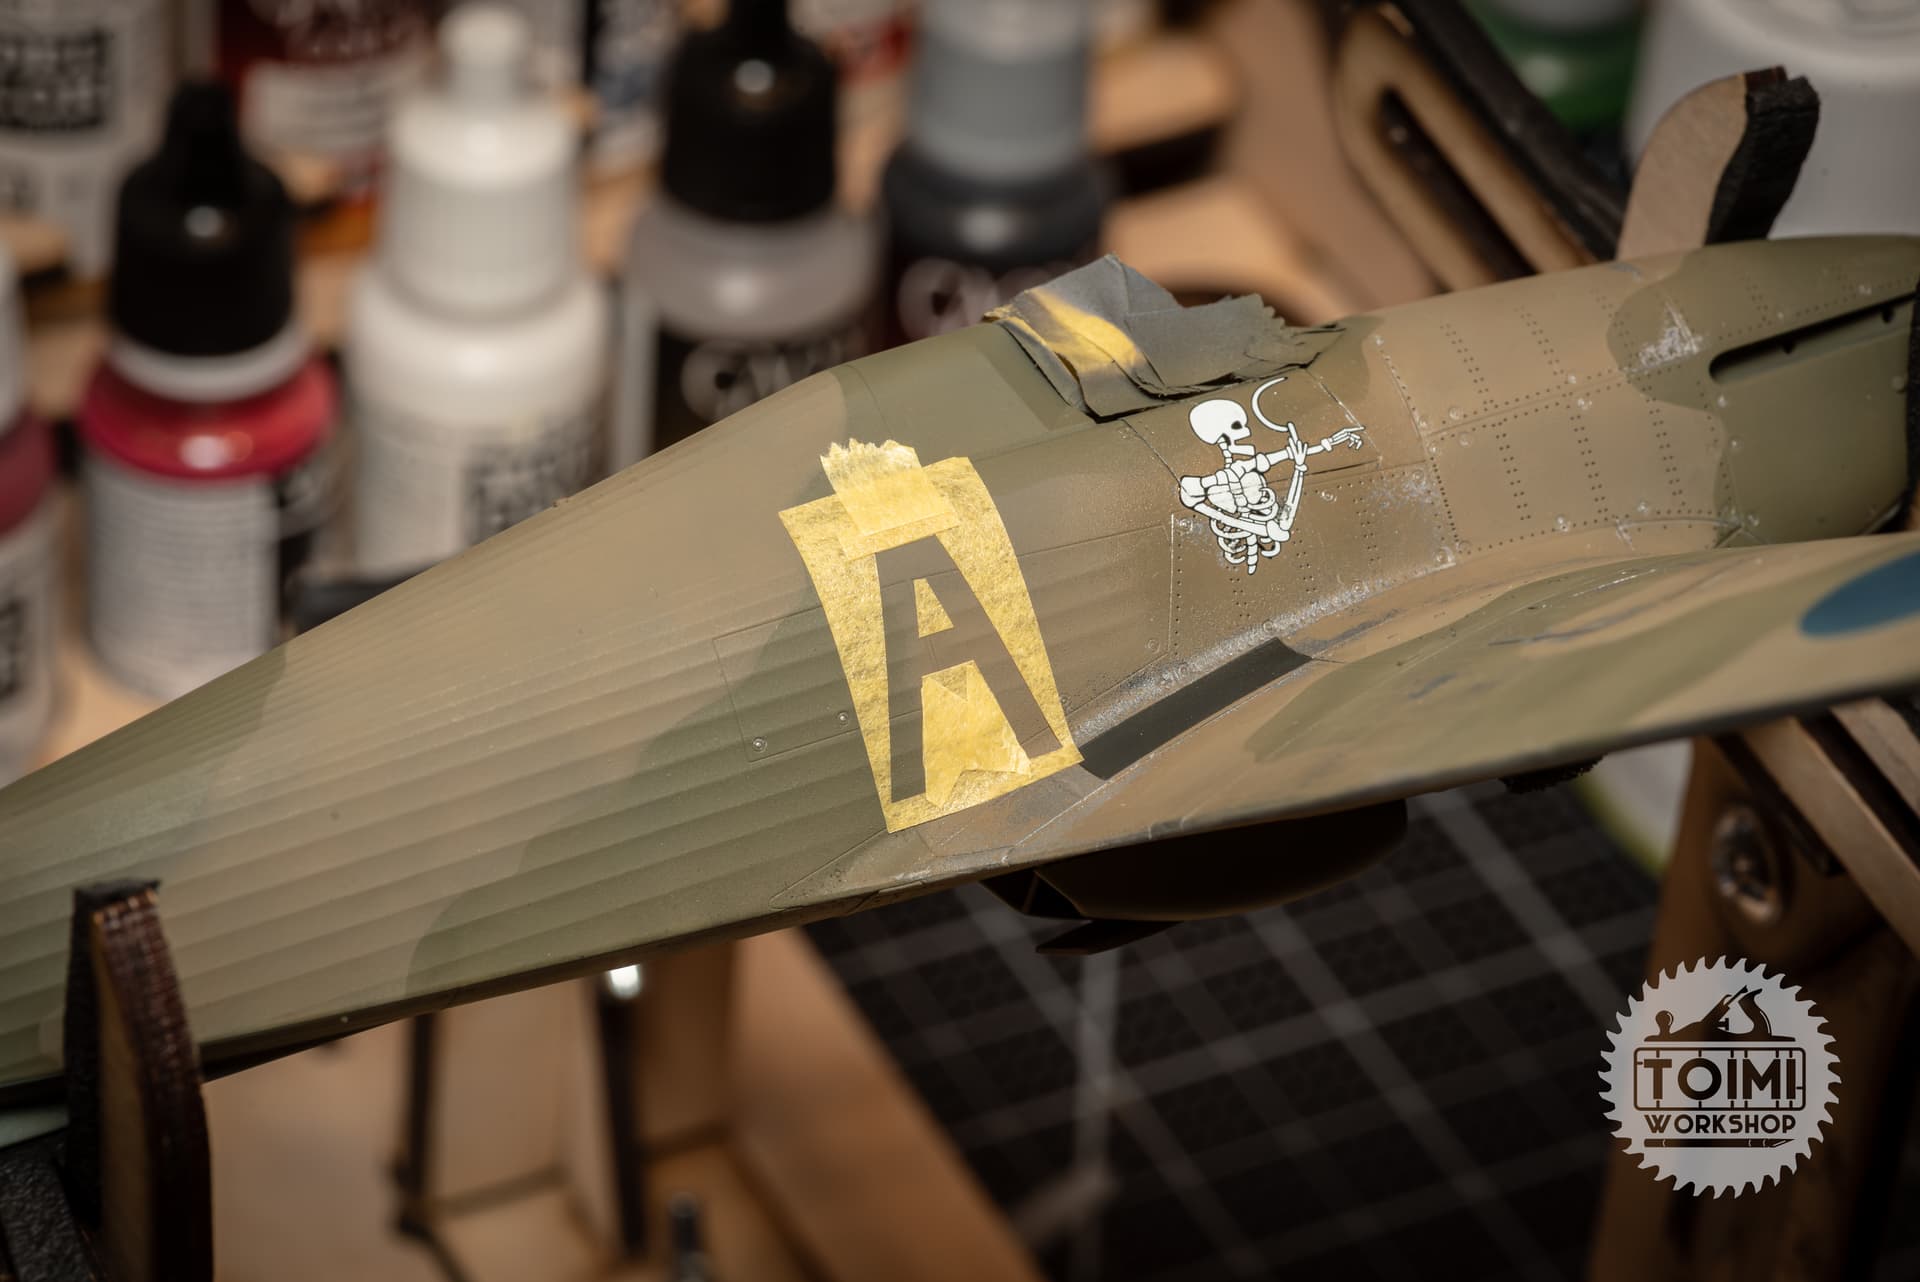
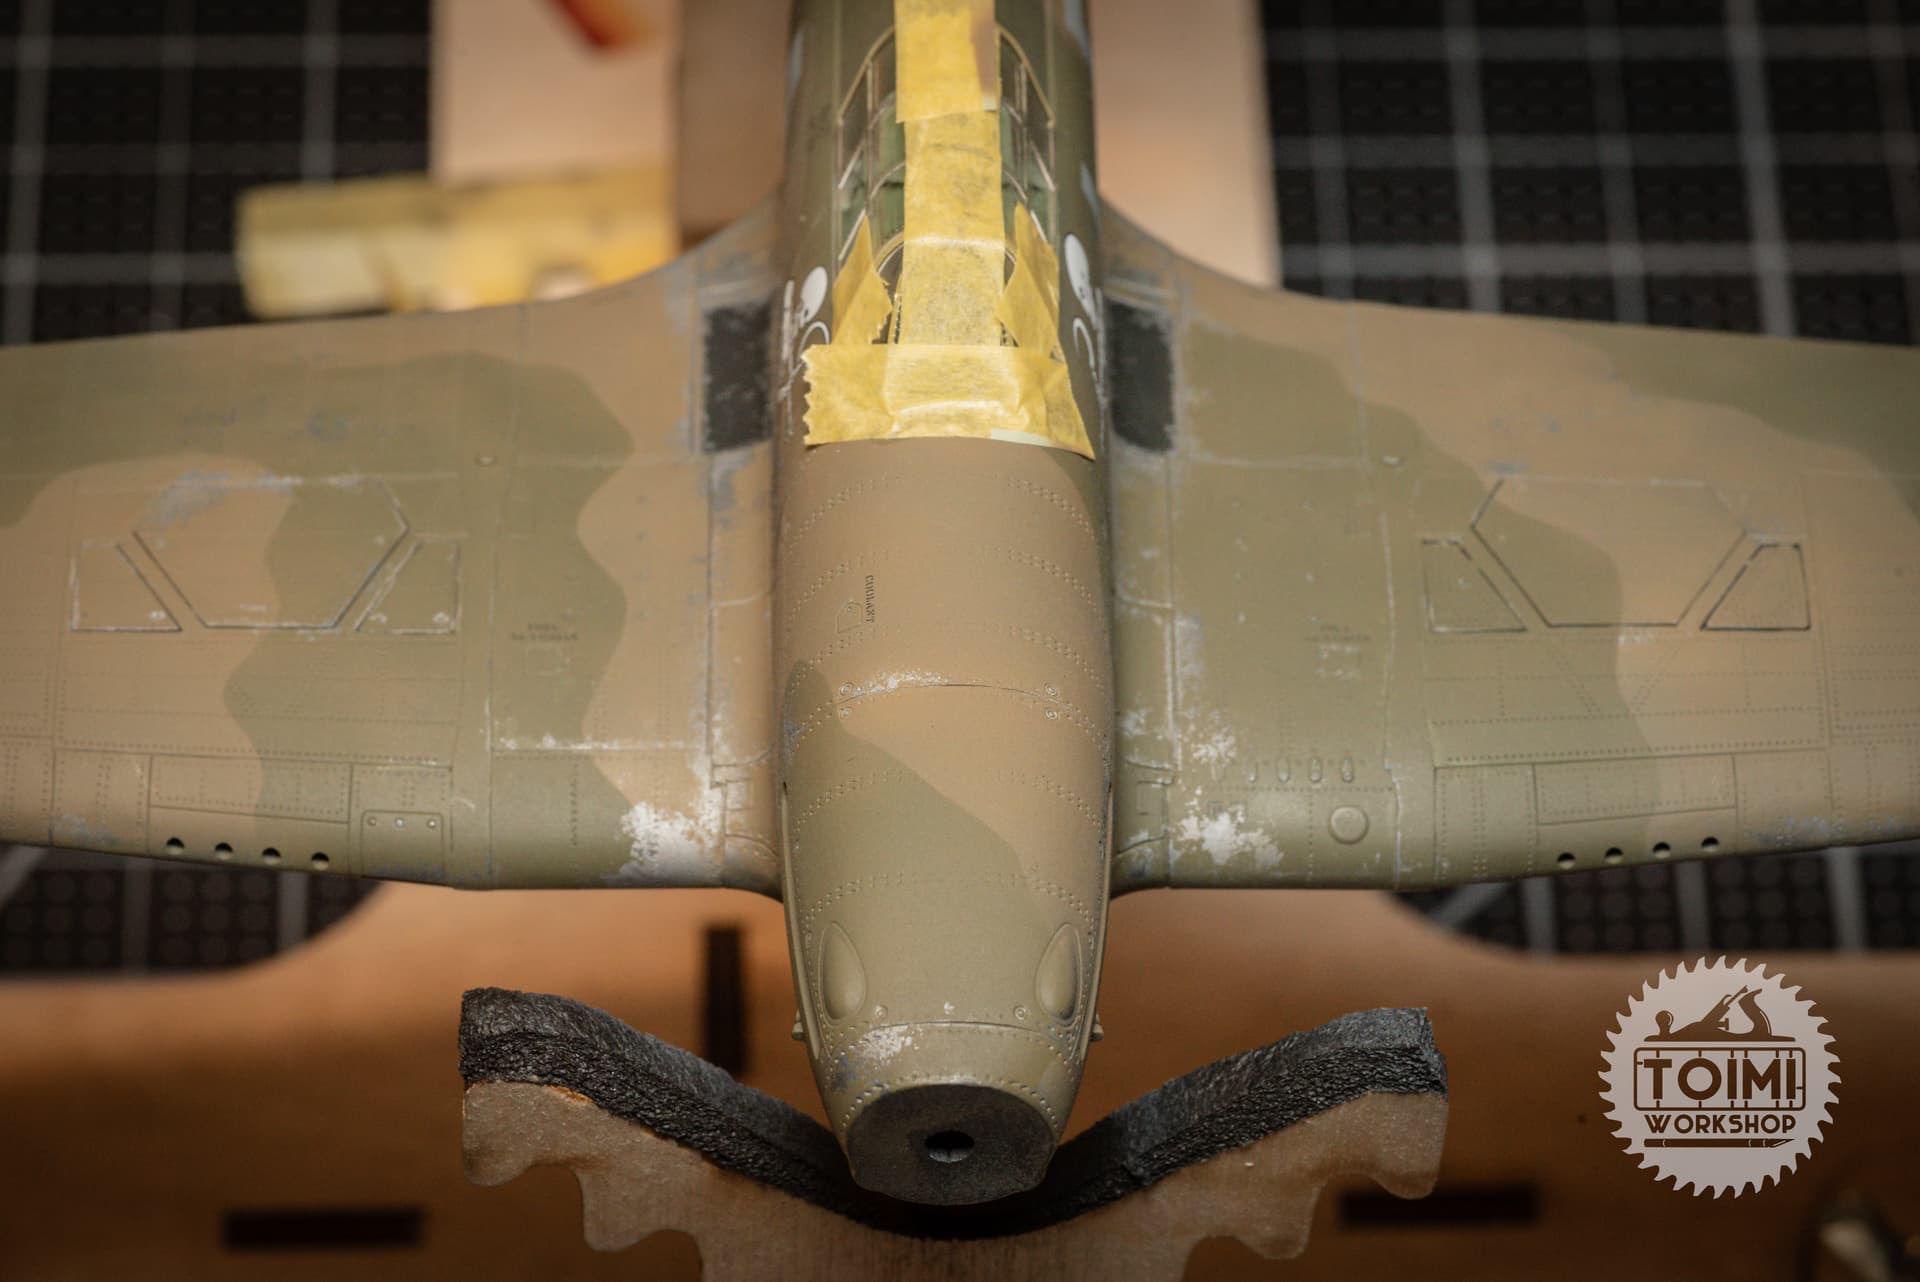
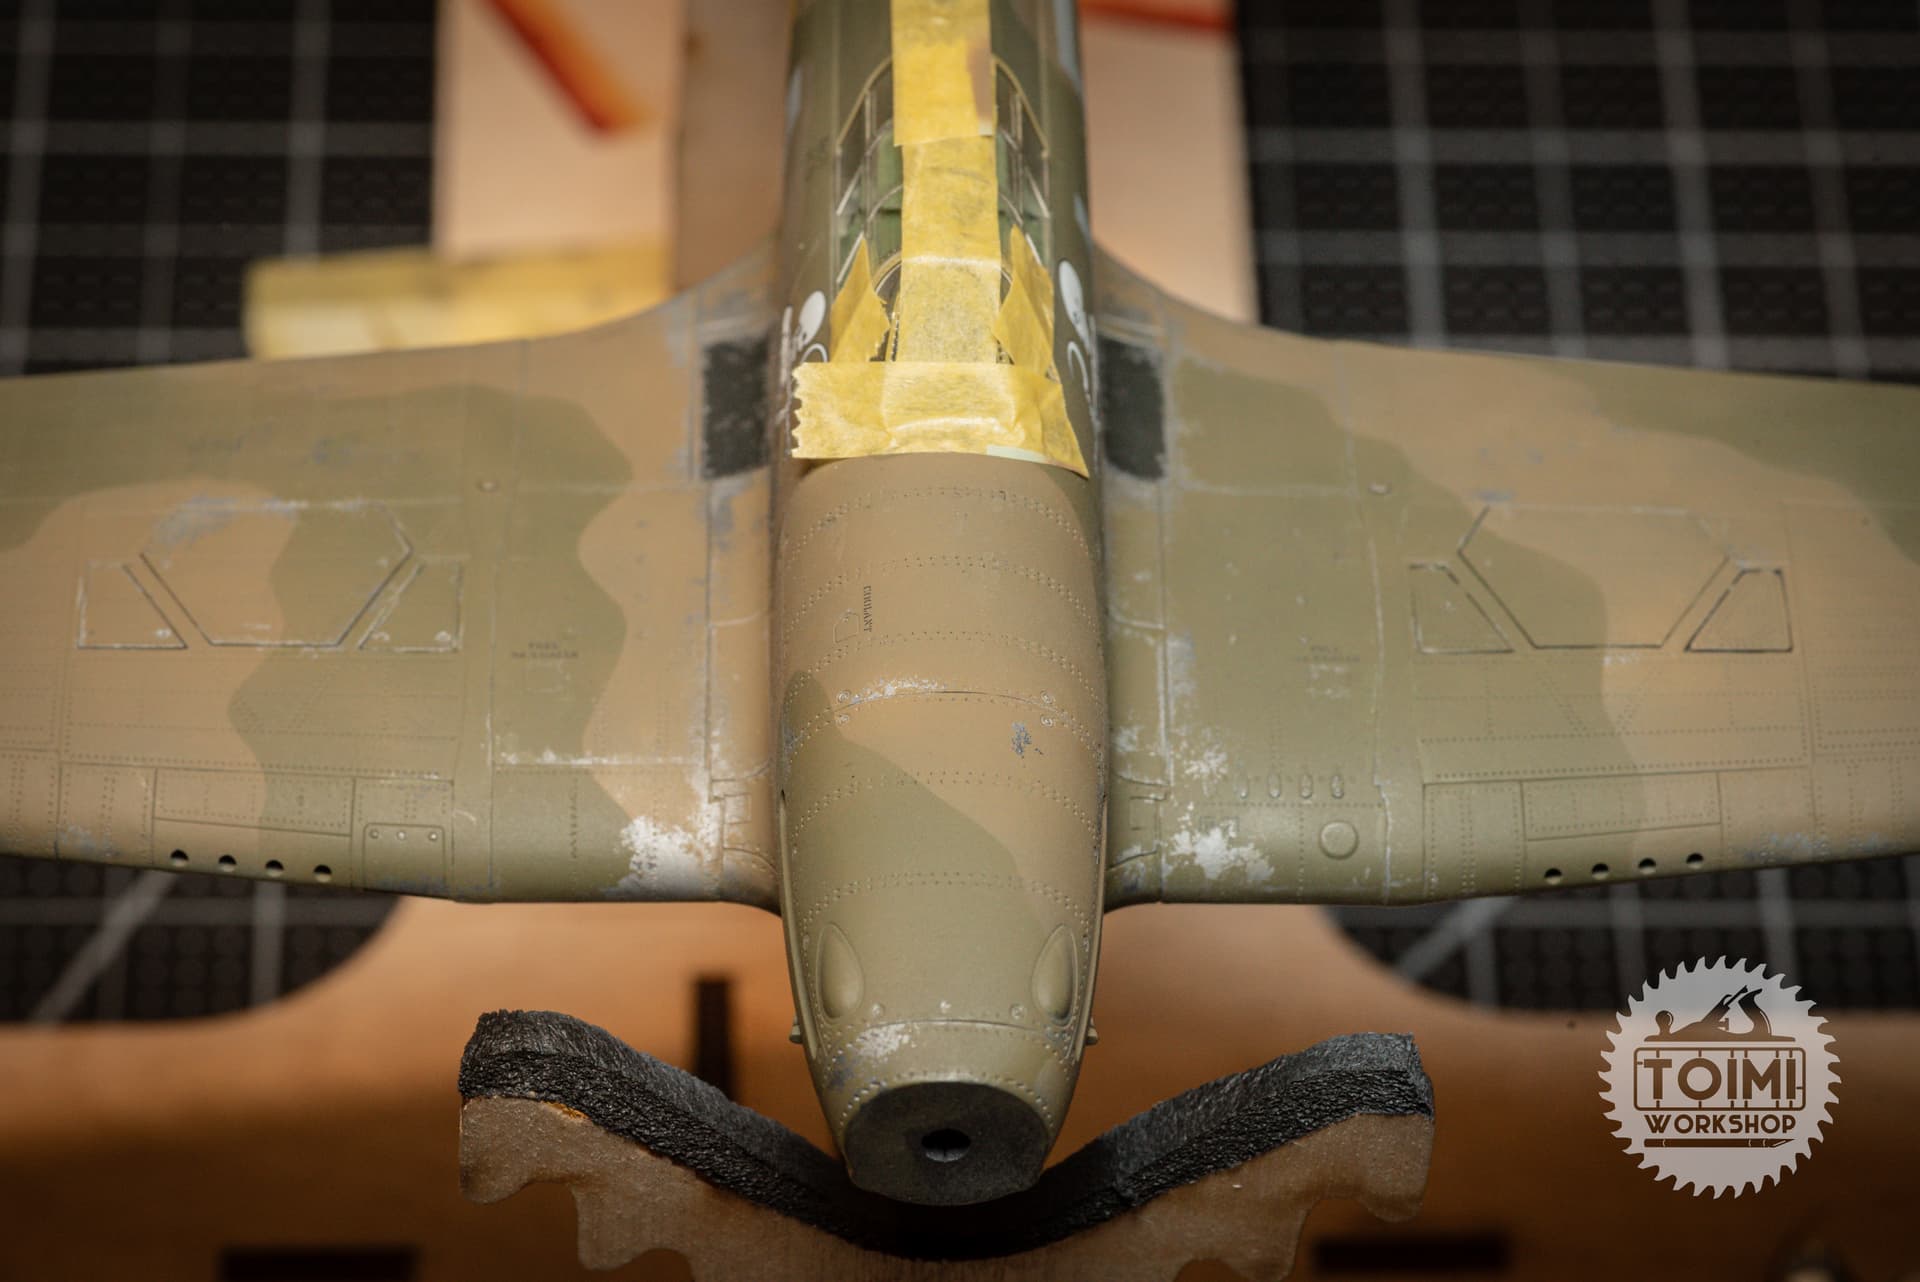
Masking and spraying markings continues.
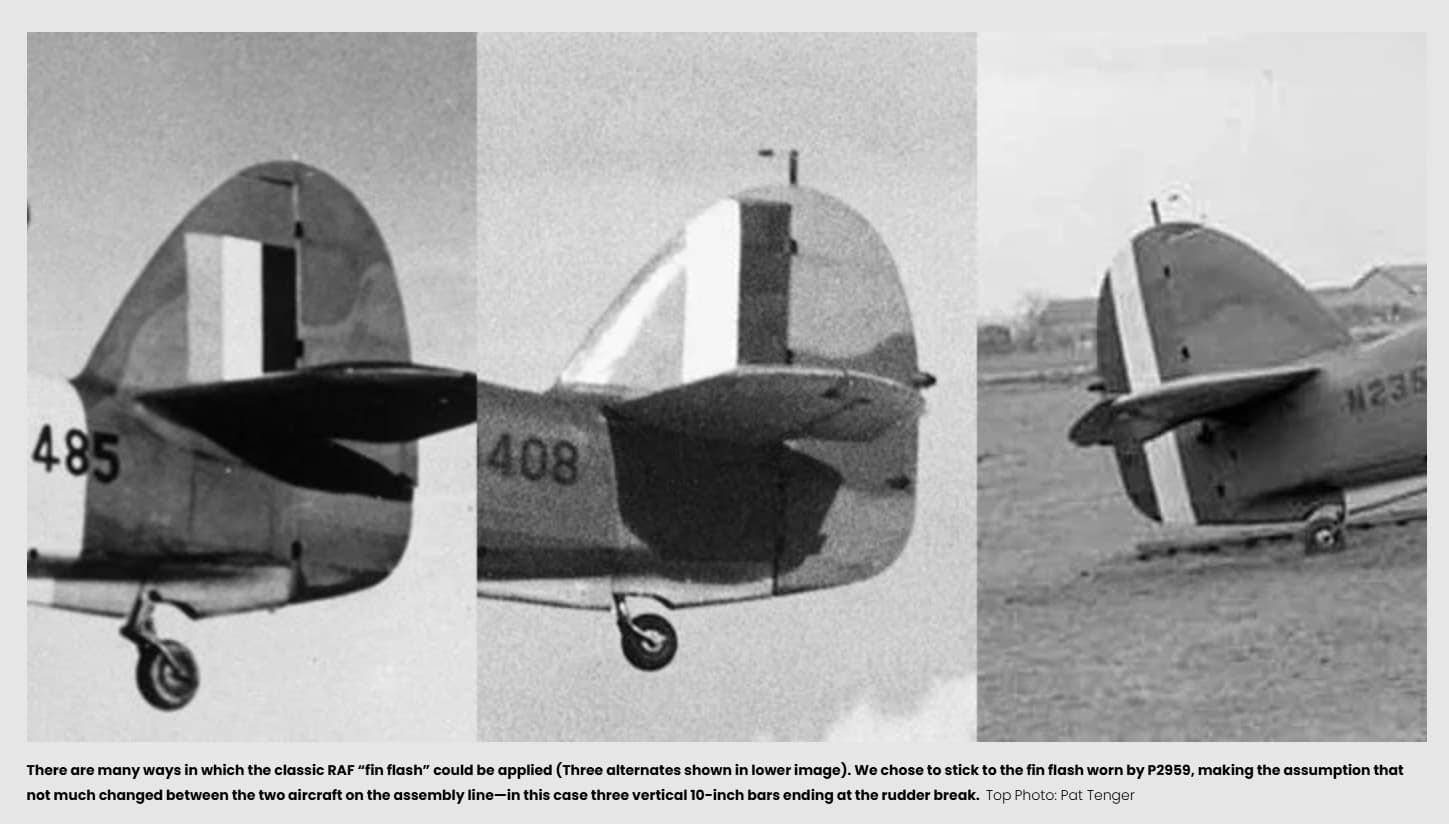
Research on the exact fin flash style never resulted in a clear answer. I needed to decide between the smaller, rectangular style and the taller, wrapped-stripe version. There is no photo of the tail of P2961, my subject a/c.
(If you want all the detail on this silly dilemma, click here)
The smaller rectangle was dictated by the RAF in November/December 1940, which we know is after my subject date of 30 August 1940 – yet it shows up in photos before and after that date. Most model kit profiles and schemes of this aircraft include the sky band and black port underwing, placing it in time after the Battle of Britain, and don’t help much.
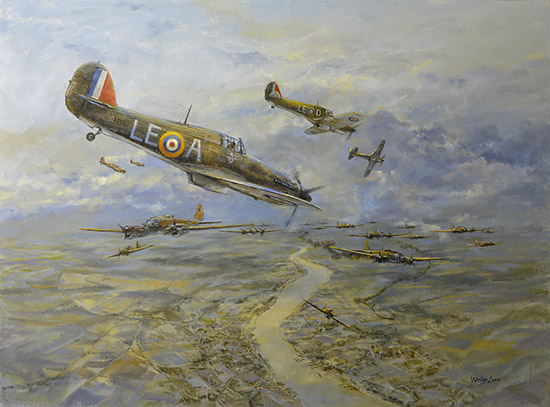
The wonderful painting “Heavy Odds” by Wes Lowe, certainly Battle of Britain-summer placed, shows the very early, pre-war (?) full-fin fin-flash.
Then the famous “hat trick” by painting Michael Martchenko, which is set on the exact day I’m after, and it shows the smaller rectangular style.
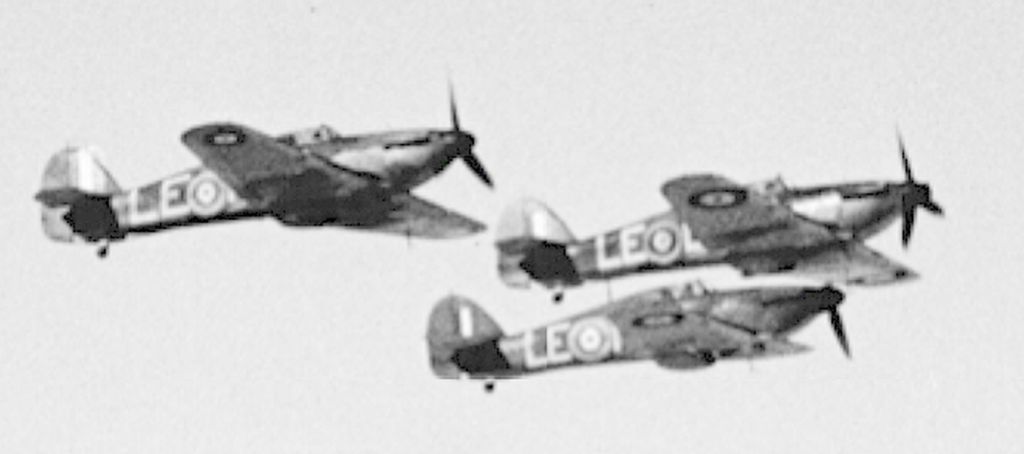
A famous photo of 242 Squadron in flight (which I have not been able to date accurately but is likely summer 1940 since it does NOT show the late 1940 sky fuselage bands nor the port wing underside painted black) clearly shows fin flashes of both styles.
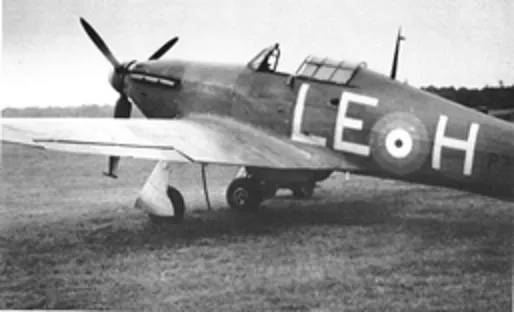
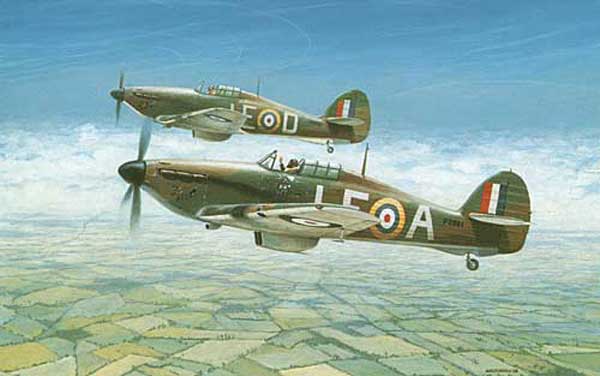
Vintage Wings of Canada, who have painted their restored Hurricane in McKnight’s colors, have a detailed page about how they arrived at their decisions for all the paint details, and it’s wonderfully sourced. They chose the taller fin flash based on a photo of a Hurricane in France, Gloster-made, only two serial numbers away from McKnight’s P2961, and likely in its factory paint scheme. This is from that site:
But I personally think they’re wrong about this particular choice, since they’re using the late 1940 scheme with the sky band and black underwing. The smaller fin flash was implemented at the same time, and to me it’s unlikely that if they repainted so much else on the aircraft, that they wouldn’t have also updated the fin flash to match the RAF directive. In short, factory-applied markings aren’t useful for modeling an a/c after two years of combat and multiple official markings updates.
However, if P2961 came from the factory with the tall-stripe type fin flash, it seems very unlikely to me that it would have later had the older full-fin flash type added (as in the painting above). Not impossible, but unlikely.
In the end, after several circular hours, I decided to just pick the one I liked the best. If I’m later proven wrong by someone with a better source than I have been able to find, I’ll happily own the error.
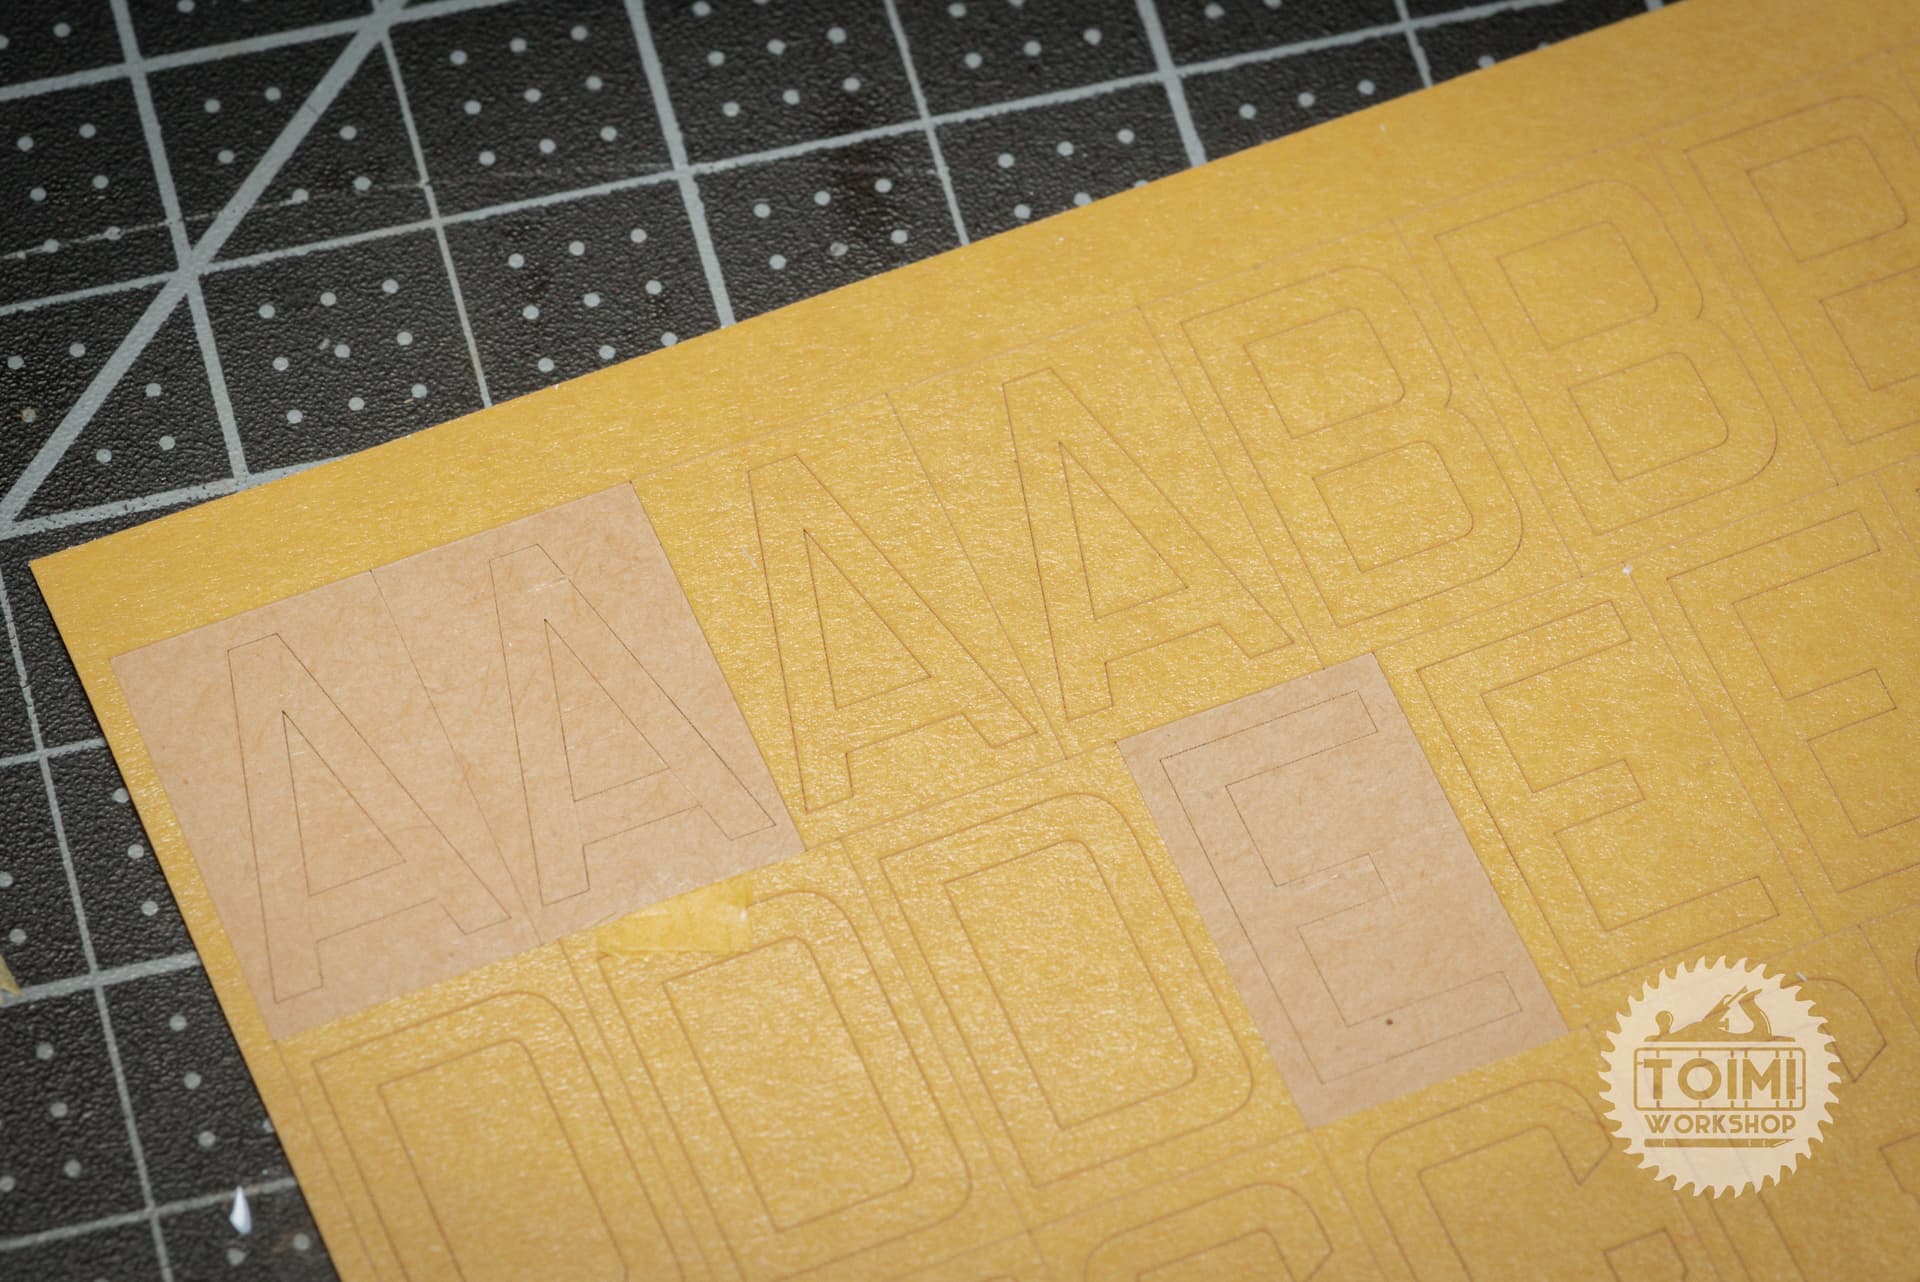
The 1ManArmy masks continue to work flawlessly. I do not operate flawlessly: I accidentally ordered the 36" tall code letters, instead of the 30" tall set. The code letters height is another rabbit-hole saga perhaps even deeper than that of the fin flash. I’m happy with 30 inches, and at this point I don’t want to talk about it. 
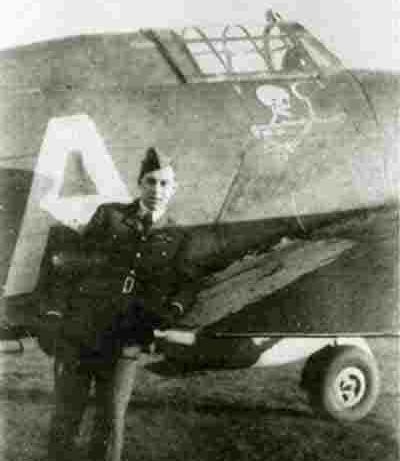
So the masks needed some mods to fit properly; likewise the “A” on McKight’s plane was clearly a non-standard style (and so are many of the other letters on the 242 Squadron Hurris). So again, some creativity is not just allowed, but required.
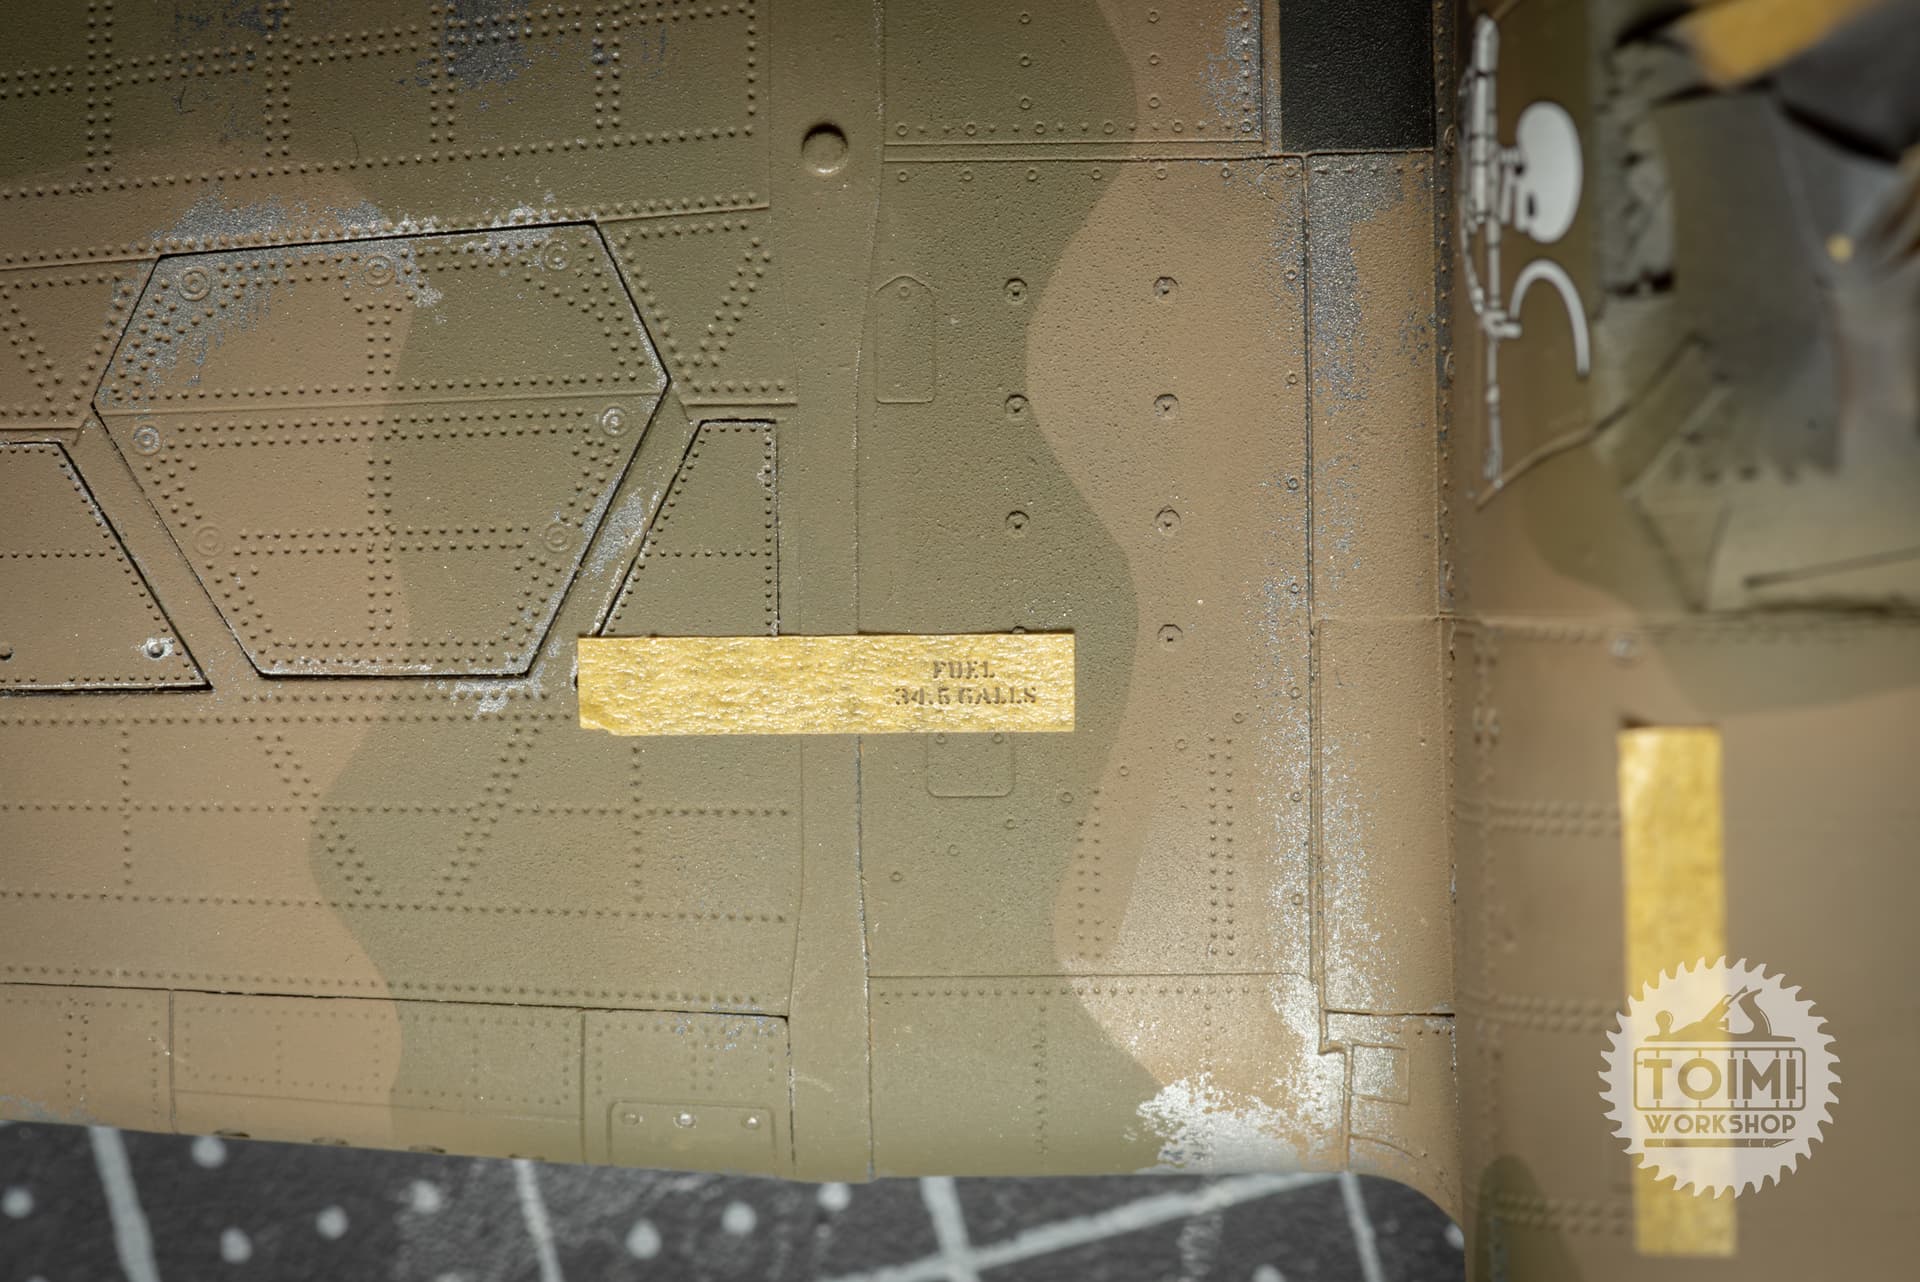
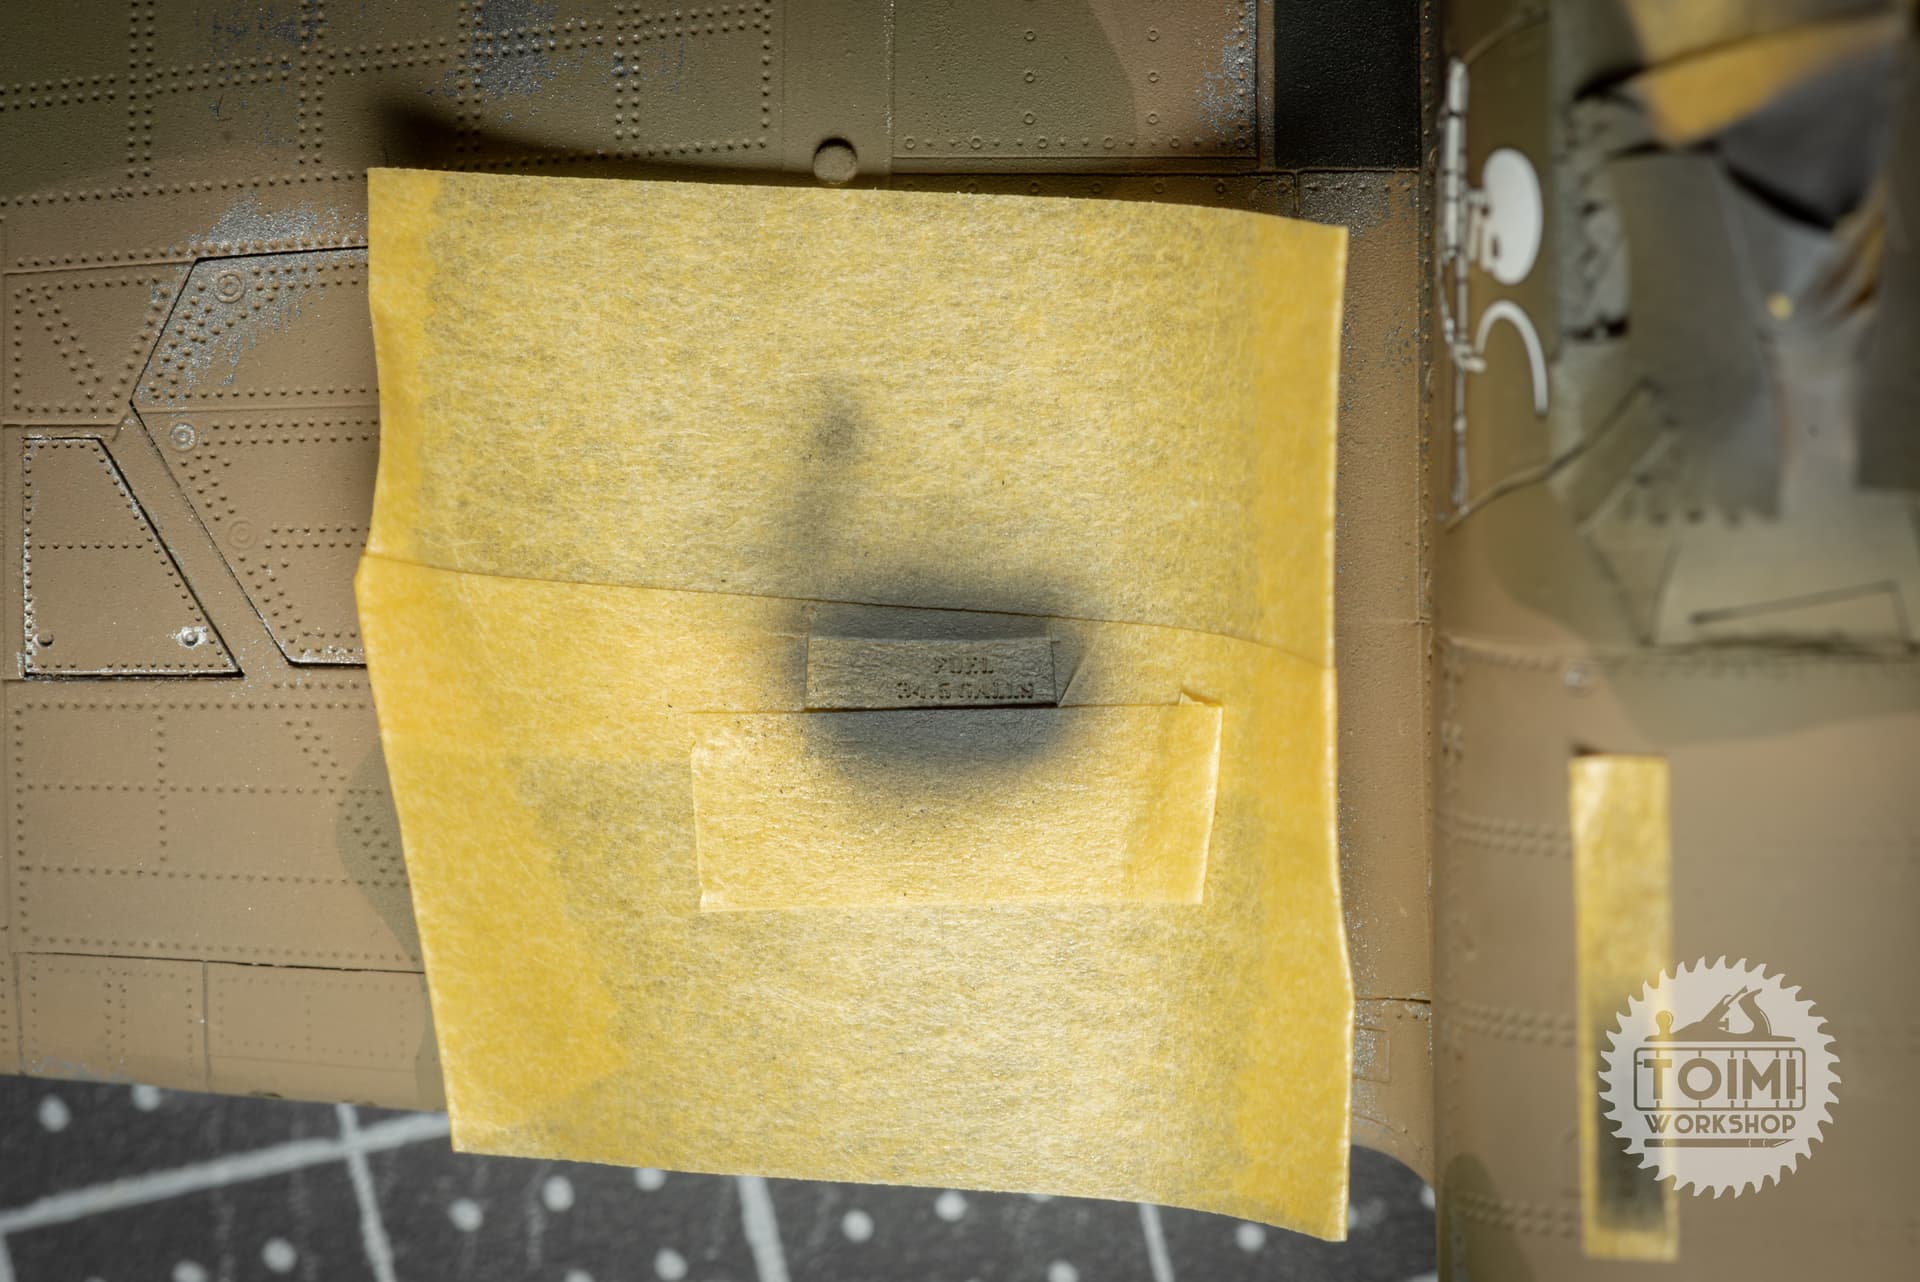
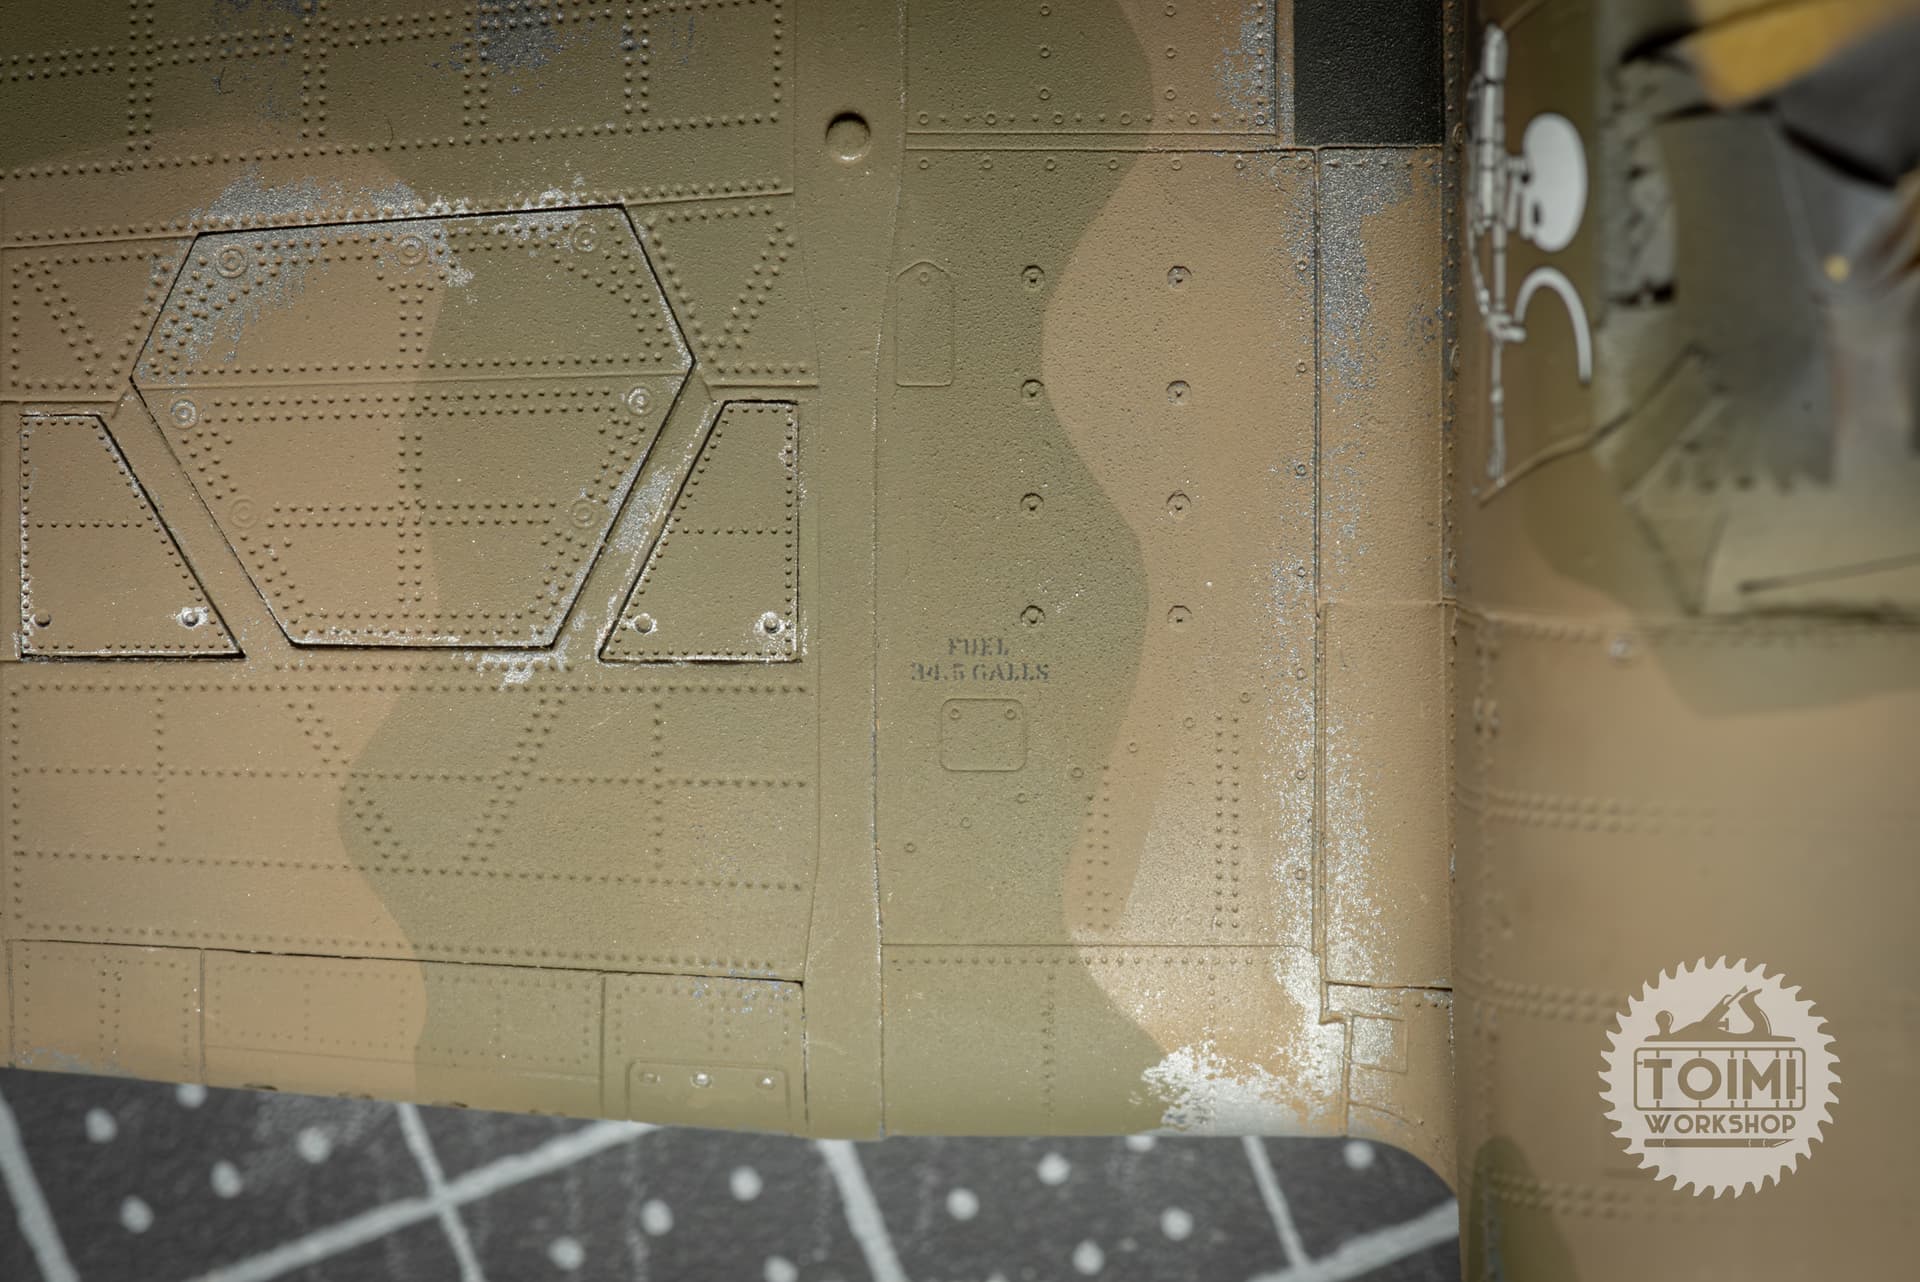
Lastly, the stencils. More creative freedom here! I cross-referenced my cross-references using period photos and decal/instruction sheets from many different kits. There was little agreement.
In the end just used the stencils that are likely on most/all Hurricane Mk.Is, look cool, and were included in the 1ManArmy set – which didn’t include a placement guide, and in fact included at least one anachronism: a stencil stipulating “AVGAS 100LL,” which wasn’t introduced until the 1970s!
Notable in the above three photos is how unflattering a true macro photo can be. I had no idea I’d got such a sandpaper-rough surface on the wing-root area until I looked at the pics!
Meanwhile, I’m refining the chipping with silver pencils and touch-up paint. The decals are placed and drying. Soon comes an overall flat coat in preparation for oil paints. Also yet to do is final finishing of the canopy, propellor, and landing gear.
Still having fun! I think!