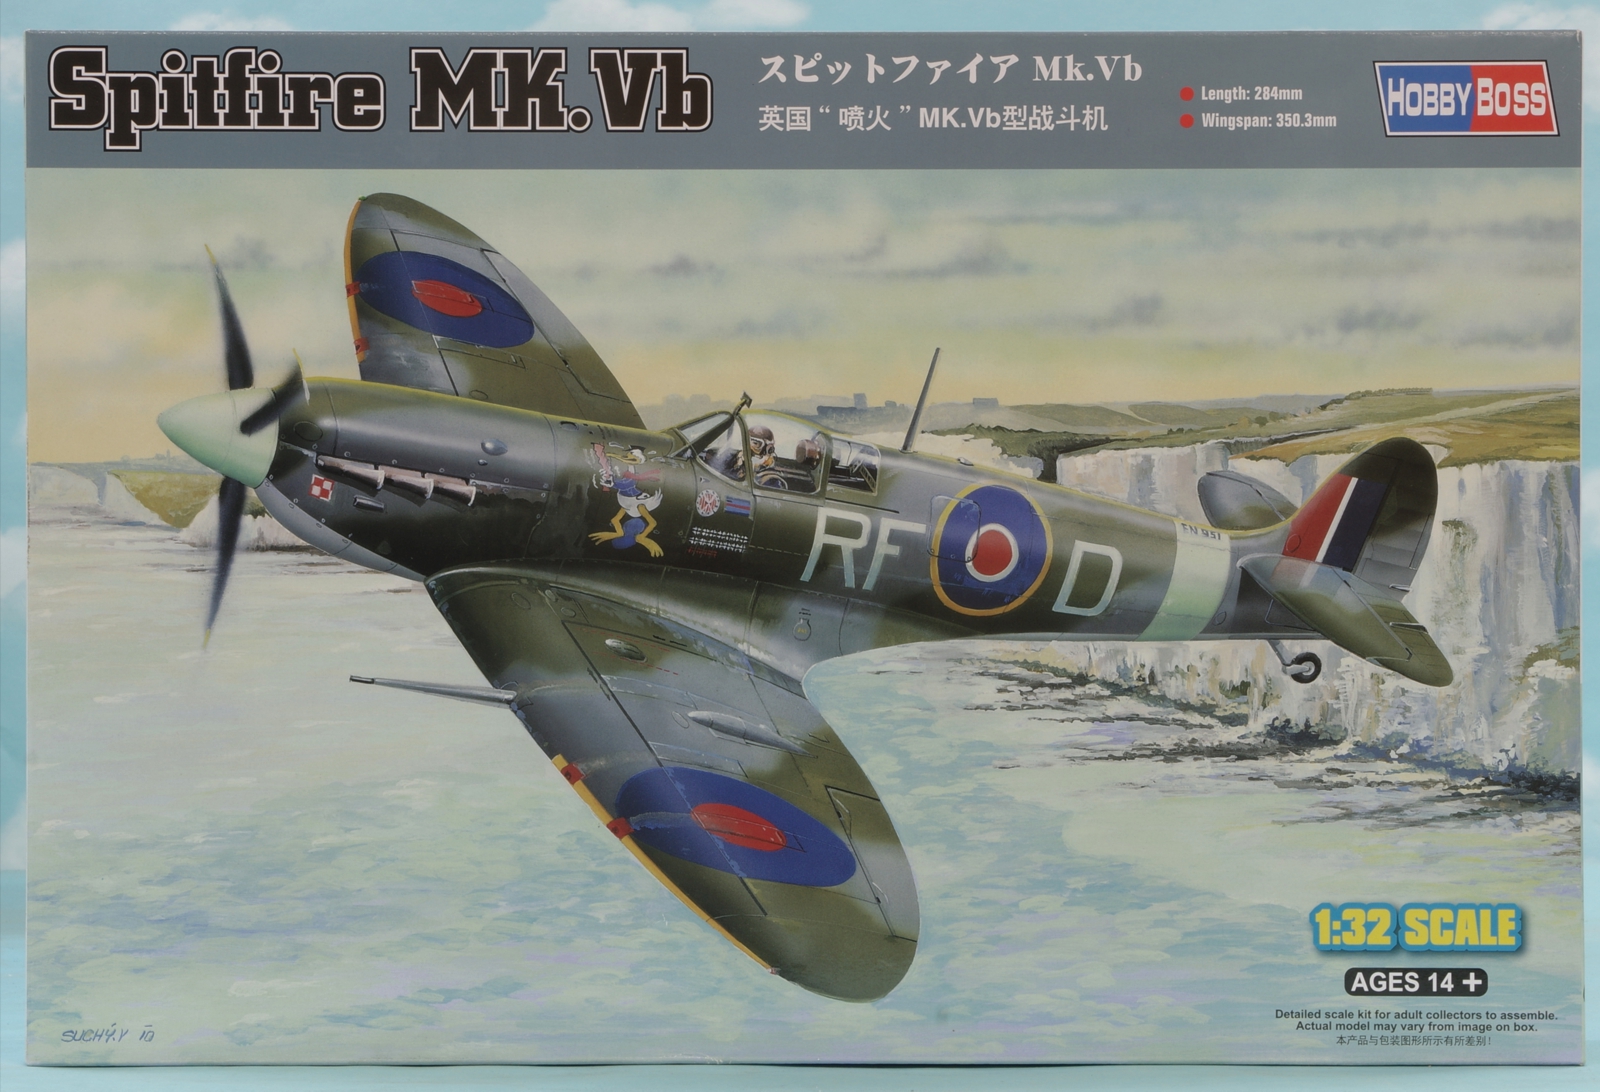
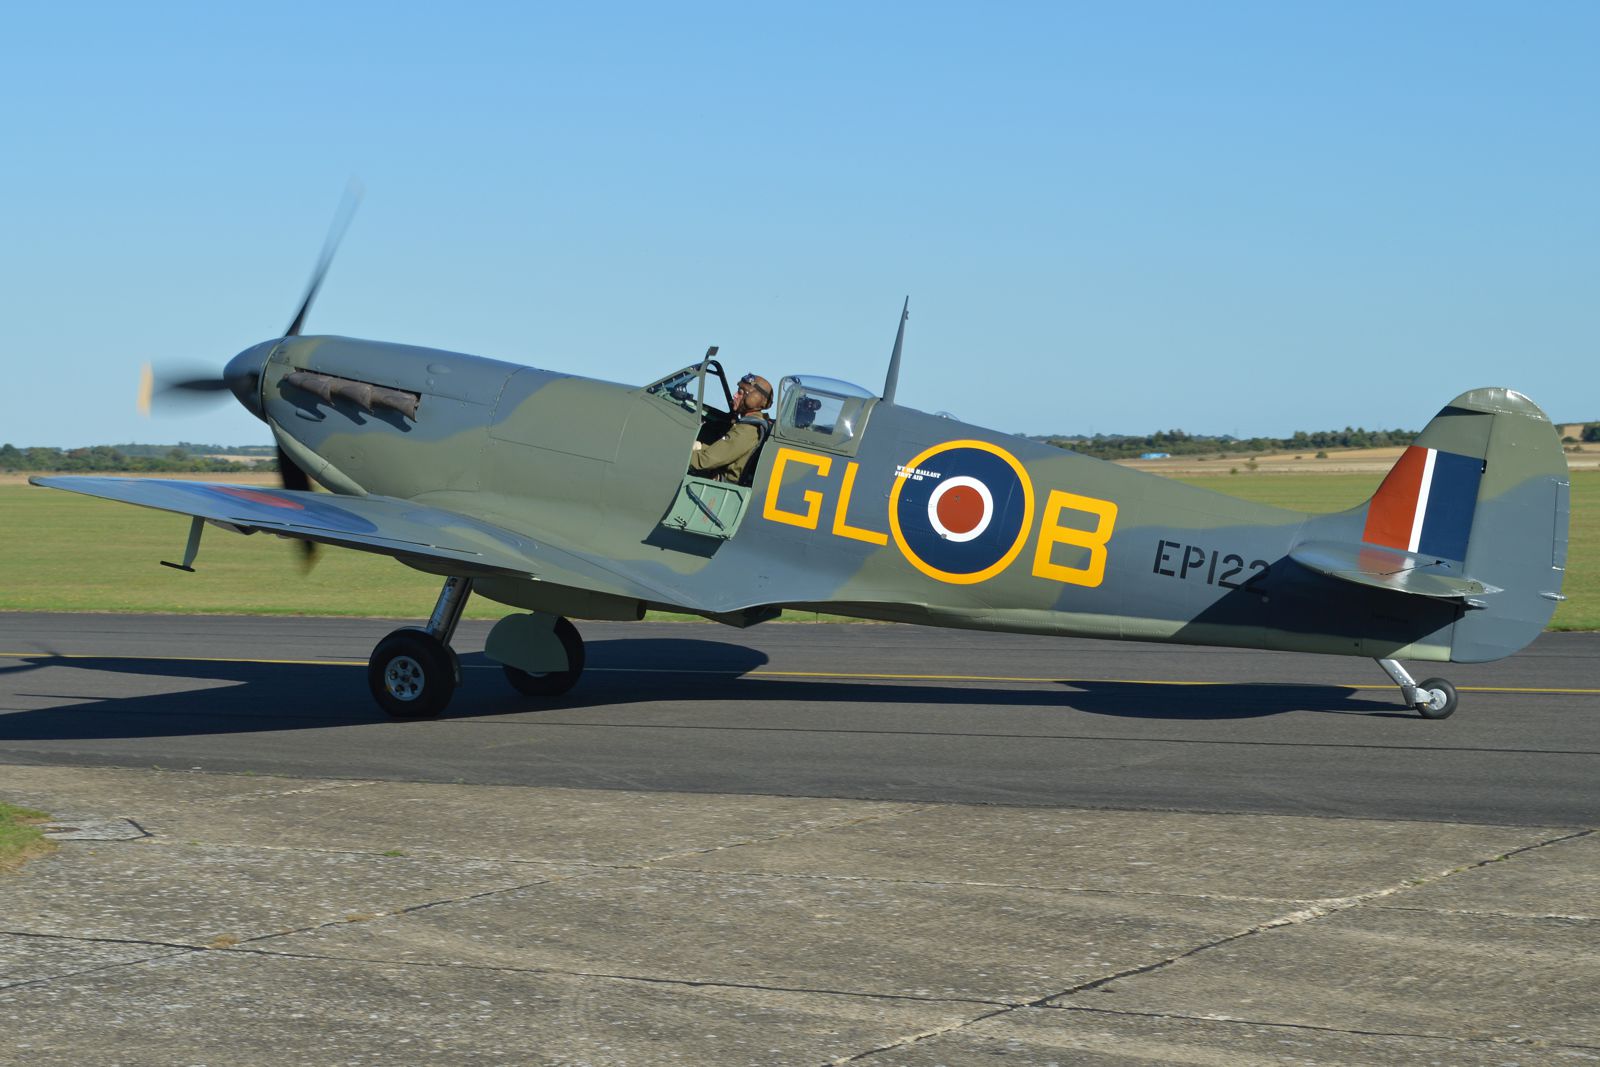
Next up is a 1/32 Spitfire. Kotare is going to release one in the second quarter of next year and it is on order but this one will do for now. It will be in the markings of the second picture.
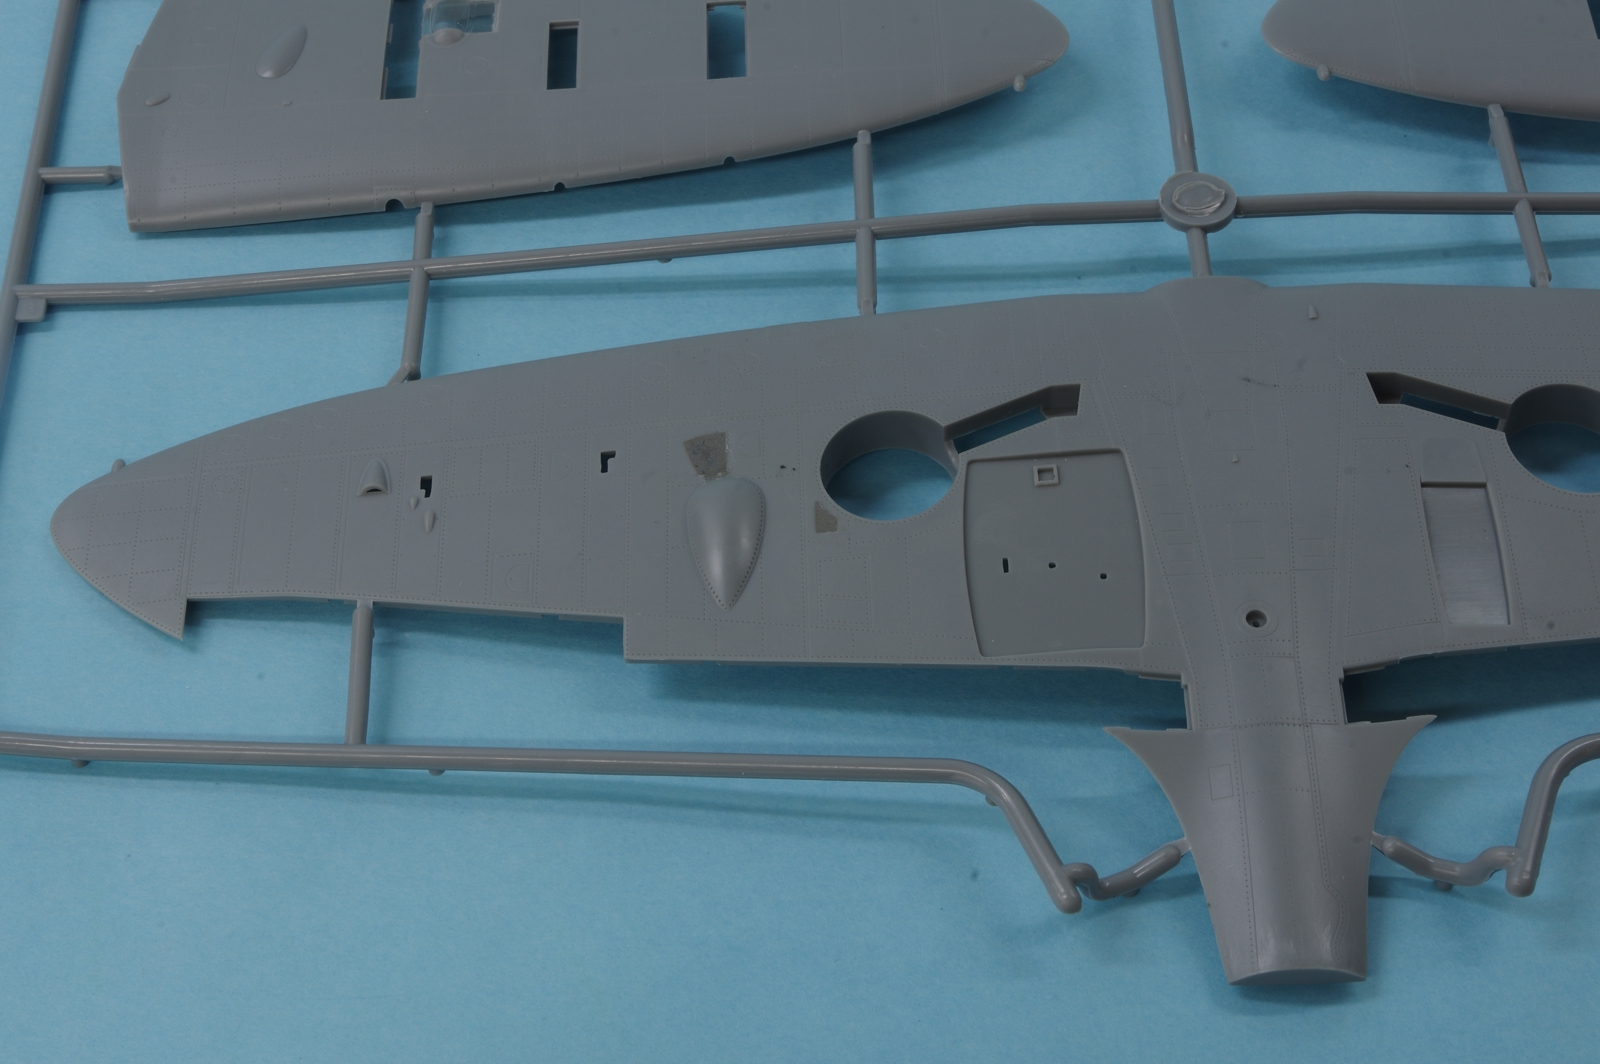
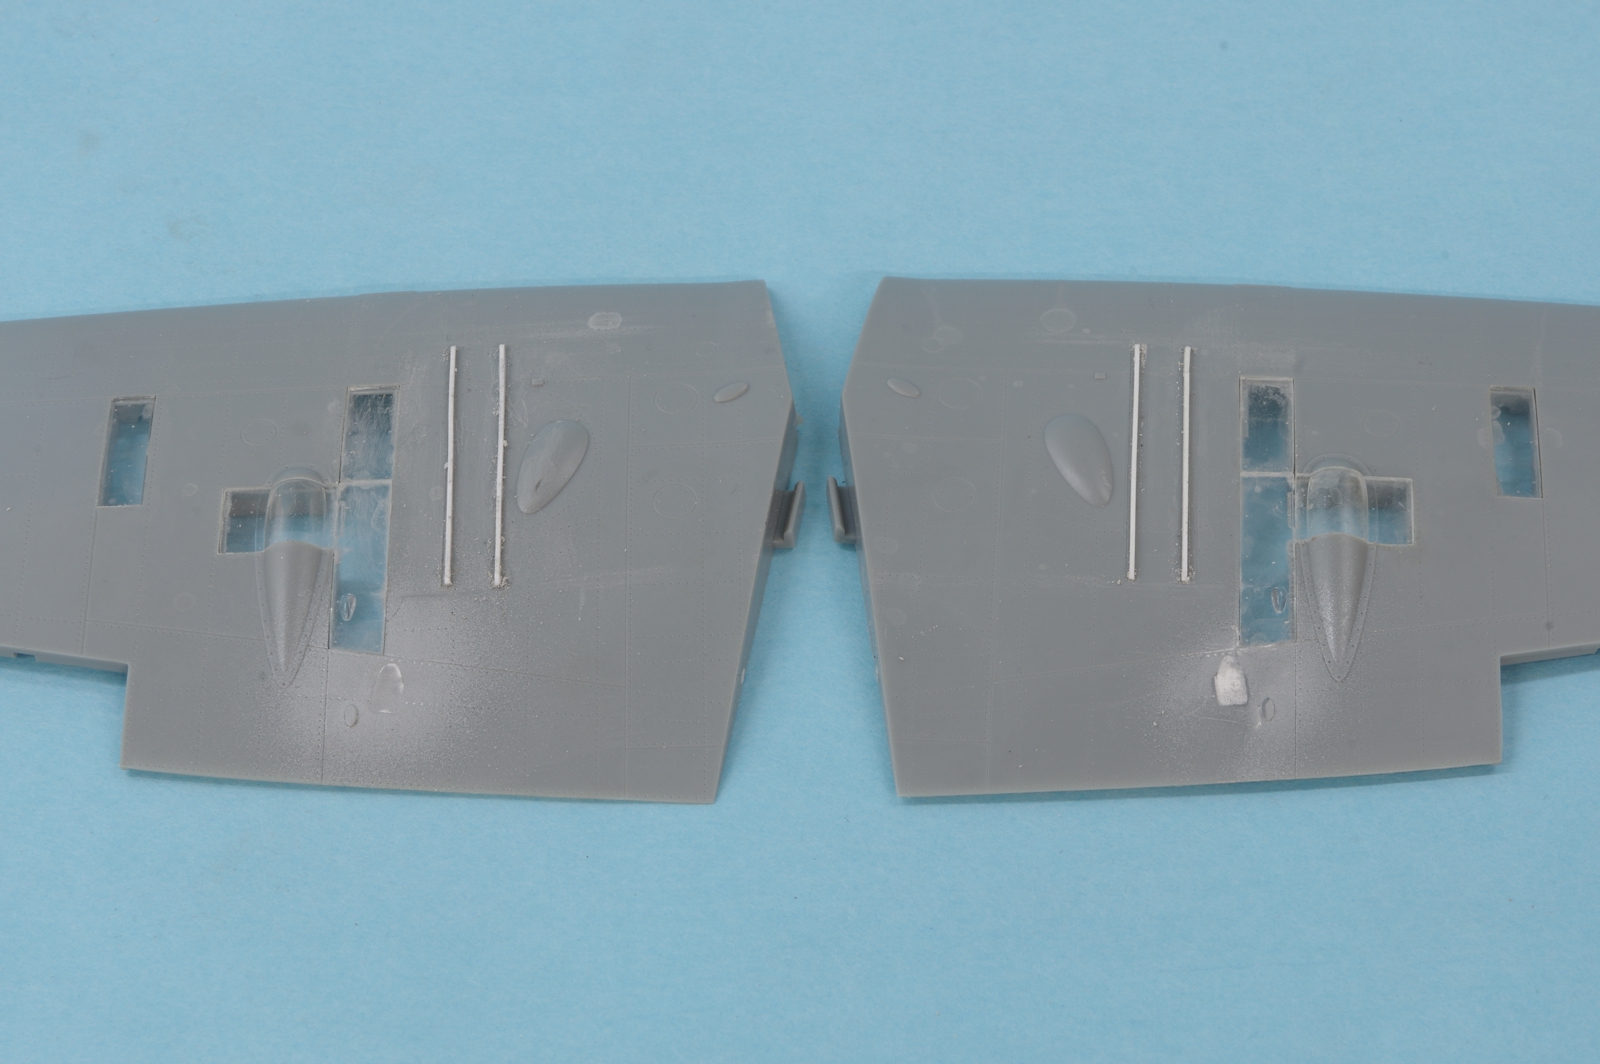
The landing light doors and openings next to the wheel well were filled using Aves Epoxysculpt. The recess near the wheel well was I think only on the Mk. IIb Spitfire wings.
The flap indicator door recesses were also filled using Aves Epoxysculpt as the kit doors fits were poor and the flaps will be up on the model.
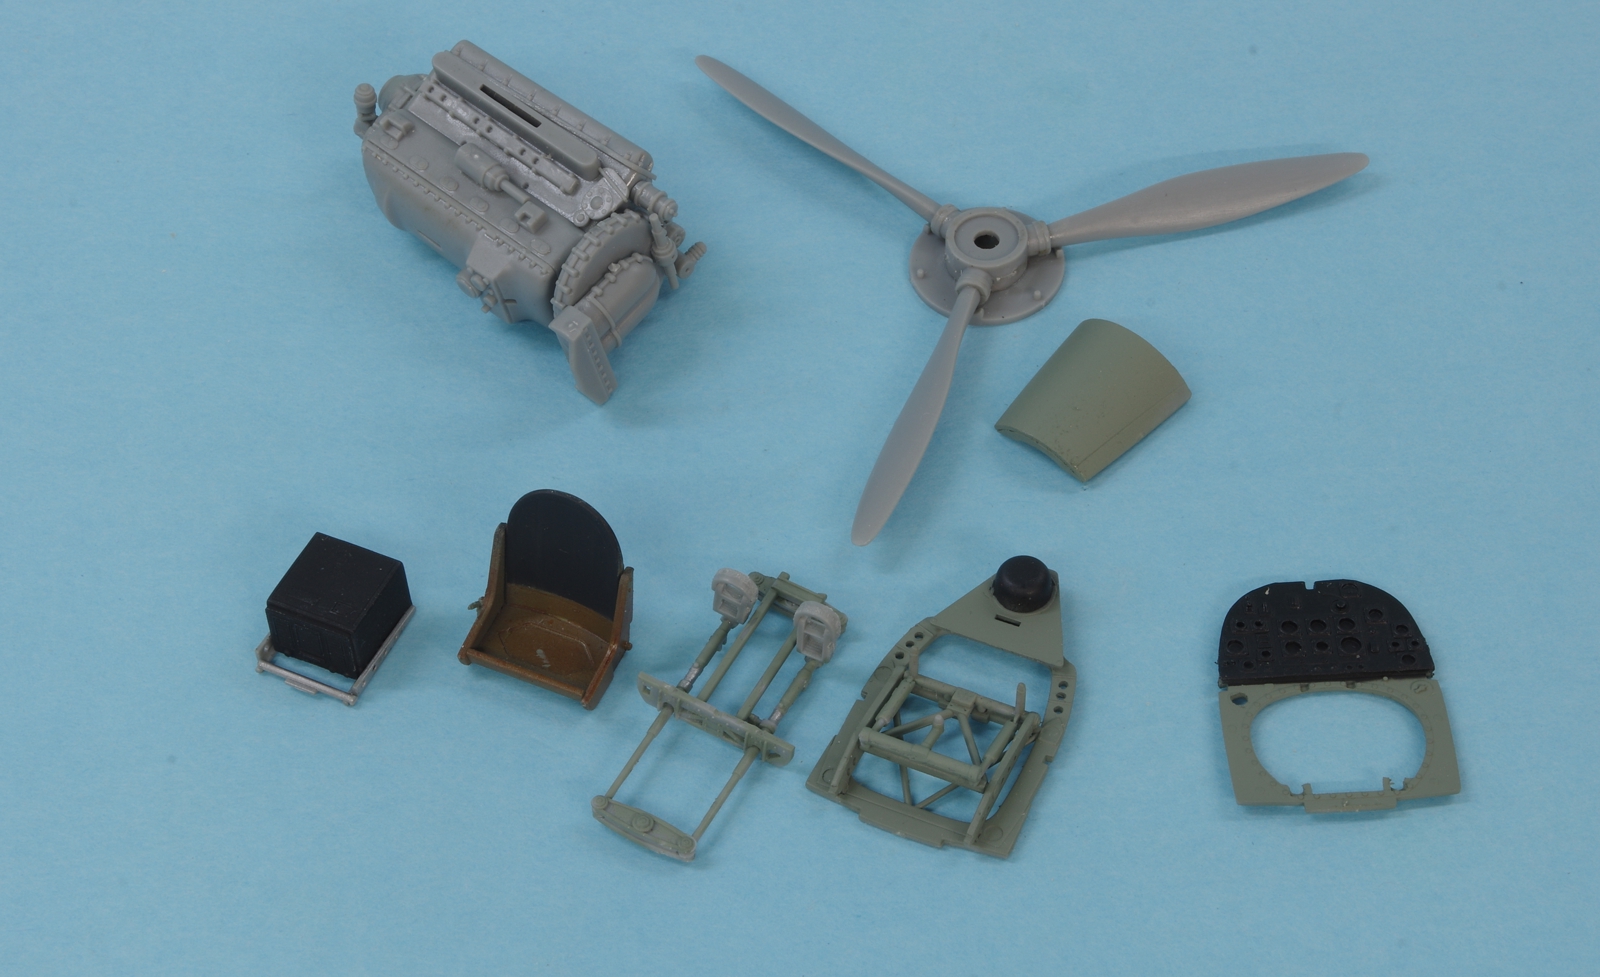
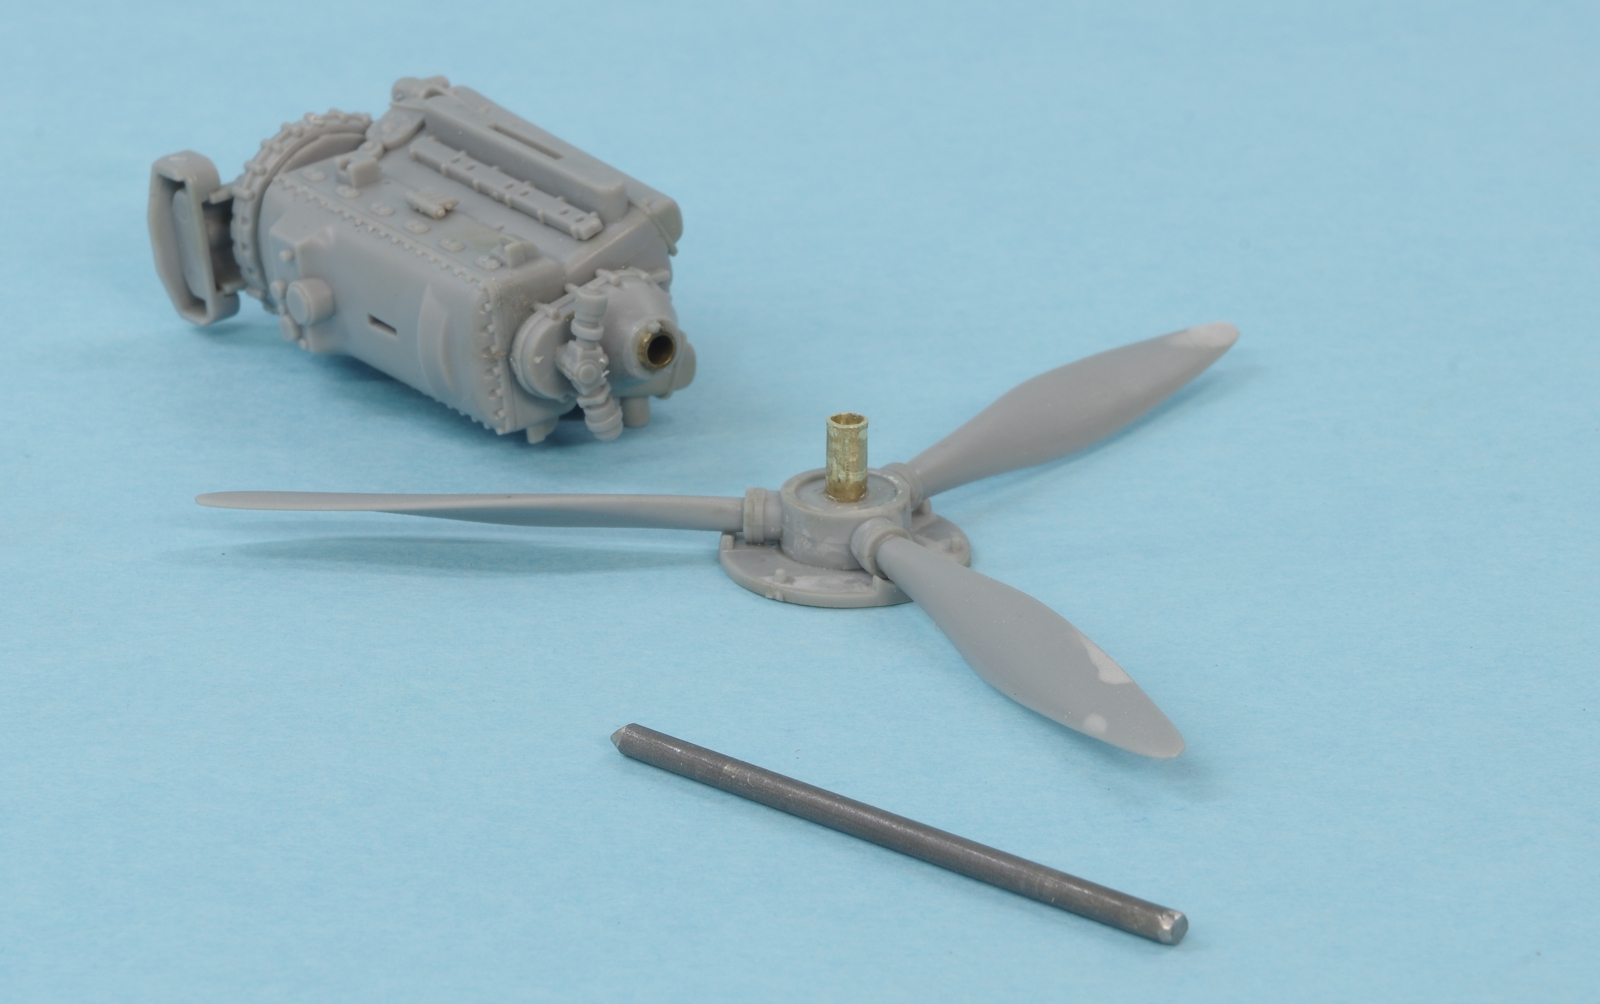
The beginnings of the cockpit, engine, and propeller. The engine will not be visible but is necessary for the attachment of the exhausts and propeller.
Interior painting of the basic fuselage halves.
While the kit had plastic parts for the propeller shaft, for durability I usually replace that method with brass tubing and music wire. A drill press is used to insure that the the part alignments are true.
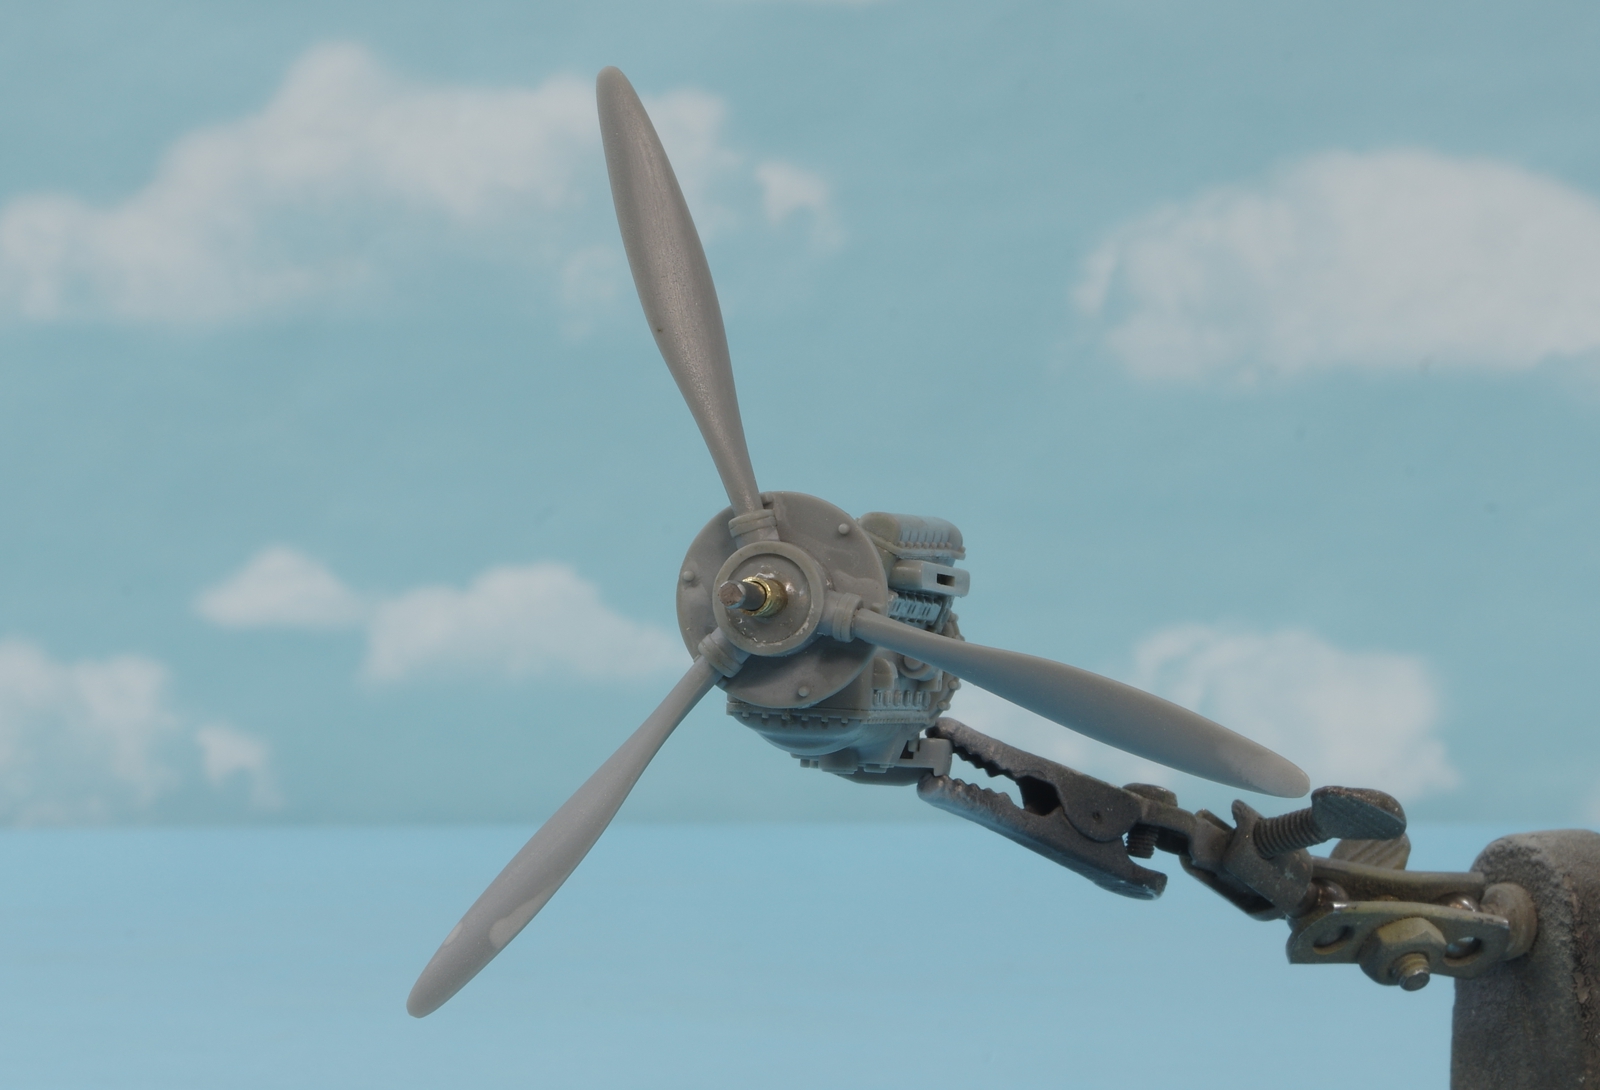
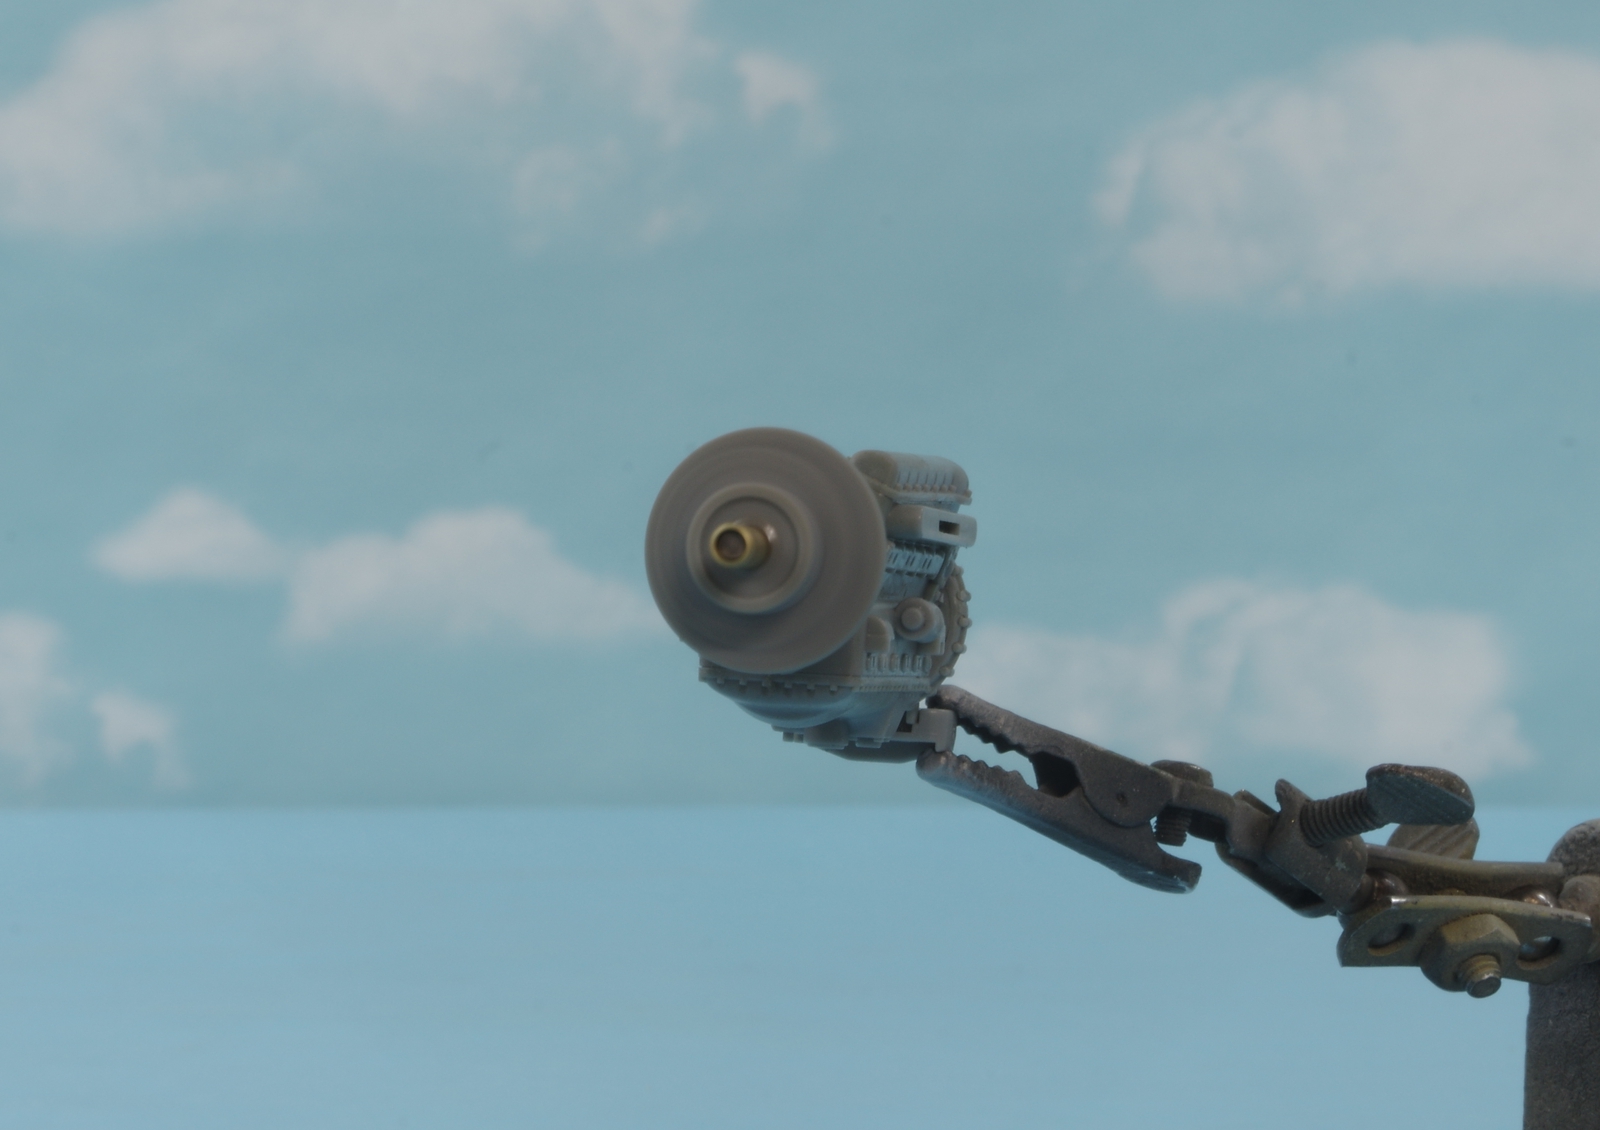
First run. Rotation courtesy of air flow.
Reinforcing strips were installed over the wheel wells, these were not always on Mk. 5 and earlier Spitfires and the kit did not supply them.
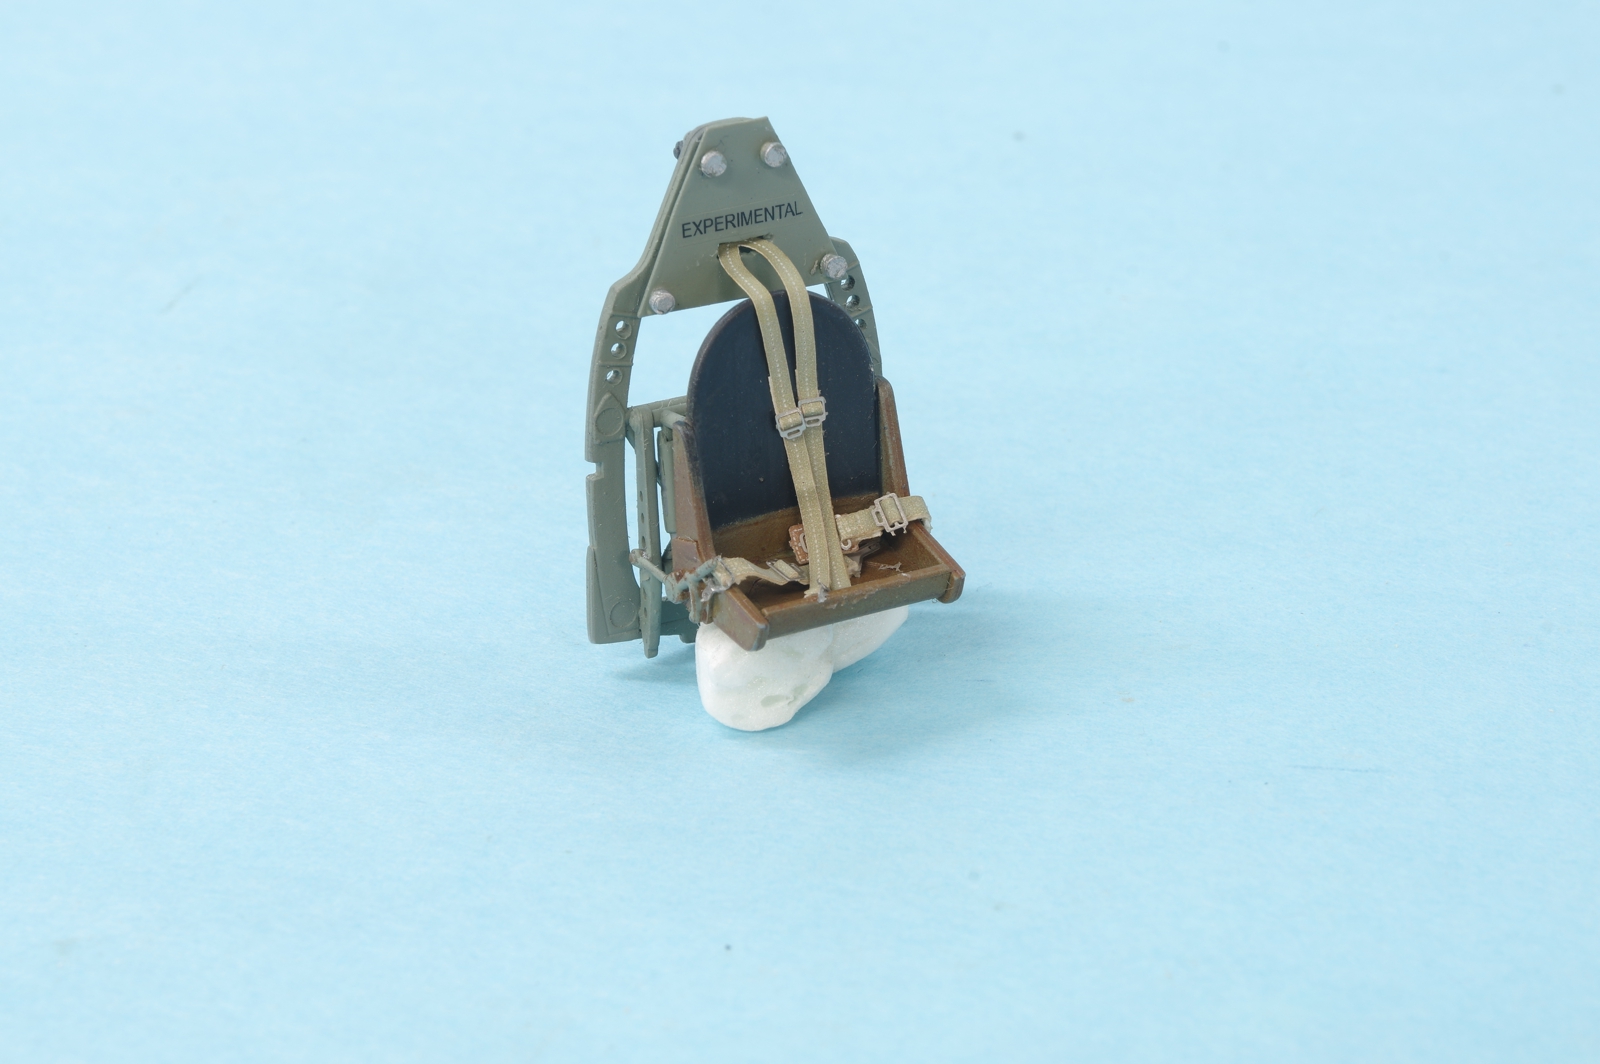
HGW fabric seat belts still to be added, and a bit more Tamiya Clear Orange on the bottom corner of the seat over the red brown.
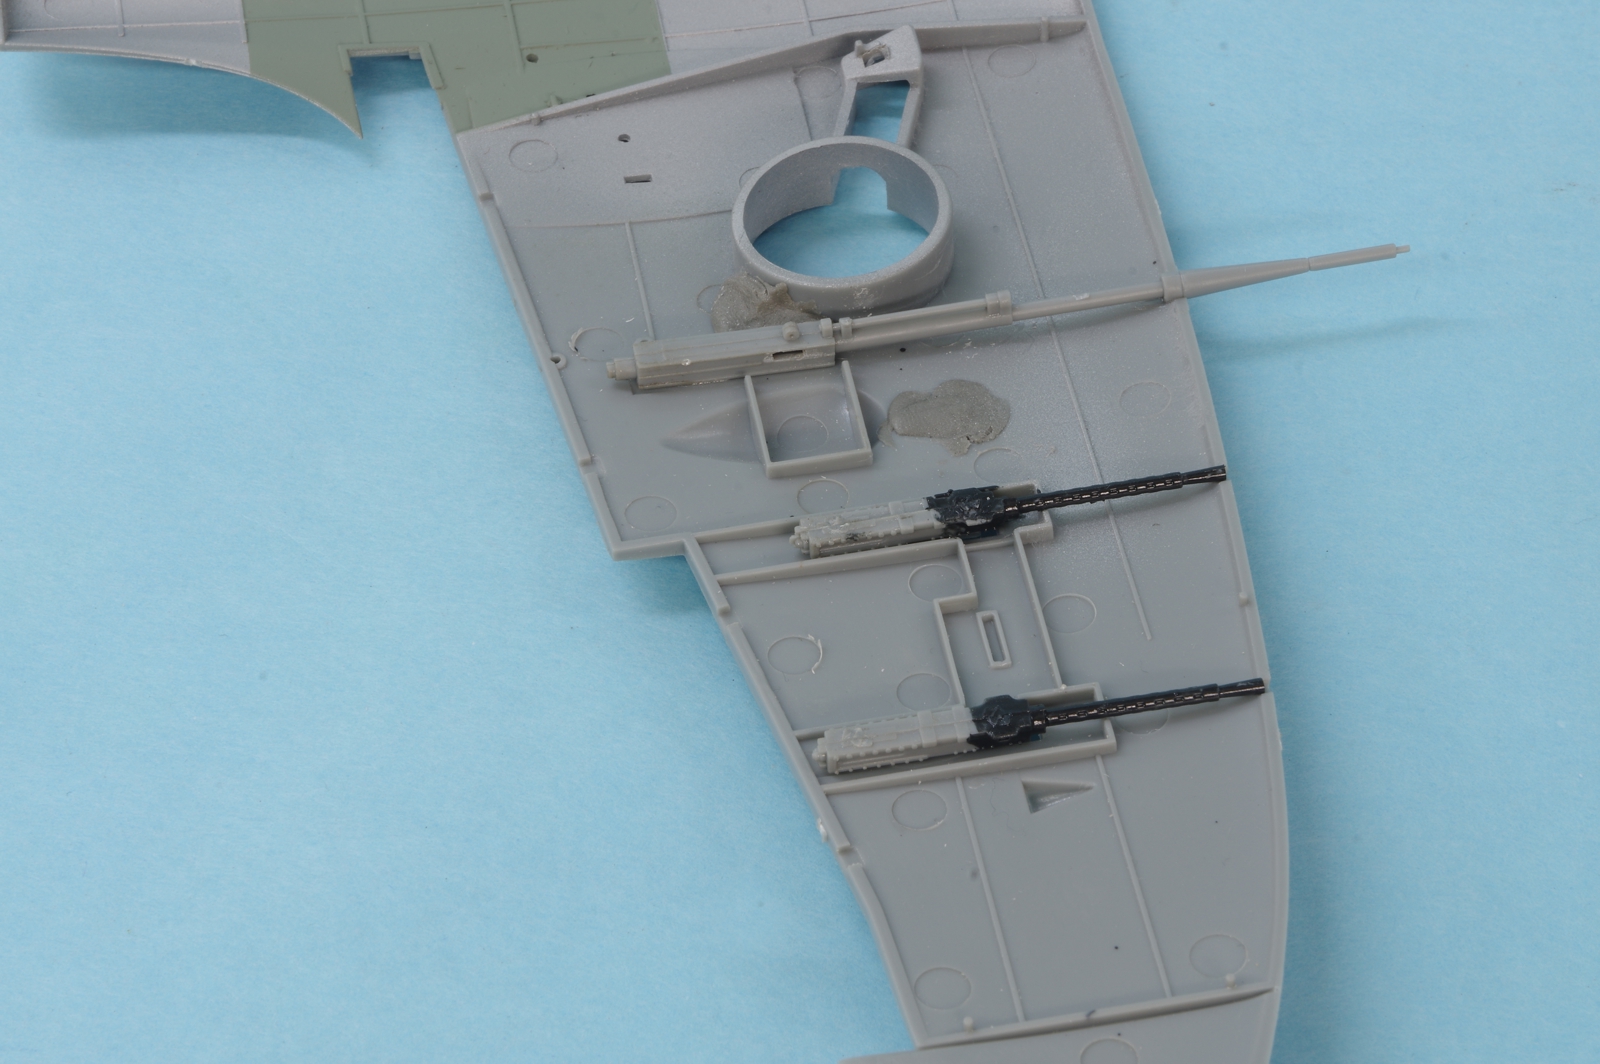
Since the wing gun doors will be closed only the minimum necessary gun parts were installed.
Hard to argue with a Spitfire. Great attention to detail! Love that prop spinner modification. Could almost put a motor in it… Looking forward to seeing where this goes.
Interesting – is this for a varnished wood effect?
Finally got the HGW seat belts. I think I like them in 1/32 but I am not sure my fat fingers will be happy in smaller scales. I did leave the PE parts on the fret while I threaded the textile parts through.
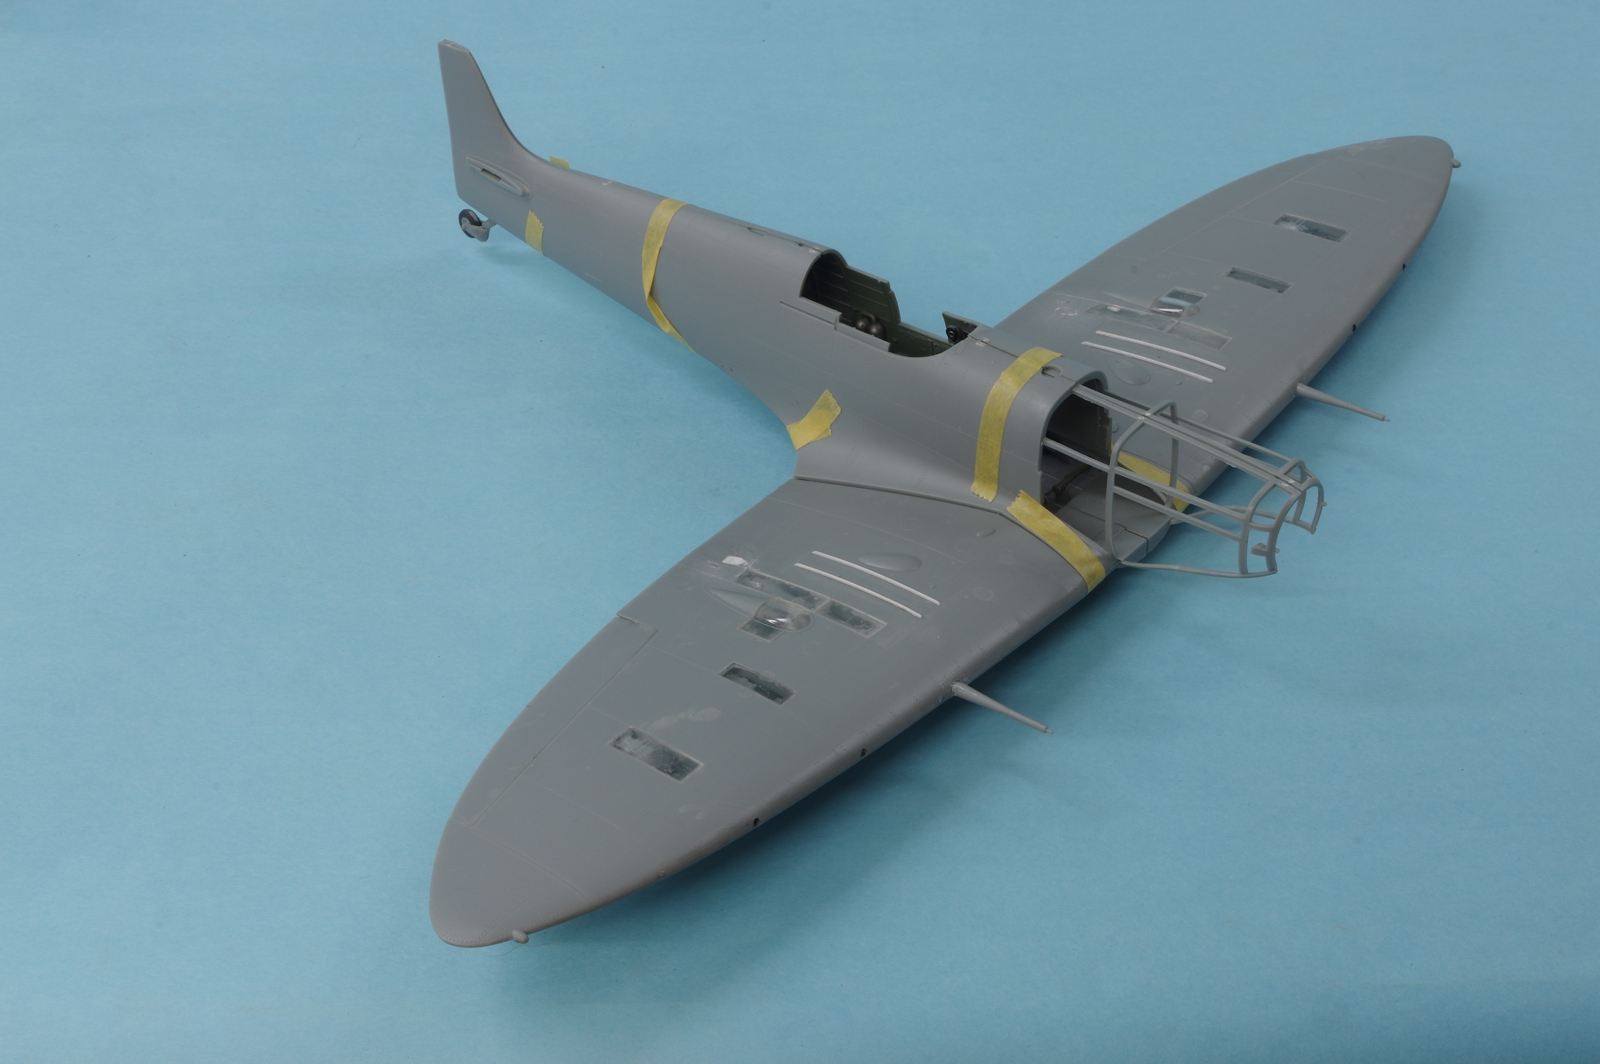
I like to check the fit of the major components before adding the internal parts, helps define what the issue is if there are fit problems later.
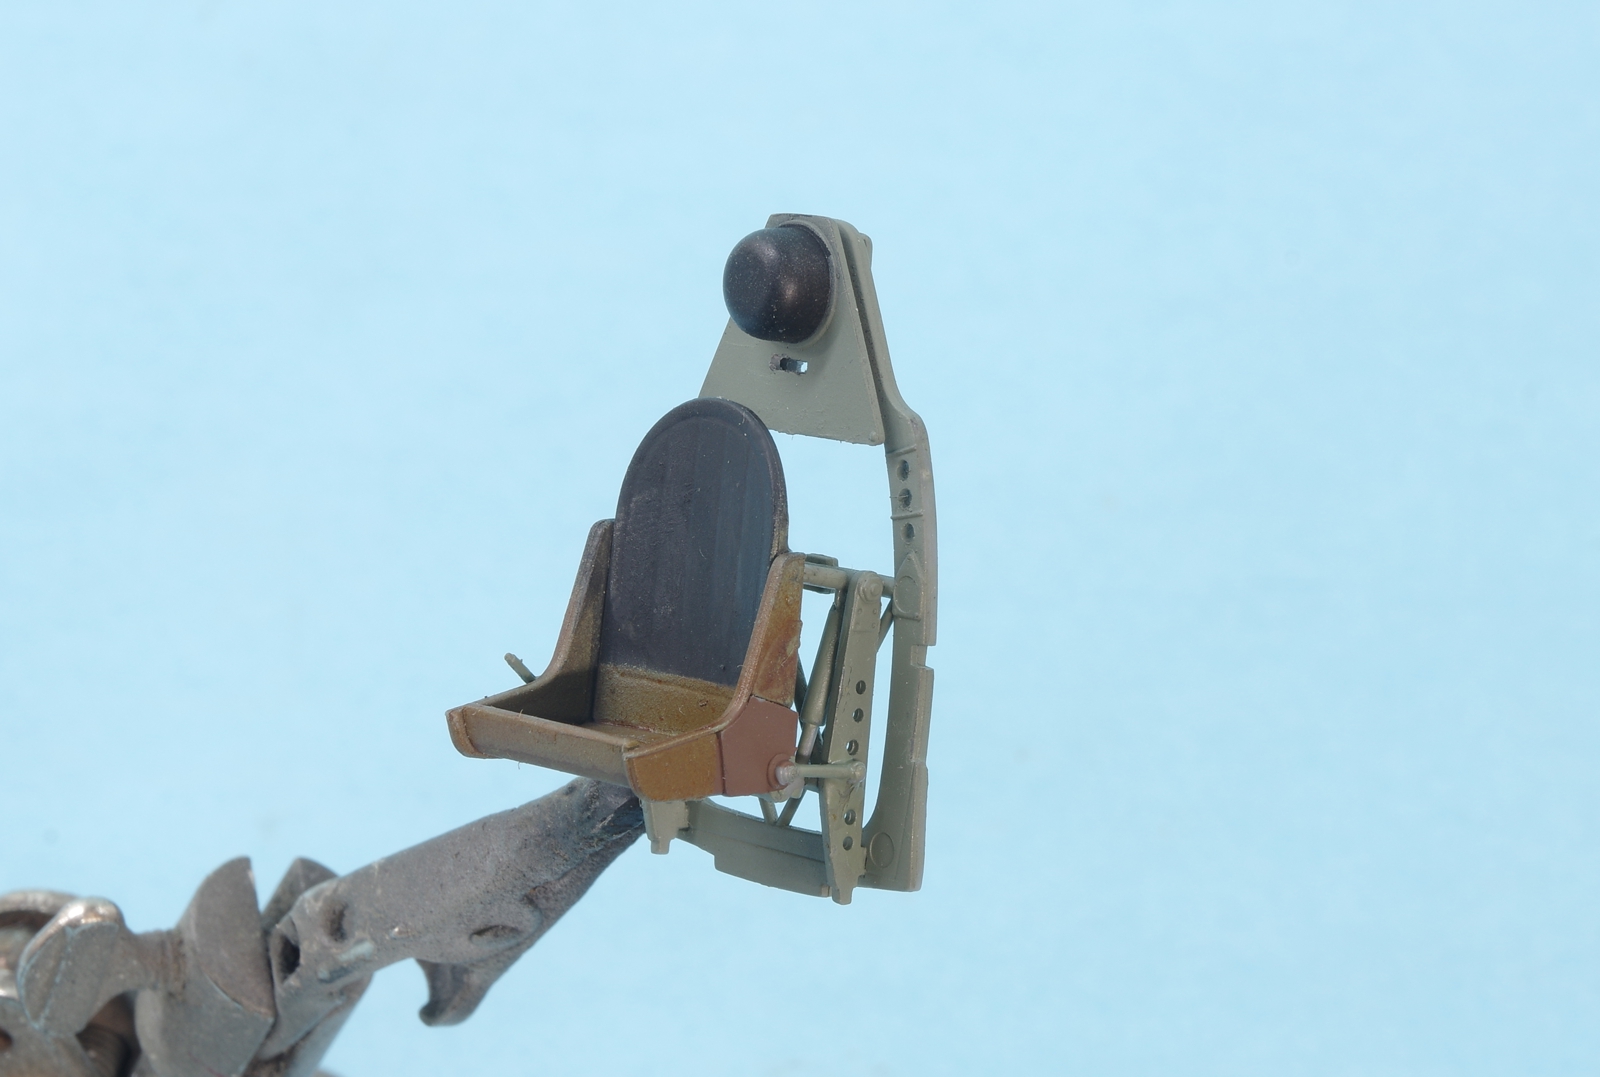
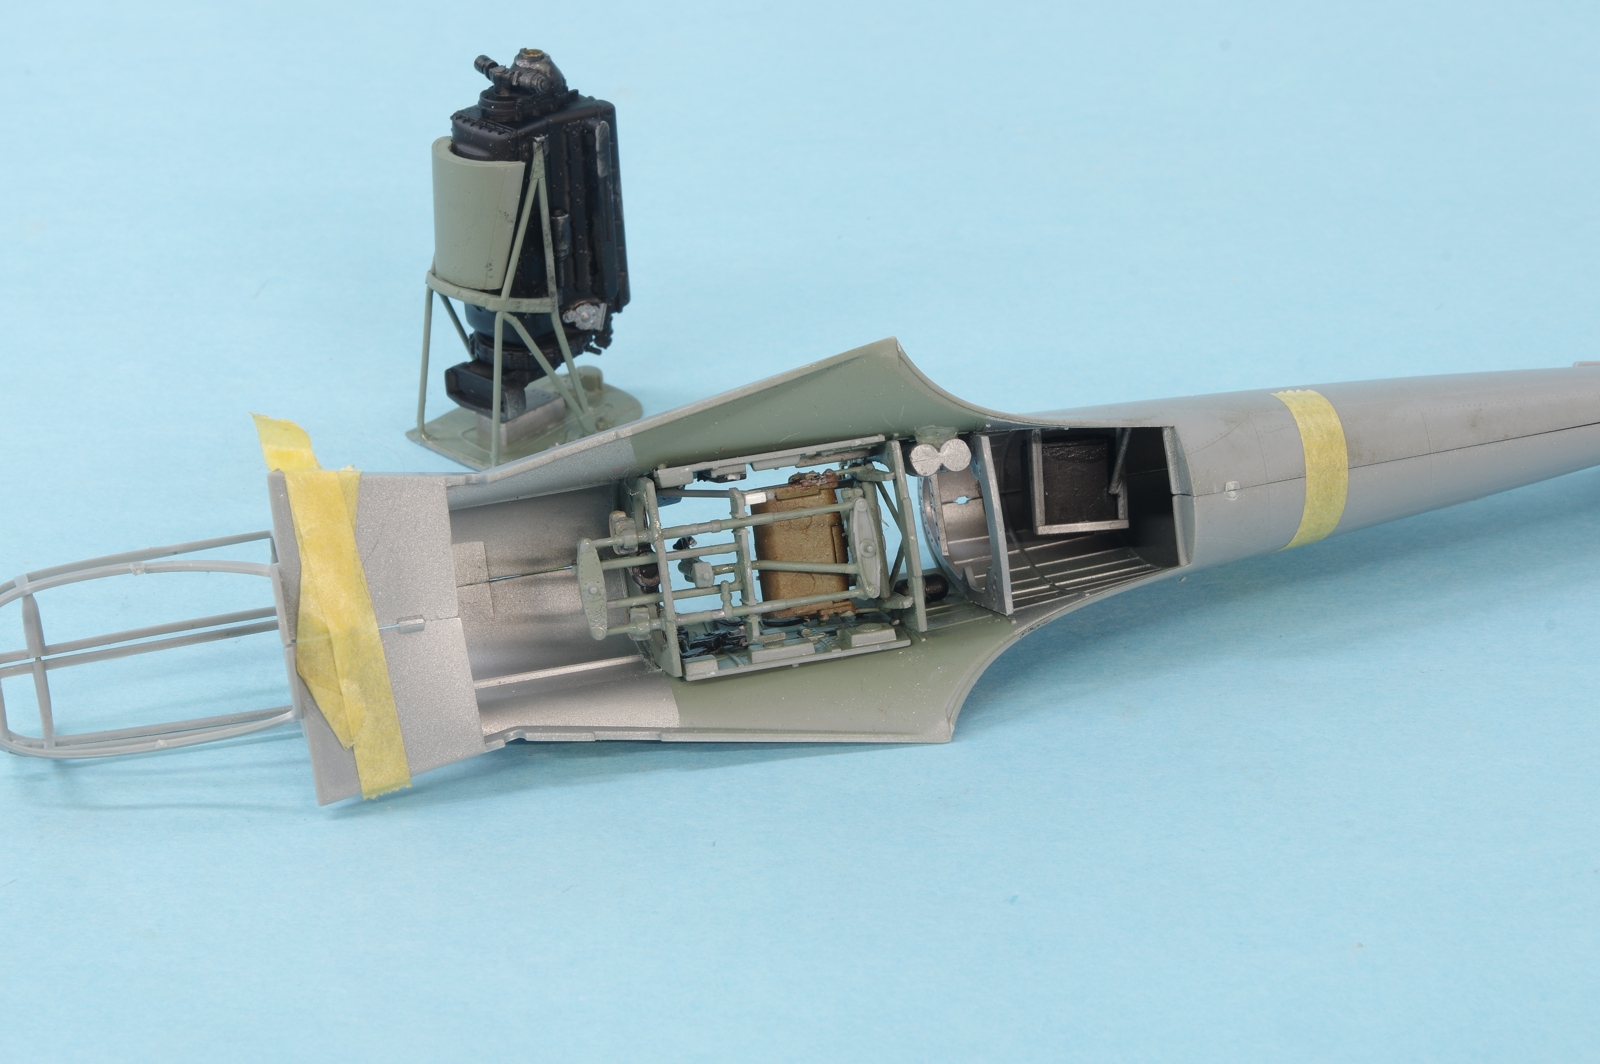
Starting to fit the internal assemblies. The seat bulkhead and the aluminum frame behind it were test fit first, and then glued to the left side only. When they were dry, the instrument panel with the rudder pedals and stick were test fit and then glued to the left side and then left for an hour to set. All in all the engineering and fit was pretty nice. I did re-position the lever to the left side of the seat, it would have been too far forward compared to photos. You can see the white block that was used to move it, still to be painted. I also replaced the plastic link that the control stick is mounted to with brass rod, the plastic did not look like it was good for the long term.
The engine and mount assembly was pretty frustrating until I figured out the best order to do it, which was to attach the side frames to the engine and add the u-shaped cross member. After that was dry that assembly was glued to the firewall. Those joins were done with gel CA.
The shoulder harness still needs it’s extension through the last frame to its anchor point.
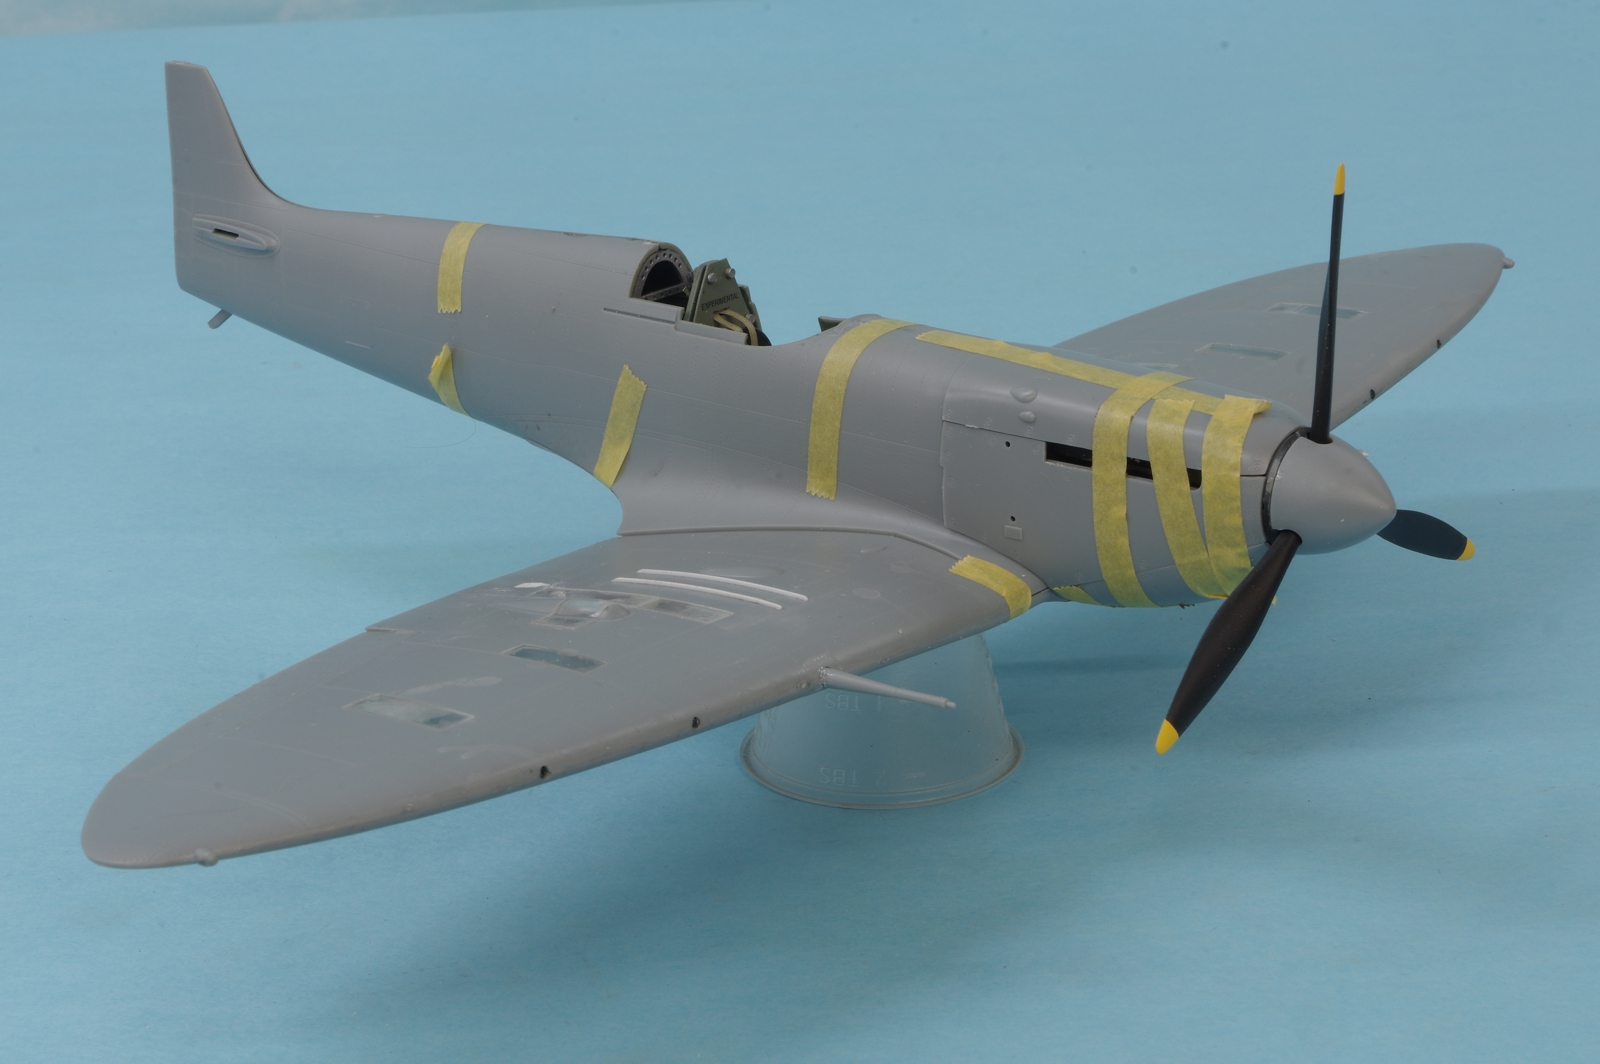
Everything taped together to insure that the cowling and engine alignment is right, which it appears to be. The firewall is not glued in place yet and won’t be until all the cowling parts are securely fitted and the spinner aligns correctly.
I just used HGW textile belts on the Sea Fury I am currently building (1/48). I like their appearance but I absolutely hated working with them. Way too small. Plus, the textiles pulled away from the backing. I’m not sure if that’s how they are designed to be used (the instructions are woefully inadequate), but once that backing was gone, the remaining material was so flimsy as to make them very nearly impossible to manipulate through those tiny PE buckles even with my tweezers and Optivisor.
Stephen, I agree about the instructions, pretty useless. But the backing is supposed to be removed. I did that after I had put them through the PE parts because I did not figure it out in time. Maybe that is the easiest way to do it. The thickness in 1/32 with the backing removed seems about right. And maybe 1/72 and Tamiya tape with a few silver paint spots is the best world of all!
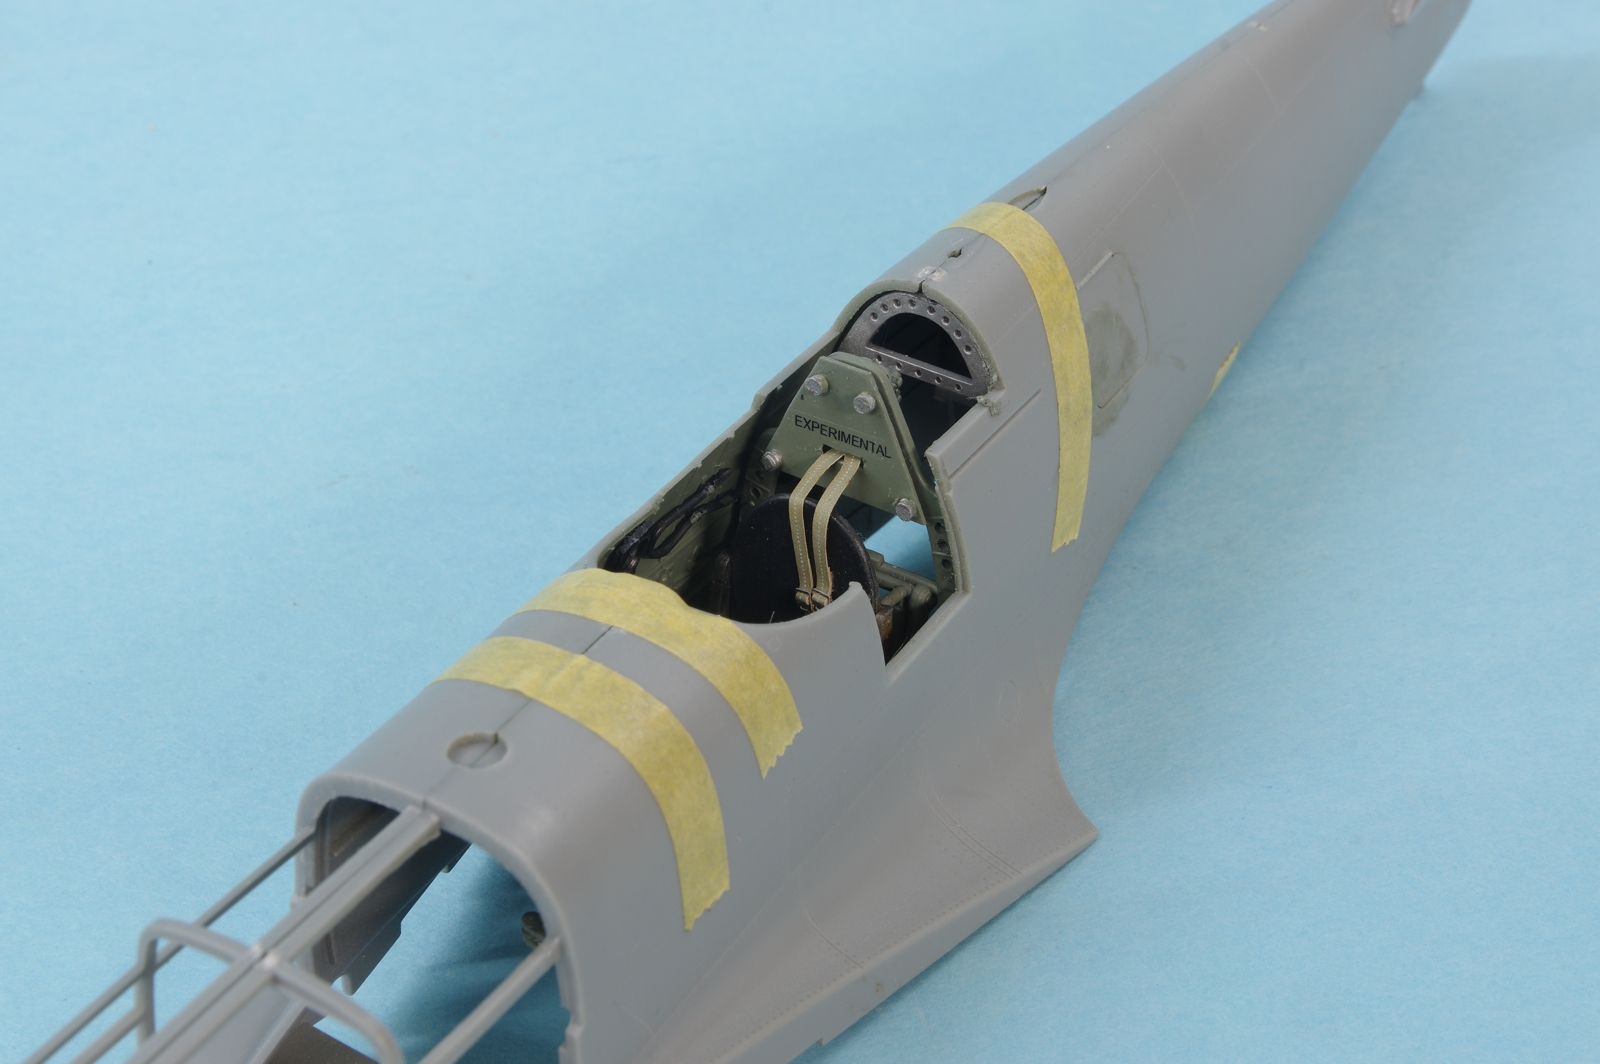
Last look at the cockpit before it gets closed up in the fuselage. The shoulder harness is now attached at its anchor point and some fine wire has been added to the left side of the instrument panel bulkhead for the tubing located there. The spade grip has had the gun camera button and rocker switch added.
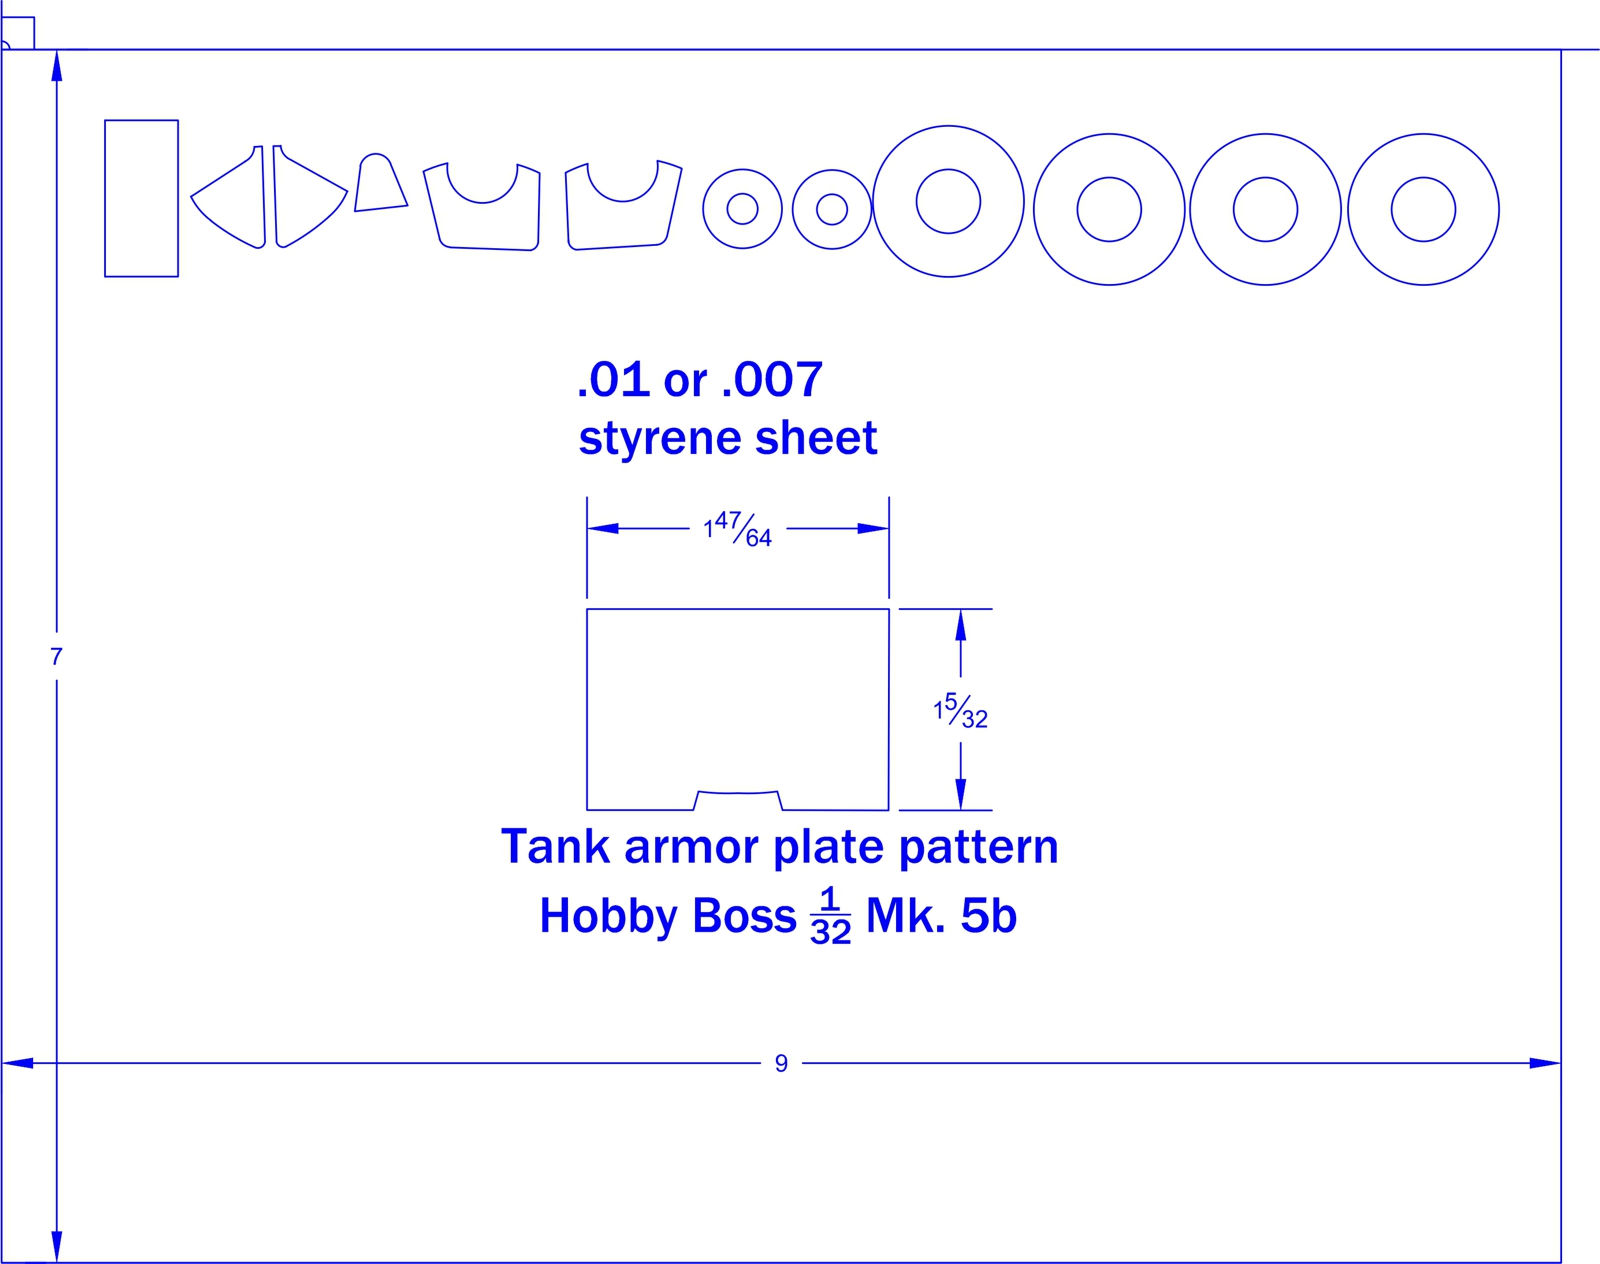
The cowling is installed permanently and the fuel tank armor is being installed.
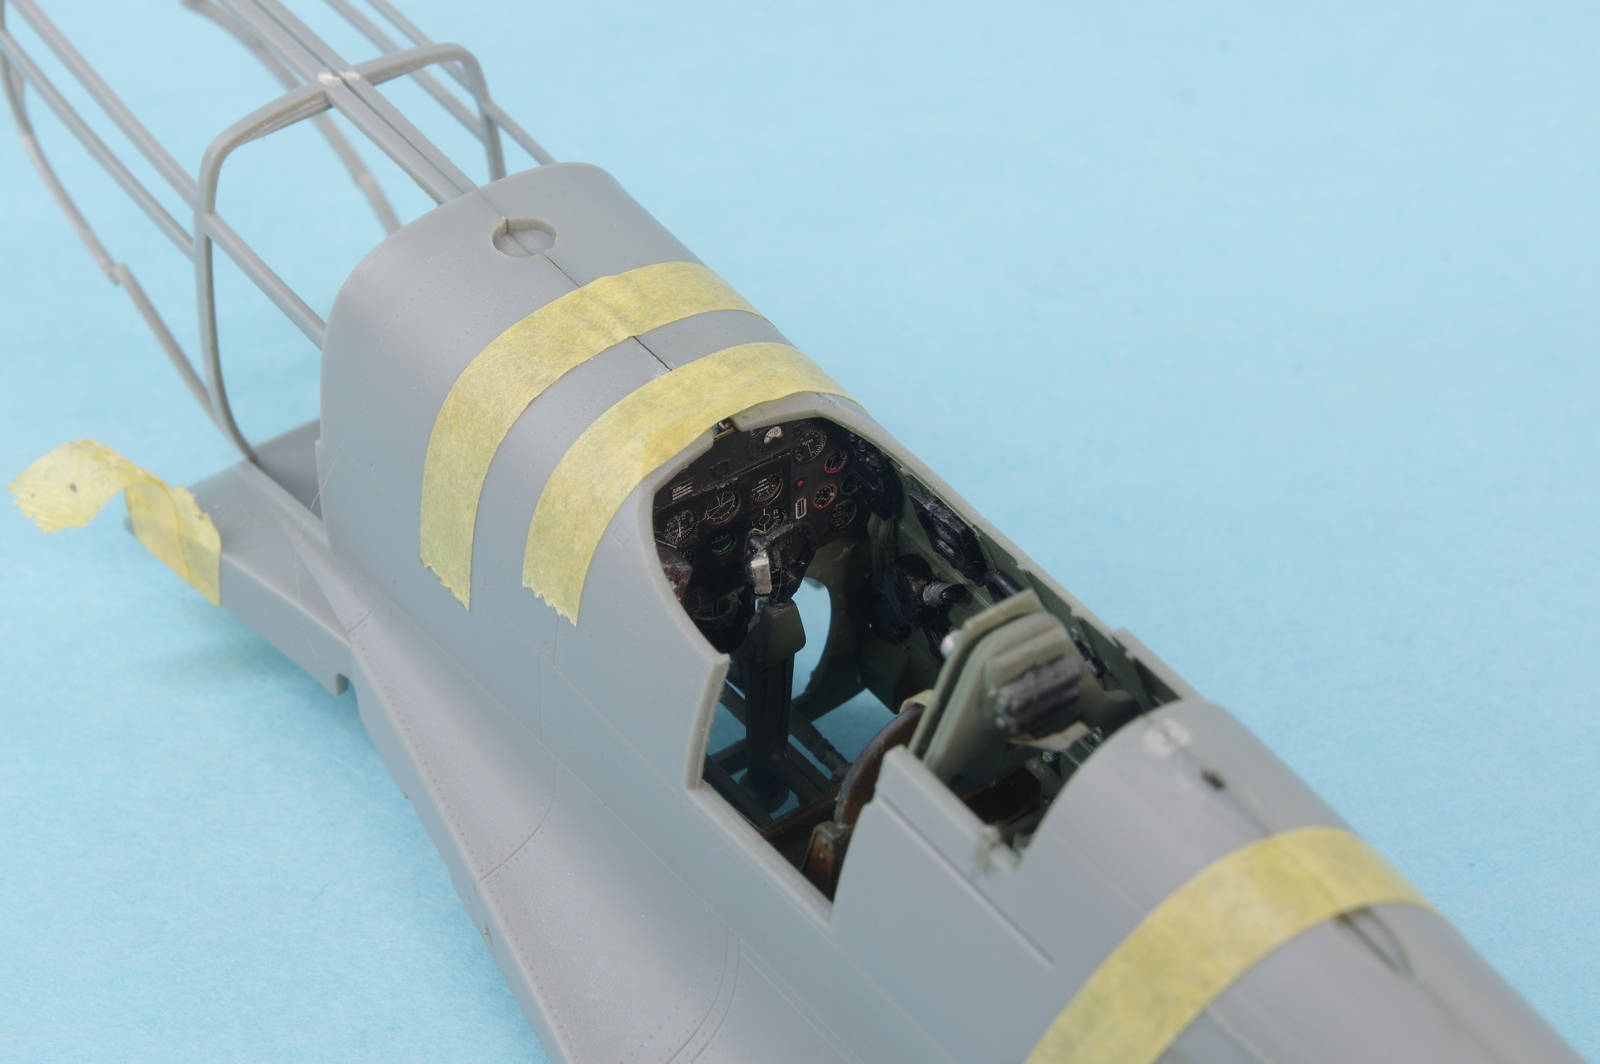
Armor plate is attached and gun sight is installed. Canopy parts have been test fit and masked. The cockpit door is temporarily attached for painting of the model and will be installed in the open position along with the Malcolm hood.
The canopy fit is pretty good, although I am still not sure of the shape of the sliding hood. My theory is Hobby Boss designed it to be in the open position and it does fit well there, which is often not the case. Next task is to fair in the area between the windscreen and the fuel tank armor plate.
A jig was made from foamboard to set the dihedral angle as the fit of the kit was not definite enough. A small gap resulted on each side but that is much preferable to too much dihedral. The initial glue join was done with gel cyanoacrylate.
The wing to fuselage seam next to the wing fairing had a gap to work on. First it was taped off close to the gap and Epoxysculpt was pressed in and smoothed with a dental spoon. After curing it was sanded out and the area was taped off again so a second pass of Tamiya grey filler could be applied. The tape has been removed but no sanding has been done. Work has been done on the aft wing to fuselage join as there was a slight step in an area that should have no join line, and the wing leading edge was scraped down and sanded a little to get a smooth transition to the lower cowl. The cannon barrels will be replaced with turned metal for durability and better appearance. The tank armor plate has been faired to the windscreen. The stabilizers are dark as they are resin replacements to correct a fault of the kit.
Very impressive attention to detail, there John. Particularly where you faired the armor plate into the canopy frame. Was that done with putty and files, or…?
I use Aves Epoxysculpt for tasks like that, it is a two part epoxy paste that can be applied and then smoothed with a wet finger or dental tools, there isn’t much sanding involved. It will finish sand to a very smooth surface.
The code letters are on, the RB productions cannon barrels have been fit but are just temporarily installed here. Working on the fin flash and cleaning up seam lines on all the gun hatch covers.
Man this sucker is coming together well indeed John. After looking at that beautiful pit build up I’d say that this one has a TON of details right there in the kit. Beautiful work!
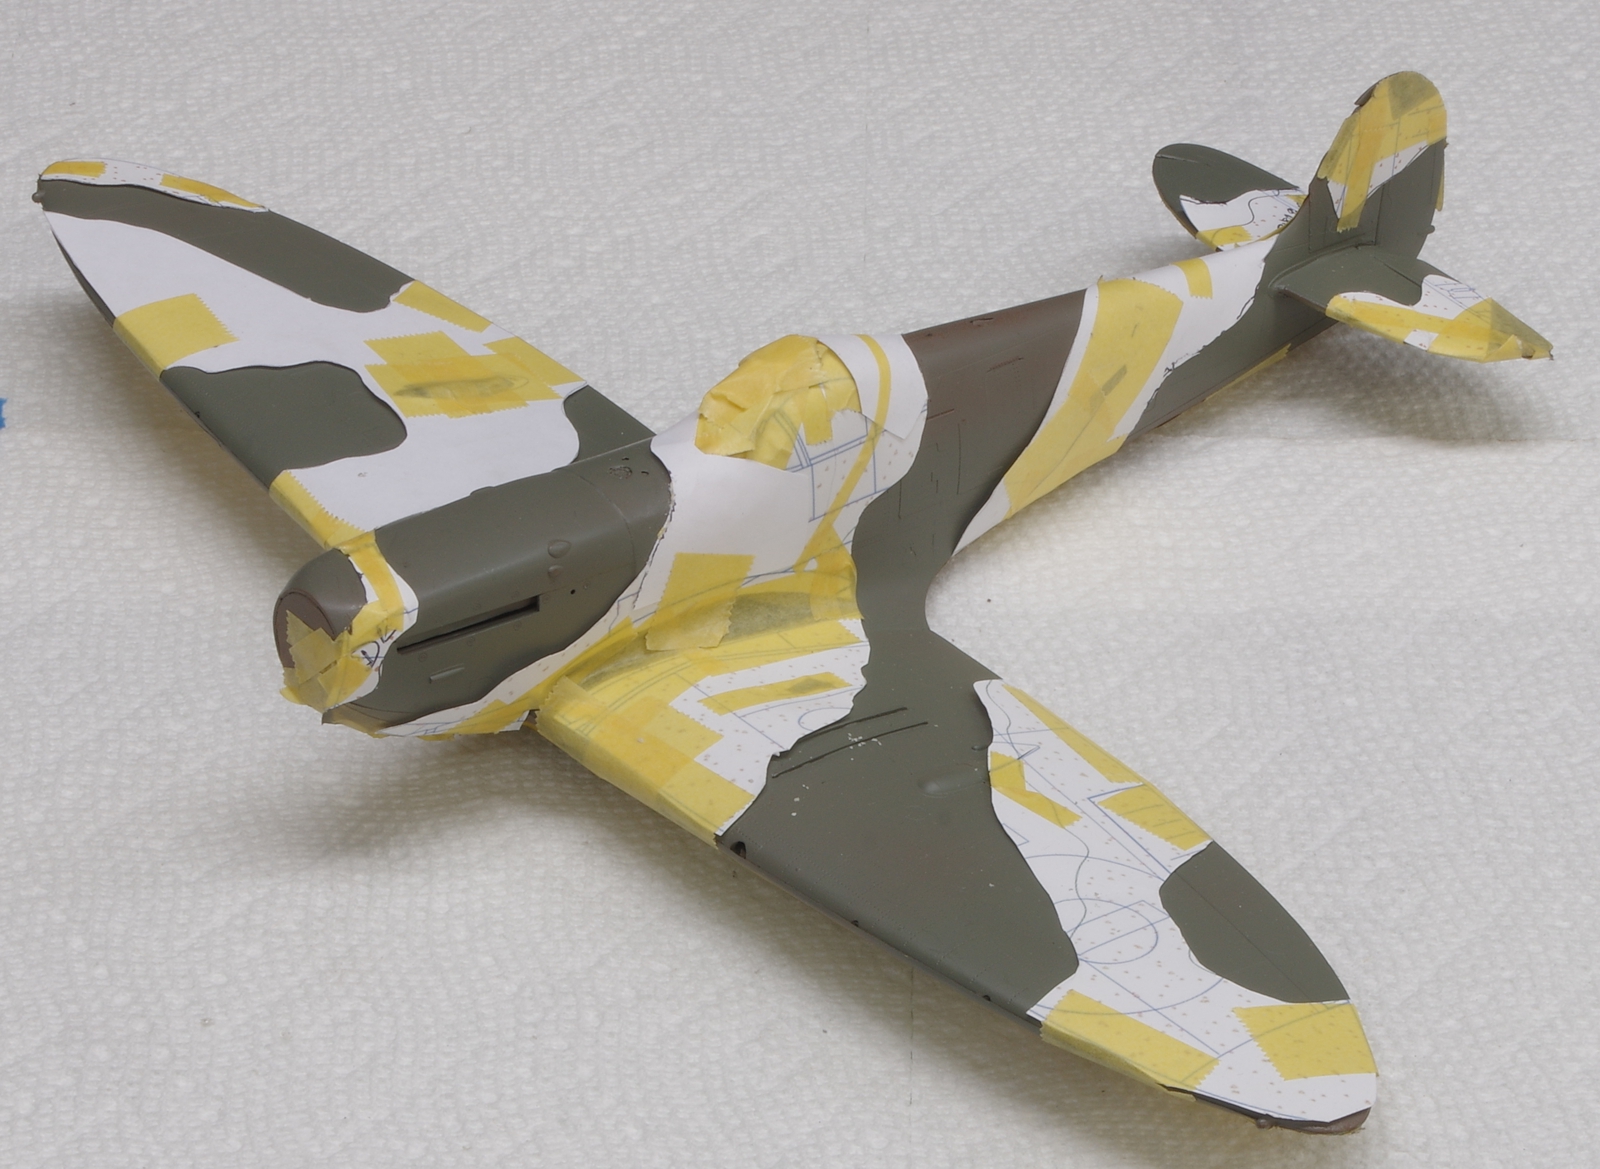
The post office has stymied me on this one. I ordered some Gunze Extra Dark Sea Grey for the final color of camouflage from Burbank Hobbies on the 2nd, usually takes at most 3 days to get things from them as I am near Sacramento. So far it has gone to Huntsville AL, then to Cincinatti OH, and now they say it is in Birmingham AL.
I ordered another batch today and I am holding my mouth right.
What a pain! Is there any risk with the masking tape being in place so long? Would hate to have it pull up any of the base coat, and yet I would also hate to have to mask again…
I only tape in small areas with this method of masking and use Tamiya tape which I have never pulled paint with. A lot of the tape is attached to other masking instead of the paint. The last line of defense is well cured Gunze and Tamiya paints.