The USPS really messed up this project. I ordered the Gunze C333 Extra Dark Sea Grey from Burbank House of Hobbies on December 30. They put it in the mail on January 2nd. I received it yesterday, January 13 after it had gone from Burbank, to Huntsville Alabama, to Cincinnati Ohio, to Birmingham, Alabama, then Aurora Colorado where it sat for a few days, finally to Sacramento and then to me in Woodland, 20 miles from Sacramento. I ordered more of the C333 from Burbank House of Hobbies and had it shipped via priority mail when I realized the first order was going afoul. It got to Sacramento on time, but they shipped it to Walnut Grove, California, where it sat for several days, then back to Sacramento, who then promptly sent it off to Columbus, Ohio.
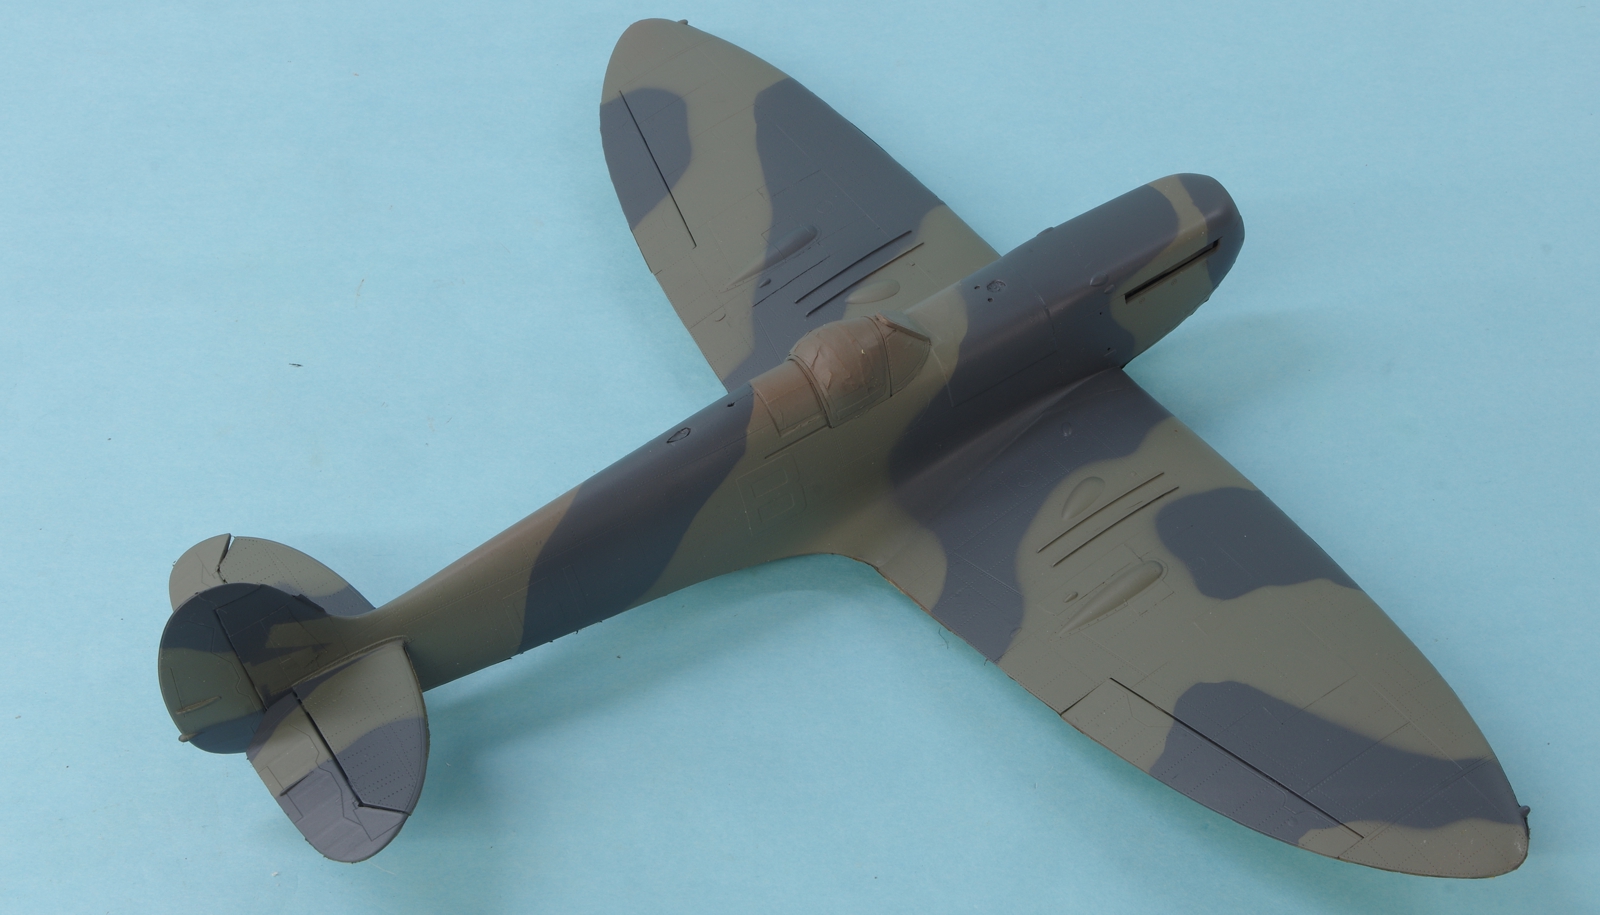
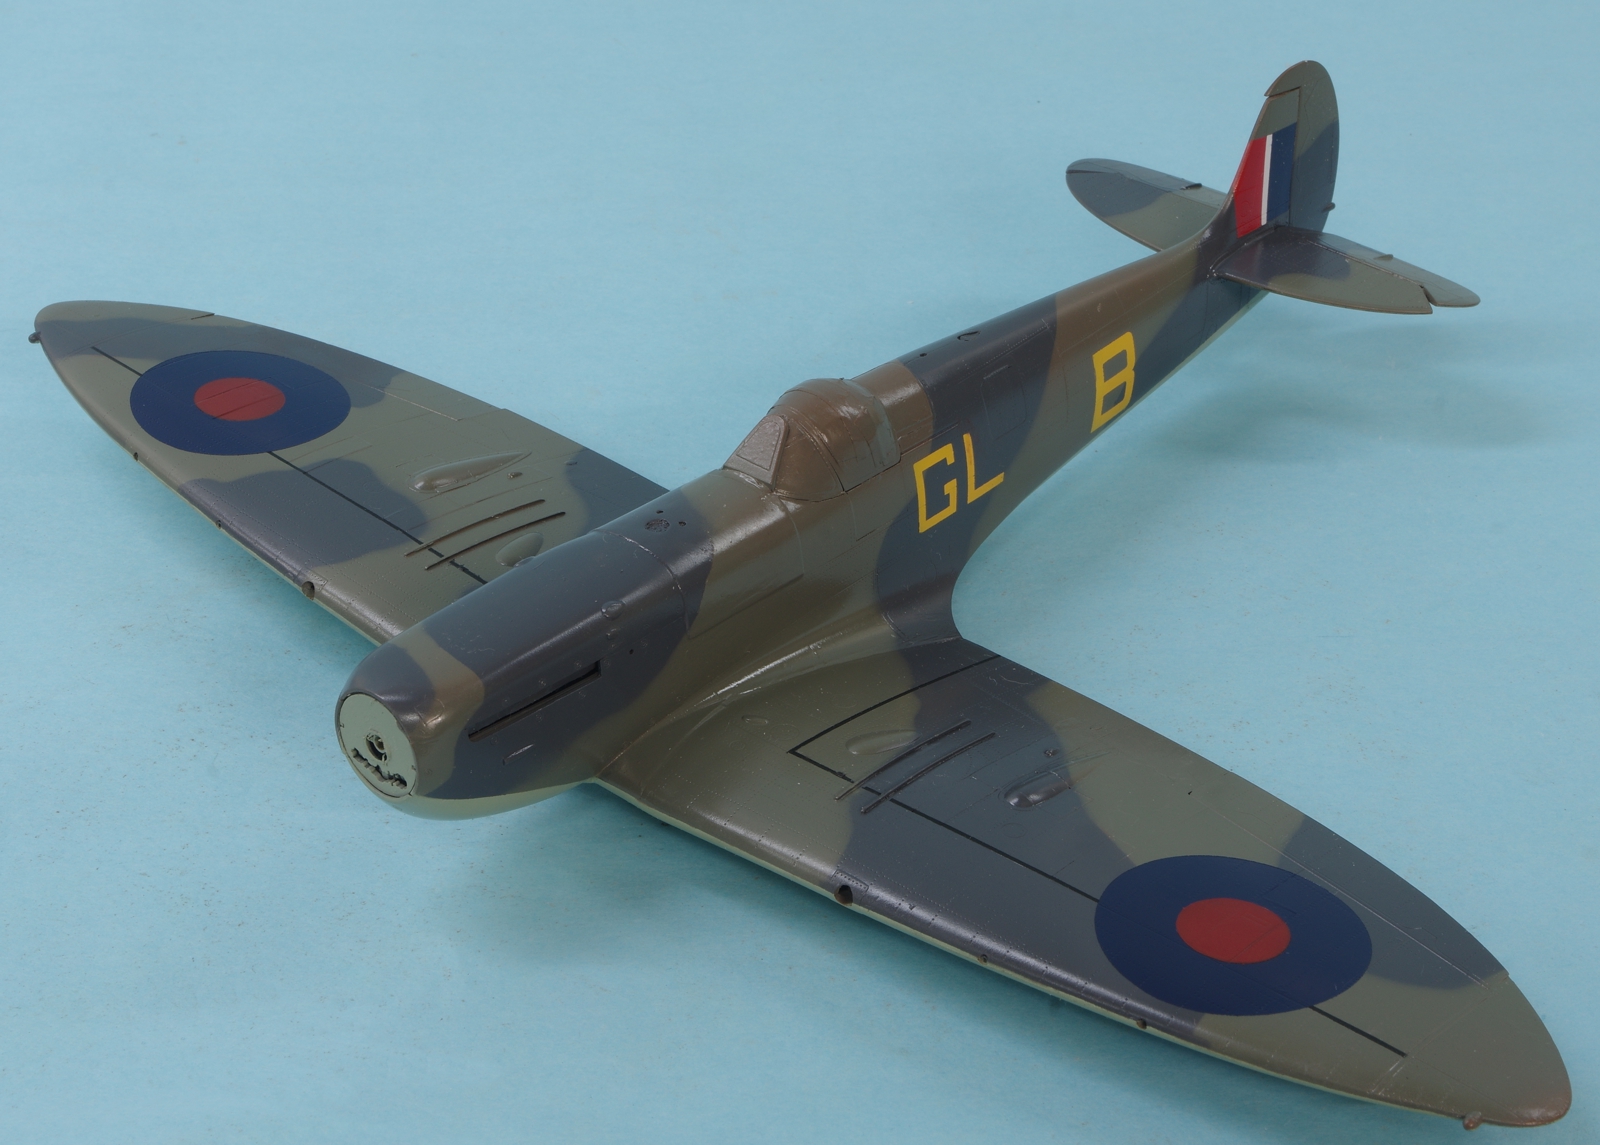
Not too happy about all this but progress resumes. The masking is still covering the fin flashes and fuselage codes and the bottom of the model. Tomorrow I will paint the upper wing roundels and then it is on to decals for the rest.
Ive been noticing slower deivery times John especially with USPS. I ordered something from Scale Hobbist on December 18th and just got it yesterday. 6 10oz bottles of paint and 2 bottles of micro sol.
That Dark Sea Grey looks just right. Especially considering the scale. I bet you’re just itching to pull the rest of that masking off… I sure would be!
Man I really hate it when that happens with the whole mail delivery issues that you’re having John. You’re managing to keep the workflow steady on it despite it all though. Coming along well my friend.
I’ve tracked a USPS package to roughly 10 miles from my house, the next morning it was 3 states away, then said package was three citys from my house but in the correct state but then it was in the middle of the state above me. USPS and FedEx are just plain dumb.
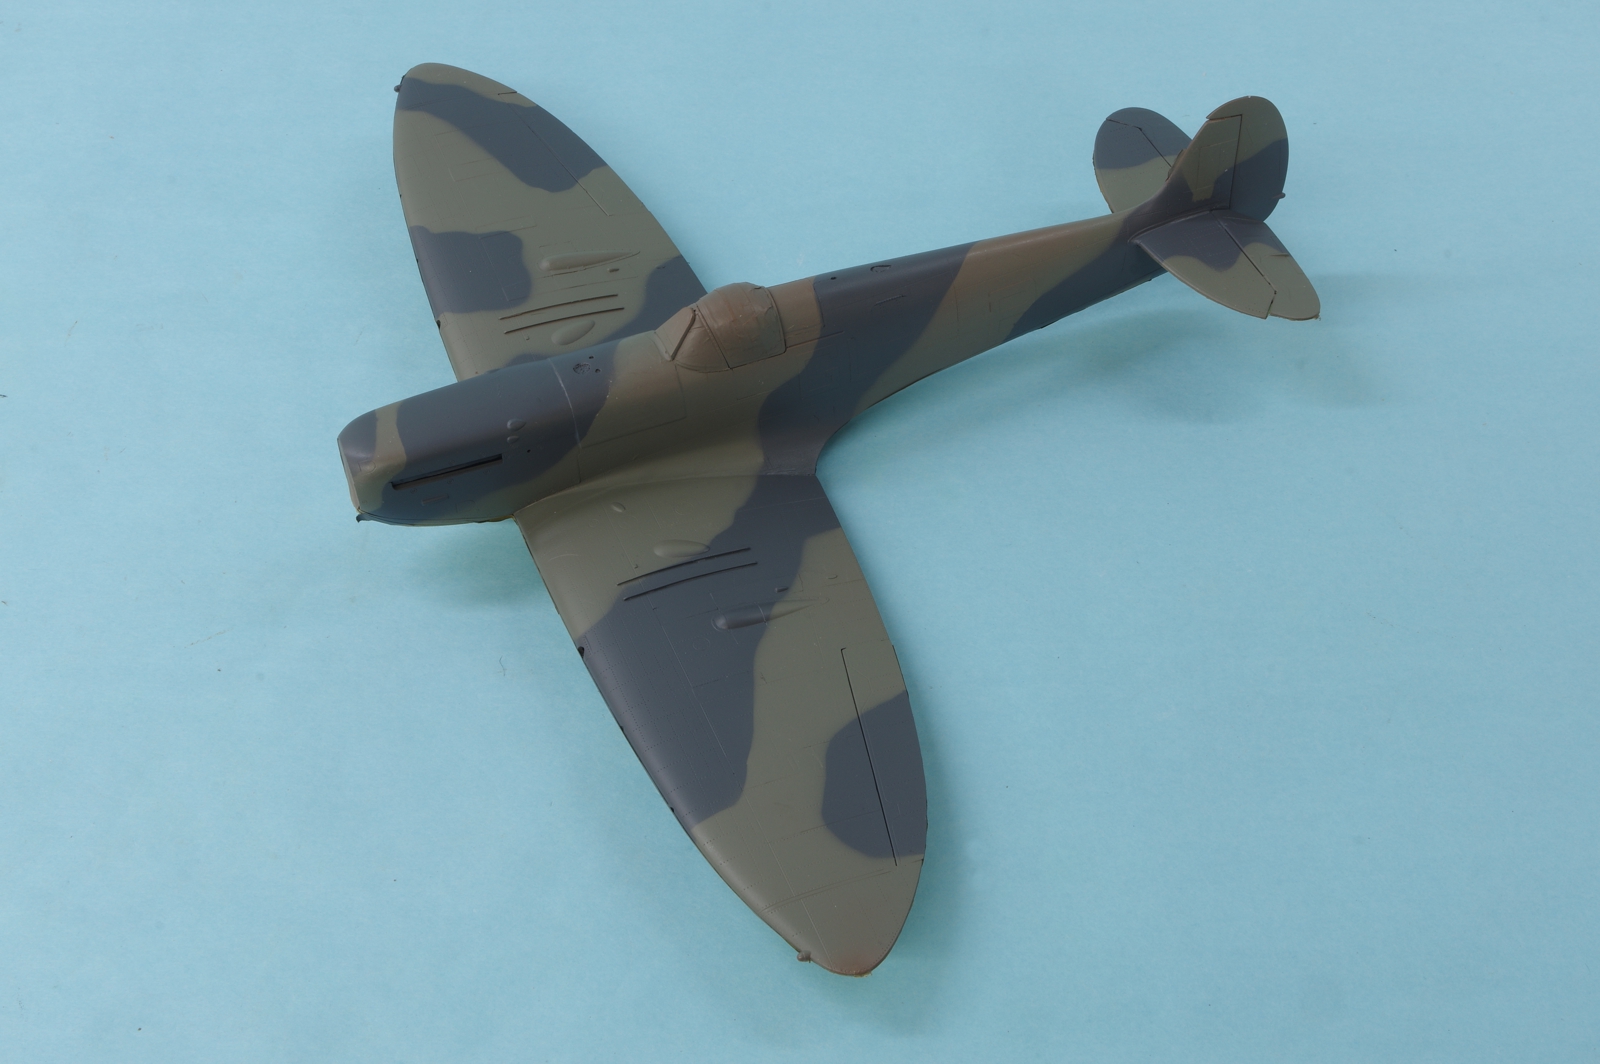
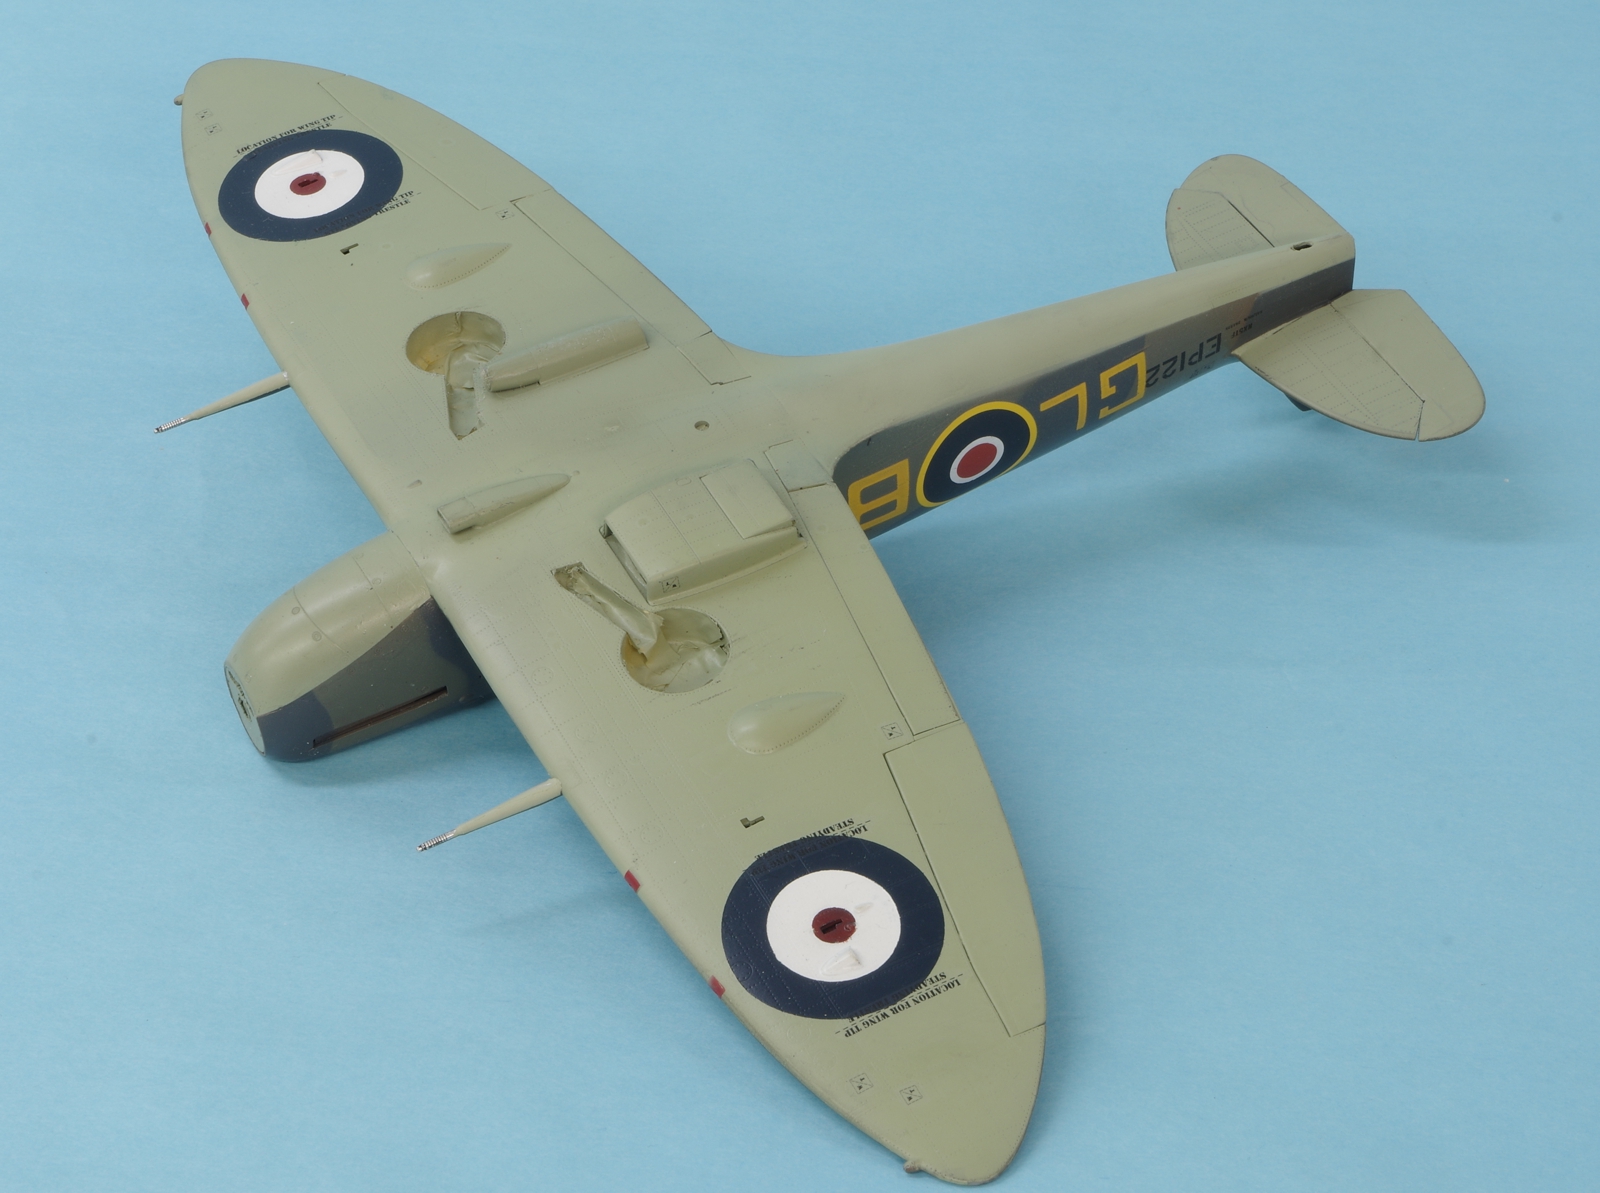
Did a little detail touch up (where did that hair come from!) and painted on the wing walks. Made some masks to paint the wing roundels top and bottom instead of decals. The Hobby Boss decals are all out of register and the lower roundel type is not included in the Eagle Strike set I have.
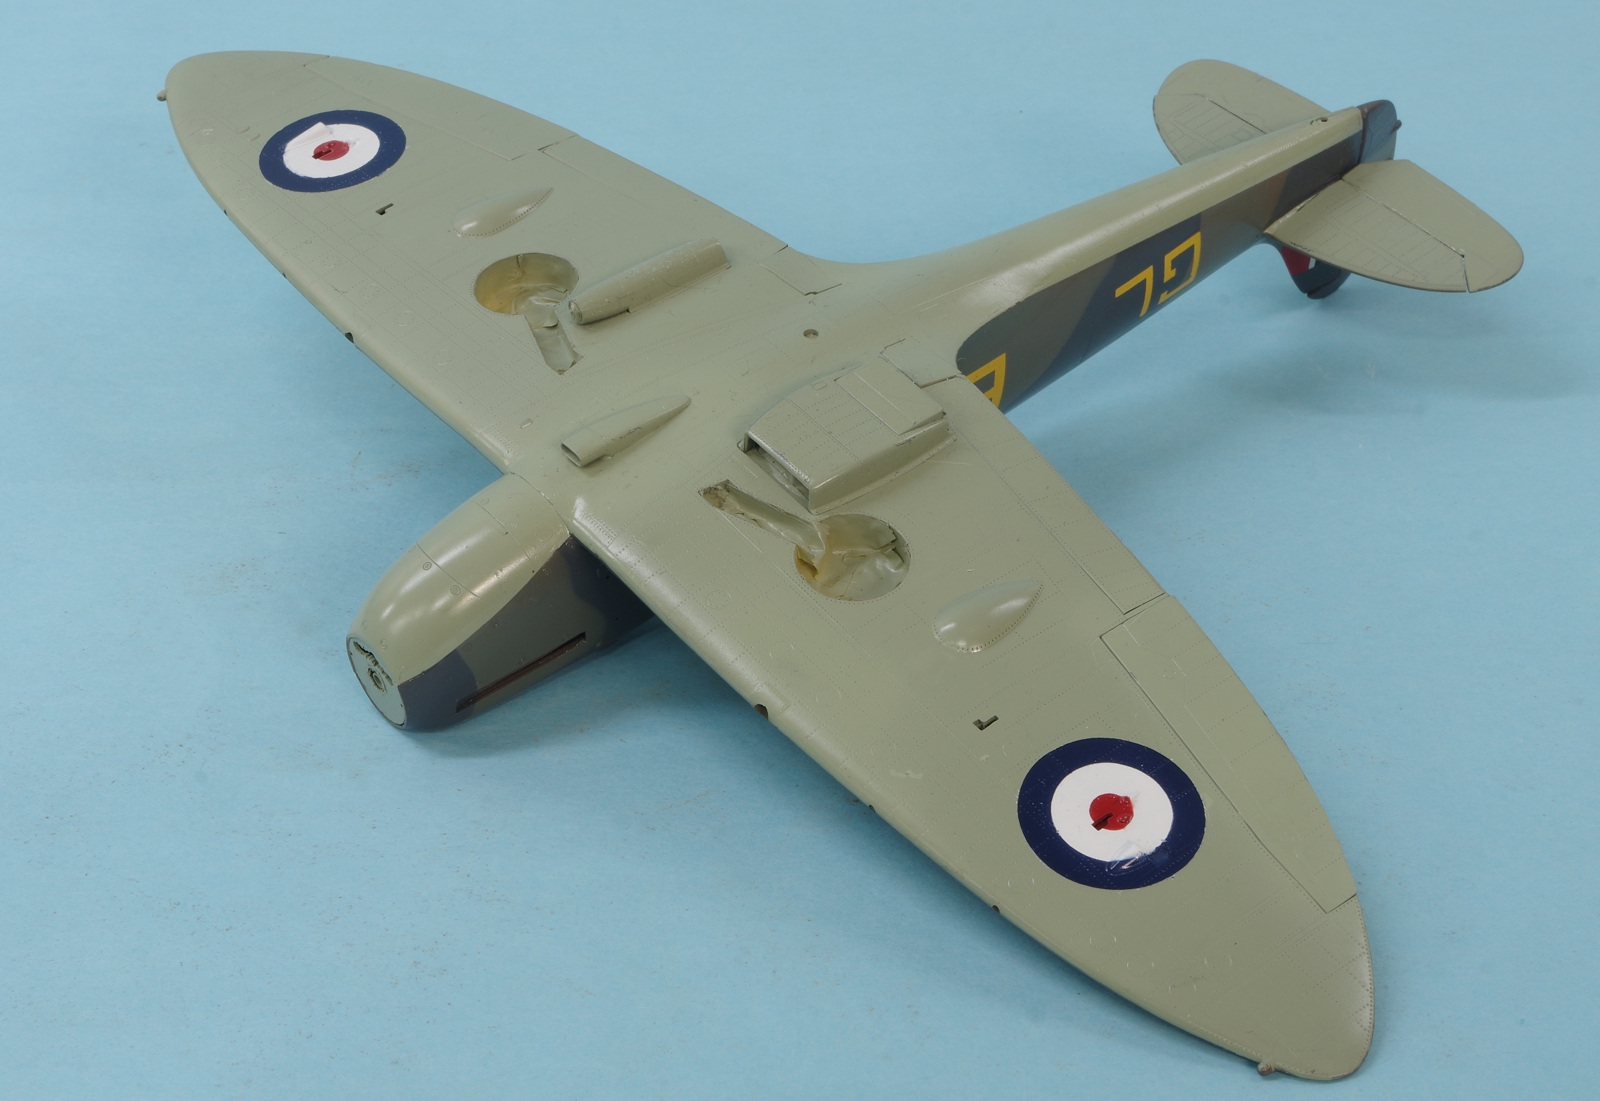
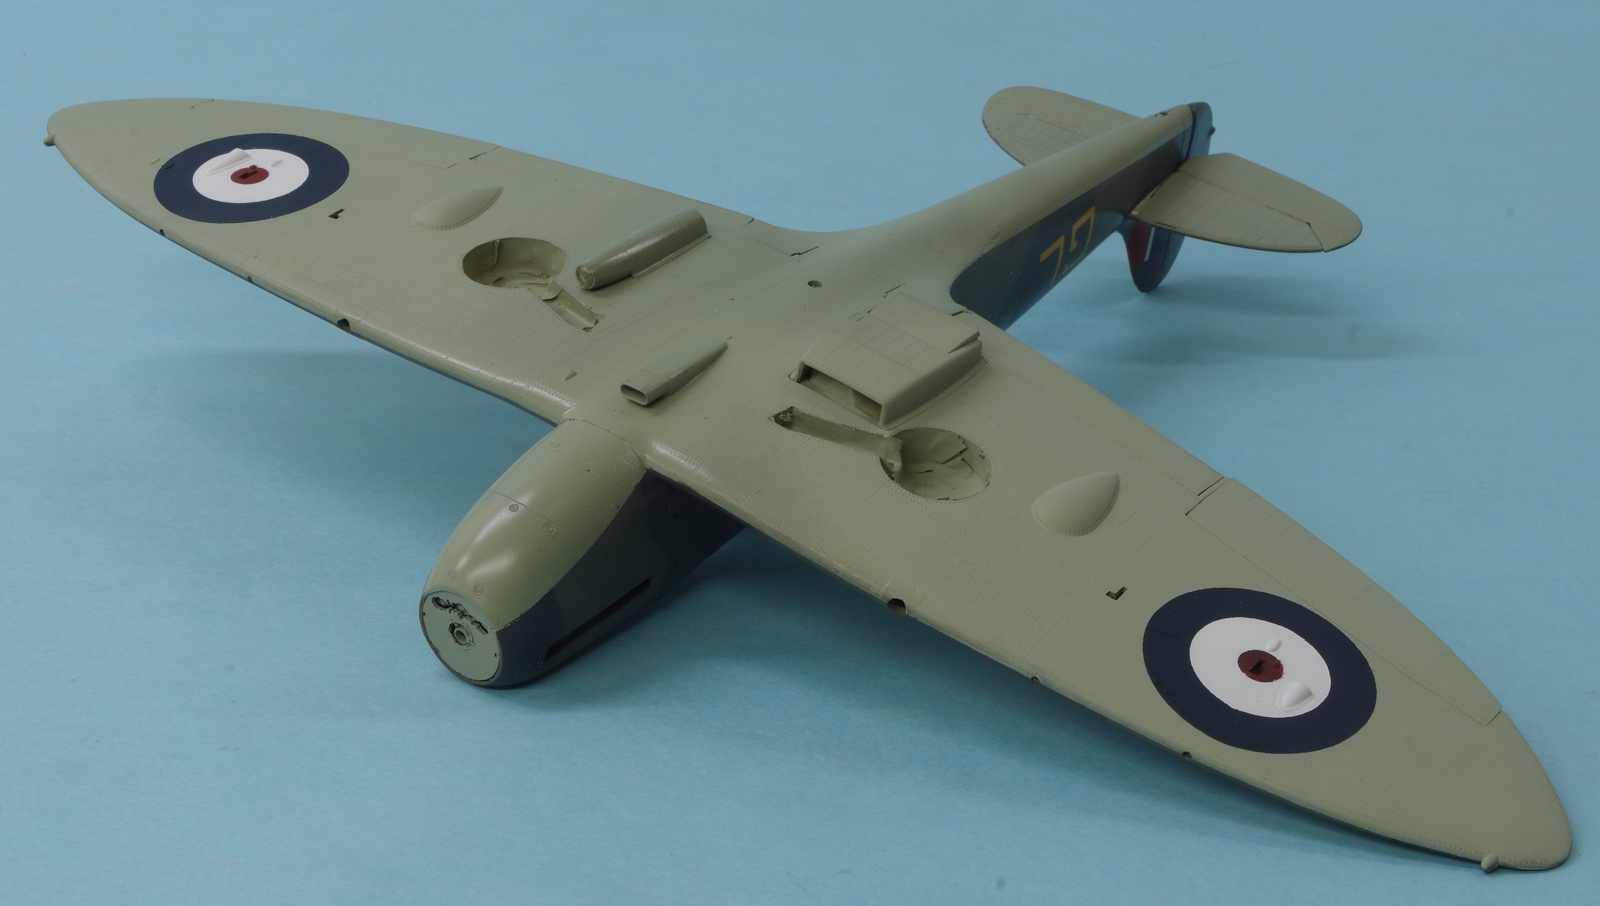
A little more progress, the roundels are on the wings. Still some clean up to do on the bottom insignia. Difficult to mask because of all the lumps and bumps on lines where colors change. Getting a decal to fit well looked like
a bad bet. A little more fun was had because the MRP colors I am using for British insignia are pretty hot and didn’t play as well as I like with the Tamiya Acrylic white.
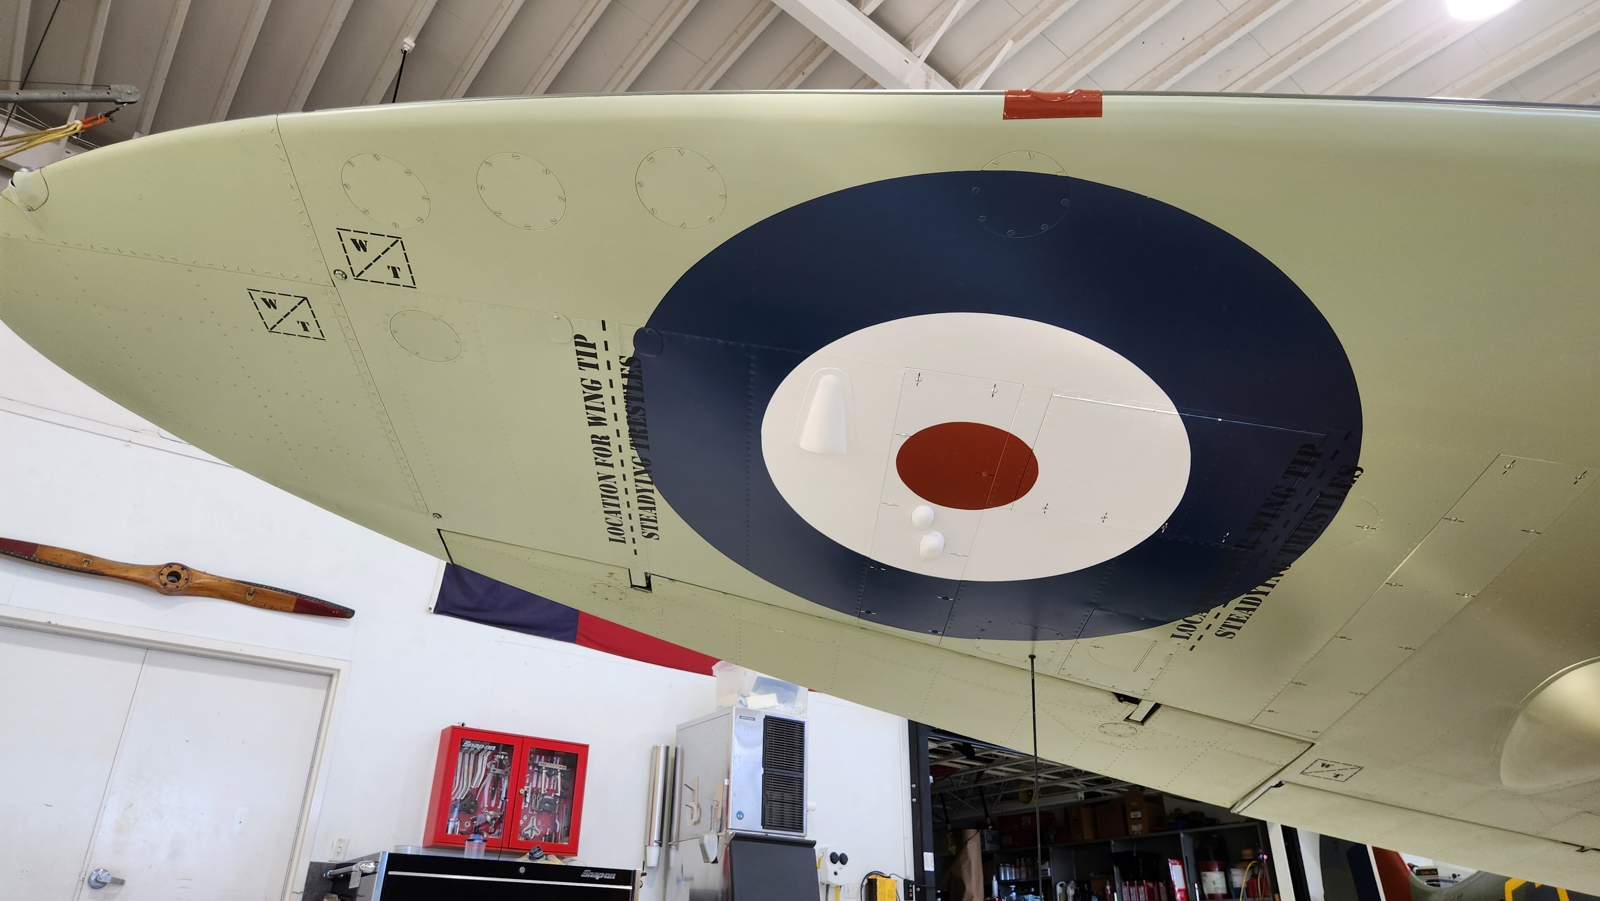
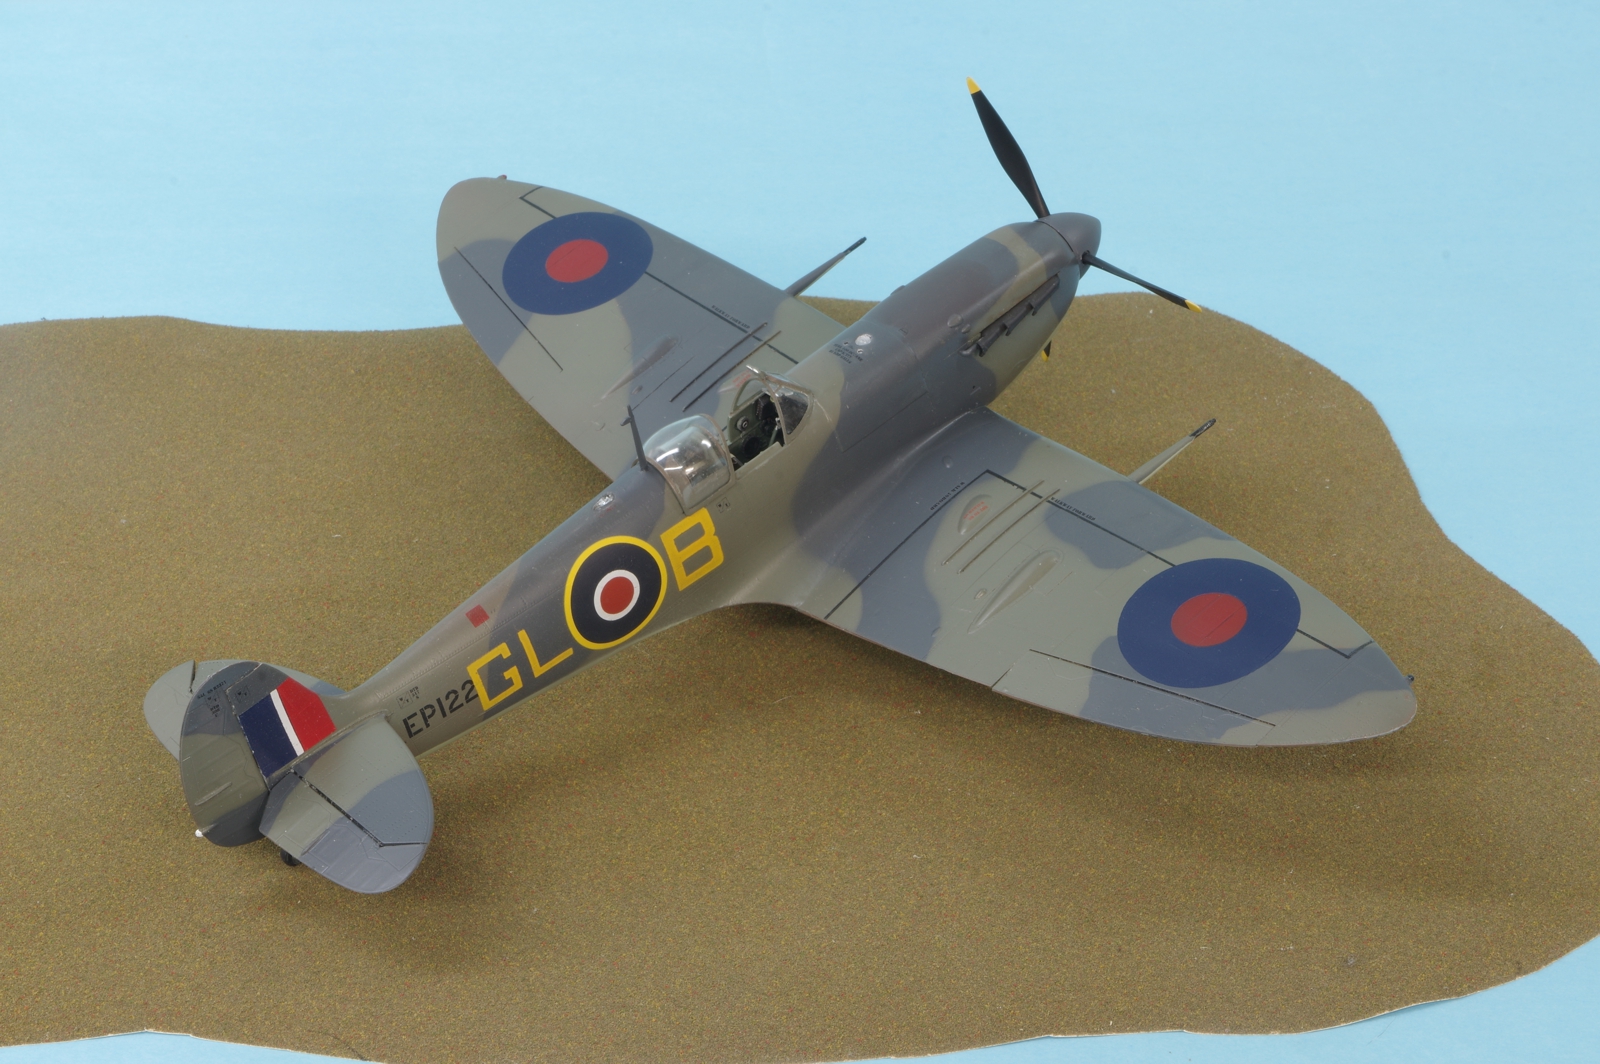
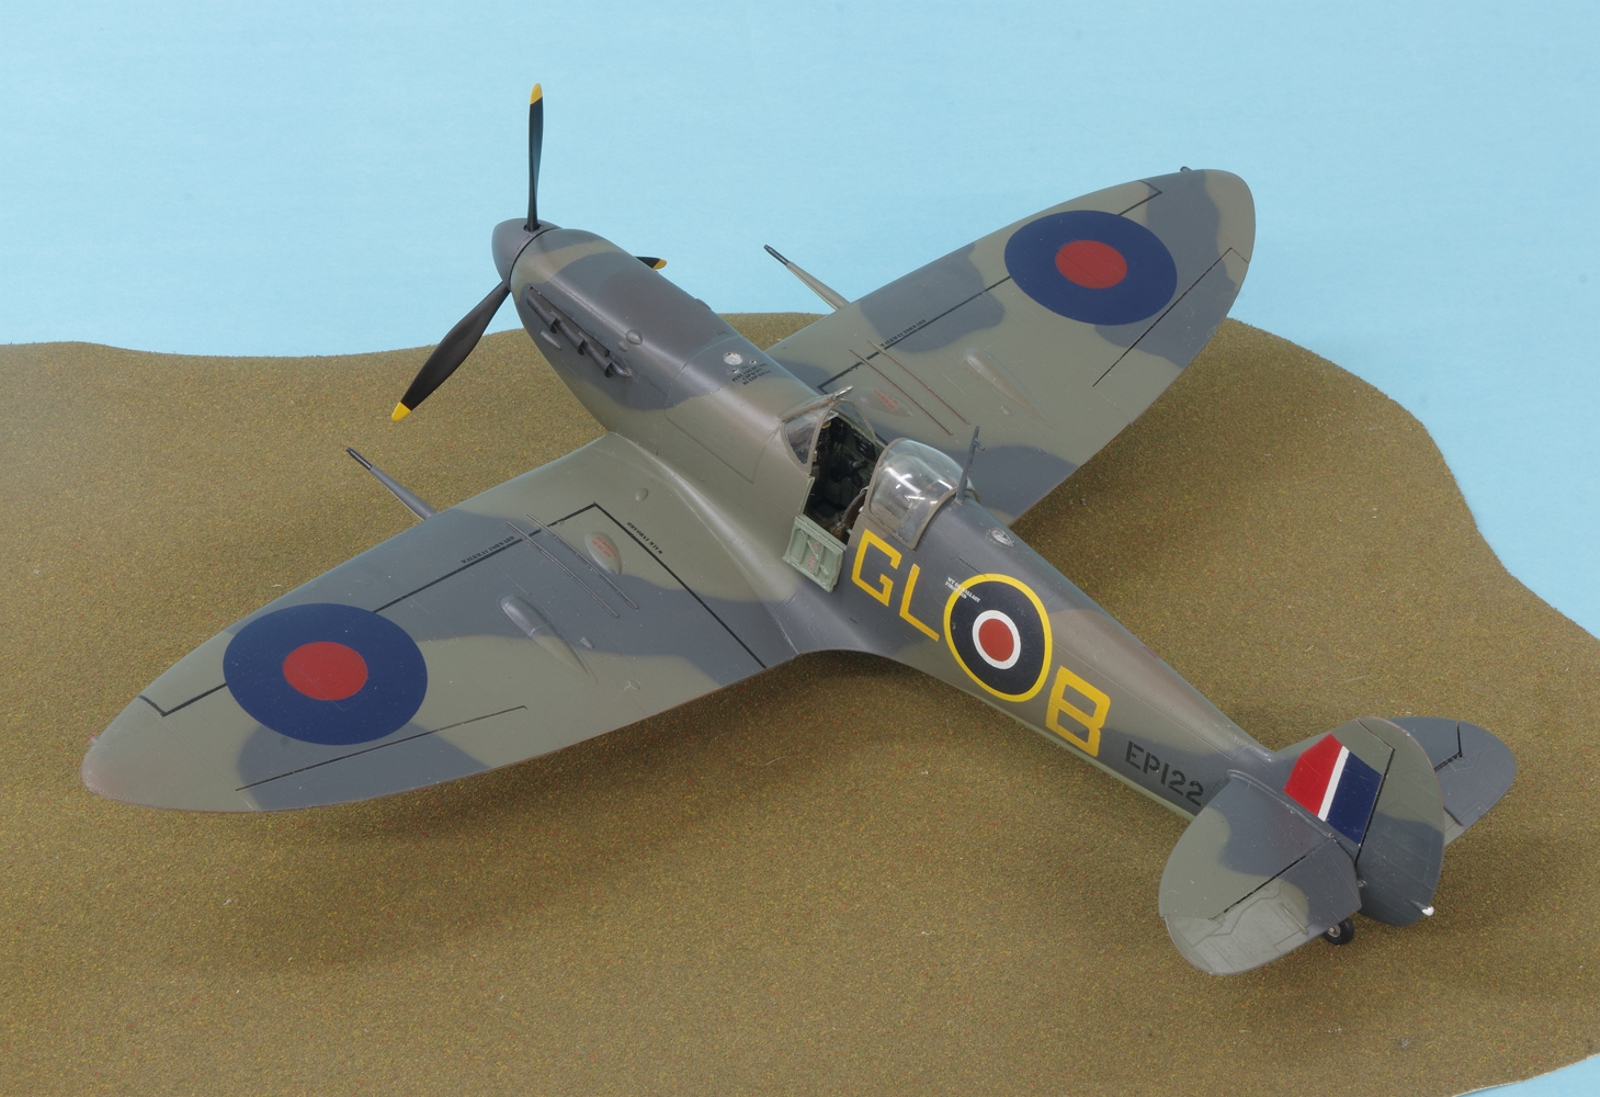
Topside roundels went well. I noticed that there is another wing walk line at the tip joining the one already there and going forward when studying a close-up of the upper wing roundel area. Haven’t seen that done before.
In revisiting the bottom roundels I realized my pattern was too small, the result of using Eagle Strike decals for the sizing. I looked at the decals from the Kotare Mk Va and they looked spot on. The paint in the roundel area was removed down to bare plastic using Mr Color Leveling Thinner and the painting process was repeated. I did it in the order of red, blue, and white using Tamiya paints throughout as I am not pleased with the MRP paints in combination with Tamiya. The Tamiya paints had to be mixed. The red is Tamiya Flat Red 75% and 25% Tamiya Nato Brown, the Blue is Tamiya Flat Blue with about 5% Tamiya Flat Black.
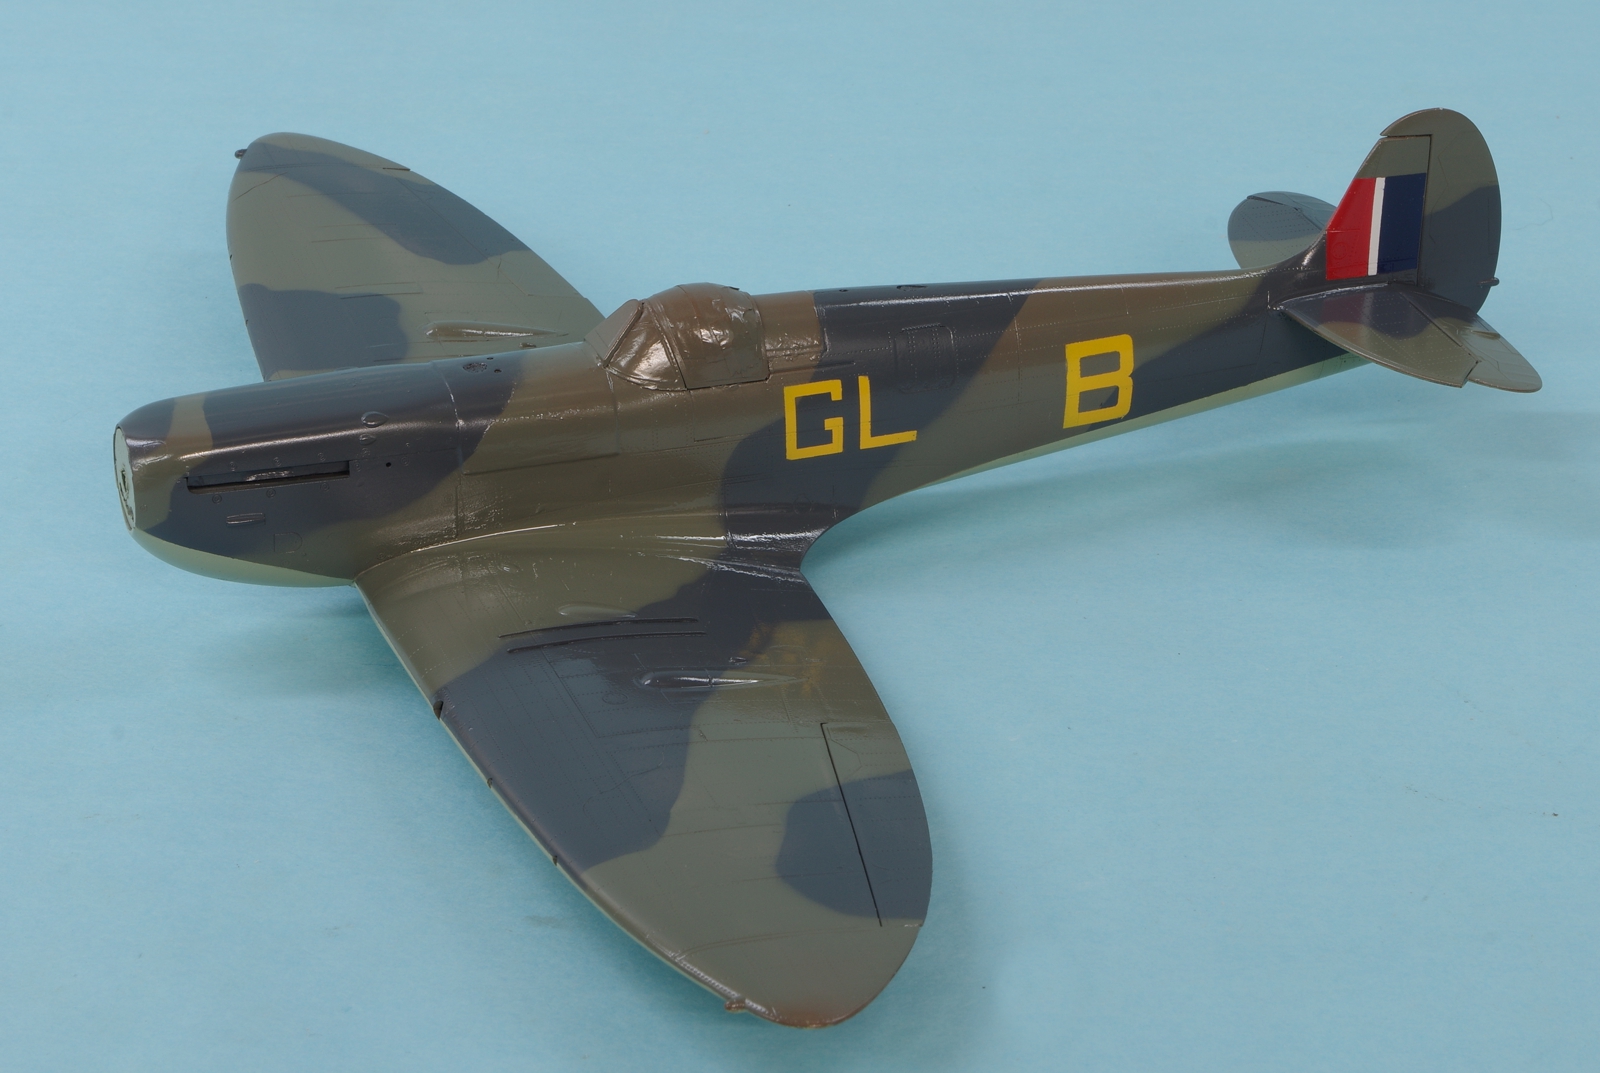
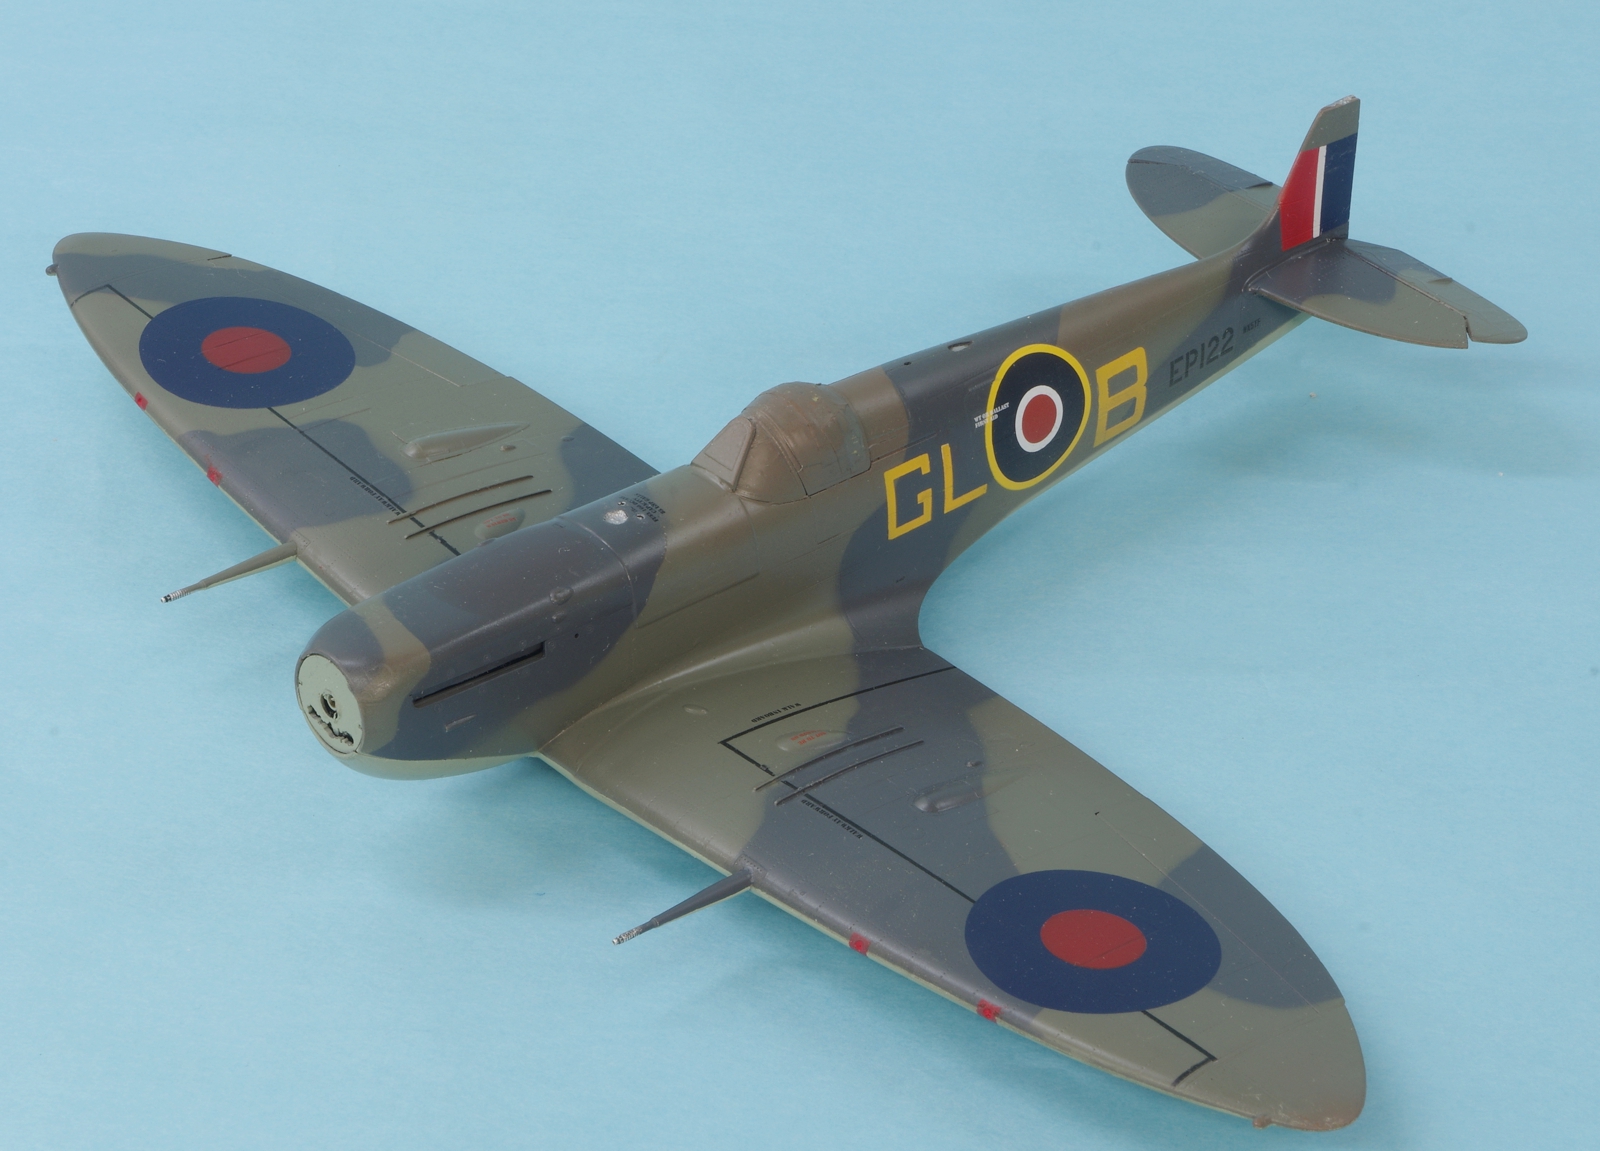
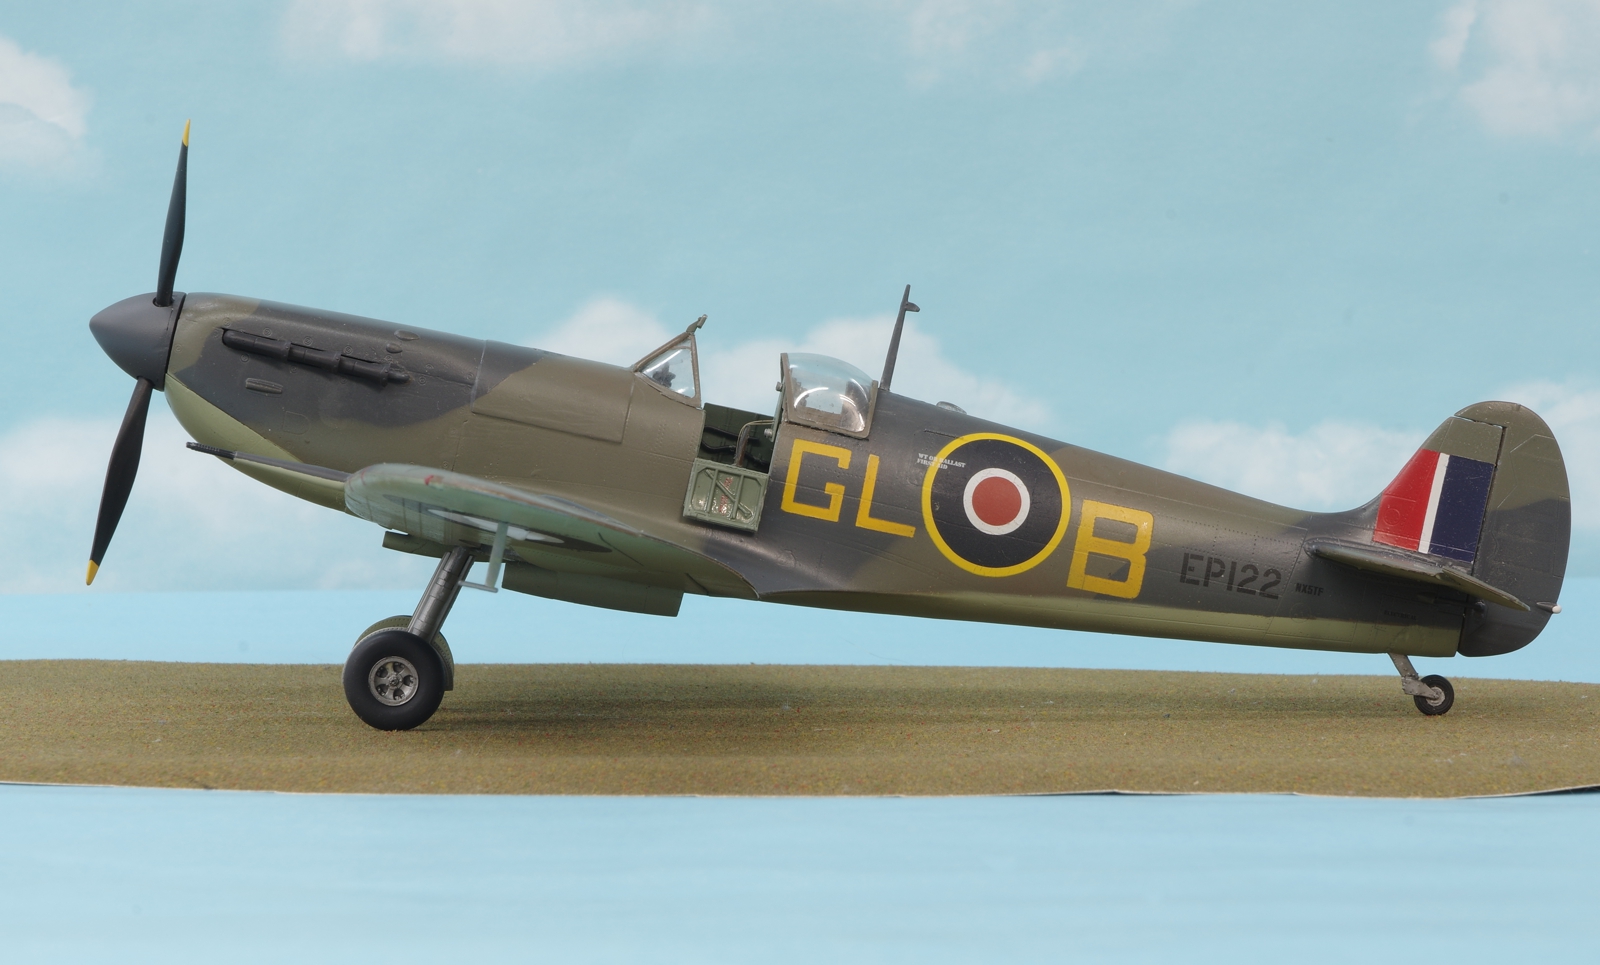
The decals are on. There aren’t that many but almost every one was slightly different than any kit decals so they needed to be drawn and printed. I used an Eagle Strike decal for the fuselage roundel. It was a 3 part decal and every layer needed several applications of Walthers Solvaset to settle down, I was reluctant to paint it because of that narrow yellow section. An example of different were the walk way decals on the wing. All the kit decals say “walk forward”, but these needed to be “walkway forward”. I resprayed the lower rear fuselage to get a softer demarcation between the side and slower colors. The model has been over coated with Alclad II Matt Clear. The rudder glue joint didn’t seem very secure as it was just a butt joint so the parts have been drilled and brass pins have been made.
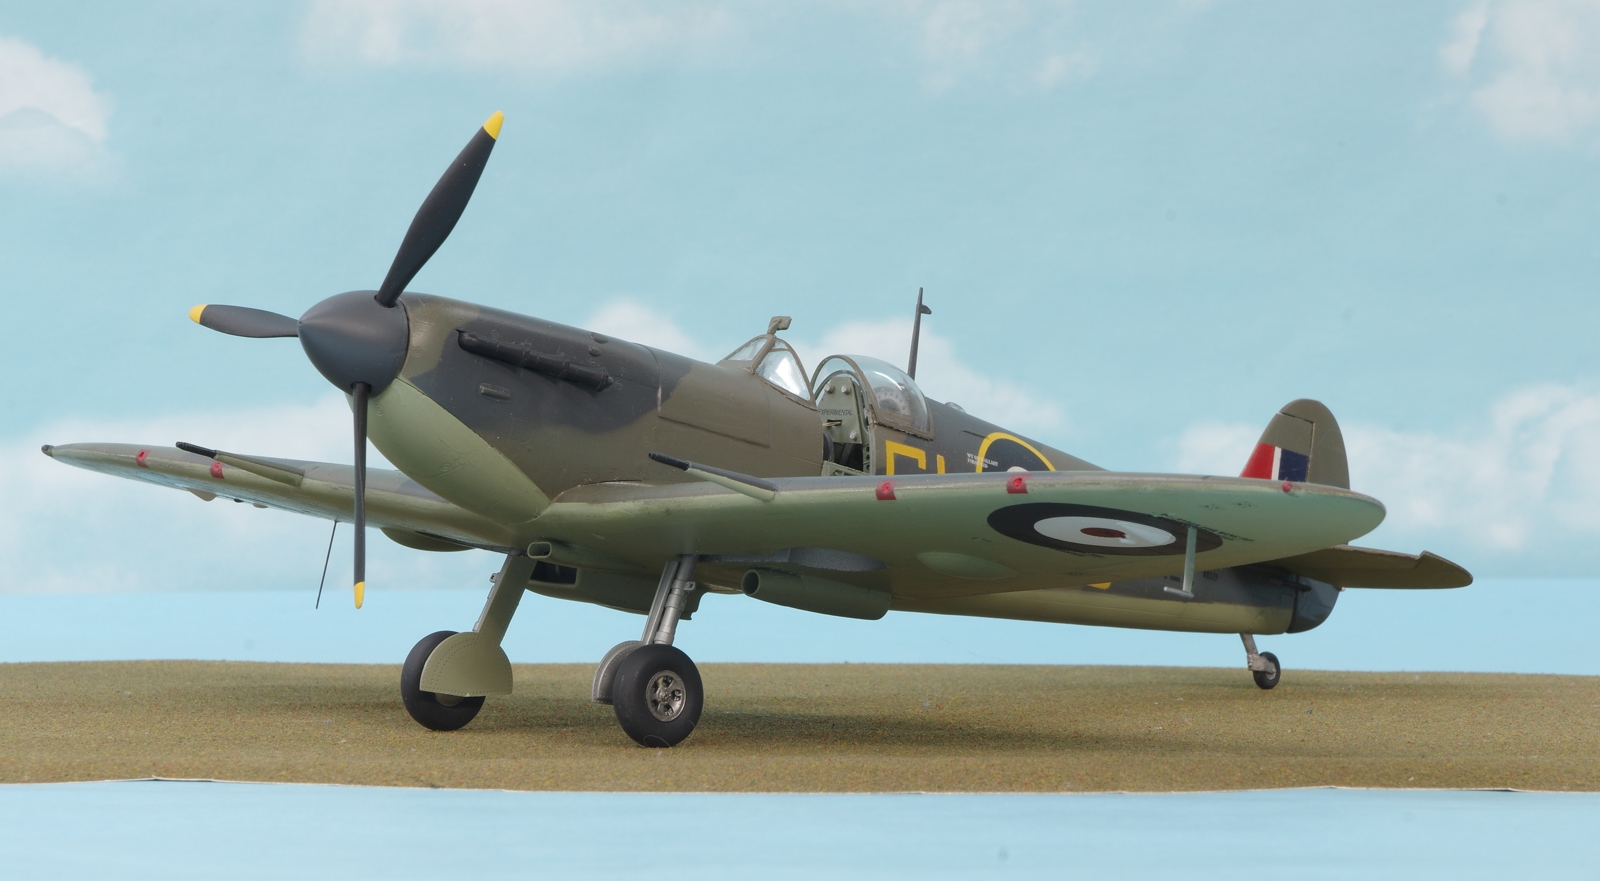
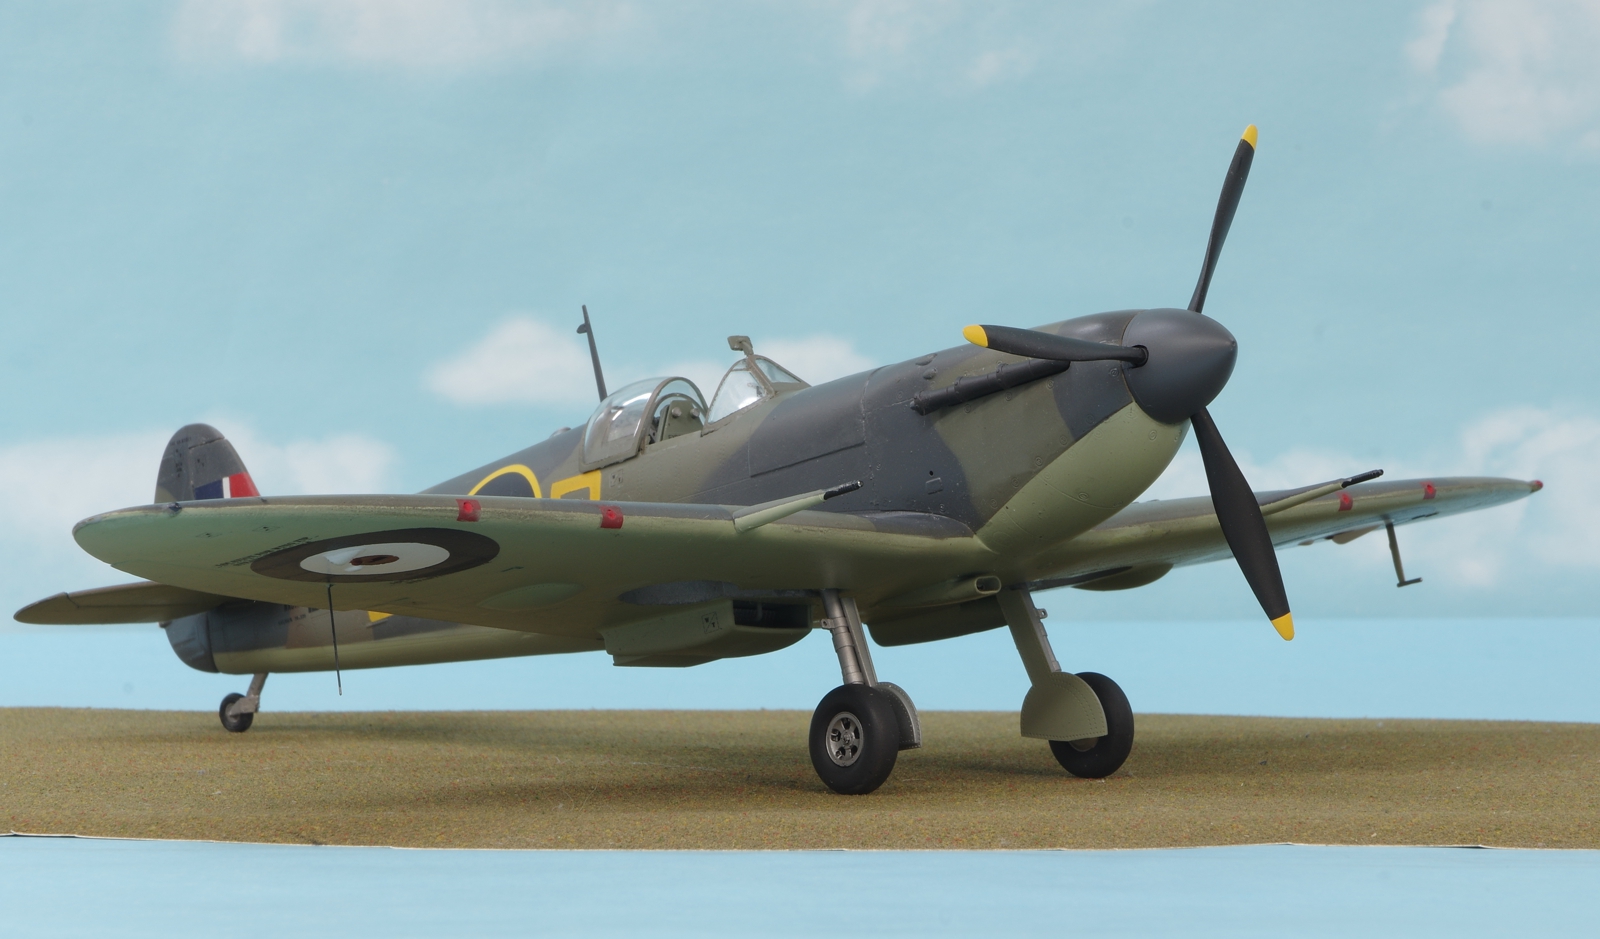
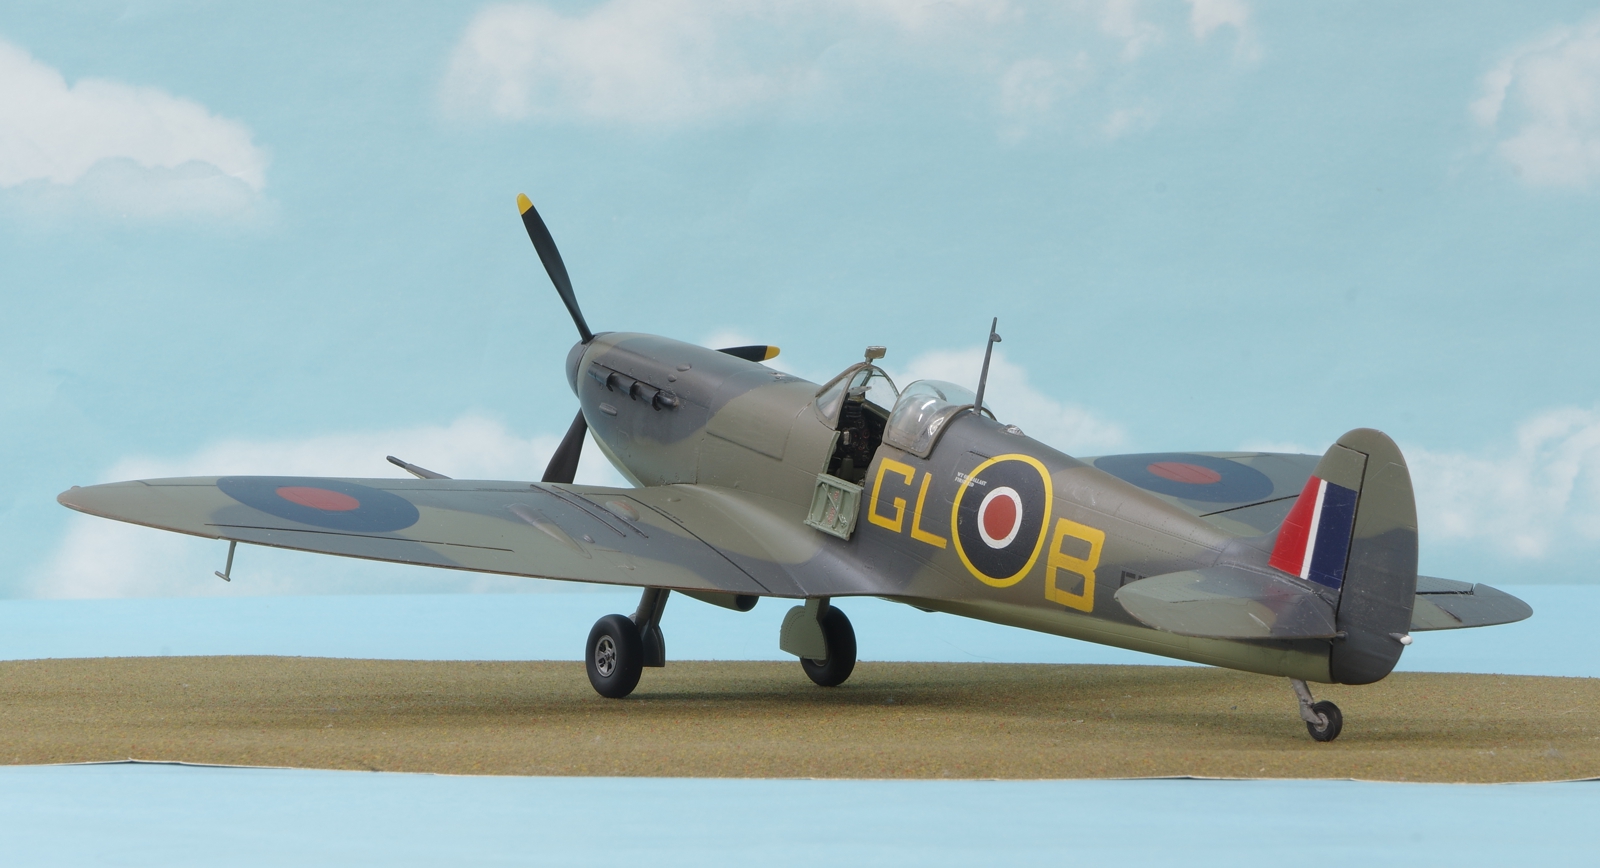
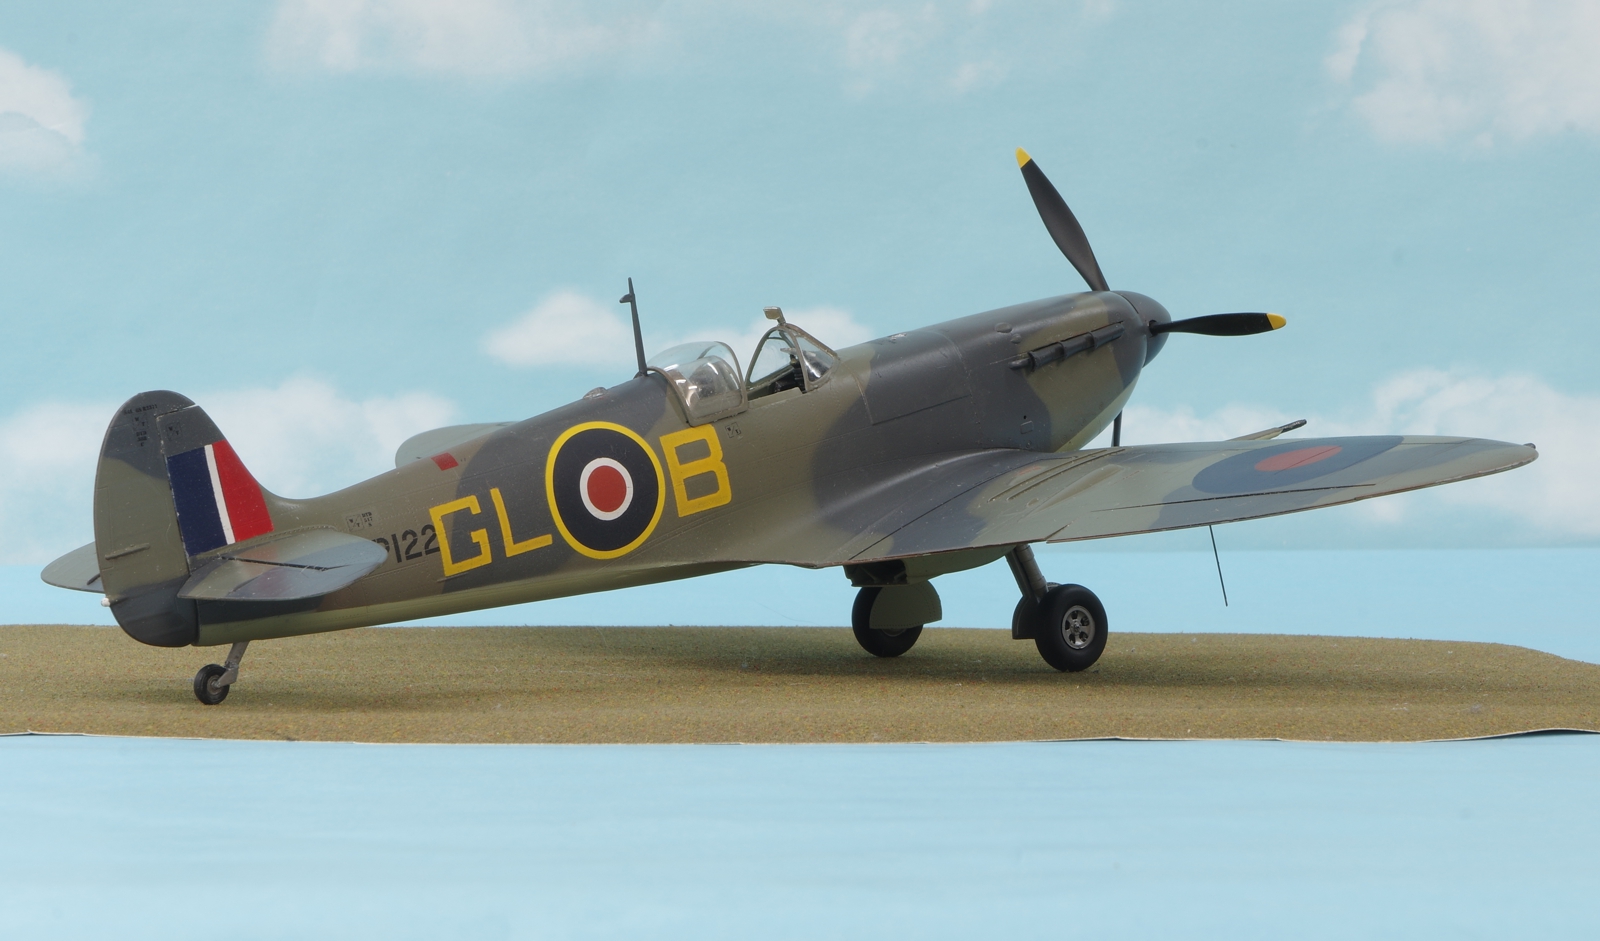
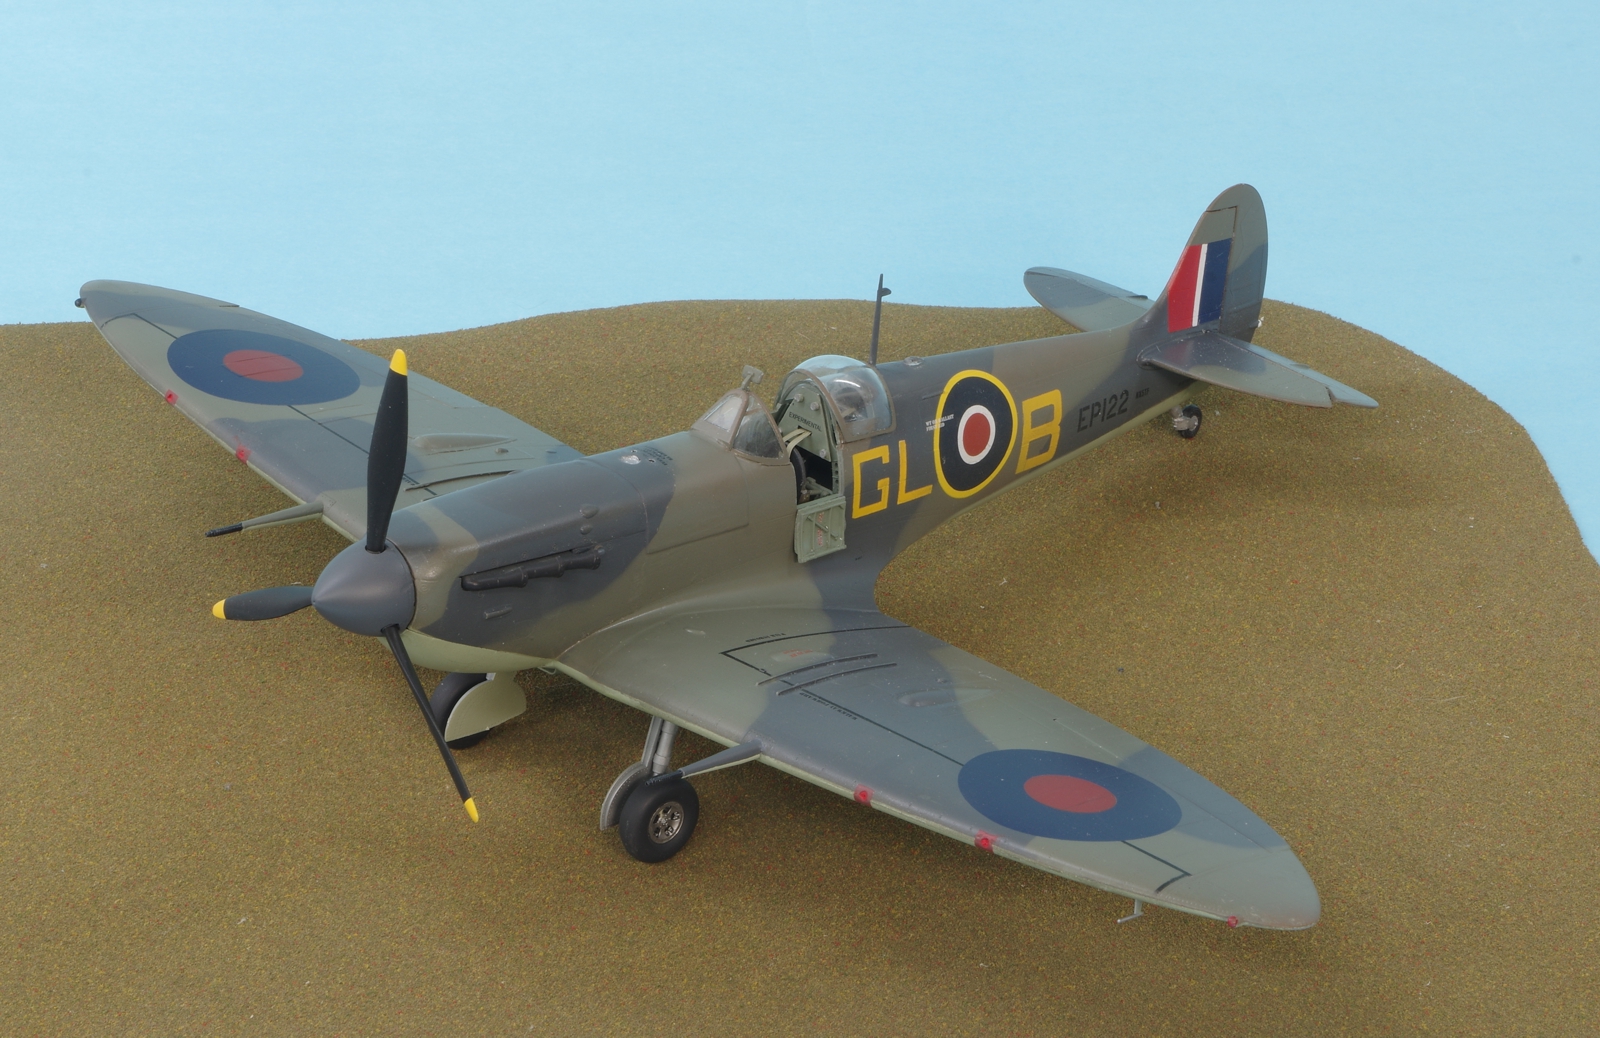
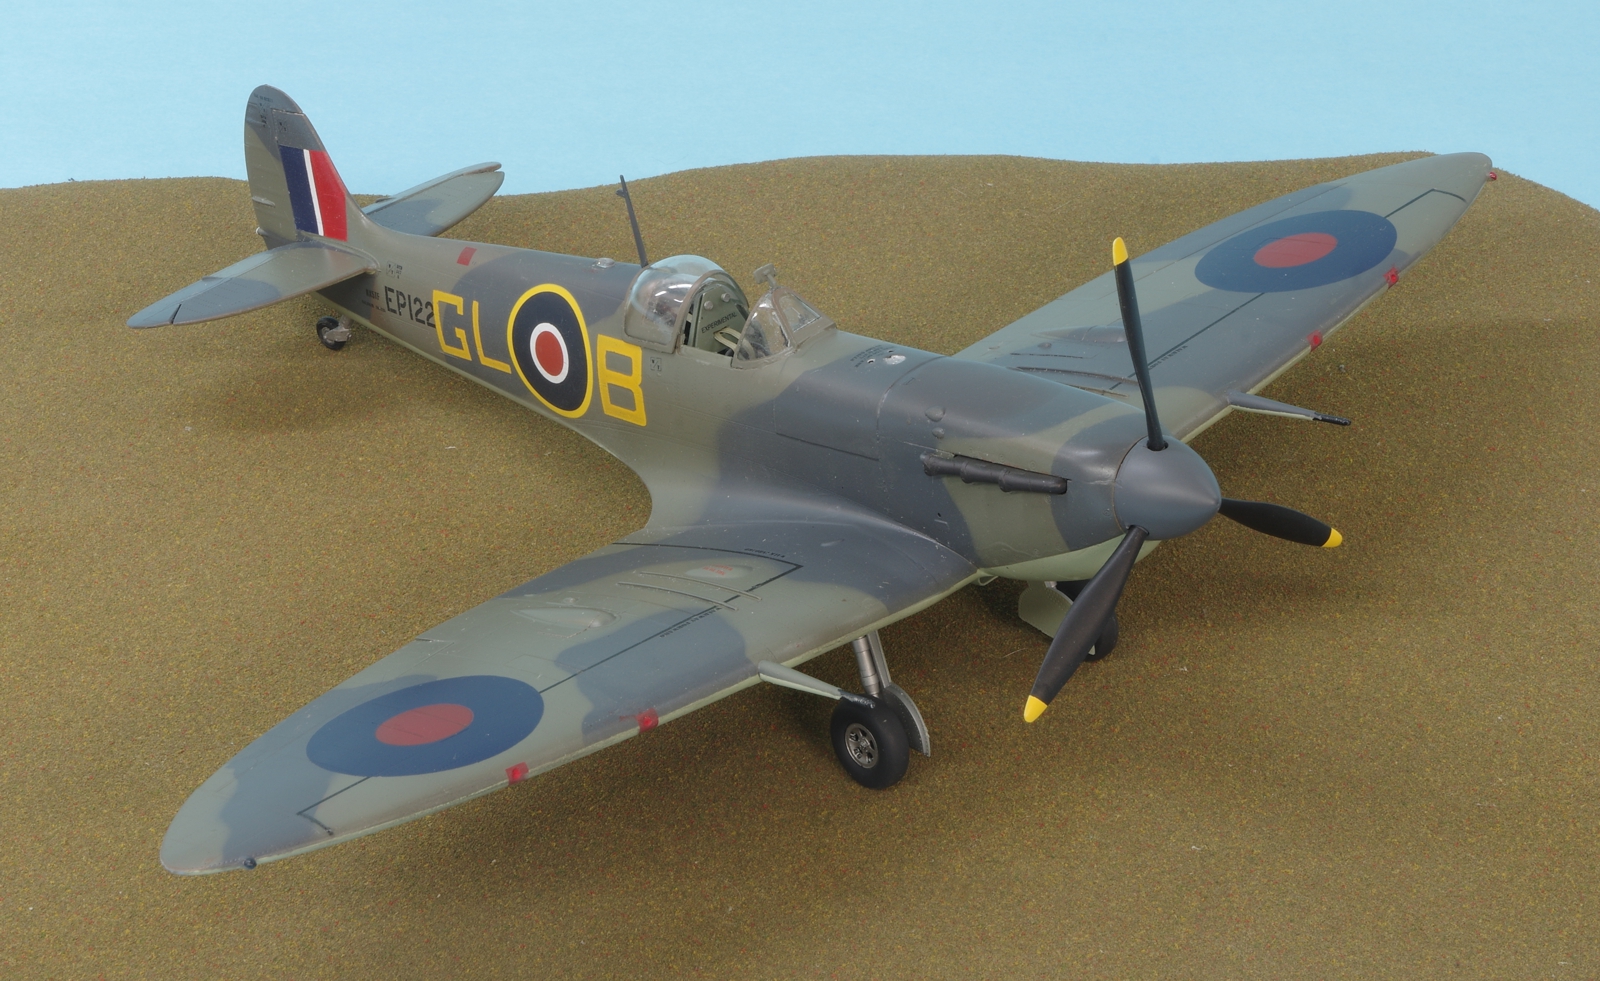
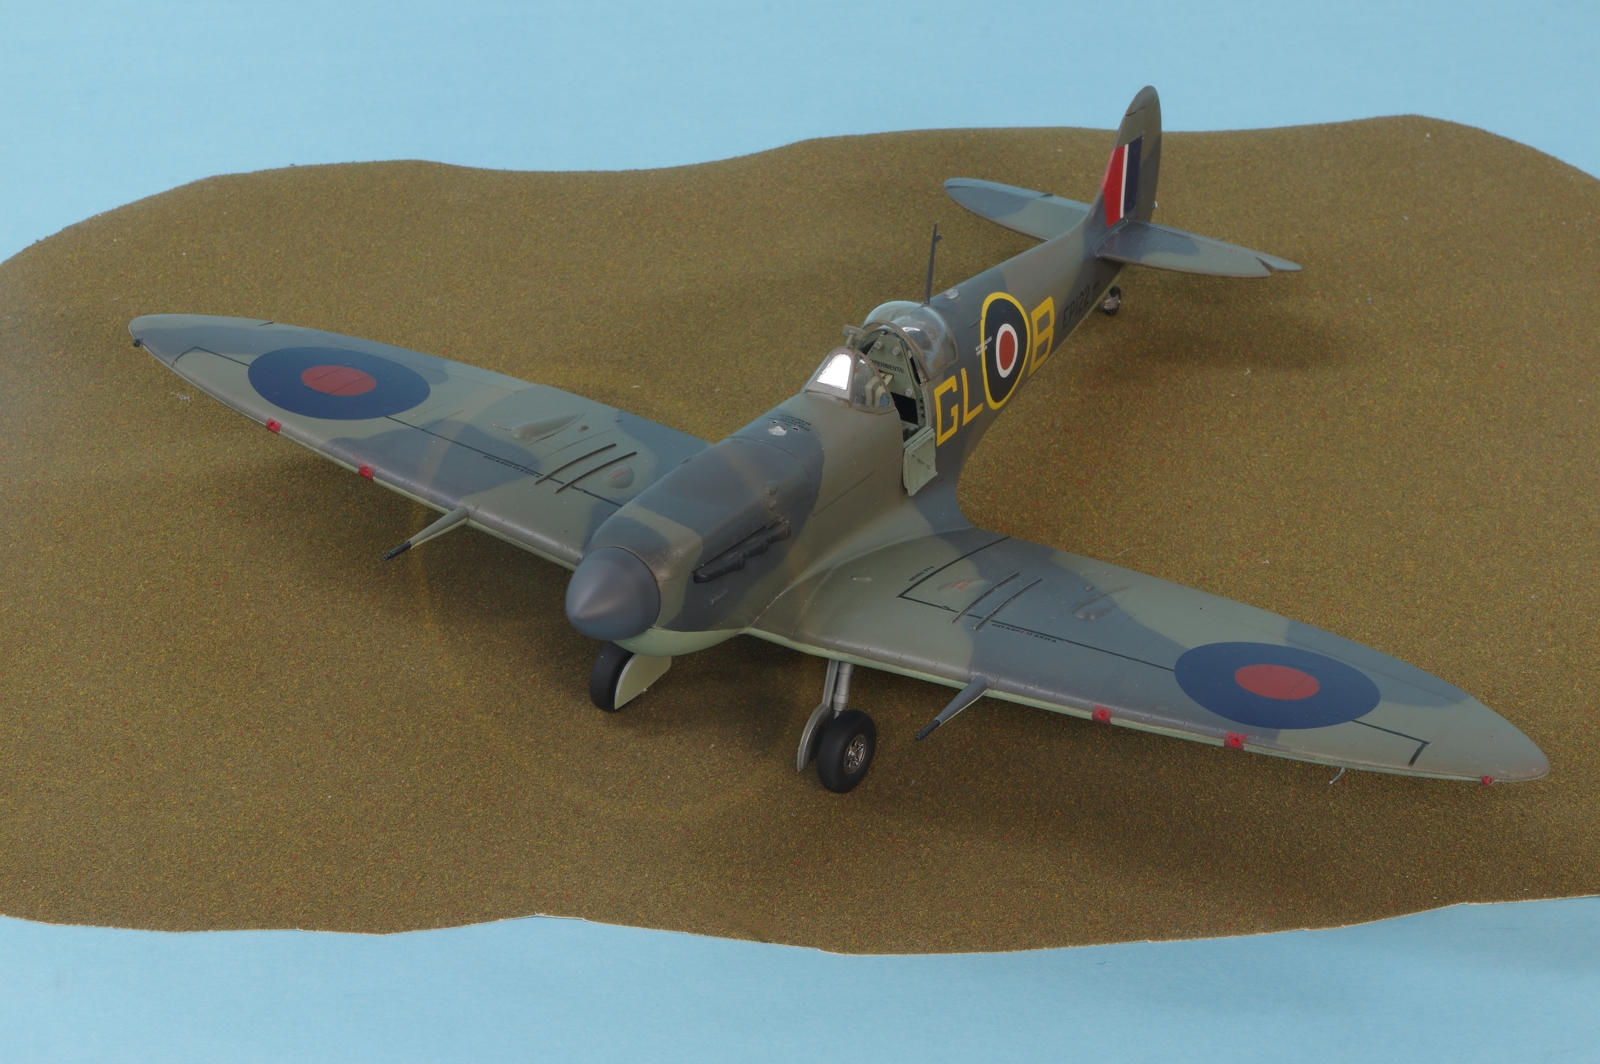
I’m at that point where I’m sure I have missed something but will call it complete. The last additions were the pitot tube, upper aerial, spine light, decal on the door saying be sure it’s locked, and a whip antenna under the right wing. As you can see the door and canopy are in the open position now. And the landing gear is there.
The colors are Gunze Mr Color C333 Extra Dark Sea Grey, Model Master Dark Slate Grey, and Tamiya Sky. The GL B codes are MRP Roundel Yellow, and the fin flash colors are Model Master flat white, MRP Roundel Red and Blue. UThe lower roundels were painted with Tamiya mixes for the blue and red as the MRP paints were reacting with Tamiya flat white. The final overcoat was with Alclad II Clear Matte. All but a very few of the decals were drawn in Corel Draw and printed with an ALPS MD1000. The fuselage roundel is from an Eagle Strike decal sheet and was a 3 part affair that worked well in the end but wasn’t any fun.
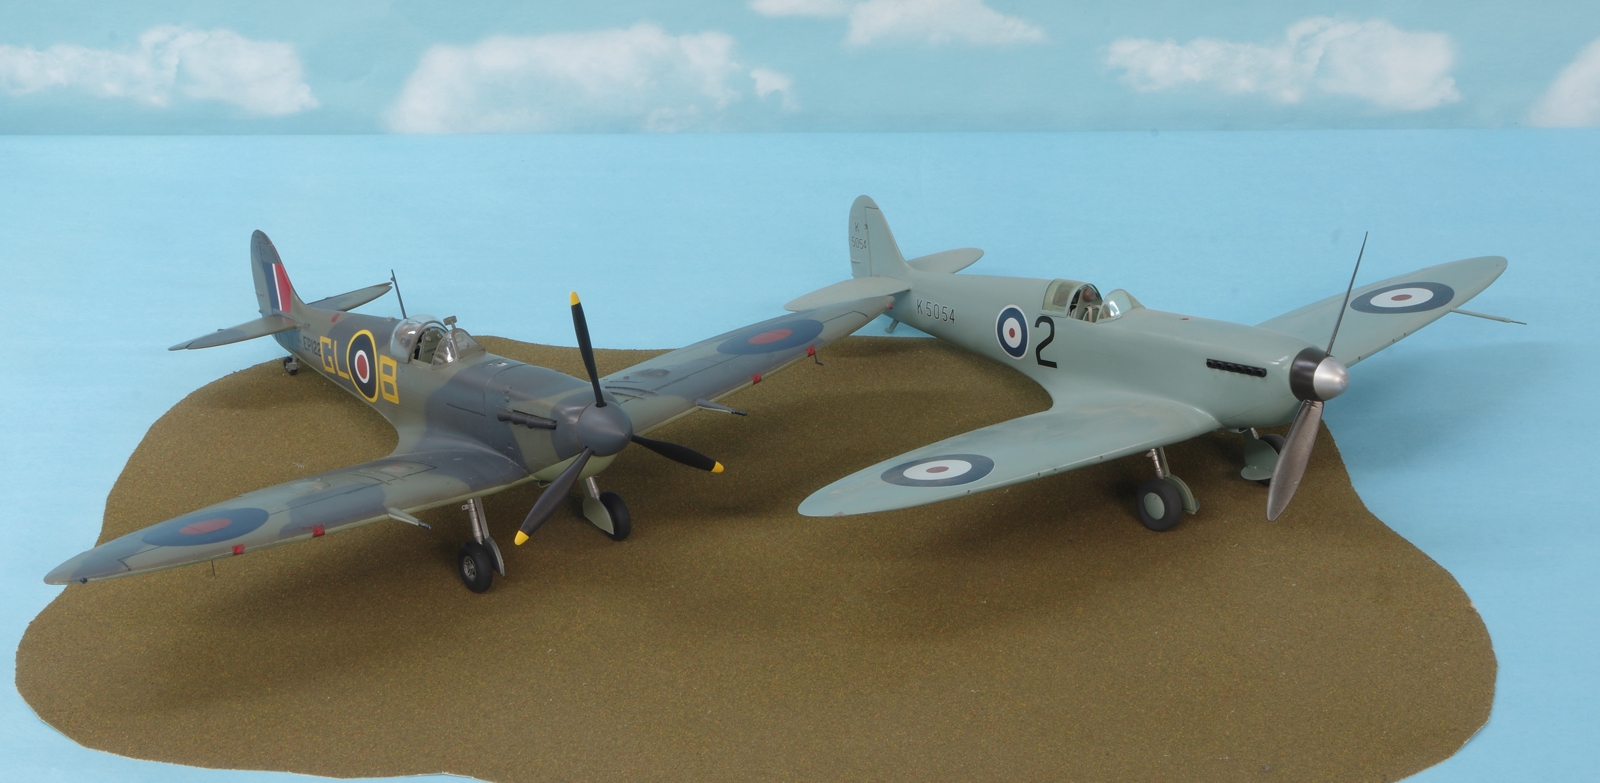
The last photo is with K5054, the prototype Spitfire as it was in the Hendon New Type Parks in 1936.