Good afternoon everyone, hope you’re all enjoying the last weeks of summer! I can’t believe it’s almost September already D:
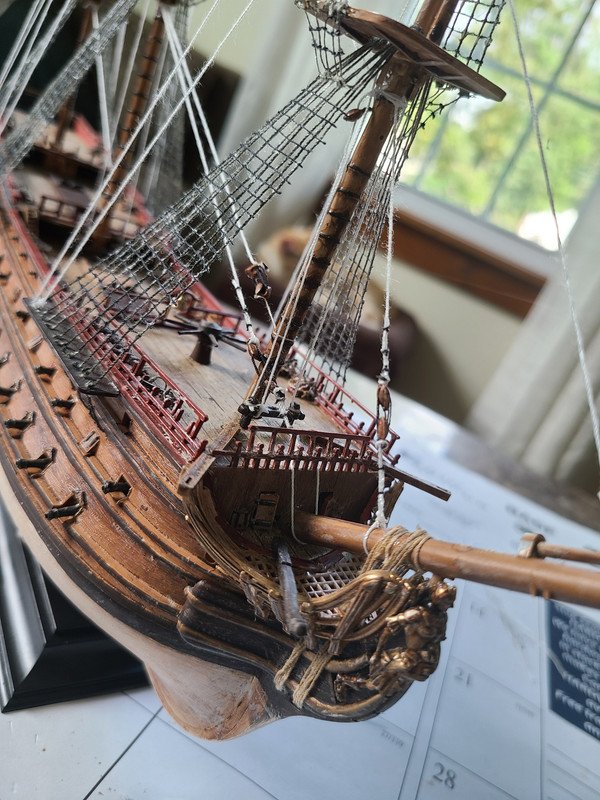
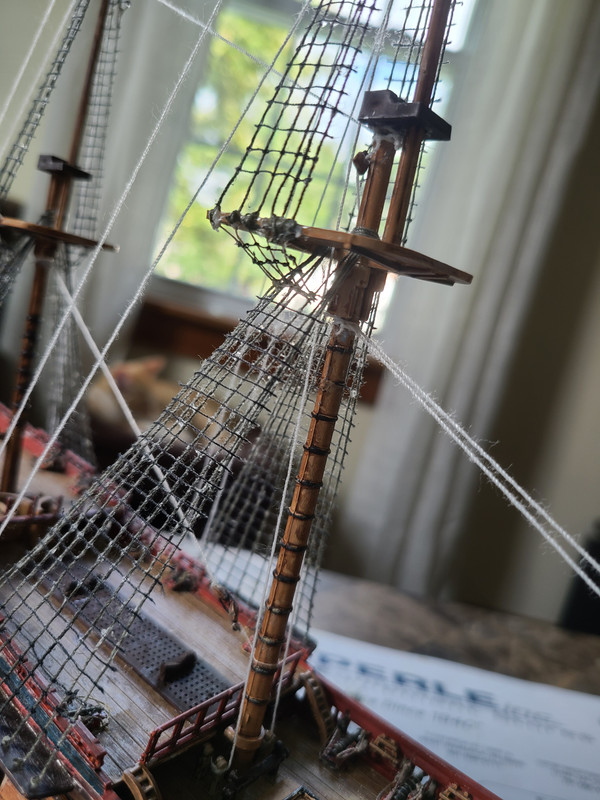
I have some progress to update with! When I posted last I had pictures I took right before my break; well it turns out I had gotten a little more done than that! I did the ratlines and painted the shrouds gray before I packed Louis up! So that was a nice surprise pulling him out of the cabinet lol.
I had started by actually tying the ratlines, which I thought looked great, but when I got further up the knots got so bulky looking that I ended up tying the first 2 or 3 lines on each and then just gluing the rest of them. I hate the look of the glue but it is what it is I guess!
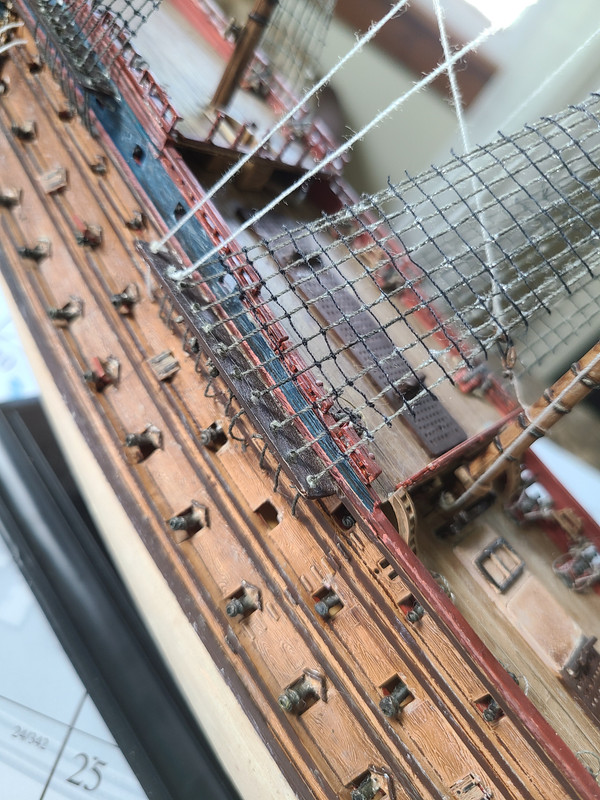
And then I decided to try to make some makeshift gun carriage ropes because they looked kinda silly just sitting there on their own. I don’t know if what I ended up with looks any better though haha. But it took time to do them all so they’re staying this way!!
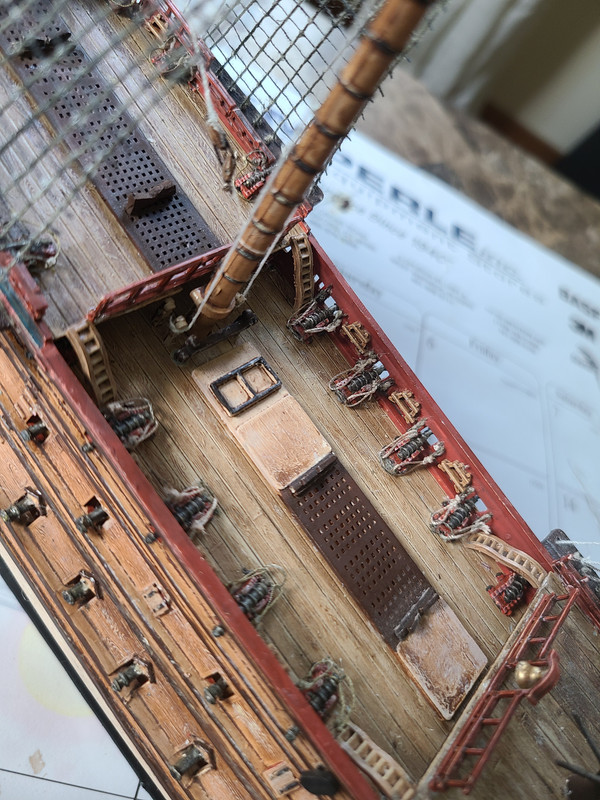
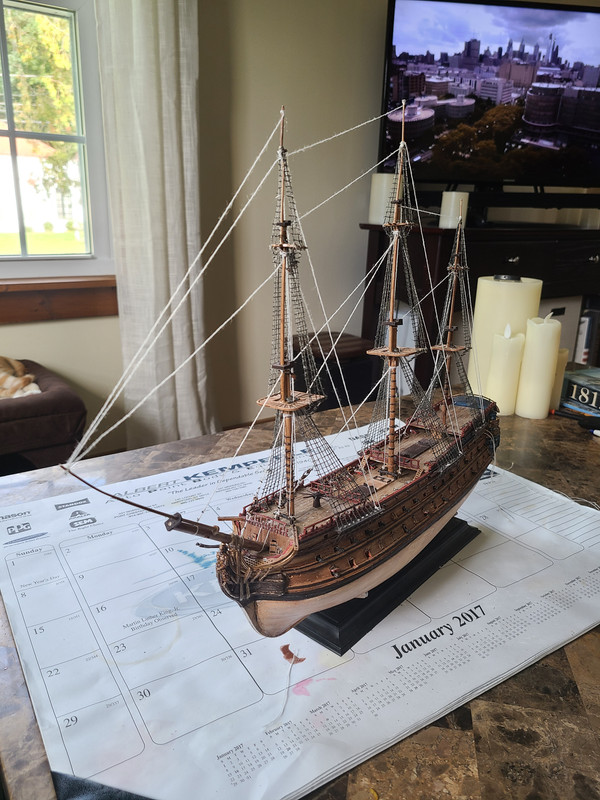
So for these pictures, basically all the white threads are what I have done since starting up again. I think I have all of the stays done, so next I’ll be attaching the yards and starting on the rigging for those!
I’ve been following “Rigging period ship models” by Lennarth Petersson and the Heller rigging diagram (which leaves a lot to be desired!).
I have some blocks and things left over from other models I’ve done so I’ve been making use of those as best I can, I know they’re not exactly accurate but I guess they get the job done!
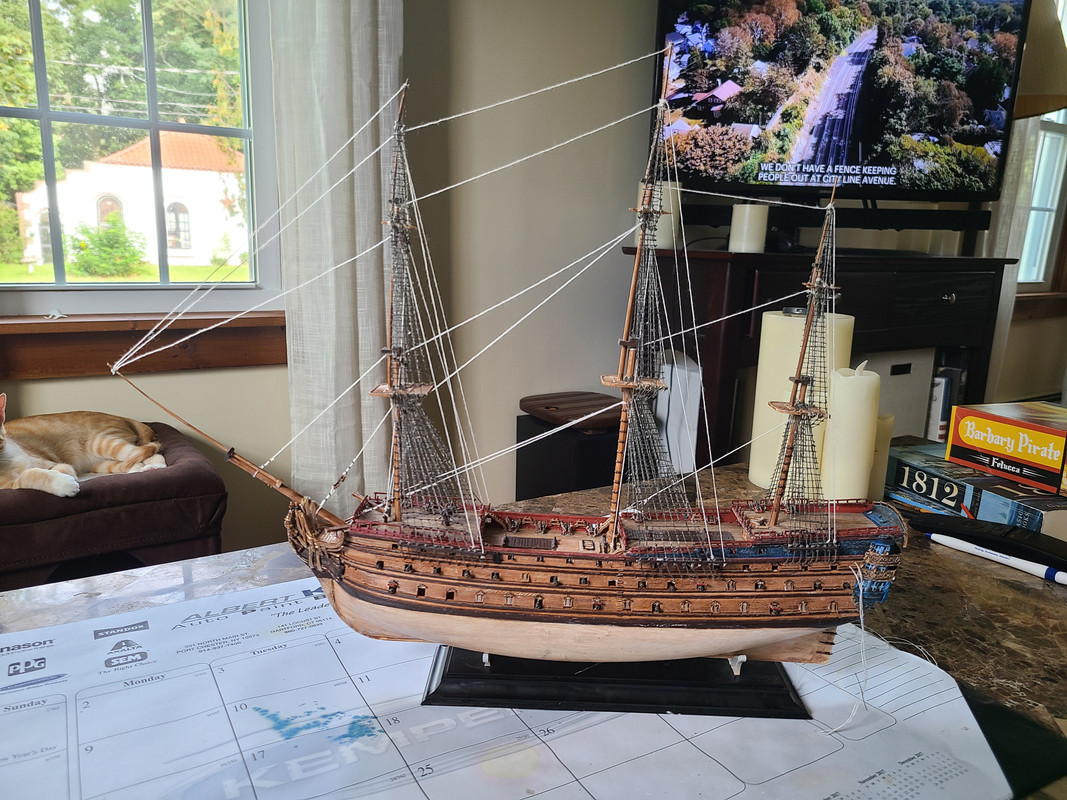
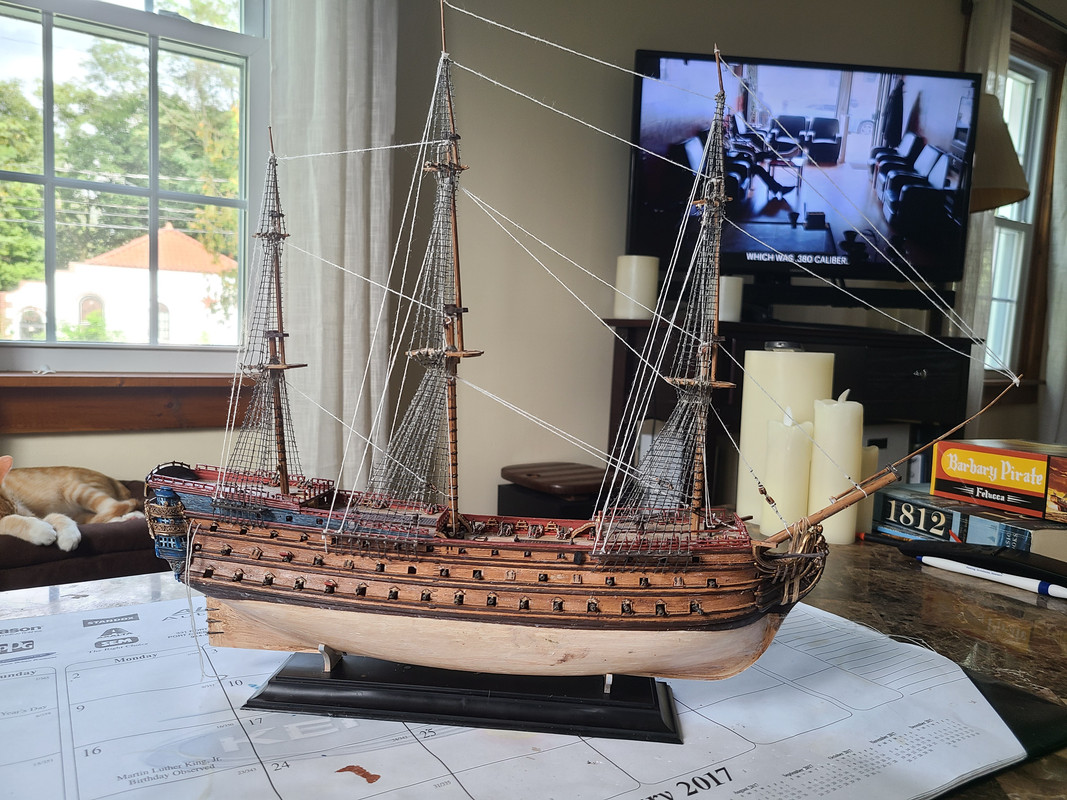
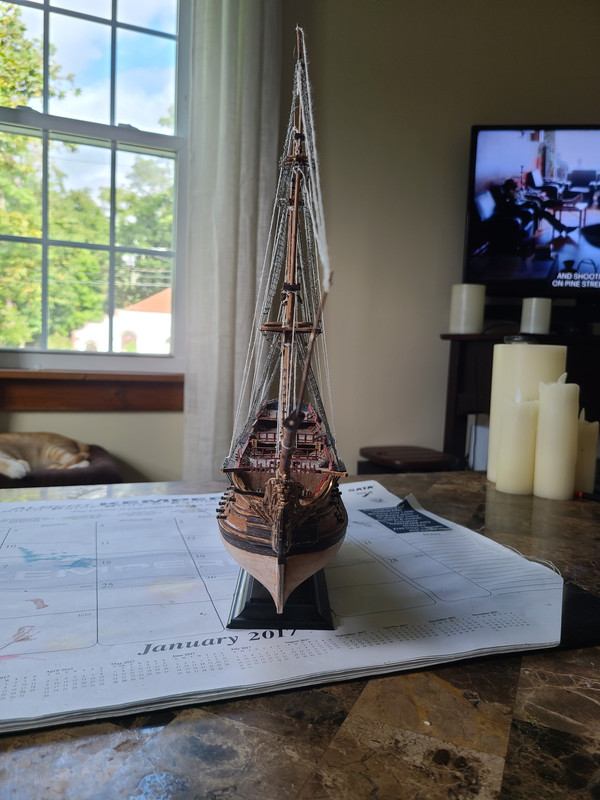
So the very tip of the bowsprit, where the stays are attached (is that still called the bowsprit there, or does that have its own name?) it’s bending a little bit which you can see in this next picture. The lines aren’t taut at all, but it’s just too much on that thin little plastic 
So that’s all for Louis for now. I might get some more done in the next couple weeks, but both my internship and my classes start on Monday so I’ll probably be much slower!
I also did some painting on the “Barbary Pirate” ship as an experiment. I usually use enamel paints for the base and then use oils for the weathering, but of course the oils can lift up the enamel if I’m not careful. I bought a few acrylic paints and this cheap little model to see how I liked them, so I’ll throw a couple of pictures of that up as well as I go along.
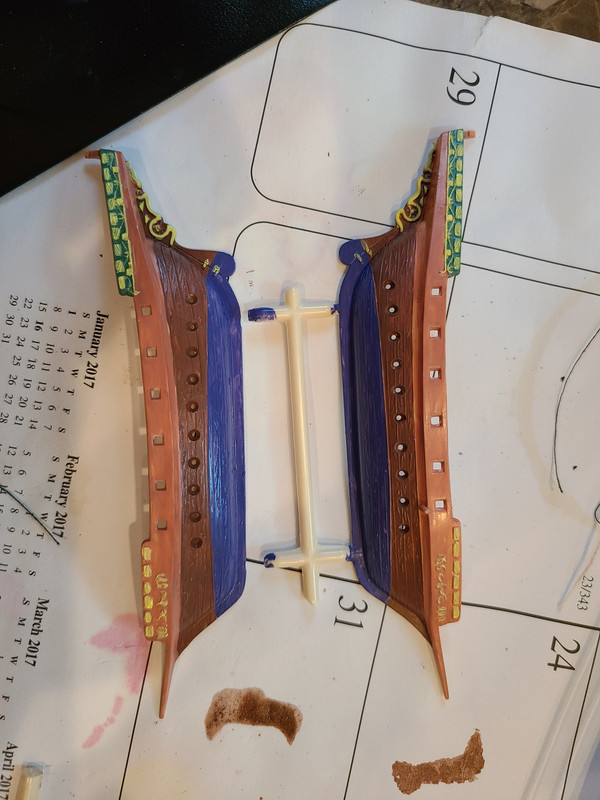
The cover is definitely thinner than enamel, but it ended up okay. I just did the first wash oer it and it’s worked out quite well so far, so I think I’ll be sticking with an acrylic base from now on if all continues to go well! Don’t know what I’ll do with the 30 bottles of enamel paint I have though [*-)]
And then here is little Dexter on my first day of bringing Louis back out!
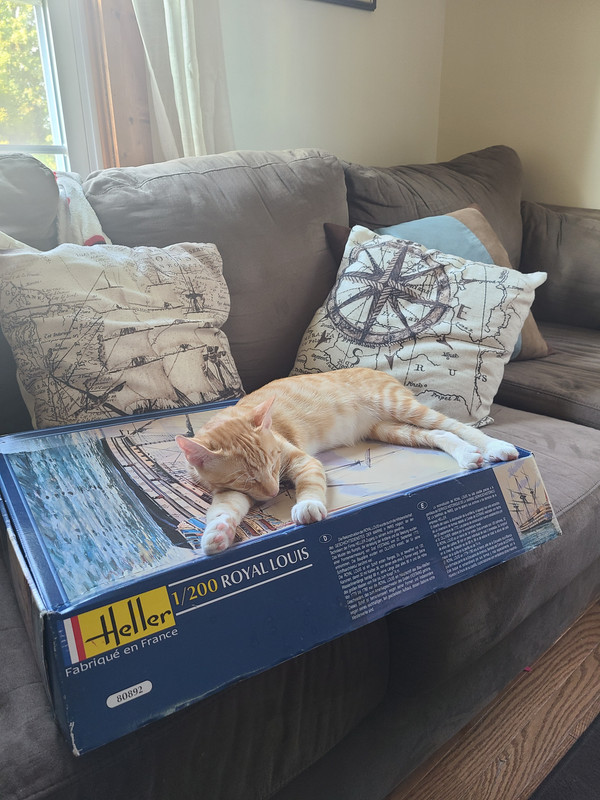
Taking over already!! [:P]