That’s going to be the next thing on the list getting all them leds in and lit up.
What a piece of junk!
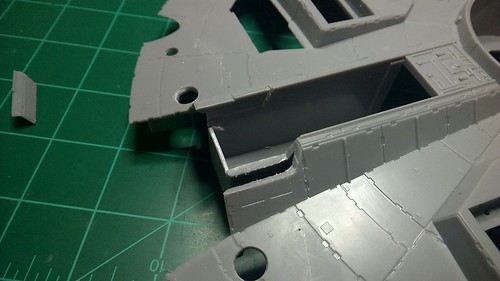
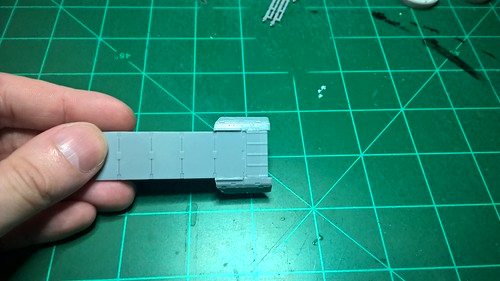
Alright have been working on the ramp and I’m very happy in the way it has came out so far. The first cut always a scary thing on such an expensive kit.
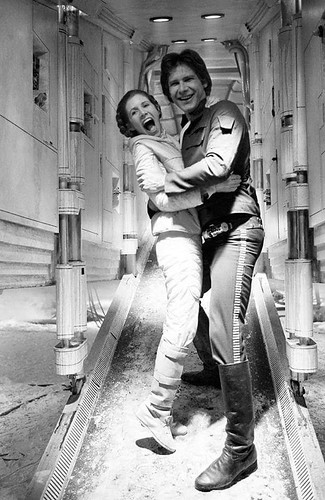
Photo I was using to figure out where to cut
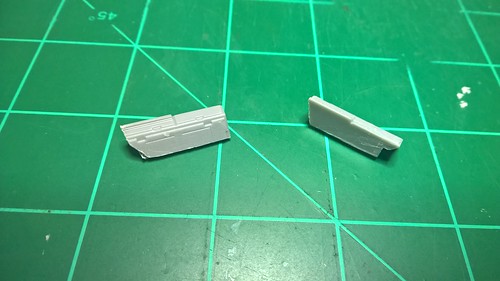
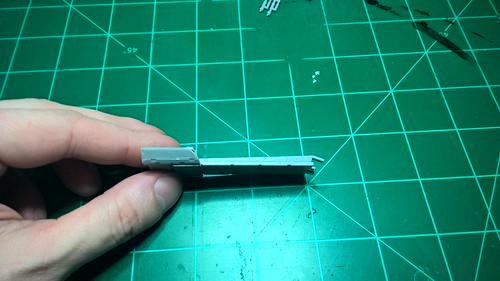
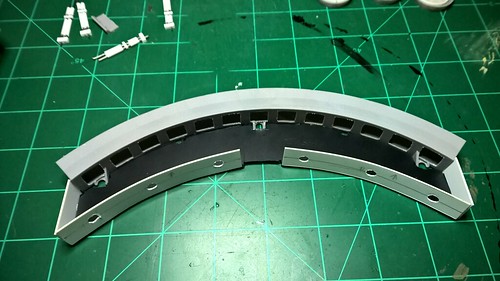
After I got them cut away with a razor saw and cleaned up a bit I glued them to the sides of the ramp.
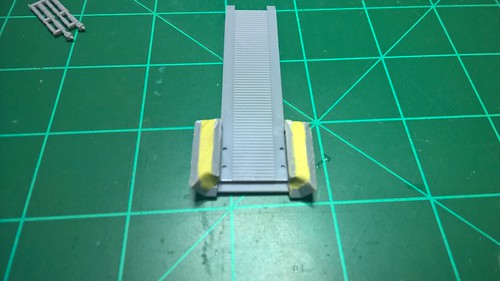
Then using Miliput I filled in the gaps
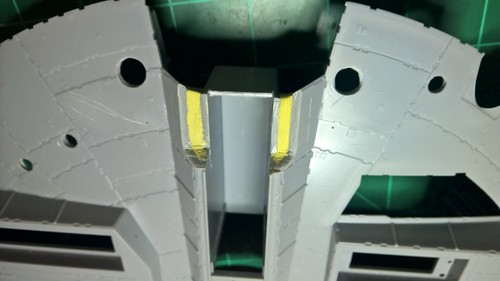
That was then sanded smooth drilled out holes in the ramp “interlock?” and added the drop down pegs of the interlock in the top part. They still need to rounded a bit. Also added a new roof to the area since it slopes with the ramp also added the 6 holes for the lights. I will light that area with two leds I have cut a hole in the top of the original ramp roof to be able to add them later.
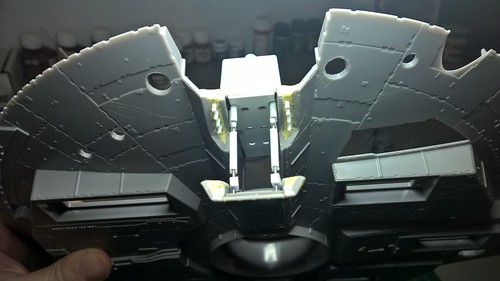
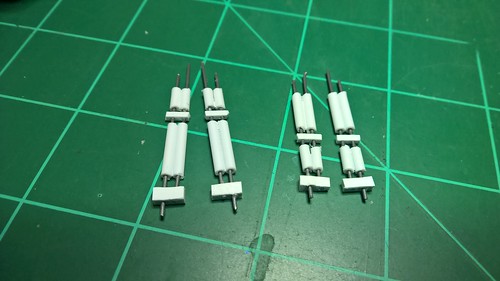
The new ramp pistons was made using .032 music wire and 1/16 plastic tube along with some other styrene strips. The pistons still need some cleaning up but that will be after the glue has fully set up. I know there is 3 sets of pistons in total but I am only going to have 2 sets for one getting the rear most in will be very tricky and two you wouldn’t be able to see them with out picking the ship up and looking in there and NO ONE is going to be doing that lol.
This is what the unmodded ramp looked like
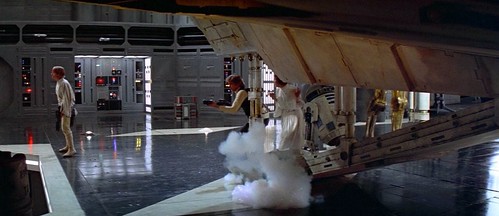
Heres the photo I was using to go by for the roof and pistons
Thanks for looking in, I hope you all enjoy this new ramp as much as I did hopefully if anyone else is planing on building this kit here, that how I did mine will help them. All comments and questions are always welcome.
Reading your first post, I had to laugh because you actually shut him up quick. I would have parted with these final words: “Don’t go away mad. just go away…” LOLOLOL!!!
I cannot figure the life of me how he thinks 3D is cheating and the death of the hobby. Geez…
Being a big Motley Crue fan it never came to mind at the time. Seems like we have the same sense of humor. Not the first time I’ve shut him up fast either he also recast resin motors not ones he has made himself but 3rd party motors he’ll buy one make a mold of it then recast it 4 or 5 times and sells them cheap to recoup the money he spent on the master. If it was for his own use then whatever but selling them seems shady to me.
Thanks always glad to have a fellow Hoosier on deck. If you are coming to the Roscoe Turner next year I might have her with me if she’s done and I find a way to power her for longer than a hour with batteries.
Oh I hesitated for a few days before just jumping into it. It finally came down to my wife who bought me the kit looking at it and saying you really aren’t planning to leave it that way are you?
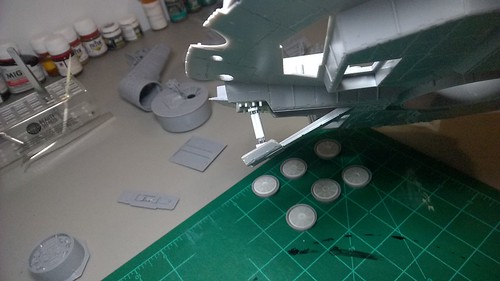
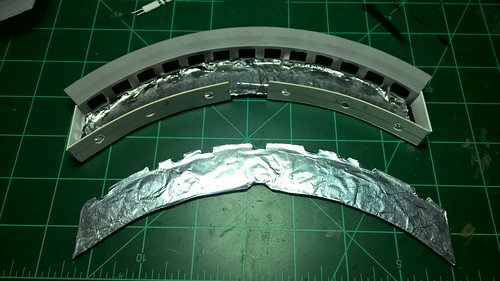
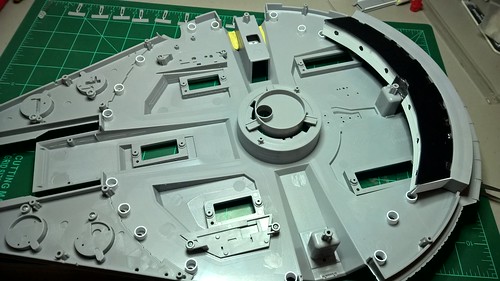
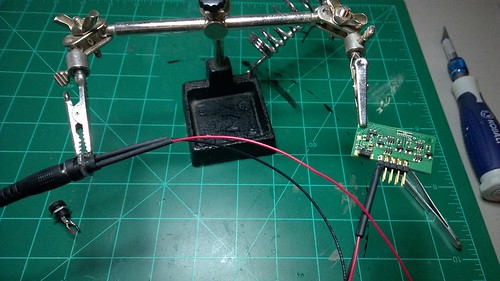
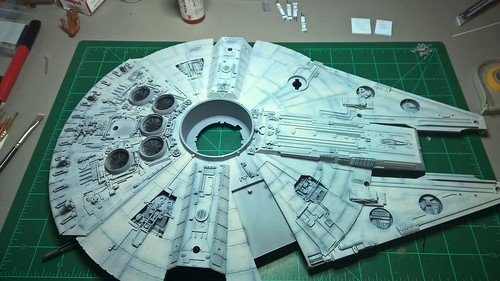
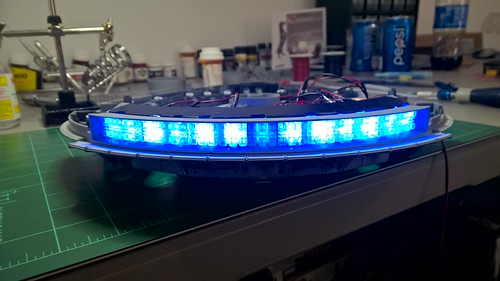
Small update I’ve been thinking ahead about the best way to paint her, for now I’m going to paint her in secections then stick her all togeather (subject to change lol). Been working on getting on the hundreds of greeblies stuck on the hull and she has a lot of them. In my stash I have mostly Dragon kits and have grown to expect a fight and alot of test fitting with them. But not this Fine Molds kit she is a dream everything just kinda falls togeather even with so many parts. It’s like building a Tamiya kit. Anyway on the LED side of things I have added some styrene tubes over the landing lights holes to help hold the LEDs. Have also started on building the light box for the engine lights using some 1mm black styrene and some thiner white that was easy to bend. I then lined the top bottom and back with some aluminum foil to help reflect all the light out the back. Also went and hooked up the power to the Madman controller board to make sure it was in working order the green power on LED is lit (hard to see in photo) so next step is to figure out where it’s going inside.
After I get the light box sat in for good I will close up the hole around that post for now I need to be able to get it in and out. Thanks for looking in all input is welcome.
Gamera: I plan on posting some videos once everything is lit the Madman controller gives the engines a flickering effect that I would like to show. Greg: Yep the IPMS Roscoe Turner chapter is in Indy they haven’t sat a date for next years show yet but it’s usually around the beginning of February, BlizCon in Columbus Ohio this year is sat for February 15th I believe so that might alter the date of show this year
How is your MF comming along? I am going to probably start mine over the winter.
I was wondering if you would mind sharing what paints ( brand and color) you used. I have checked out Archive X and just cant justify the cost, especially since I found 308Bits on shapeways.
Dmx512: She coming together quite well I just got all the greeblies attached last weekend and got all the subassemblies primed tonight. I plan to start painting this weekend. I will be using Tamiya paints not sure what colors I will be using or in what ratios yet but keep watching this wip and I’ll let you know when I figure it out.
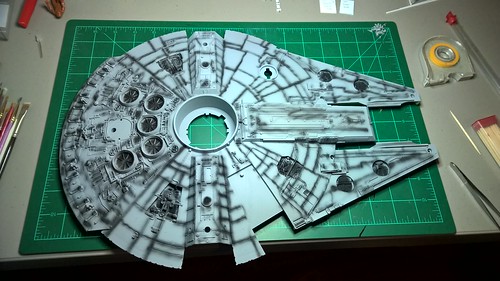
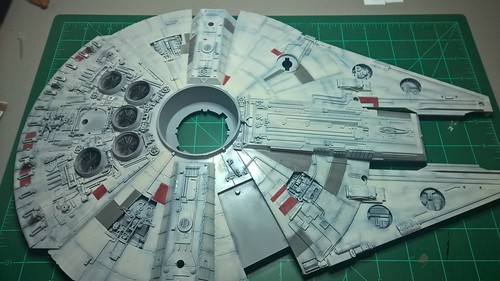
Just a few things to show here. First I got her primed using Tamiya fine grey primer. Next some preshading with some Tamiya XF-1 Flat black. Then the last thing to show for now the base coat that is a mix of Tamiya XF-2 Flat White and XF-55 Deck Tan in a 4:1 ratio (Flat White 4: Deck Tan 1). I’m going to let this cure for a day or two then mask off the panels that get painted grey, dark red and a few yellow and spray them colors. Not yet sure what colors I’m going to use for that at the moment so stay tuned.
Thank you that’s what I was going for. I’ve changed my game plan on this build several times already but I’m sticking to paint her like a aircraft and weather her like a tank. Seems like the best idea to me. I’m going to finish the masking before work Tuesday night then start painting again Wednesday morning after work.
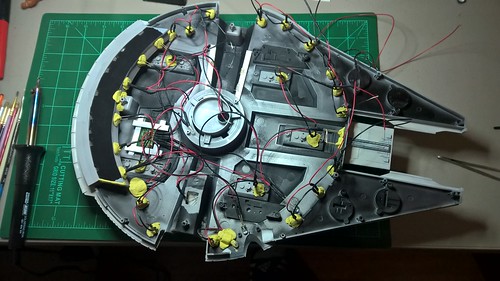
So alot of work on this hunk of junk the last few days. I masked off everything to spray the grey and red. Then started working on the Madman lighting board and all 22 led landing lights. First the grey was sprayed using a mix of Tamiya XF-20 Medium Grey and XF-1 Flat Black (4:1 ratio). Then the red sprayed using a mix of Tamiya X-7 Red and XF-9 Hull Red this mix was around 50/50 but more Hull Red was added (few drops) to darken it up a bit more untill I liked the color. After it dried I gave it a clear gloss coat using Krylon UV-Resistant Clear Acrylic, I love this stuff since finding it.
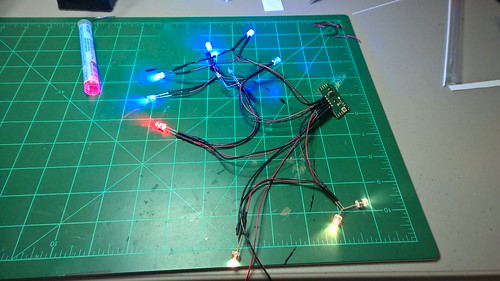
Got the Madman Lighting kit all hooked togeather and tested.
I made it so the board cant roll around inside using some scrap plastic. Then started the long process of soldering all the leds for the flood lights. Got them put in place and used miliput to lock them in place, after that dryes I will hook up all the + and - leads and check to make sure they are all still working.
thanks the engine lighting looks better in person the camera shows hot spots but it’s a more even glow in person plus the flicker effect from the madman board.