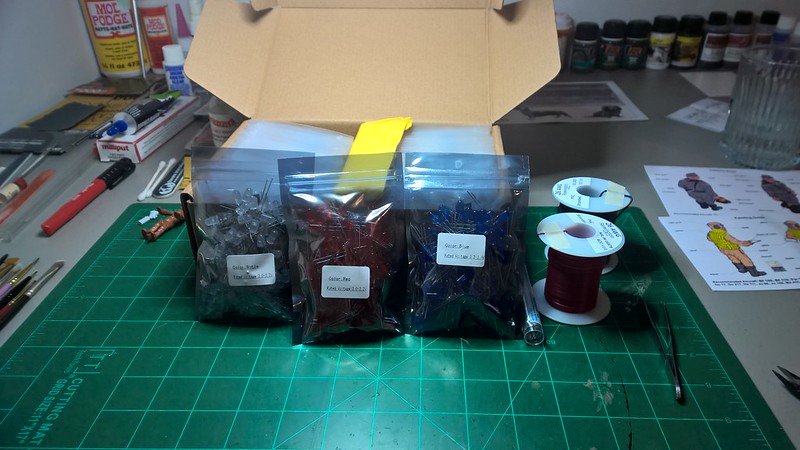
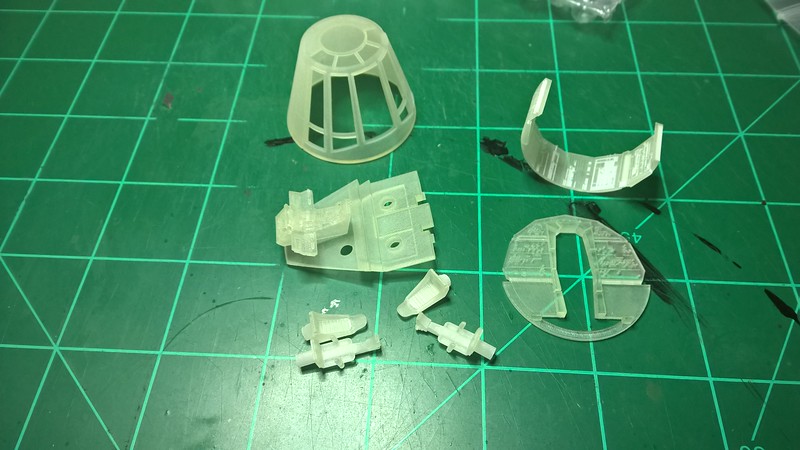
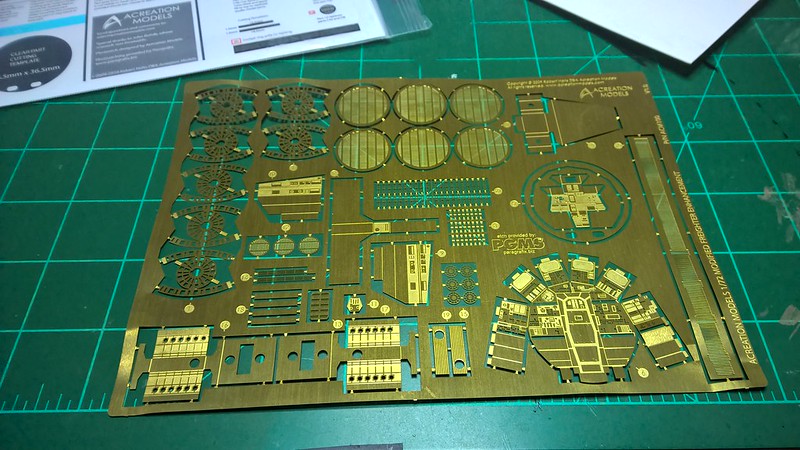
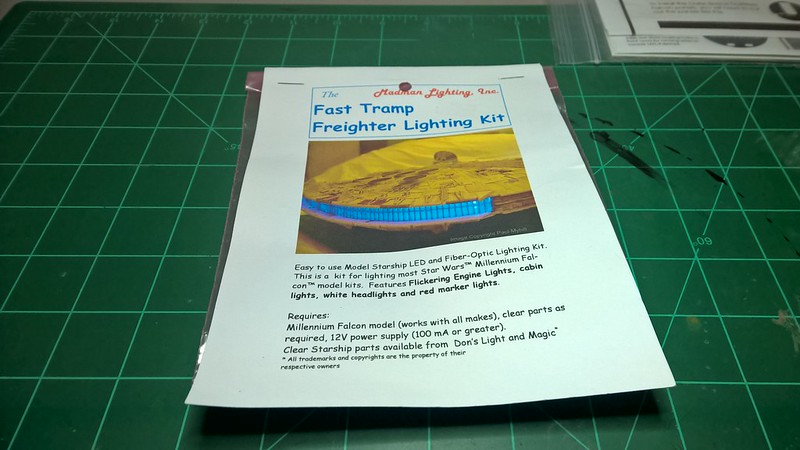
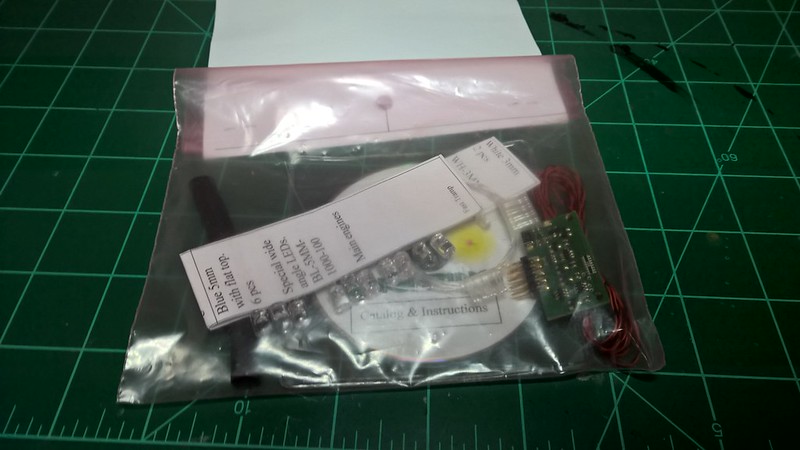
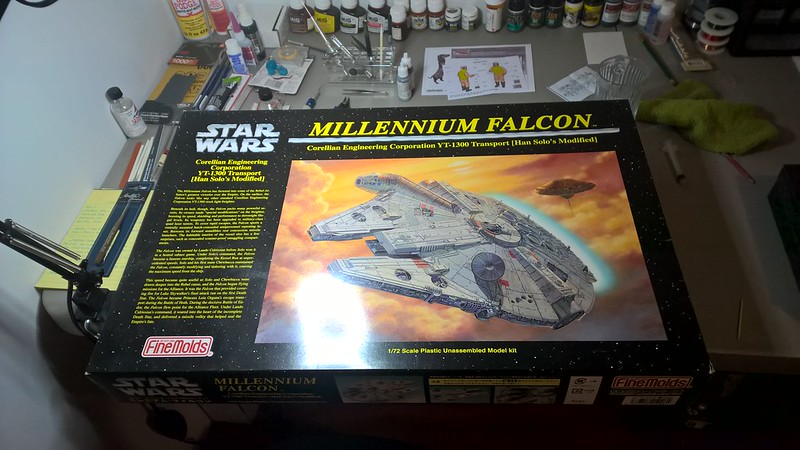
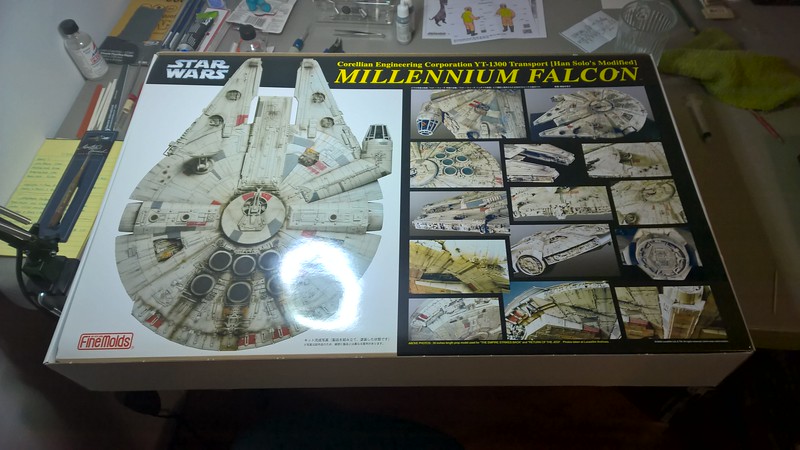
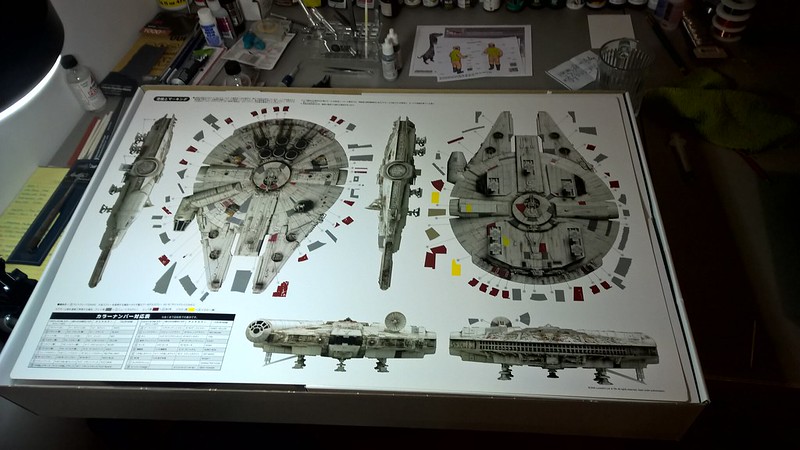
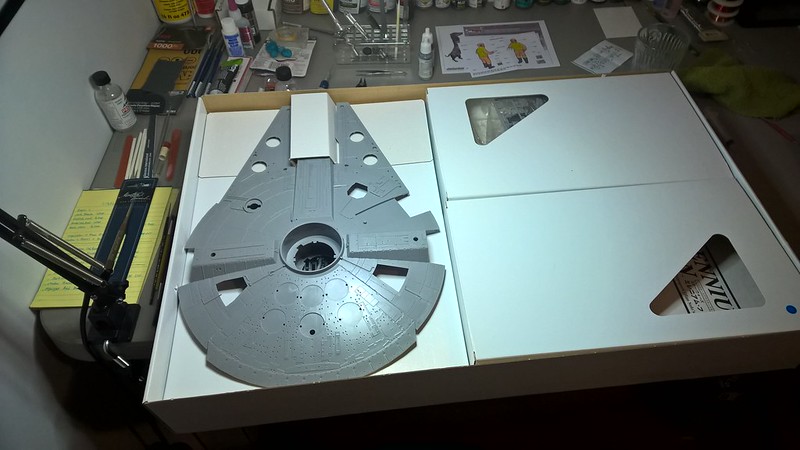
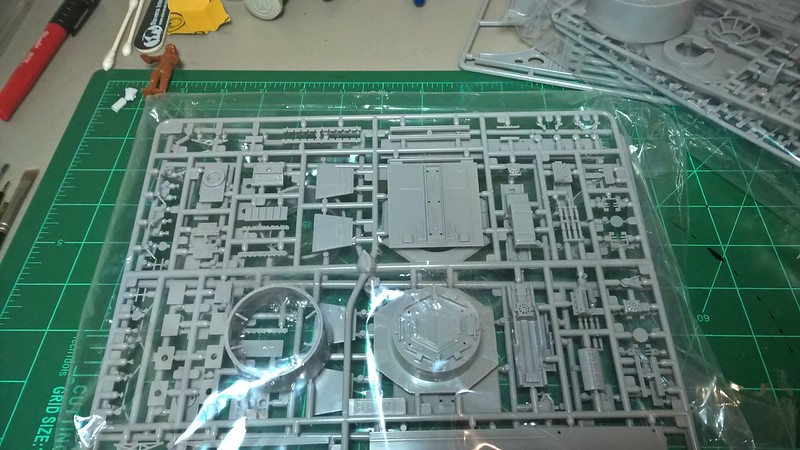
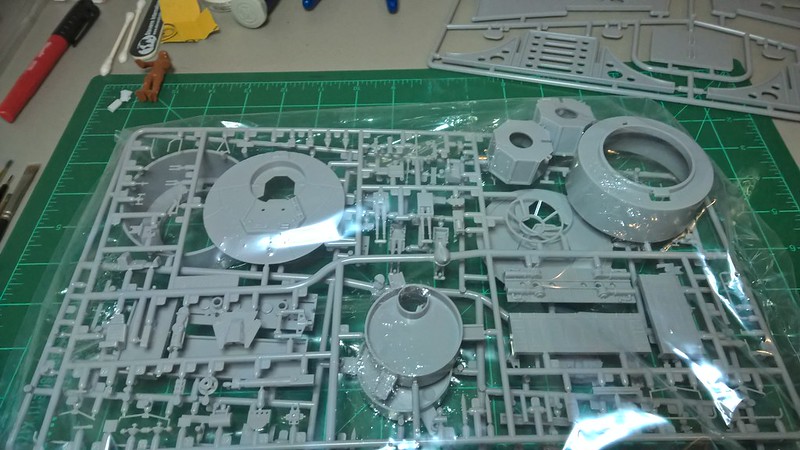
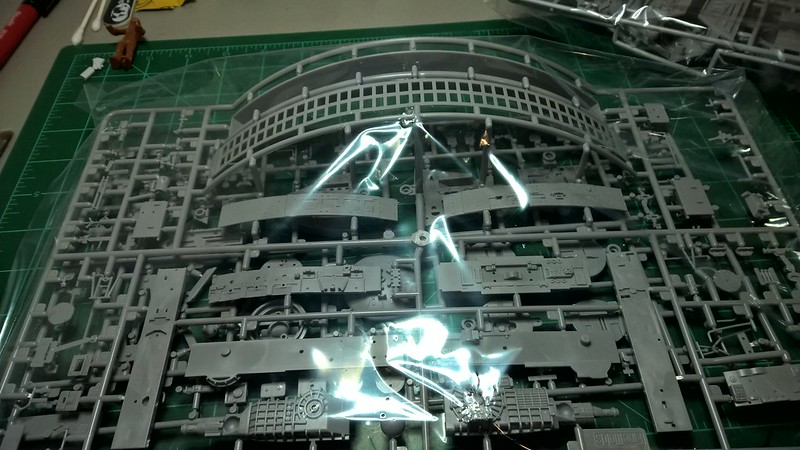
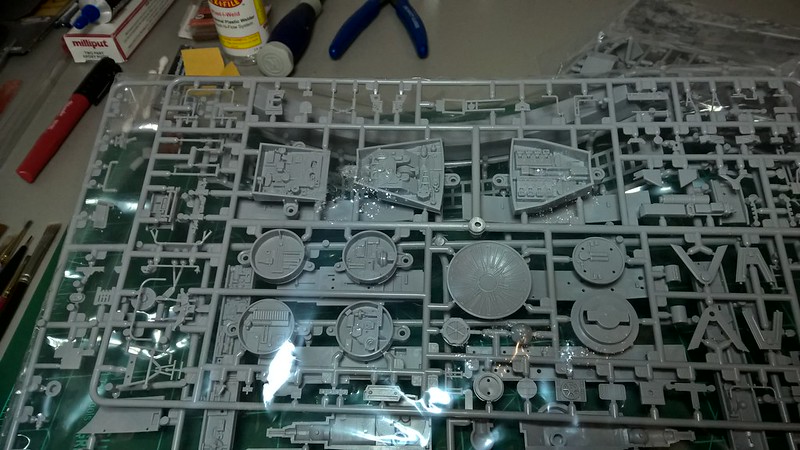
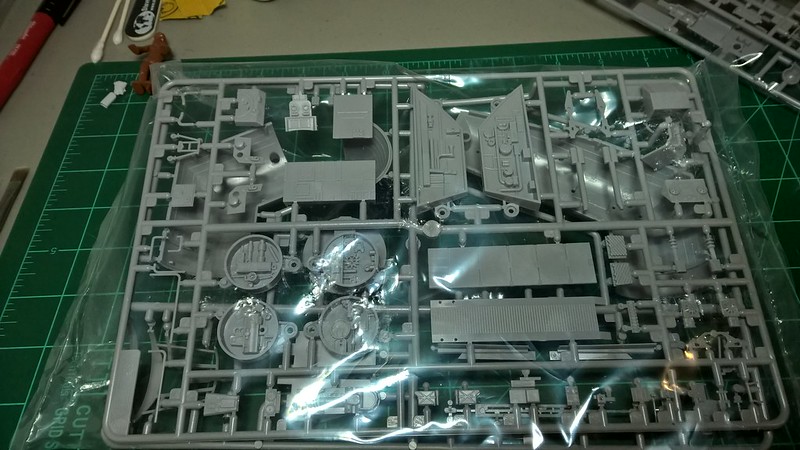
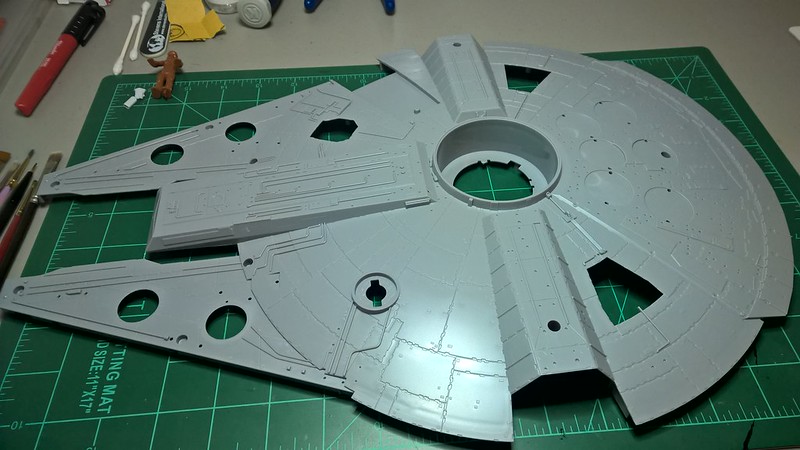
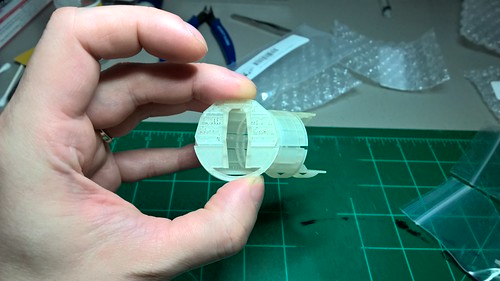
So I’m not done with my BF110 build yet but the postman has brought me alot of stuff over the past week, so I would like to start this next. My wife got me this kit for my birthday 3 years ago but I couldn’t start it untill I got the house remodeled. Well its done now and I have a few builds under my belt now since being back at the bench. One awsome thing about this she got it from ebay and it came with alot of extras for a very good price. The extras are Madmans Fast Tramp freighter lighting kit, Don’s Light and Magic clear engine parts, Outer Space Outfitters Panel kit that I’m not going to use and Acreation Models PE set that I will only be using about half of. I’ve also got for this a mess of LEDs some more wire and 1000ft of fiber optic line. Then for the parts I’m most excited about some 3D printed stuff from shapeways. I’ve got a new cockpit that is just amazing and the top gun tub that is also just a hugh improvment over the kit parts. As a side note after I got the 3D printed parts in I took them down to the LHS to show them off, well one of the older car guys was in who didn’t think they was as cool as the rest of us. He started on about how 3D printing was the death of the hobby and it should be considered cheating to use them at a show. Well when I asked him how me using a 3D printed cockpit was any different then him using a resin cast motor for one of his cars, he had a few choice words for me then walked out. He’s always throwing some sort of fit kind of weird to me for a grown man in his late 60’s but anyway do others feel the same way? I see it the same as using a resin cast part, this will be my first time using a 3D printed item so excited to see how it goes. Anyway heres some photos.
Wow! What a fantastic score you got there. Lots of nice extras. Hope you really enjoy this build, and I hope you show us the progress.
On the 3D printed parts, I feel the same as you, no different then using resin parts. Just a different manner in how they were produced. Ha, you can get PE parts pre-painted. Which I have used.
I’m almost the same age as your “friend” and I remember when if you wanted extra detail you had to make it yourself out of whatever was at hand. In my current projet I’m still mostly doing it this way with some use of left over parts from kits and P.E.
With the advent of printed parts, this will continue to grow and those people will have an advantage over the previous forms of parts. It happened before when resin started and then again with P.E. You’ll just have to live with and adjust to it. As long as the builder lets it be known during a contest that detail parts are included from other sources, it will eventually come down to the builder’s skill and the look of the finished project.
Oh wow, she’s gonna be the awesomest hunk’ o junk in the galaxy!!!
I have a lot of respect for people like Shep Paine who scratchbuilt so much detail for their models but I agree- 3D printed parts are basically the same as resin to me.
Gamera: The first model I built with my dad was a monogram/revell B17 that had the diorama booklet in it made my Shep I remember then wanting to be able to do that and I was hooked on models. I built a few in high school then again once I got a stable job. Had to take a involuntary break for a few years to finish work on my house. Shep Pain and my dad was my biggest influence in the hobby. I hope they are still putting them booklets in with some of their kits to get other kids hooked.
LT: One place I would draw the line I seen alot on shapeways of entire one piece island structures for 1/350 aircraft carriers I know they are meant to show the same ship at different times in it’s service, but seems a bit much and they ain’t cheap either.
Can’t wait to see that hunk of junk come together! Lots of cool looking AM parts too. I don’t see any problem with using 3D printed parts, in fact it could be the future of the hobby. People could design whatever kits they wanted and put the files up for sale. Corrections could be made by changing the files and printing a new part. There’s lots of resin and PE out there for aircraft, armor, cars, etc. but not a whole lot for sci-fi, at least not in comparison. Seems to me that 3D printing is the way to go. Although I’ll admit some of the home 3D printers could use a bit more refinement and price drops to really take off.
I have a copy of Shep’s ‘How to Build Dioramas’ I picked up back in high school. It’s old, worn, has paint stains all over it. I don’t think I’ve learned as much from any other hobby manual than this one.
When Star Wars first came out bsck in the 70s, the Millenium Falcon kit was the first Star Wars kit I bought. Yeah, it is a big kit and loved every minute building it. Of course, there weren’t any PE or parts made with a 3D machine.
I absolutely love 3D parts and figures. Parts is parts to me and if I can find something that makes me looks good and I can afford it then hey, I’ll get it. Does that guy use PE on his cars? If so what’s the difference? I can’t scratchbuild a plausible alternator pully or carburetor linkage. As for shows, if you really want to win, then you do what’s needed. That’s the way it is nowadays, otherwise there’s always OOB categories.
Have fun with all your AM. It looks like it’s going to be a cool build.
Thanks guys I should be starting this in a week or so. Hope to have it done by Feb. Of next year. I got a diorama scene in my head hope I can translate it into this build. Modelcrazy: Yeah he uses resin cast engines on almost every build, I’ve seen them 1/350 3D figures that look so much better than flat PE going to definitely get some of them.
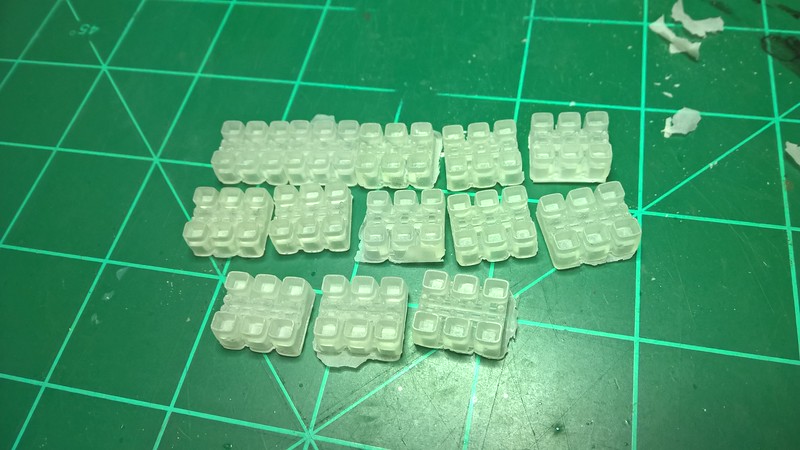
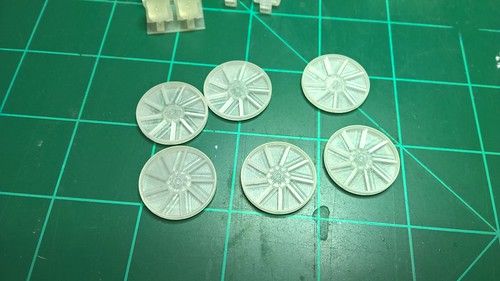
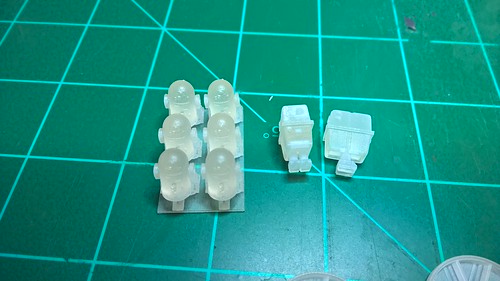
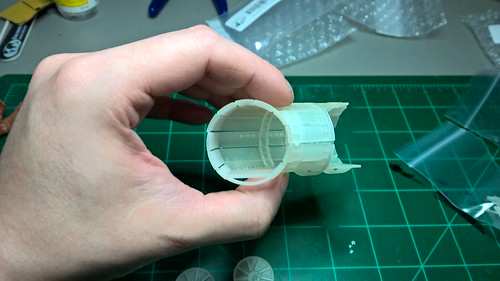
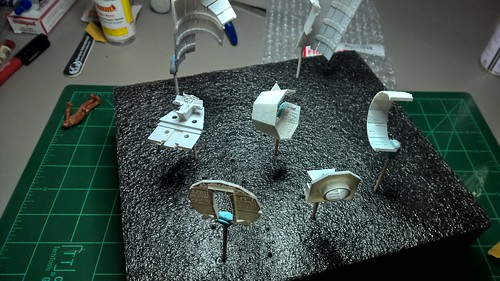
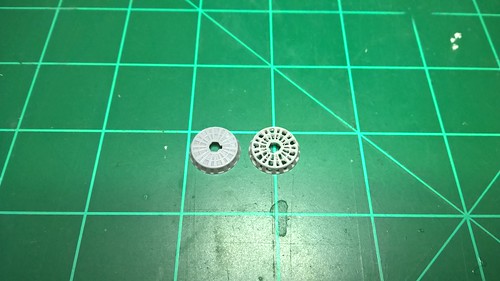
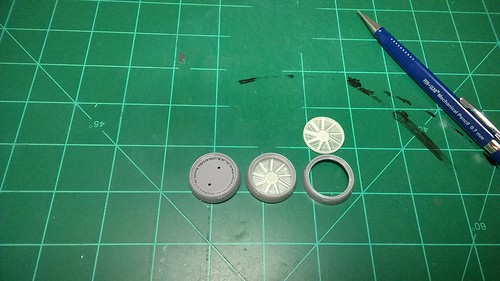
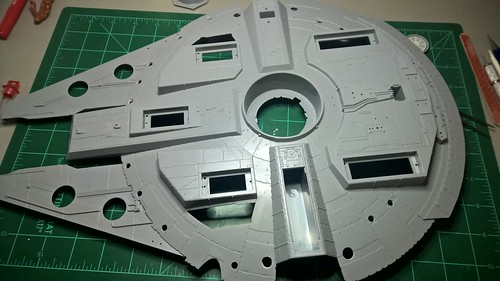
Haven’t had much time to work on this as always. I ended up ordering some more parts from 308bits off of shapeways and another guy who I forget his name right now. I ended up getting the engine fans since the kit leaves these out all togeather, a group of 6 R2 units two gonk droids and the cockpit hallway section. I’ve managed to get some of the parts cleaned up they have some sort of oil like stuff on them wouldn’t be mold release but something probably left over from the 3d printing. Then primed with Tamiya grey primer and now the detail really pops. As of right now I’m working on sanding out all the little squares that are around the edges of the Falcon since FM molded them solid. Thanks for looking in.
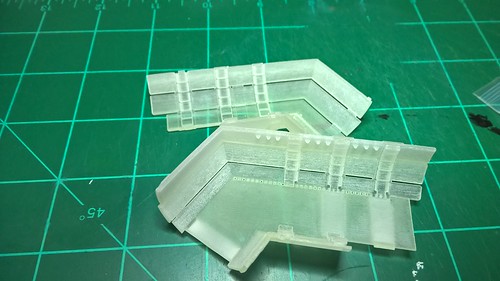
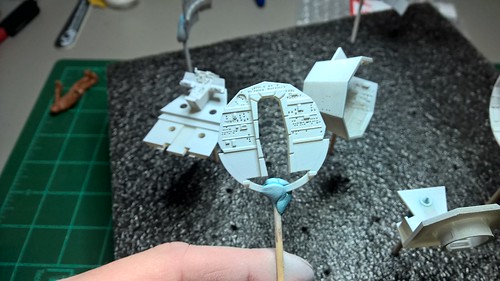
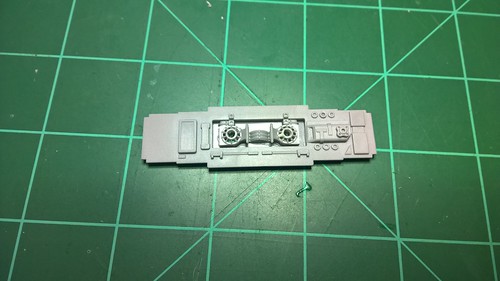
I got bogged down on the landing gear the baffels at the bottom Fine Molds had molded them solid but they should be open. No problem I have the PE set well I didn’t like the PE they seemed to thin and it was hard to get them to be just the right shape. So I figured it wouldn’t be that hard to just open up all the holes on the kit parts. 7 baffels Each baffel has 3 rows of 18 holes it wans’t hard but did take a long time, but I really like the end result I still need to go back and clean a few up. Next will be locating where all the landing lights and red duck lights go on the underside and what am I going to do to fix the bording ramp that is not screen acurate at all.
Not sure if I’m going to be taking her to shows when I’m done due to all the lighting I plan. But she sure will be the jewel of my models on display at home.
It’s the ship that made the Kessel Run in less than twelve parsecs
So got a few things going on here first I’ve started hollowing out the kit engine fan holders to take the 3d printed ones and the PE grills. It’s another slow step that has to be done. I’ve also hollowed out for the two lights that are recessed between the mandibles. Last I’ve been looking over photos of the ramp and how i’m going to fix it. shapeways has a 3d printed one that looks really good but it’s a bit much and I’ve already got alot of money tied up into this project so I want to try fix the problem myself. I can always get it in the end if what I come up with dosen’t look good enough to please me.
What the ramp should look likehttps://goo.gl/images/pZZ7e2
Thanks for looking in. If anyone has any ideas on how to make this any better I’m all ears.
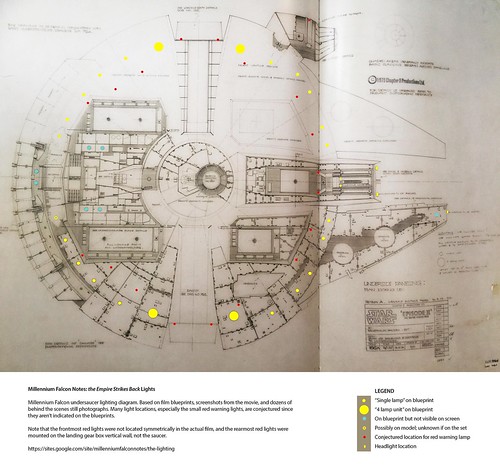
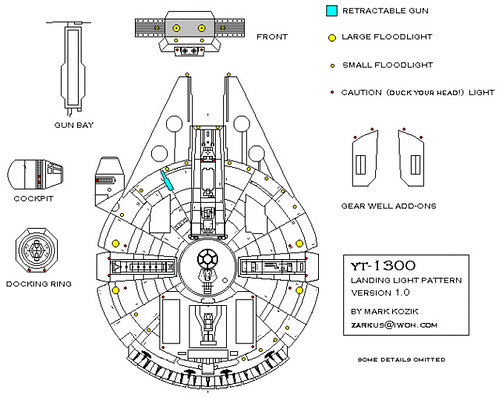
Been looking at the blueprints and rewatching the films to see where all the landing lights need to be placed at. From the offical blueprints that aren’t screen accurate fan made blueprints and from what you can see on screen I tweeked my final light postions.
The rear lights under the engines was going to be a hard one since they would get in the way of the engine lights so I just made them symmetrical on each side in the end I think its going to work out and look good. I worked out that the small lights should be 5mm and the big ones 8mm to scale. Being in the USA cheap mm drill bits are hard to come by so I got close with standard sizes that I already had using 3/16 for 5mm and 5/16 for 8mm. To make sure I got the holes nice and round I did them all by hand after they was done I ended up with some sore fingers but nice looking holes.