now that’s sah-weet! Thanks Stik!!
Dang Mike, you did an awesome job on this tank! Well done sir, well done. You have me considering coming over to the dark side…
Doc (Steve)
Brilliant work on your first try! You are very talented[Y]!
Tomcat,
Thanks much for the kind words!
I think it is more a case of beginners luck [:D].
Assuming you’ve read the comments on my Patton you know I screwed up on many counts. In the last week or so I’ve put both tracks on correctly (and in that process broke both front wheels off but reglued, clamped and all is well), lowered the driver’s front pericscope, turned around the spare links on the rails, resanded, filled and painted the muzzle brake, and added straps to the top of the searchlight/cover. I dare say that there are a number of other details I should have paid more attention to that were pointed out to me in a constructive and appreciated manner in this thread but I am moving along with my small diorama concept for this tank and should be done with it soon after the rains return. I want to be outside as much as possible while the sun is still shining in the great northwest… I know I’ll have plenty of time to work on the model in the next few weeks.
Thanks again and have a great holiday season!
OK, Some details and weathering screwed up in the process of finishing up but that’s OK, I like the way it turned out for my first armor build. I now have several armor kits in my stash and I’ll be back.
Griffin25:
I now have used Alpine Miniatures for the T/C. I also bought the MasterBox “Jungle Patrol” set and used one for the infantryman on the port side of the tank.
SprueOne:
Tracks are now on correctly.
Reserve:
I filed/sanded down the seams on the muzzle brake and the top of the gun barrel. I didn’t get to the other untidy details you were kind enough to bring to my attention but I’ll try to be more attentive to the small but important stuff in my next build.
Keavdog:
I did make an attempt to fix the silvering but it still shows.
Mike Brindos:
I’ve redone the searchlight cover and put a flat piece of Evergreen styrene behind it. I also added straps - albeit only to the top - too much trouble this time to add them to the bottom. I did some surgery on the driver’s front periscope and now it’s in the down position. I put the spare track links right side up and attempted to attach them correctly. I’ll research my next armor build more thoroughly to try to avoid marking errors. Thanks again for your great constructive critique and your encouragement.
M60_Tanker:
As I just said above, I’ll try to research more carefully in my next build so the markings on the piece of armor make sense. BTW, I may get an M60 kit down the road just so I can use some more of the figures I now have. And thanks for straightening me out regarding the antennae.
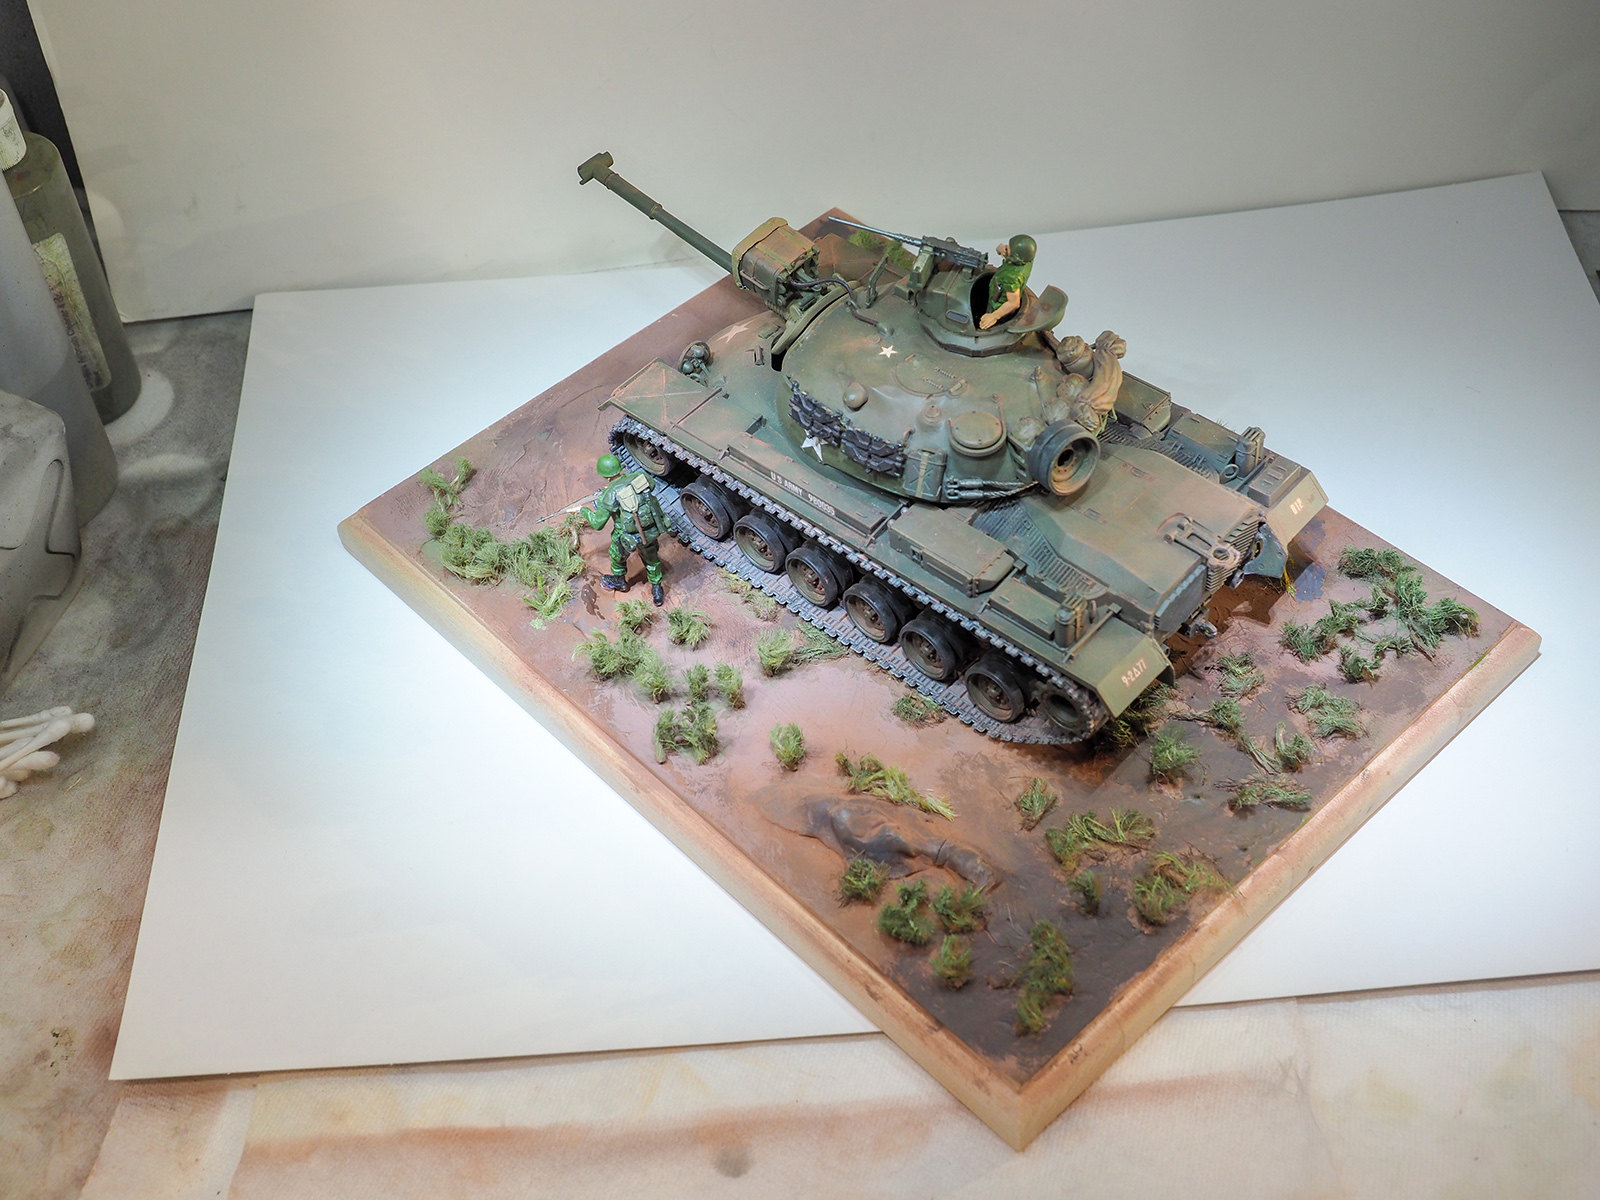
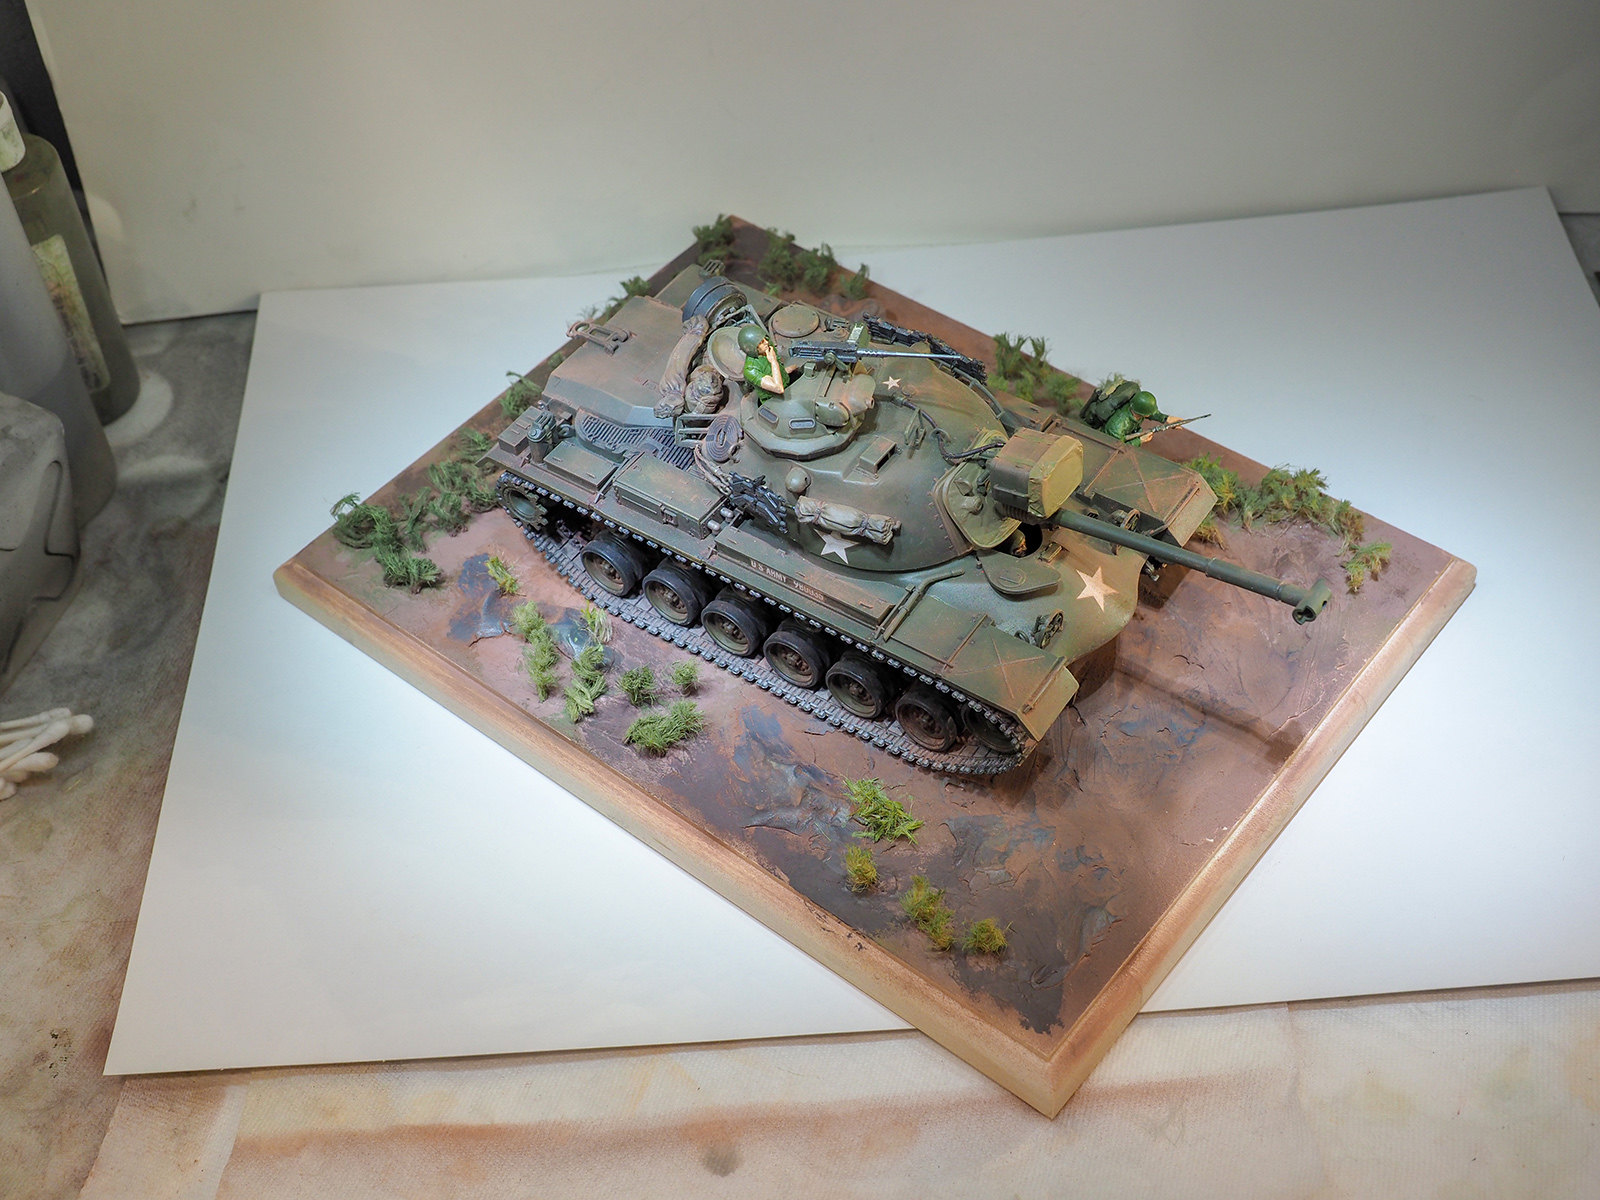
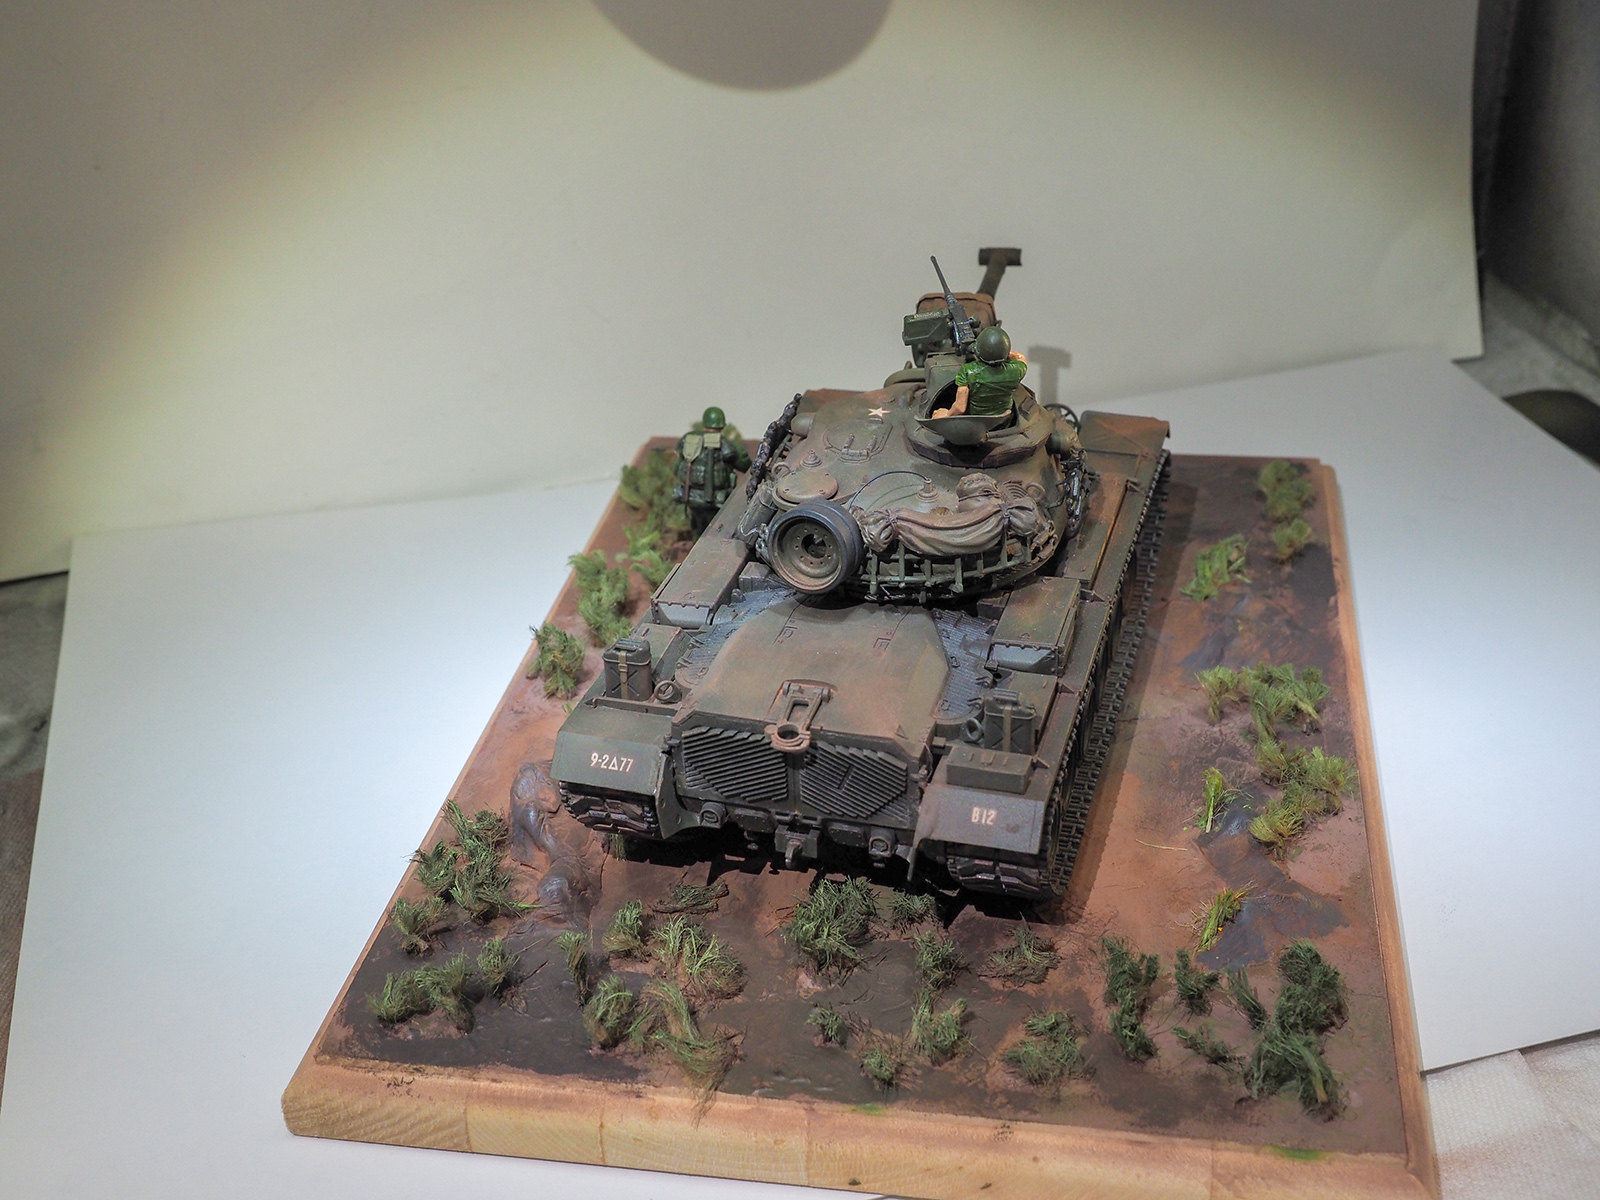
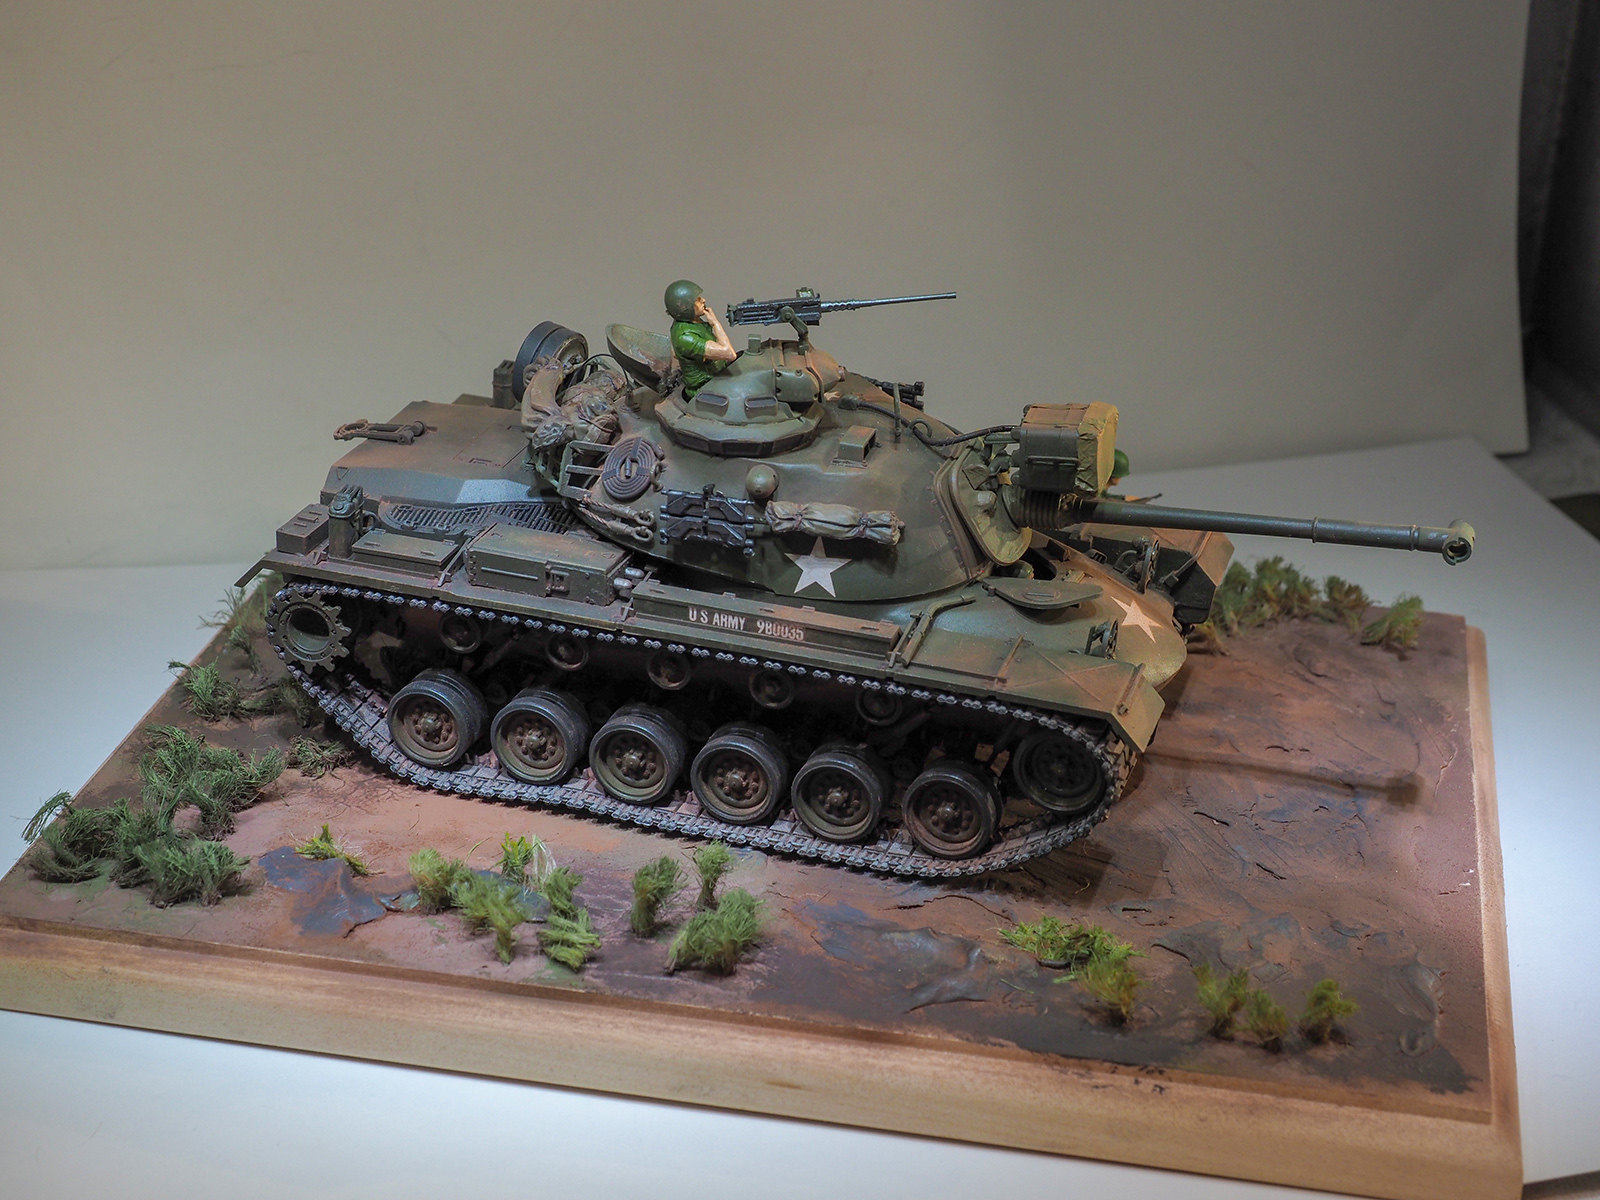
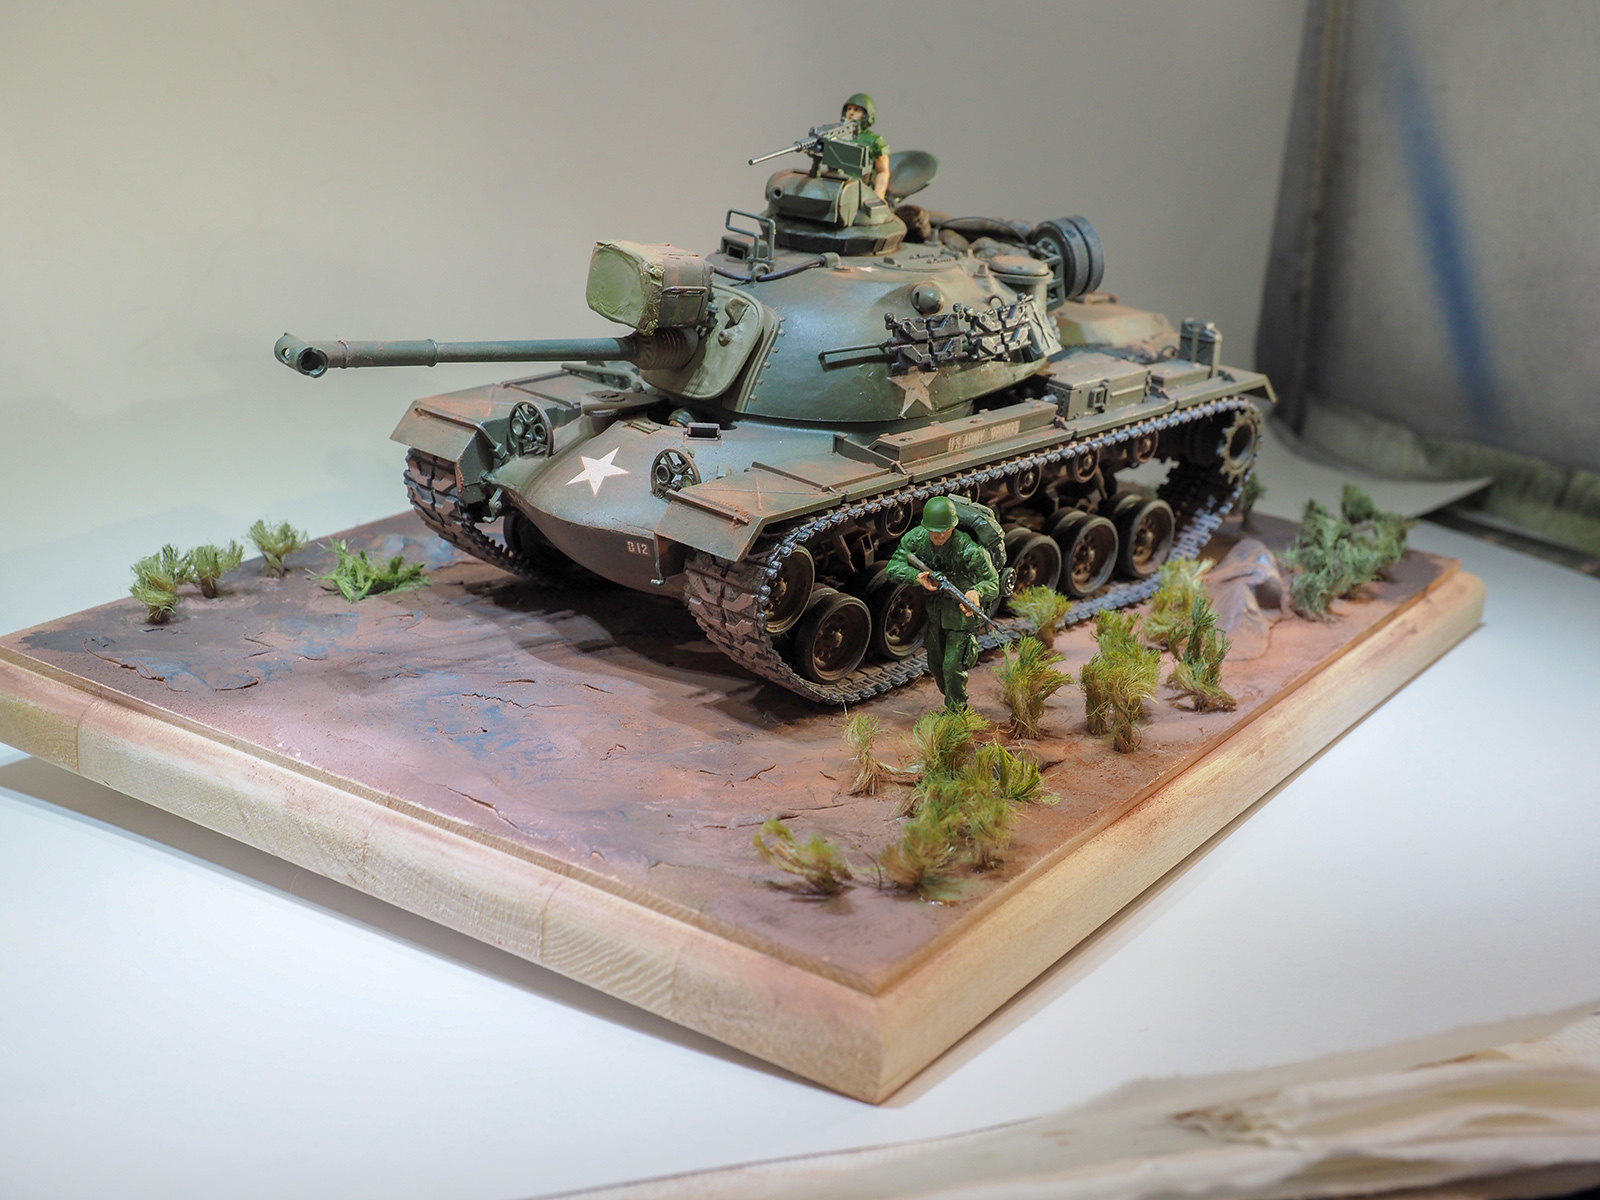
So, with having acknowledged the fine help and information provided to me by you generous folks on this site, here’s the finished build. I’m not great at making dioramas yet but I think I’m getting the knack of it. I attempted to show several different shades of red Vietnam earth as well as rocks and some vegetation that was peripheral to the actual jungle. My brother who was stationed in Bearcat - 20 miles NE of Saigon - back in '67 - '68 said it looked alright. That’s good enough for me. Like I said, not great work but I now must move on to either a ship or an aircraft kit. After that I’ll definitely be back to armor!

Nicely done, like the base as well. Foryour first armour build, you should be very chuffed with this. Look forward to seeing more heavy metal from you.
Very nice for your first armor build. Just remember this is a hobby so the main goal is to have fun and relax if you ain’t doing that then your doing it wrong. Accuracy will come in time.
[dto:]
Bish and Rambo,
Thanks, and I agree about the having fun part! I very much enjoyed this build with the possible exception of working on the figures … just not there yet as far as they go. I now realize I forgot a clear flat coat on them but, OK, it is what it is and I did enjoy most of the process.
Next up … probably WNW 1/32 Sopwith F.1 Camel USAS.
Looks pretty friggin’ good to me. Really like the infantryman, I love to see figures next to a vehicle to show how big (or small as the case my be) it is.
Mike, it took me years to get figures to a point where i was happy. I always ended up with the Marty Feldman look. It was only a couple of years ago that i really improved, though i still have some way to go. It will come in time.
double [dto:] [dto:]
Great. Those little adjustments worked out fine.
[B]
Hmm;
First Armor ? Well , it is looking good to me . Nice job . The base and groundwork add quite a bit . I would say Bravo !
I like it and I think your figures look just fine.
One thing would be to put the antennas on the tank.
Nice work.
Thanks Gamera, SprueOne, Tanker-Builder, and GM.
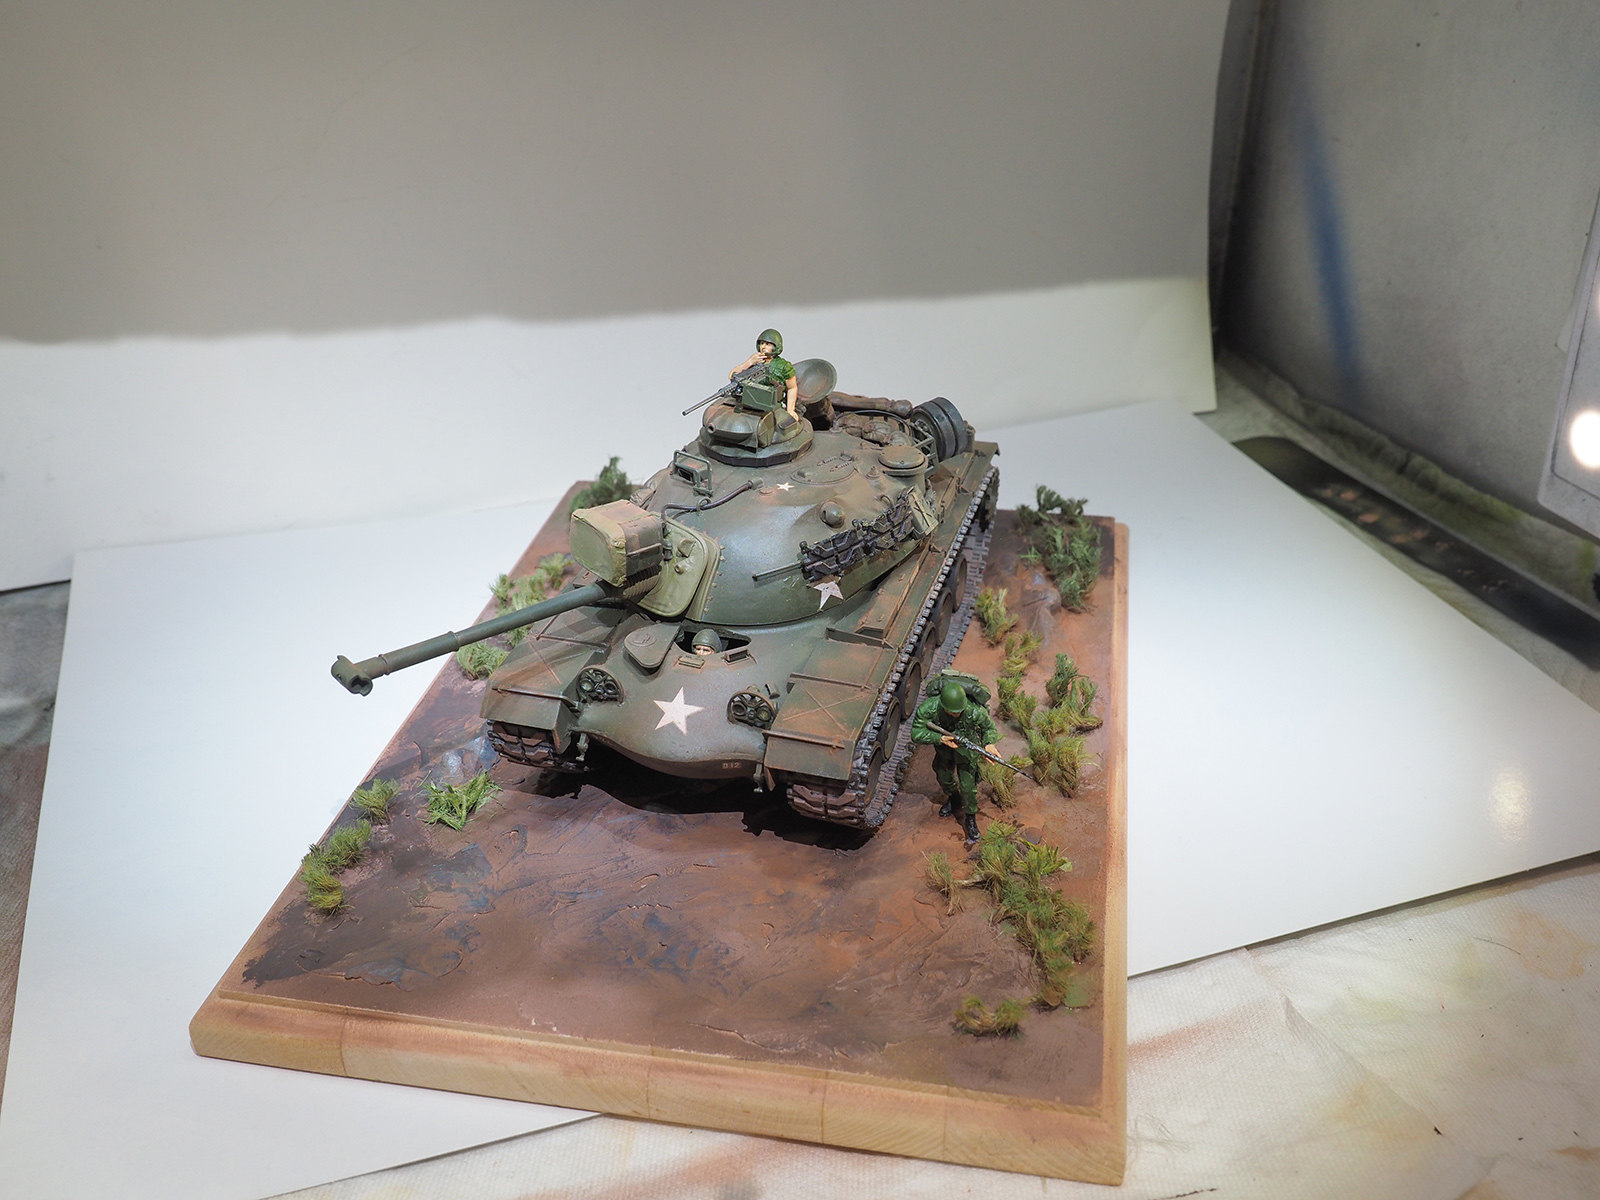
GM, If you look carefully at the rear of the cupola you’ll see the antenna. It’s bent over to be tied onto the railing. If you read what M60_tanker said in the last post on page 1:
“The main antanna for all US M48 and M60 tanks was located behind the tank commandeers cupola. The other two locations(behind and in front of the loaders hatch) were only used on command tanks. Hope this helps.”
So I only put one antenna on this tank thinking that it’s one of several on patrol and, I assumed - just for my modeling purpose - that it was not the command tank.
Bish, I hope I do get better at the visage of these little figures. The ones (beside the driver which is a Tamiya figure and can’t be seen much) I used are well modeled and it’s only my lack of skill in painting their faces that worries me. I’ll eventually stumble on a technique that works for me.
Mike, it was faces that i struggeled with on here. It was the guys on here who have helped me come on leaps and bounds both with tips and pointers to good referances. I like your thinking and look forward to seeing more armour and more diorama’s from you.
“So I only put one antenna on this tank thinking that it’s one of several on patrol and, I assumed - just for my modeling purpose - that it was not the command tank.”
I was hoping you would post more pictures.
You are correct in that it is not a command tank according to your bumper numbers.
You are showing it belonged to B Company, First platoon, Second tank. Wingman to the platoon leader.
Command tanks would have been marked as:
Battalion commanders tank:
HHC-66
Company Commandeers tank:
A,B,C 66
Platoon Leaders tank:
A16, B16, C16 or 26, 36.
Platoon Sargents tank was: 14,24, 34.
Only other thing is the 9th Infantry Division never had tanks assigned in Vietnam. The 2/77 Armor was assigned only after the 9th was reassigned to Ft. Lewis WA. in the early 70’s. On a personal note, it was my first duty assignment.
For a first try at a tank you’ve done an excellent job. There is always more to learn about weathering and showing wear, but some guys don’t prefer to go that route. Keep doing whatever you’re doing. You’re off to a great start!
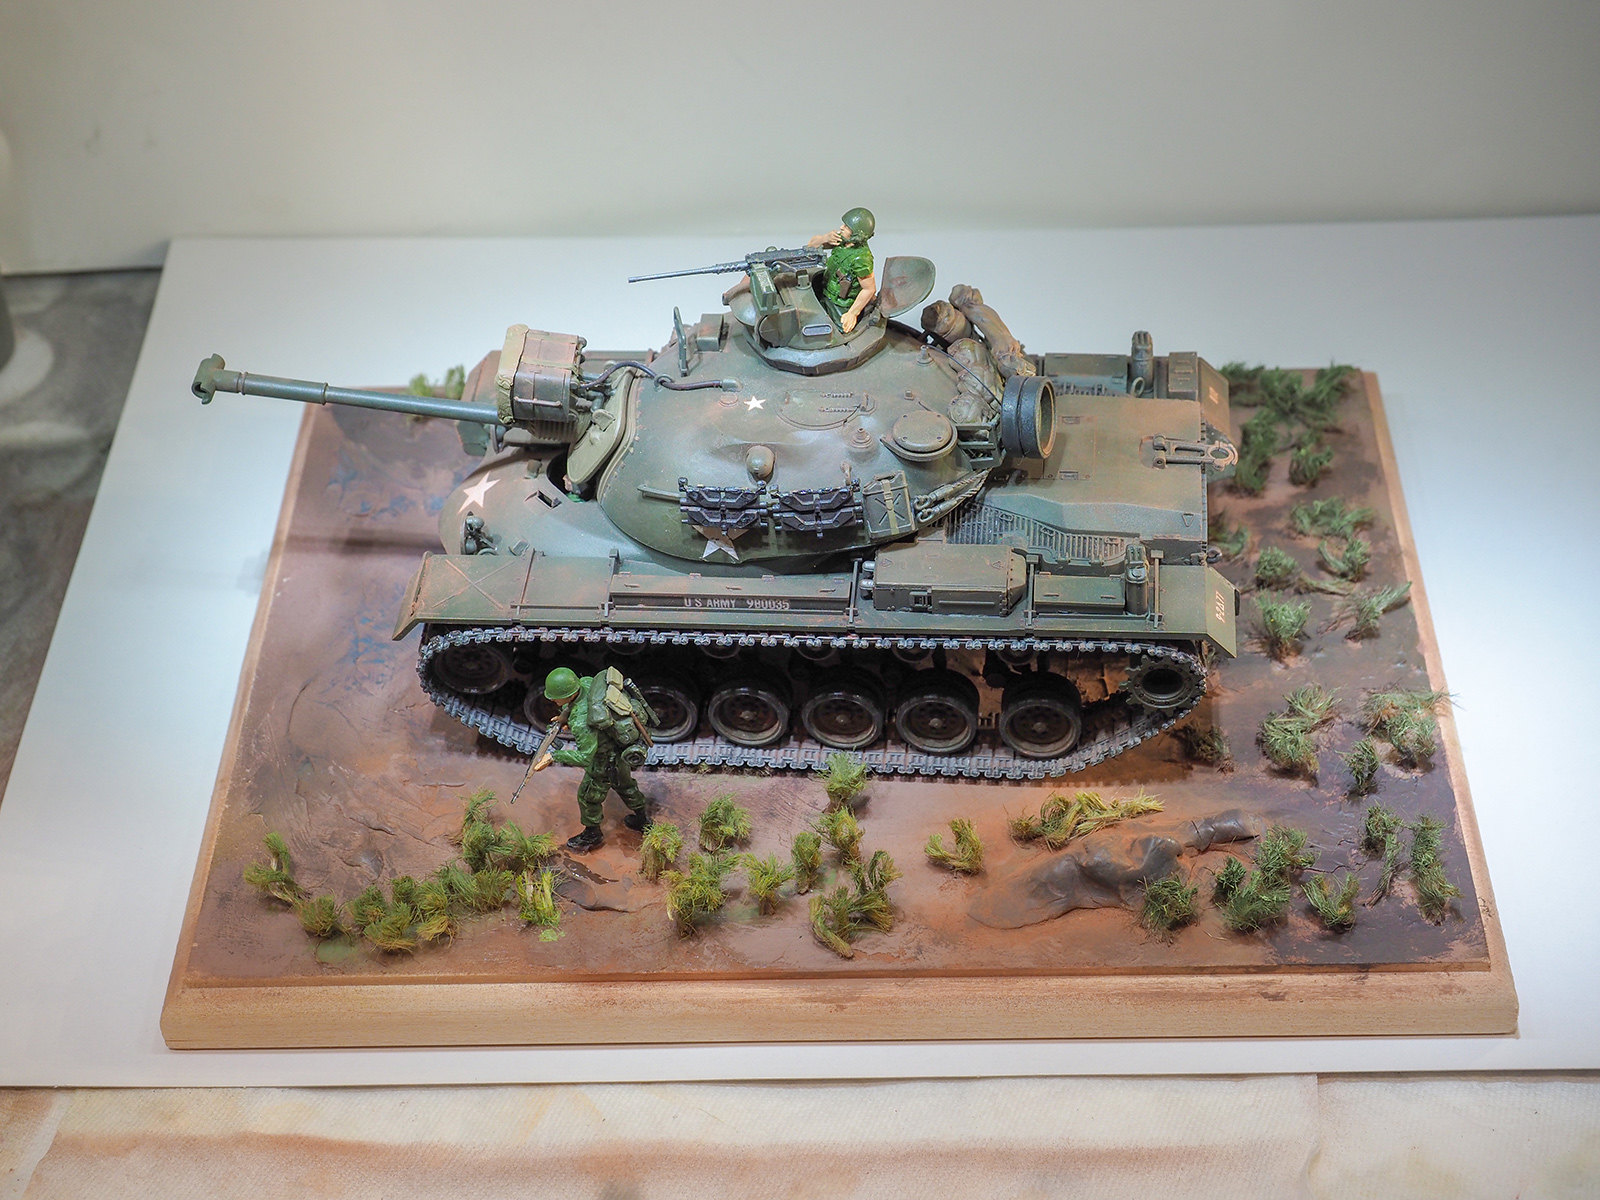
Looks awesome. How did you simulate those dirt effects on the upper hull? Kinda looks like pigments but I’ve not had a chance to use them yet so unsure. I’m looking forward to seeing what other armour pieces you put together.
Baratheon,
Thanks.
The dusting of the Vietnam soil/dirt was a blend of AK pigments I put on using a combination of my index finger and a spare, square, semi-stiff paint brush that I’ll use for pigment applications from now on.