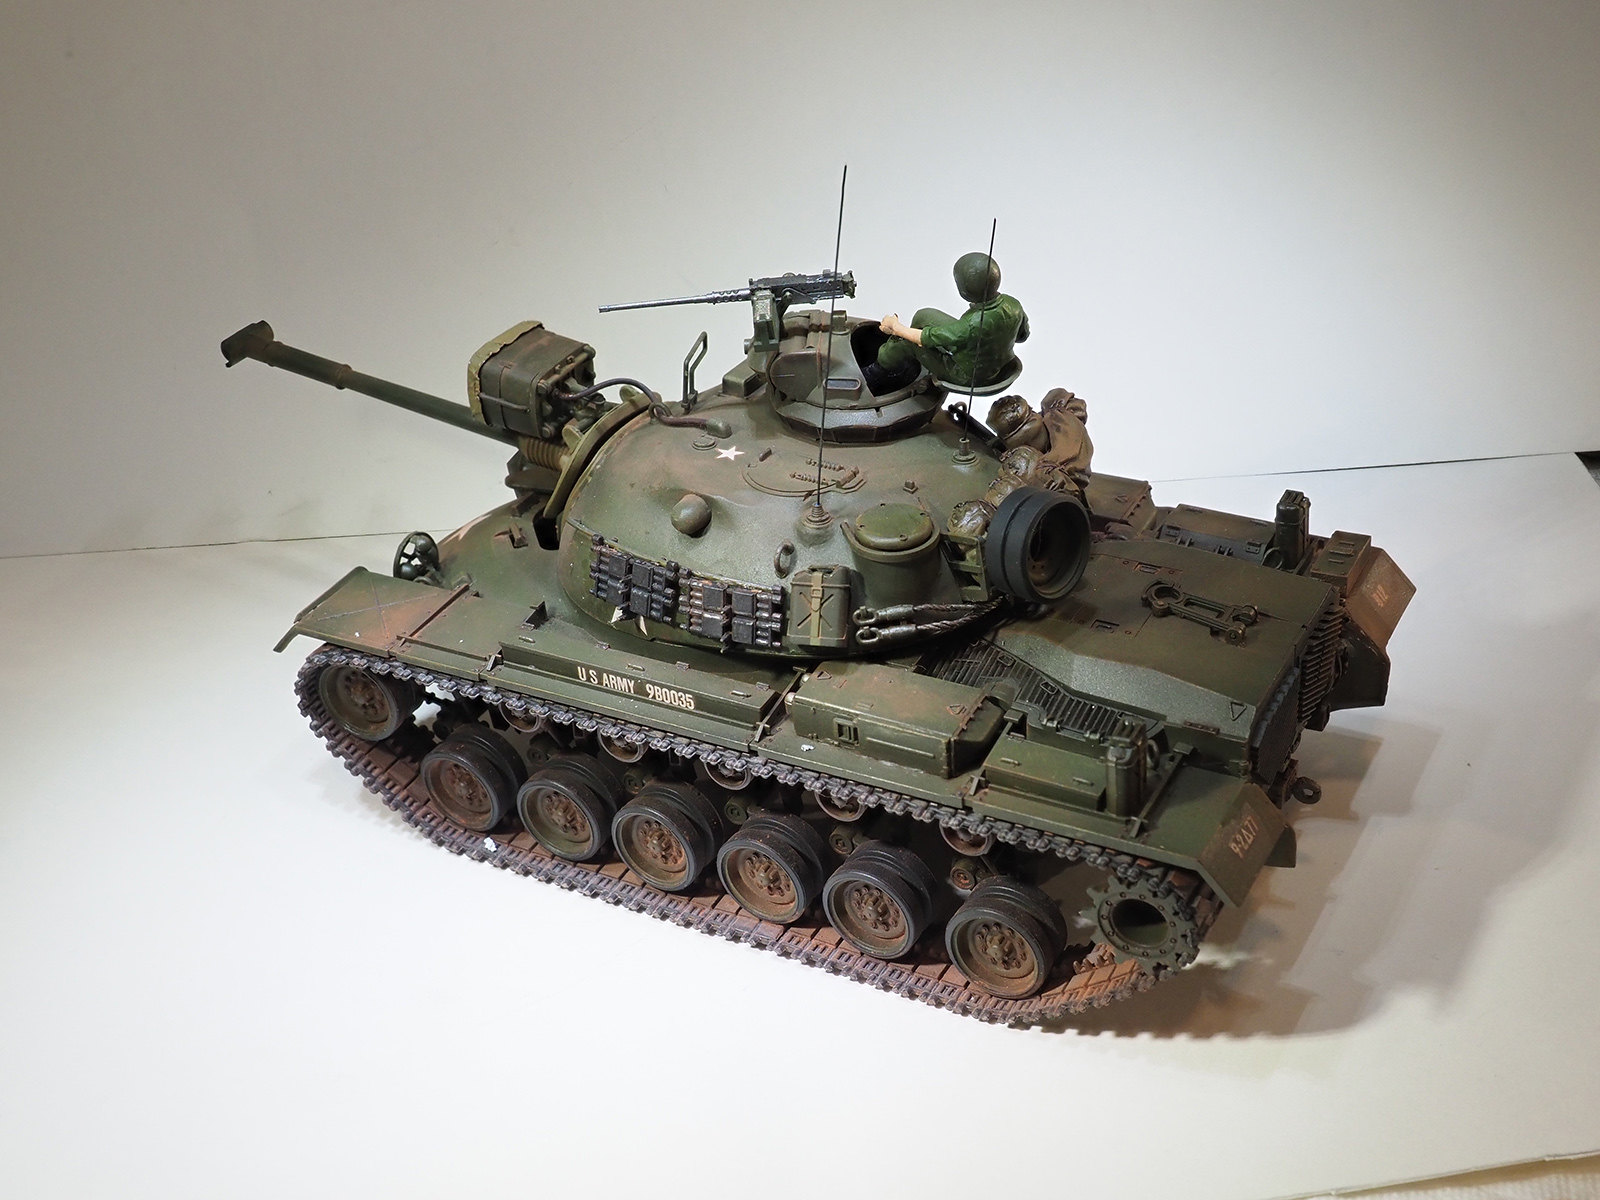
I’m not in the same league as most of the posters in any FineScale forum but I kind of like how my build turned out. I’m not quite done with the commander yet - more washes, etc. to go but I am finished with the tank.
I would appreciate constructive criticism as that’s the only way I’ll learn.
The tank looks excellent to me. First armor? Dang.Just the right amount of weathering. And it’s 1:48 scale which is very impressive. The commander figure needs help. That model’s way too good looking for that figure to be on there. But like you said you’re still working on him. Or just throw him in the parts bin. Great job bud!
I am not in a position to be critical, having completed all of 3 tanks. I think you did a very good job on this kit. The build is solid, the painting is excellent, and the weathering look pretty good as well. I like the choice of color for the dust and dirt. Pretty darn good as far as I am concerned for a first armor kit.
I will leave it to some of the more experienced armor guys to provide guidance.
Guys, I’m sorry I wrote the wrong scale in my thread’s title. I’m so used to writing 1/48 which is the size I build in aircraft that it just came out that way. I’ve just now corrected that mistake.
Thanks for the ecouragement even though I know the commander needs work - a lot of work. I may just leave him off the tank although I thought about making a small diorama for the model with some tracks behind the Patton in Vietnamese dirt and grass. I’ll ponder that.
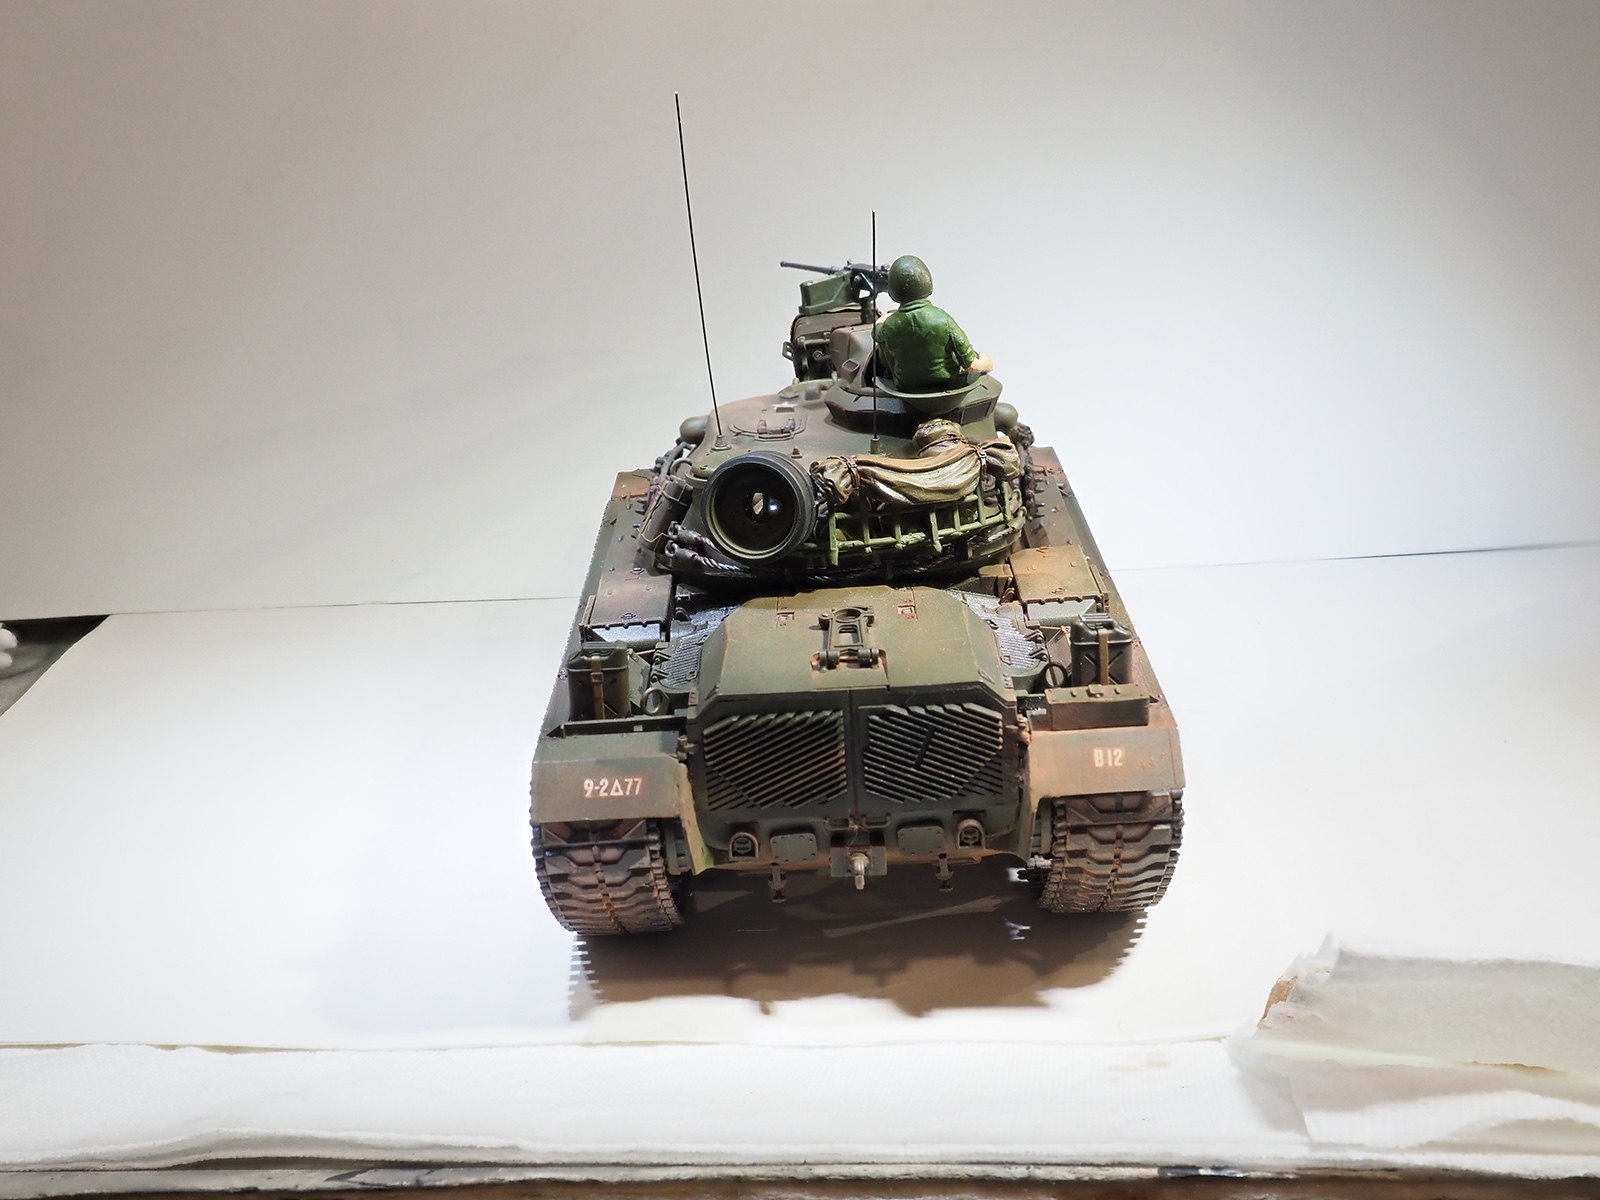
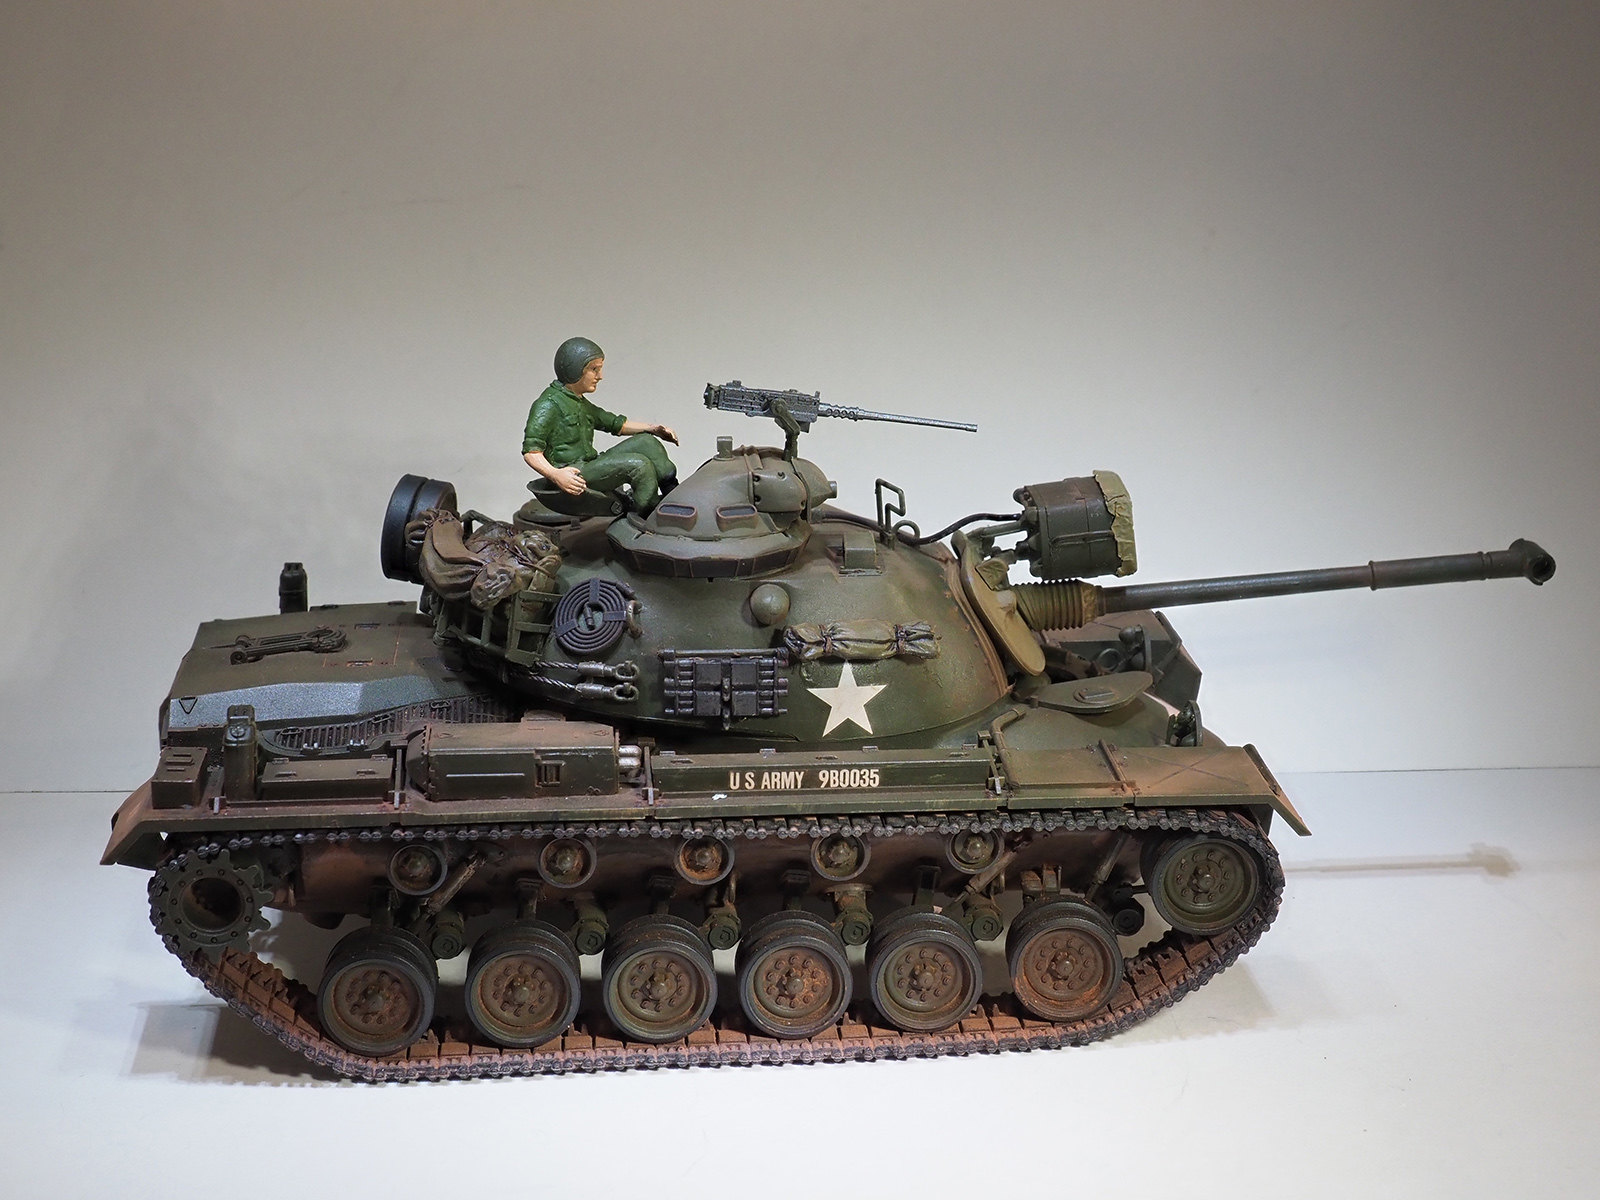
Very well done sir, great attention to weathering the tracks under the road wheels, some of us seasoned armor guys forget to do that. The tank looks the part and I like the pose of the TC don’t give up on him.
As for the figure - it’s not bad neither, but you should try a resin figure here - that would give you a chance to learn even more! Or try a simple head swap - that could give you a much better look for less money. Good luck with your modelling projects and have a nice day
Figure isn’t even your fault. I have the same kit I’m looking at the figure. It’s a crap mold has no detail on the uniform or the helmet. Alpine Miniatures makes a great Vietnam tank crew set. Look it up on eBay. The tank itself is outstanding you did a great job.
Thanks for the kind words. Thanks also for the tip regarding the Alpine Miniatures set … I just ordered it from BNA Model World. A little pricey but it’s resin and had good reviews in addition to your recommendation.
I see your M48 came out very nicely. I’m glad you took care of that track problem. Very good weathering and shading. Please post the pics when you put the new resin figures.
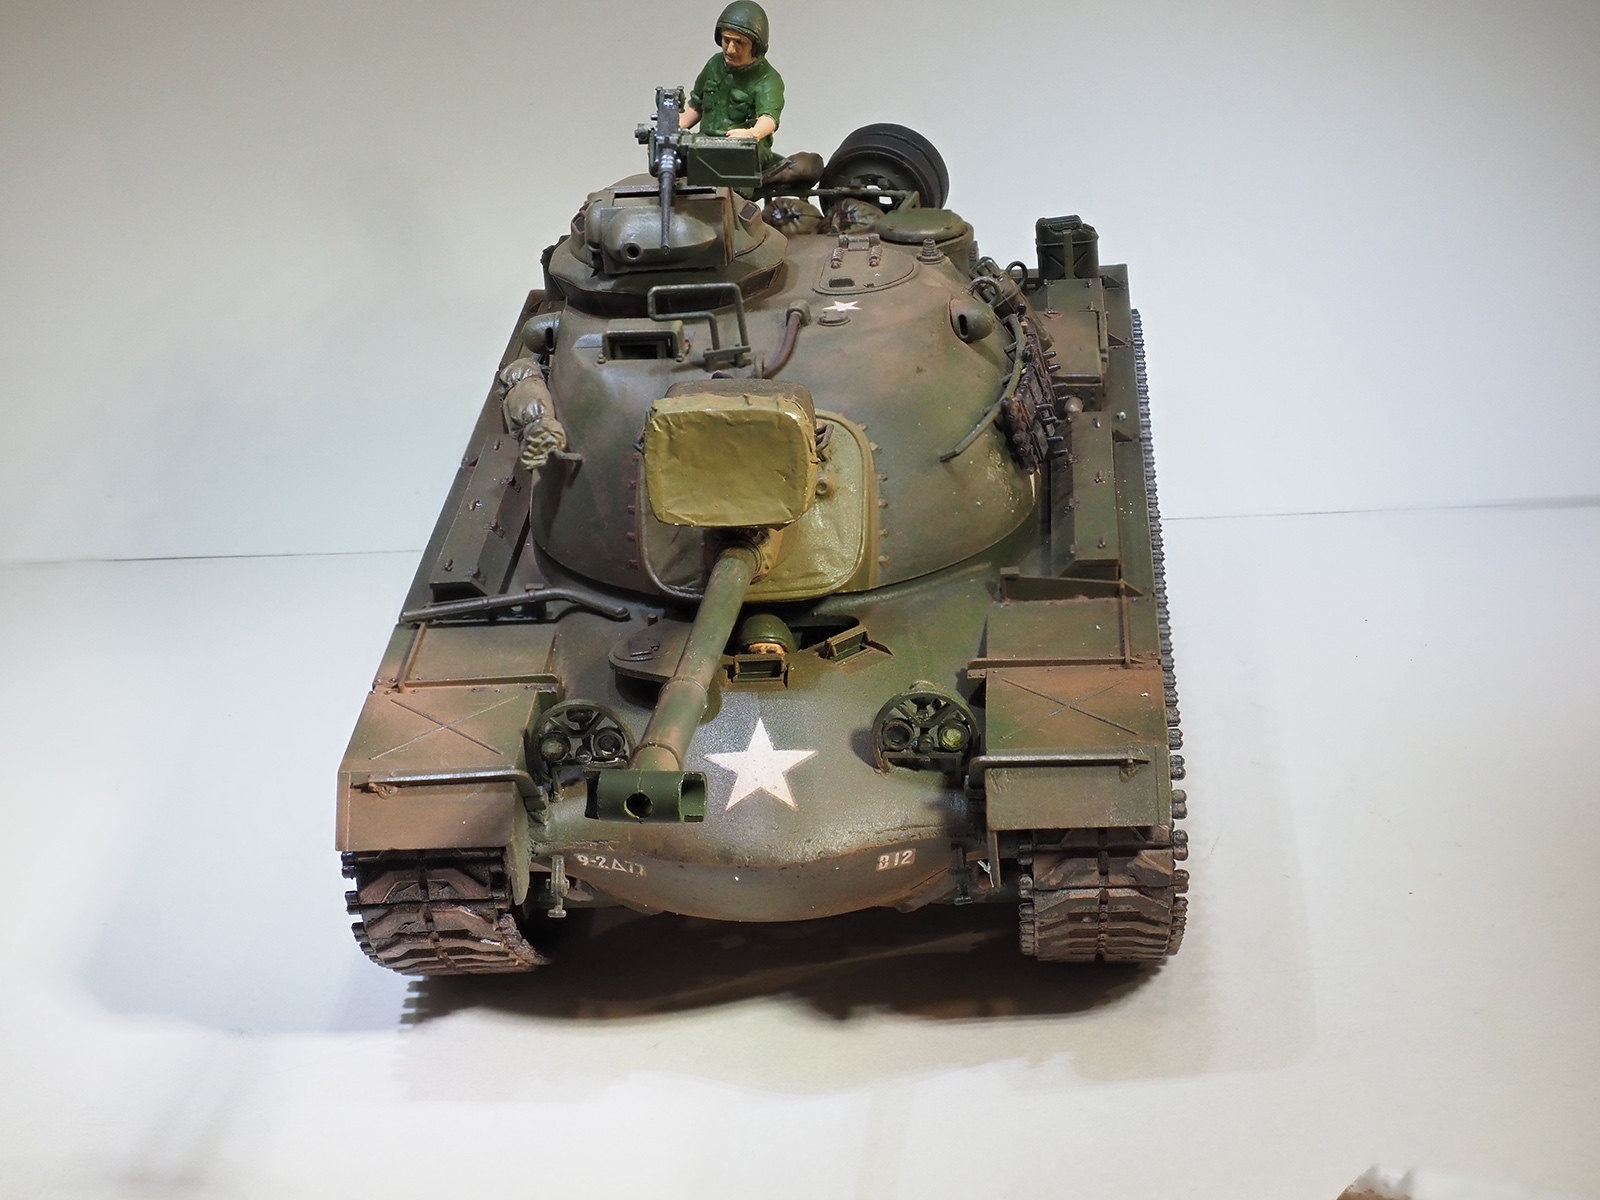
Straight out of box build are my favorite. First armor model, very good, but a few things since you asked for CC.
The tracks are installed backwards but they are painted and weathered very well.
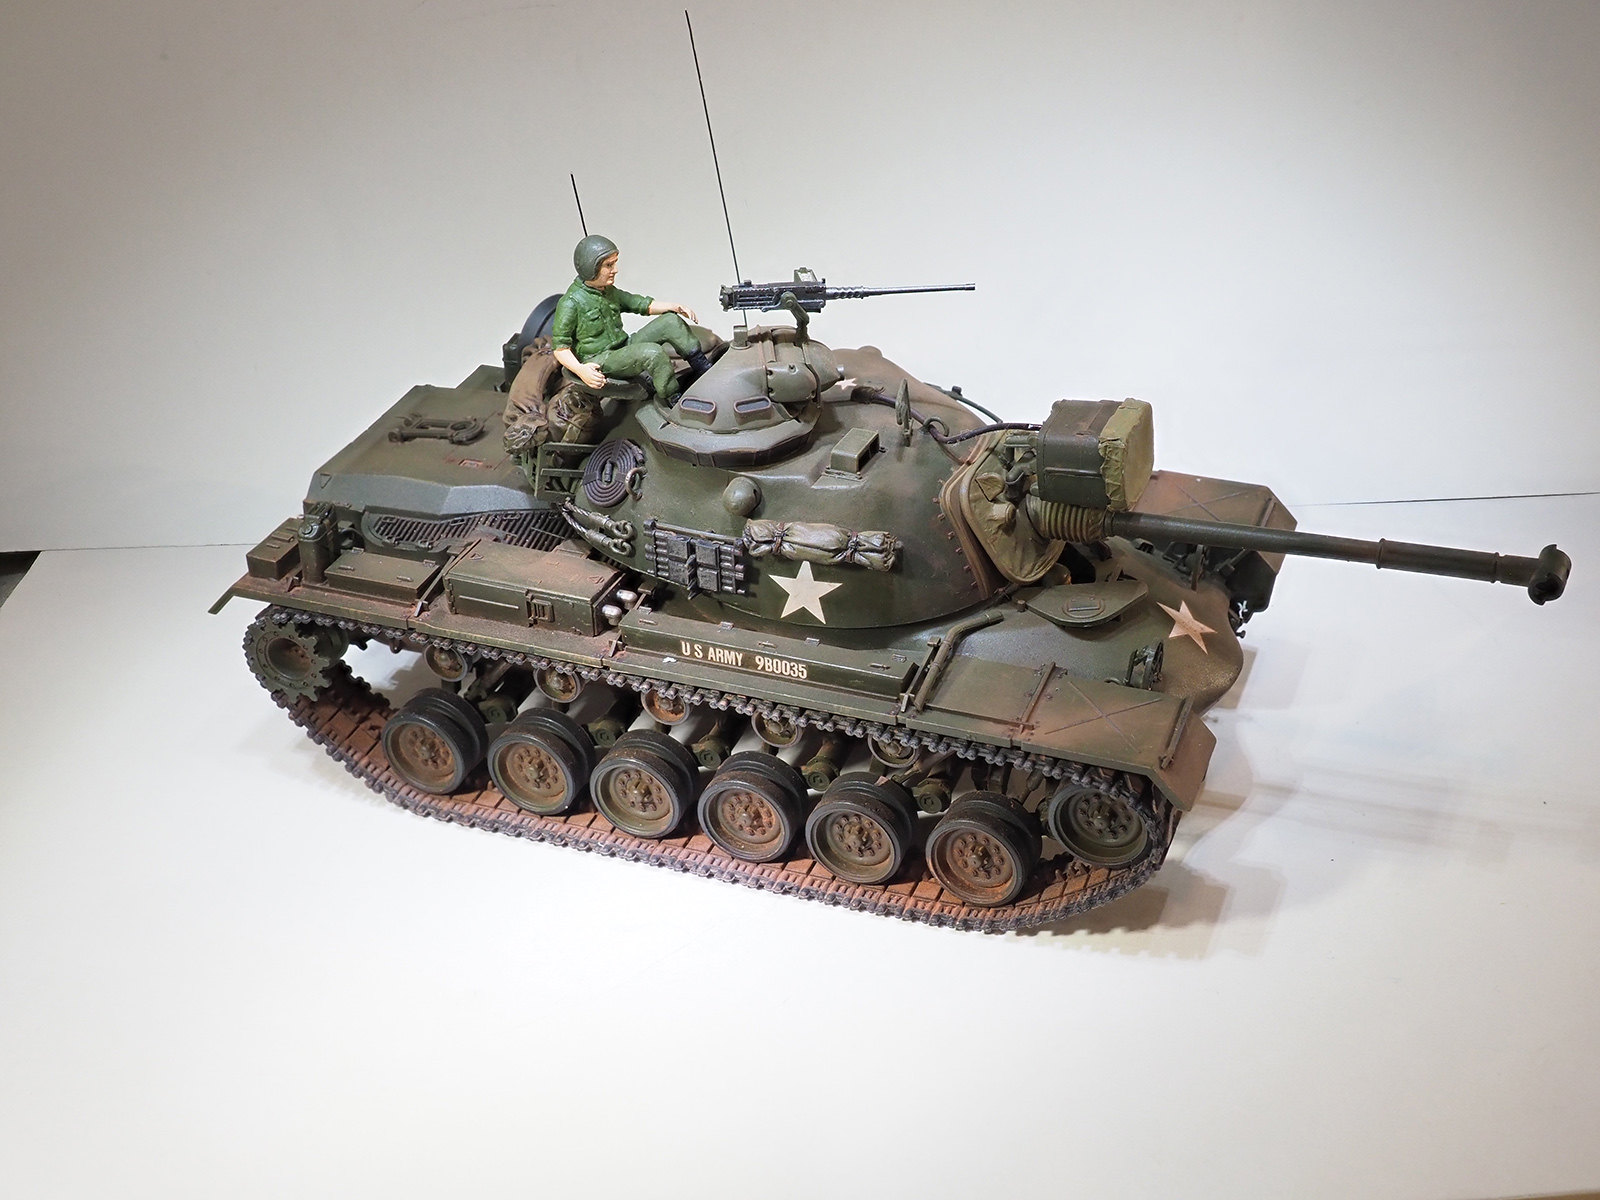
I don’t think that’s an antenna mount behind the loaders? hatch, however your antennas look good as antennas, what are they made from?
Some of those seams can be addressed but on your next armor build, which I hope there will be more from you. You got most of them though.
Now a couple Props:
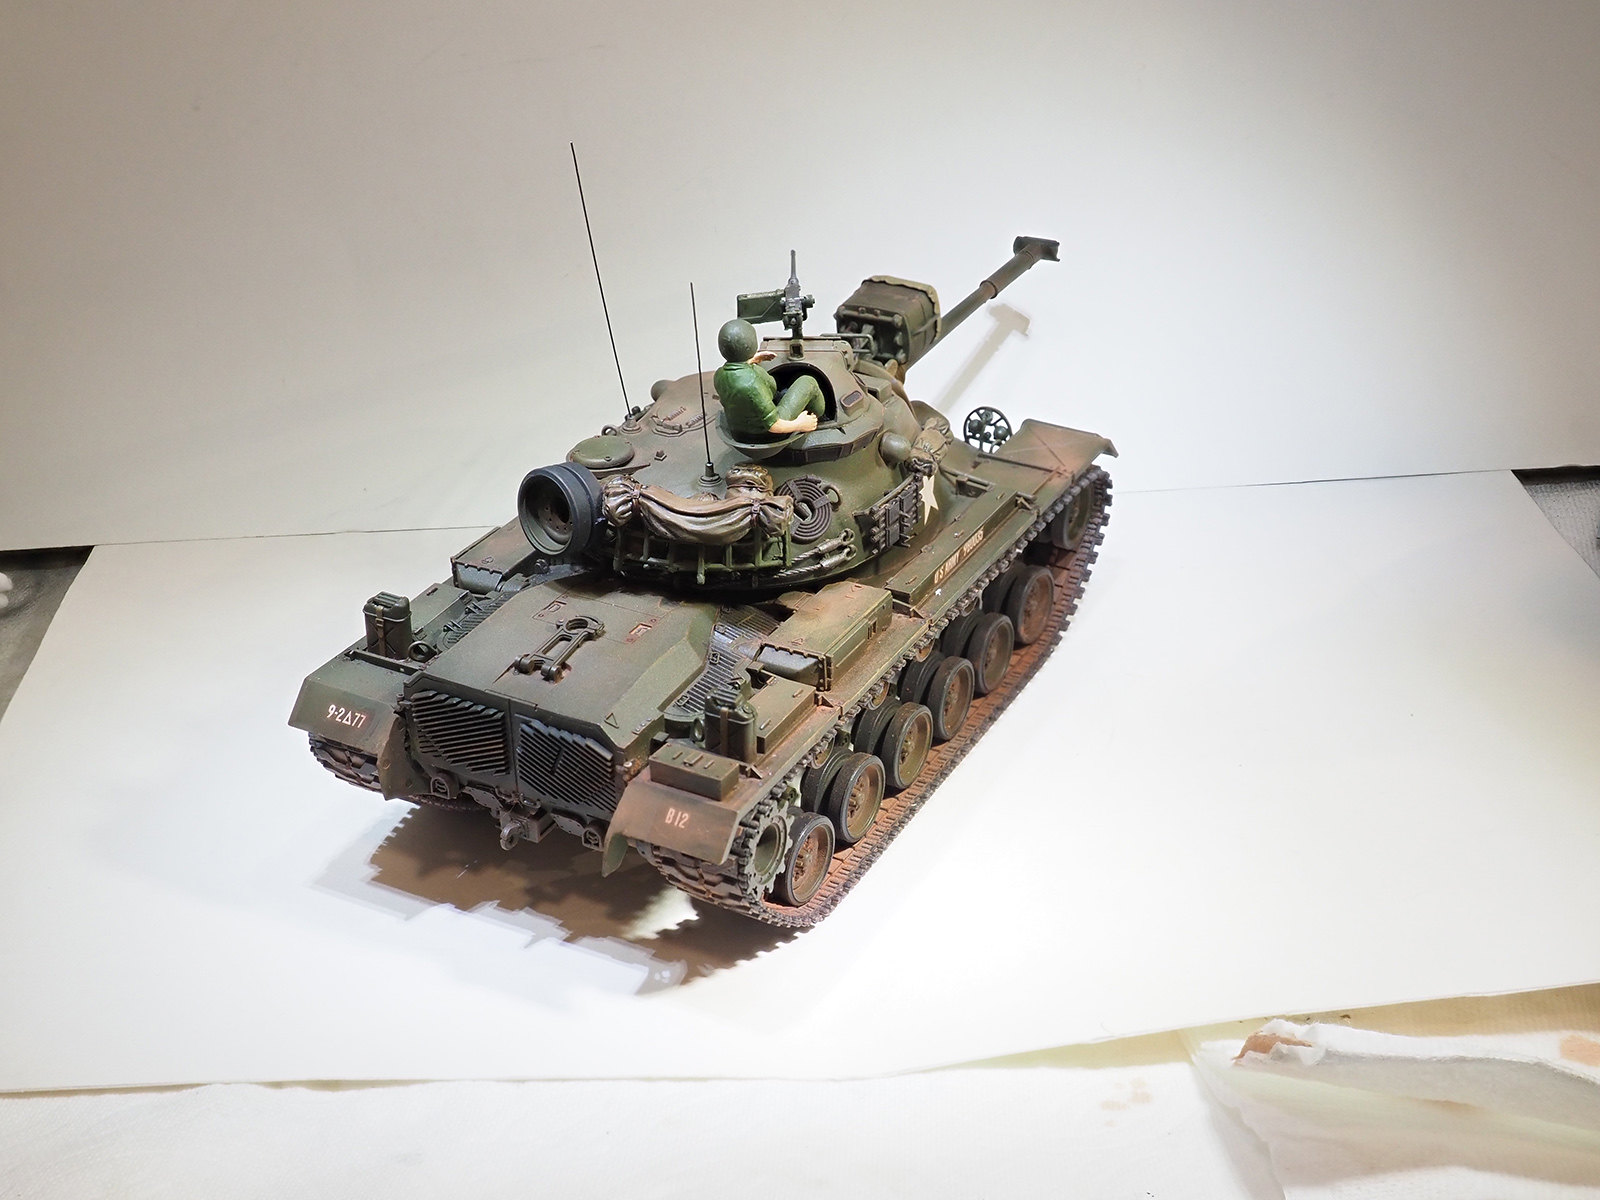
What are those tow cables made from? They look great because I can’t see any fibers. If they are the string from the kit then you are a, Kit Provided String Handling Jedi.
Nice detail touch on the search lamp cover.
Like others said, the figure in this kit is not your fault but I’m looking forward to see how you solve that problem with the skills you’ve presented here with the tank kit.
Mike you did quite a fine job here, and like everyone else sez that commander figure is beyond help. I did scrutinize the pics to see if I could advise you on anything and here’s the few things I found…
There are some visible mold lines on the towing hooks. Having built this kit about five times over the years I know these are difficult to scrape off. In places there are mold lines visible on the turret rails as well. The headlight guards could have been thinned with a scraping knife and a fine file, they are way overscale. In front of the fume extractor and the muzzle brake the join lines of the barrel halves are somewhat visible and could have used a bit of putty and a sanding, and that’s all I could see.
I very much appreciate your heads up regarding the tracks [:$]. I’m working on fixing that as I type this.
You said:
“I don’t think that’s an antenna mount behind the loaders? hatch, however your antennas look good as antennas, what are they made from?”
Well, I just tried to follow the box art but I really could be wrong where I placed them. They’re made from .41mm (28 gauge) steel wire. I’d planned on using that wire on some ship and aircraft models but it seemed about right for this application.
You asked:
“What are those tow cables made from? They look great because I can’t see any fibers. If they are the string from the kit then you are a, Kit Provided String Handling Jedi.”
No, I’m not a Kit Provided String Handling Jedi [:D]. I didn’t like the way the string that was supplied in the kit looked when I painted it. I just delved into my rigging stash for sailing ship models and used some black rigging rope (I think it is 1.14mm) from Syren Ship Model Company and painted it metallic gray:
Thank you! I can see the mold lines and should have done a better job on the turret rails also. I guess the headlight guards is an issue I’d not recognized - so thanks for that info. I now see (why I didn’t catch it before I have no clue) the join lines near the muzzle brake/fume extractor - next time!!