Hey everyone. =]
It’s been a good little while since I’ve been able to fool around on the forum. Work and family keeps me pretty tied up. Especially work. I orginally didn’t intend on creating a WIP for this build only because I didn’t believe I could even keep up with posting one let alone have any sort of consistent build time. Luckily, fortune has been swinging my way in this regard.
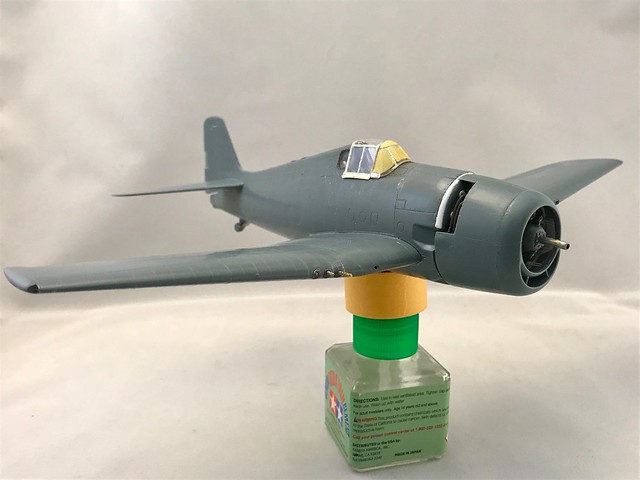
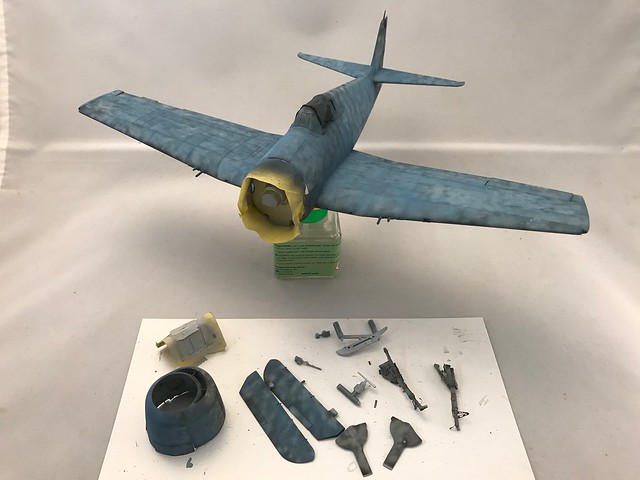
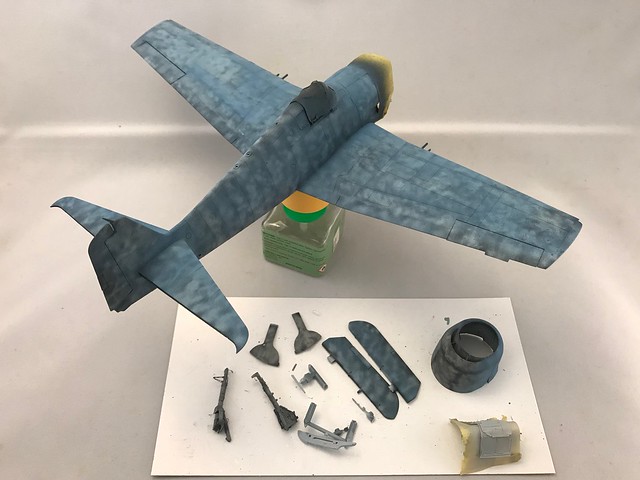
I won’t beat around the bush here. Let’s jump in. I’m redoing a build I did years ago that didn’t survive the move to our home and I figured Vraciu deserved a better attempt at a nicer looking hellcat. Lots of upgrades here. Mostly out of curiosity to see how some of this would turn out, but I also wanted to have a smooth looking, accurate hellcat. You’ll notice I suffer from that thing your hear…advanced modeling syndrome. I think it’s congenital.
 Untitled by Britt Vallot, on Flickr
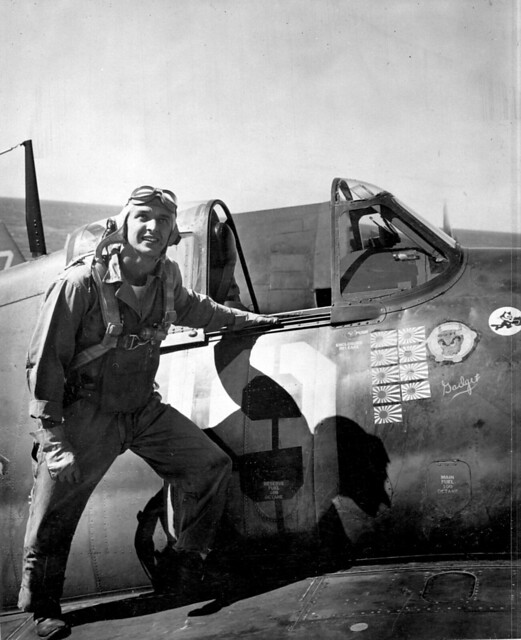
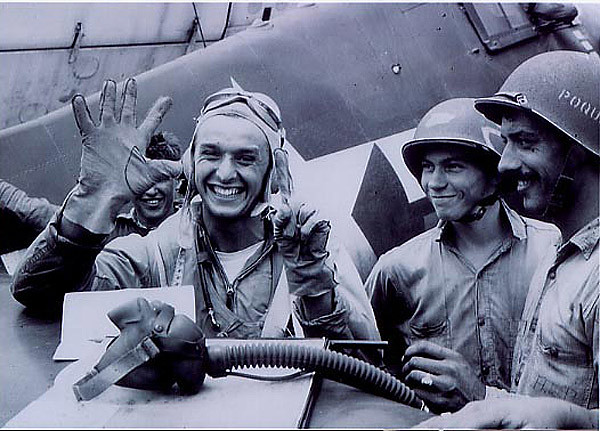
Vraciu was a hell of a pilot. I’ll skip the history lesson for now, but there’s lots to be said about the man and his crew with VF-6.
The kit is Eduard. Won’t find a better hellcat out there. I’m adding Eduard’s Brassin Engine (mostly out of curiosity to see how these went together and matched up - definitely recommend), Eduard’s cockpit set, Eduard’s exterior details set, and Eduard’s undercarriage set to replace the wheelbay.
Huge uptick in detail with these sets. All of this could be scratchbuilt, and if you’ve seen my WIPs you know that I do, but I wanted to go a different route this time to see what the turn out would be and how I would feel about the result. There’s obvious pros and cons to PE parts. Overall, I’d say these are a plus for the kit. There are some scale issues that are more easily resolved with these PE parts than is often the case with scratchbuilt stuff. They take some of the guess work out and allows you to cruise along.
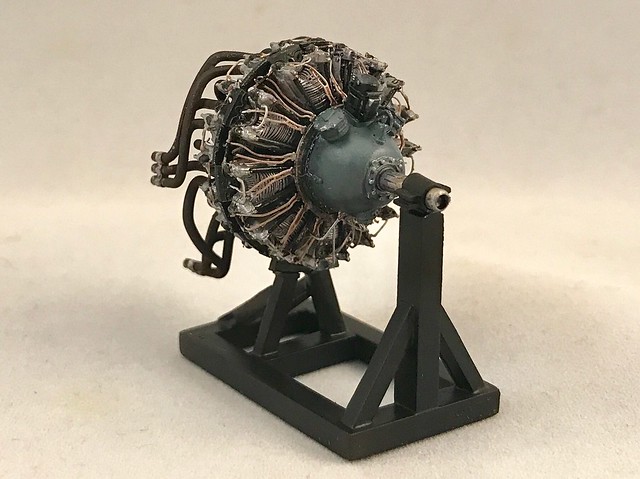
Start your engines
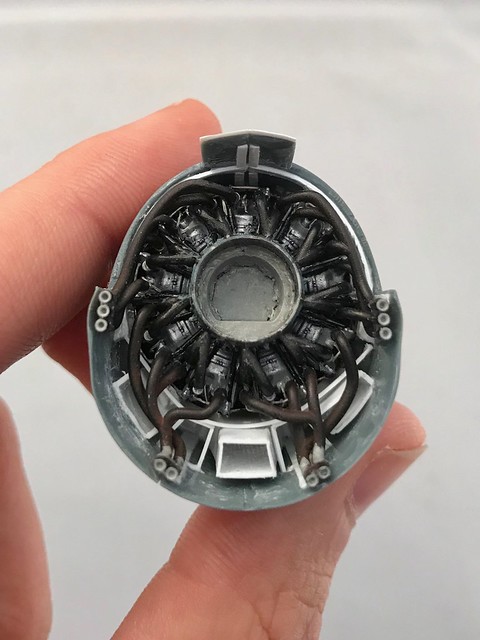
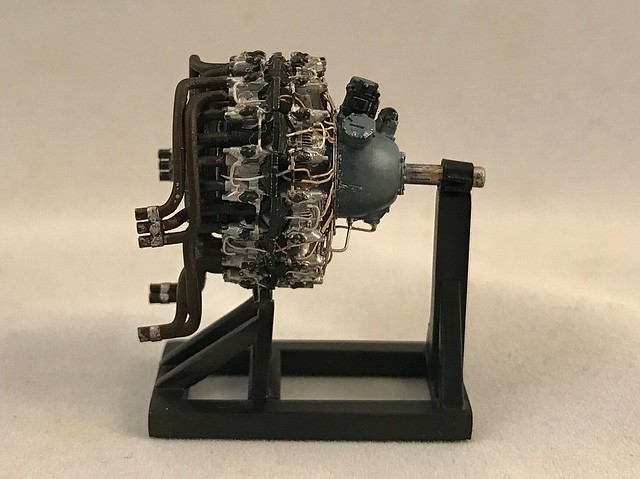
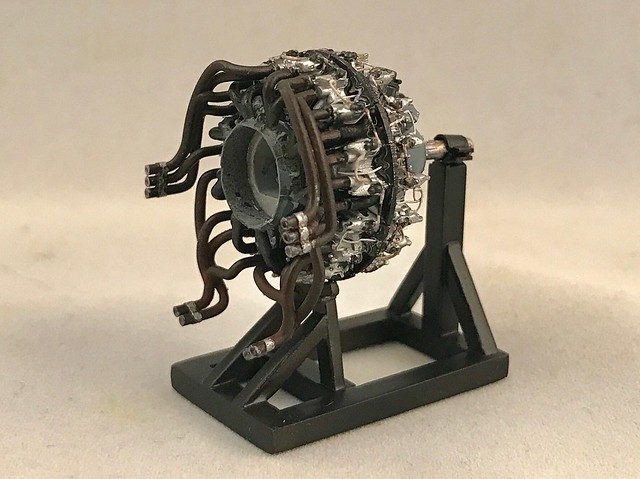
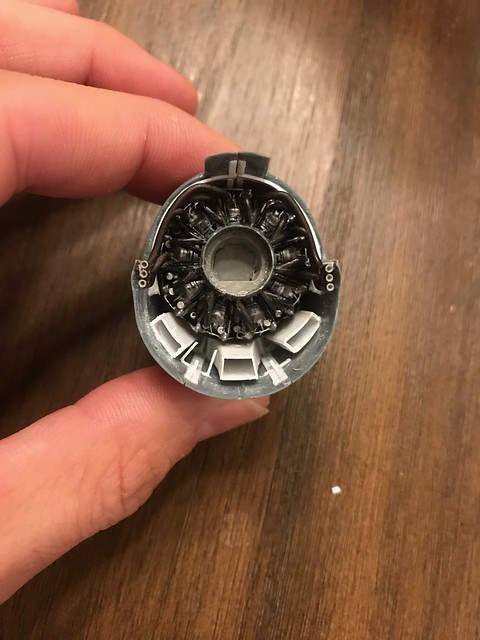
I built the P&W R-2800 a few months back while needing something to do that was low maintenance. I was mostly interested in this AM part for its exhaust manifold that comes included. I wish more manufacturers did this. It really is a beautiful addition to your hellcat.
(here’s a link to see the build process)
http://cs.finescale.com/fsm/modeling_subjects/f/2/t/176836.aspx
 Untitled by Britt Vallot, on Flickr
 Untitled by Britt Vallot, on Flickr
 Untitled by Britt Vallot, on Flickr
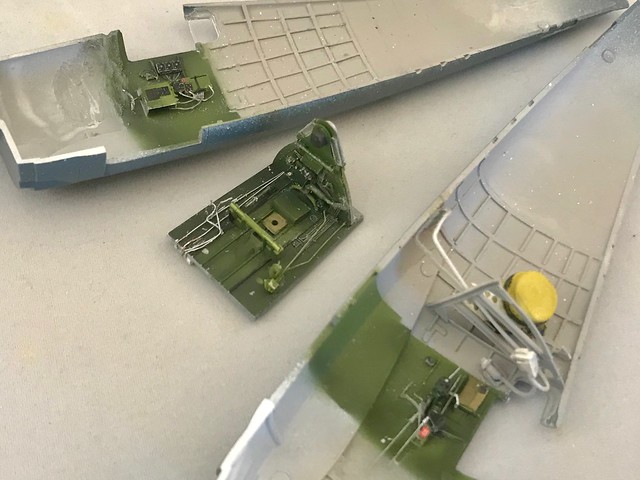
The Cockpit
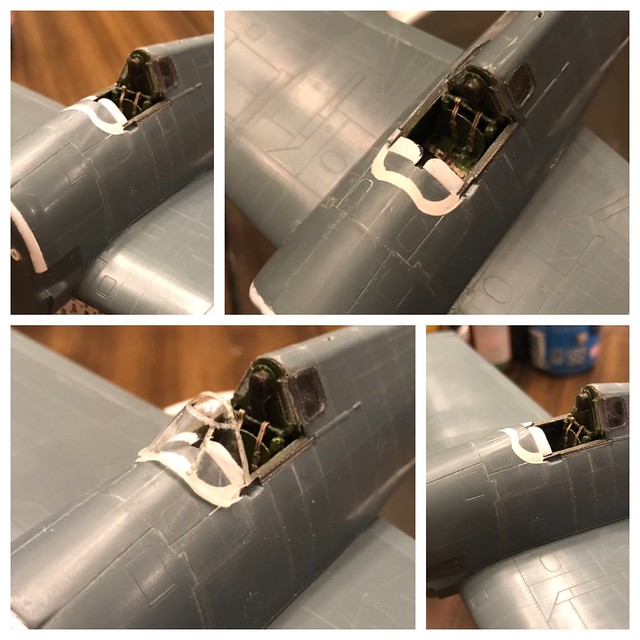
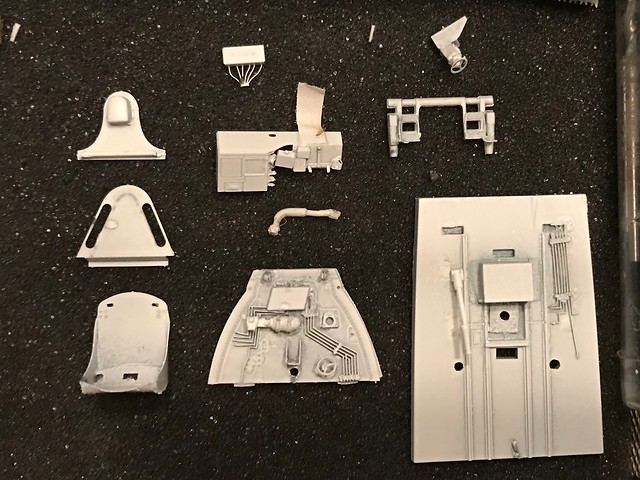
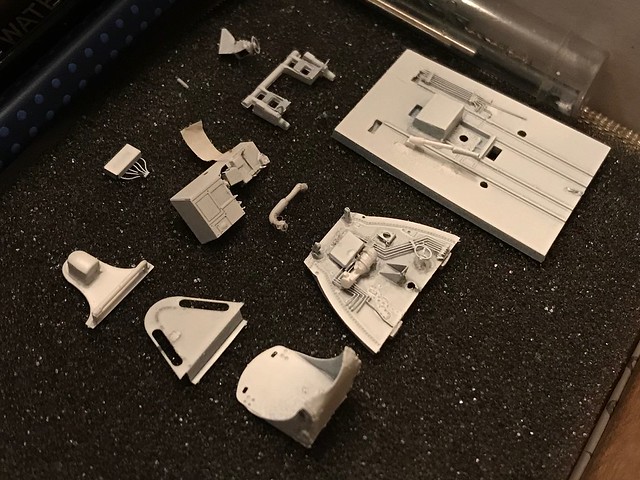
I started this build back in July and got working here first naturally. I was really happy with this detail set. I’m a little better at fooling with parts like this 6 years later into the hobby. I will say for more complicated bends and joins as with the undercarriage, you will need a PE metal bender. Trust me…just do it. $20 on Ebay. Do it. If you do you for-go a bending tool there is one other way about it when using PE parts to upgrade your kit. Take your kit to a well ventilated area. Drop it into a trash can and empty a 5 gl tank of gasoline into it. Drop a match into the trashcan and walk away slowly. Real time saver…I promise you.
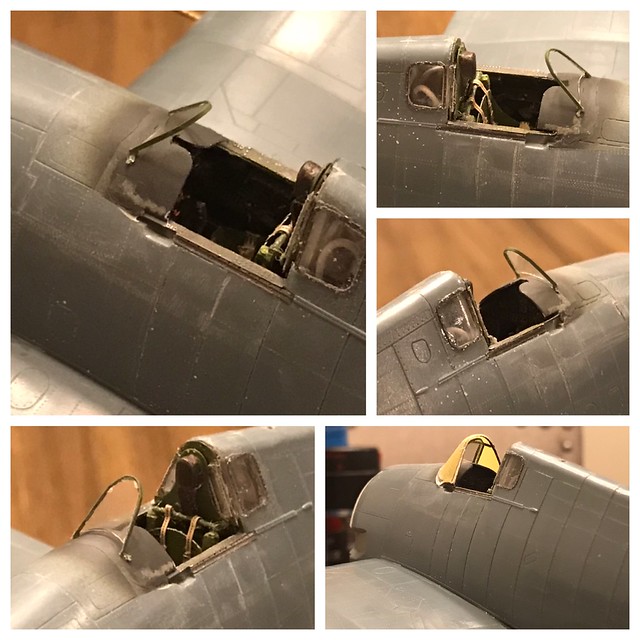
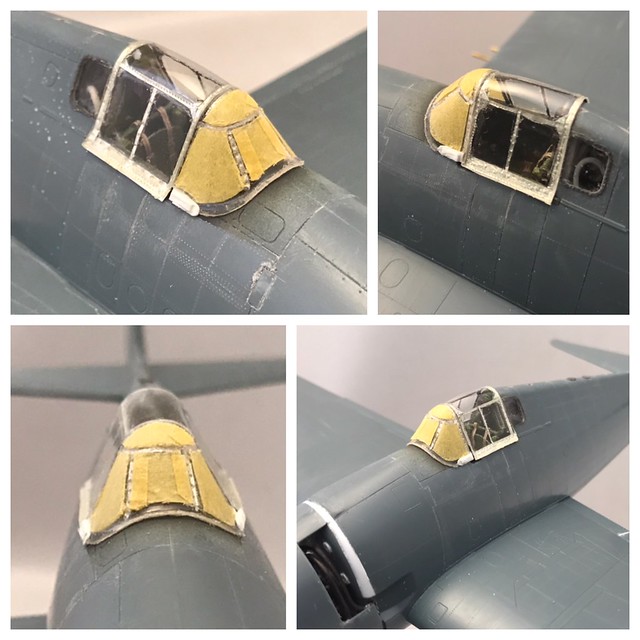
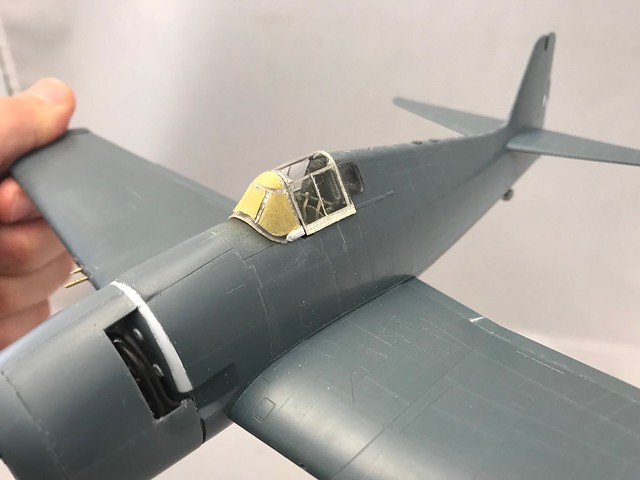
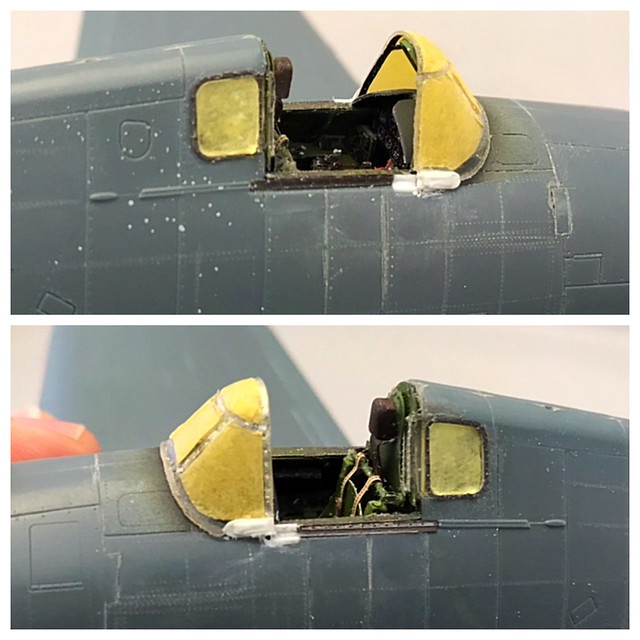
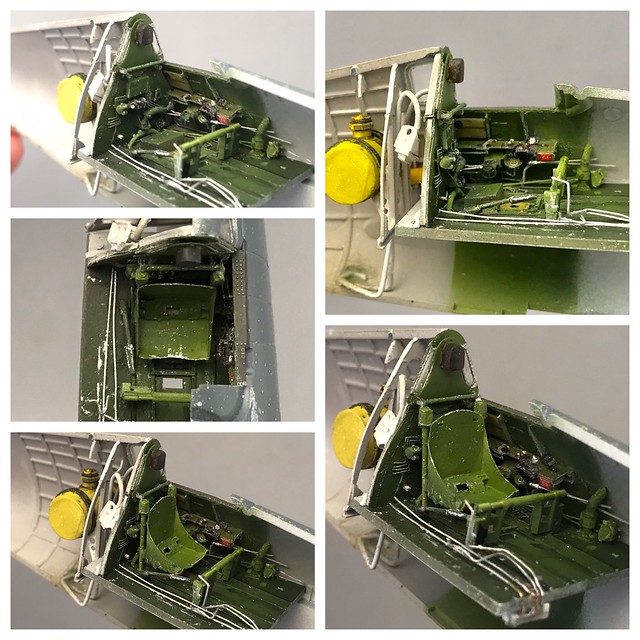
For the cockpit…you can probably get away without if you’re used to troubleshooting PE parts. And with a little extra scratchbuilding the results can be very satisfying. Most of this speaks for itself. If anybody has any questions about what you’re seeing, don’t hesitate to ask.
 Untitled by Britt Vallot, on Flickr
 Untitled by Britt Vallot, on Flickr
 Untitled by Britt Vallot, on Flickr
That one’s for you Joe! =]
 Untitled by Britt Vallot, on Flickr
 Untitled by Britt Vallot, on Flickr
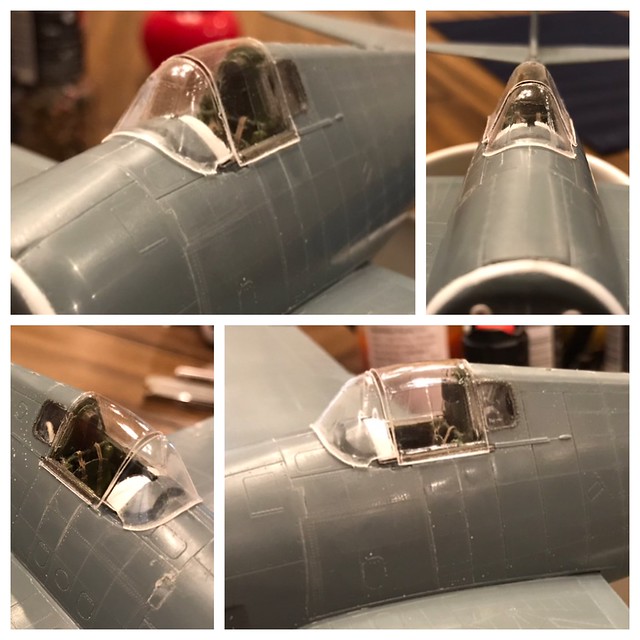
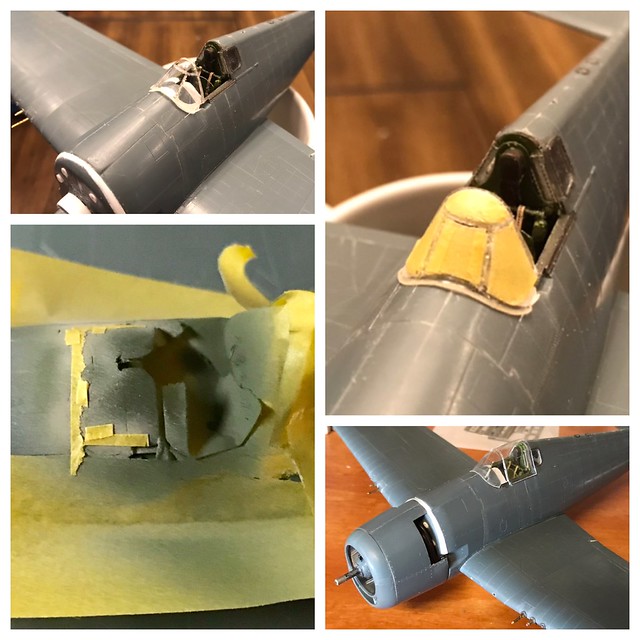
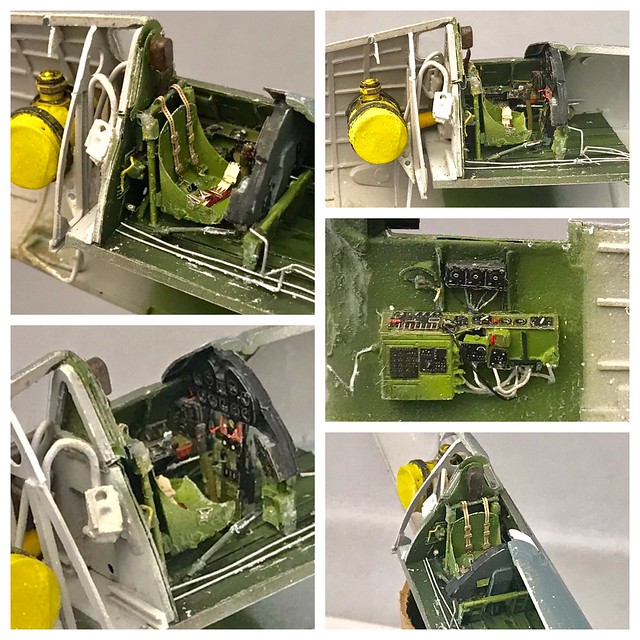
Of course all this hard work will get covered up and virtually never seen. So I did take about 90 pictures of it so that I could go back and see whatever angle I wanted to. I included every wire, cable, and whatnot that I had a reference for. Since the -3 had the window behind the cockpit, I felt the need to build up this area a little more than Eduard gives you the parts for. The water vent lines are a little too big in scale here. I believe the problem is that I start out with a brass rod that’s appropriate, but after primer and paint the layer that results is just thicker than it should be. Something I thought I’d pass on. None of this is really visible, but meh, I feel better knowing it’s there.
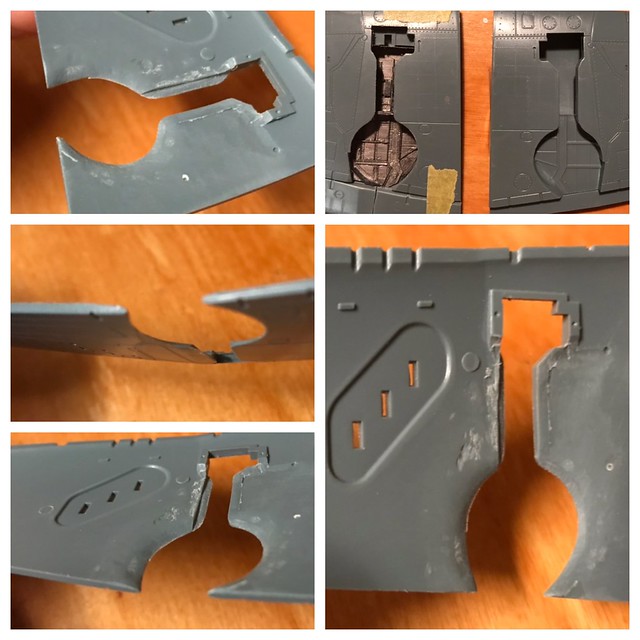
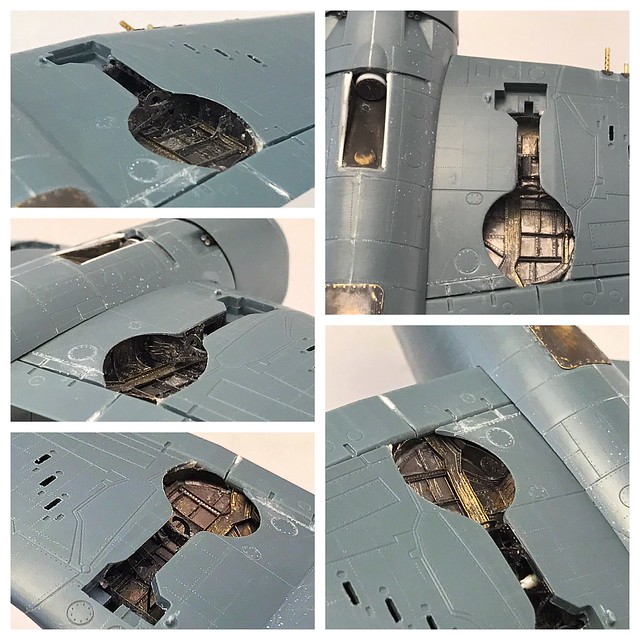
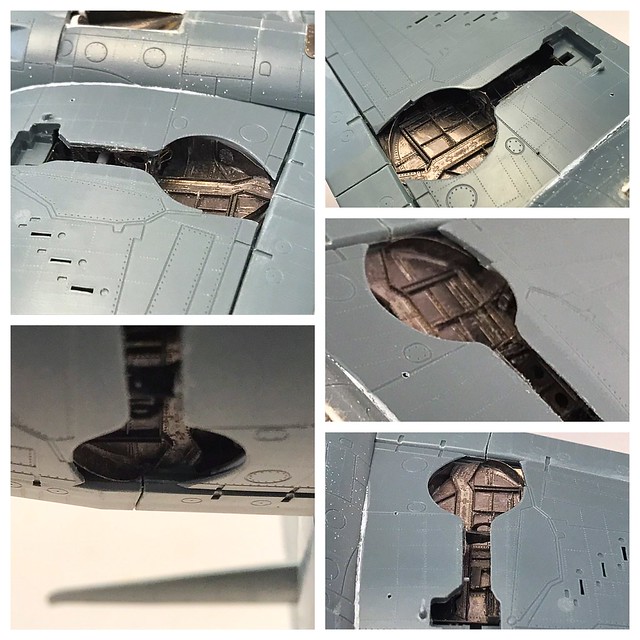
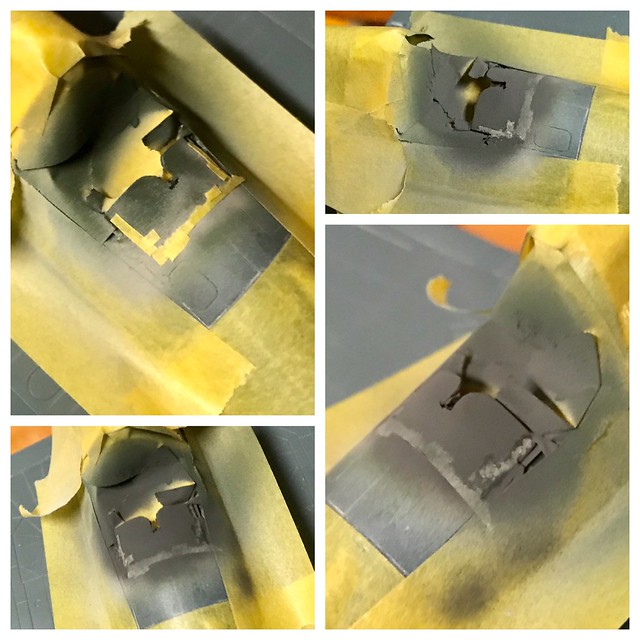
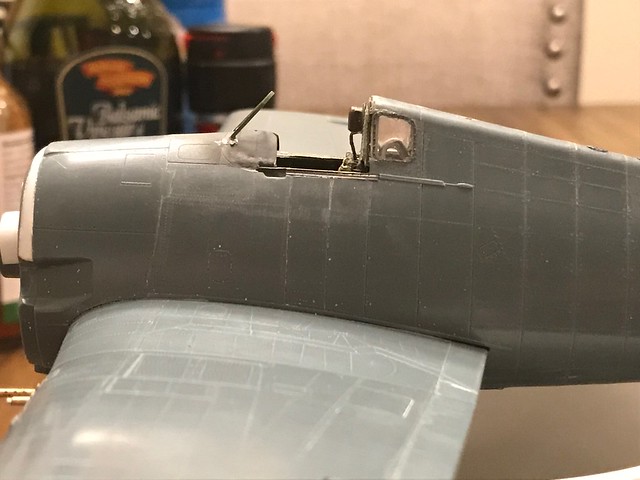
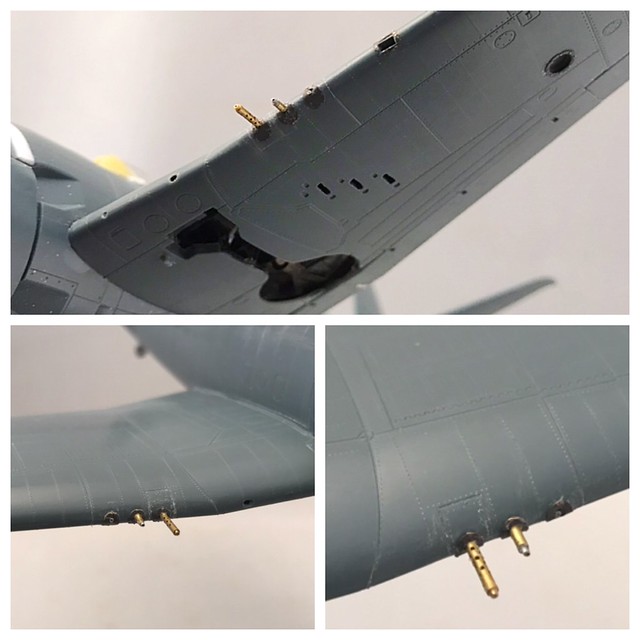
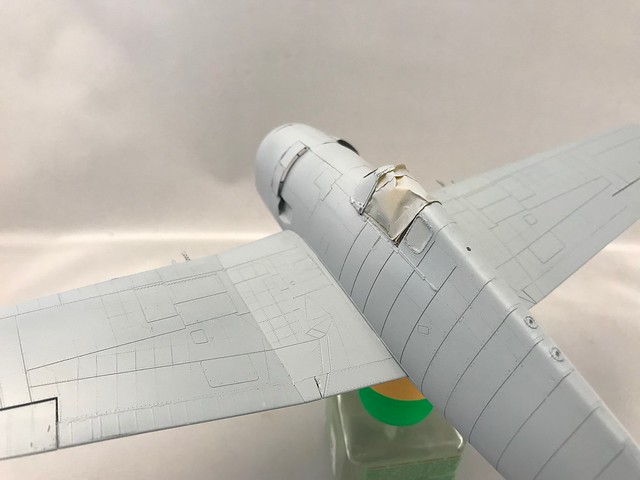
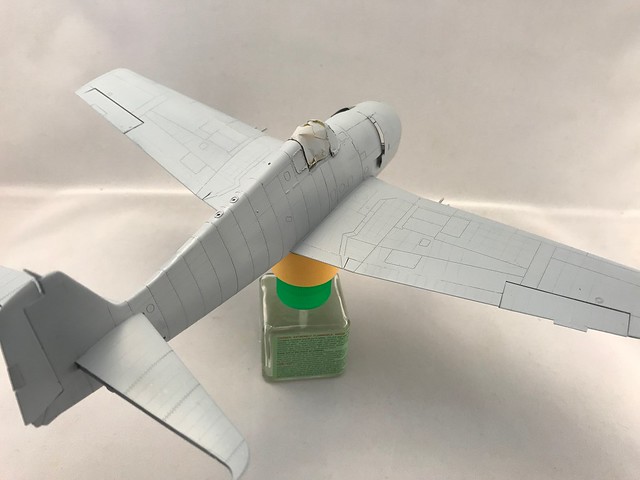
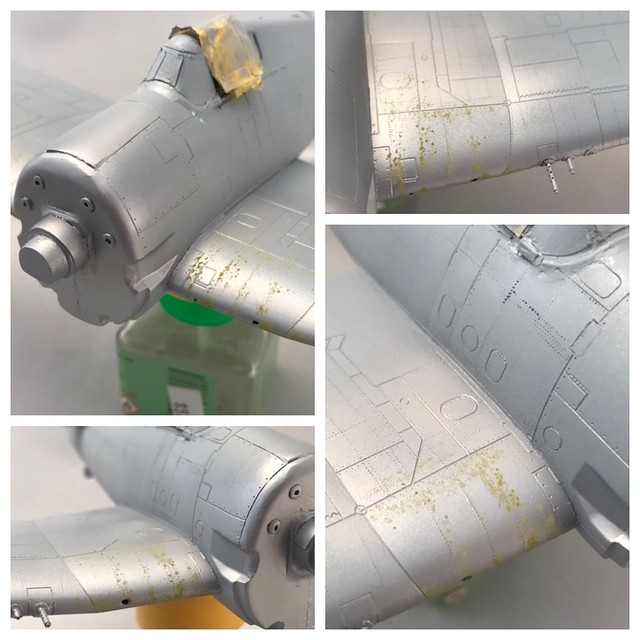
Before buttoning up the fuselage there are a couple of things to address. Mainly, there is the exhaust for the oil cooler vent. The exterior detail set gives you an excellent chance to model this better. Pay very close attention to your bends and the fit that’s occurring here. Check and recheck. I chose to add a very thin layer of plastic strip to make up the frame work so that I could use my Tamiya Extra Thin Cement to better bond it to the kit fuselage. This way there won’t be any shifting about with extra parts down the road.
 Untitled by Britt Vallot, on Flickr
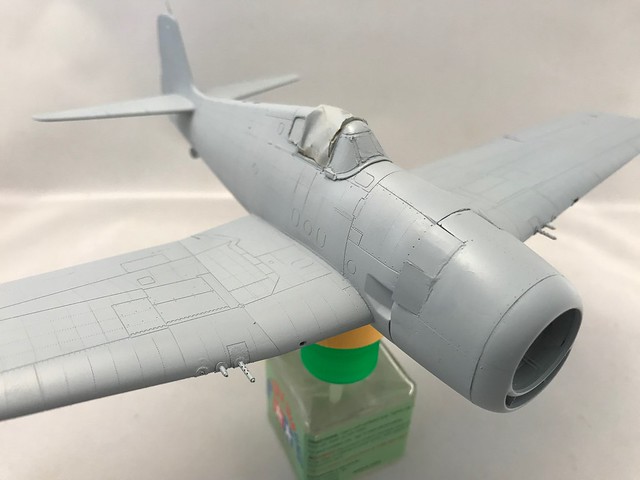
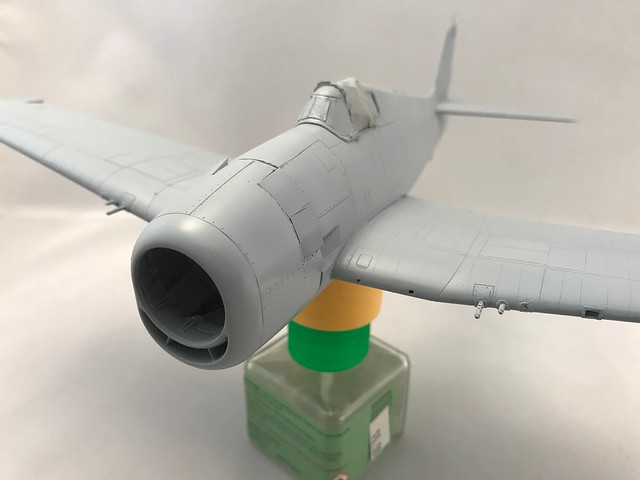
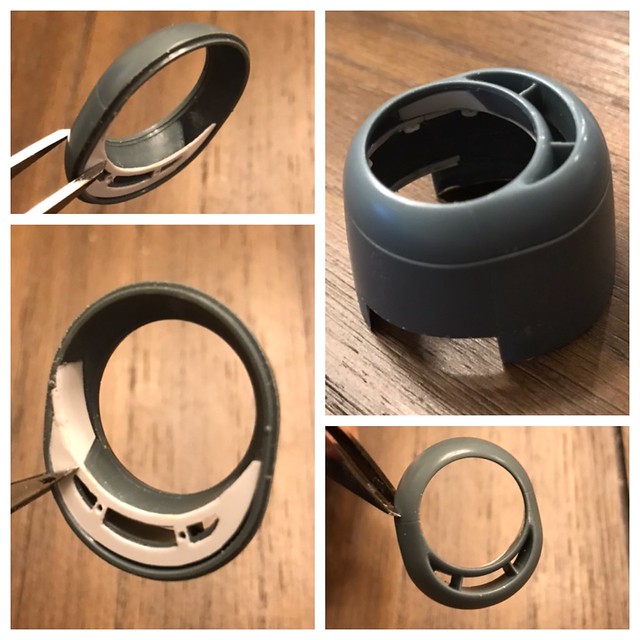
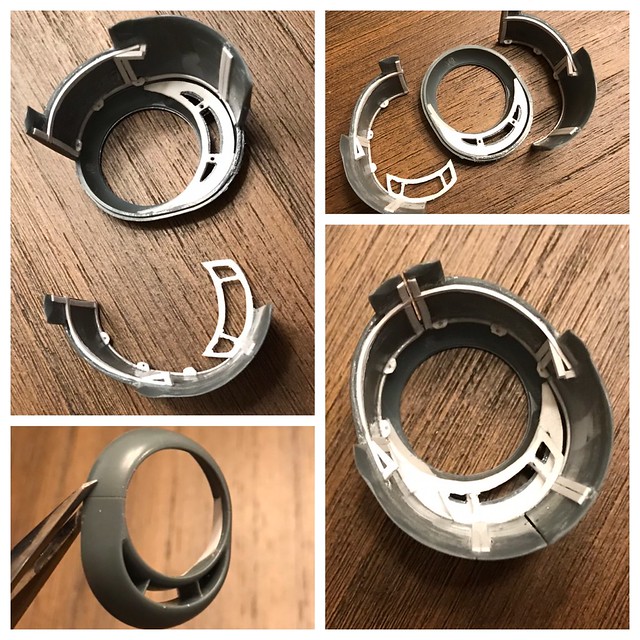
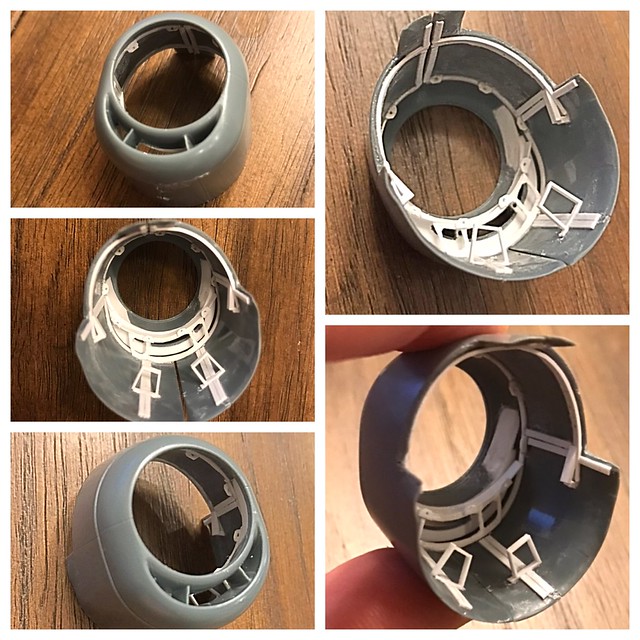
Cowling
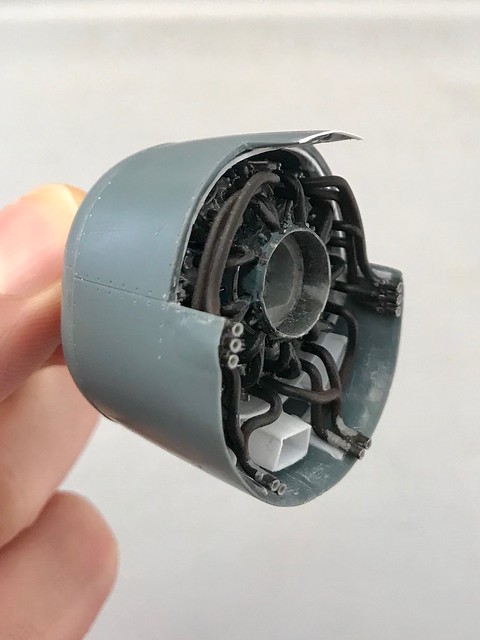
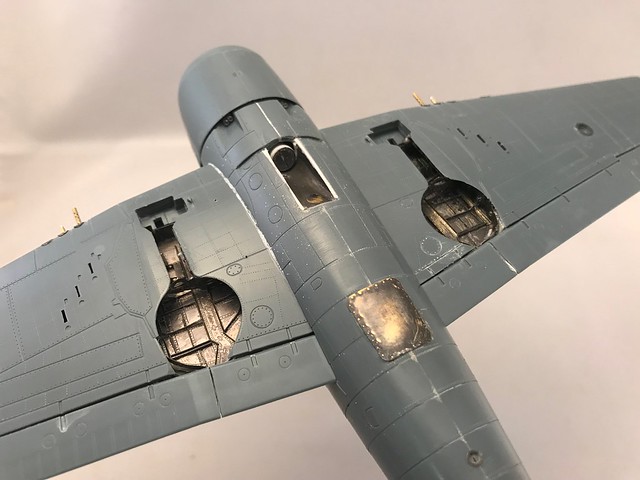
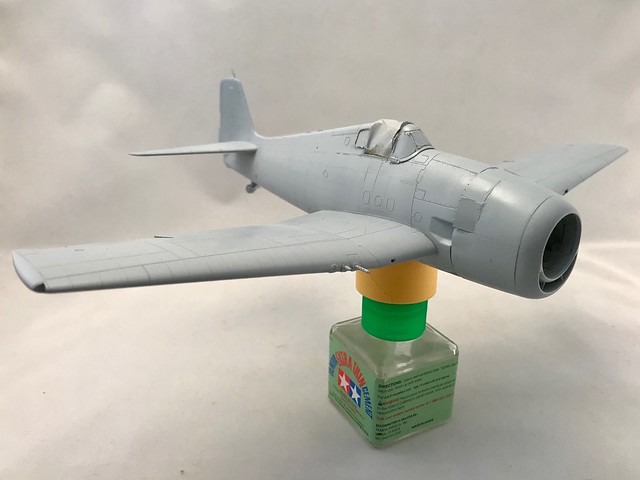
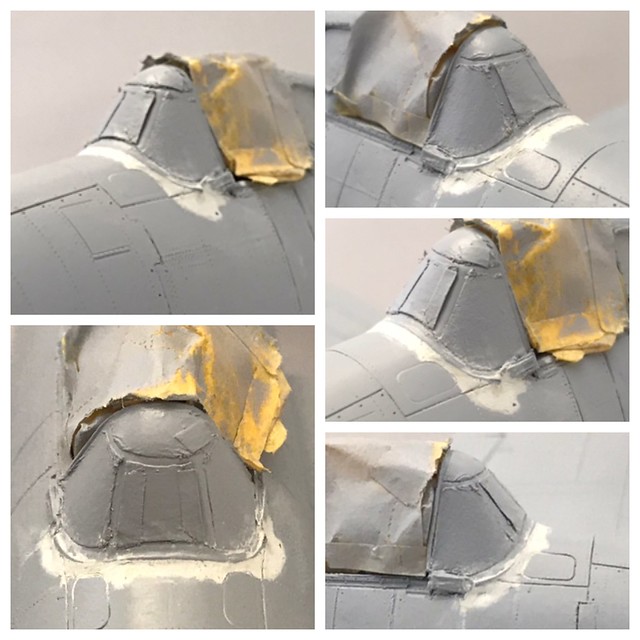
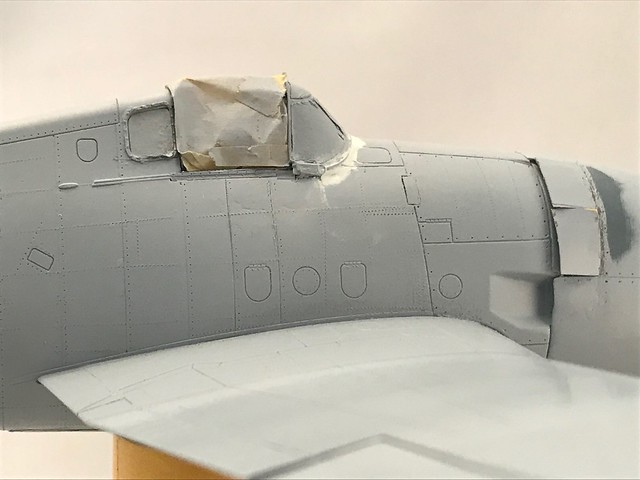
I originally had plans to open one of the cowl panels to allowing better viewing of the engine. So in doing this I set out to better detail the interior cowl. I had ideas of using magnets to place the panels back. I eventually back tracked on the basis that I’d rather keep with having some planes as they are and maintain their beautiful lines and curves without the broken cadence of open panels and such. When I super detail a model, then that will be the purpose of the model and not a mixed back and forth type affair. So, all this went on anyway just to see it through. I’ve had some fit issues to keep up with and manage. Mostly my doing. The Brassin AM engine generally fit well before modifying anything, but I did have to sand a little to get it to seat itself back far enough for the cowling to fit proper. I will note that Eduard probably intends for the kit cowl panels to be removed…probably eliminates the fit issue.
 Untitled by Britt Vallot, on Flickr
 Untitled by Britt Vallot, on Flickr
 Untitled by Britt Vallot, on Flickr
 Untitled by Britt Vallot, on Flickr
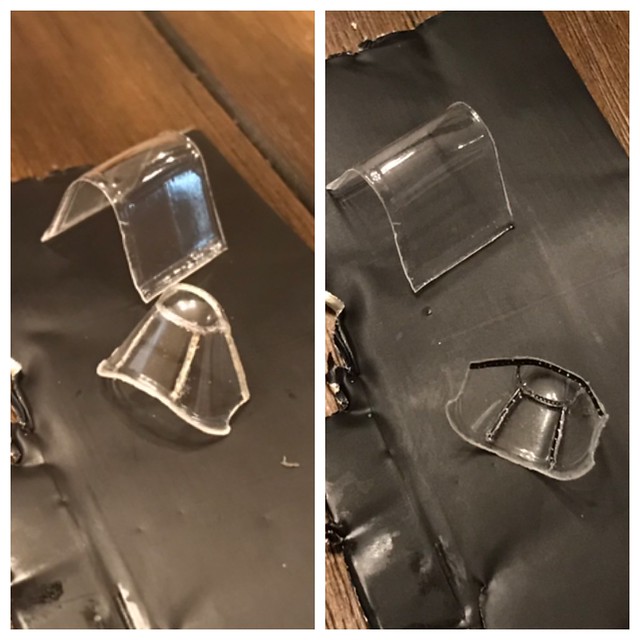
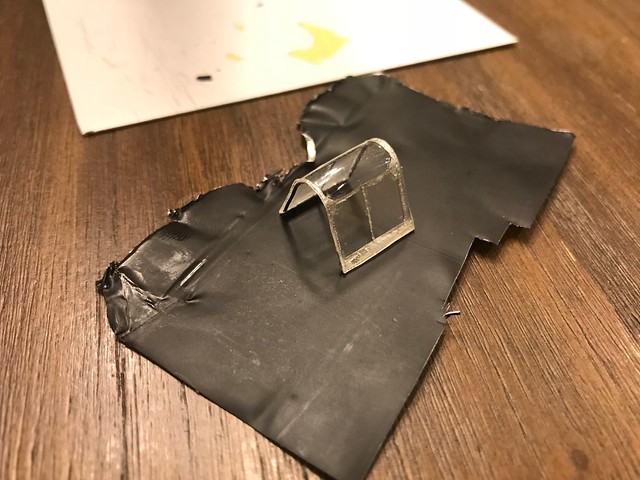
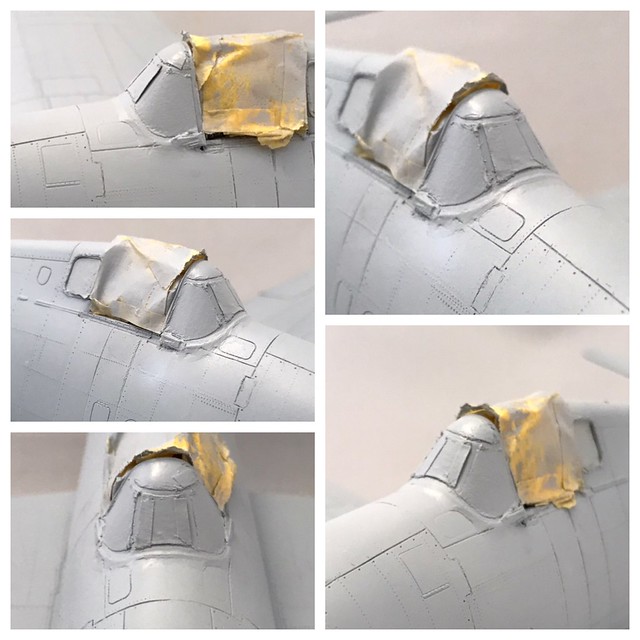
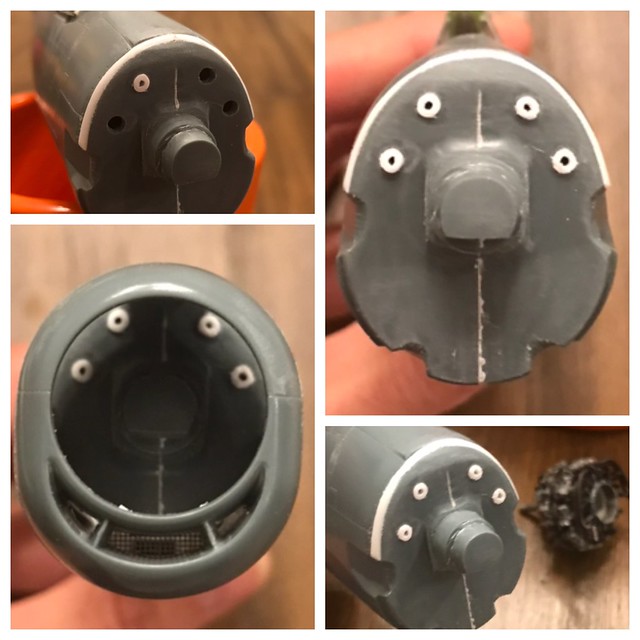
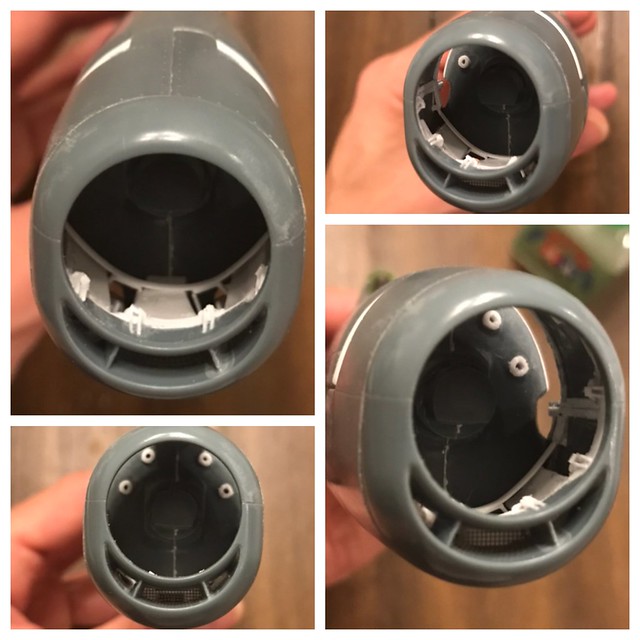
The cowl flaps will be open on this build so I’ve added the cowling hood that runs flush to the fuselage. You can reference this in photos. All changes to the kit are reflecting picture references for Vraciu’s actual hellcat as well as -3 engine pictures. Again ask if there’s any questions about what you’re seeing.
 Untitled by Britt Vallot, on Flickr
 Untitled by Britt Vallot, on Flickr
The intercooler ducts should be taller and match up to upper set of exhaust stacks, but due to the fit issues I was trying to solve, I settled to leave them as you see since they won’t be visible or make a difference past this point anyhow. In hindsight, I don’t think they would have added to the pot. I later learned the lower exhaust stacks were catching and rubbing where they rest on the kit fuselage. This part of the fuselage was sanded back.
I think I’ll pause it here for now. There’s plenty more to share but it’ll have to wait for another day.
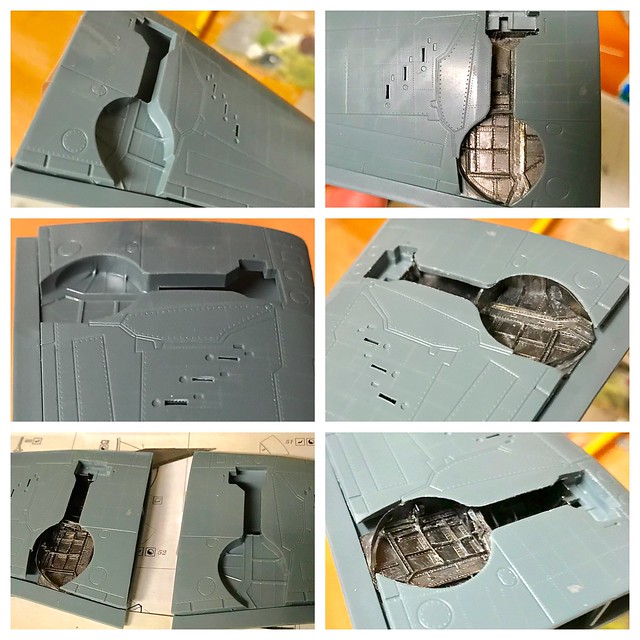
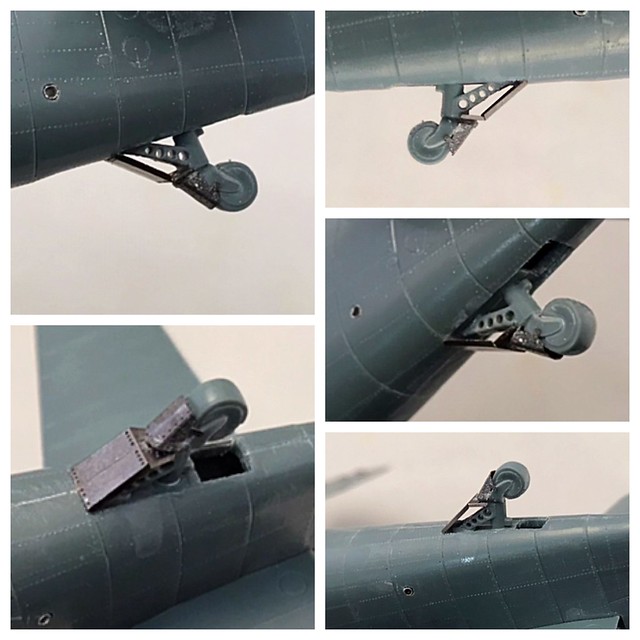
Next up…the undercarriage. I was really happy with the upgrade. I was debating on scratching this out myself, but it would have taken so much longer. I think I’m happier with this. Time is such a commodity these days.
=]