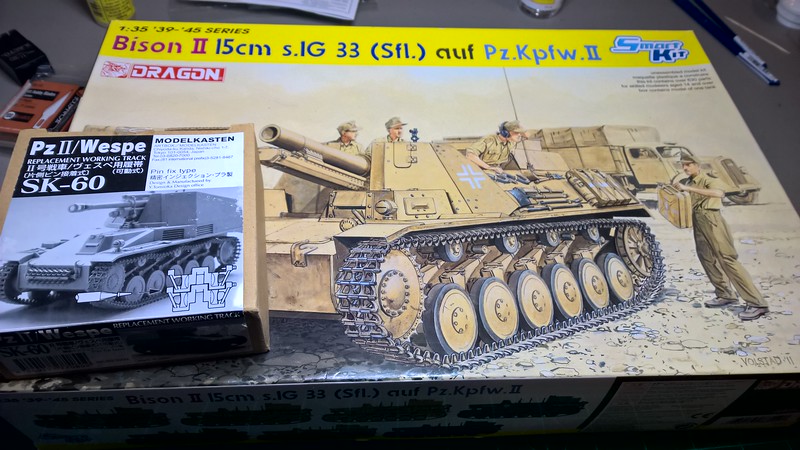
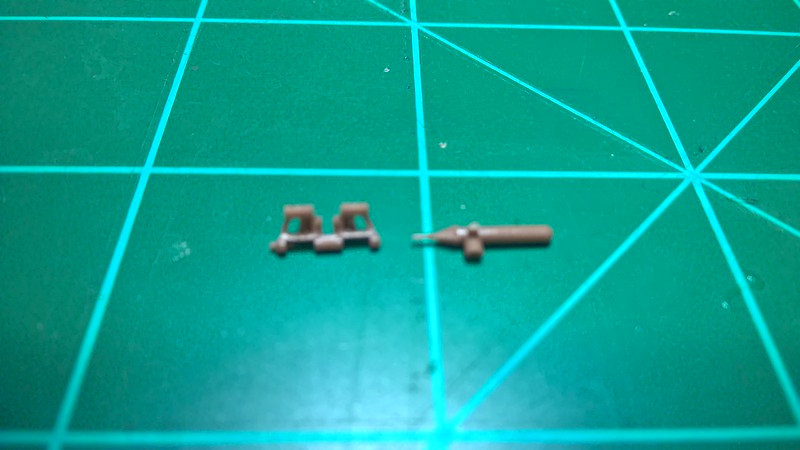
Next up for me is Dragons Bison II 15cm s.1G 33 (Sfl.) auf Pz.Kpfw.II, with Modelkasten workable tracks. Was wanting to start this sooner but alot has been going on to keep me away from the bench. The wife totaled her car, fliped over in a ditch when we had some really bad weather a few weeks ago, thank God she walked out of it with out a scratch. So been dealing with that and went out and signed a loan for a used car for her. So now that the wife is all safe and happy again I can get back to the bench. Starting off my building the Modelkasten tracks. I’m going to compare them to the kit Magic Tracks. These are nicely molded with no flash on any part and come on small sprues. Each track has three attachment points two to the sprue and one to the track pin handle. Clean up is very easy just needing a sharp #11 blade and some time. The Magic Tracks are all off the sprue but all have two ejector marks on them that can be a PITA to clean up. The Modelkasten tracks in this case go togeather really easy with one pin already molded in place, I know some come with the guide horns separate and needing both pins installed. I worked in groups of two then them two into fours etc etc. till I had 110 per side with five left per side to get the sag right later. I’ve never been able to get Magic Tracks right something has always just looked off about the ones I’ve built so I can’t tell anyone how to do them, But this guy can http://cs.finescale.com/fsm/modeling_subjects/f/3/t/157928.aspx?page=1
The times I’ve tried I used The doog’s walkthrough but still didn’t like the outcome I got. I like the ModelKasten tracks over the kit Magic Tracks in all areas but still in the end I will stick to using friulmodel metal tracks they cost about $15 more then the ModelKasten but give a more real looking sag, are molded really well (only ever had one set with a lot of flash have four in the stash that look perfect) and if you use brass pins and a simple wooden jig you can have both sides done in a hour. So thanks for looking in and hope to get started on the model itself this weekend,
May I ask what type of brass pins you’re using? I’m trying to assemble a set of Spade Ace tracks for a IJA Type 95 and I’m seeing people suggest ditching the included wire for the pins. I assume I can get these at a craft store but what exactly am I looking for?
Mopar: Thanks for looking. Bish: She was lucky she slowed down to make a turn and then started sliding on ice ended up in a very steep ditch about 25feet off the road with the car laying on its side. I’ve had this kit since the month it was released I thought I had edurad PE set for it but it wasn’t in the box and can’t seem to find it anywhere else but I don’t think this kit needs it like most dragon kits it comes with the most wanted PE parts already. Gamera: The pins I use are from the local hardware store the size is 16mm x .65mm only cost a few dollars a box
And glad your wife is ok. Did the something much like that in 2014 on some black ice. Car slide about 25-30 feet or so turning around and slamming into a tree and bending the frame all to hell and gone. Thankfully I didn’t turn over. Just good news to hear she’s fine after all that.
Looks like you are starting out right .I did the FruilModel tracks on my unfinished " Dicker Max " self propelled 105 MM. Unit .Those tracks went easy But , My , did they add the weight !
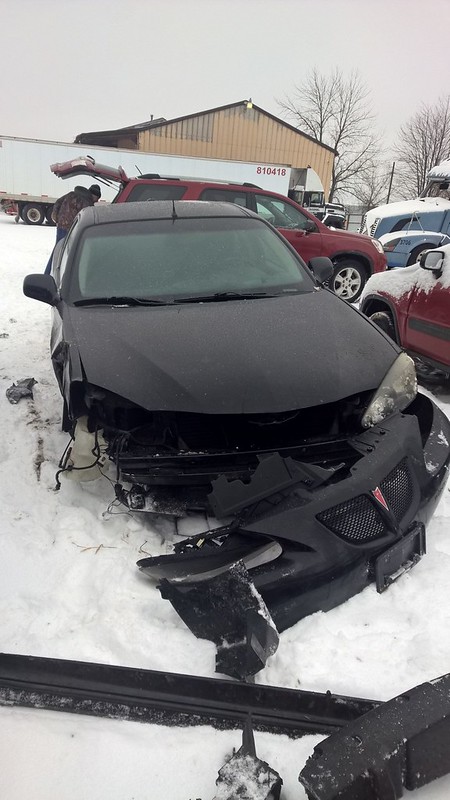
No problem. Black ice is no joke my dad tore the front end of his truck up a few years ago and he was only going about 15mph on a off ramp. Here’s her car
Hey Rambo, first off let me say I’m sorry to hear about your wife’s accident. Glad she walked away from it ok!
Secondly, I have this exact kit built up to the point of painting. It is a pleasure to build so far. The detail on the SiG is impressive. Painting will be interesting with it being one topped and all the detail inside and on the gun.
Have you thought of a scheme yet? Can’t wait to see how it comes out.
Thanks jester. Yeah the sig has alot of detail it’s the same parts as their stand alone gun. I plan on painting the interior first masking it off then paint the out side also painting the gun separate from everything else too. Going for the trop Ral 8000 and 7008 scheme
It’s been a bit since I updated this not much to add. Got the hull tub togeather along with the suspension arms. All the road wheels are togeather along with the idler gear. Have also put the drivers compartment and storage box togeather. Been working on the the fighting compartment I will post more photos when I get that done. Now to head off for work. Thanks for looking in.
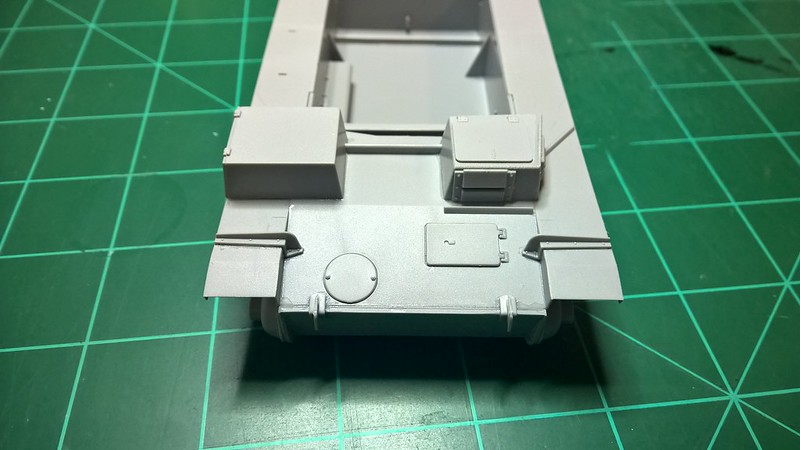
Working in the fighting compartment started with the rear firewall then moving to the lower support beam in the rear. The instructions have you building the front support beams then adding them into the compartment. It’s easier to install the upright ones first (parts M35/36) then adding the cross beams. the uprights are shorter towards the rear. Once I got them into place I added the front cross beam then installed the drive shaft tunnel. They have added alot of alignment points to make sure the tunnel sits at the right height and postion so no worry on getting it off any. Then the rear cross beam was added.
Next the front plate was installed along with the few covers and the tow points from step 21. The fenders was then put in place after some more glue, and sanding the seam between the fenders and hull will disappear. The instructions never do tell you to add the fenders to the hull they just appear that way in step 21, they want you to add the fenders to the front plate then to the hull latter that just sounds like a all around bad idea. The drivers hatch and stowage box was also added along with the brackets on the fenders.
Right now I’m working on the Bosh lights and the missing conduit for them. Thanks for looking in!
Gamera: I was hoping to be further into the build by now but life happens I’m just happy to have any time to build. Her car got totaled out. Ridleusmc: I know I love Pontiacs my first car was a 84 trans am, then a 92 trans am, then I had 97 grand am before going to having trucks when my wife needed a car we got that 2011 grand prix gt2 I wish they still made Pontiac
Sorry to hear that, hope she likes her new car. I was looking at your lower photo and the damage didn’t look so bad from the front but I looked back and you did say it rolled over into the ditch- whoops that’s what I get from just scanning instead of reading!
My first new car was a 2002 Pontiac Tran-Am. Drove her until 2014 when she was the one I wrecked on the black ice I’d stated above. Bought a 2014 Camero, drove her six friggin’ months until a lady rammed her mini-van into me, totaling it. Ended up finding a 2000 Tran-Am, two owner, garage-kept, with 55,000 miles on her in 2016 and frankly I’ll get rid of this car when they pry the steering wheel out of my cold dead fingers…
Gamera: You are really lucky to find that in such great shape. My mom had a 77 trans am she bought brand new, got rid of it a few years ago was just getting to be to expensive to maintain with that 400 big block, it had 120000 on it, said she sold it for more money than what she paid for it new but man was it beautiful
Thanks, I consider myself very lucky. Sorry about your mom having to sell hers. If I had the money, talent and time I’d love to pick up a dinged up '77 and try restoring it.
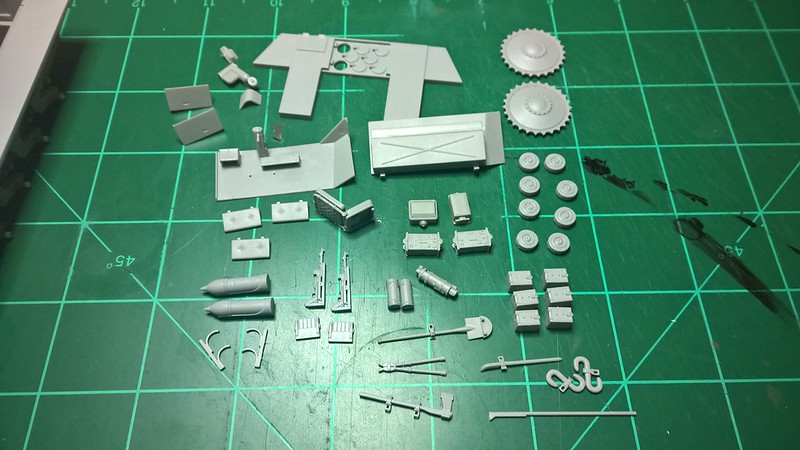
Finally had enough done to do a update. Lots of small parts that means alot of clean up. Have most of the tools done, the MP40’s and ammo bags, the charge cases, the seats, and radio equpipment. One thing that I found is Dragon only provides the frame for one radio so either have to use the receiver or build your own frame so thats what I’m going to do just scratch both of them so they look uniform. most of this stuff will be painted off the Bisson and added later. Thanks for looking in.